After spending a couple of days covering the upstairs subfloor in strips of plywood with 3/4" spacing grooves in between, we are really eager to move on to the next step.

In the grooves, tubing carrying hot water will be run from the boiler. This hot water will be used to warm the floor, which then warms the room.
But wood is not the best conductor of heat. Normally we think in terms of what is the worst conductor of heat - things like foam and insulation - to keep heat IN. But in this case, we are trying to draw heat OUT of the tubing and into the floors, and spreading the heat across the floor surface area.

Solution? Heat transfer plates.
It's just a piece of aluminum, not much thicker than aluminum foil, with a stamped groove for the pipe. You want the pipe to touch the aluminum if at all possible - any air gaps slow down heat transfer.

I wasn't kidding that these guys are much thicker than aluminum foil. I did toy with the idea of just using aluminum foil ... would have saved us a pile of money.
Or at least spent the last year recycling pop cans and cutting the ends off to make my own heat transfer plates.

The heat transfer plates we used actually come in a double groove. We cut them in half because we don't need spacing that close per our super insulated walls and roof.

Installation is pretty simple - just lay them in the grooves

Like this Dad?

But you don't want the heat transfer plates to touch each other. You want to leave a little gap.

About an 1/8" or so.
When the heat transfer plates heat and cool down, they will expand and contract. If the plates are touching, you'll hear noise.
This is actually why the plates are short too - so they expand less and we'll hopefully not hear the heat system all night.

Once the plates are in position, we can staple them down. Now it's important to only staple one side so that the plate can move as it expands and contracts.

We'll be adding a layer of underlayment over top, but we still want to make sure each and every staple is pounded in flat.

So we took a hammer

And gave every single staple a tap or two just to make sure.

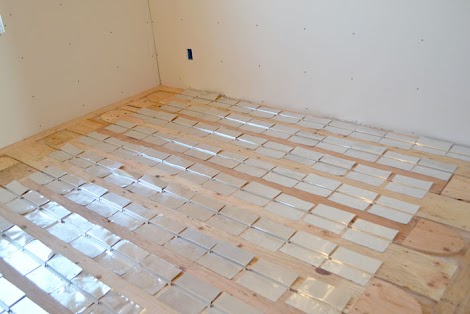
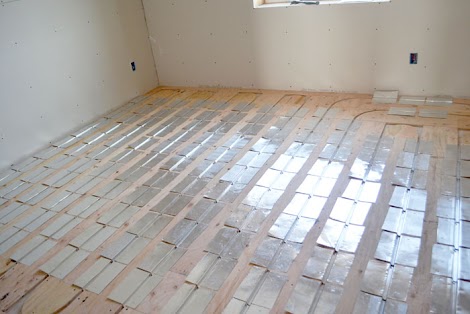
Here's what the heat transfer plates look like when complete.

The most difficult part of the installation was walking and working on them. An extension cord pulled the wrong way will pull up the plates and you have to be super careful walking on them.

But the upside (or should I say downside?) is that it's much easier to work on the ground than it is over your head. Gravity is a better friend than enemy! And nothing is fun working over head on a ladder.

This is the small bedroom done

And here's the larger bedroom.

We even did the master closets

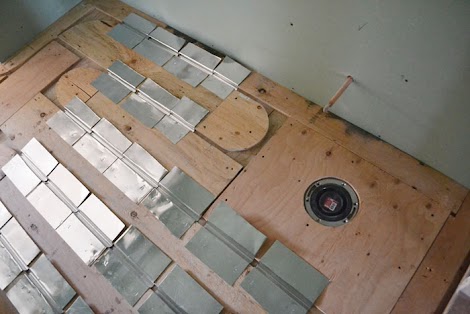
And I know this seems crazy - even under the washer and dryer. Even though you'll never step there, it's emitting heat into rooms, and in a bathroom

Where you have a void for the toilet and shower stall, and lots of transitions, you gotta use up what space you have in the floor.

Next up?

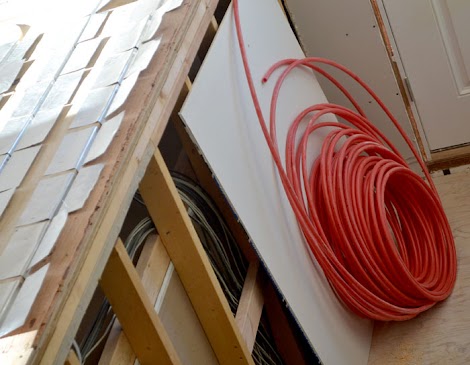
We'll be laying the tubing and underlayment!
We are really looking forward to a less "scaly" floor!

Comments
UlrikeDG
Thu, 03/28/2013 - 15:17
Fascinating!
Tsu Dho Nimh
Thu, 03/28/2013 - 16:42
Heat transfer caulk?
Sticks in the Mud
Wed, 04/03/2013 - 13:52
Wow!