Supplies I Used
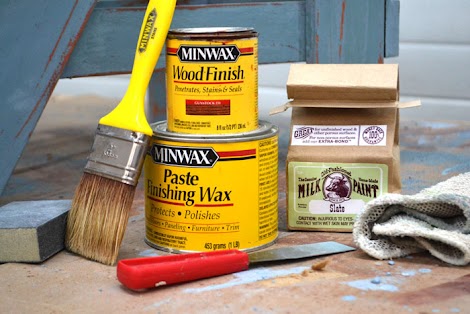
You’ll just need the basics to get a good stain, and then the milk paint for adding the color.
- Minwax Wood Finish Stain in desired color (I used Gunstock)
- Minwax Natural Bristle Brush
- Milk Paint in desired color
- Staining rags
- Paint Scraper
- Sand paper in medium and fine grits
Preparation
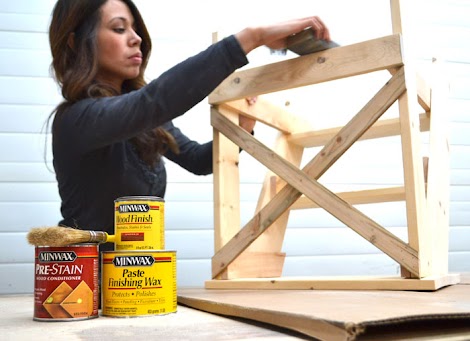
After building the vintage step ladder end table, I gave it a good sanding with medium grit sand paper. I actually used a palm sander for that. Then I followed up with fine grit sanding block.
There was quite a bit of sanding residue leftover on the project, so I brushed it off. I then wiped the step stool/end table down with a slightly damp lint free cloth to make sure I got all the sanding residue. There’s nothing worse than patches of paint coming off because sanding residue got in the way of a good bond. It’s crucial to start with a nice, clean, sanded project.
Stain Application
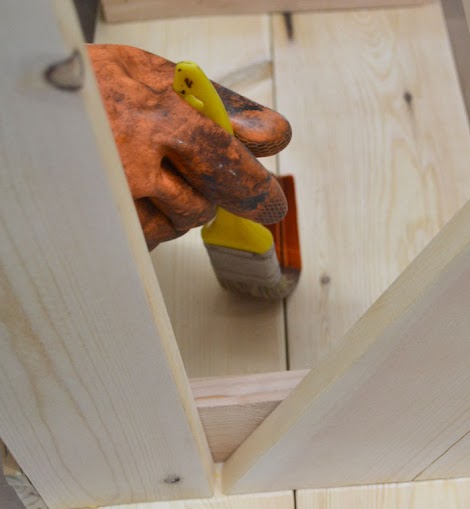
I always have to restrain myself from starting on the outside, but it’s much easier to start in the hardest to reach place first, and then work your way outward. That way I don’t get too much stain on my clothes.
NOTE: I’d normally use Minwax Pre-Conditioner, but because I only expect a little bit of the stain to show though on distressed areas, I’m not super concerned about blotchiness. If you were planning for lots of stained areas to show through, Minwax Pre-Conditioner can really help minimize stain blotchiness.
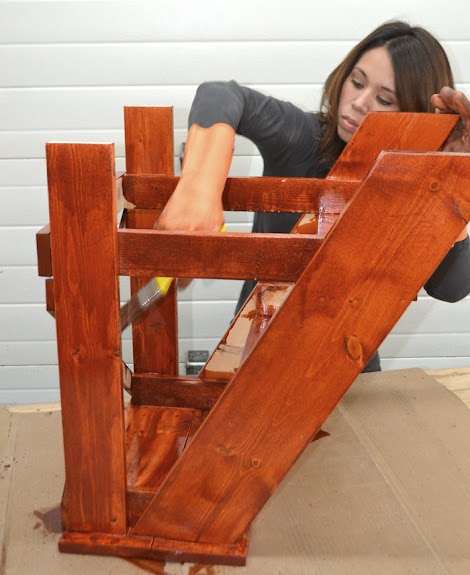
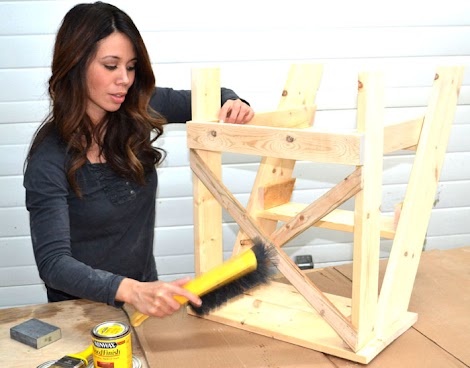
See what I mean about staining inside first? Get the insides first, then work outward. Tell me told you so.
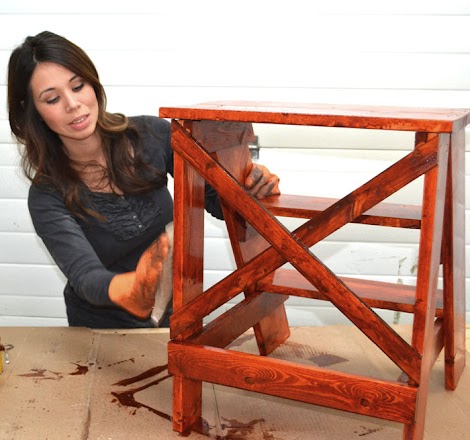
After about 5-15 minutes of letting the stain site on the project, I wiped off excess Minwax Wood Finish Stain that hasn’t soaked in. It’s important to not allow excess stain to dry on the project. I just wipe in the direction of the grain, working more stain into lighter areas for a more even stain application.
Because I will add paint over top, I’m only doing a single stain coat. I let the stain coat dry overnight.
Milk Paint Application
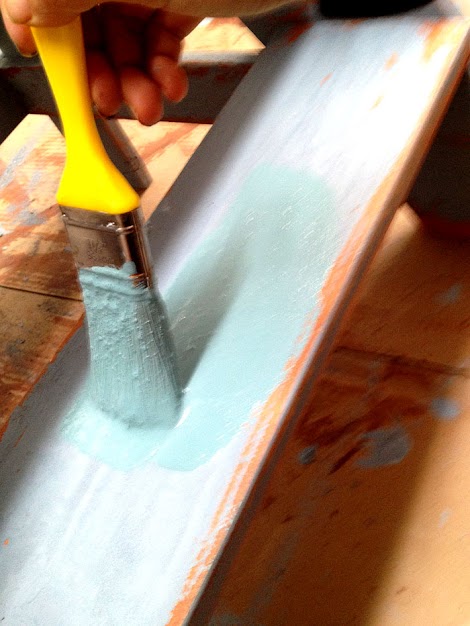
Next, it’s milk paint time! I mixed the milk paint up according to the manufacture’s instructions, and then began painting over the stained surface.
Milk paint dries so fast and goes on so quickly and evenly!
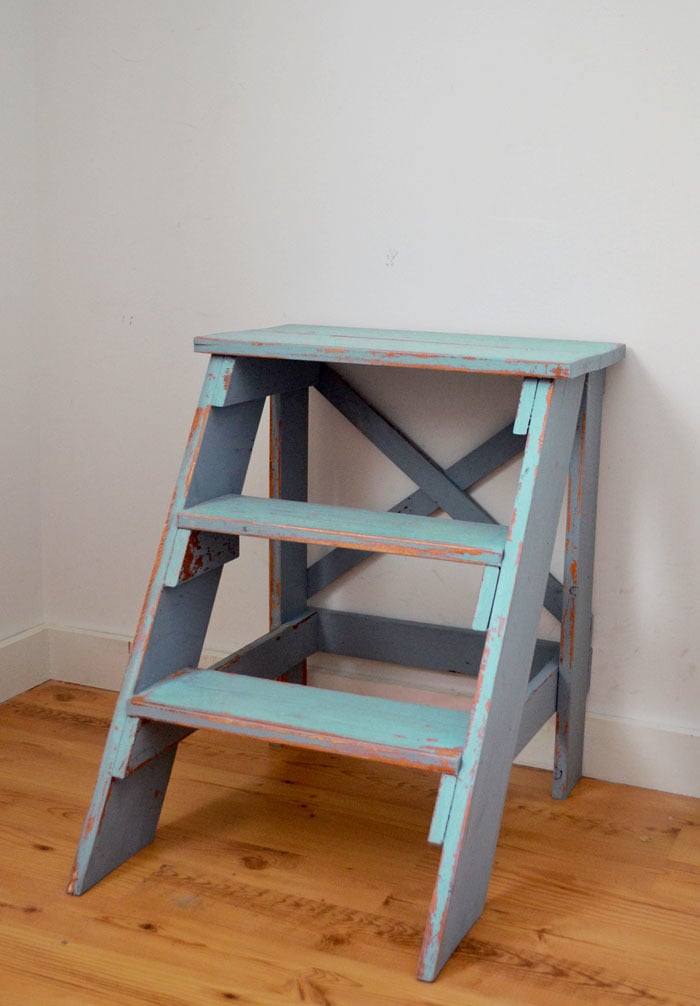
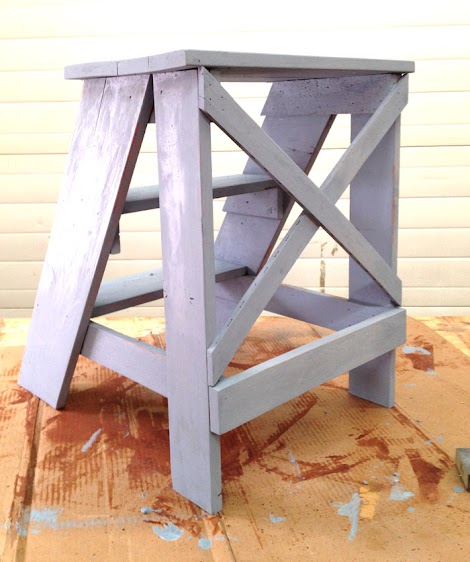
But one problem, I wasn’t so sure about the color.
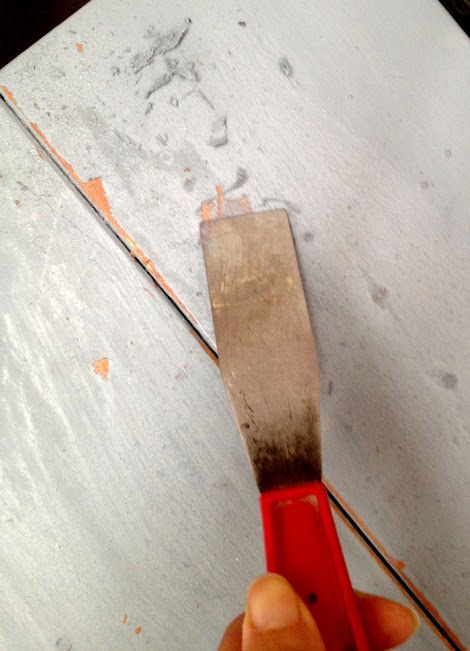
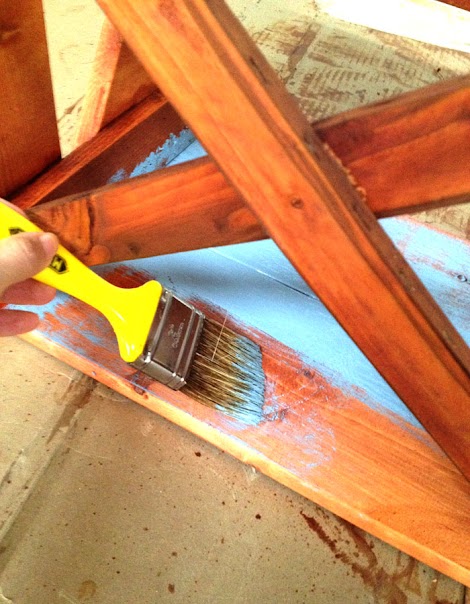
As I started distressing it with the paint scraper, I felt like the project needed a more vibrant color. The slate blue just wasn’t doing it for me.
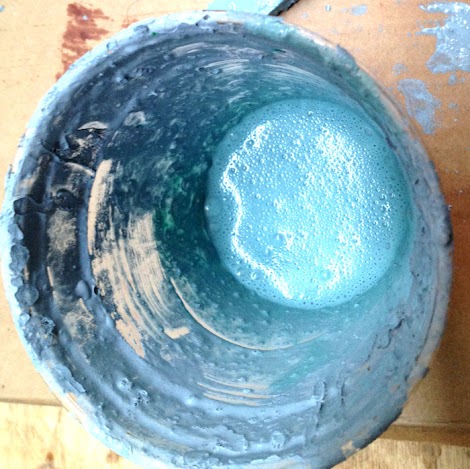
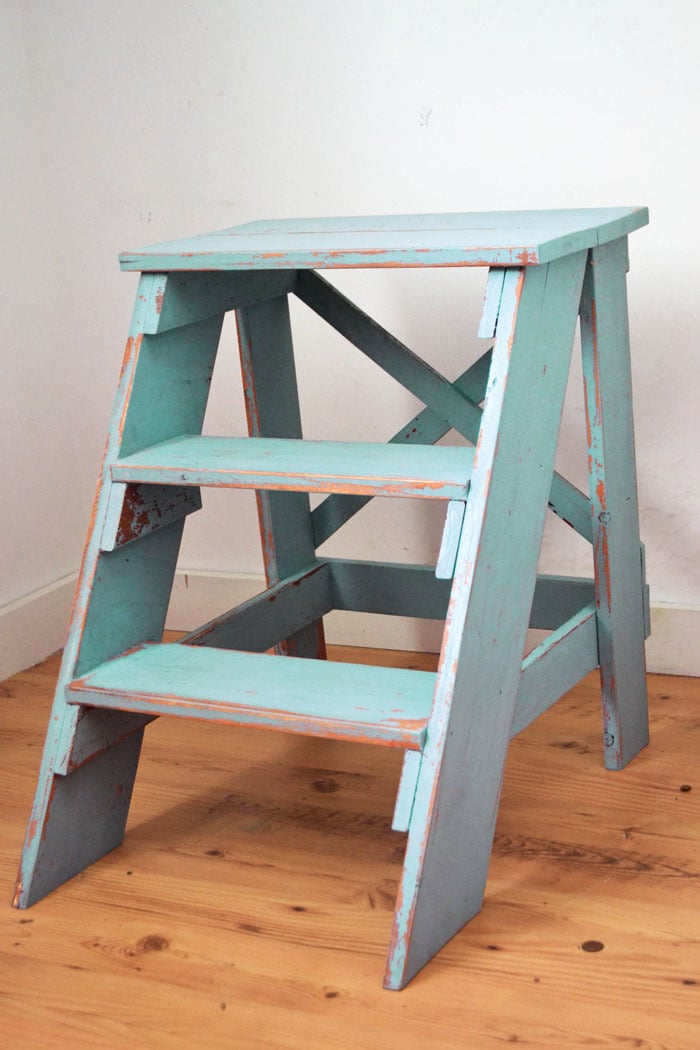
So I mixed in a green milk paint with the leftover blue milk paint to get this pretty turquoise color.
And painted over the slate blue.
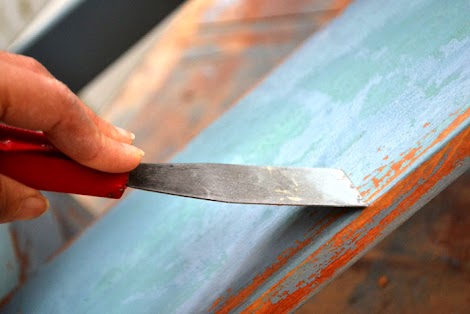
And then scraped off more milk paint. The milk paint scrapes off easily, and allows for a more chippy, authentic distressed look.
And you can distress hard to reach areas easily too!

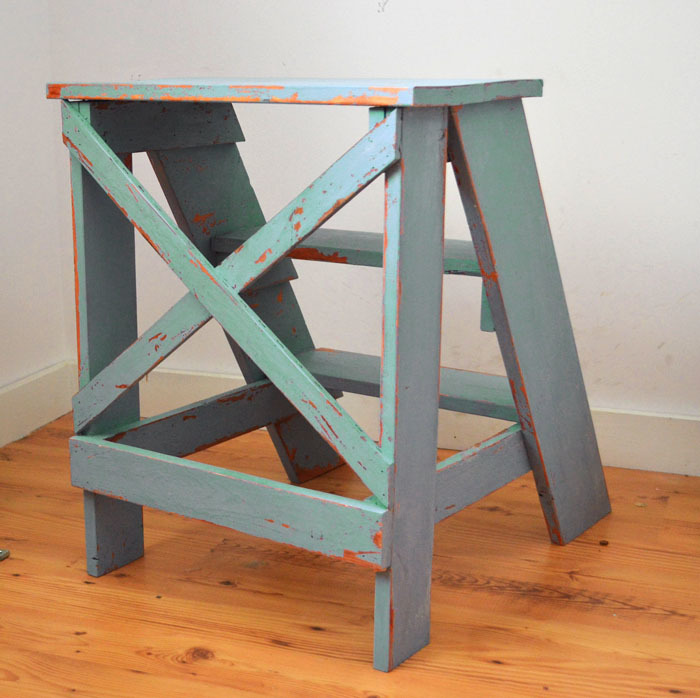
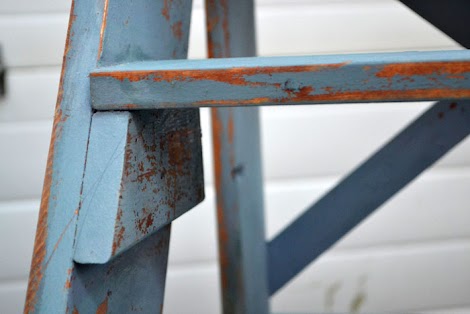
The results are authentic and unique. I love the stain wood contrasting against the color!
Protective Top Coat Application
Once I was happy with the distressing, it’s time to seal the deal.
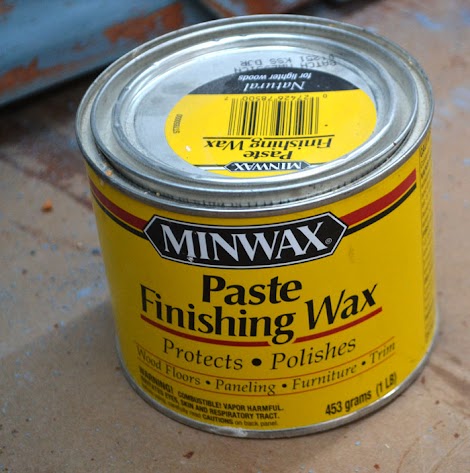
I love this stuff. Minwax Paste Finishing Wax is so easy to apply, and it dries almost invisible. The finish is matte, authentic for a vintage finish like this one.
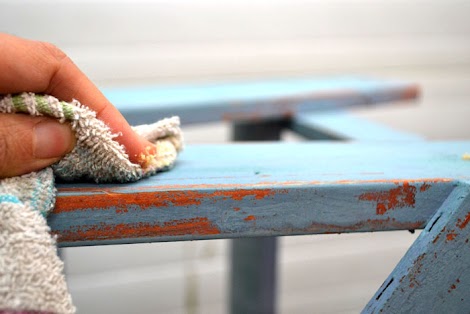
I just dug in with a rag and applied the wax. After the wax dries about 15 minutes, I polished it with the cloth for a super smooth and beautiful finish.

How pretty – and pretty simple – is that?
Thanks Minwax!
Comments
MommyNyn
Mon, 04/08/2013 - 12:28
Gorgeous!
Jodieth
Tue, 06/11/2013 - 17:18
Love it
cbormann
Sun, 08/25/2013 - 15:24
Outdoor Furniture
Kbrookefc
Wed, 09/04/2013 - 19:46
Green?
ladyblueii
Sun, 06/29/2014 - 21:41
Milk Paint on Vintage Step-Stool
fluffypickles
Sat, 03/18/2017 - 07:55
Love the idea of using paint
Love the idea of using paint over stain! Colors are great. I just finished bedside dressers with milk paint and didn't know how to protect them. Thanks so much for the minwax wax suggestion!!