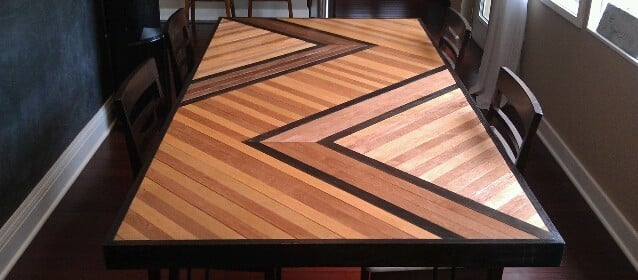
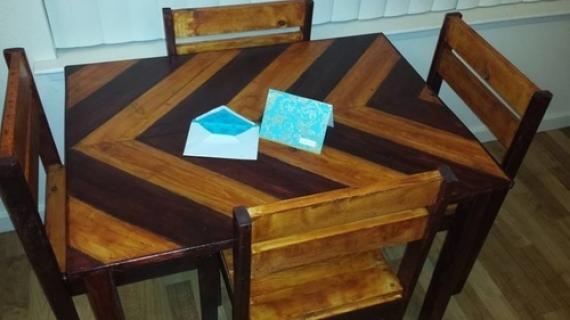
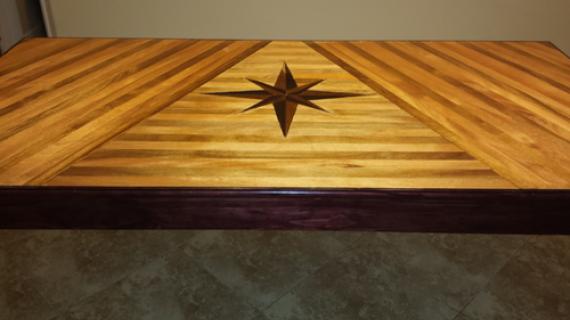
Build your very own wood patterned table top!
For more information visit:
http://diy-my-homes.com/stunning-purebond-plywood-dining-table/
Preparation
(1) 4x8' sheet of 3/4" PureBond Plywood (cut to size 40"x80" at HomeDepot)
(3) 8' long 1x3s (we chose Red Oak, but Pine would be fine too) for the frame
(4) 1/2" thick sheets of 2'x4' plywood (we used various species)
A mix of Minwax water based express color stains
Rip cut the 1/2" plywood into 1 1/2" strips
Please read through the entire plan and all comments before beginning this project. It is also advisable to review the Getting Started Section. Take all necessary precautions to build safely and smartly. Work on a clean level surface, free of imperfections or debris. Always use straight boards. Check for square after each step. Always predrill holes before attaching with screws. Use glue with finish nails for a stronger hold. Wipe excess glue off bare wood for stained projects, as dried glue will not take stain. Be safe, have fun, and ask for help if you need it. Good luck!
Instructions
Step 1
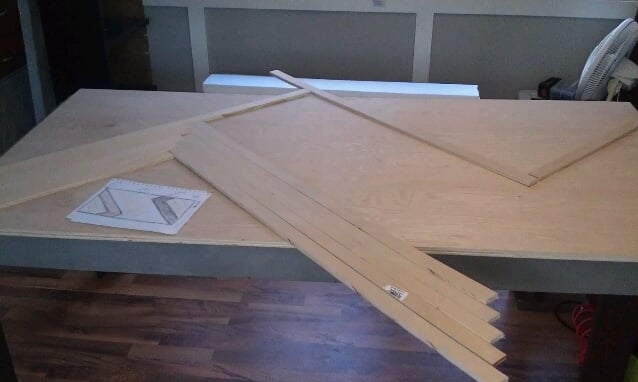
Cut plywood strips and do dryfit
Step 2
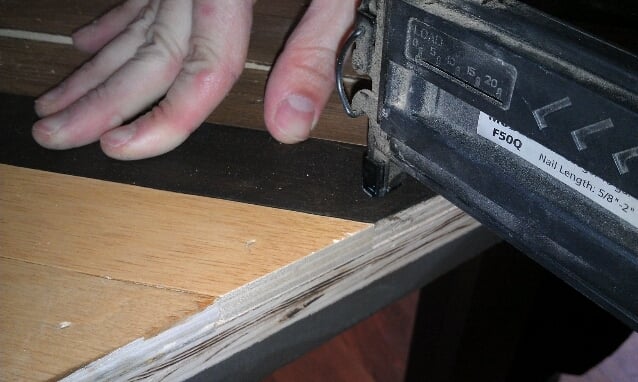
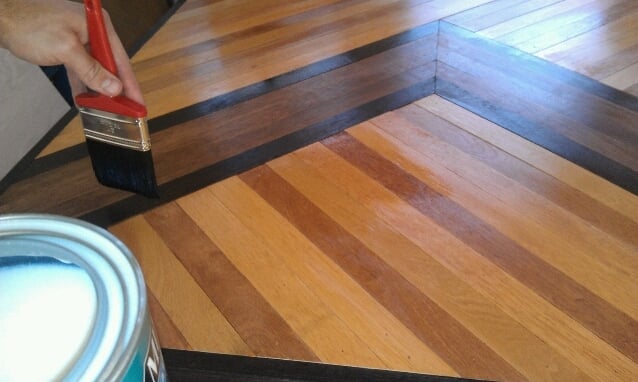
Stain boards then glue and nail into place
Step 3
Attach frame around edges
Step 4
Attach your favorite legs




Comments
cathryn
Wed, 04/03/2013 - 21:56
love it!
Love the dramatic scale of your chevron pattern. It seems so obvious to stain the wood before you install the chevron pattern...but I did not think of it. Thanks for your post, it saved me so much taping for my chevron table project.
Minnesota Strong
Tue, 04/23/2013 - 20:53
How
I'm curious to know what you did, because I want to build a project just like this one. How did you get the whole table top to lay flat and even, without sanding the finished top, and how did you keep glue from seeping on to the top part of the table.
spiceylg
Fri, 04/05/2013 - 04:51
Beautiful
So unique and beautiful. Great job!
KelbyEllis
Sat, 12/27/2014 - 21:41
You Are My Hero!
This table is beautiful!