I am so proud to tell you that we have indeeded finished putting up all the drywall in the Momplex!
You know the upstairs has been done for quite a while.
But then we stopped and put in an above the floor heat system in the upstairs. We kept the downstairs free of drywall to hook up all the water lines to the upstairs heat system.
But that wasn't the only thing keeping us from finishing up the Momplex.
Biggest hurdle?
The weather. Normally, spring comes in April in Alaska for us.
Well, it's a month late, and it's still cold enough to need a heat system inside the Momplex.
That heat system is here borrowed wood stove.
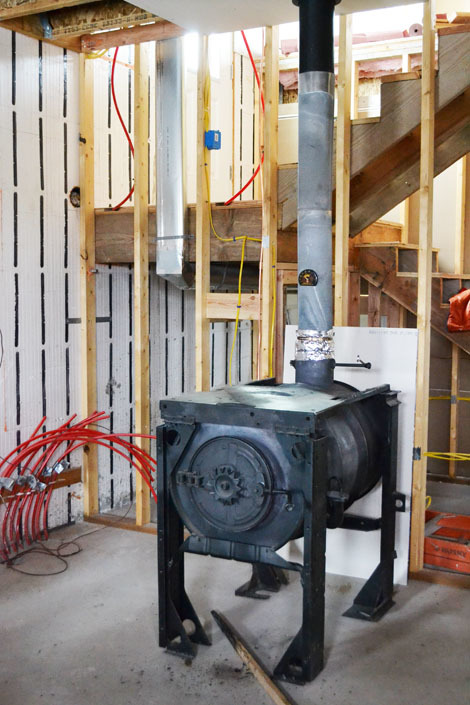
We are very thankful to have this wood stove to keep the Momplex warm enough to work in. But as long as this wood stove is here, we can't finish building the walls for the boiler room (it sits too close to the wall and would be a fire hazard).
If we can't finish the wall framing, we can't finish electrical and plumbing either.
But if we pull the wood stove, it's too cold to work inside.
After months of waiting on the weather to warm up, we finally just gave up and turned to our on-again/off-again buddy Craig S. List.
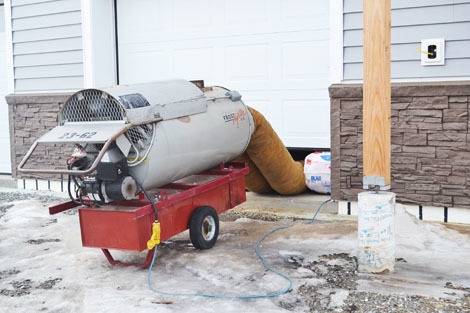
Craig is a hit or miss buddy of ours, sometimes he comes through, and sometimes he doesn't.
Well, he sure came through for us this time.
I don't think I could love a heater more than this slightly used, rather loud BTU blower. It's an Alaska girl thing - something about feeling your fingers and toes again make you get that warm fuzzy feeling all over and hover around it like a obsessed groupie.
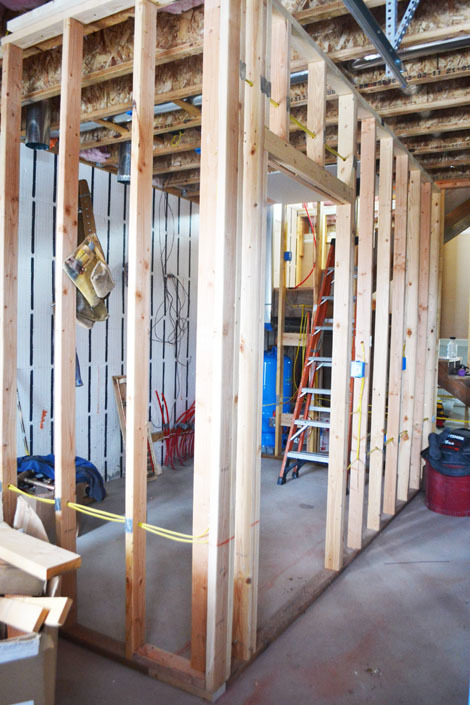
With a new heat source, first thing we did was yank the wood stove and build the boiler room walls.
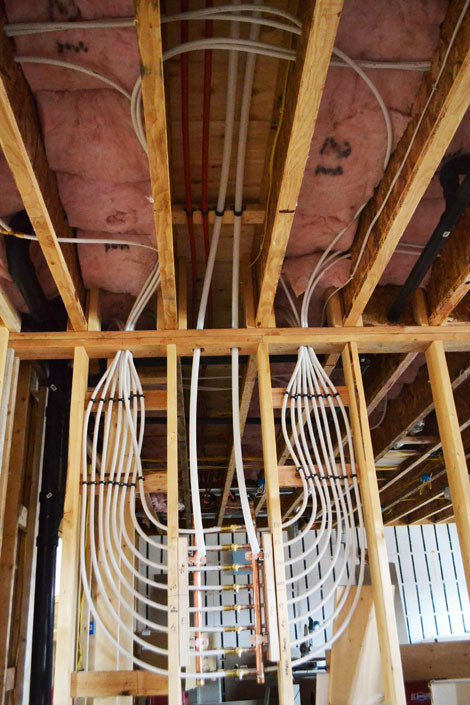
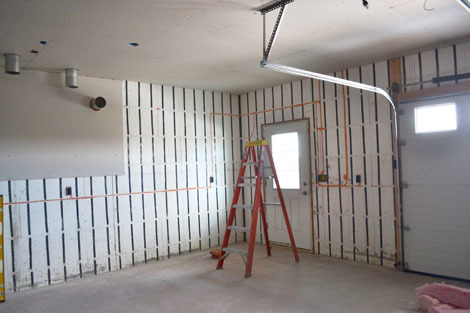
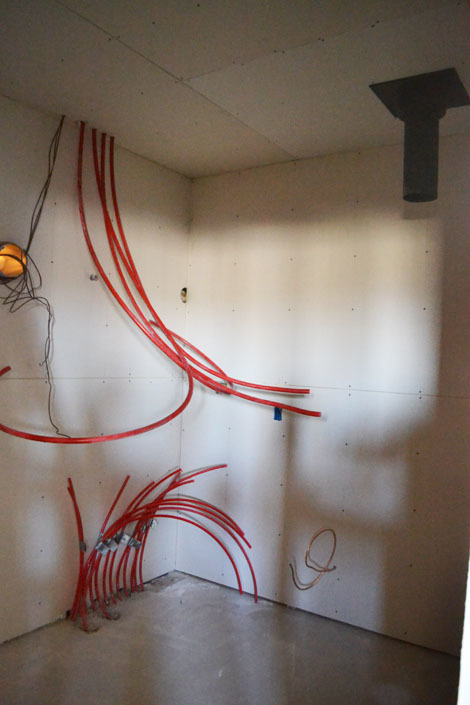
Then we ran the water supply and return lines to the plumbing manifolds.
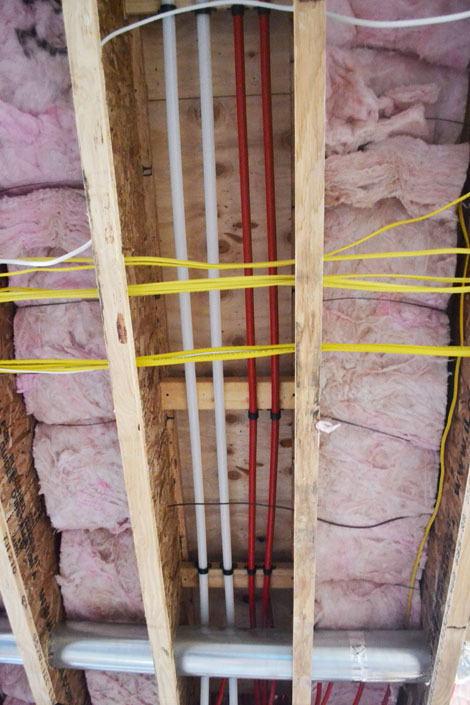
The white lines are the drinking water lines. The red lines supply the upstairs heat system.
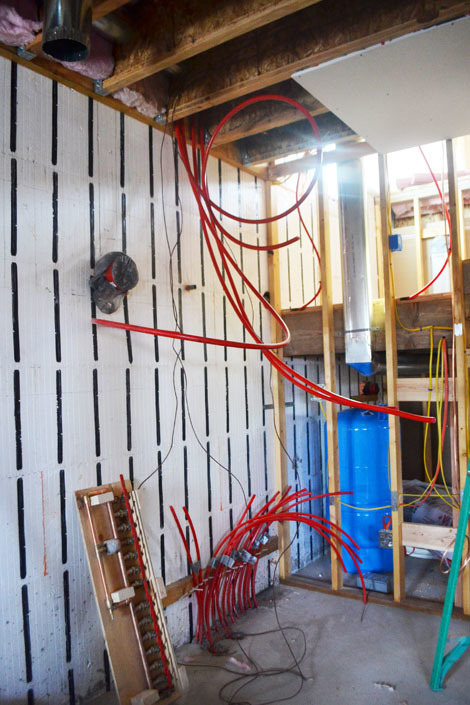
The heat system lines come in right above where the basement in floor heat system comes in, so when we do hook the permanent boiler system up, it's all right there.
The household water lines come in on the other side of the boiler room.
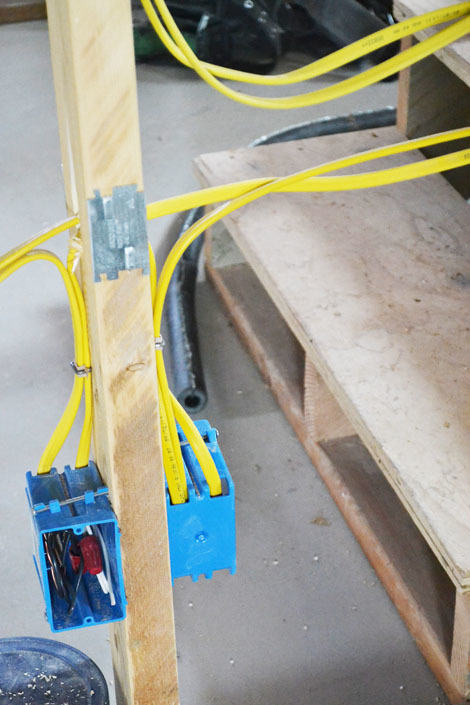
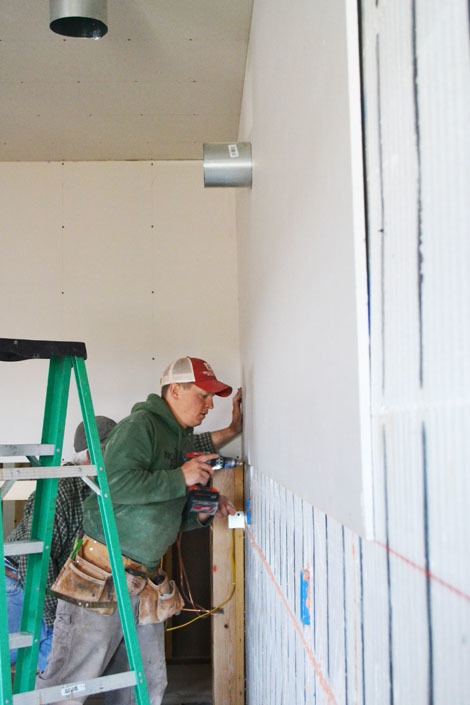
With the boiler room walls up, we can finally finish up all the electrical in the basements.
We are pretty excited to be putting away the electrical tools!
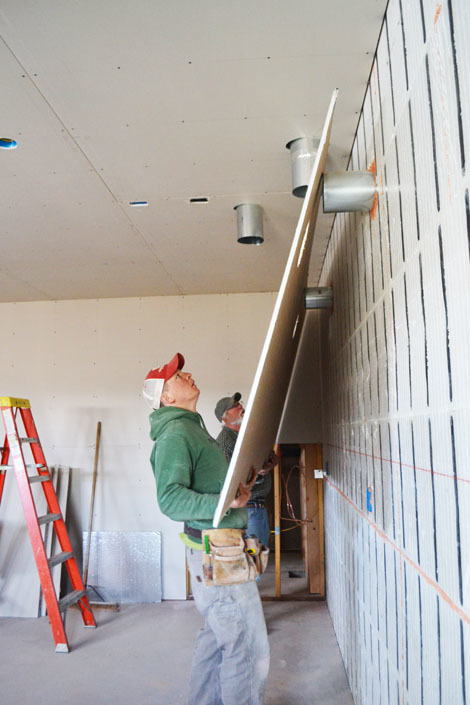
And hanging the rest of the drywall!!!
Uncle Bill, Grandpa Tim and the Ram's cousin Jared helped hang all the drywall in the basement.
With only three rooms per unit downstairs, this drywalling went really fast.
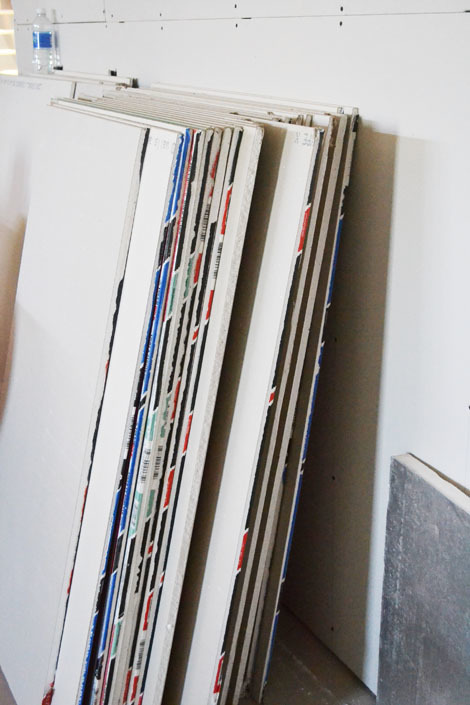
We also choose to use 54" wide sheets to minimize the mud seams in the basement, since we've got 9' walls downstairs.
Why is it the mechanical systems can take so long, and just make a bigger mess? But one good day of drywall can look like a ton of work was done?
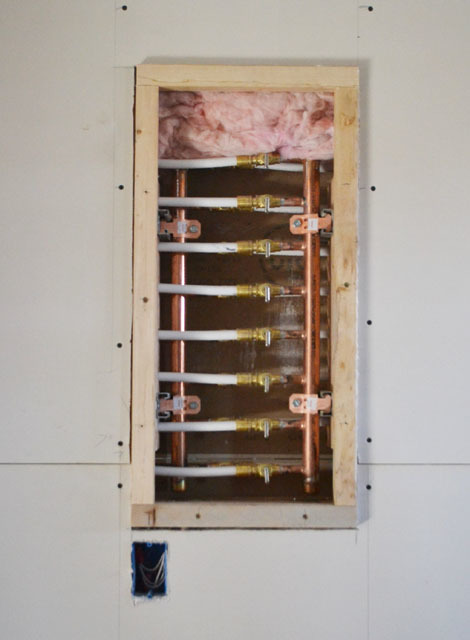
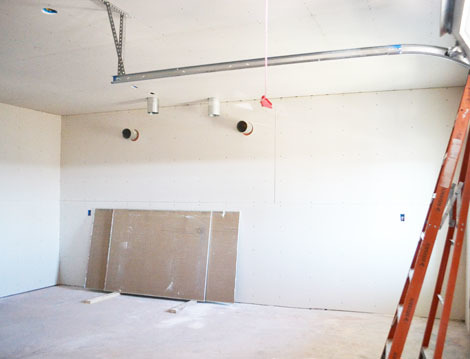
Instead of buying access panel covers and boxes, we just framed the manifolds out in wood. I'll make a door for them later on.
You and I know what goes on inside these walls, but to everyone else - this is all they will every see.
Doesn't that boiler room look a lot better now?
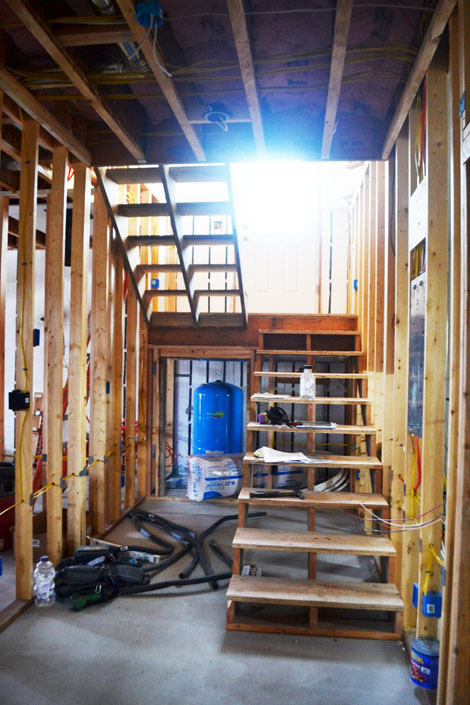
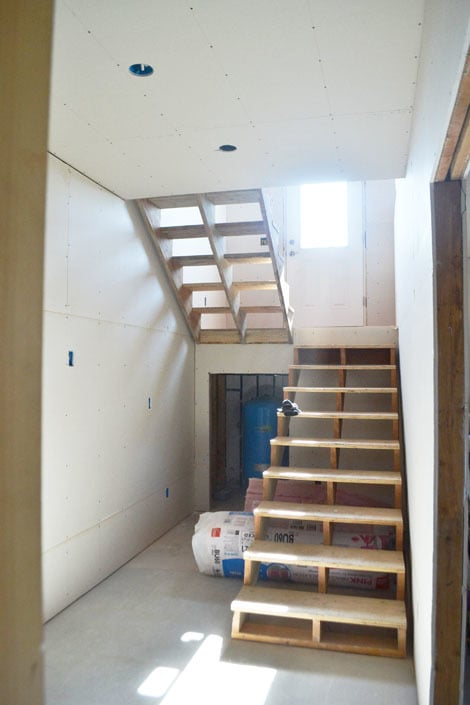
And check out these stairs ....

What a difference drywall makes!
We are done will all of the drywall in the Momplex!
So done, in fact, that we took all the scraps over to our other job site.
And went Mother's Day shopping ....

Yep, it's happening.
Comments
biz_kid1
Thu, 05/09/2013 - 12:29
That's so awesome!
spiceylg
Thu, 05/09/2013 - 12:42
Yay!
Lady Goats
Thu, 05/09/2013 - 13:04
So, so exciting!
birdsandsoap
Thu, 05/09/2013 - 15:40
wow! What a difference the
UlrikeDG
Fri, 05/10/2013 - 13:07
"Yep, it's happening." My
kazey
Fri, 06/14/2013 - 20:53
This is indeed inspiring.
tombolo
Mon, 05/19/2014 - 01:40
Best Interior
Lawlet
Mon, 05/19/2014 - 22:06
I very appreciate