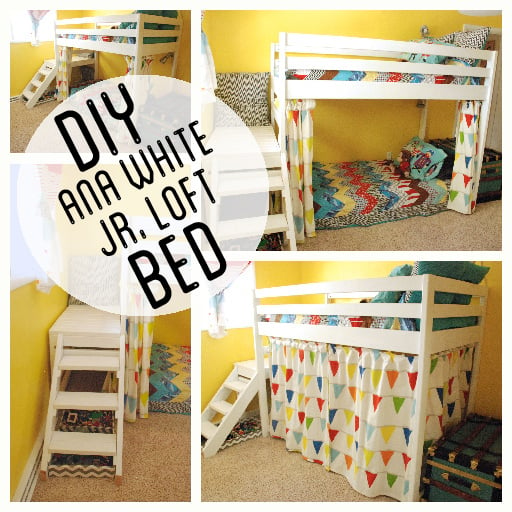
Check out the details about how we build the bed on my blog: http://www.brightgreendoor.com/2013/05/diy-ana-white-jr-loft-bed.html
Although nothing about it was difficult, it was time consuming, and consumed the greater part of two weekends.
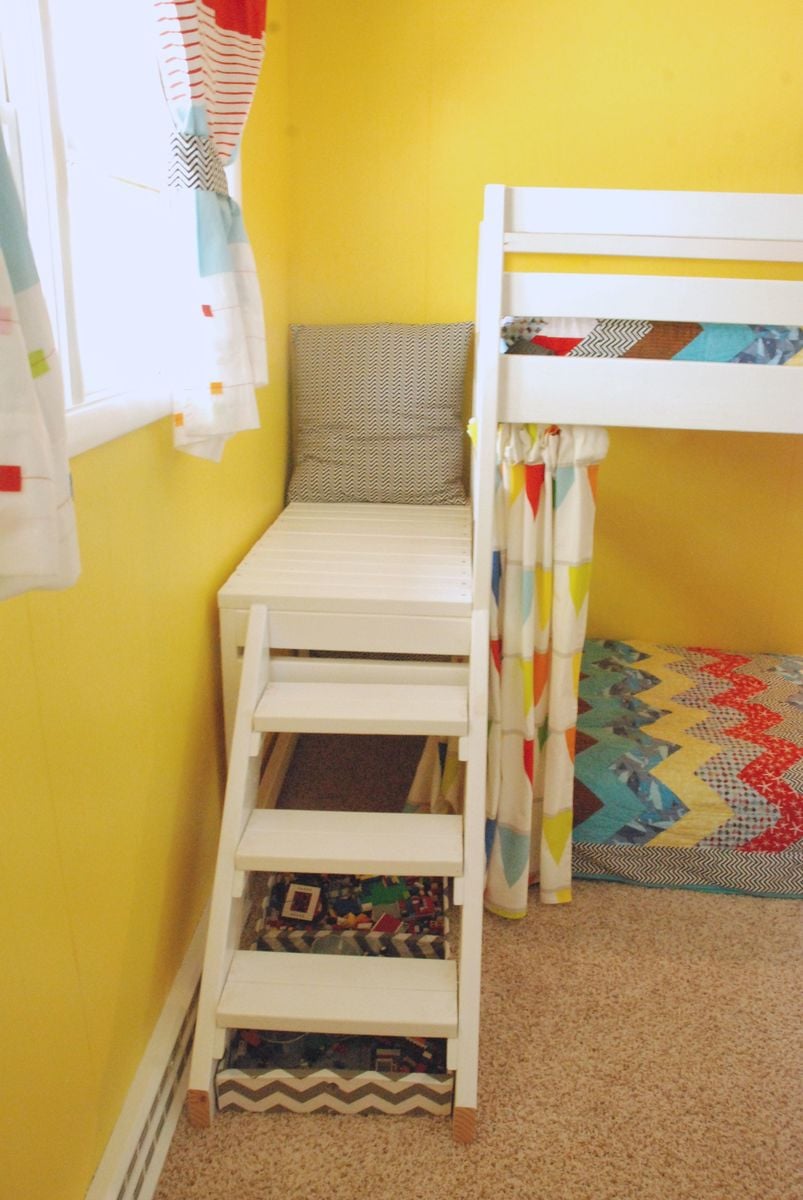
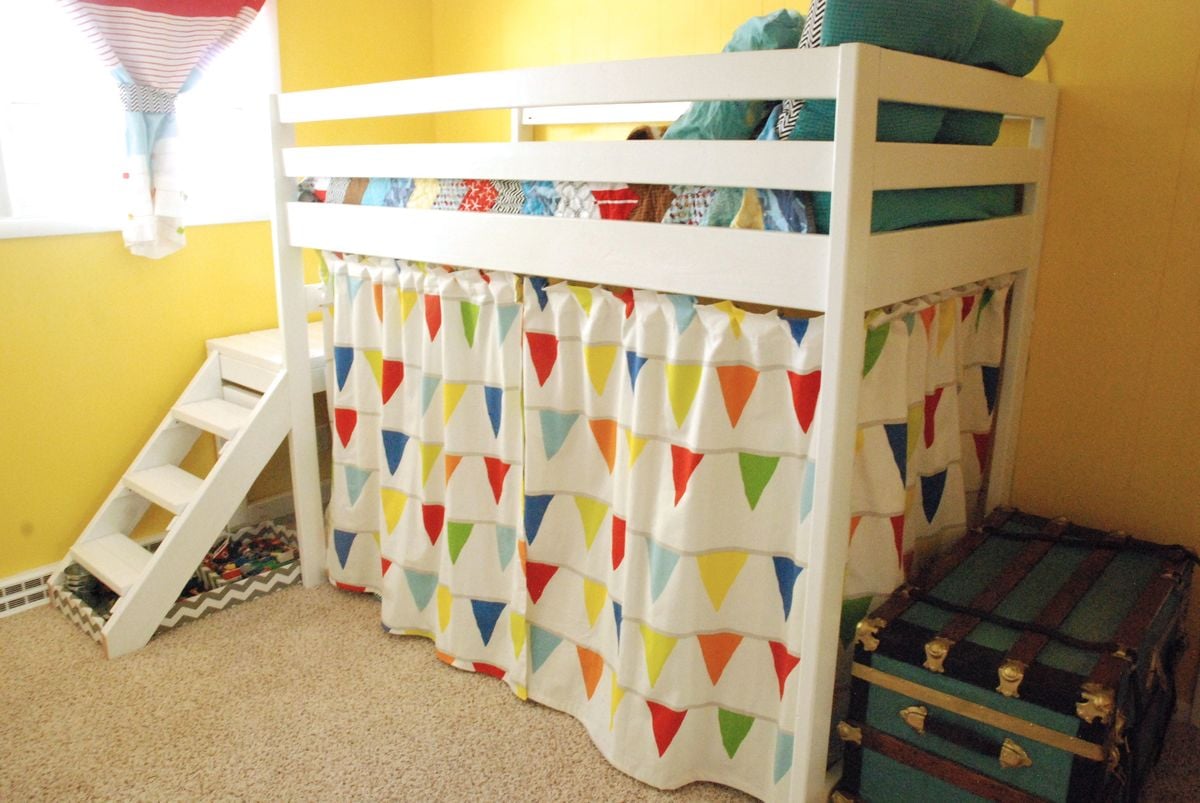
We followed the plans on Ana White’s blog pretty close, other than narrowing up the stairs by a few inches due to a furnace vent that would have been in the way.
We bought all of our boards at Menards which came in just under $100 including the large piece of plywood. I spent chunks of time throughout the week getting all of the boards sanded. Then we spent a Saturday getting all the boards cut to the proper size. Then it was a week full of giving all the wood 2 coats of Bulls Eye primer and a top coat of high gloss cabinet paint.
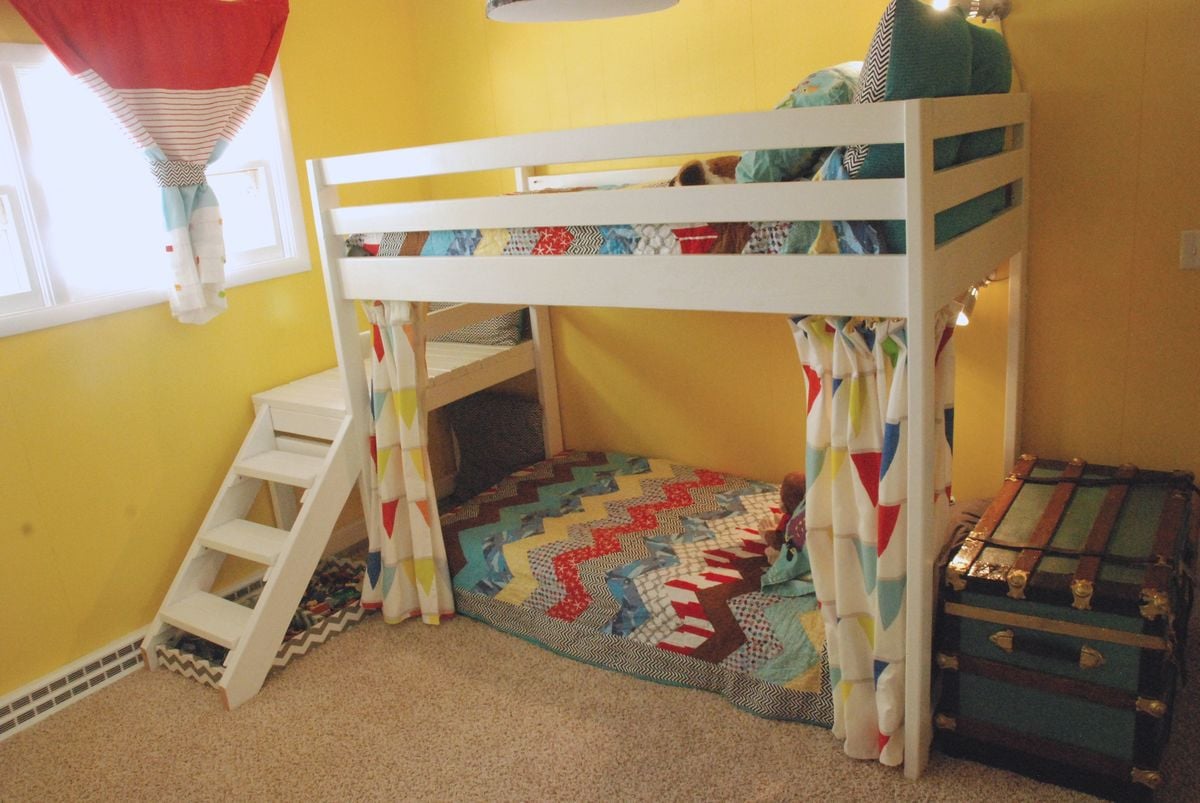
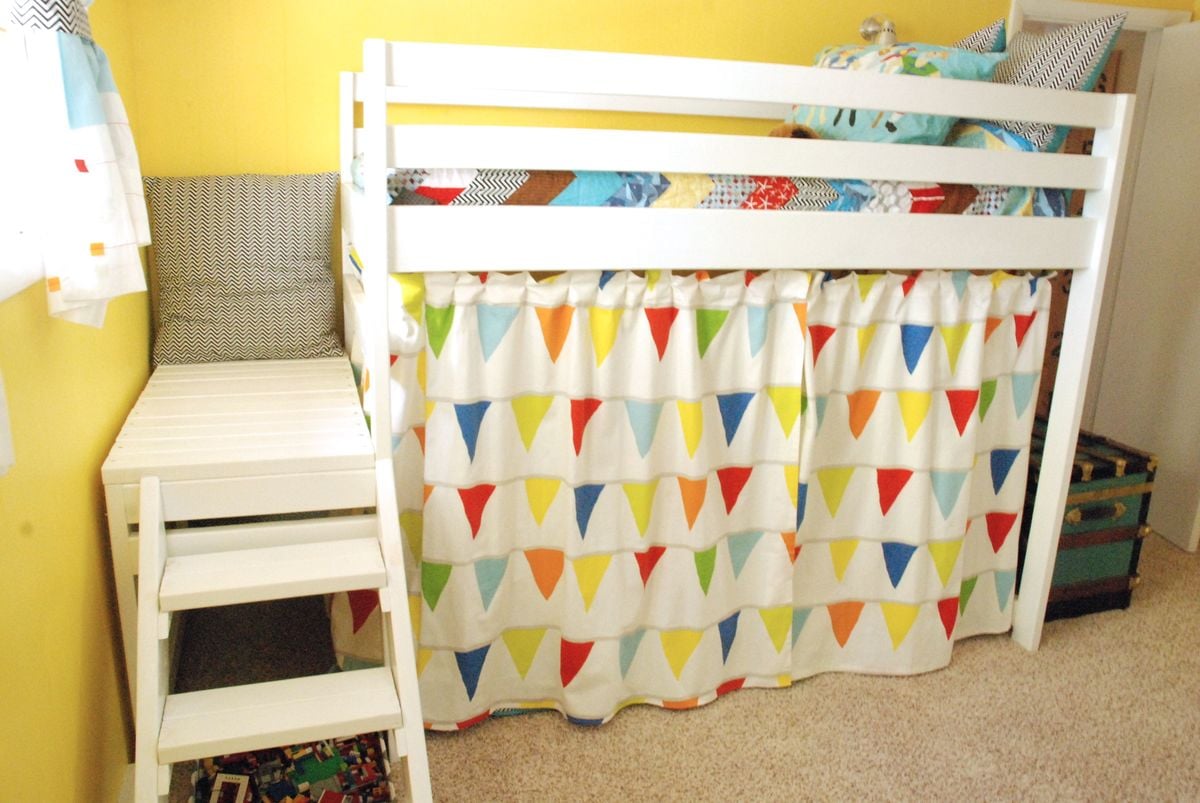
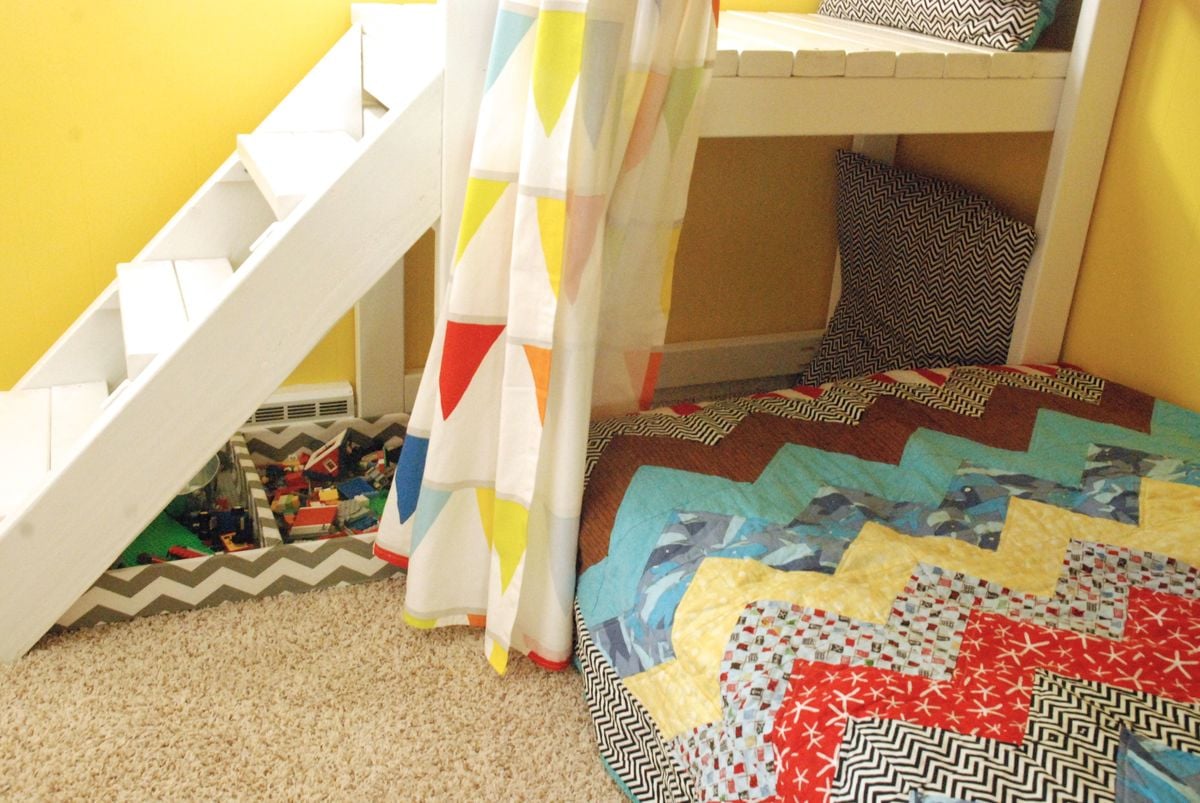
I also installed the Ikea Kvartal track system around the inside of the bottom bunk. I used leveler clips from Ace to hang Ikea curtains that I altered.
My boys were SO excited the whole time we were building it and love it. My little one calls the whole bed his “top bunk”, even though he sleeps on the bottom. They also have dubbed the area under the platform the “hideout” and think they are invisible when they are hiding in there.
Comments
AmandaAK
Fri, 06/21/2013 - 18:46
wonderful job
These are awesome and I think it's so smart you stained them after you cut them and before you drilled them! Thanks for that time saver! Question? Is the bottom bunk raised or did you raise the height of the planned bed? I want to make ours a bunkbed too, but don't want it to be too tall.
Thanks