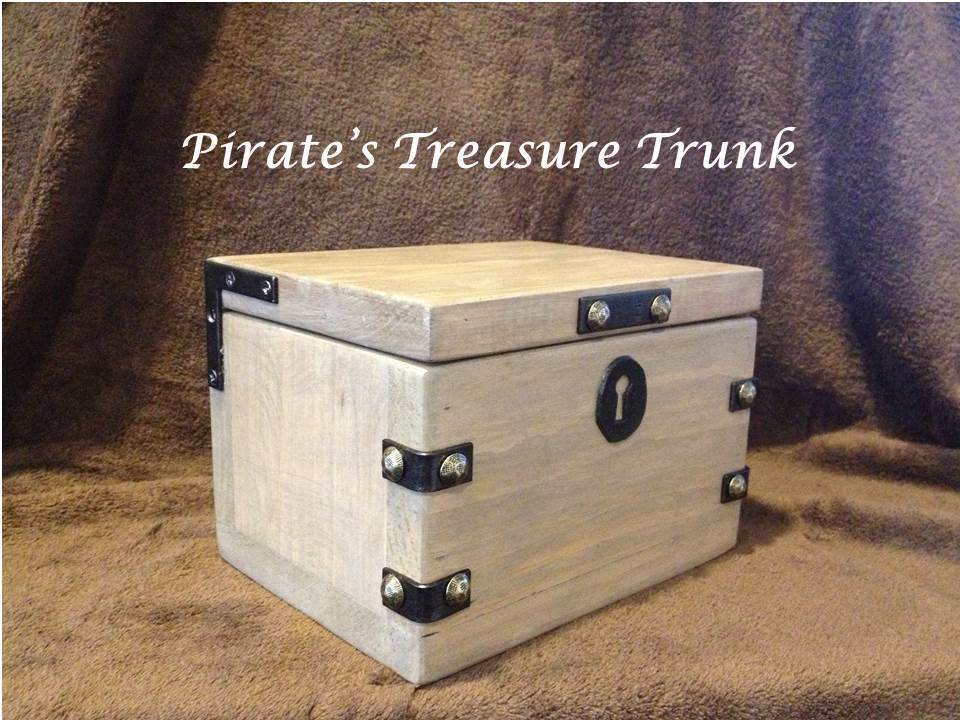
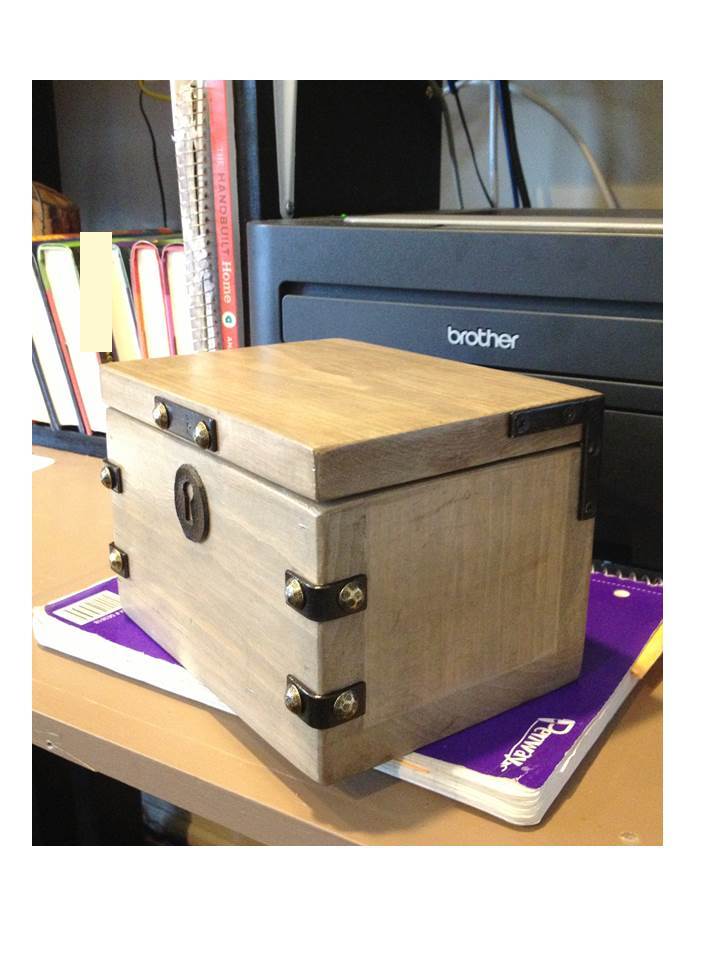
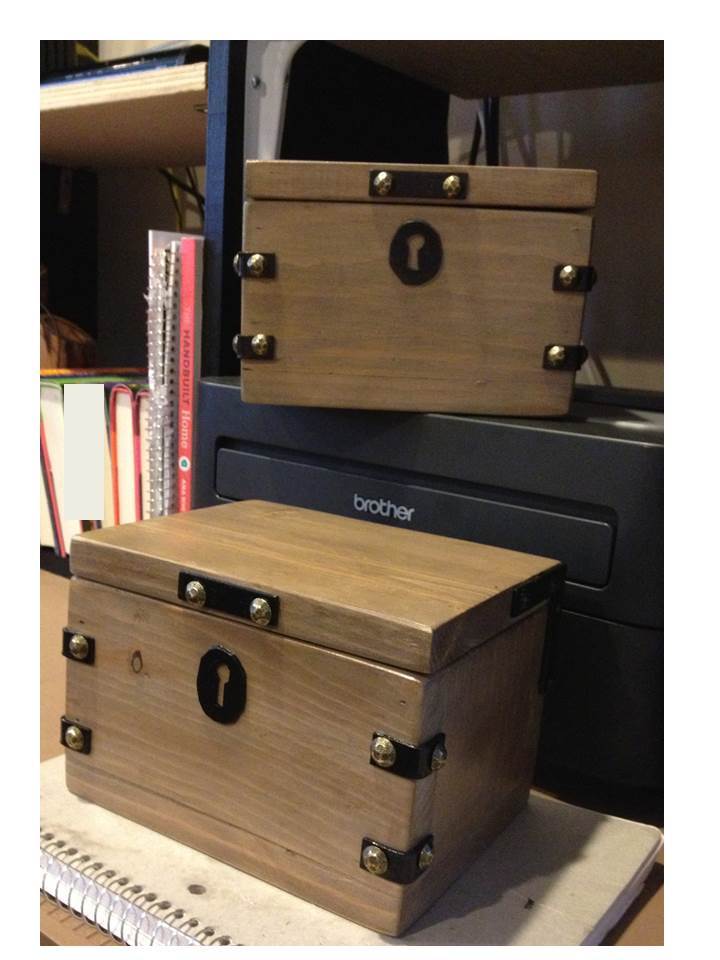
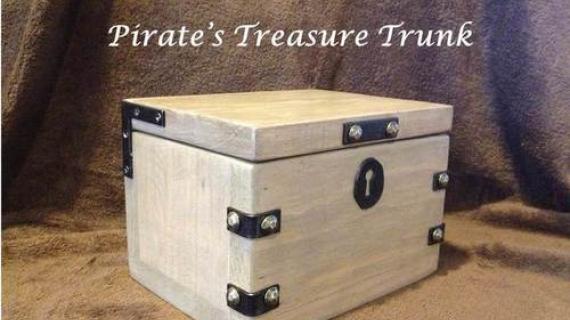
Build a Pirate’s Treasure Trunk, using scrap lumber and some decorations
Preparation
Shopping list: (Check your scrap wood – you’d need 23” of 1x4 and 15” of 1x6, or cut larger pieces of scrap down to the “will be” sizes in the cut list)
1 pc 1x4 at 2 feet long
1 pc 1x6 at 2 feet long
1 ¼” finish nails
Glue (wood glue, plus super glue if using optional decorative hardware)
Finishing materials for desired finish
Hardware:
3/8” x 2” zinc flat braces (2)- ($2.38/ pkg of 4)
OR you could use the larger one:
1/2” x 2 ½” zinc flat corner braces (2) $2.60/ pkg of 4
Optional decorative hardware:
½” x 1” corner bracket (4) -- $2.06/ pkg of 4
2” mending brace (1) – $1.92/ pkg of 4
½” furniture nails – $1.30/ pkg of 25
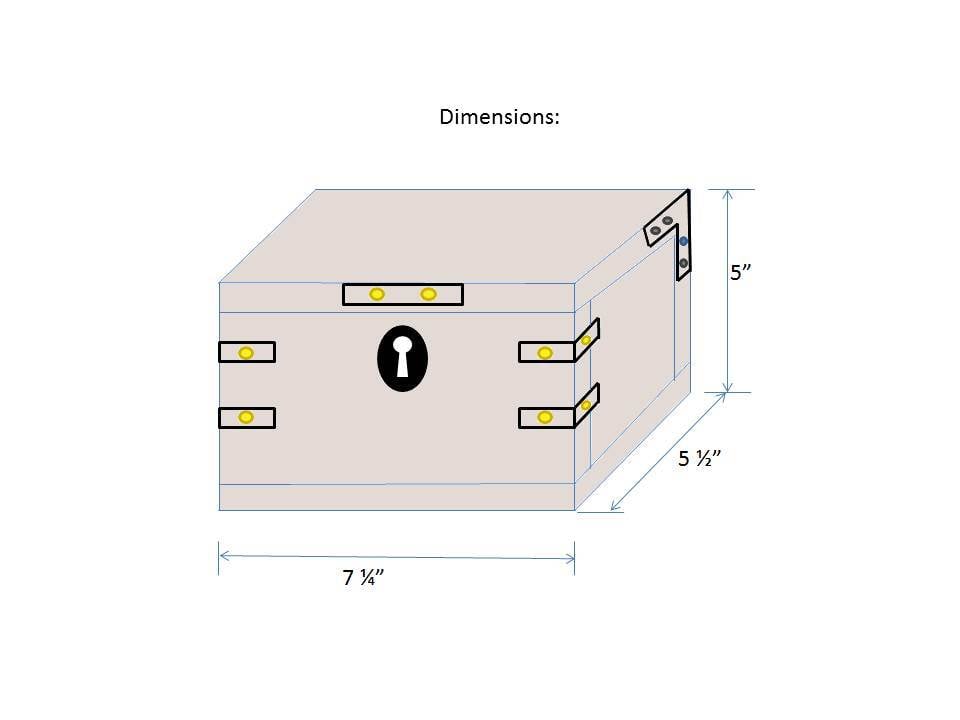
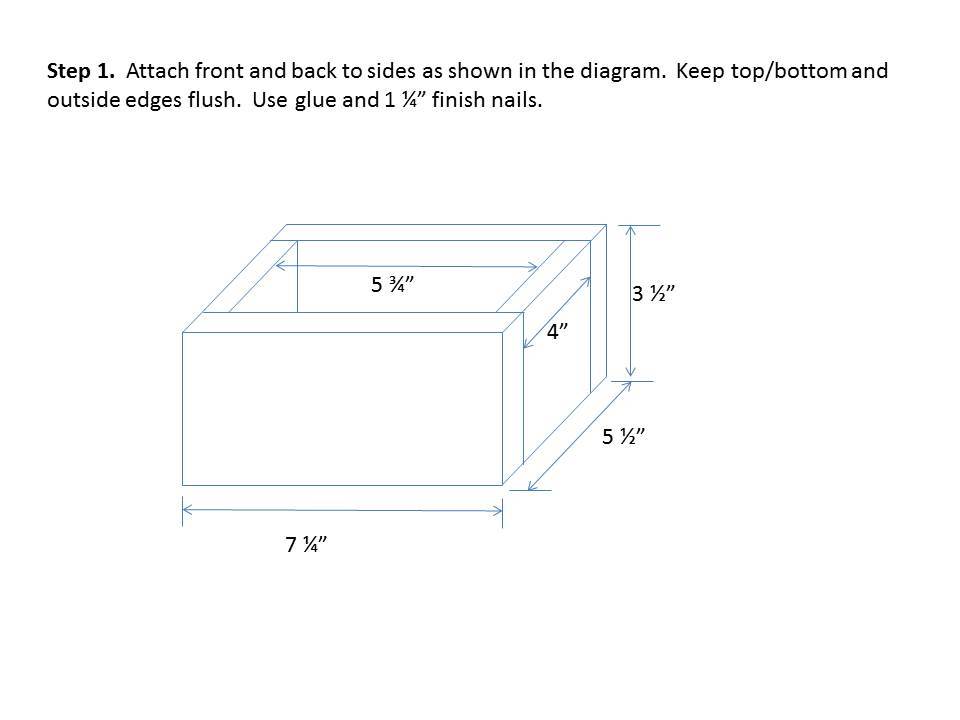
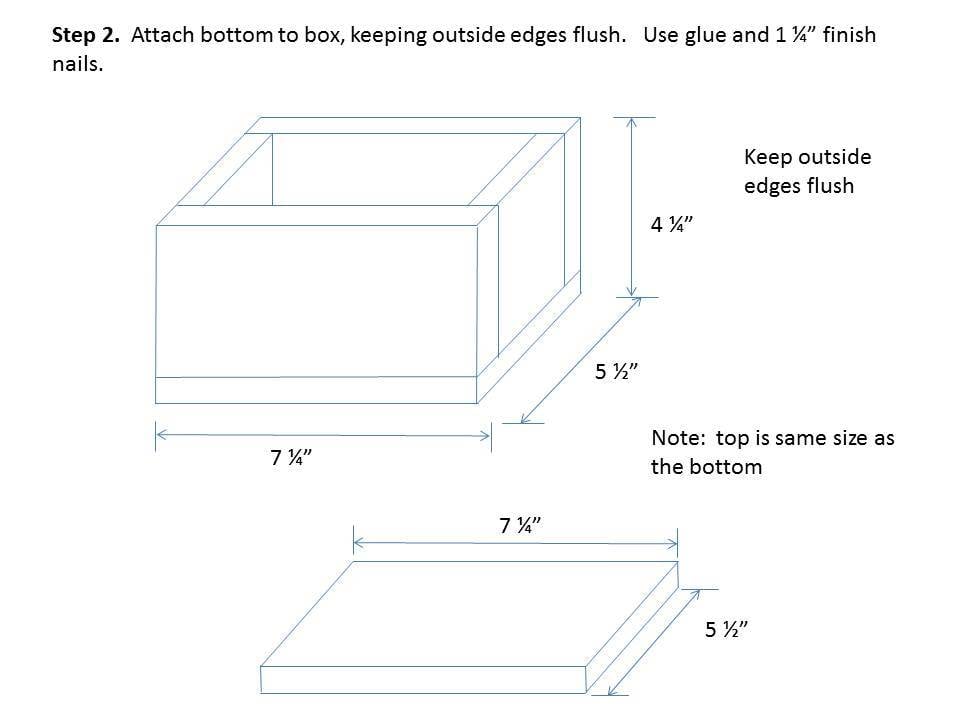
1x4 – 2 pc @ 7 ¼” (front/back – will be 7 ¼” x 3 ½”)
1x4 – 2 pc @ 4” (sides – will be 3 ½” x 4”)
1x6 – 2 pc @ 7 ¼” (top & bottom – will be 5 ½” x 7 ¼”)
All of these pieces can be cut to size from larger pieces of scrap wood, to the “will be” measurements.
Please read through the entire plan and all comments before beginning this project. It is also advisable to review the Getting Started Section. Take all necessary precautions to build safely and smartly. Work on a clean level surface, free of imperfections or debris. Always use straight boards. Check for square after each step. Always predrill holes before attaching with screws. Use glue with finish nails for a stronger hold. Wipe excess glue off bare wood for stained projects, as dried glue will not take stain. Be safe, have fun, and ask for help if you need it. Good luck!
Instructions
Step 1
Step 3
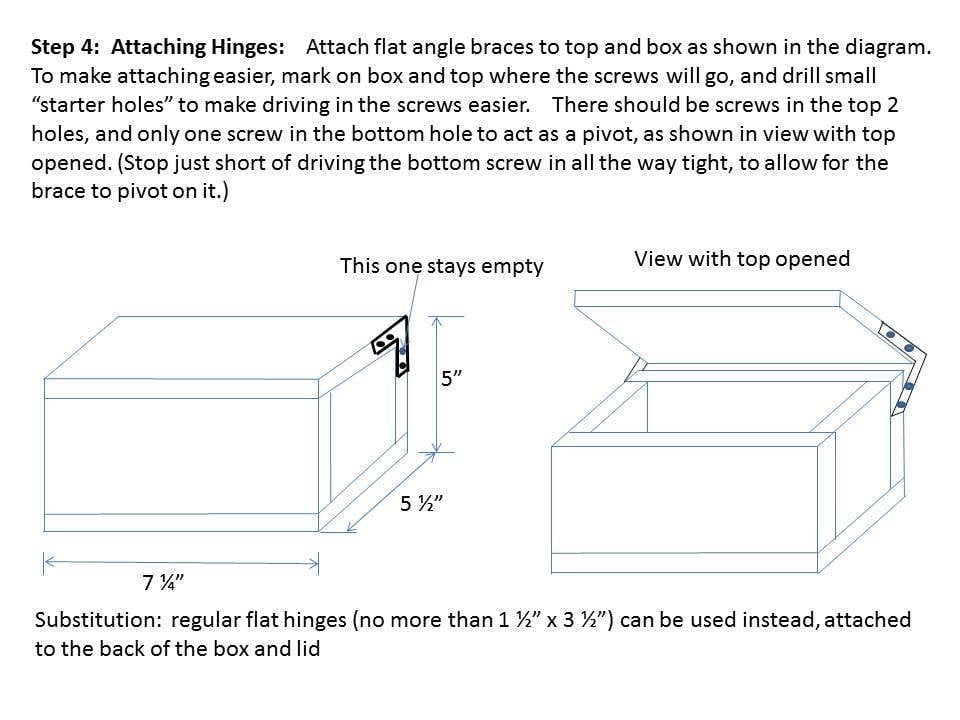
Step 4
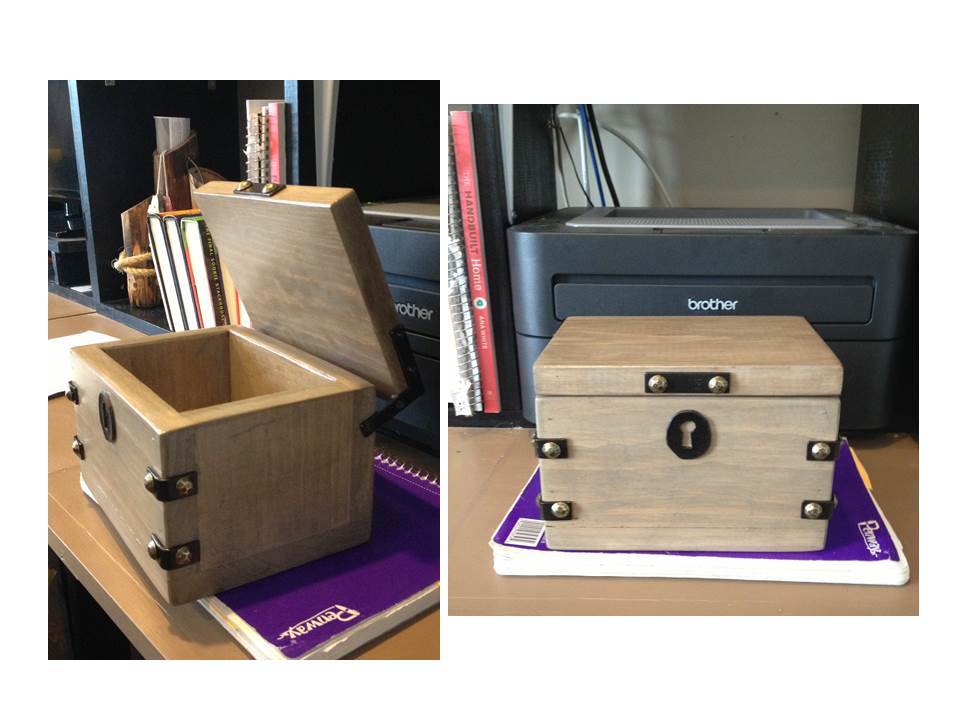
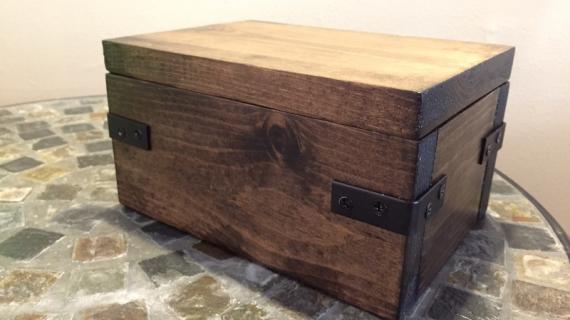
Step 4: Attaching Hinges: Attach flat angle braces to top and box as shown in the diagram. To make attaching easier, mark on box and top where the screws will go, and drill small “starter holes” to make driving in the screws easier. There should be screws in the top 2 holes, and only one screw in the bottom hole to act as a pivot, as shown in view with top opened. (Stop just short of driving the bottom screw in all the way tight, to allow for the brace to pivot on it.)
Substitution: regular flat hinges (no more than 1 ½” x 3 ½”) can be used instead, attached to the back of the box and lid
Step 6
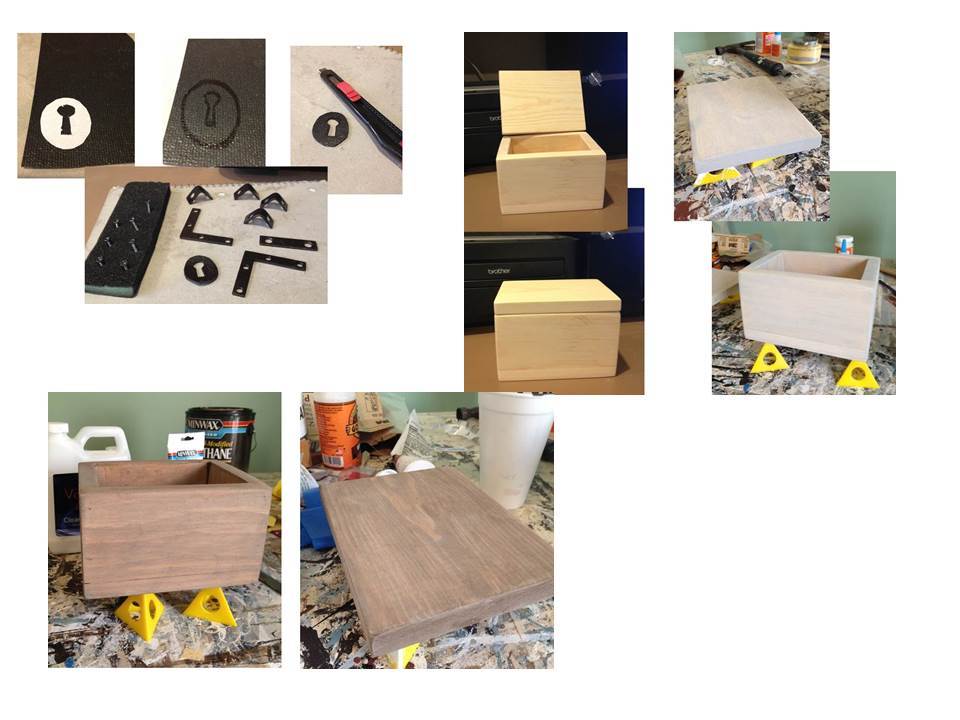
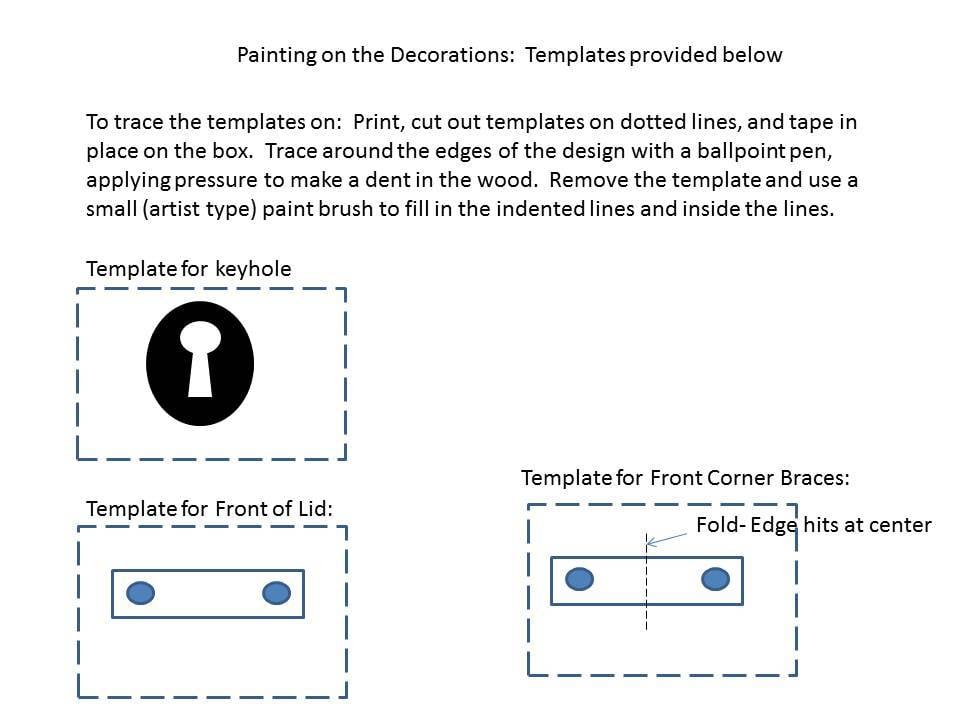
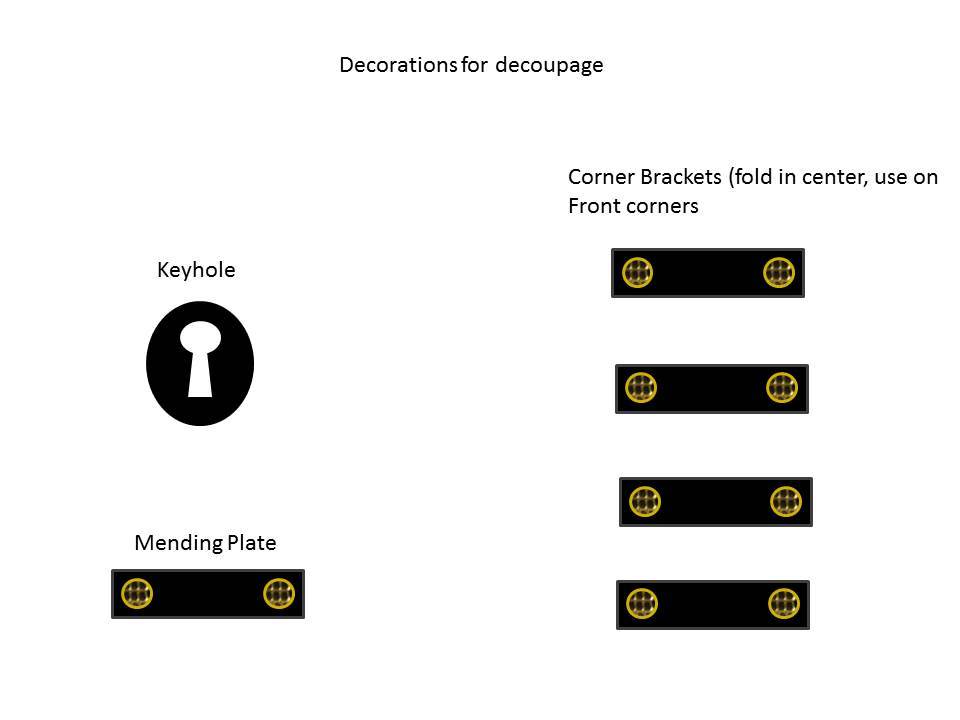
Painting on the Decorations: To trace the templates on: Print, cut out templates on dotted lines, and tape in place on the box. Trace around the edges of the design with a ballpoint pen, applying pressure to make a dent in the wood. Remove the template and use a small (artist type) paint brush to fill in the indented lines and inside the lines.
It is always recommended to apply a test coat on a hidden area or scrap piece to ensure color evenness and adhesion. Use primer or wood conditioner as needed.





Comments
yurra-bazain
Sat, 09/14/2013 - 15:12
Thank you for the plans!
I am getting to work on this build today! I'm getting giddy just thinking about it; I hope it turns at as great as yours!
JoanneS
Sun, 09/15/2013 - 14:52
Thanks Yvonne!
Thank you for your kind comments! I am sure your build will be awesome, can't wait to see it! I just posted the pic of the 2nd one built today, and updated the plan with the recommendation for the larger angles. These are so fun to build! :0)