
Happy Monday!!!
A few weeks back, we built Mom a master closet system, and she's been loving it so far!
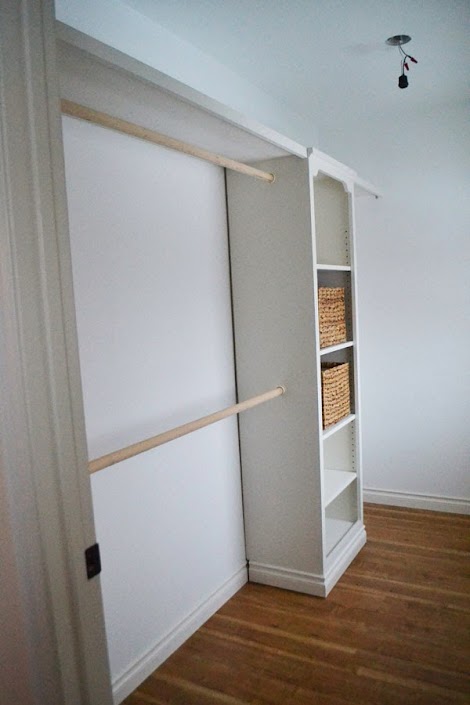
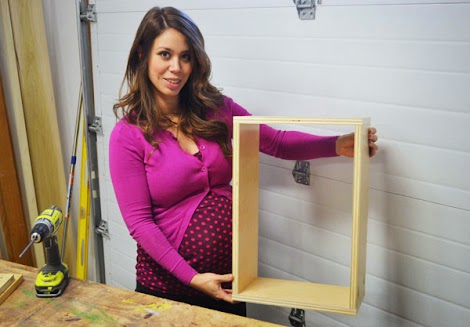
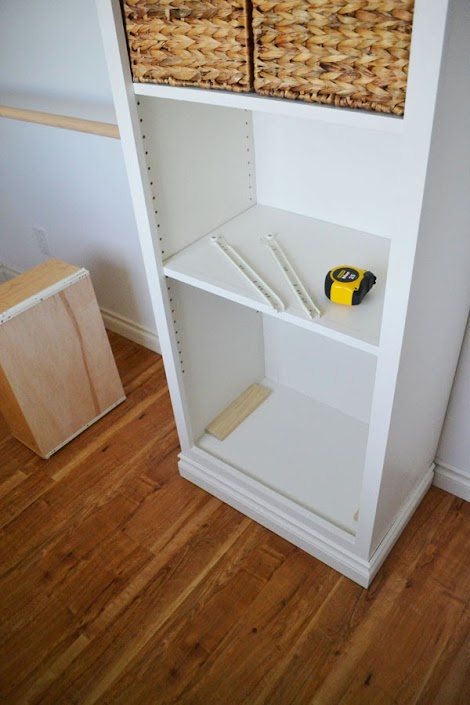
But we wanted to add a little more storage and functionality to the tower itself. I'm not a huge fan of low shelves (maybe it's because I'm ready-to-pop-preggers and reaching into a low bottom shelf is a monumental task right now?).
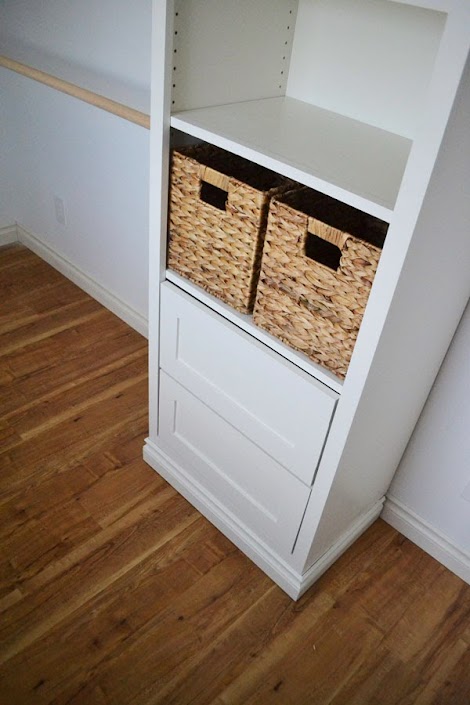
Mom was going to add some baskets on the lower shelf, but those baskets cosst $20 - and we'd need two per shelf .... with the pile of scraps we've created from building Mom a house, I knew we could be alot more resourceful and build Mom drawers for the cost of drawer slides.
So guess what we've been up to?
You already knew that though!
Drawers are one of those things that you really should custom tailor to your project. There's nothing worse than a drawer that just doesn't quite slide right!
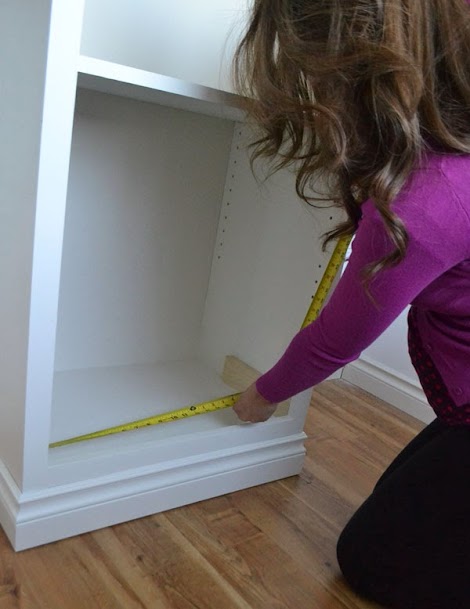
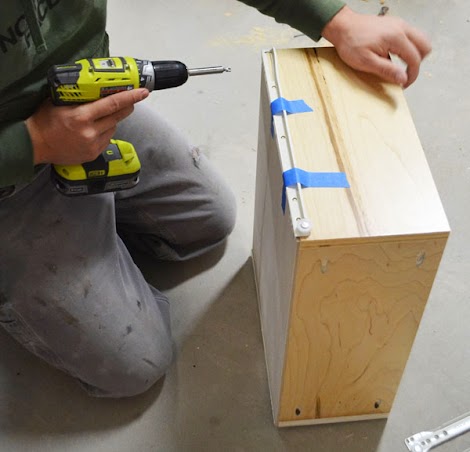
The width measurement is super important because most drawer slides need a specific clearance for installation (usually 1/2" per slide, 1" overall).
I took the measurement with the blocking material we'll use to fur out the inside of the tower to get the drawer slides set in enough from the face frame.
Another option is rear mount sockets and attaching the drawer slides to the face frame, but becuase these drawers are only 14" deep, I didn't want to sacrifice precious drawer depth for the ease of using the rear mount sockets.
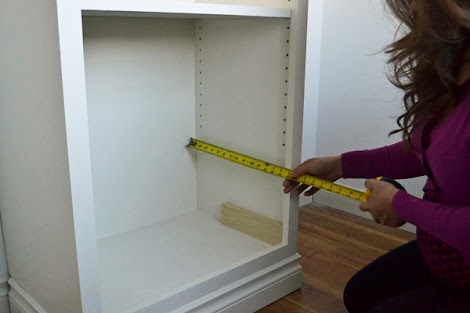
Drawer slides usually come in 12", 14", 16", 18" and 20" lengths - but I've seen some odd sizes too, and of course they come much longer too. So I took an interior measurment, and then rounded down to the nearest even number to figure the drawer slide length I'll need and the overall drawer box dimensions.
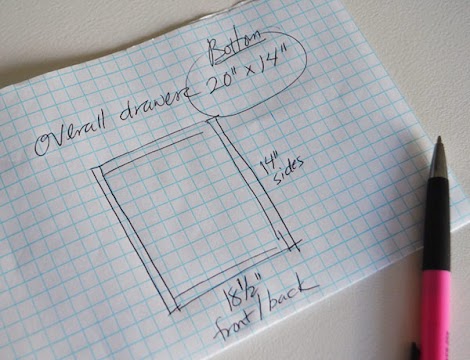
Overall, these drawers are going to be 14" deep (for 14" drawer slides) and 20" wide (21" opening with 1/2" clearance on each side for the drawer slide installation.
I like to cut the sides of the drawer to the drawer depth (14" in this case) and then cut the front and back short per wood thickness. I'll get to why in a second.
Because I'll be using those white bottom corner mount euro slides (LOVE THEM!!!) I won't need to inset the bottom plywood or router it in or anything like that. The weight of the drawer sits on the plywood which in turn sits on the slides. No worrying about the bottom falling out on this drawer.
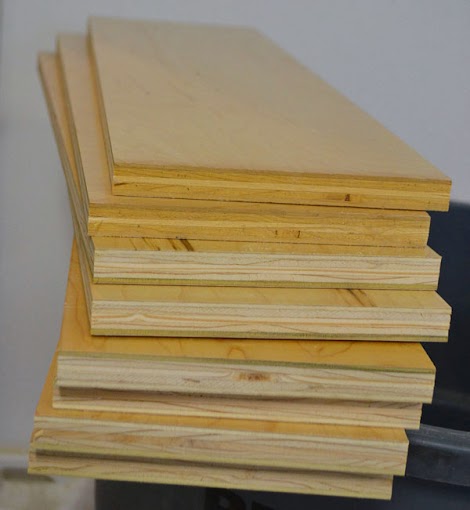
We had a little bit of PureBond Formaldehyde Free Plywood leftover from building this kitchen in prefinished maple. It is lovely stuff!
Perfect for the drawers!
We ripped the plywood down to the desired drawer height (always a inch or two less than the drawer face to give room for drawer side installation), and cut the drawer box pieces.
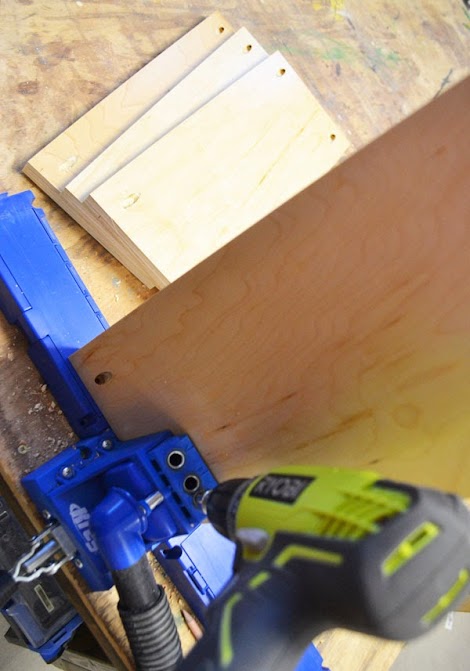
Then on all the front and back pieces, we drilled pocket holes with the Kreg Jig. Seriously - put this tool on your Christmas list if you haven't got it already. It really is all that!
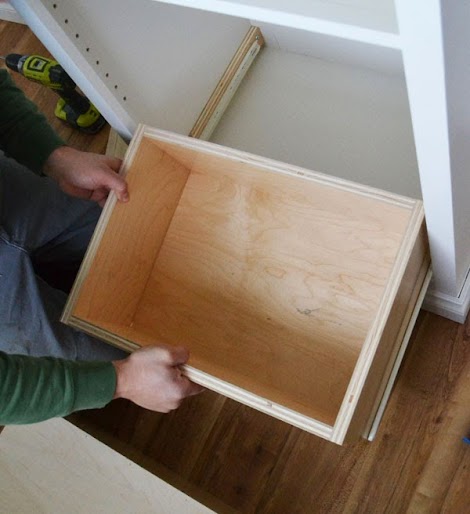
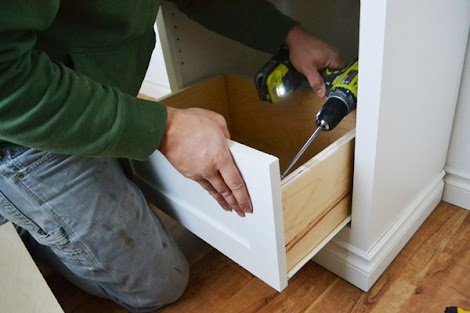
Once the pocket holes are drilled, I then placed them on the outsides where they will get covered up by the drawer face or be hidden on back side of drawer, and just attached with 1-1/4" pocket hole screws.
There's one drawer box done!!!
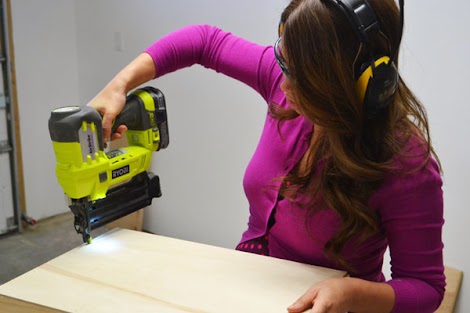
Because we are using bottom corner mount drawer slides, we can just nail the bottom on with glue.
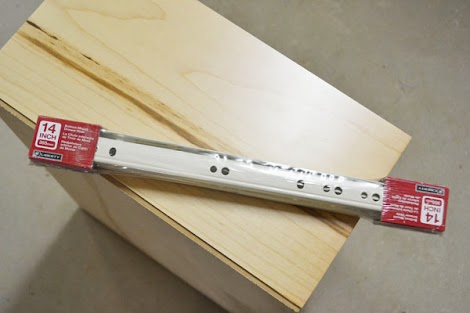
Now for the drawer slides ...
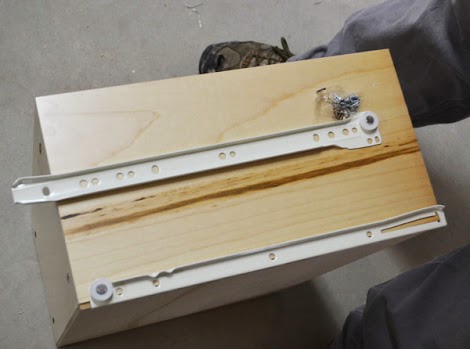
The drawer slides come with a drawer member and a cabinet member. In most cases:
- The cabinet member is bigger and gets installed with wheel to front, wheel on bottom (it's upside down in the diagram above.
- The drawer member gets installed with wheel to back.
But in any case, read instructions before installing - there's a ton of different brands out there and installation could be different from manufacturer to manufacturer - or even differ for other slide lengths.
Here's an easy trick - tape the slides where you want them, and attach. The drawer members just get screwed to the bottom and sides of the drawers.
The cabinet members are a little tricker because you have to place them in just the right spot. In this tower, we have a face frame that overextends into the cabinet by 3/4" on the sides and bottoms. So we'll not only need to bring the slides up 3/4" for the bottom drawer, but we'll need to fur the sides out 3/4" too.
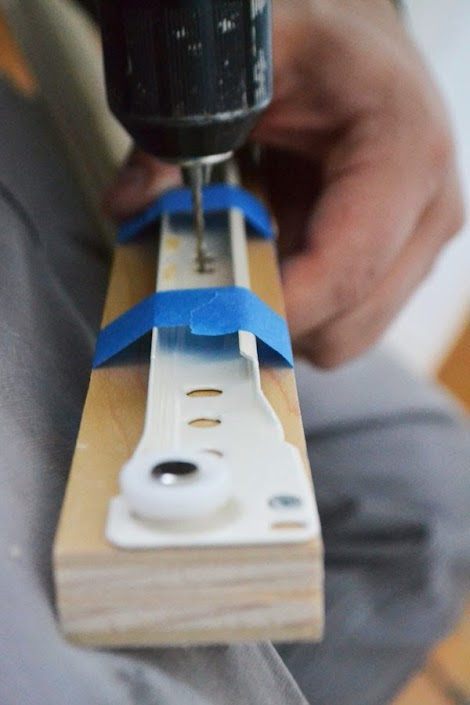
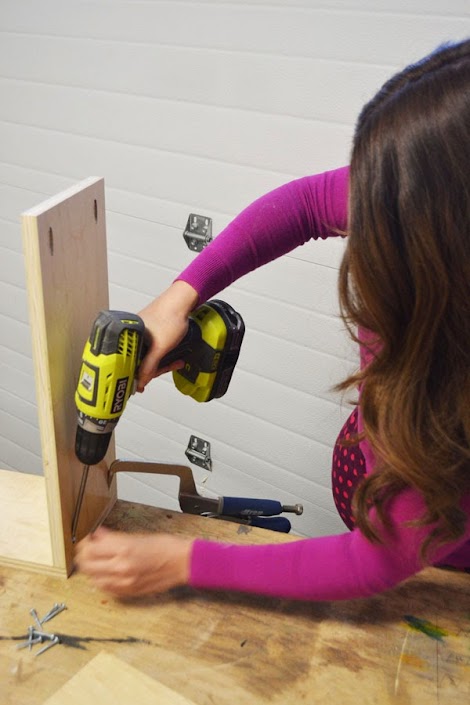
To fur the sides out 3/4", we attached the cabinet members to a piece of 3/4" material,
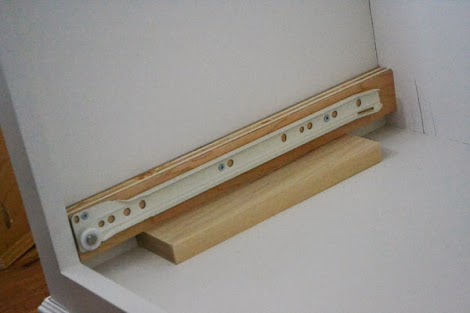
And then set the whole darn thing up on a 3/4" thick block,
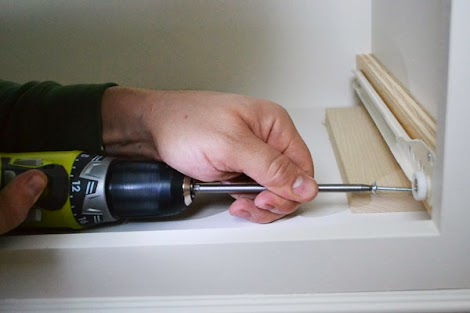
And then screwed the block itself to the inside of the tower using 1-1/4" wood screws.
Now here's where we get graded on how level and exact those cabinet members got installed.
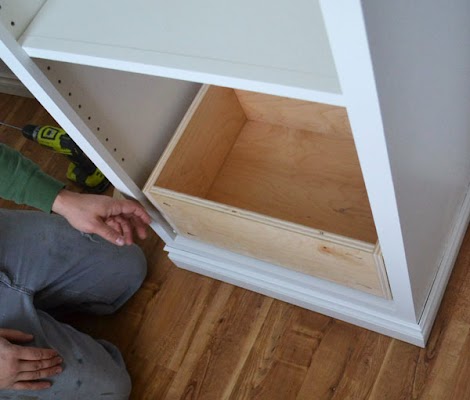
We passed!!!
But the good news is you just need a C to pass with these drawers. As long as you get an A+ on your drawer face.
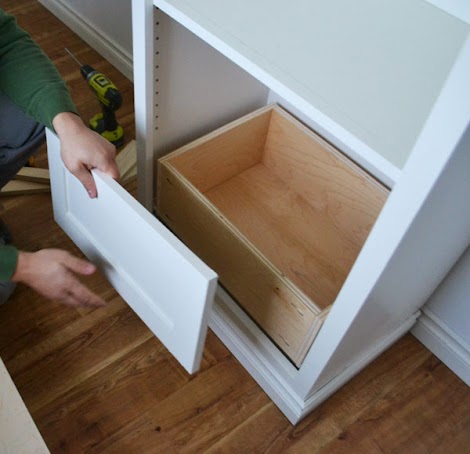
We used these door plans to build doors, making the drawer faces so there is just an 1/8" gap around the sides,
And then screwed the drawer faces over the drawer box.
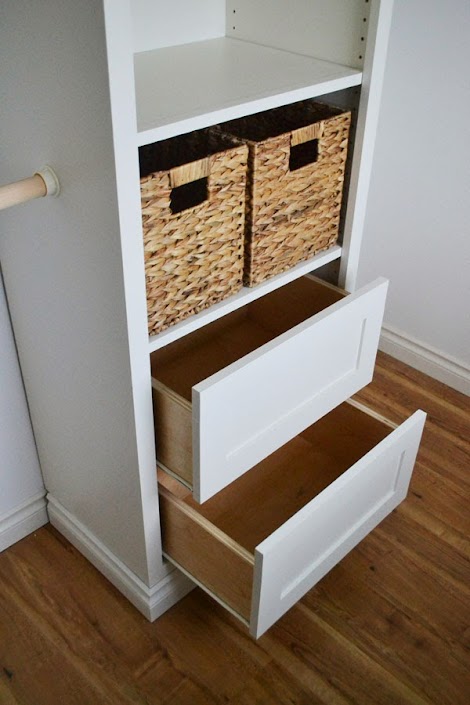
And then we stacked a second drawer on top,
So Mom won't have to reach a shelf below 24".
We spent about $7 on each set of drawer slides, and used up scraps for the drawer boxes and faces, and will need to shell out another few bucks for a knob or handle - I'm thinking handle - so about $10 a drawer!
We'll see how Mom likes the drawers!
Happy Building!
XO Ana
Comments
Sawdust and Embryos
Mon, 12/09/2013 - 12:38
Gahhhh! Look at your adorable
babysteps
Tue, 12/10/2013 - 12:02
Yes, a Handle on the Drawers
ksmith311
Wed, 02/05/2014 - 09:23
Ana, Did you use any veneer
ksmith311
Wed, 02/05/2014 - 09:24
Ana, Did you use any veneer