Well, the bathroom in Momplex Unit A got a change order.
When we realized there was a good chance this little guy,

Might get potty trained in this bathroom,
We decided we simply must subway tile the walls.
Because there is no other reason to add subway tile to walls, is there, than pure practicality, right??? That's what I reasoned to the Ram. This is not a cosmetic thing at all. I actually don't, uh, hate the boring white walls. ;)
Pure practicality, I tell you!
So here's the first rule of tiling walls: Expect nothing to be level. Nothing. Not the floor, not the walls, not the ceiling.
The only thing you can be sure is level in a room is your level.
So we decided we'd start tiling one block of tiles up, on a level line that we draw with a level.
So I measured the overall height of a block of subway tiles, added a teeny bit for the bottom grout line,
Marked the wall in the middle of the room, this distance up from the floor,
And used the level to transfer that mark around the room.
Then I decided one of the walls was a little long, and thought, why not add a cleat to the underside of the line, to both give us a guide to work off of and support the wall tiles?
So I screwed a scrap 1x2 up on the wall.
Then the baby fell asleep, so we couldn't run the saw, so we just did the one board. And lived to regret it.
The cleat on the wall really helped out.
Then we mixed up mortar, just right (too thin and your tiles will slip, too thick and it will be hard to work with), and troughed it on the wall.
And started sticking tiles to the wall. By sticking, I of course mean pressing firmly with a slight twisting motion.
NOTE: If you are tiling, you may wish to start in the center and work outward depending on your tile size and wall length. We did do quite a bit of figuring and determined starting with a full tile would leave us in the best position on the opposite wall.
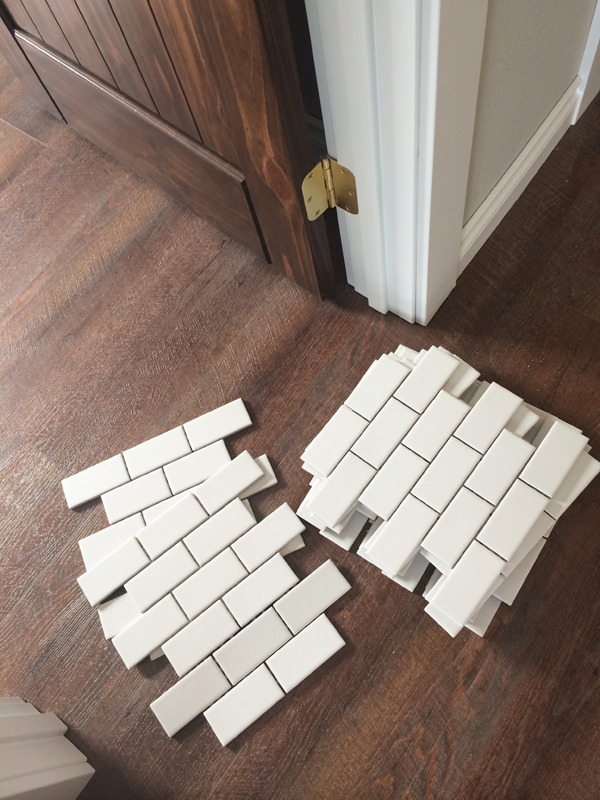
The subway tiles are nice for bathrooms where you have to cut tiles around plumbing and other stuff. You can break the blocks of tile up by just cutting the mesh backs, and then you just have to cut the individual tiles to fit around things like plumbing pipes or electrical boxes.
The spacers help to keep everything aligned - yes, I fixed that bigger than it should be gap to the top left.
After every row, we used a level to double check and make sure we are staying straight. The human eye is an amazing thing and can pick up very slight out of levelness.
For the top row, we ended up choosing a bullnose tile in the same material and color. We buttered the backs,
And set the tiles at the top.
I had considered a different border tile (the ones that stick out like a ledge), but since a mirror will hang over the drywall and tile, I thought the bullnose would offer the best transition.
Once we got the rows above our level line and wood cleat, it's time to go back and tile the bottom row.
It was definitely much less fun doing the bottom row (a duty reserved for the shortest person on the job), but we are glad we did it this way. We did have to rip a tiny bit off the far end tiles at the bottom, because our floor "grew" on us, but it was not a big deal and certainly beat our tiles and grout lines going uphill on us.
Ah, isn't that beautiful???
Uh, I mean, so practical?
So wipe clean?
So potty training friendly?
Next, we grout.
And grout some more. All the while, I'm thinking, but I liked the darker grout lines better. I shouldn't be putting white grout up.
Then we wipe excess grout off, and I'm thinking, definitely should have used a gray grout.
Yes, definitely should have :(
Maybe I'll paint the upper part of the wall a light gray. Or wedgewood blue. Not that this is about looks at all, right?
Now what to do about those unsightly plumbing pipes?
We covered them with stainless fittings and covers of course.

And a DIY vanity complete with a decorative stainless p-trap.
Am I loosing it for wanting to crawl in there and go all RustOleum Silver crazy on those copper pipes that you can't see without a flashlight?
After a little sealer over the grout, we are done!

Ah, the things we do for our kids.
Have a great weekend!
XO Ana + Family
PS - Love subway tile too? Check out this subway tile backsplash we DIYed a little while back.
PSS - Congrats to megcaton for winning my tilesaw that we gave away in this backsplash post!

Comments
spiceylg
Fri, 06/20/2014 - 14:10
!
UlrikeDG
Fri, 06/20/2014 - 20:44
I was with you on the darker
Melissa CH
Fri, 06/20/2014 - 22:55
Grout lines
CassieD
Sat, 06/21/2014 - 12:46
Love the white grout. It'll
Luanne
Sat, 07/05/2014 - 15:03
Grout