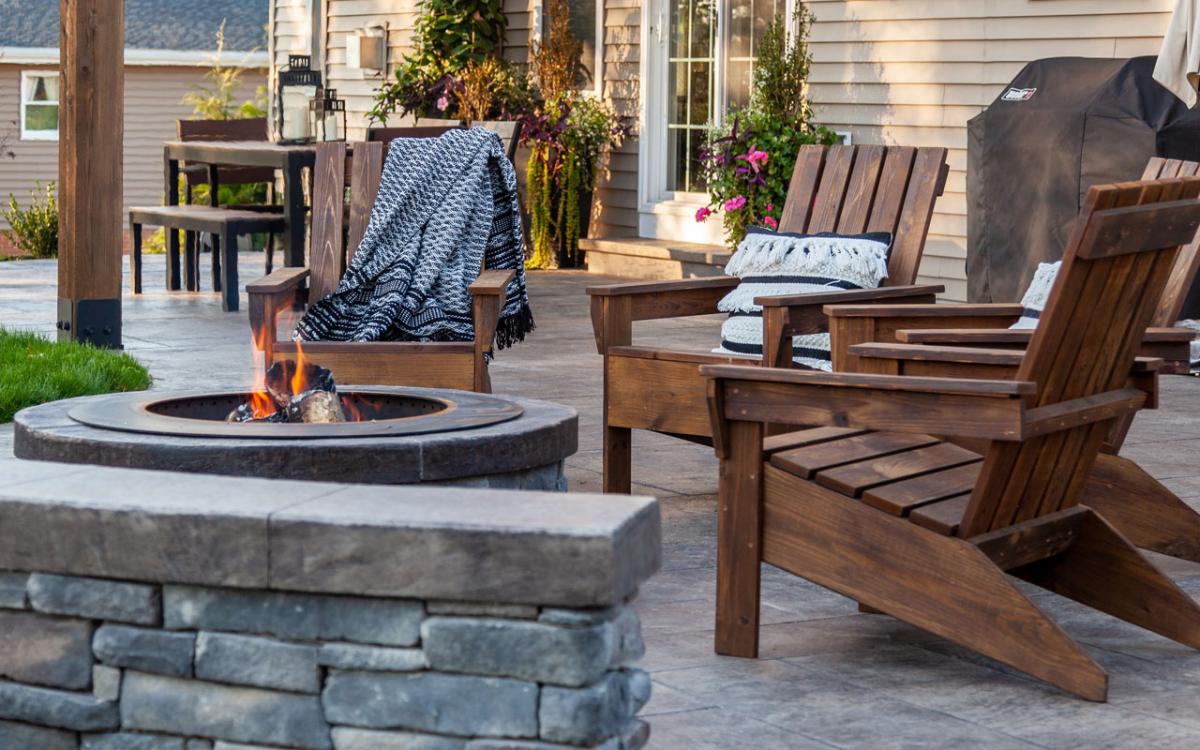


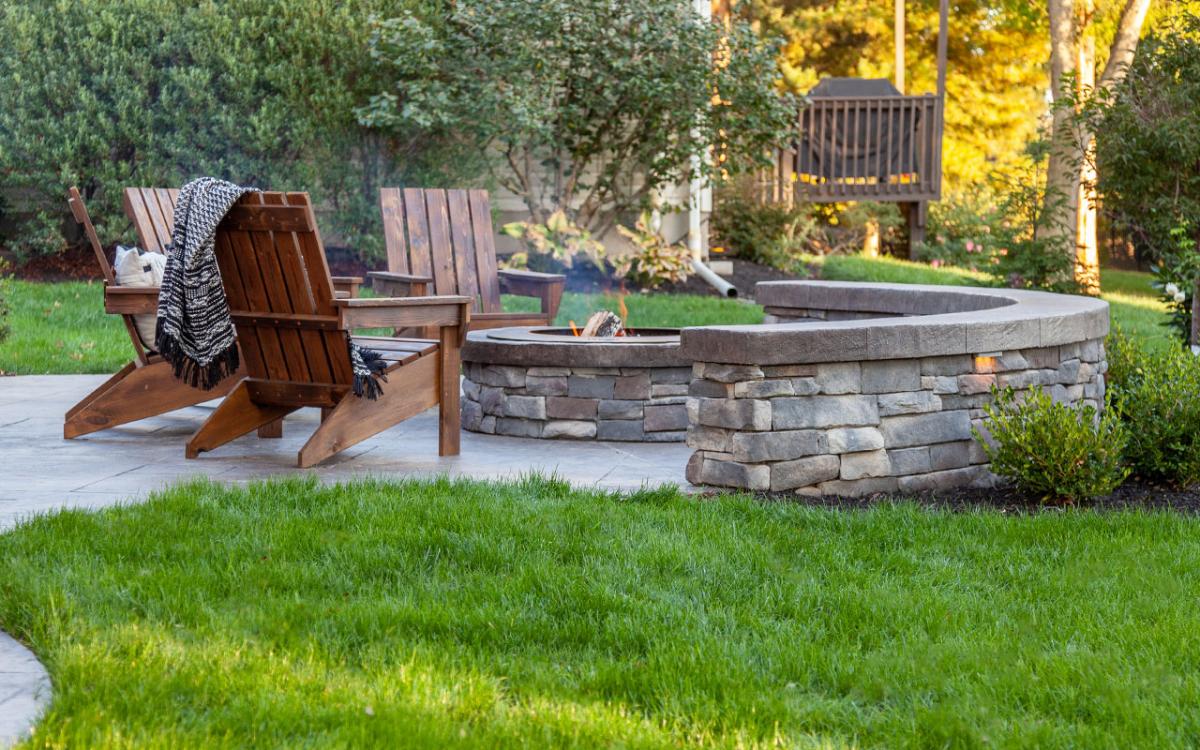
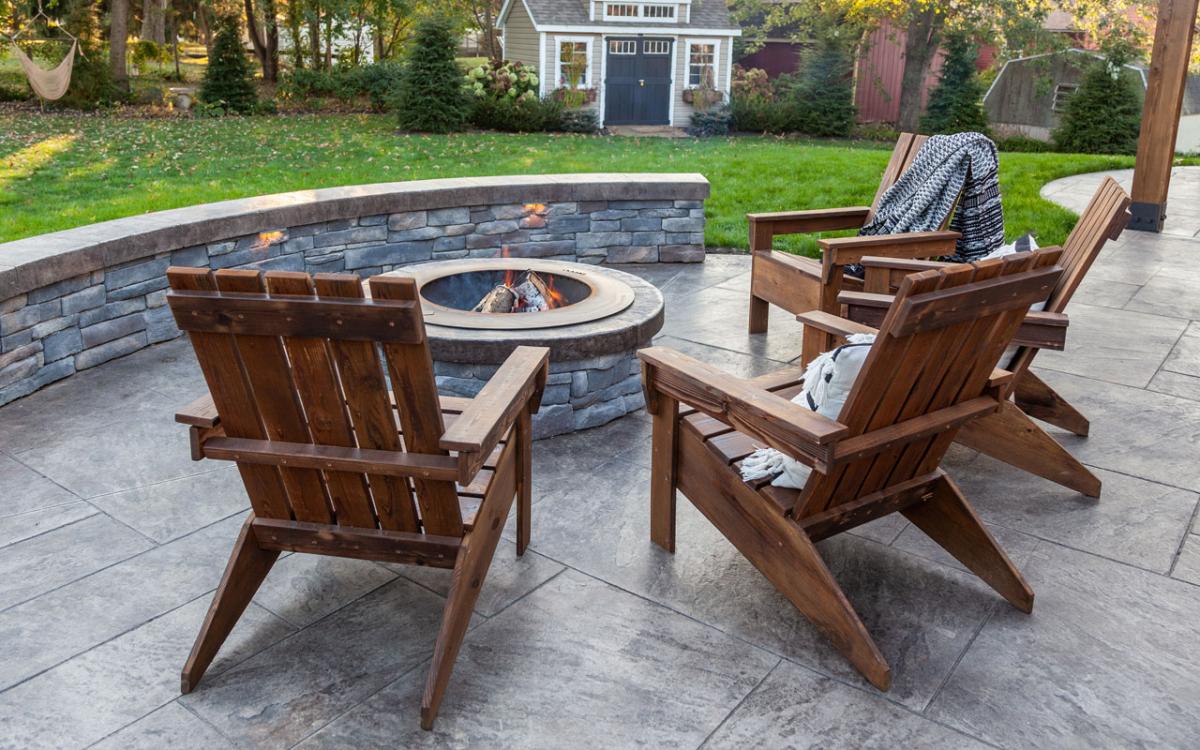
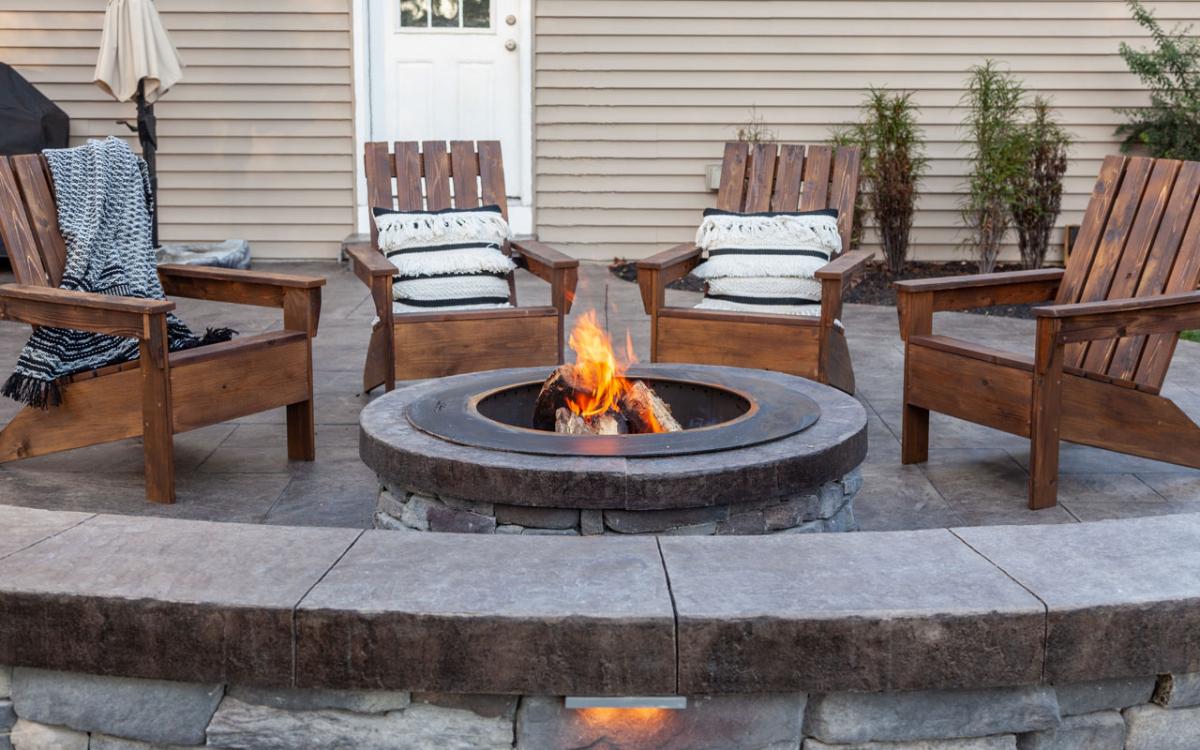
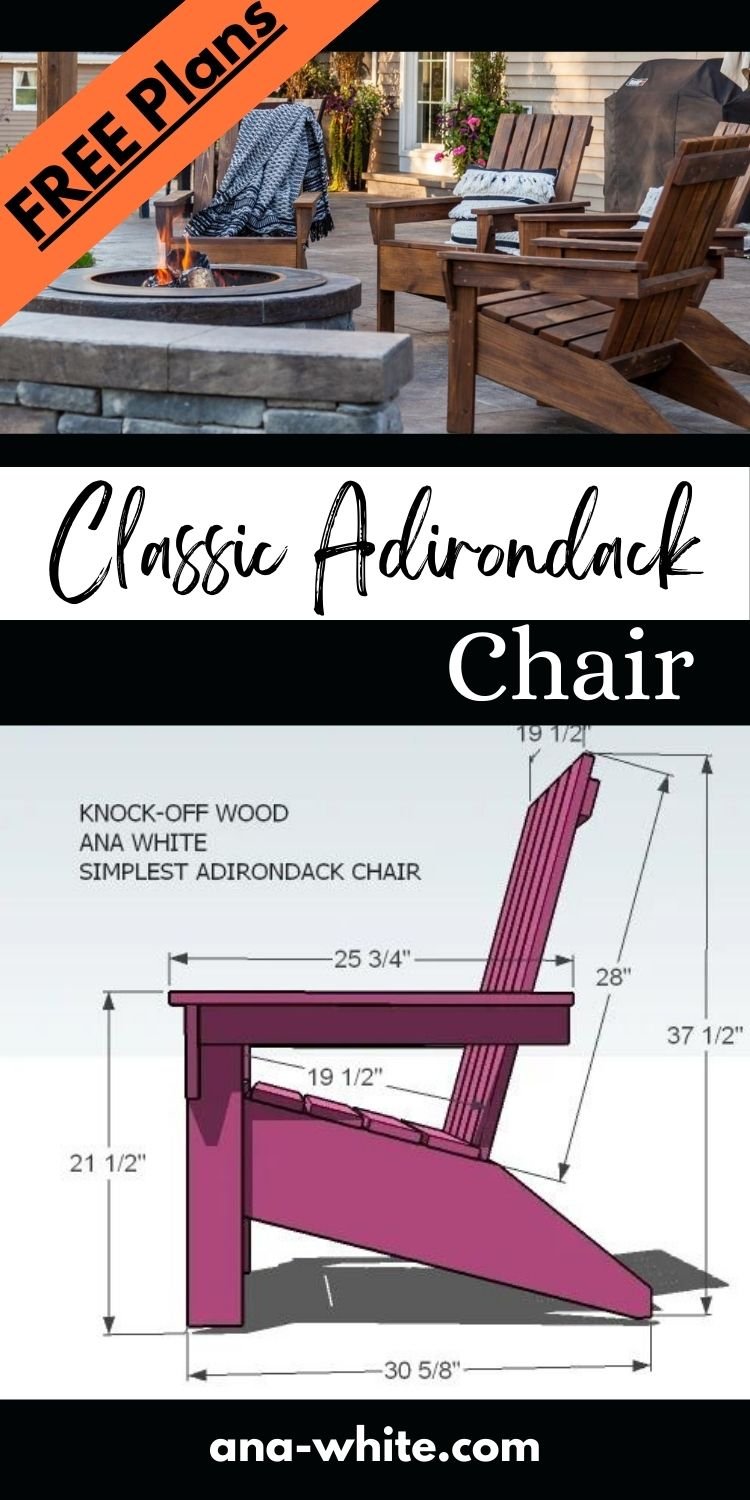
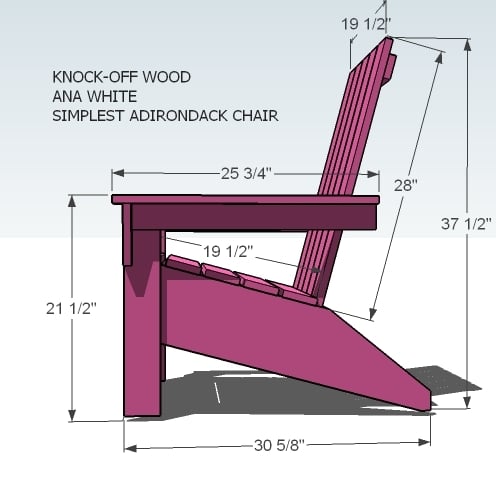
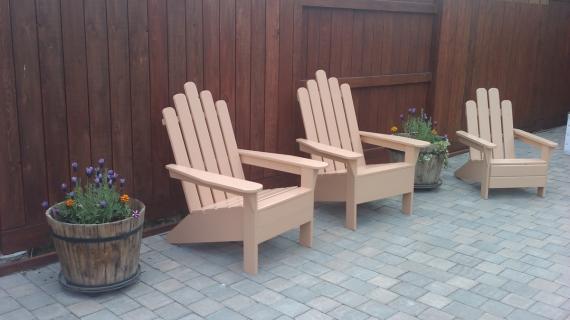
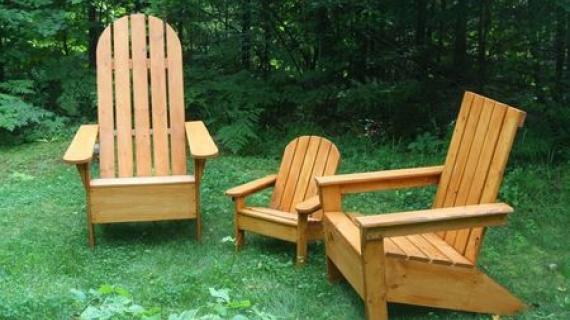
DIY adirondack chair plans from Ana-White.com
This plan features a more upright seating angle, more traditional styling, with a chunkier base.

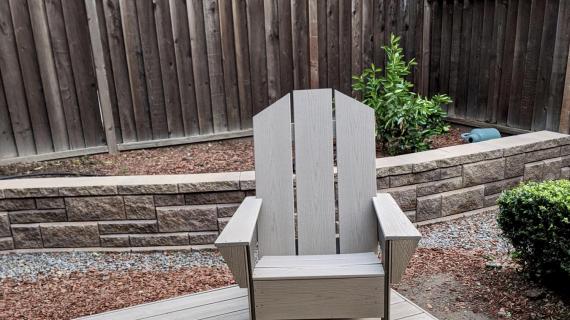
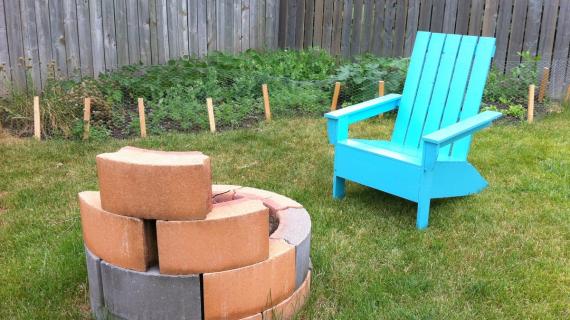
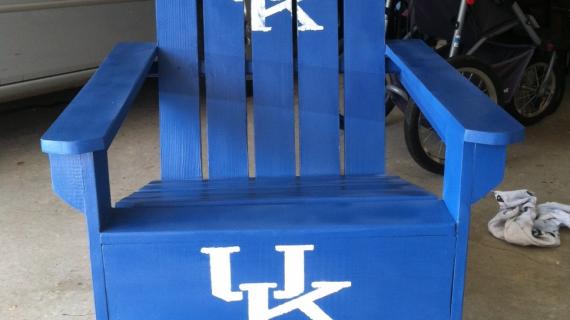
More Free Adirondack Chair Plans from Ana White

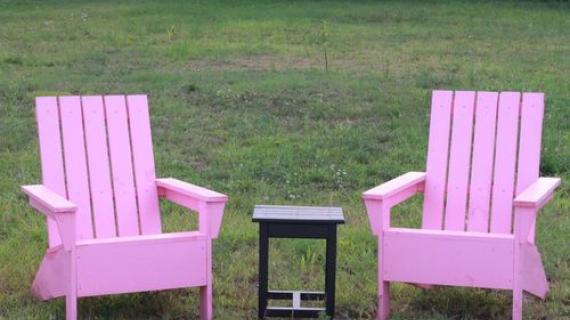
Pin For Later!
Preparation
- 1 – 1×8, 8′ Long
- 4 – 1×4, 8′ Long
- 1 – 2×2, 8′ Long
- 1 – 1×3 8′ Long
- 1 1/4″ Exterior rated star bit screws
- 2″ Exterior rated star bit screws
- Wood Glue
- 2 – 1×8 @ 32 3/4″ (Stringers)
- 1 – 1×8 @ 21″ (Front)
- 5 – 1×4 @ 21″ (Seat Slats)
- 2 – 1×4 @ 20 3/4″ (Front Legs)
- 2 – 1×3 @ 24″ (Arm Supports)
- 5 – 1×4 @ 30 1/2″ (Back Slats)
- 1 – 1×3 @ 19 1/2″ (Top Back Trim)
- 1 – 1×4 @ 19 1/2″ (Bottom Apron Back)
- 1 – 2×2 @ 22 1/2” (Center Back Support)
- 2 – 1×4 @ 25 1/2″ (Arm Rests)
- 2 – 1×3 @ 6″ (Decorative Front Arm Supports)


Instructions
Step 1
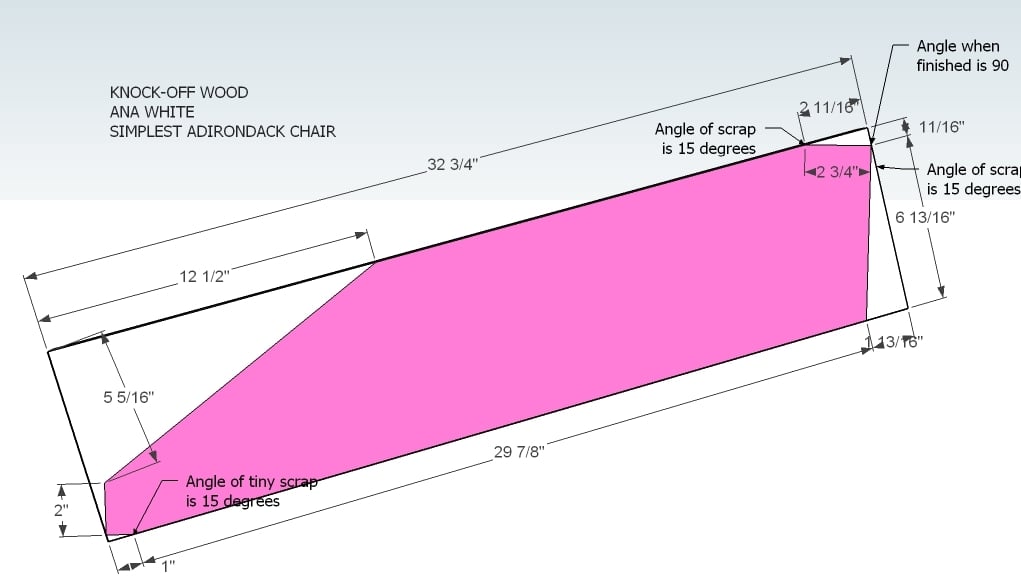
CUT YOUR STRINGERS
From the 1×8 stringers listed in the cut list, use a speed square and carefully mark out the cuts needed with a pencil on the board.
After all cuts are made, clamp the board down securely and cut off with a circular saw.
Repeat for the second stringer.
Step 2
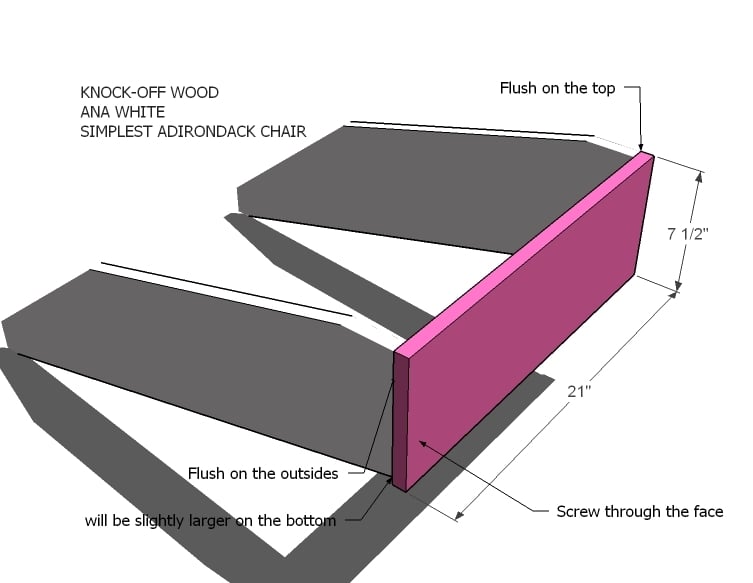
FRONT APRON Attach your front apron with 2″ screws and glue as shown above.
Step 3
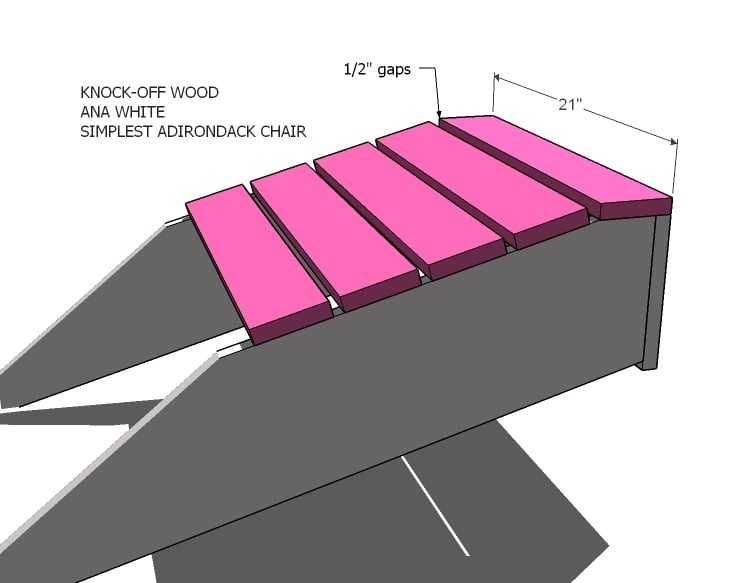
SEAT SLATS Lay your seat slats as shown above, starting with the first flat seat slat. Leave a 1/2″ gap between the slats. Screw down with 2″ screws and glue.
Step 4
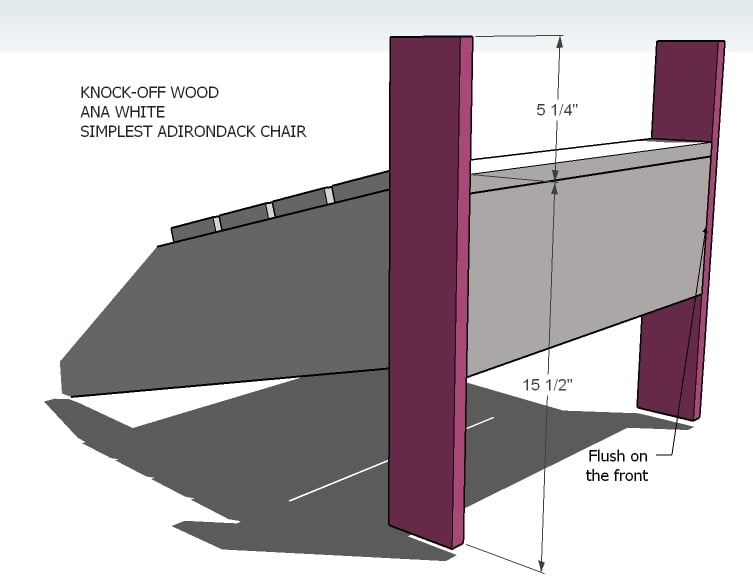
FRONT LEGS Use 1 1/4″ screws and glue to attach the front legs as shown above.
Step 5
Step 6
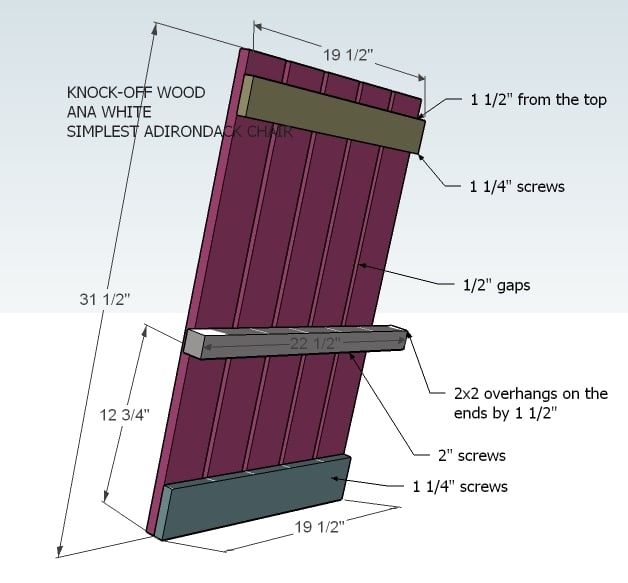
BACK Build the back as shown above.
Step 7
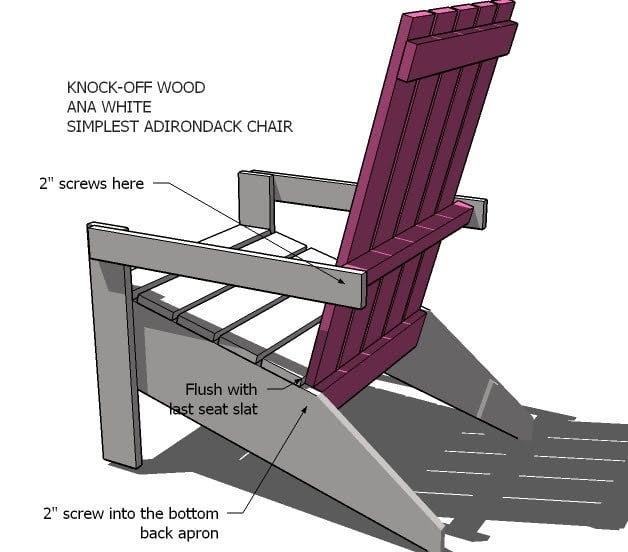
ATTACHING THE BACK Attach the back as shown above. This isn’t an exact science, I purposely choose to use a 1×3 for the arm supports and a 2×2 for the back support so that it would be super easy for you to get the back to line up just right with the seat and arm supports. You may want to enlist your neighbors assistance.
Step 8
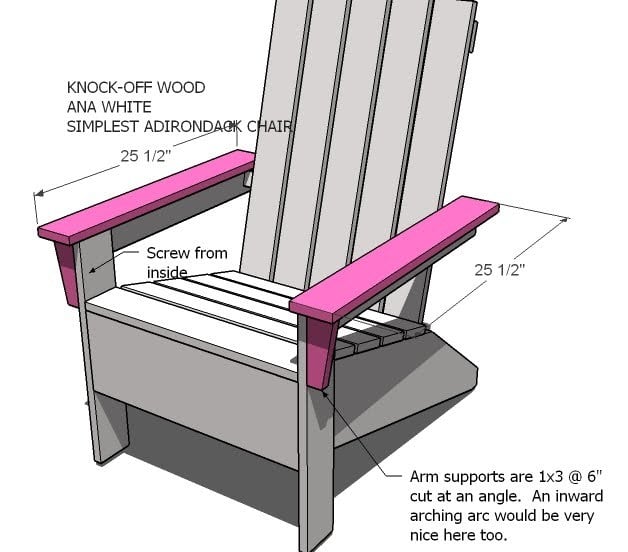
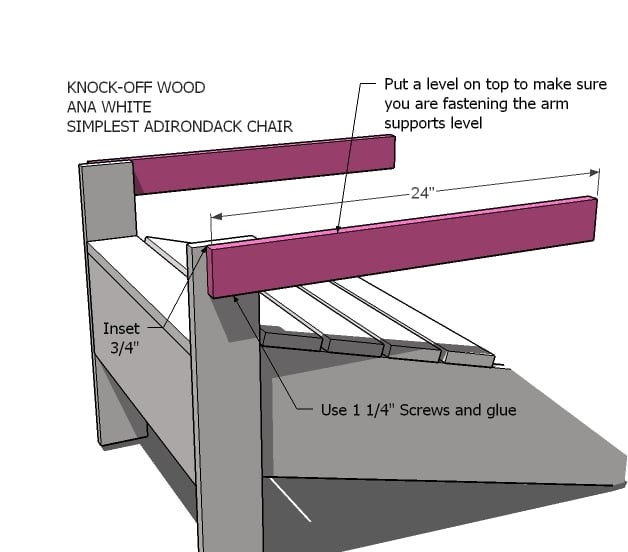
ARMS & SUPPORTS Attach your arms with 2″ screws and glue. Then attach the arm supports.


Comments
mheuer
Thu, 04/11/2013 - 19:03
Newbie
I am new to this and I plan on this being my first project. Can I use any type of wood if I plan on painting it? Also can anyone recommend what size miter saw a beginner might want?
treweeks
Mon, 07/21/2014 - 03:53
Where to get stringers wood!
Great site, great looking chairs. I have cut most of the wood from pallets but am struggling to source 8" wide wood for stringers. widest i have is 6" from fence panel bases (as have just done my fence). i was hoping to do it all from scrap wood rather than buy 4.5m of 8" wood... any ideas? or is it off to the timber merchant for me...?
Thanks!
memandyt
Tue, 03/31/2015 - 13:36
Love these!
I made one of these to just test out the plan and everything worked great! The only problem I saw was the cut list called for the back slats to be 30 1/2" when the plans call for 31 1/2". I have a group of volunteers coming soon & we will be making 8 more of these! I'm so excited to see them all done! Thanks for the super easy plans!
christop
Sat, 05/16/2015 - 09:15
1x4 cuts and errors
Good plan, made two chairs but figuring out the proper cut list was kind of a pain. Would be great if cuts for 1"x4" where given in details. If you just go down cut list and cut as you go you end up with not enough wood for last 1"x4" cut. Also cut list gives 30.5" as back slat hieght but plans call for 31.5" height.
1"x4" cut list should be:
board #1. 21", 21", 30.5", 19.5" = 92" total
board #2. 21", 21", 25.5", 25.5" = 93" total
board #3. 21", 20.75", 20.75", 30.5" (or 31.5" depending) = 93" total (or 94" total)
board #4. 30.5", 30.5", 30.5" = 91.5" (or @31.5" ea then 94.5" total)
shanester
Tue, 05/26/2015 - 17:41
$40 backyard chair
Easy to build and stylish outdoor chair for $40. http://www.instructables.com/id/40-Backyard-Chair/
JasonWalters
Thu, 07/02/2015 - 10:11
Paint
What type of paint did you use to give it such a smooth finish. Spray paint looks great on mine but you the wood is just soaking it all up.
JasonWalters
Thu, 07/02/2015 - 10:11
Paint
What type of paint did you use to give it such a smooth finish. Spray paint looks great on mine but you the wood is just soaking it all up.
LianaBanana
Sat, 08/01/2015 - 10:30
Class auction project
I'm so excited to have found these plans. My son's catholic school does a huge auction every year and each class has to make a class project. I'm going to be in charge of that project this year and am so excited to make these with our 2nd grade class. I'm planning on letting each kid design and paint their own piece of the chair. It's going to look amazing and I'm sure will be a big money maker!
In reply to Class auction project by LianaBanana
Ana White
Mon, 08/03/2015 - 10:30
We can't wait to see what
We can't wait to see what they do!
charmom2015
Tue, 09/08/2015 - 10:44
Question on measurement of back width
Hi Ana, I was preparing to use this plan and I noticed that you are showing the horizontal piece on the chair back (top and bottom) as 19 1/2 ". You are showing 5 back slats from 1x4 lumber and 1/2" spacing between each back slat. I'm adding the 5 back slats to get 20" and then add 3 spaces at 1/2" each for a total of 21 1/2". Doesn't that mean that the 19 1/2" measurement on the diagram is wrong? Or am I missing something?
Ana White Admin
Wed, 09/09/2015 - 11:51
measurements
A 1 x 4 actually measures 3/4" x 3 1/2", check this out for actual lumber measurements http://mistupid.com/homeimpr/lumber.htm
Hope this helps!
carlaz92
Tue, 08/16/2016 - 11:00
Ana, I'm new to your site, but not to your builds! how do I ask
Hi Ana, I was wondering where people can request you figuring out a new project to build. I want to build an adirondack set for my sister and hubby. They are building a new home, but it is very modern. I found a picture I was hoping you could do plans for the set. table as well.
Joshua_Manning
Sat, 04/22/2017 - 19:07
I think this should be
I think this should be renamed "Ana-rondack chair"
Clang
Sat, 05/25/2019 - 05:17
Where is the must see video…
Where is the must see video for the kids project? I am almost ready to build and want to be I get it right the first time. Thanks in advance for your help.
tnmillernc
Fri, 11/22/2019 - 11:56
Adirondack Chair Question
I would like to build your adirondack chairs but wanted to know if the dimensions for the lumber in your shopping list is actual or nominal? Your builds are beautiful, functional, and easy for newbies to try. Thank you!!!
kkavanaugh56
Thu, 02/20/2020 - 06:35
Hi, like the plans and…
Hi, like the plans and layout, only comment is the lack of specificity on screw locations. Thanks
Kurt
tomgru
Thu, 05/28/2020 - 19:29
I have used this plan to…
I have used this plan to make a bunch of chairs!
njohnson5303
Sun, 07/19/2020 - 18:52
Knock off wood?
New here. This is going to be my first project. May be a dumb question, but what does "knock off wood" mean? Can I use any type of wood?