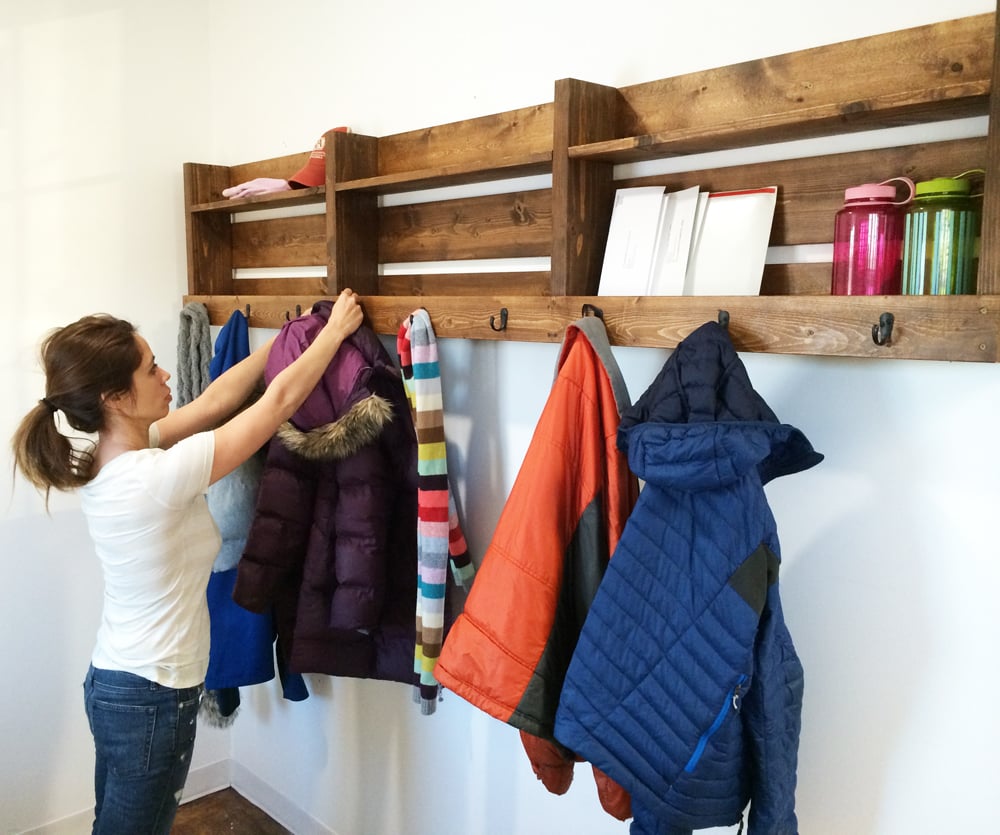
DIY coat rack plans by ANA-WHITE.com
Preparation
Shopping List
-
4 – 1x6 @ 8 feet long
-
2 – 2x6 @ 8 feet long
-
1 - 1x4 @ 8 feet long
-
2-1/2” Self Tapping Wood Screws
-
2” Self Tapping Wood Screws
-
1-1/4” pocket hole screws (12)
-
9 - Hooks
-
Wood glue
-
Wood filler
-
Sandpaper
-
Safety glasses & hearing protection
-
Tape measure
Cut List
3 – 1x6 @ 8 feet long
1 – 1x4 @ 8 feet long
1 – 2x6 @ 8 feet long
4 – 2x6 @ 17-1/2” long
3 – 1x6 @ 30” long
Cutting Instructions
I recommend a miter saw for precision and ease of cutting, but a circular saw or jigsaw could be used.
General Instructions
This plan is a free PDF download, click here to download the plans.
Finishing Instructions
Preparation Instructions
Fill all holes with wood filler and let dry. Apply additional coats of wood filler as needed. When wood filler is completely dry, sand the project in the direction of the wood grain with 120 grit sandpaper. Vacuum sanded project to remove sanding residue. Remove all sanding residue on work surfaces as well. Wipe project clean with damp cloth.
It is always recommended to apply a test coat on a hidden area or scrap piece to ensure color evenness and adhesion. Use primer or wood conditioner as needed.
It is always recommended to apply a test coat on a hidden area or scrap piece to ensure color evenness and adhesion. Use primer or wood conditioner as needed.
Project Type
Room




Comments
Lady Goats
Thu, 01/15/2015 - 14:13
This is just perfect!
I love that we don't have to search for a pallet that's in decent enough shape and risk sanding treated wood (and all of the potential hazards of using a pallet!). This is just... PERFECT!
In reply to This is just perfect! by Lady Goats
Ana White
Thu, 01/22/2015 - 21:25
Thanks Gina!!! Good to hear
Thanks Gina!!! Good to hear from you and loved your latest project!