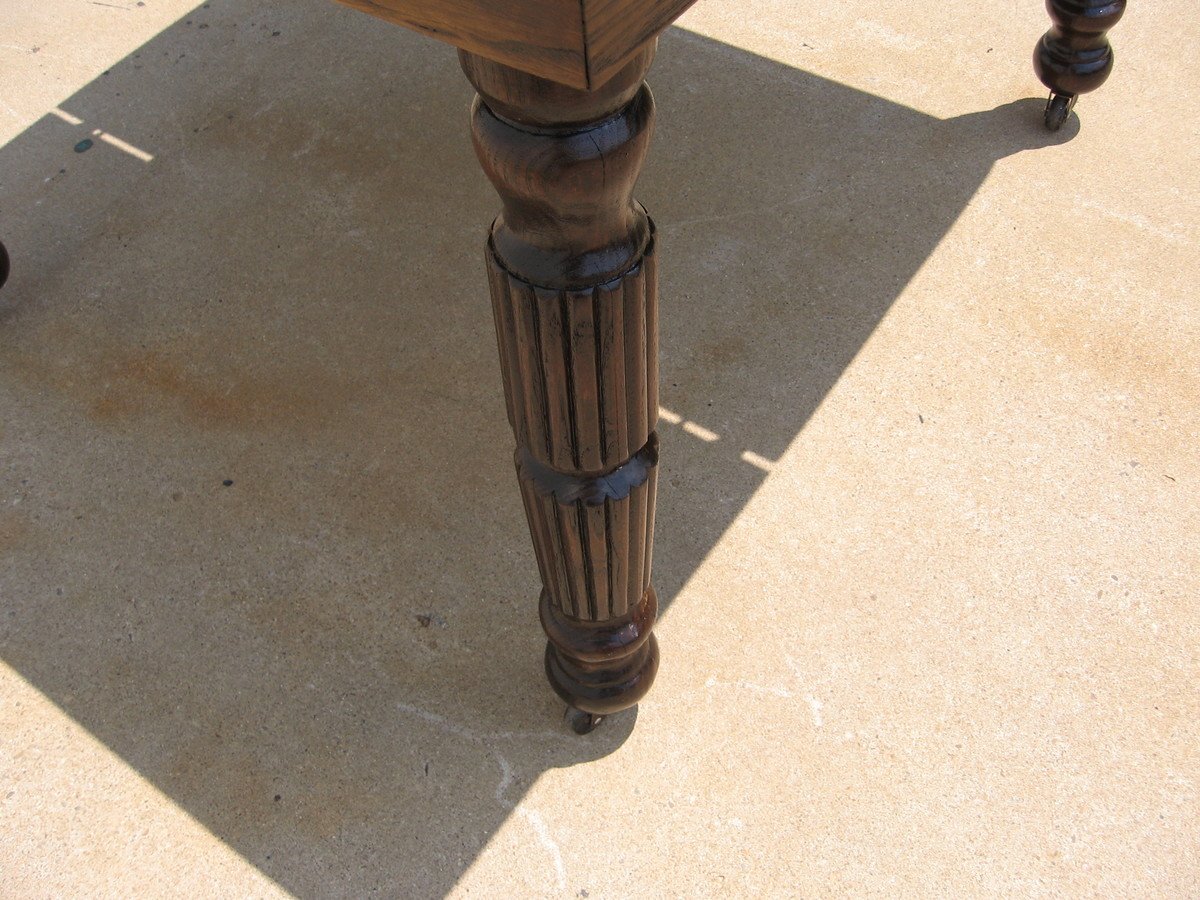
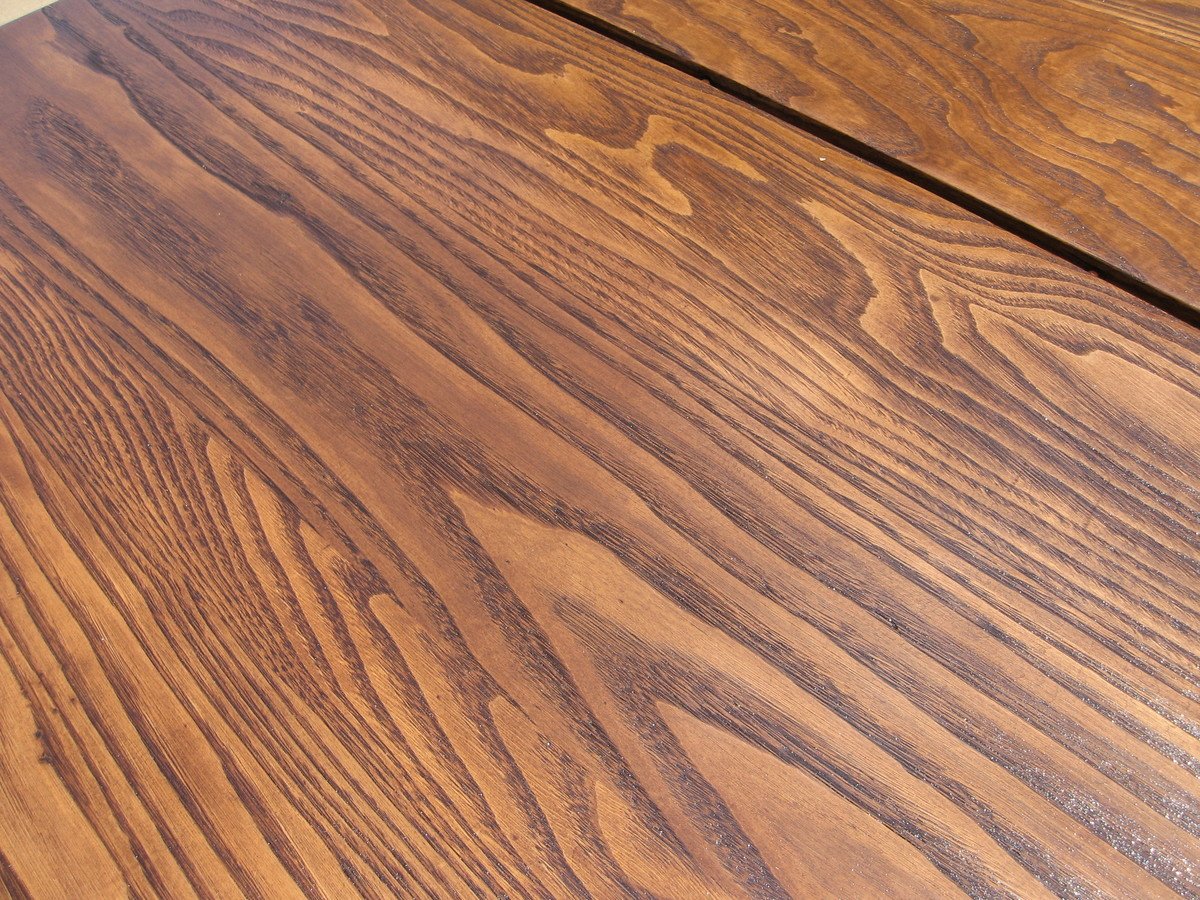
My father loved his woodworking and refinishing antique furniture. He built a wood shop years ago and loved spending he retirement years in there. He enjoyed going to auctions and the like and picking up antique pieces for $5 and $10. He had an antique oak dining table that someone had given him years ago. Cancer took him 4 years ago and he still has that shop full of antiques. I came across the old table and it was in sad shape. It was literally in several pieces and the legs were cracked. I decided to refinish the table.
I had some oak plywood and 1" by oak left over from other projects. I went ahead and removed all of the bracing and replaced all of it. I began stripping off all of the old finish. The underside of the table had been painted. The legs were the real challenge. Not only were the legs turned, they are fluted. I stripped off what I could with liquid stripper. I then used a power washer to help remove more. I then began sanding by hand every nook and cranny. I then filled all of the little cracks with wood filler. I used pin nails on the larger cracks. Once everything was stripped I began seeing a beautiful patina that only time can create.
I then began staining with Minwax Aged Oak gel stain. I used 2 coats on parts and up to 4 coats on other parts trying to get a uniform appearance to the wood. I used between 3 and 6 coats of Minwax quick drying polyurethane on the table. I sanded with 220 and 320 grit sandpaper between coats. I think it turned out pretty well.
The only thing I really had to buy was new casters. I think I spent about $10 for them. Everything else was left over from other projects. I worked on the project here and there between other projects I was working on. I think I probably had around 20 hours total on the project. Stripping and sanding the legs took the longest time. Somehow I think dad is smiling down at me when I finish his projects he had on the back burner.


Comments
Coconutpalm79
Sat, 04/05/2014 - 11:53
Antique caster removal
Hello,
I have almost the exact table that you featured on a different project where you refinished an antique white oak 5 legged fluted table. I was wondering if you could provide info. on removal of these antique castors? My husband is tall and we would love to remove the original castors and possibly add wood furniture feet to add to the height of this short beauty. Any info. would be much appreciated. Thank you for your time!
In reply to Antique caster removal by Coconutpalm79
windjamer812
Wed, 01/21/2015 - 22:58
Antique caster removal
I'm sorry I have not been on in a while. Most casters come in two parts. The wheel usually has a stem on it. This can usually be removed by simply pulling it down. If it is stubborn then you may have to use pliers or channel locks. Once this is removed, you will find a sleeve that fits into the table leg. These tend to rust over time. Also they become quite stuck. I usually use a very fine standard screw driver to work them out. Occasionally the outer rim of the sleeve breaks off. I have used a drill and drill bit that fits the same size of the inner diameter of the sleeve. Use a very slow RPM on the drill and it should come out. Good luck with your table.