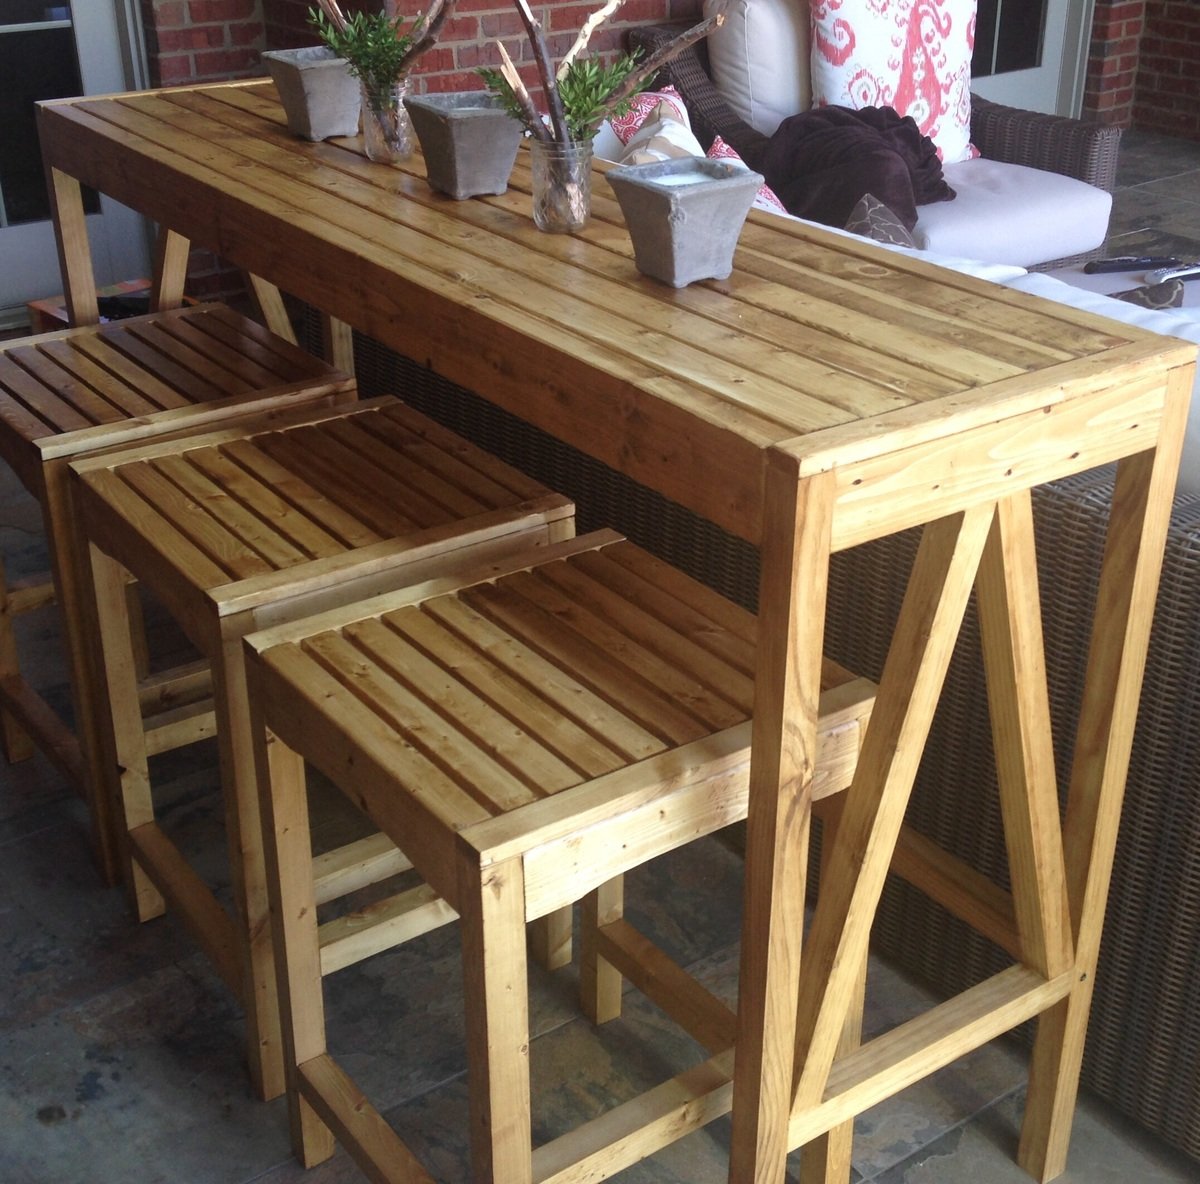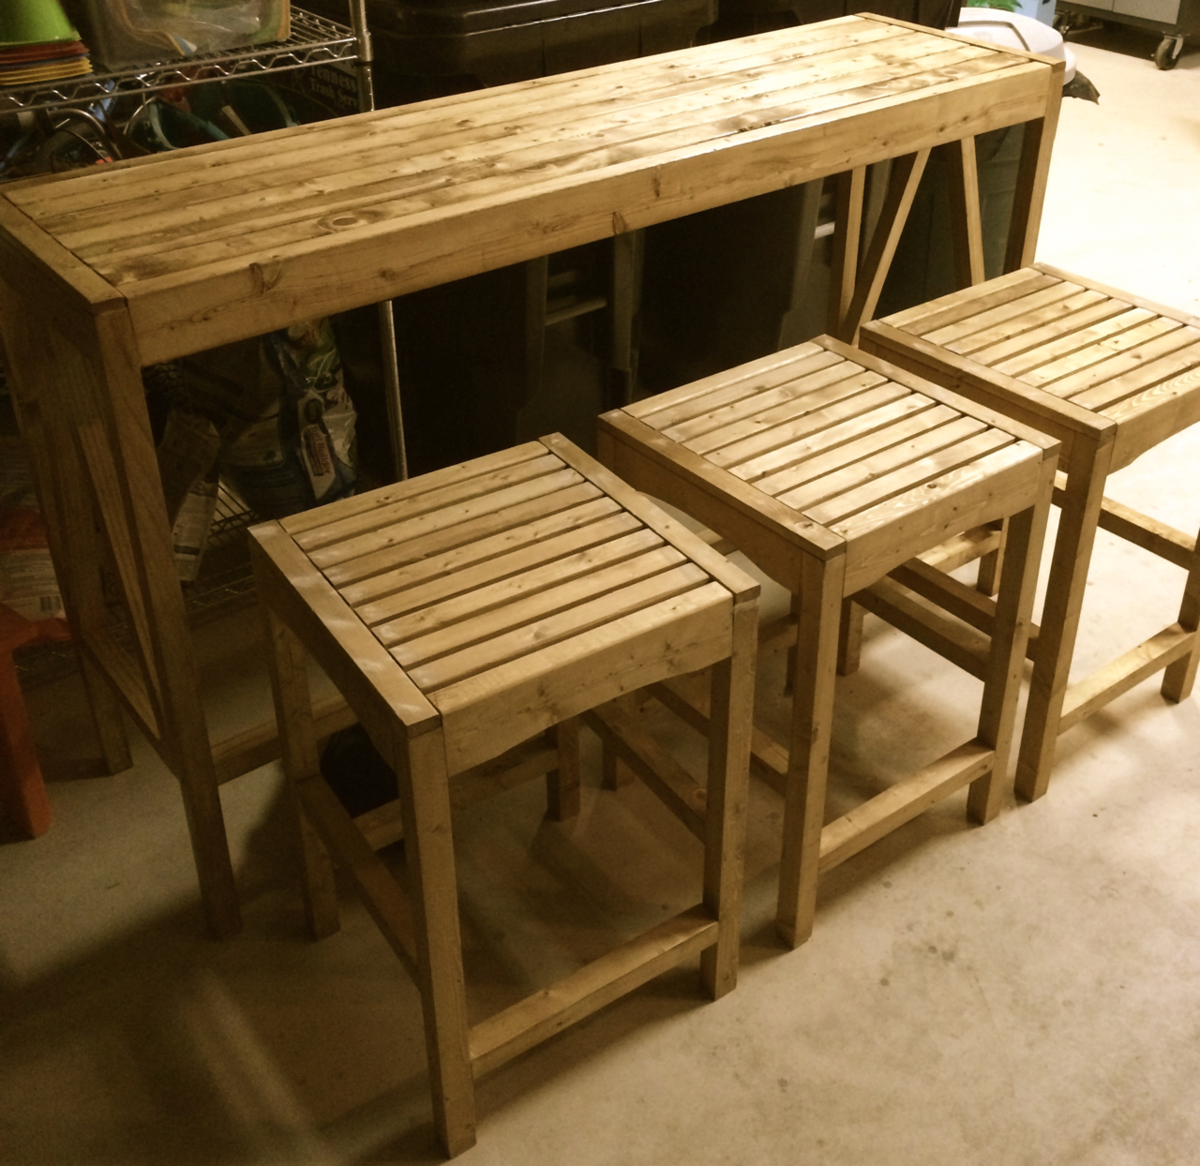
Plans for Ballard Designs Inspired Sutton Outdoor Bar Table Stools
26 1/2" H x 17 1/2" W x 17 1/2" D (square)
Preparation
Shopping List
See tutorial.
Common Materials
2 1/2 inch screws
1 1/4 inch finish nails
120 grit sandpaper
wood conditioner
Cut List
See tutorial.
Cutting Instructions
See tutorial.
General Instructions
Please read through the entire plan and all comments before beginning this project. It is also advisable to review the Getting Started Section. Take all necessary precautions to build safely and smartly. Work on a clean level surface, free of imperfections or debris. Always use straight boards. Check for square after each step. Always predrill holes before attaching with screws. Use glue with finish nails for a stronger hold. Wipe excess glue off bare wood for stained projects, as dried glue will not take stain. Be safe, have fun, and ask for help if you need it. Good luck!
Finishing Instructions
Preparation Instructions
Fill all holes with wood filler and let dry. Apply additional coats of wood filler as needed. When wood filler is completely dry, sand the project in the direction of the wood grain with 120 grit sandpaper. Vacuum sanded project to remove sanding residue. Remove all sanding residue on work surfaces as well. Wipe project clean with damp cloth.
It is always recommended to apply a test coat on a hidden area or scrap piece to ensure color evenness and adhesion. Use primer or wood conditioner as needed.
It is always recommended to apply a test coat on a hidden area or scrap piece to ensure color evenness and adhesion. Use primer or wood conditioner as needed.
Finish Used
Minwax Puritan Pine


Comments
Ana White
Mon, 03/30/2015 - 10:41
Thanks for sharing!
These look great!
cstarliper
Mon, 03/30/2015 - 10:52
Thank you
Thanks Ana! I didn't sufficiently thank you for your help in getting me to the point where I would even try something like this. What a fun website. Now it's off to the drawing boards for the next project... Wife has caught on and now I have a full sheet of things to build! So much fun... And saves a ton of $$$.
lristaneo
Thu, 04/09/2015 - 06:25
WOW!!
This set is amazing!! Is there a tutorial for the table as well? It was mentioned, but I am unable to find anything. Thank you!!
cstarliper
Fri, 04/10/2015 - 19:26
Bar Plans - Perhaps Forthcoming?
Hi. Thank you for the kind comments! I have some hand sketched plans for the bar, but probably need to touch them up and upload to the site. Will have to see what kind of pictures I have, but I took enough to probably get you through. Maybe after tax season. :-) I will say, it wasn't terribly hard to build, and I used common lumber. So it's pretty cheap!
frankb03
Thu, 03/24/2016 - 11:21
Plans?
This set is beautiful. I would love the plans or additional pictures for the table.
alanrules
Wed, 07/29/2015 - 08:09
1/12"
There are a few places where 1/12" is typed which is not a common measurement. I believe it to be a typo for 1/2" since most of the pieces should be cut to the same size and I assume the width of the stool is 17 1/2" and not 17 1/12" since the long seat slats are 17 1/2".
Anyway, thanks for the stool design!
Theresa S
Mon, 09/11/2017 - 13:45
Table
I love it! Do you have plans or dimensions for the table?
SarahBethStoudt
Sat, 04/04/2020 - 16:01
Is this plan still available…
Is this plan still available? I don't see a link to download the tutorial.
shondaS
Tue, 06/23/2020 - 14:01
Hi! Does anyone know how to…
Hi! Does anyone know how to find the tutorial for this?