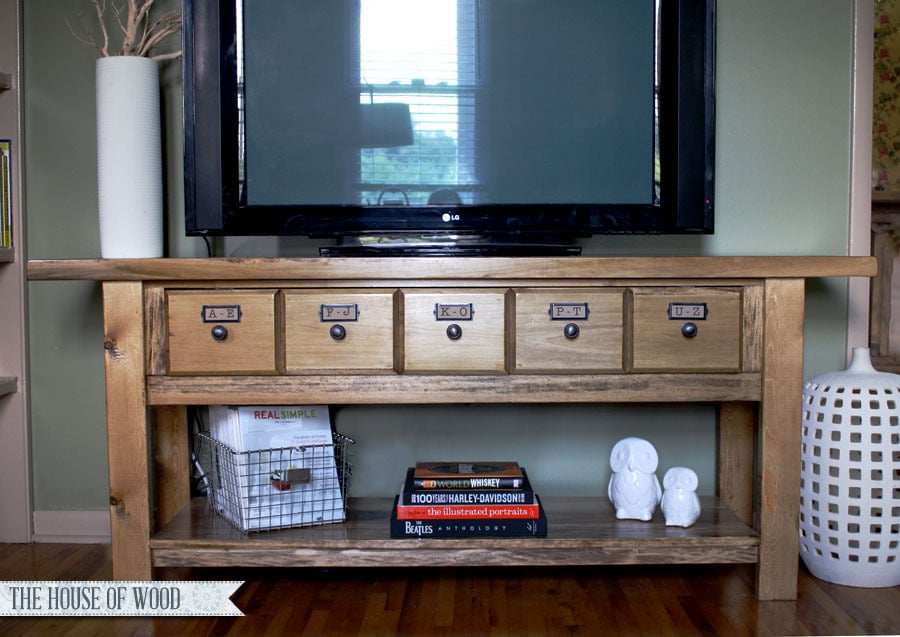
Free plans to build a solid wood media console with flip down storage for hiding controllers.
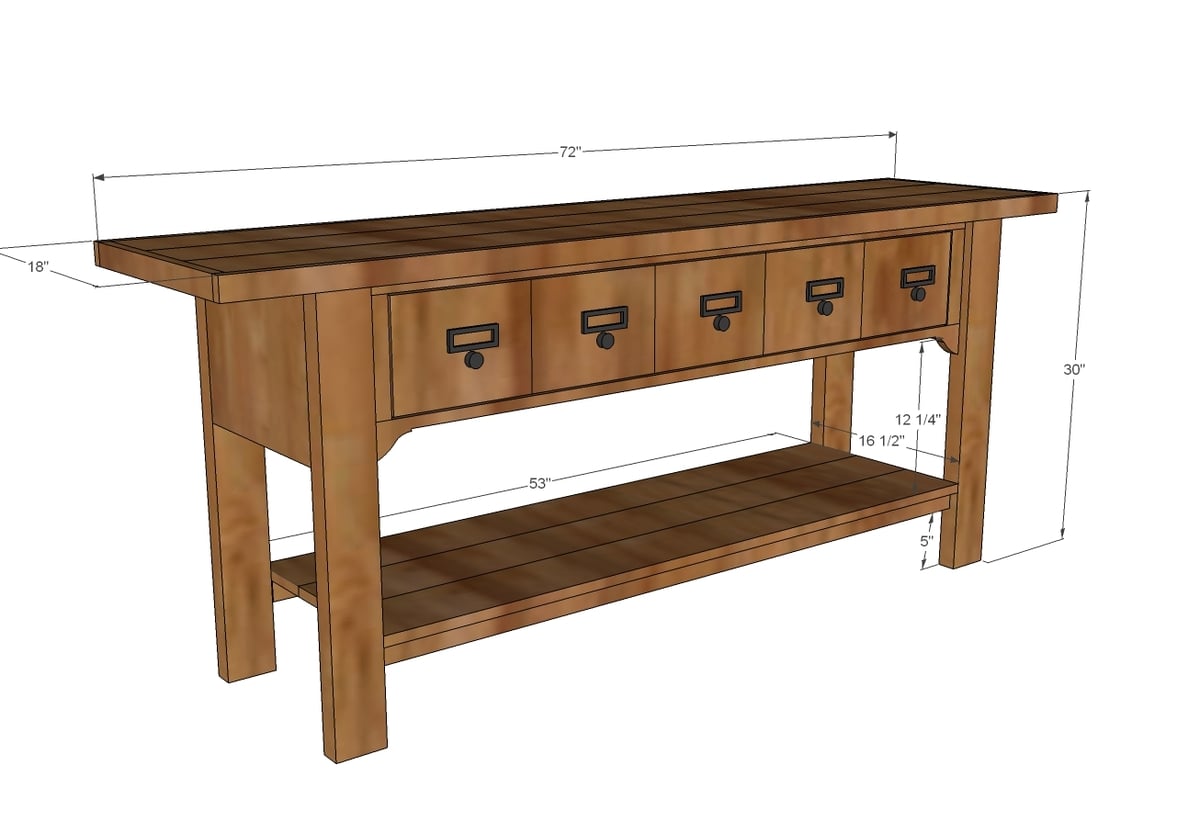
Preparation
5 - knobs or handles
1 set of butt hinges or piano hinge
1 - 2x4 @ 10 feet long
1 - 1x12 @ 3 feet long (or 8 feet long if you are using a 1x12 for back)
6 - 1x2 @ 8 feet long
6 - 1x6 @ 72” long
1 - 3/4” plywood @ 13 1/2” x 58 1/2” (can use shelving materials here)
2 - 1x3 @ 8 feet long
1 - 1x8 @ 6 feet long
1/4” plywood for the back if not using the 1x12
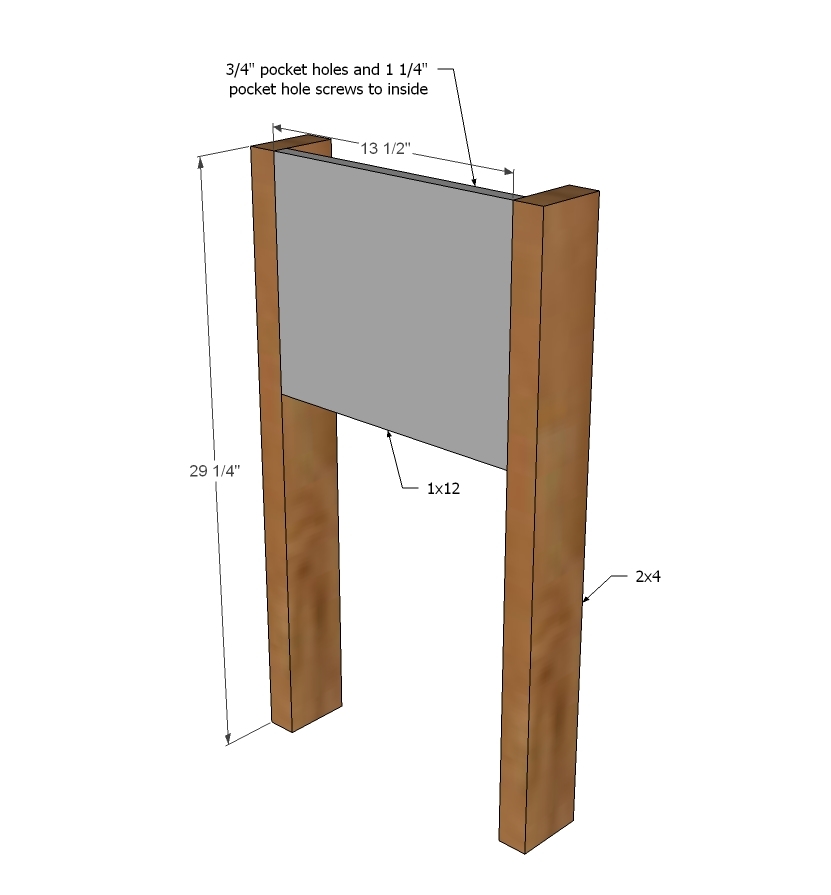
4 - 2x4 @ 29 1/4”
2 - 1x12 @ 13 1/2”
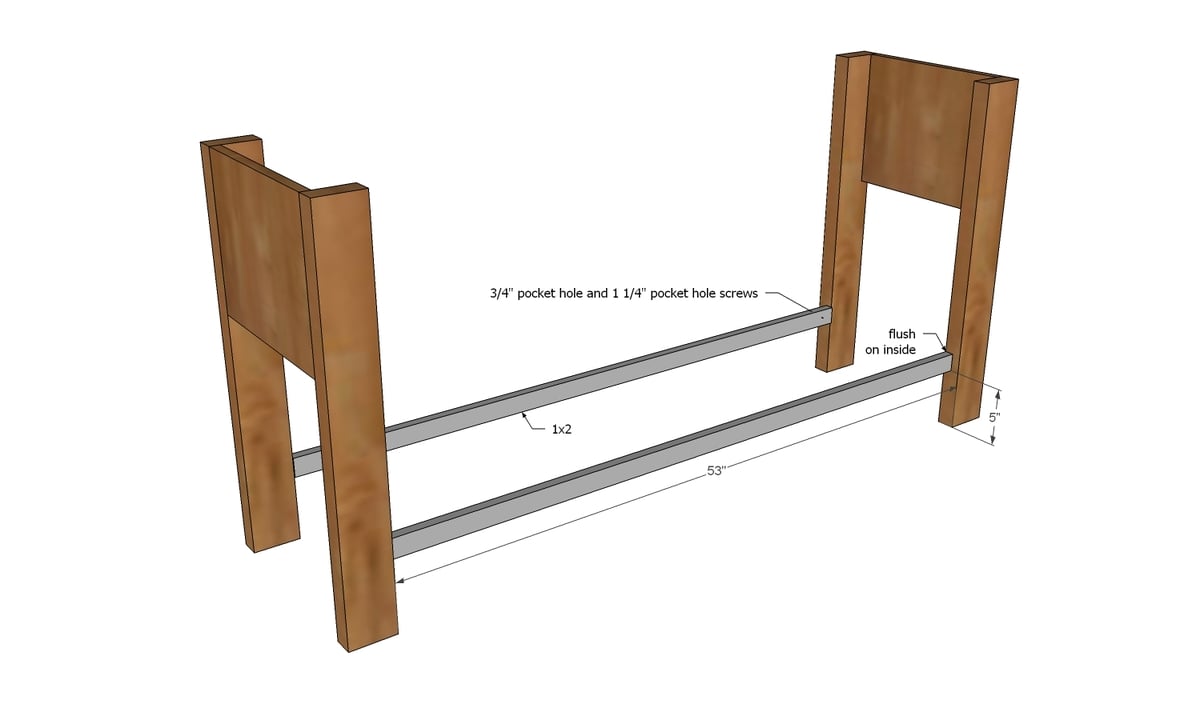
2 - 1x2 @ 53” (for additional support, use 2x2s here instead - ie heavy bottom shelf loads)
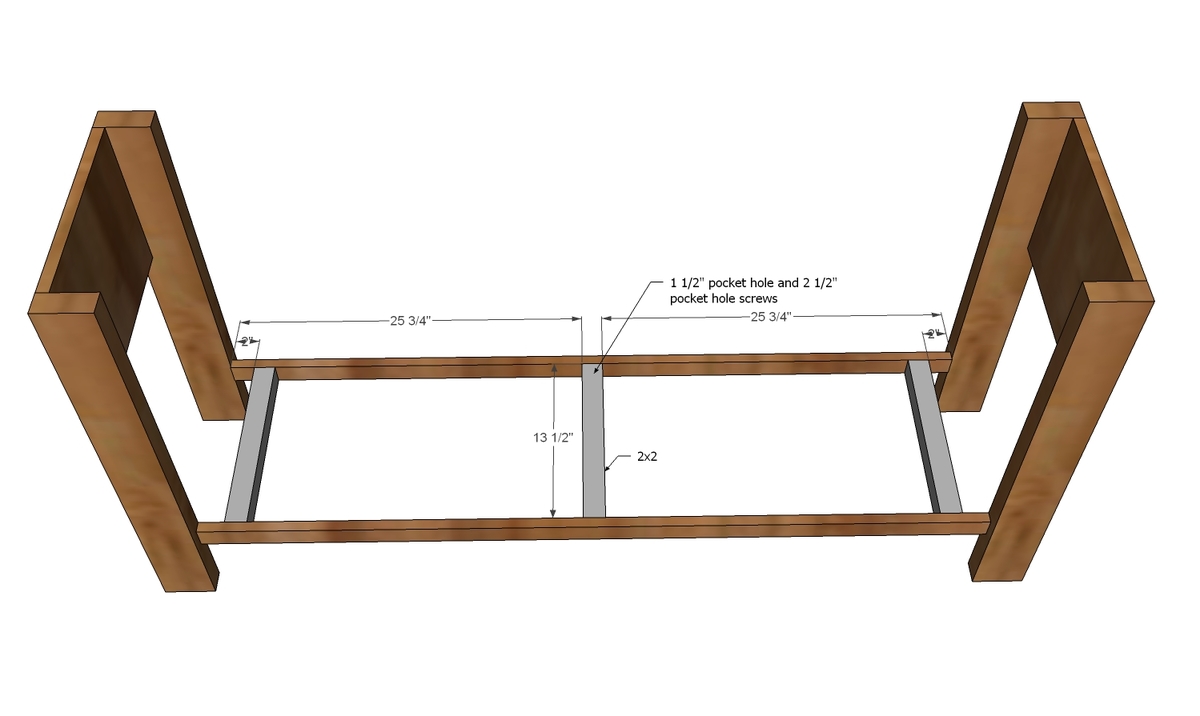
3 - 2x2 @ 13 1/2”
3 - 1x6 @ 53”
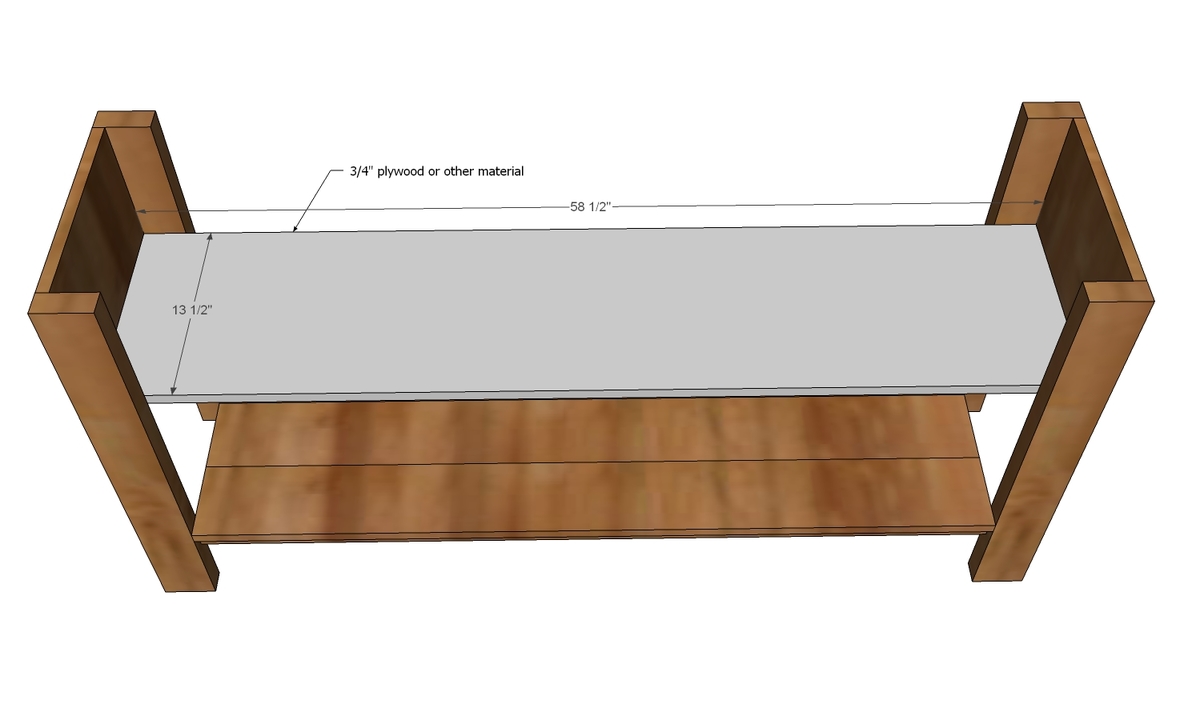
1 - 3/4” plywood @ 13 1/2” x 58 1/2” (can use shelving materials here)
2 - 1x3 @ 53”
2 - 1x2 @ 53”
2 - 1x2 @ 7 1/2”
1 - 1/4” plywood @ 53” x 11 1/4” (could use a 1x12 for the back - especially if you are planning to place heavy weight on top this may make sense)
3 - 1x6 @ 70 1/2”
2 - 1x2 @ 16 1/2”
2 - 1x2 @ 72”
1 - 1x8 @ 49 3/4”
Please read through the entire plan and all comments before beginning this project. It is also advisable to review the Getting Started Section. Take all necessary precautions to build safely and smartly. Work on a clean level surface, free of imperfections or debris. Always use straight boards. Check for square after each step. Always predrill holes before attaching with screws. Use glue with finish nails for a stronger hold. Wipe excess glue off bare wood for stained projects, as dried glue will not take stain. Be safe, have fun, and ask for help if you need it. Good luck!
Instructions
Step 2
Step 3
Step 4
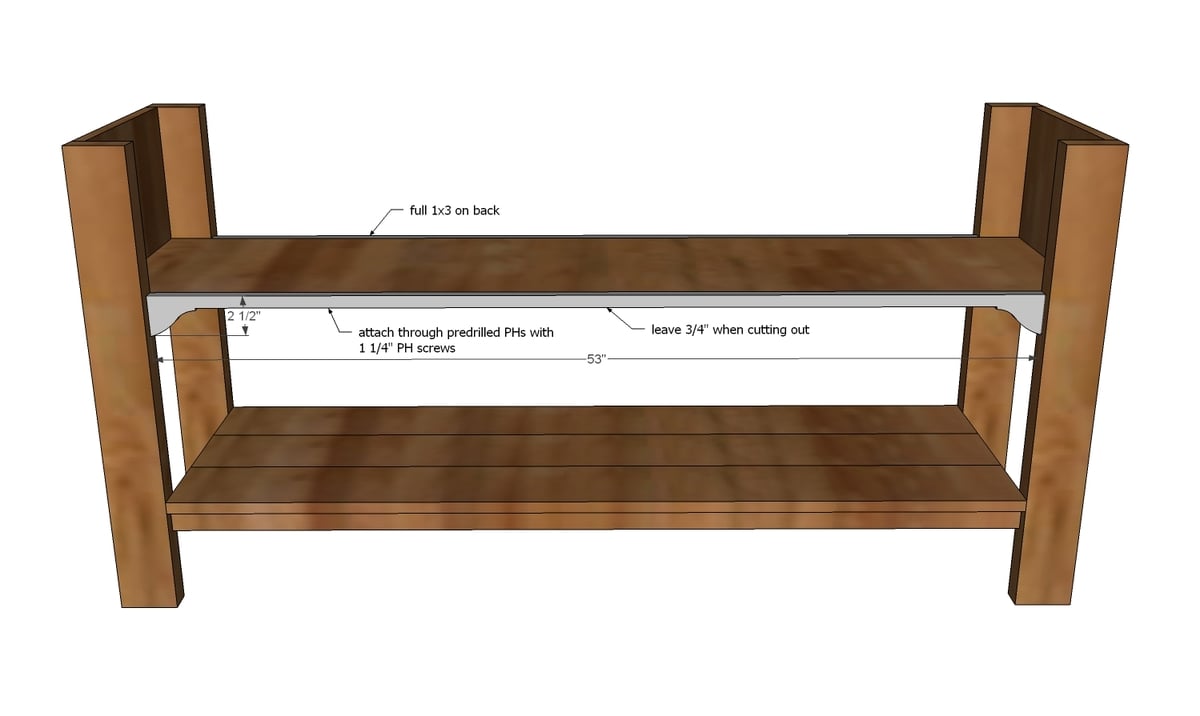
Next, attach your shelf boards to the bottom shelf.
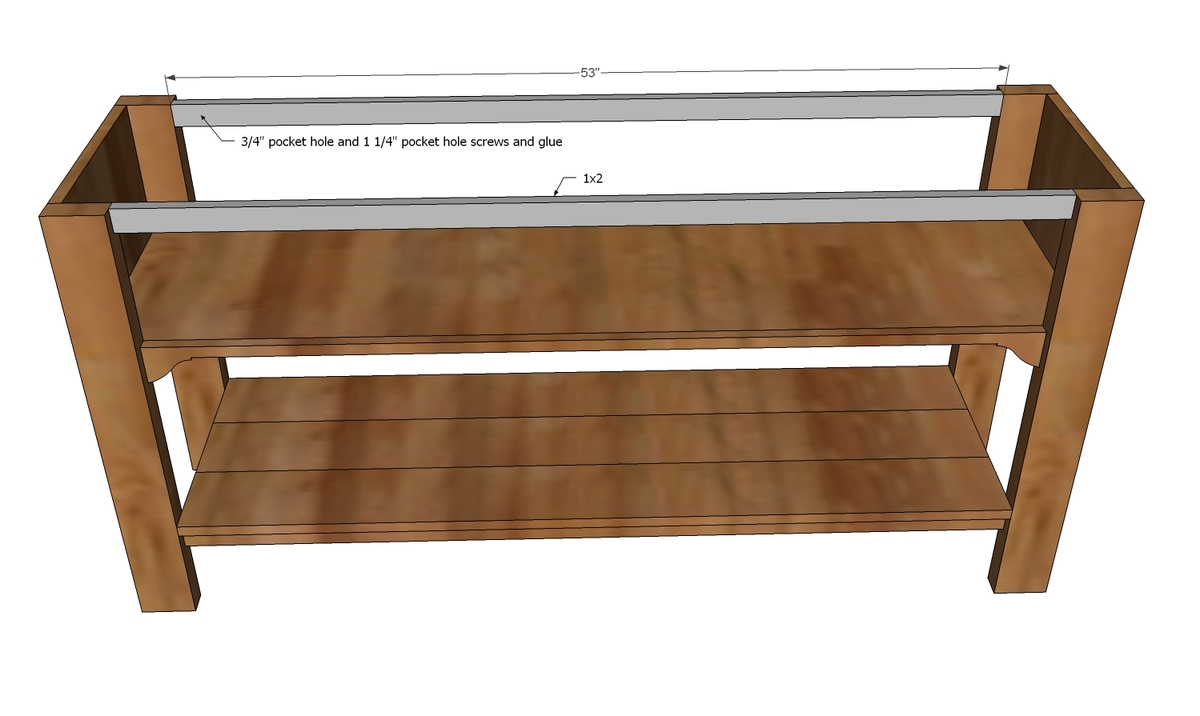
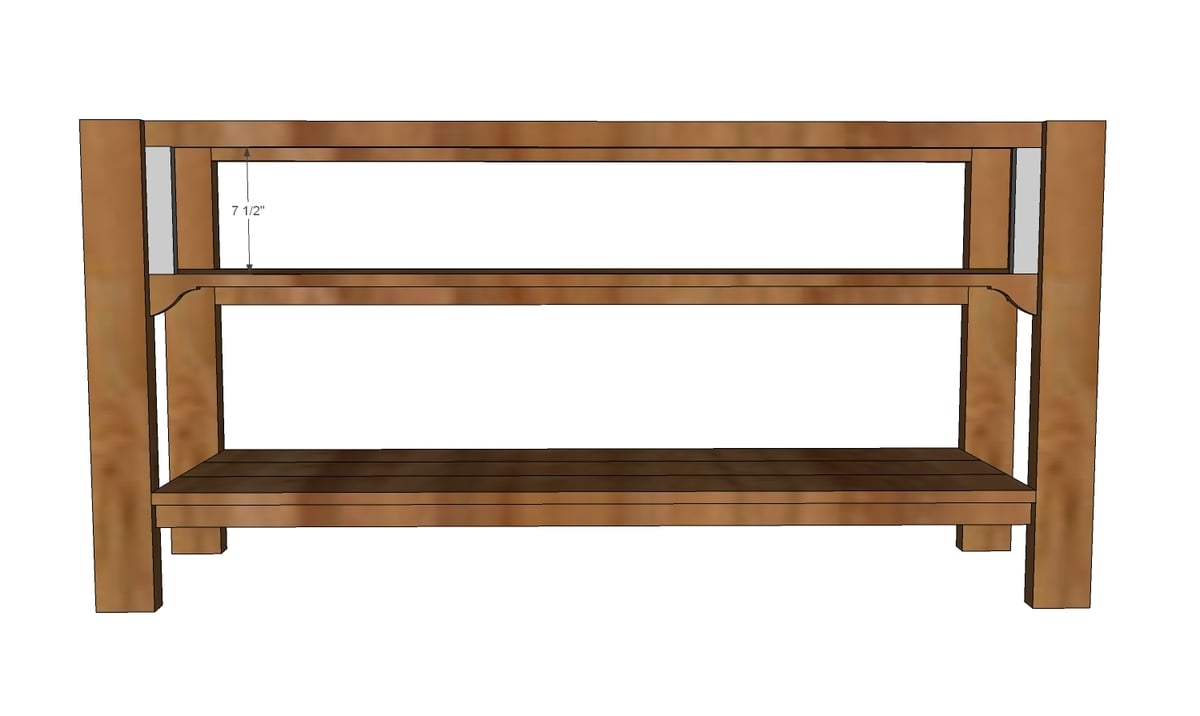
Note from Jen - After attaching the bottom shelf, I jumped to the 2nd graphic on page 5, and attached the tabletop frame (1x2 boards). I also added 3 2x2 supports just for extra strength then I pre-drilled countersunk holes from the underside of the 2x2s to attach the tabletop.
Step 6
Step 7
Step 8
Step 9
Step 10
Step 12
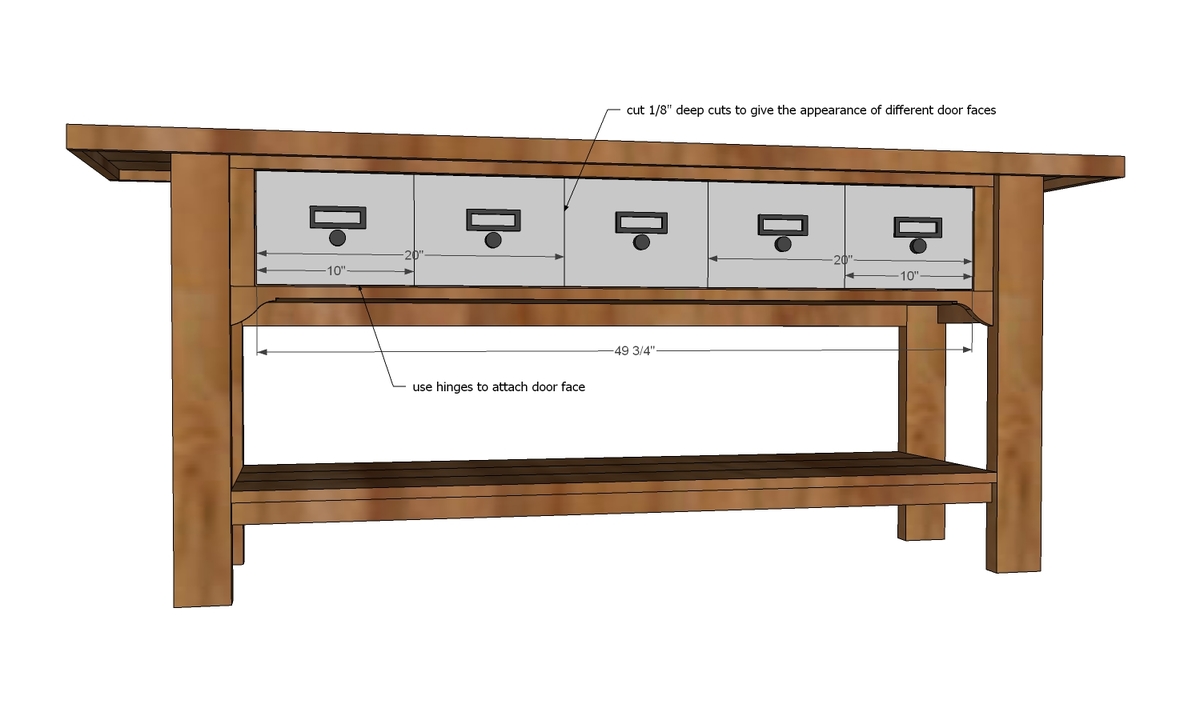
Attach the drawer face to the drawer area with hinges.

Jen used euro style surface mount for full overlay or inset hinges to attach the drawer face. She also used blocking to bring the inside of the shelf flush.

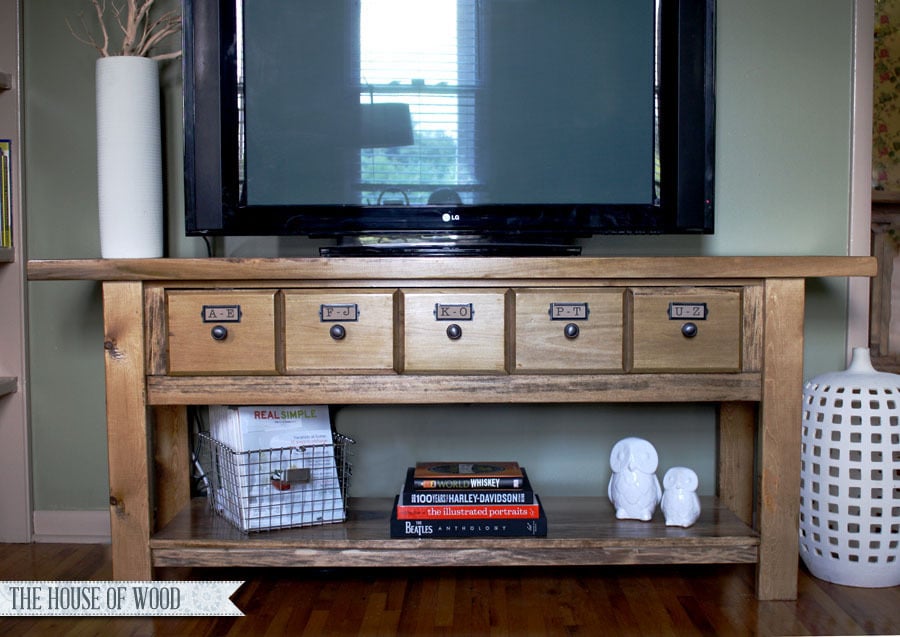
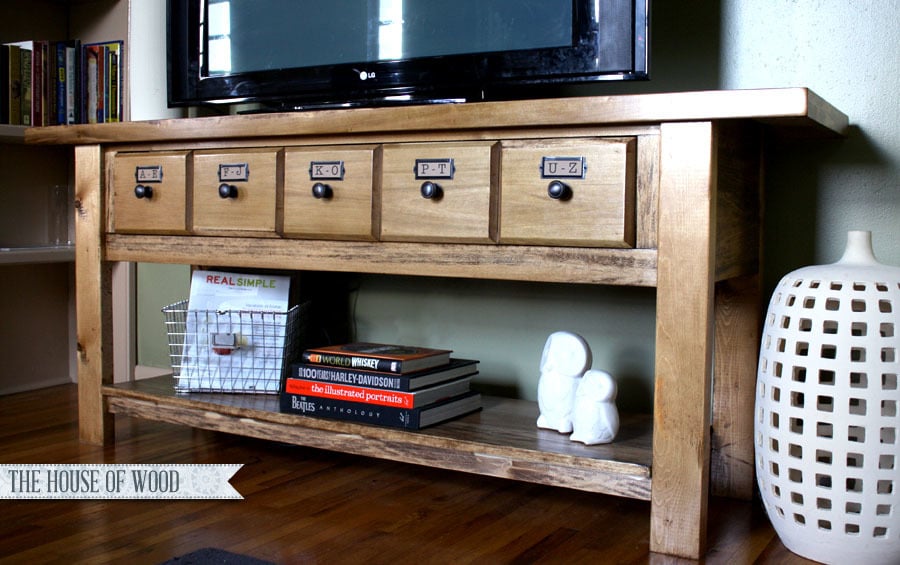
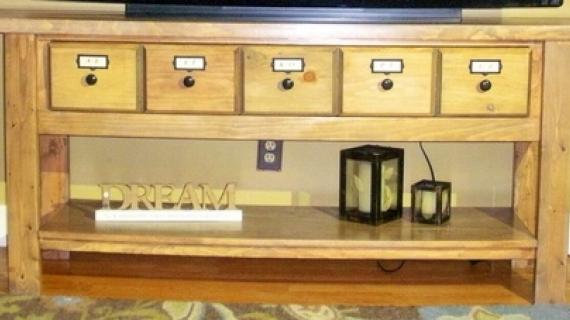
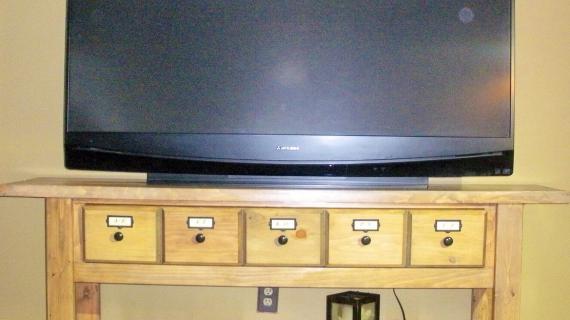
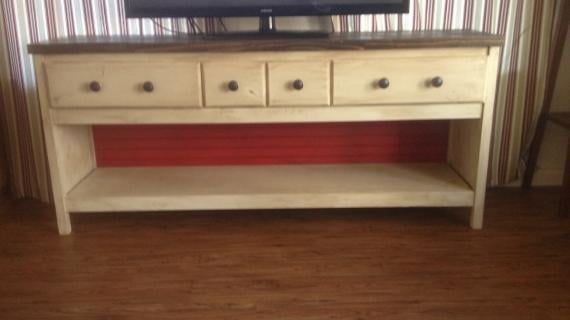
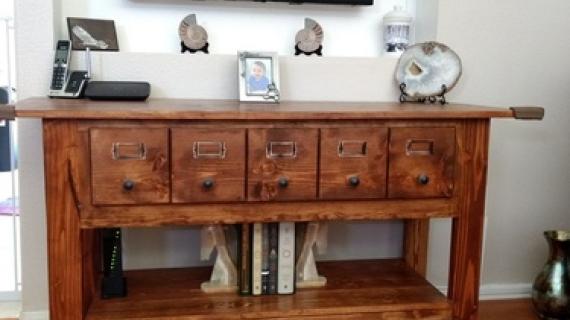
Jen also wanted the drawers to look a little fancier, like individual drawers, so she attached these false drawer faces.
You can read more details directly from Jen here on all of her building modificiations.
It is always recommended to apply a test coat on a hidden area or scrap piece to ensure color evenness and adhesion. Use primer or wood conditioner as needed.







Comments
dmcarwin
Mon, 08/26/2013 - 22:43
Okay...
I am totally drooling! I L.O.V.E. it!!!! Beautiful job, both of you!
SingleMomThriving
Fri, 08/30/2013 - 08:11
Exactly what I am looking for.....
Can't wait to build this!
Rochell Blixt
Mon, 06/01/2015 - 17:09
so excited!!! got all the
so excited!!! got all the materials to make this console....another husband and wife project. I will have brag post soon.