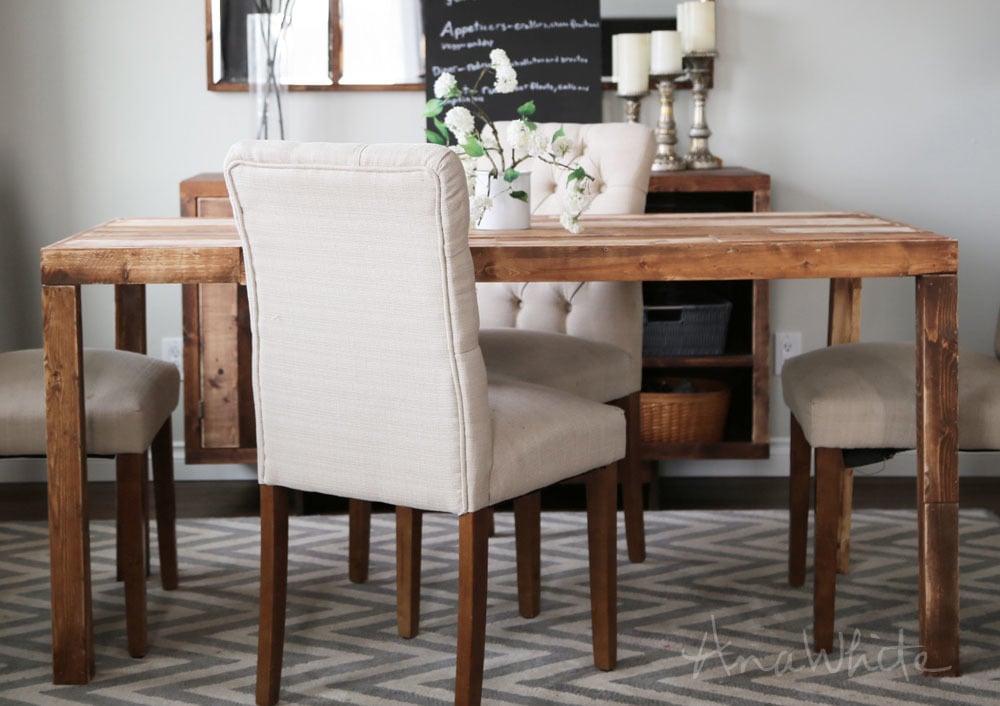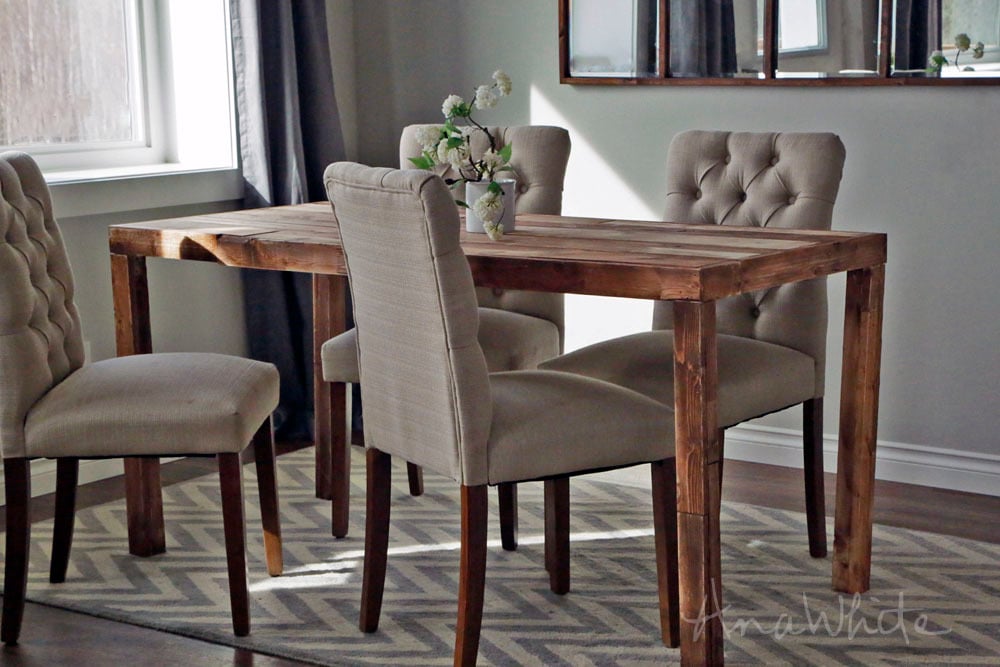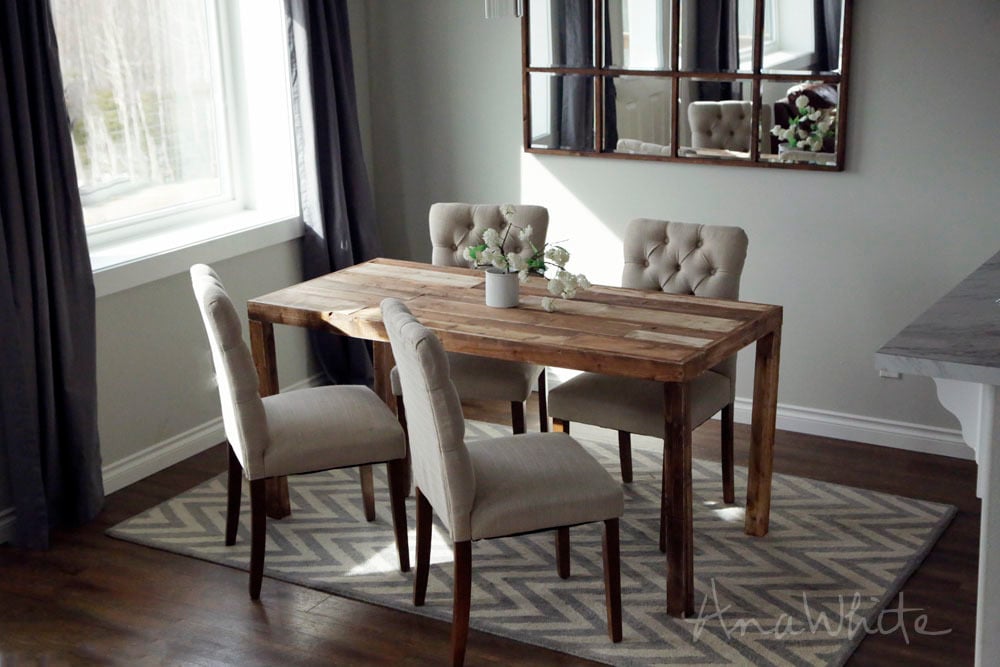
Emmerson Parsons Table - Modern Reclaimed Wood Dining Table

The free plans on this website are made possible with advertising and affiliate links.  Thank you for helping us keep plans free.


Difficulty
Intermediate
| Print this plan

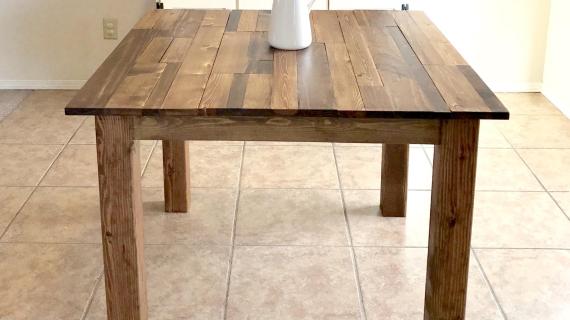
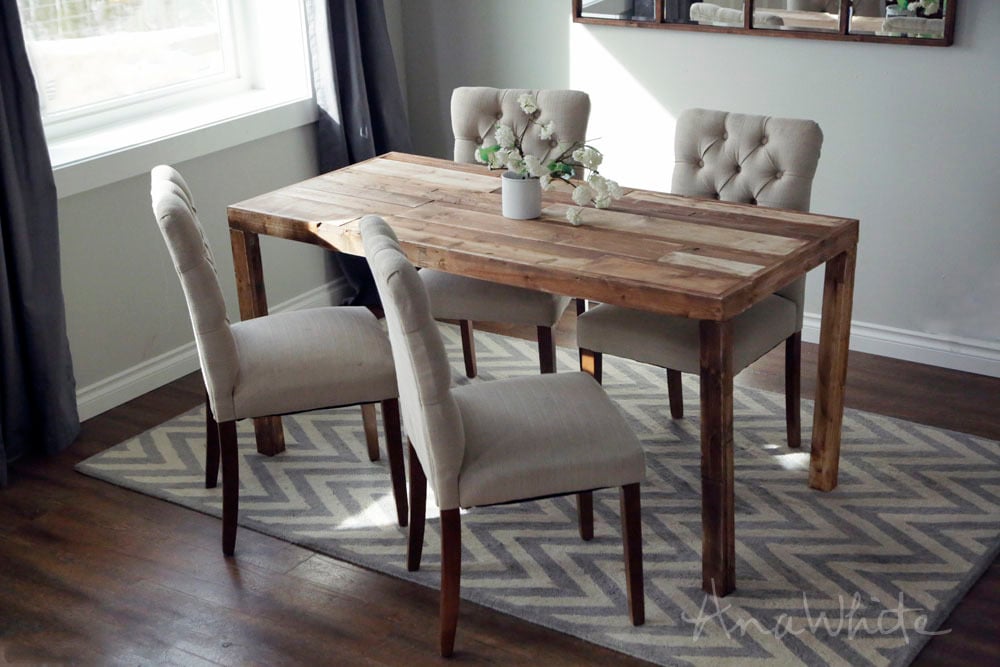
Make a DIY Parsons Dining table with scrap or reclaimed wood!  Free furniture plans by ANA-WHITE.com
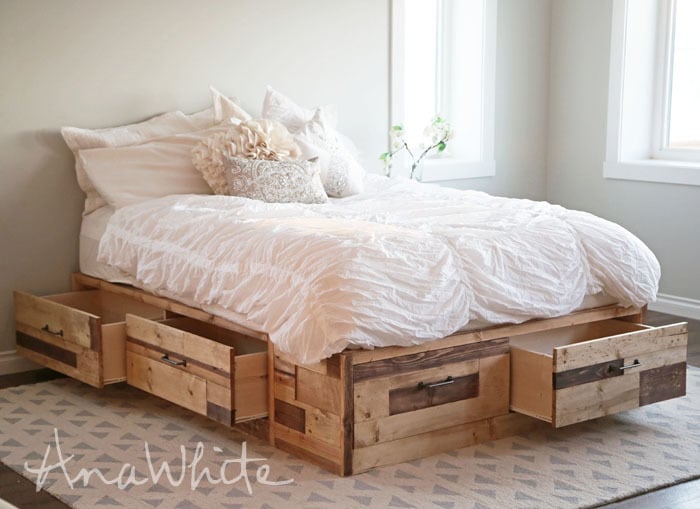
One of my favorite projects I've ever gotten the opportunity to work on was this scrap wood bed that I helped my friend Brandy make -

The bed just highlighted all the reasons why I love to build my own furniture - unique, custom, save money, pride in workmanship ... and let's just be real here - this bed is gorgeous.  My friend Brandy pieced all the scrap wood and stained select boards and really did an amazing job.

This bed was so stunning that I took all the furniture out of my living room to photograph it.  So beautiful that I joked - but not really - with Brandy that I would buy the bed off her. That didn't actually pan out for me though.

So I thought I'd make a table, following along on the same kind of design, using up scrap wood, and pieces pieces of wood over a frame.

I made this table a few months back, but to be honest with you, I haven't posted it because I'm not so sure about it.  You see, the scrap wood top isn't the easiest to clean up.  Might not be an issue if you don't have small children or use placemats, but I haven't found it to be the most user friendly.

Or perhaps I didn't spend enough time sanding the top smooth.

Anyway, I wasn't going to share the plans at all, but I've gotten a few people admiring it and telling me I should post the plans, so I thought I'd share - maybe there are some of you out there that cleaning up after dinner doesn't look like a full blown food fight in middle school.  

It's definitely pretty!

And this table is one of those super cheap to make projects.  Especially if you have scrap wood to burn up.

I think it would be very practical and beautiful as a console table -

image from West Elm

So plans follow - let me know how this table works out for you if you build! 

XO Ana


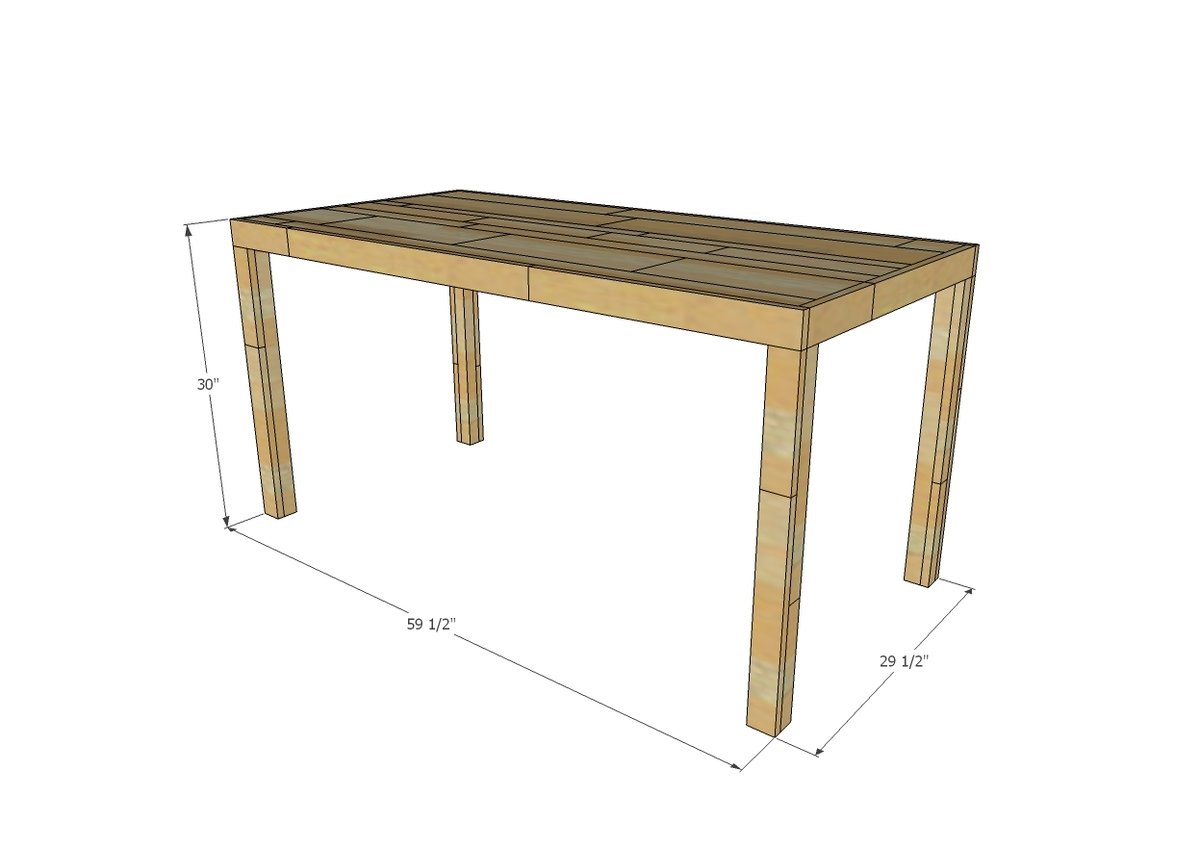
Dimensions
Dimensions shown above. Can be scaled smaller but should not be scaled larger

Preparation

Shopping List

5 - 2x2 @ 8 feet long

At least 24 feet of 1x3 boards and 10 feet of 1x2 boards for covering legs and aprons 

Scrap wood for tabletop in same thickness

Common Materials
Cut List

4 - 2x2 @ 29-1/4" - legs

5 - 2x2 @ 25" - end aprons and supports

2 - 2x2 @ 55" - side aprons

Tools
Tape Measure
Speed Square
Pencil
Hearing Protection
Kreg Jig
Table Saw
Brad Nailer
Power Sander
General Instructions

Please read through the entire plan and all comments before beginning this project. It is also advisable to review the Getting Started Section. Take all necessary precautions to build safely and smartly. Work on a clean level surface, free of imperfections or debris. Always use straight boards. Check for square after each step. Always predrill holes before attaching with screws. Use glue with finish nails for a stronger hold. Wipe excess glue off bare wood for stained projects, as dried glue will not take stain. Be safe, have fun, and ask for help if you need it. Good luck!

Instructions

Step 1

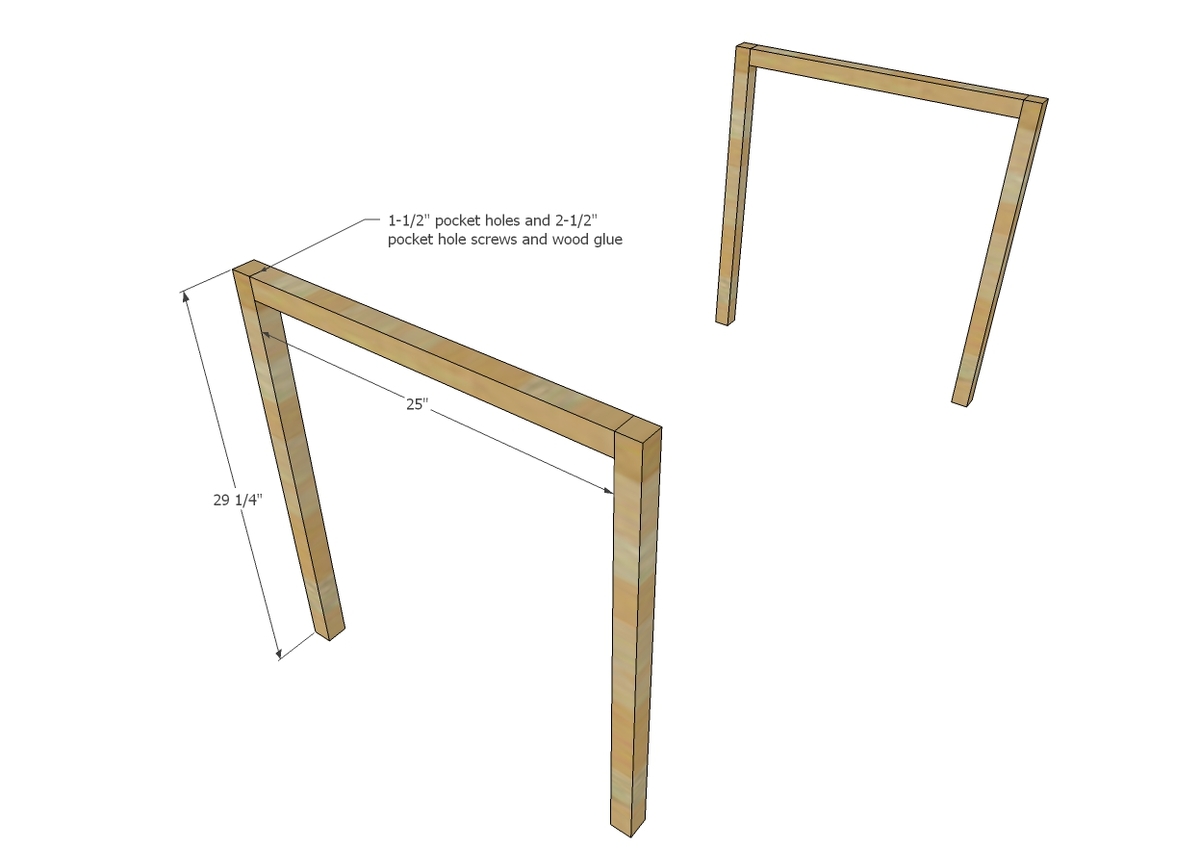
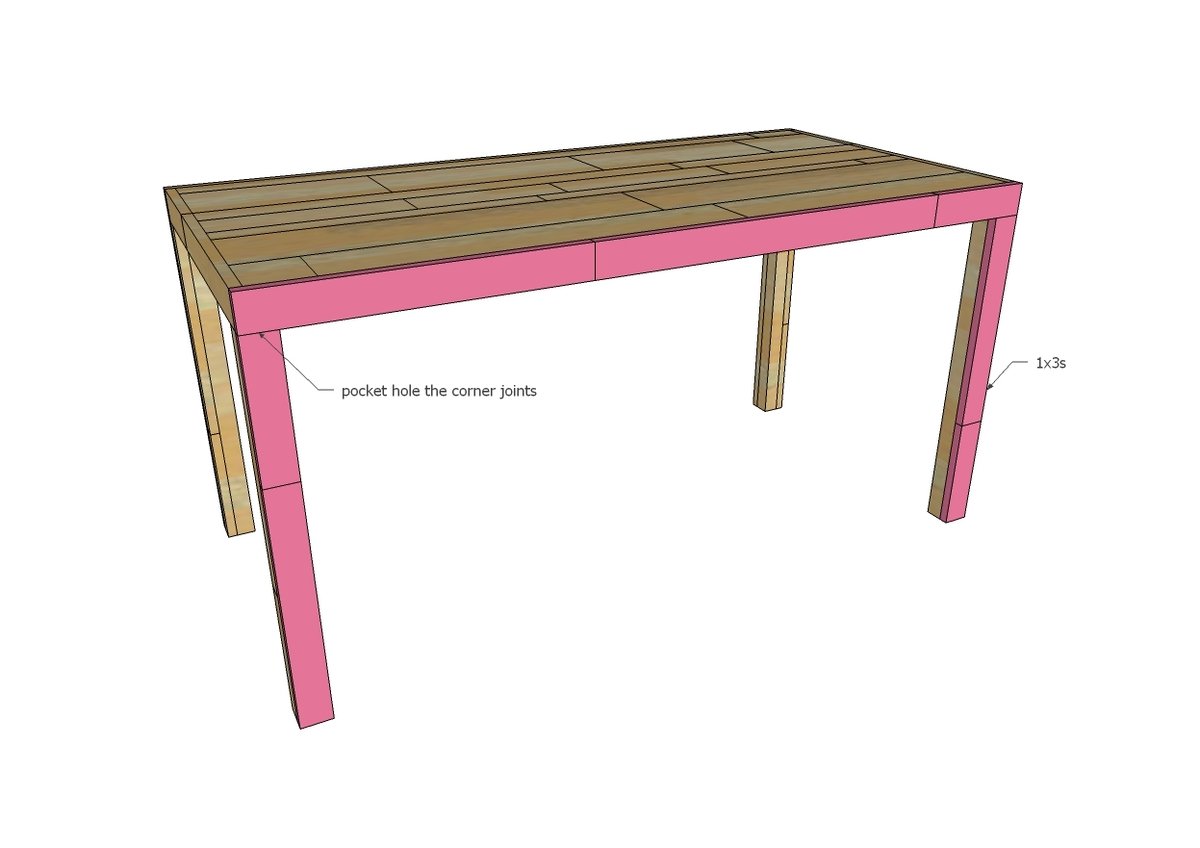
Start the project by attach two of the 25" 2x2s to the legs to create two leg sets.  Use 1-1/2" pocket holes and 2-1/2" pocket hole screws.

Step 2

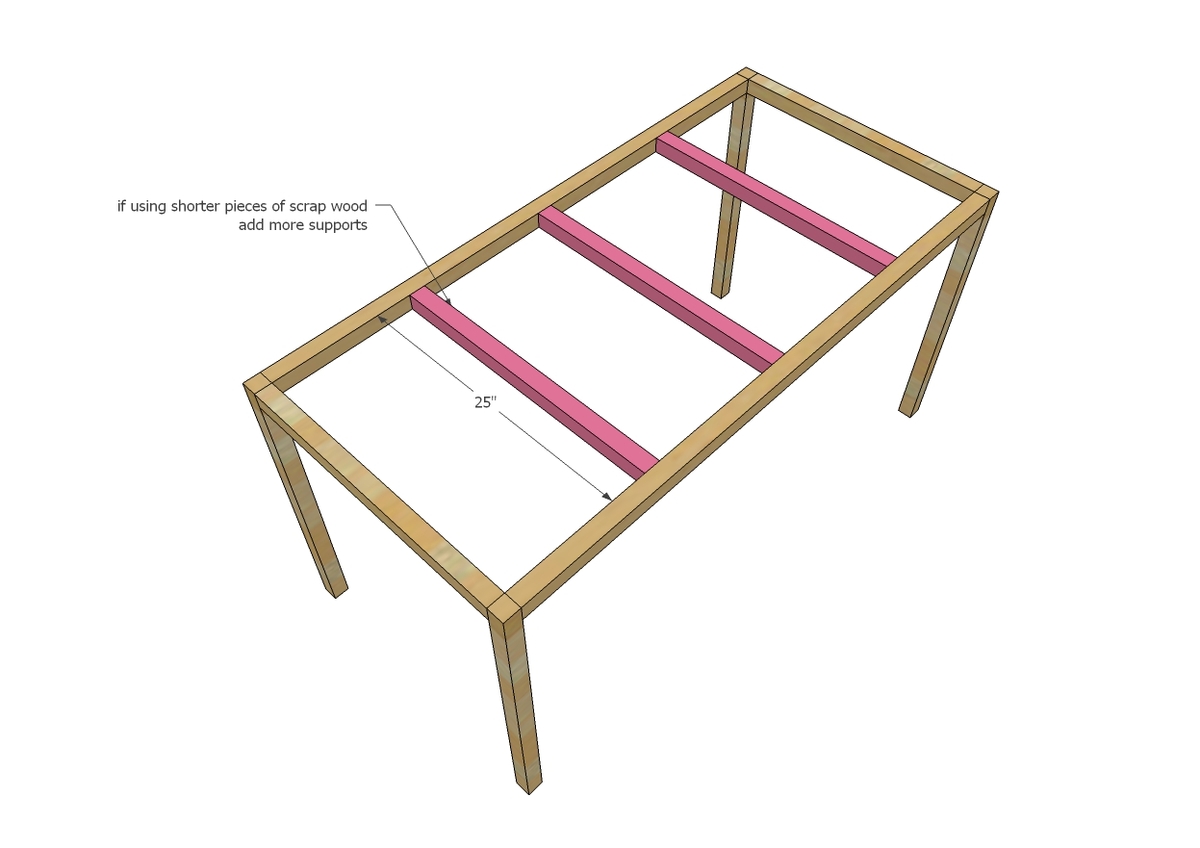
Attach side aprons supports, alternating side that the pocket holes are located to prevent too many pocket holes into the legs at the same spot.  Use glue.

Step 3

Attach supports to side aprons with 1-1/2" pocket holes and 2-1/2" pocket hole screws.  You should add additional supports if using shorter pieces of scrap wood.

Step 4

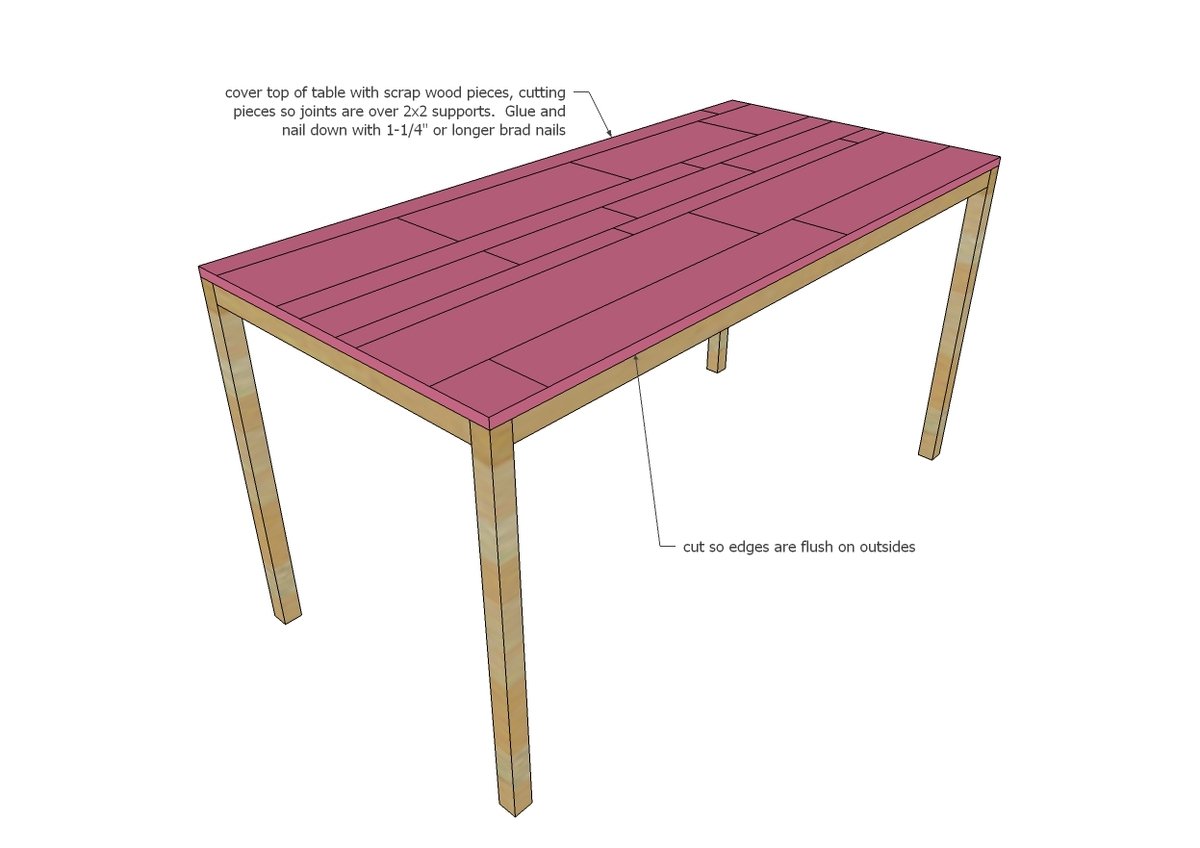
Use glue and 1-1/4" finish nails to attach scrap wood to top of table.  Make sure the scrap wood joints fall on top of a 2x2 support.  You may need to trim edges with a circular saw or table saw to get everything to fit just right.

Step 5

Step 6

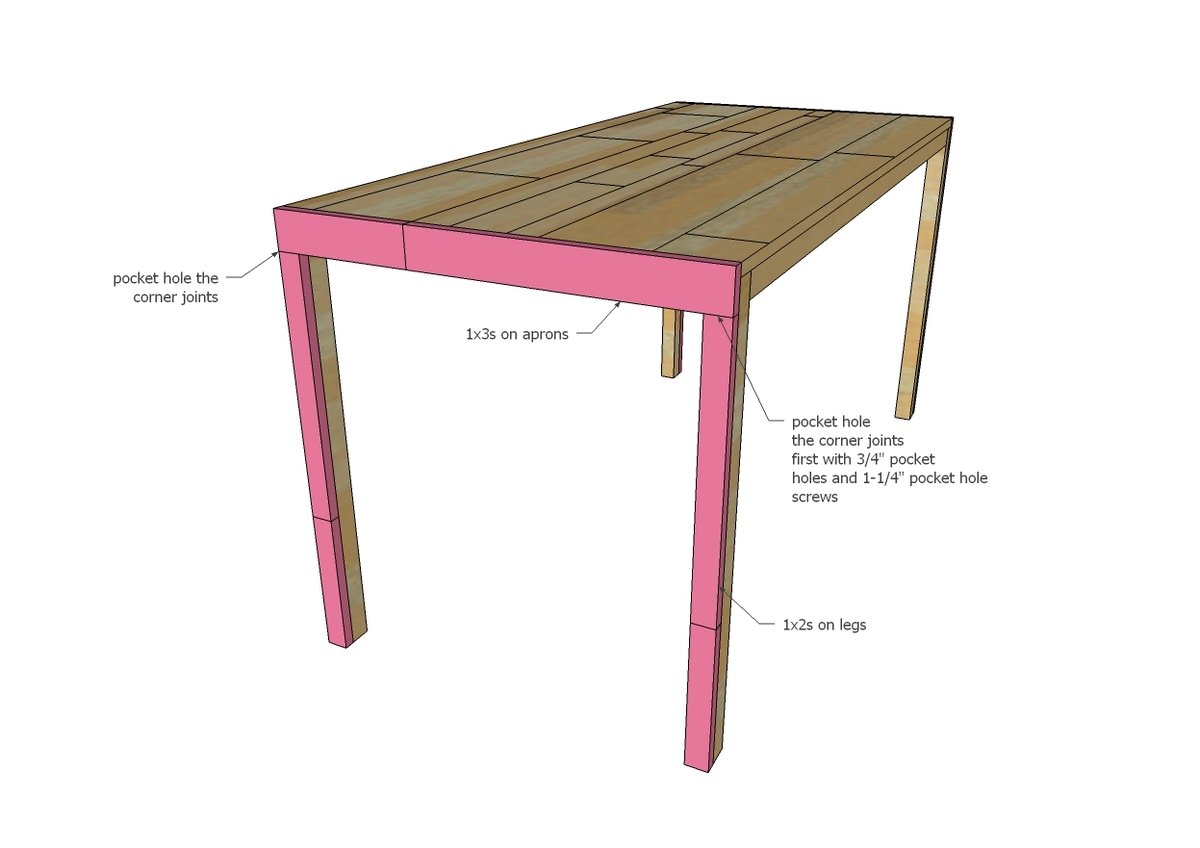
For the side legs and aprons, you'll repeat the same steps a the end aprons. One note is the leg is actually 2-1/4" wide and a 1x3 is 2-1/2" wide so if you just use a 1x3 here, it will overhang the leg by 1/4". I found this to be barely noticeable, but if you want, you can rip the 1x3s that cover the legs down in width to 2-1/4" for a perfect fit. It is again very important to kreg jig the corners to adequately support the legs.

Finishing Instructions
Preparation Instructions
Fill all holes with wood filler and let dry. Apply additional coats of wood filler as needed. When wood filler is completely dry, sand the project in the direction of the wood grain with 120 grit sandpaper. Vacuum sanded project to remove sanding residue. Remove all sanding residue on work surfaces as well. Wipe project clean with damp cloth.

It is always recommended to apply a test coat on a hidden area or scrap piece to ensure color evenness and adhesion. Use primer or wood conditioner as needed.
Project Type

Comments

handmadewithash

Mon, 07/27/2015 - 22:17

Ana, I love the look of your table! The finish is awesome! Do you stain the boards different colors before putting it all together? Staining multiple boards different colors is something I'd like to try, but I usually become lazy and use one color :P

ytsmith2

Sun, 09/06/2015 - 22:21

Looks great! And I really like those chairs, where did you get them? I'll second handmadewithash's question - did you end up staining the top boards individually with different stains?

Sherona

Wed, 12/27/2017 - 08:35

Love the whole dining set! May I know where you bought the chairs? Are they the skyline tufted mor chair in linen talc color?