Hi everyone, happy weekend!!! Are you planning on working on a project this weekend? We'd like to get down to our cabin and take care of a few things before snow falls. We ususally have snow sticking by mid October, and the mountains are already covered in snow. Our summers are so short up here in Alaska.
I've really been enjoying getting to go back through all my photos from our cabin build and share the build process with you. In my last post, I shared with you how we sided the cabin with wood. I'm not just sure if that was a good decision or a bad one - we shall see ...
On the inside though, I feel like I've finally been making better decisions. Especially after painting the walls primer toned gray.
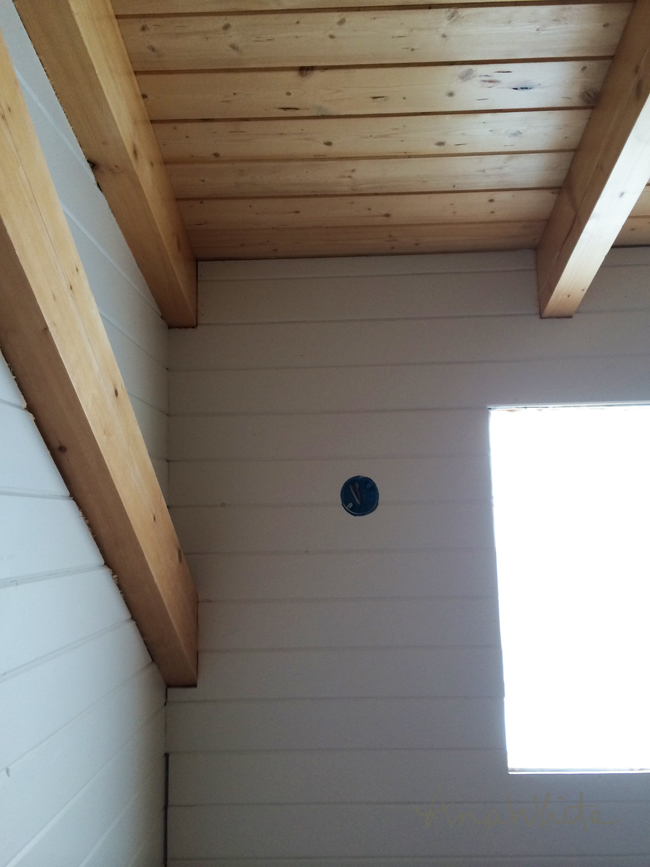
Since the walls are painted, and not wood to match the walls, trim out isn't as simple as just putting small pieces of wood up over the gaps. Especially between the beams where we couldn't fit the wall paneling in tight enough to not need trim. We will need something, and it will need to be a pretty substantial something, to cover gaps up to a couple inches in some places.
Our first thought was to take 1x2 boards and trim around all the beams and the wood ceiling. But this would mean some pieces of trim would need to be beveled on one side, and then angle cuts and so on - not the easiest trim out job. And I worried that the end result would look busy and like the trim job was an afterthough.
So what to do? We racked our brains on other options and finally came up with this -
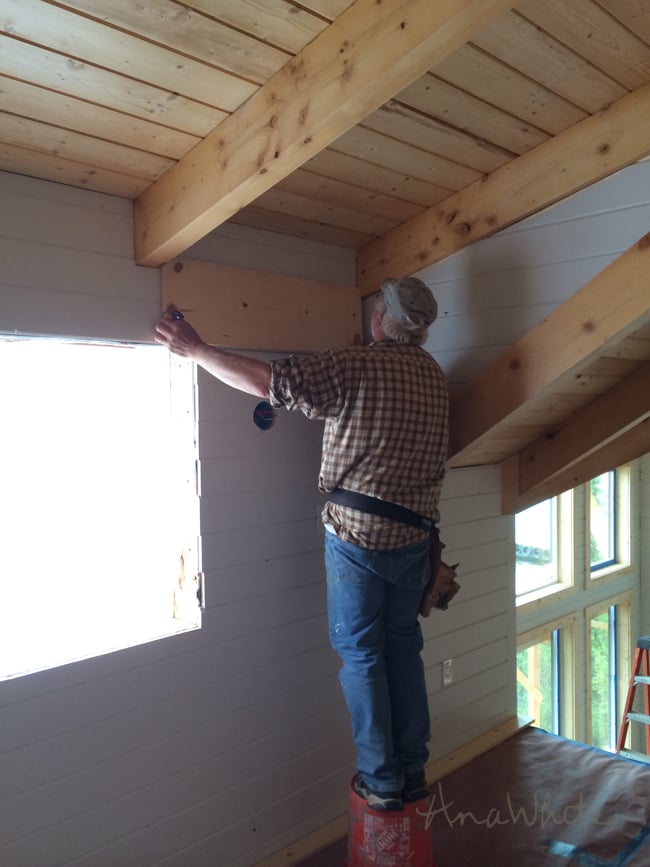
We will cut 1x12 boards to the width between the rafter beams.
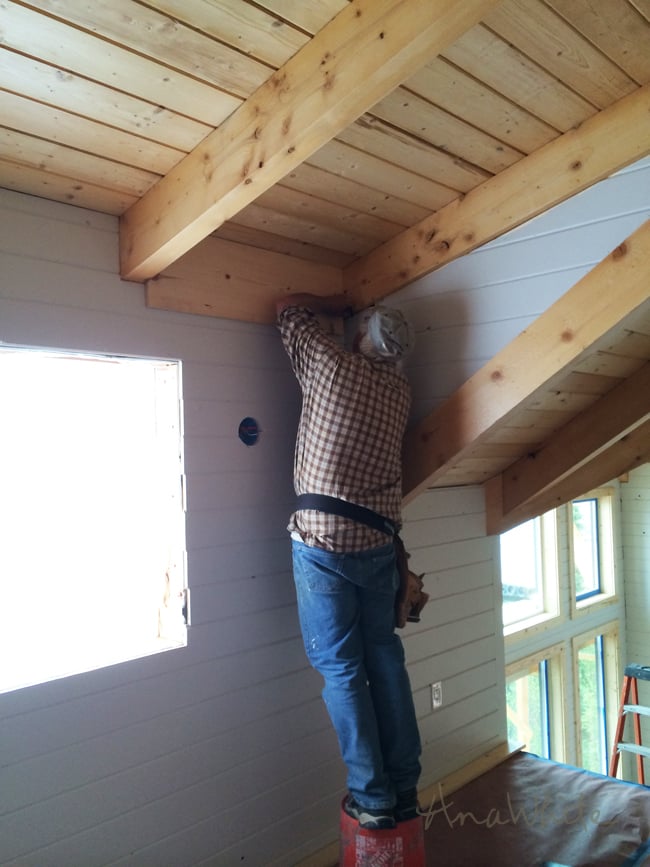
Then each 1x12 board will be placed in it's spot, between the beams, and the excess will be carefully marked on the 1x12 board. The reason the boards are hand scribed instead of just measuring is this is it - there will be no trim piece over these joints, and we have to get the cuts perfect.
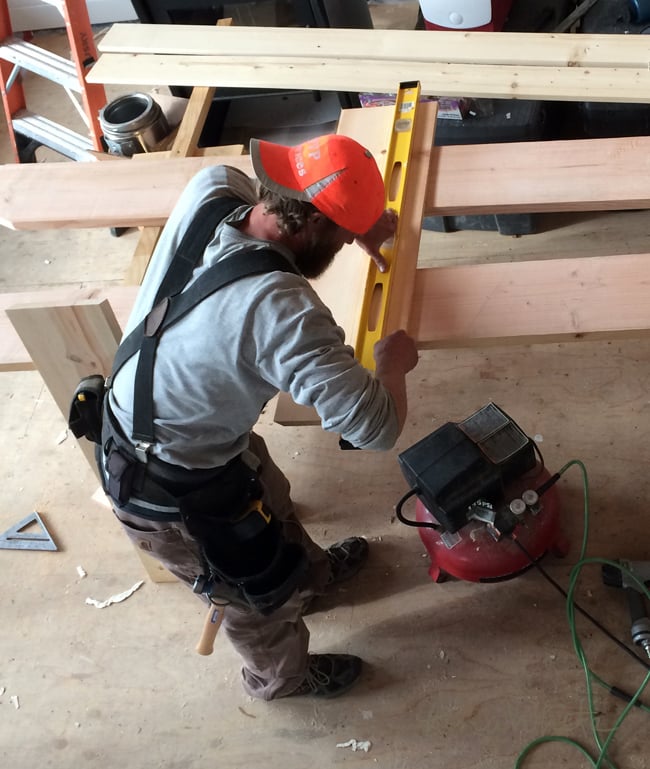
Between the marks on the 1x12s, a level line is drawn.
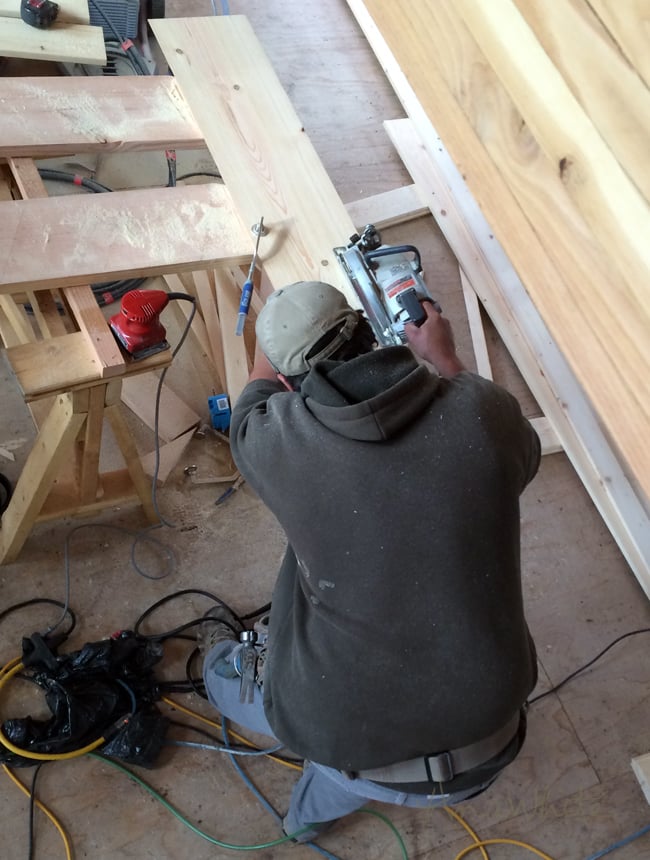
Then we set the circular saw to match the angle of the rafter and cut along the line.
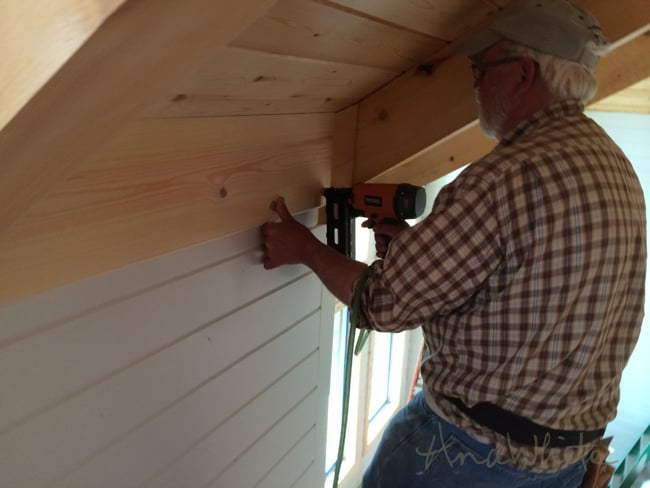
Then the board is nailed up between the rafters.
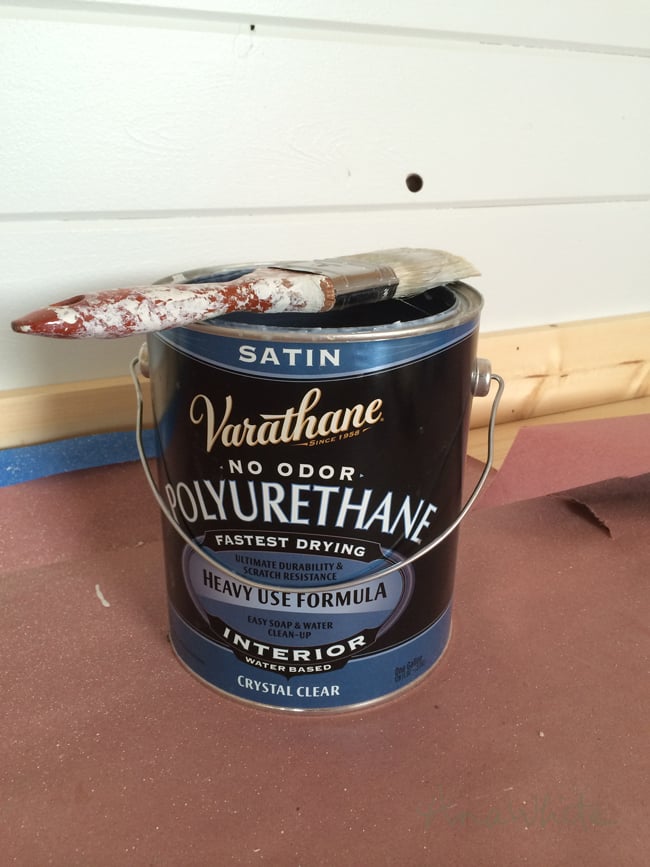
We then added a coat of polyurethane over top of the board.
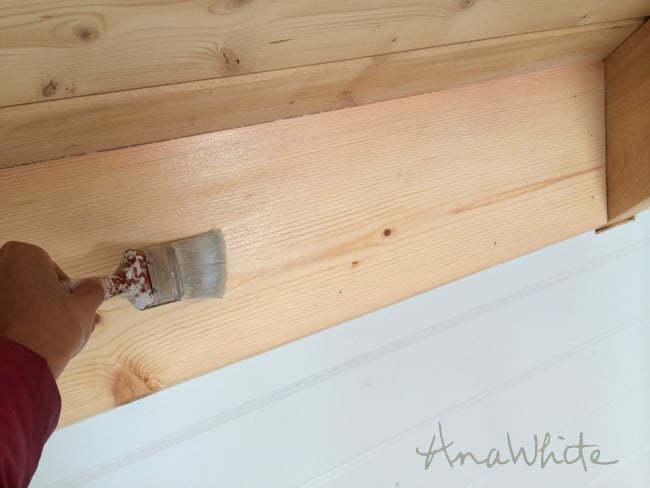
This will protect it and it matches the finish of the ceiling.
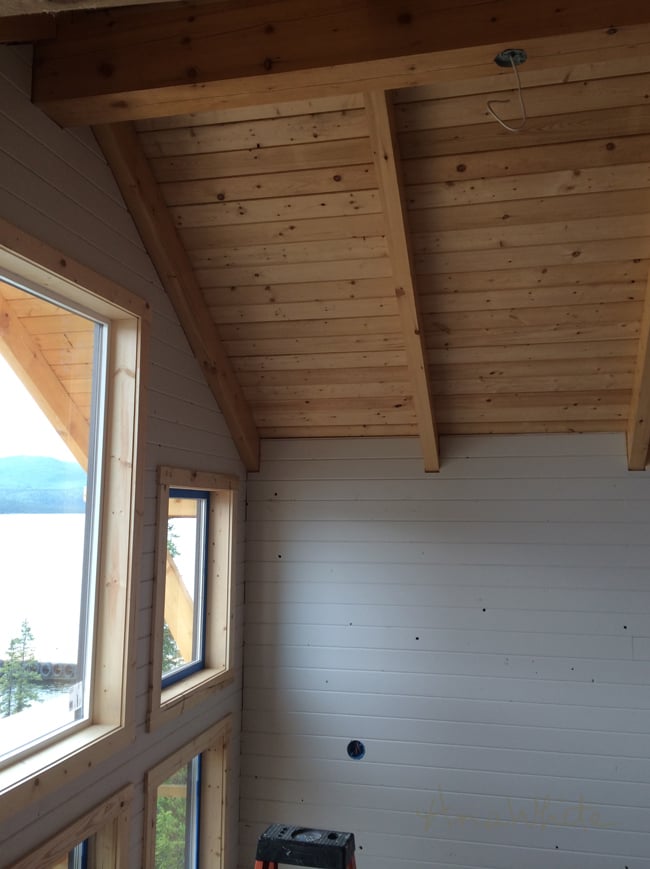
In the great room, things were a little more challenging.
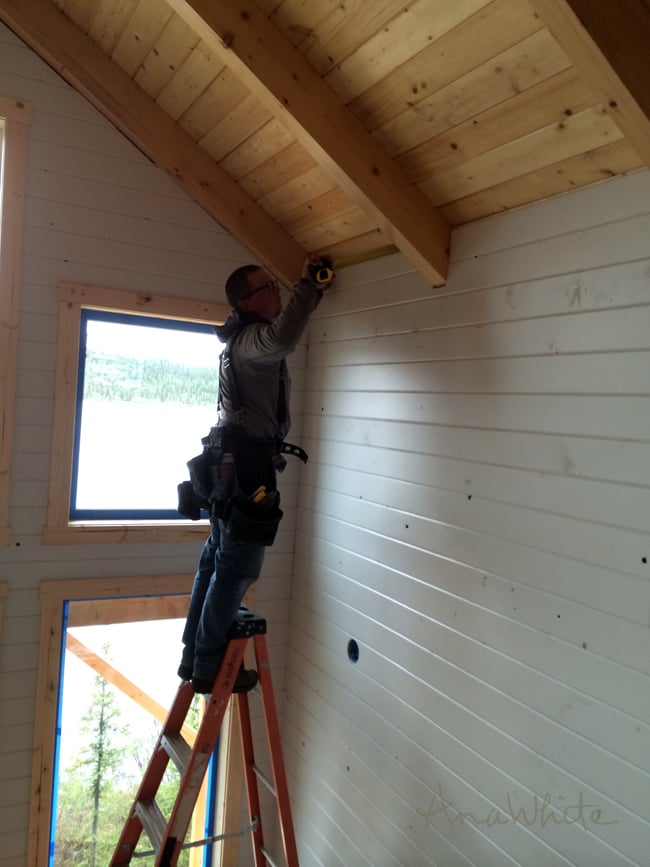
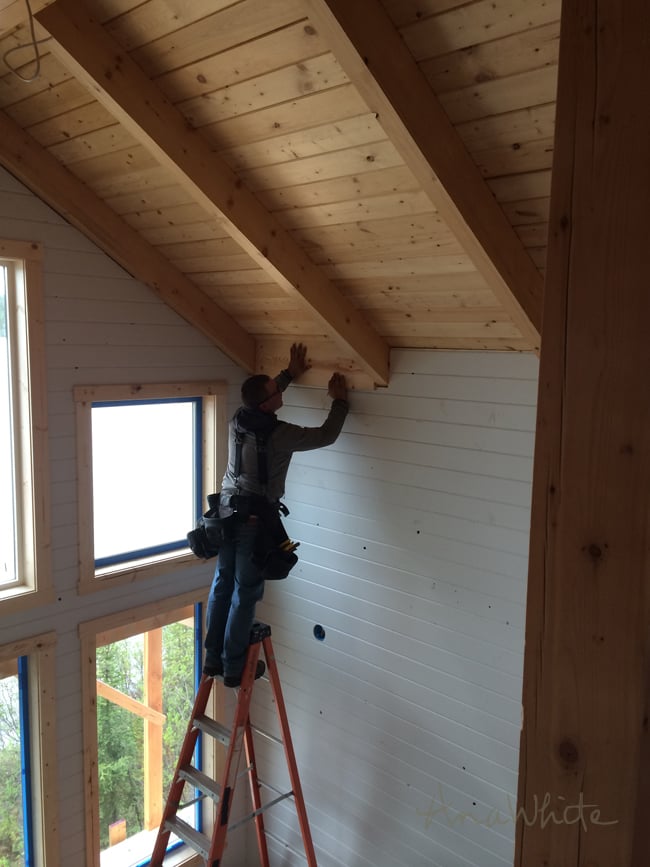
We had to use a ladder to climb up and measure,
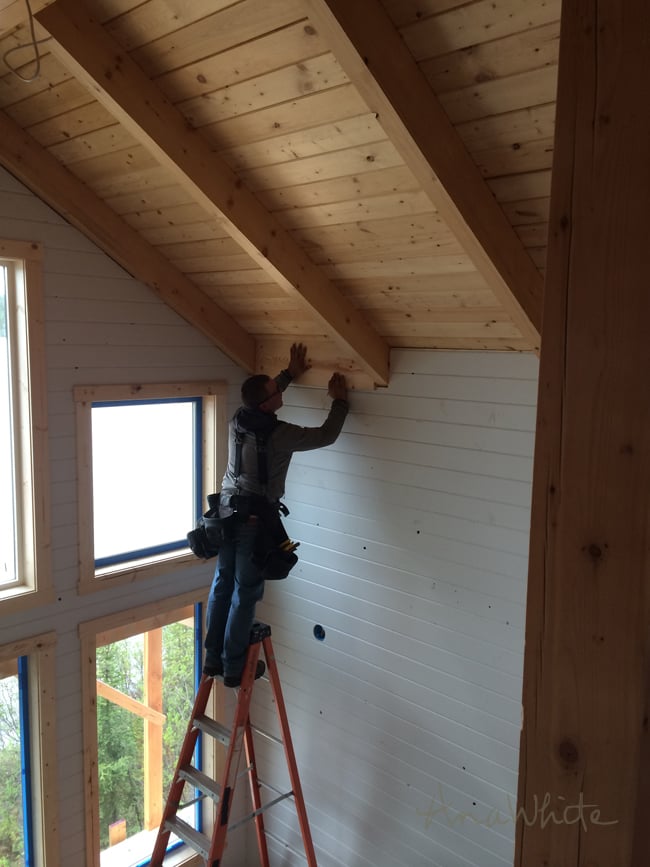
And scribe the board and nail it on from the ladder.
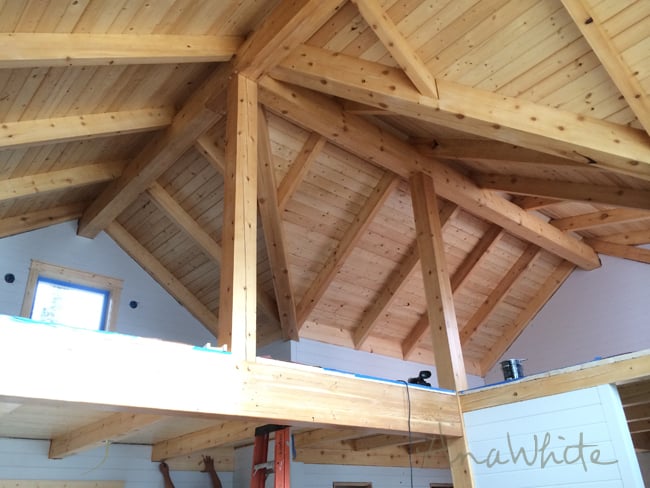
Doesn't that look how it should though?
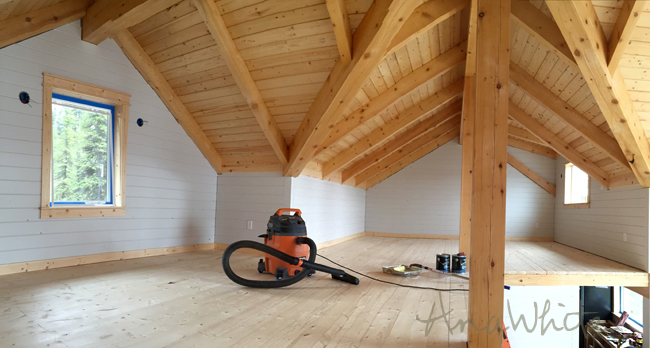
That is what I wanted - to look up at the ceiling and just think, wow, that is beautiful, and not even notice the trim. Like a good concealer.
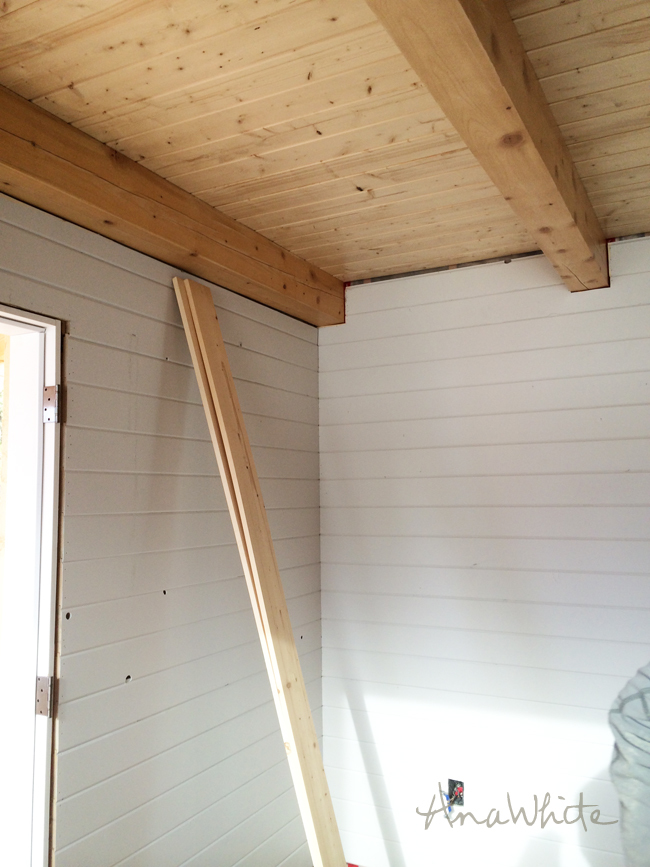
Downstairs, below the loft, we had to add some trim, but that's all straight cuts
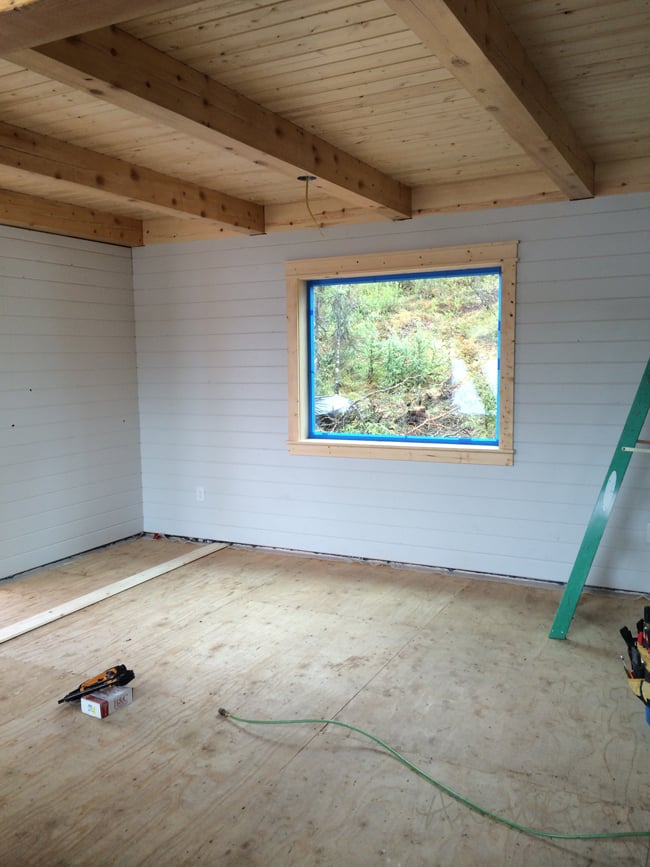
Those went up really fast and easily. We could just cut those on the tablesaw.
But even after adding the 1x trim between the beams, there still is a gap under the beams that needs to be trimmed.
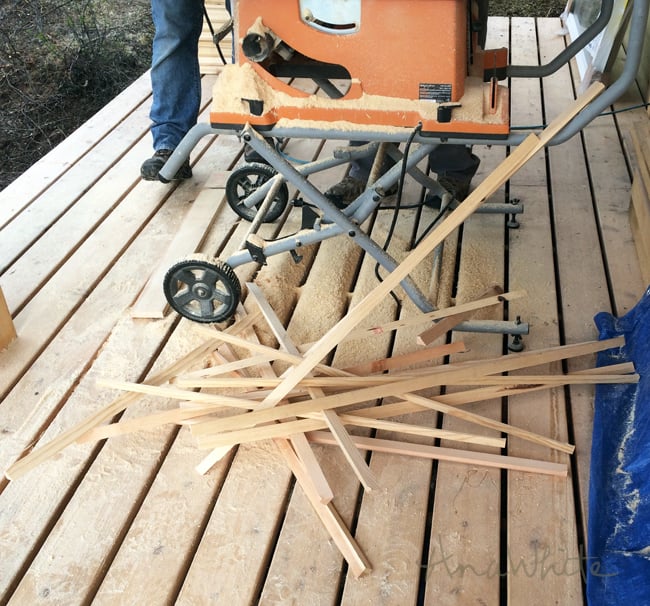
I noticed an ever growing pile of scrap wood under the tablesaw. So I started setting it aside.
We decided to use it for the final trim out of the beams and filler boards.
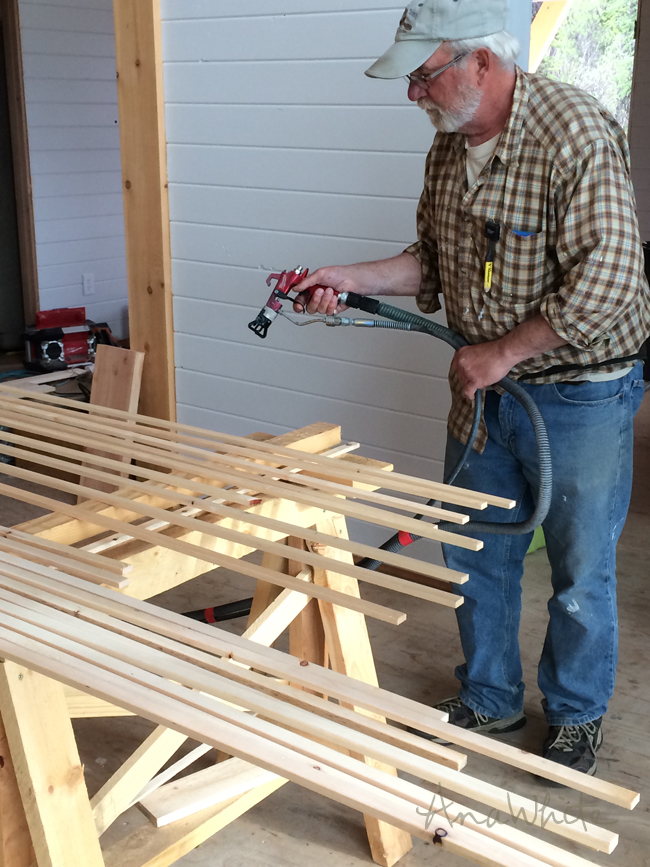
Since much of this trim will get installed up high on a ladder, we sprayed it first with clear coat and let it dry.
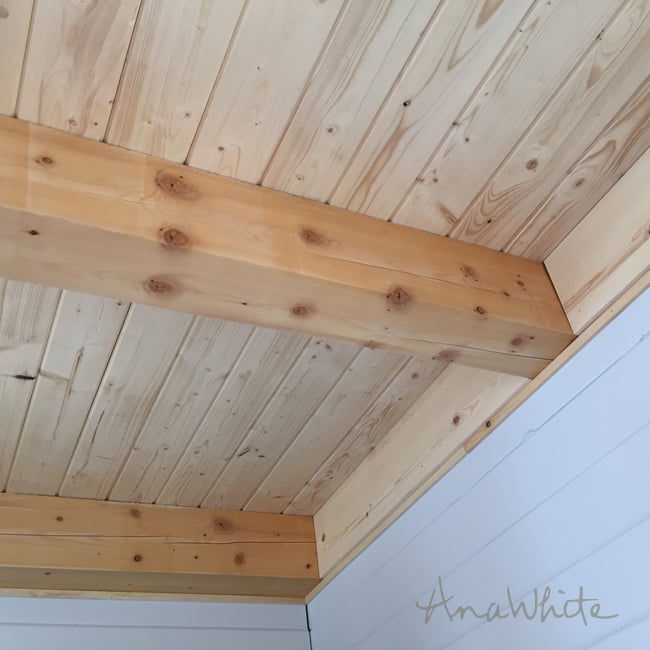
And then trimmed out under the beams and the filler pieces. It worked perfectly.
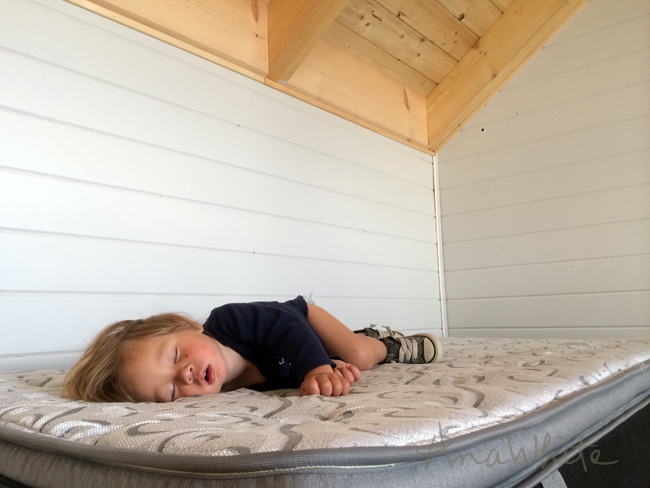
In the corners we used angle trim painted to match the walls to finish out that gap (the same stuff you would use when installing wall paneling).
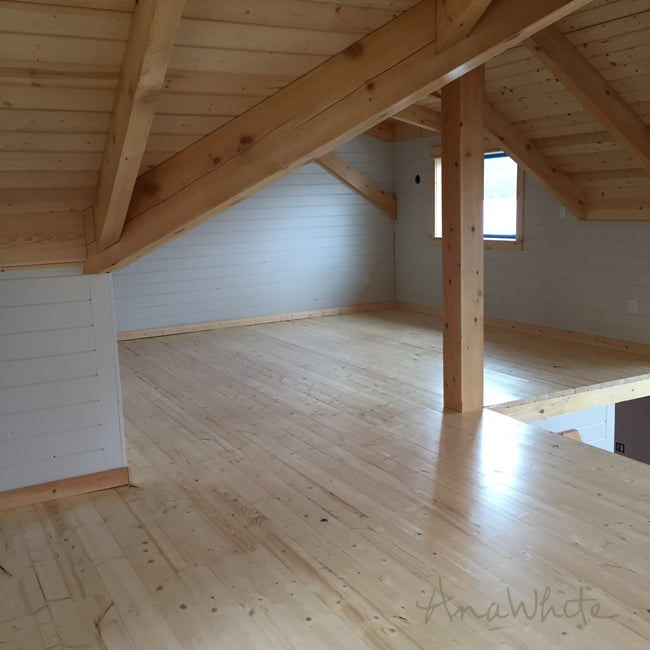
I love it! What do you think? What would you have done for trim out?
Thanks so much for following along and being part of our cabin building adventure! Will let you know when it airs on DIY Network as soon as we can!
Have an awesome weekend!
XO Ana + Crew
Comments
coseydog
Mon, 09/28/2015 - 03:07
Looks Great!
Simple but effective. Love it!
Pam the Goatherd
Mon, 09/28/2015 - 13:57
Wow! That IS beautiful! Love
Wow! That IS beautiful! Love it!