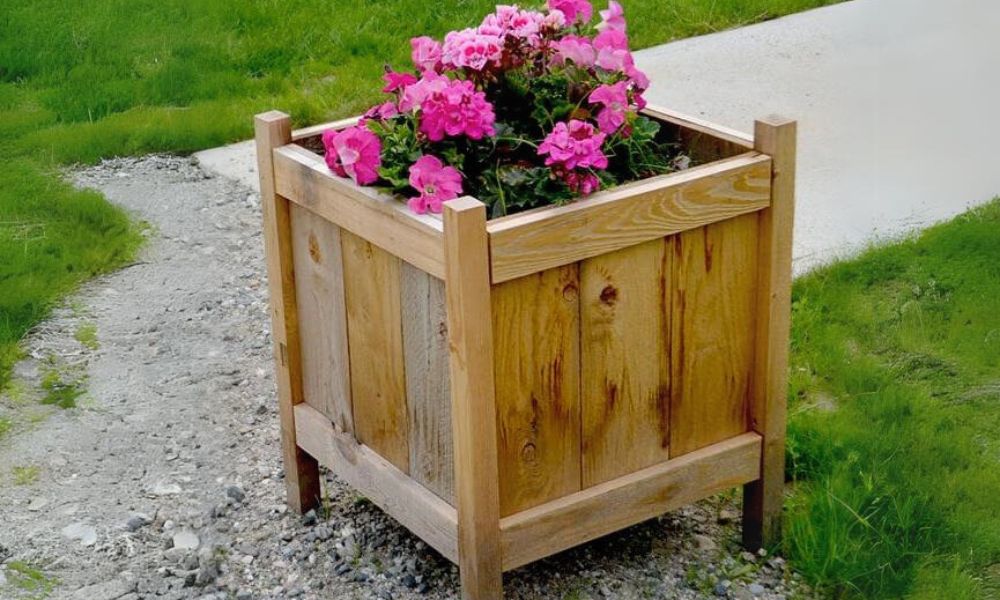


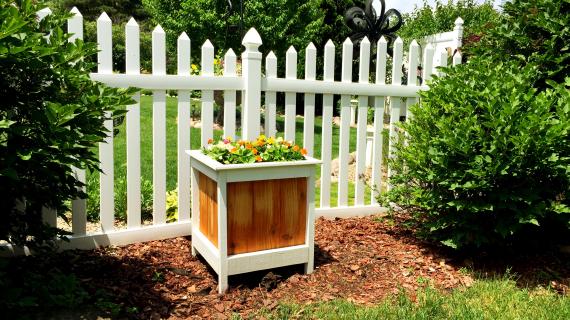
Using cedar fence pickets, you can make these beautiful planters for about $20 each! Our plans include step-by-step diagrams, shopping and cut lists, and dozens of reader submitted photos and success stories.
We also have plans for a taller, more modern planter, a cedar ladder planter (also using cedar fence pickets!) and lots more planter projects here.
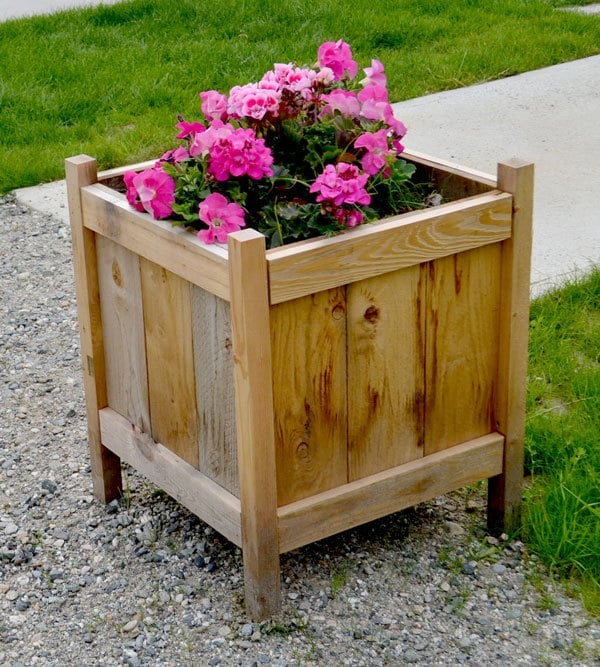
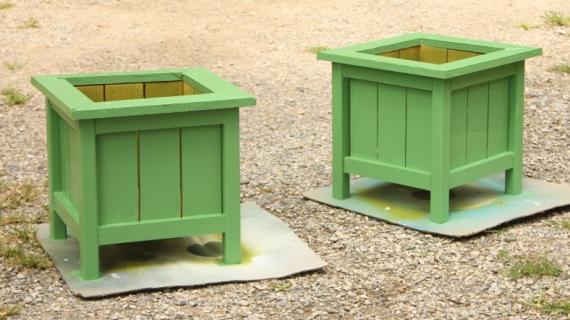
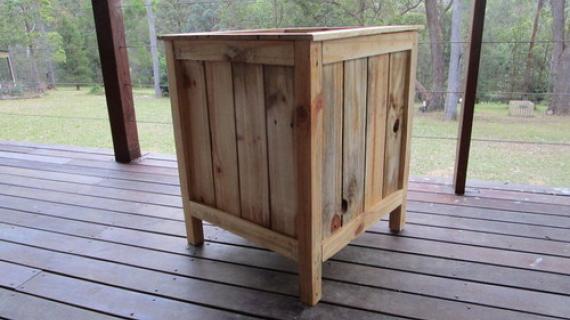
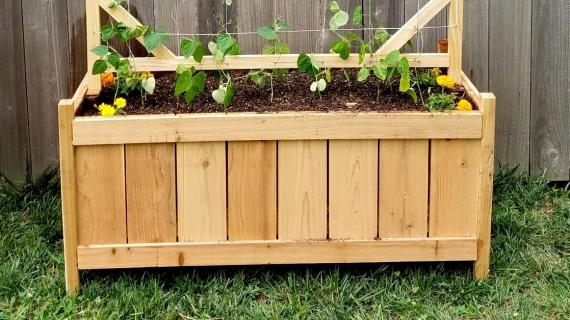
Cedar planters are so beautiful - you cannot replicate the natural texture and grain of real wood. But cedar can be expensive. Why not use cedar fence pickets (about $2 for 6 feet each) and build your own for a fraction of the cost?
This was a quick and easy project, and I absolutely love how it turned out! Every time I come home, I admire my planters.
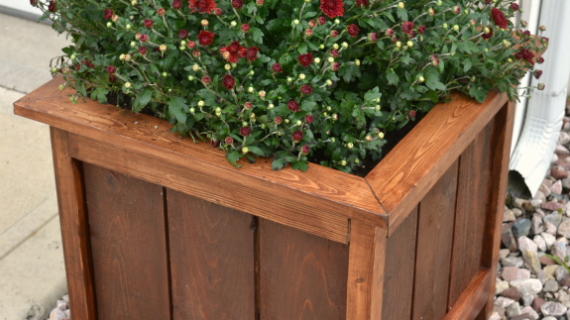
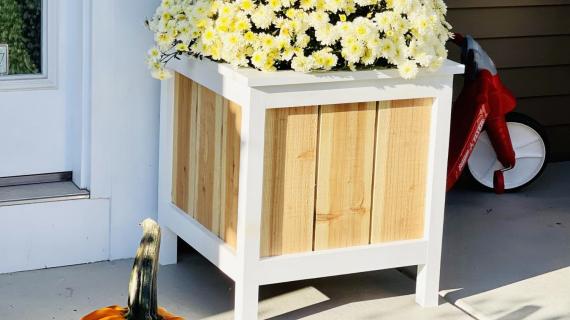
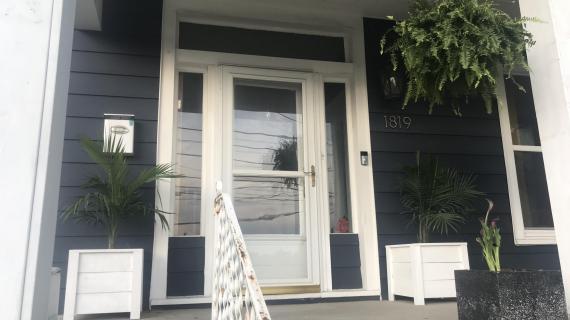
Framed Top Modification
Many of our readers have modified this plan to have a mitered framed top, like this one below by Hillary Louise
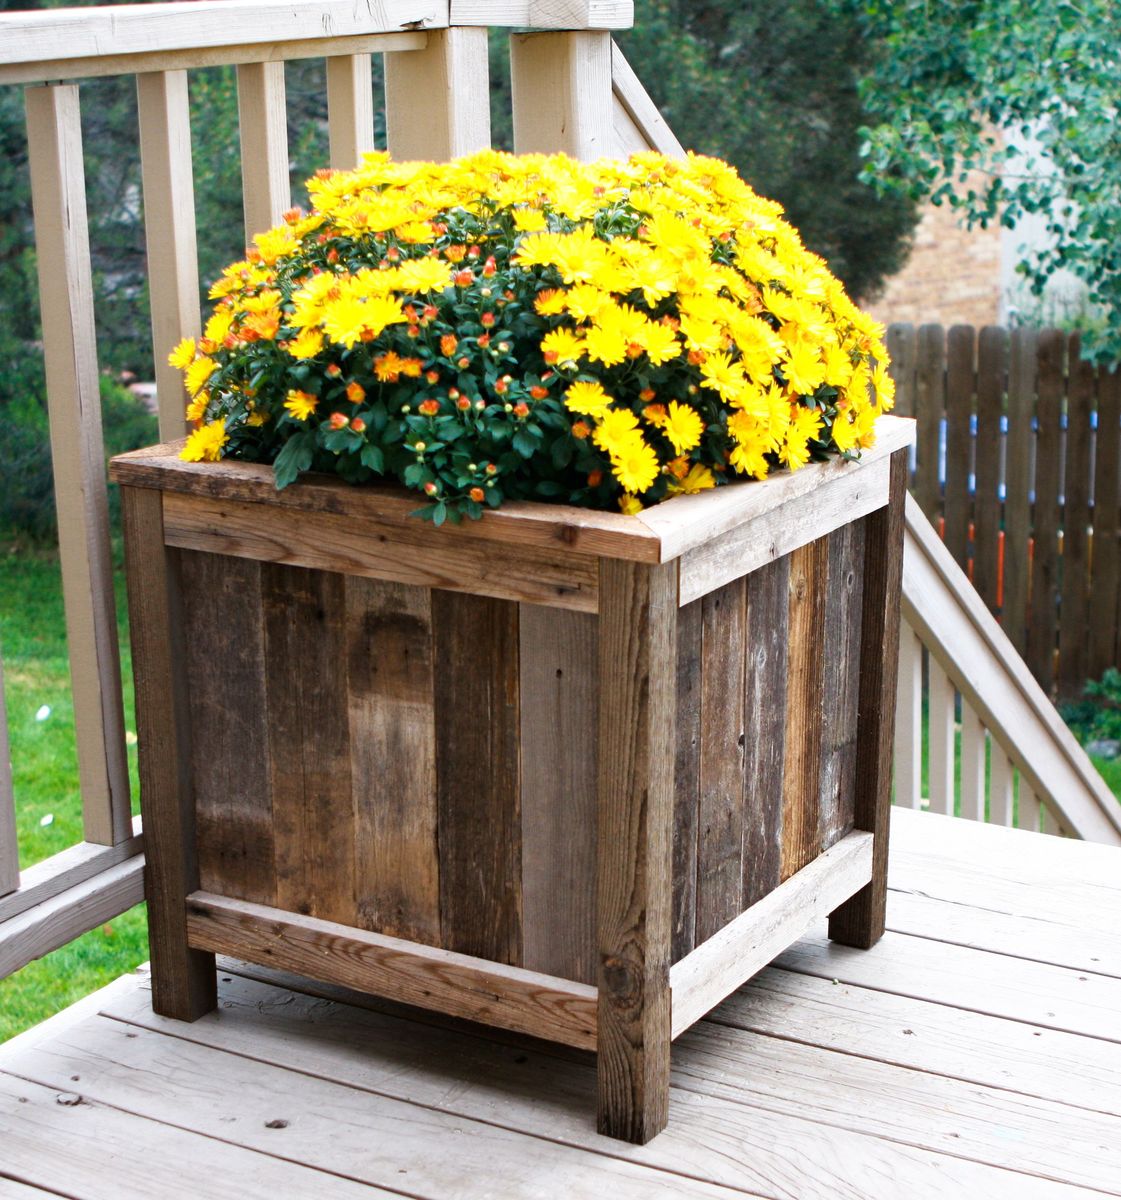
To do this modification, simply cut the 2x2 legs 22" long (instead of 23-3/4"). Attach the side panels flush to the tops of the legs in step 2.
You'll need to add a 1x3, 8 feet long, to the shopping list. Cut four 1x3 @ 21" longest point to longest point - both ends cut at 45 degrees, ends NOT parallel. Nail or screw to the top of the planter after you have completed building.
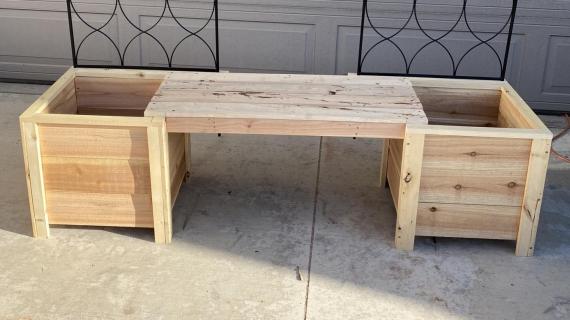
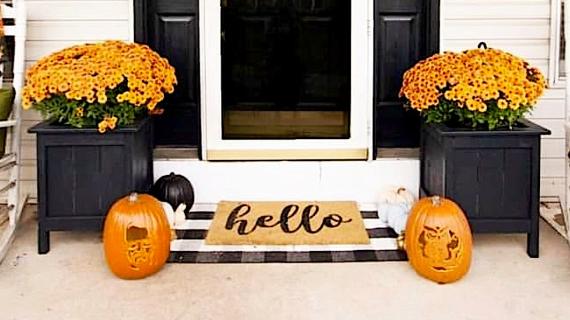
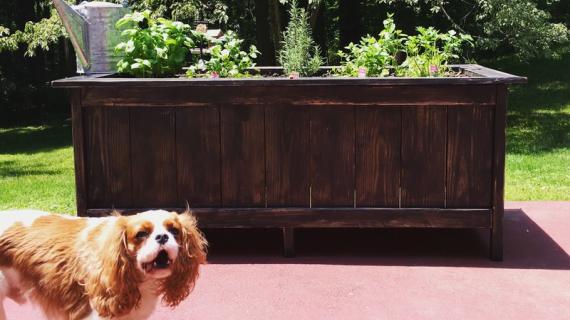
Rectangle Cedar Planter
You can also easily alter the size of the planters up to double the width rectangle shape, without having to add additional legs, as done here.
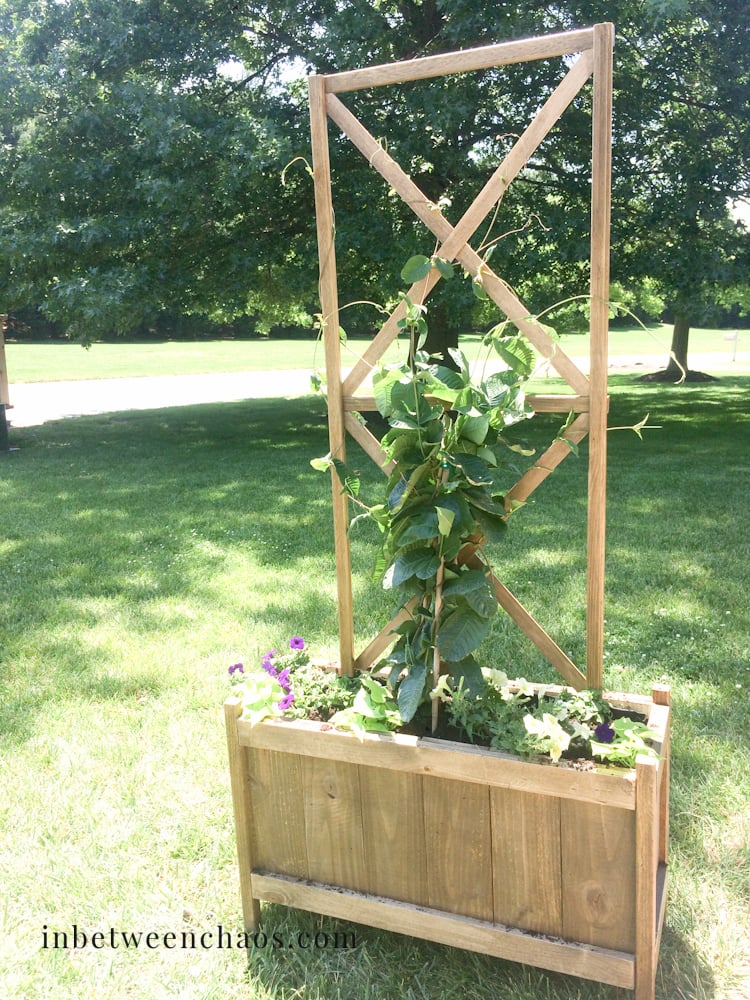
This is an easy modification - just add a couple more cedar fence pickets and 1x3s to your shopping list. I recommend laying out the cedar fence pickets and measuring how long you need to cut your 1x3s (instead of just doubling the cut list dimensions) because cedar fence pickets can vary in width.
Cedar Fence Picket Planter Plans
The plans for the cedar fence picket planter are below. Please share a photo if you build - we greatly appreciate brag posts.
Pin For Later!

Preparation
- 2 - 1x3 @ 8 feet long
- 1 - 1x2 @ 8 feet long
- 3 - 5 1/2" wide x 72" long cedar fence pickets
- 1 - 2x2 @ 8 feet long
- 2 1/2" exterior pocket hole screws
- 1 1/4" exterior screws or galvanized nails
- exterior wood glue
- 10 - 1x3 @ 17"
- 5 - 1x2 @ 17"
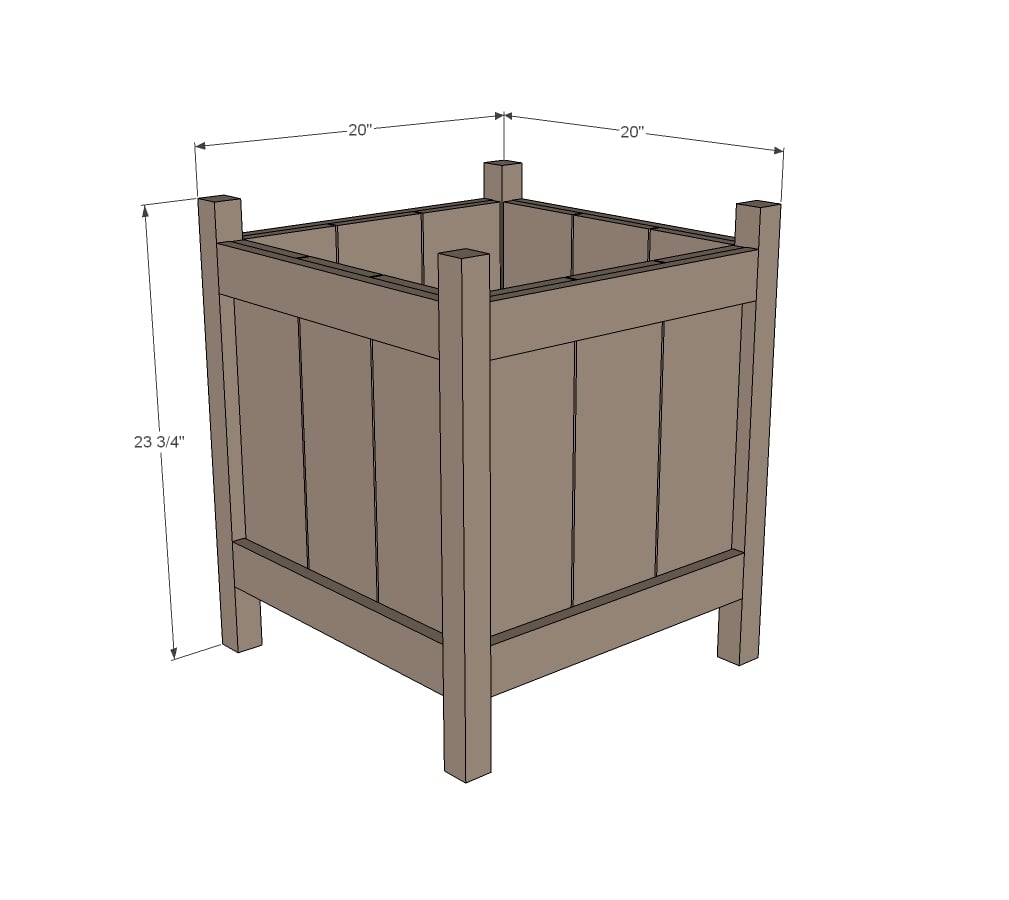
- 4 - 2x2 @ 23 3/4"
- 12 - cedar fence pickets @ 17 3/4" long (shortened by 1/4" from diagrams to allow for saw blade width and dog eared end)


Instructions
Step 1

Start by first building your four panels. I sized this plan to allow for an 1/8" gap between the cedar pickets as they will shrink/expand with moisture and let's just face it - the cedar fence pickets are not going to be perfect! I used 1 1/4" galvanized nails and exterior glue from the insides.
Step 2
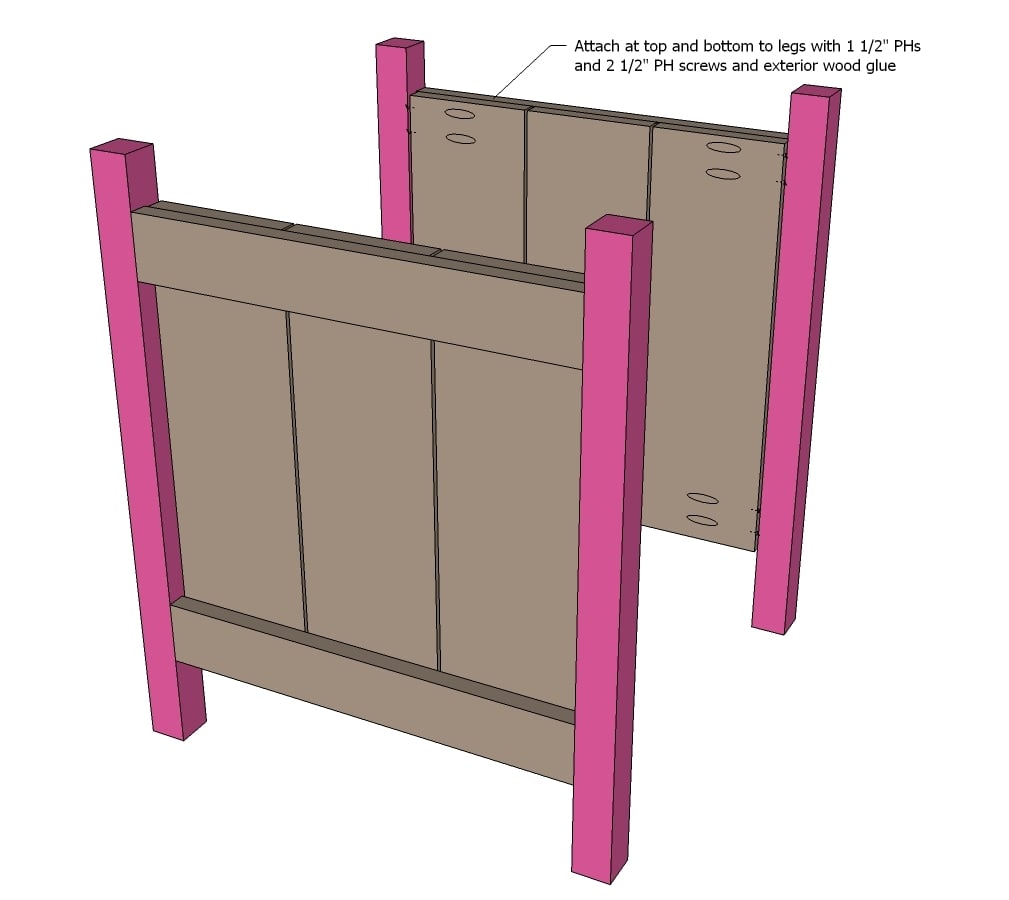
On all four of your panels, drill 2 - 1 1/2" pocket holes on the inside, behind each 1x3 on the ends. This will put screws through the fence pickets, 1x3s and then into your legs. Join two of the panels to the legs as shown in diagram.
Step 3
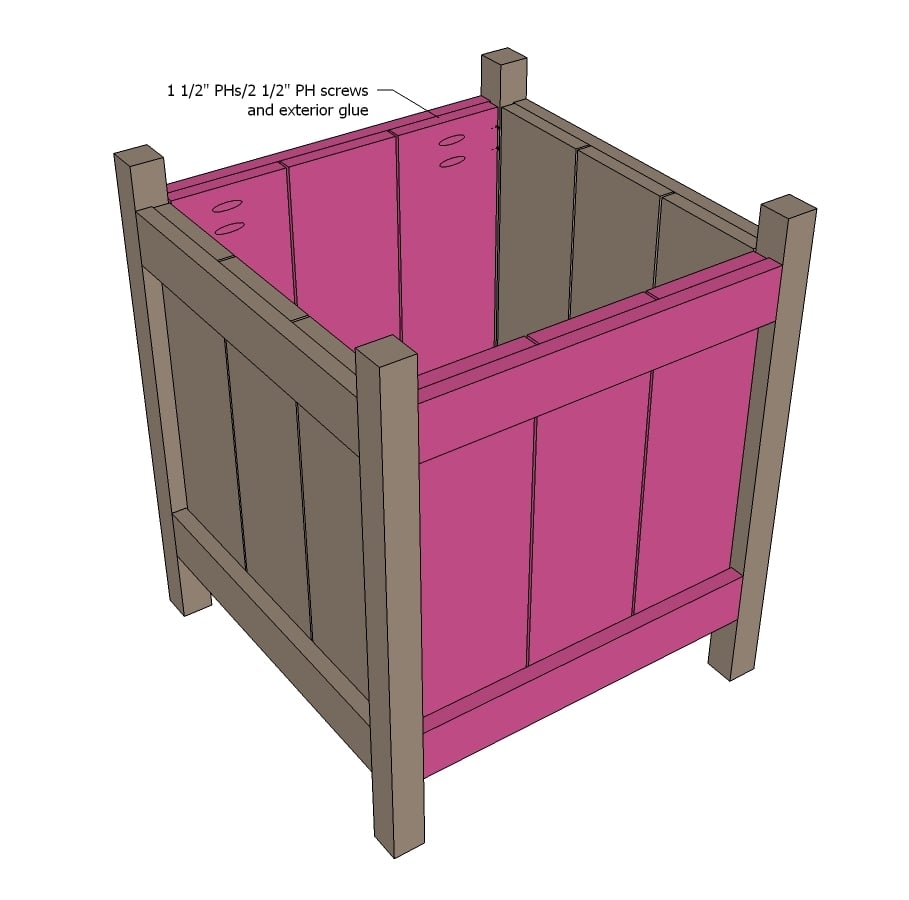
And then add the remaining two panels to create your planters. Adjust for square.
Step 4
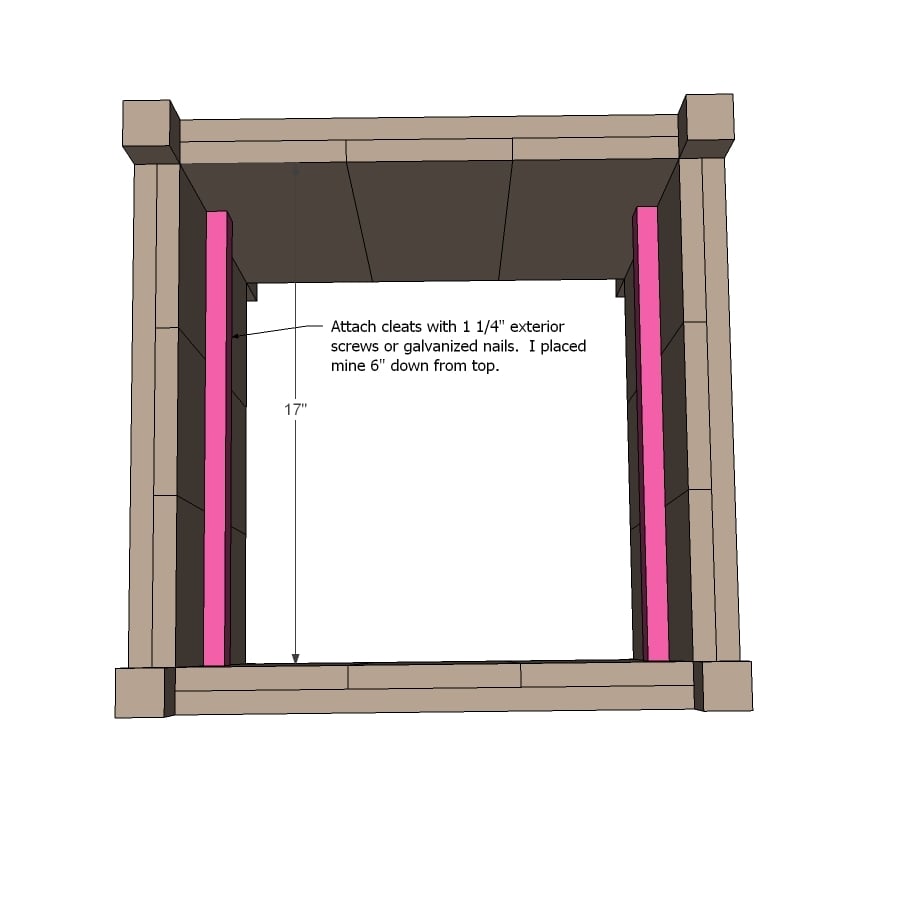
Now don't think that this whole planter needs to be filled with dirt!!! Unless you are planning on harvesting potatoes in there! I put my bottom 6" down from the top to keep the planter lighter and use less dirt. Start by attaching cleats to sides at desired height.
Step 5


Comments
Andrew Malizia (not verified)
Wed, 08/08/2012 - 13:07
Neat project Ana. These will
Neat project Ana. These will tie in nicely with my short 30" cedar fence around my front porch I just built. I even have 16" cedar boards leftover from my cuts.
Error: Cutlist: 10 - 1x3 @ 17" (You've listed 1x8)
Thanks again!
In reply to Neat project Ana. These will by Andrew Malizia (not verified)
Ana White
Wed, 08/08/2012 - 15:03
Thanks for the catch!!! Will
Thanks for the catch!!! Will fix now. Thank you!
Kaila (not verified)
Wed, 08/08/2012 - 13:16
Alas...
...Cedar Fence Pickets don't seem to exist in my part of the country! I have a friend that works for Blue and he says they don't actually carry cedar in this region (central PA) in anything but pre-fab fence sections and corner posts. :-(
Guess I'll have to go the more expensive independent store cedar board route for my planters and raised beds.
orangesugar
Thu, 08/09/2012 - 08:24
Neither orange nor blue carry
Neither orange nor blue carry cedar fence pickets in my area (CT), I've looked multiple times.
vic b
Thu, 08/09/2012 - 12:44
cute
cute
Back Woods Woo…
Tue, 10/30/2012 - 22:08
Problem
I have a small problem. I have my 1/8" gap on all sides like the plans say, but as soon as I put my PH screws in the gap goes away. That even after I glued it and nailed it. So my gaps in the middle are no longer 1/8". But it still looks good even with the bigger gap, but I'll post some pictures as soon as I finish it.
Monique (not verified)
Sat, 12/15/2012 - 17:21
Planter Cost
I absolutely love your website. I'm so excited to get started on a few of your plans. You're any inspiration. Is the budget or $20 the cost per planter?
Continued blessings,
Monique
mybartmart
Sun, 04/07/2013 - 13:15
planter trouble
Well for me the 1/8th of an inch over on each end didn't work when attaching the 2x2's it made them buckle a bit inward. I think next time I would just make it flush. They are very sturdy when done and look great in different finishes.
JavaJoe
Wed, 06/11/2014 - 14:29
Smaller, more finished version of these cedar planters
I used the main plan for ideas, but opted to use 3.5 inch pickets instead of the 5.5's, which allowed for a smaller planter that wasn't as big. Also chose to miter 1x3s for the top which I think really finishes it off. Used cedar for everything, including the one bys. Sanded everything with a belt sander to 220 grit.
Assembled using a pneumatic staple gun from the backside, then finished with exterior wood screws so nothing would show.
For the finish, I used minwax golden pecan plus three coats of poly inside and out (much faster to treat all the boards first before cutting and assembling), to keep the rain out! Finished size was about 17x17. Tile spacers work great to keep the gaps even!
Thanks so much for the good idea... the wife loved it which is the most important thing (especially if you want to keep buying new tools LOL!!!)
Angel Rose
Sun, 06/15/2014 - 11:59
Protecting the bottom wood
Made two of these. Love them, but the slats I put in the bottom rotten/molded quickly. What have others used to protect the wood at the bottom or are most people using a plastic inserts?
Mary Helen
Wed, 06/25/2014 - 13:35
Made my first planter! Ya! Hoo!!
I thought I would make one planter just to get me started and give me enough courage to move on to bigger things (like a farmers table). Well, I made the planter with no problem. It was pretty easy. My husband liked it so much he contracted me out to our church who in turn wanted 4 more planters for there new wooden deck. So, I made 5 planters for my churches new wooden deck. I am so proud of my work that everytime I go to church I tell someone new, Guess who made those planter? Duh! Me. Yep, I made them all by myself. Thanks Ana for the plans!!
LYoung26
Sun, 02/15/2015 - 17:01
Step 1 instructions
These look great! I have a question though. On step one it says, "attach at bottom and top with 1 1/2 inch ph screws and 2 1/2 phs screws." There aren't 1 1/2 ph screws in the shopping list. The 2 1/2 Pocket hole screws are for the pocket holes right? And then we attach the cedar planks to the 1x3's from the inside with 1 1/4 pan head screws? Is that right?
Sue Hill
Wed, 04/22/2015 - 09:17
Where to buy cedar pickets?
I just love all your projects using these pickets. I have tried all over CT to find them but no luck. I've been using pressure treated pickets 1x6x6' but would rather find the cedar. Anyone have a source?
KevinOBrien1130
Fri, 06/12/2015 - 16:05
whitewood boards on the trim
Hello,
What kind of wood is the whitewood boards on the trim? Is it pine?? And is that all the boards in this plan besides the cedar slats?
Thank you,
Kevin
In reply to whitewood boards on the trim by KevinOBrien1130
Ana White
Sun, 06/14/2015 - 13:30
Hi Kevin,
Hi Kevin,
Yes exactly and pine.
KevinOBrien1130
Fri, 06/12/2015 - 20:37
Whiteboard
Forget it. I found out that it is just basic pine lumber. Thank you..
bclute
Wed, 12/02/2015 - 19:23
Stain
I built these with pine and stained with steel wool and vinegar. They turned out good, but I would like to use them outside. Should I put a coating on them for protection (one that has a matte finish), or will they be ok?
Mark1115
Thu, 12/31/2015 - 14:35
More cedar
An alternative to the 1x3 pine would be to rip a cedar picket in half. As the cedar pickets are 5.5 inches wide, you wouldn't end up with 3 inches per board, you get something like 2.625 inches in width for each board. But I think the advantage is the cedar pieces will weather better than the pine.
For the verical slats, if each picket is 6 feet in length you should be able to get 4 boards per picket, each 18" in length - helpful to those people wanting to build a bigger box. If wanting to conceal the dog ear, put the dog ear end on the bottom of the planter and it will be hidden from everyone except the gophers.
It may be easier to attach the cleats (step 4) prior to building and fastening the box on all four sides, the advantage being you can screw or nail the cleats while each side of the planter is on a flat surface, and then do the tilt-up. If attaching the cleats after the box has been built, it creates a somewhat awkward angle for hammering or screwing in that you don't have a direct downward view on your fasteners while attaching the cleats.
BrandyK
Sun, 04/03/2016 - 16:51
First pocket hole project
This is my first project with pocket holes....and I have already messed it up during step 1. I attached the fence pieces to the 1 bys with your & 2 screws for each board at top & bottom (4 screws per board). I now do not have enough room for the pocket holes :(. I am hoping I can correct this by removing the screws that are in the way. I wanted to mention this to try to help another newbie. Ana, thanks for sharing so many free woodworking plans. I hope to learn from this one & try several more.
Wayne Oglesby
Sun, 05/22/2016 - 12:40
Connecting legs
Am I reading the instructions attaching legs by drilling 1 1/2 pocket holes but use 2 1/2 screws? FWIW I nearly cut the end of my thumb off getting in hurry cutting legs 2 weeks ago. Surgery this week. Anxious to finish and build more.
Wayne Oglesby
bfroeschle17@g…
Tue, 05/21/2019 - 19:13
Hello Anna, How do you…
Hello Anna,
How do you download the plans?
dwtdc
Wed, 05/06/2020 - 10:57
Planter
Did you plug the PH drilled or leave open