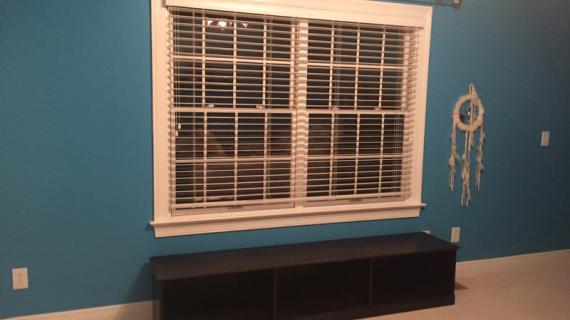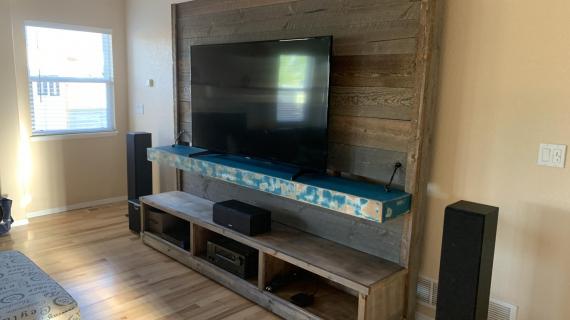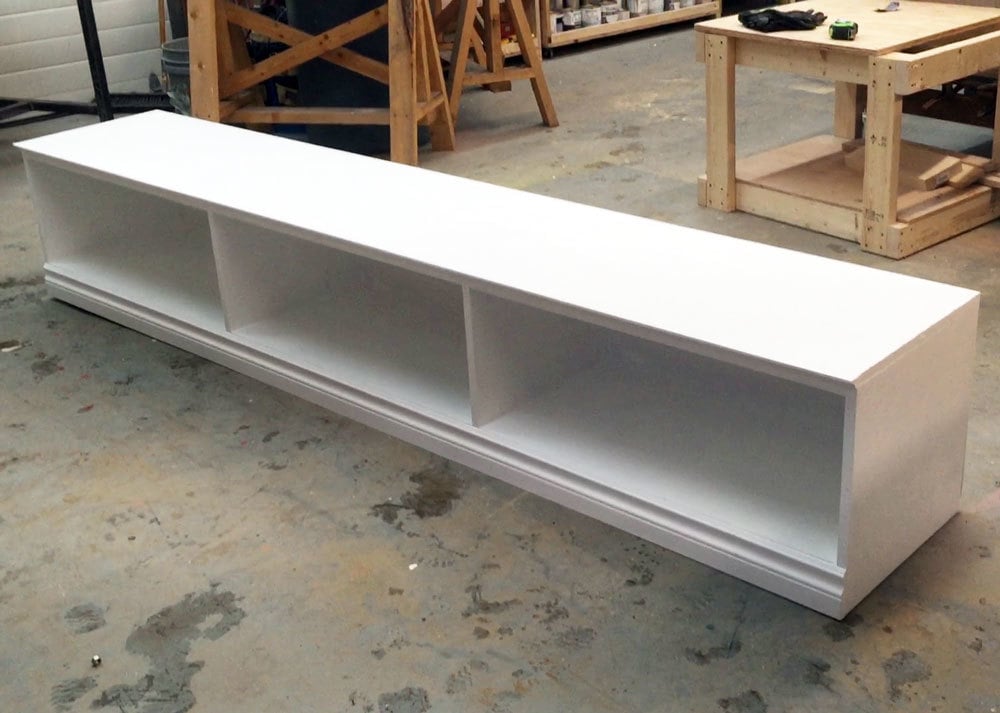
Triple Cubby Storage Base (Inspired by Pottery Barn Kids Cameron Collection)

The free plans on this website are supported with advertising and affiliate revenue.  When you click some links in this plan, you may be helping us earn a small commission.  Thank you for supporting this website.


Difficulty
Intermediate
| Print this plan

Build this cubby storage base from just one sheet of plywood!  Plans by Ana-White.com inspired by Pottery Barn Kids Cameron Storage Wall System
Shall we take a second to oooh and ahhh over all the amazing DIY builds of our Cubby Storage plan collection (of course inspried by Pottery Barn Kids Cameron Storage system)?

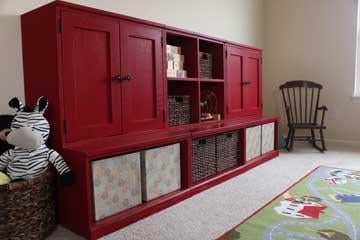
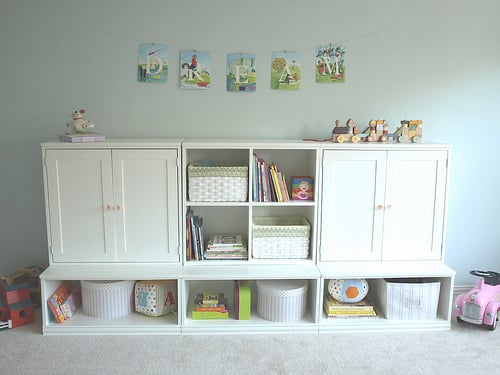
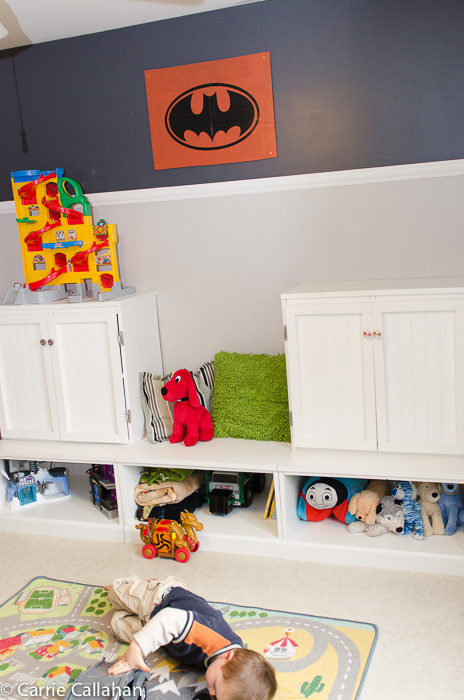
Built by Kris Kraft

Built by Shanty2Chic

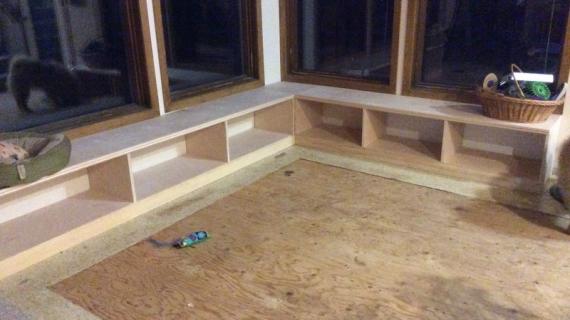
Reader contributed project

Built by BowerPower  When was Will this little???  

Shared by Marla Dubyak on Facebook (total cost just $200 finished!?!?!)


Built by Our Blessed Nest

Contributed by Becky's Nest

Reader contributed

Built by My Creative Escapes

Are you as convicinced as I am that this is THE perfect storage solution for a toy room or kids room?  I am sold.  This is exactly what I need for our playroom!

We've got a whole collection of plans (and I might just have to add a few more plans for you too!) so you (and me) can build this storage system.  Check them out!

Now I know this collection is as cute and perfect as it gets, and I know better than to mess with that ... but what happens when you just got one sheet of plywood and big dreams to make the kid clutter go away?

Well, you build three bases in one.  Now we've sacrificed some width (about 3") and there's not as much trim in between the units - but it's DONE.  In a matter of hours, with just one sheet of plywood.  Shall we call this the lazy busy mom's hack to the cubby storage?

Check out the step by step of how we built this project in this video.  I do apologize about rambling on and on and on about cutting ... a girl's gotta be passionate about something!  Might as well be cross cutting right?

And of course, the step by step plans are below. 

Build, enjoy and share!  We can't wait to see how your project turns out too!

XO Ana + Family

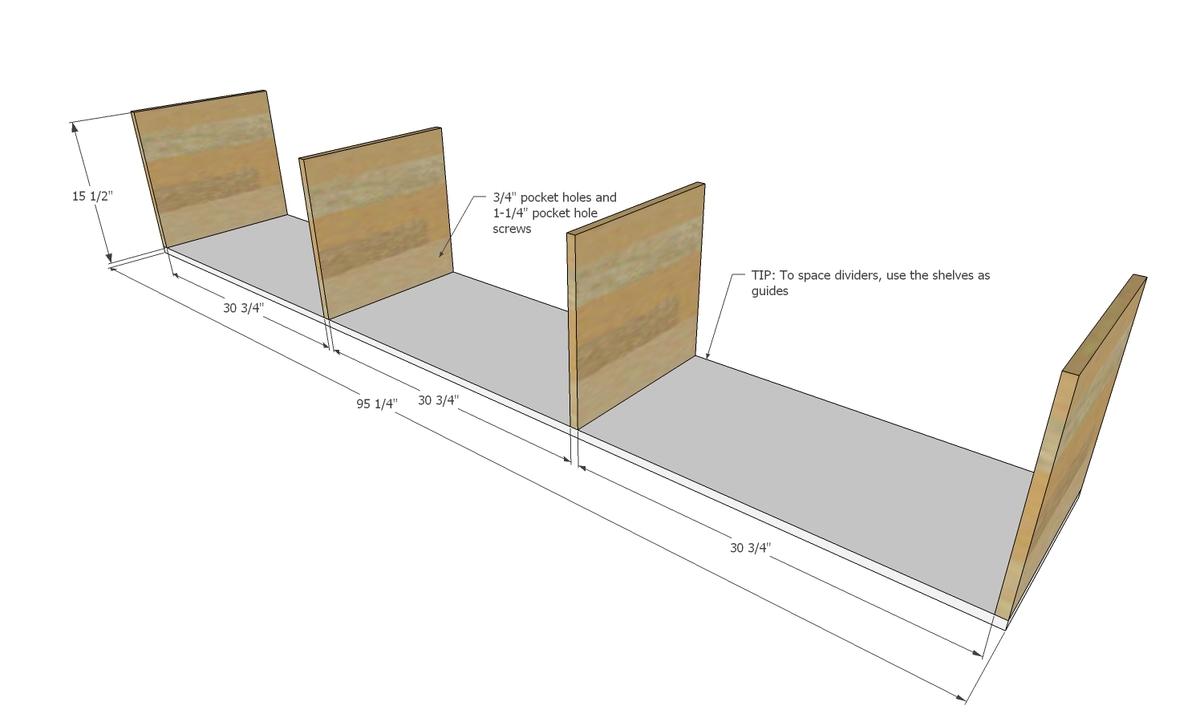
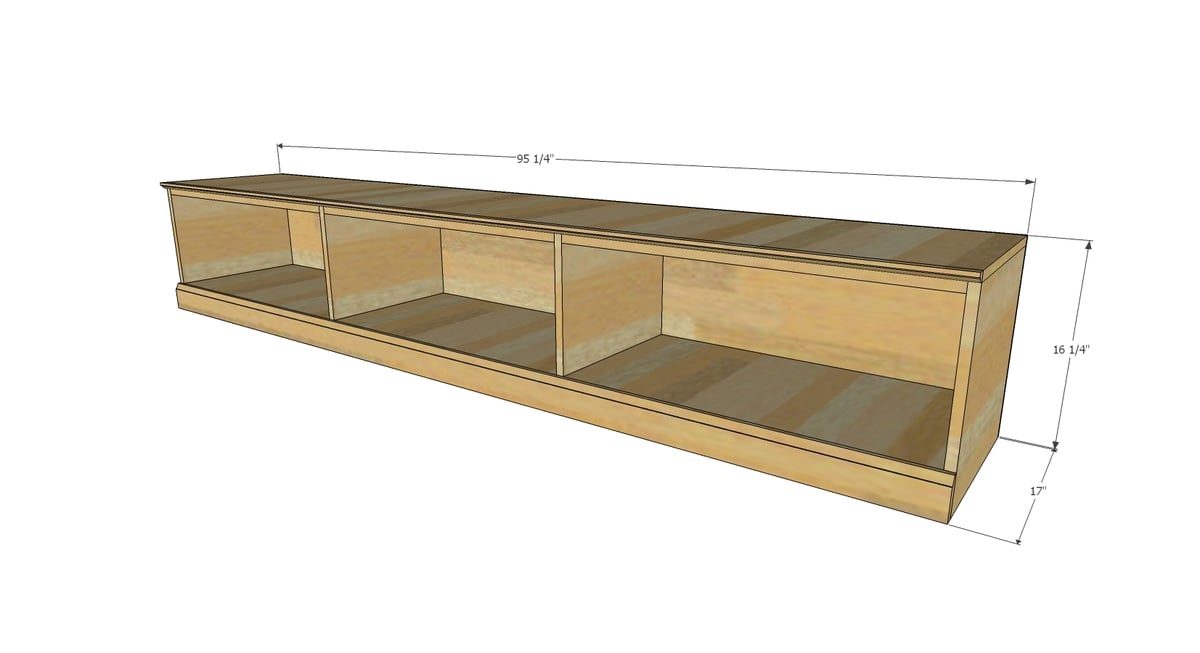
Dimensions
Dimensions shown above

Preparation

Shopping List

1 sheet of 3/4" plywood ripped into three strips, 15-3/4" wide x 8 feet long (use AC or better plywood, hardwood birch, maple, oak or MDF)

1 - 1x2 @ 8 feet long

1 - 3-1/4" base moulding, 8 feet long

1 - 3/4" cove moulding, 8 feet long

1 - 1/4" plywood or hardboard panel for back

Common Materials
3/4 inch finish nails
1 1/4 inch finish nails
120 grit sandpaper
primer
paint
Cut List

1 - 3/4" plywood @ 15-3/4" x 95-1/4" (top)

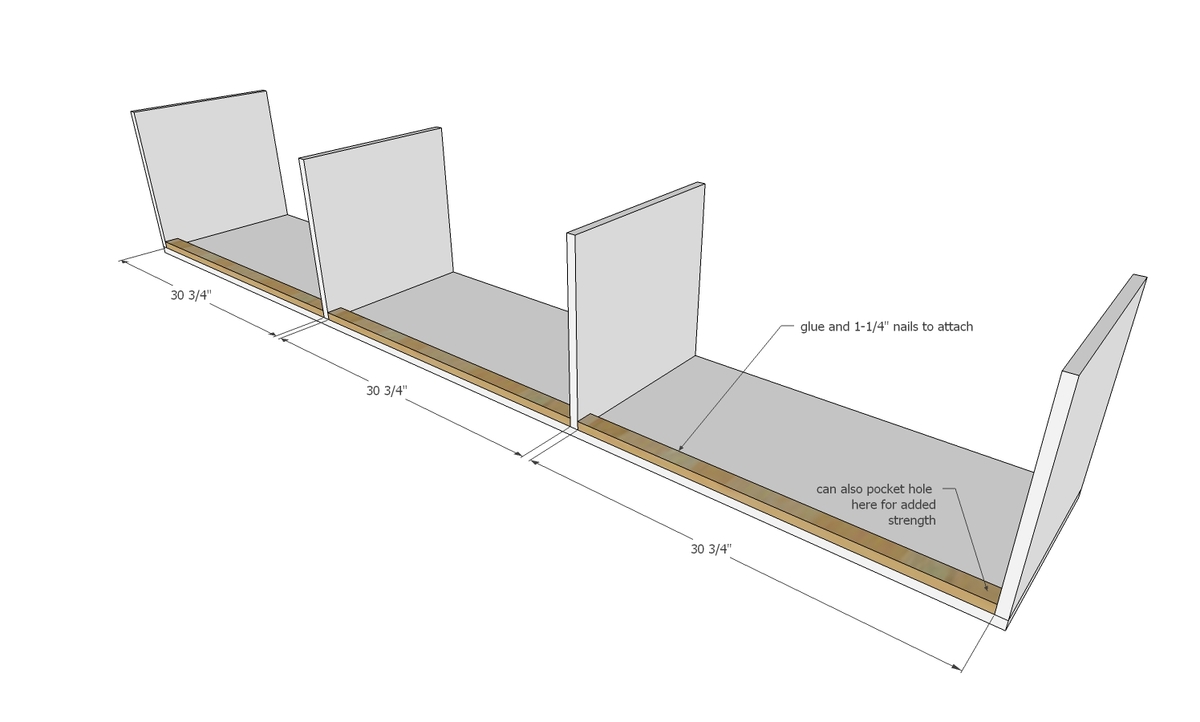
4 - 3/4" plywood @ 15-3/4" x 15-1/2" (dividers)

3 - 1x2 @ 30-3/4" (top support trim)

3 - 3/4" plywood @ 15-3/4" x 30-3/4" (shelves)

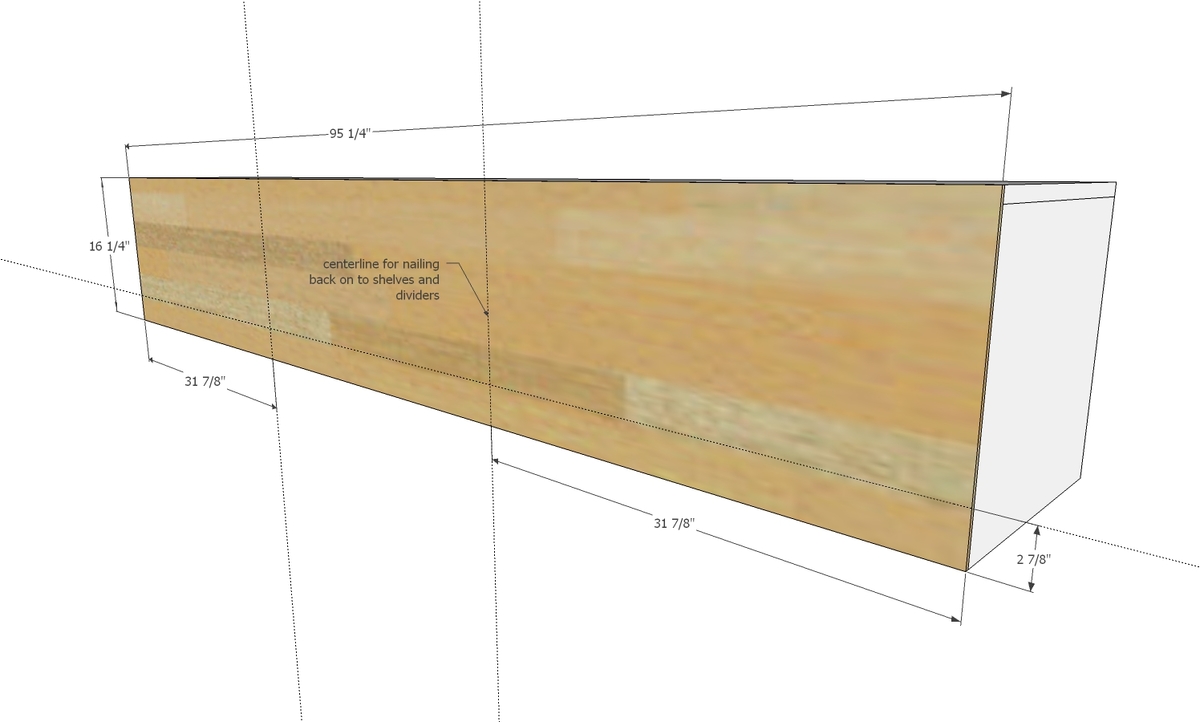
1 - 1/4" plywood @ 95-1/4" x 16-1/4" (back)

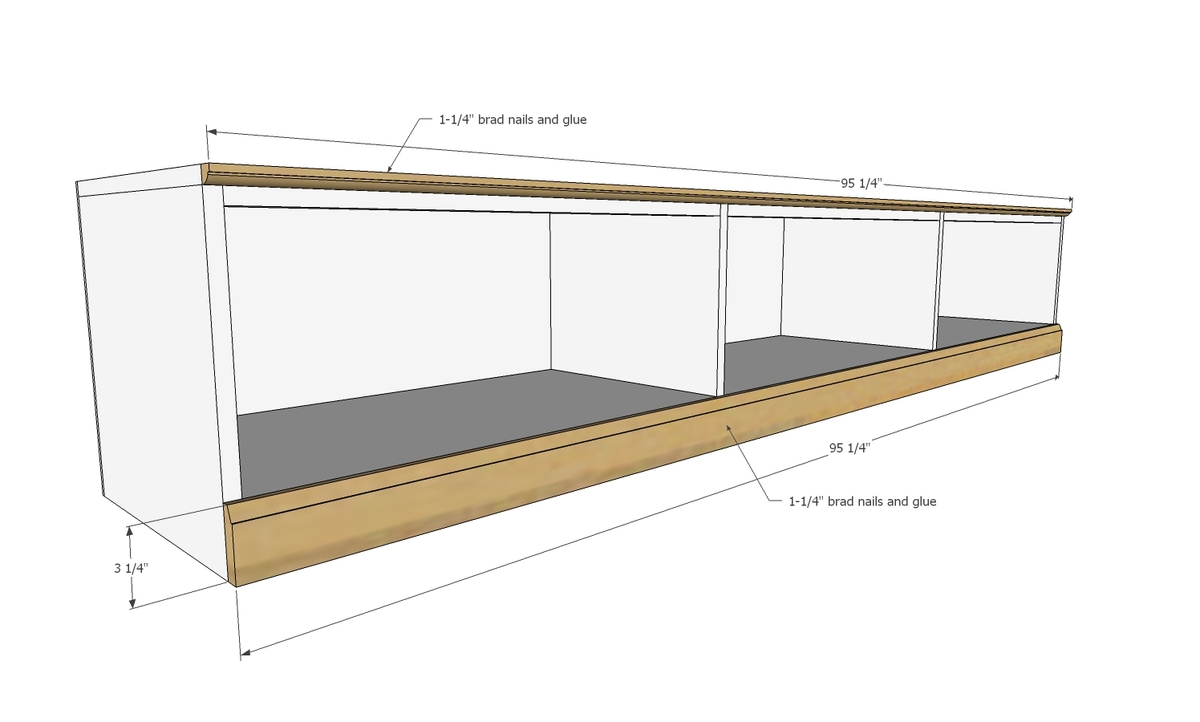
1 - 3-1/4" base moulding @ 95-1/4" (trim)

1 - 3/4" cove moulding @ 95-1/4" (top cove)


Tools
Tape Measure
Speed Square
Pencil
Safety Glasses
Hearing Protection
Kreg Jig
Drill
Table Saw
Brad Nailer
Power Sander
General Instructions

Please read through the entire plan and all comments before beginning this project. It is also advisable to review the Getting Started Section. Take all necessary precautions to build safely and smartly. Work on a clean level surface, free of imperfections or debris. Always use straight boards. Check for square after each step. Always predrill holes before attaching with screws. Use glue with finish nails for a stronger hold. Wipe excess glue off bare wood for stained projects, as dried glue will not take stain. Be safe, have fun, and ask for help if you need it. Good luck!

Instructions

Step 1

Drill three 3/4" pocket holes along the top edge of all of the dividers.  Attach with glue and 1-1/4" pocket holes to the underside of the top.  You can use the 1x2s or shelf pieces (cut to length) as spacers to help guide the placement of the middle dividers. 

Step 2

Glue and nail the 1x2 trim to the underside of the top with 1-1/4" brad nails. 

Step 3

Drill 3/4" pocket holes on both ends of each of the shelf boards, three per end.  Attach with 1-1/4" pocket hole screws and glue.  Scrap wood pieces cut to 12-1/4" long can be used as spacers to help guide shelf placement.

Step 4

Attach back with glue and 3/4" nails or staples (preferred but not essential).  Attach to all fixed shelves and dividers.

Step 5

Finishing Instructions
Preparation Instructions
Fill all holes with wood filler and let dry. Apply additional coats of wood filler as needed. When wood filler is completely dry, sand the project in the direction of the wood grain with 120 grit sandpaper. Vacuum sanded project to remove sanding residue. Remove all sanding residue on work surfaces as well. Wipe project clean with damp cloth.

It is always recommended to apply a test coat on a hidden area or scrap piece to ensure color evenness and adhesion. Use primer or wood conditioner as needed.

Comments

BlessingsBe

Sat, 02/17/2018 - 14:55

Hi Ana. I need to print the plans so I can have them handy while shopping and building. The printer-friendly version doesn't print right - cuts off the right side. Your PDF versions, when available, print fine. Unfortunately, this is the 3rd plan I've found that I would love to be able to print out and can't because the PDF link doesn't lead to a PDF file. I am hoping you can get this fixed. I love your work and would love to get started trying to build from your plans! Thanks.