Wooden Ladder Shelf

The free plans on this website are made possible with advertising and affiliate links.  Thank you for helping us keep plans free.


wooden ladder shelf
Difficulty
Intermediate
| Print this plan

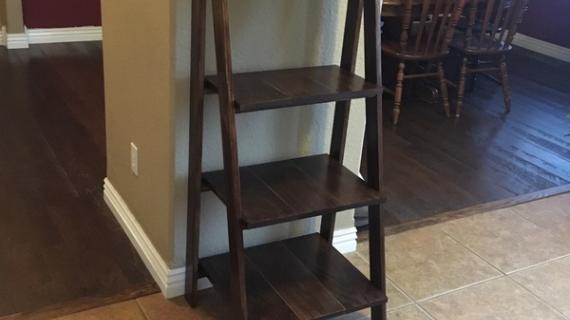
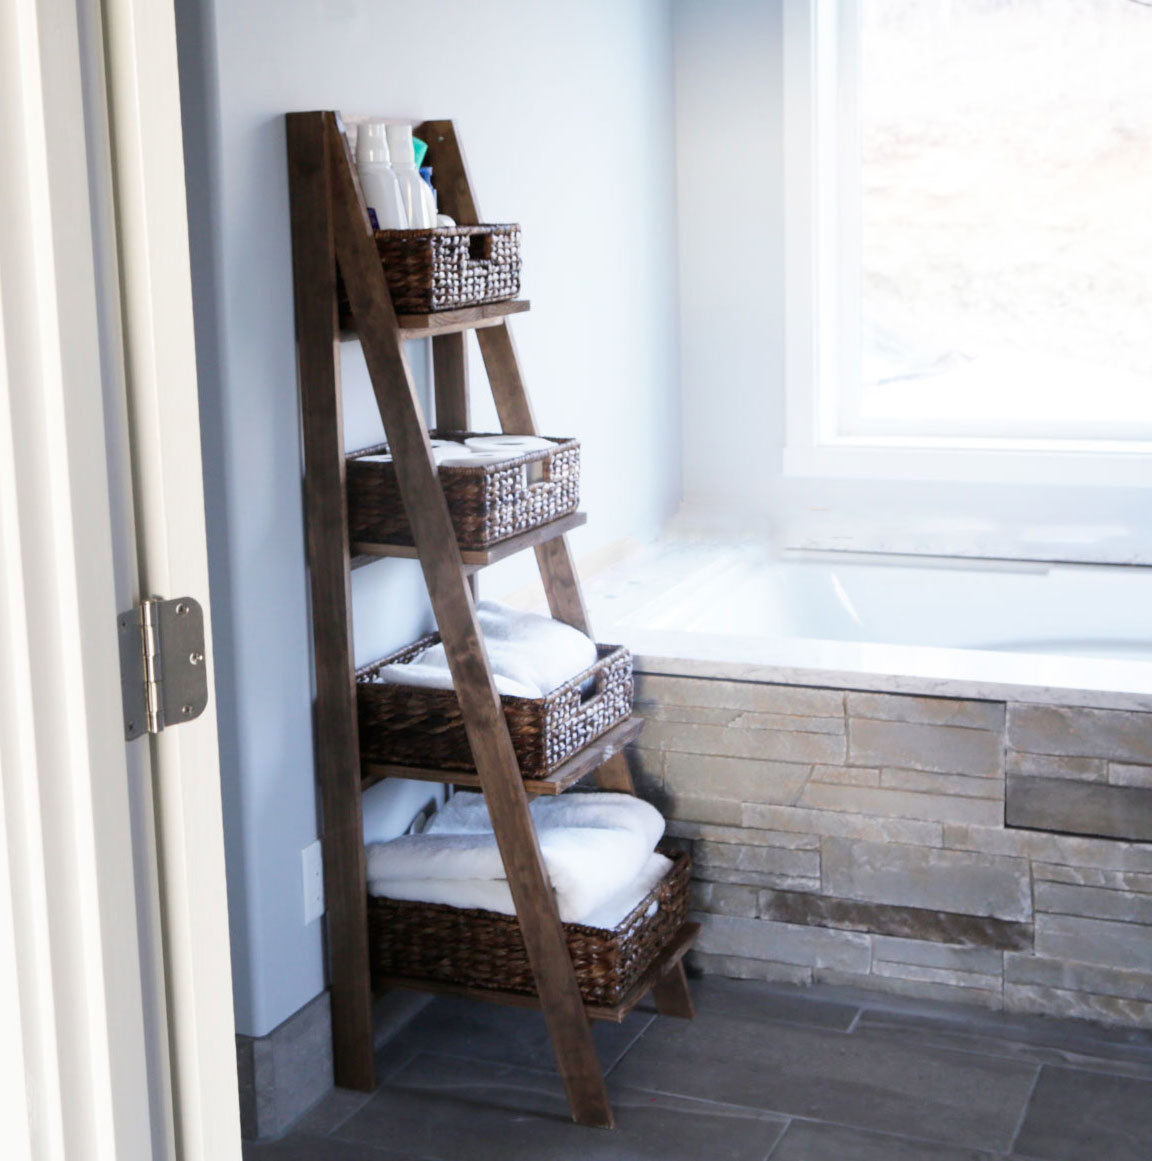
Build your own wooden ladder shelf with just 1x3s and 1x8s.  You can easily customize the size and the finish to fit your home.  It's perfect for towels, baskets and toiletries, or throughout your home.

Our free step by step plans with diagrams make it easy.  From Ana-White.com

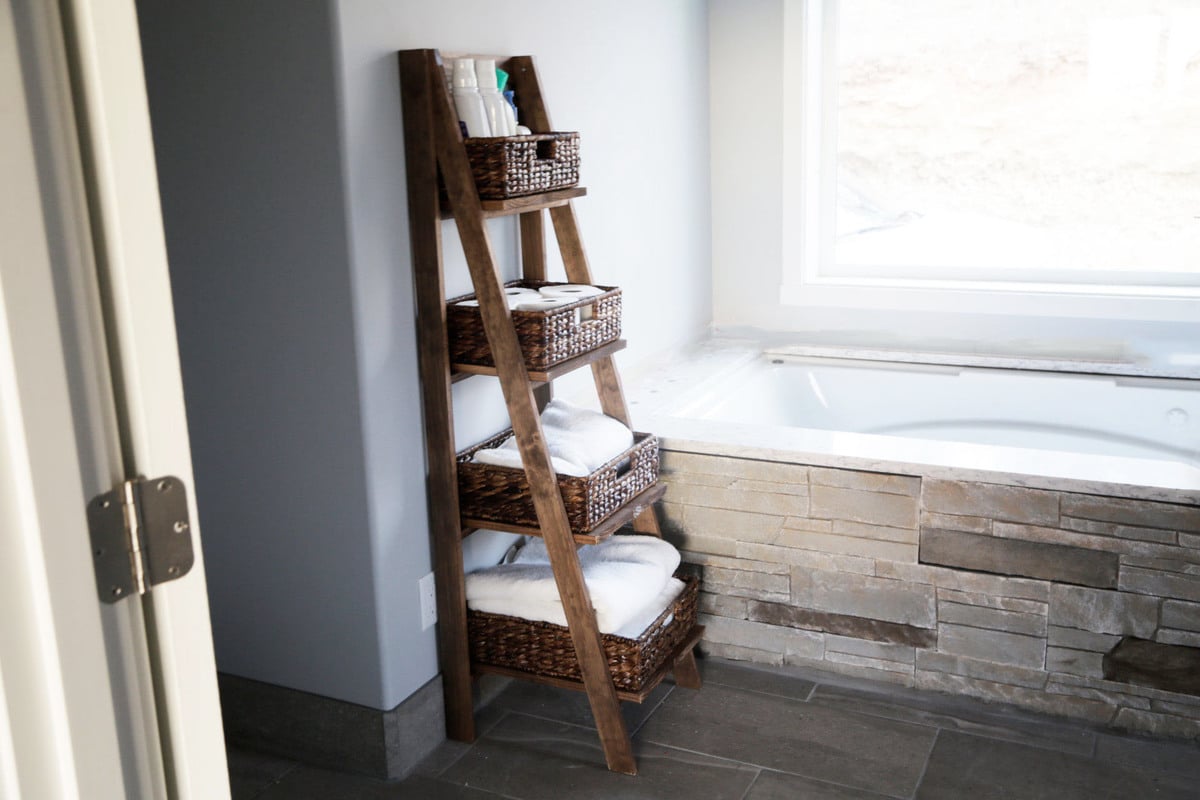
wooden ladder shelf in bathroom

Have you had a chance to watch this week's video?  It's one of my favorite videos ever!  

I'm trying hard to finish one project a week for our house (at least) - come rain, shine, or even morning sickness.  It was tough to do this past week, but we did manage to pull off a project (as you can see in the video).

I've been wanting to add extra storage to our master bath, but did not want to sacrifice the open feeling with a boxed in cabinet.  So this is what we came up with!

It's a wooden ladder shelf!  A very simple project really, but with great storage in different sizes perfect for a bathroom. 

- The build is all off the shelf 1x boards - 1x3s and 1x8s.  We used a select pine which increased the cost by about $20 - part of me is excited about how smooth and beautiful the boards are and part of me is sad that it's not as rustic as I'd like.  You can have anything but not everything, right?

- I designed the shelves to fit this basket set (do wait for a 30% + free shipping coupon) but saved at least a couple hundred dollars by DIYing the shelf.  

- I highly recommend pre-staining the wood boards to get an even stain application that is much easier to apply.  There's a lot of tight spots that are hard to reach with a stain brush and wipe clean after the wooden ladder shelf is assembled.  By pre-staining, all we had to do was touch up the cut ends.

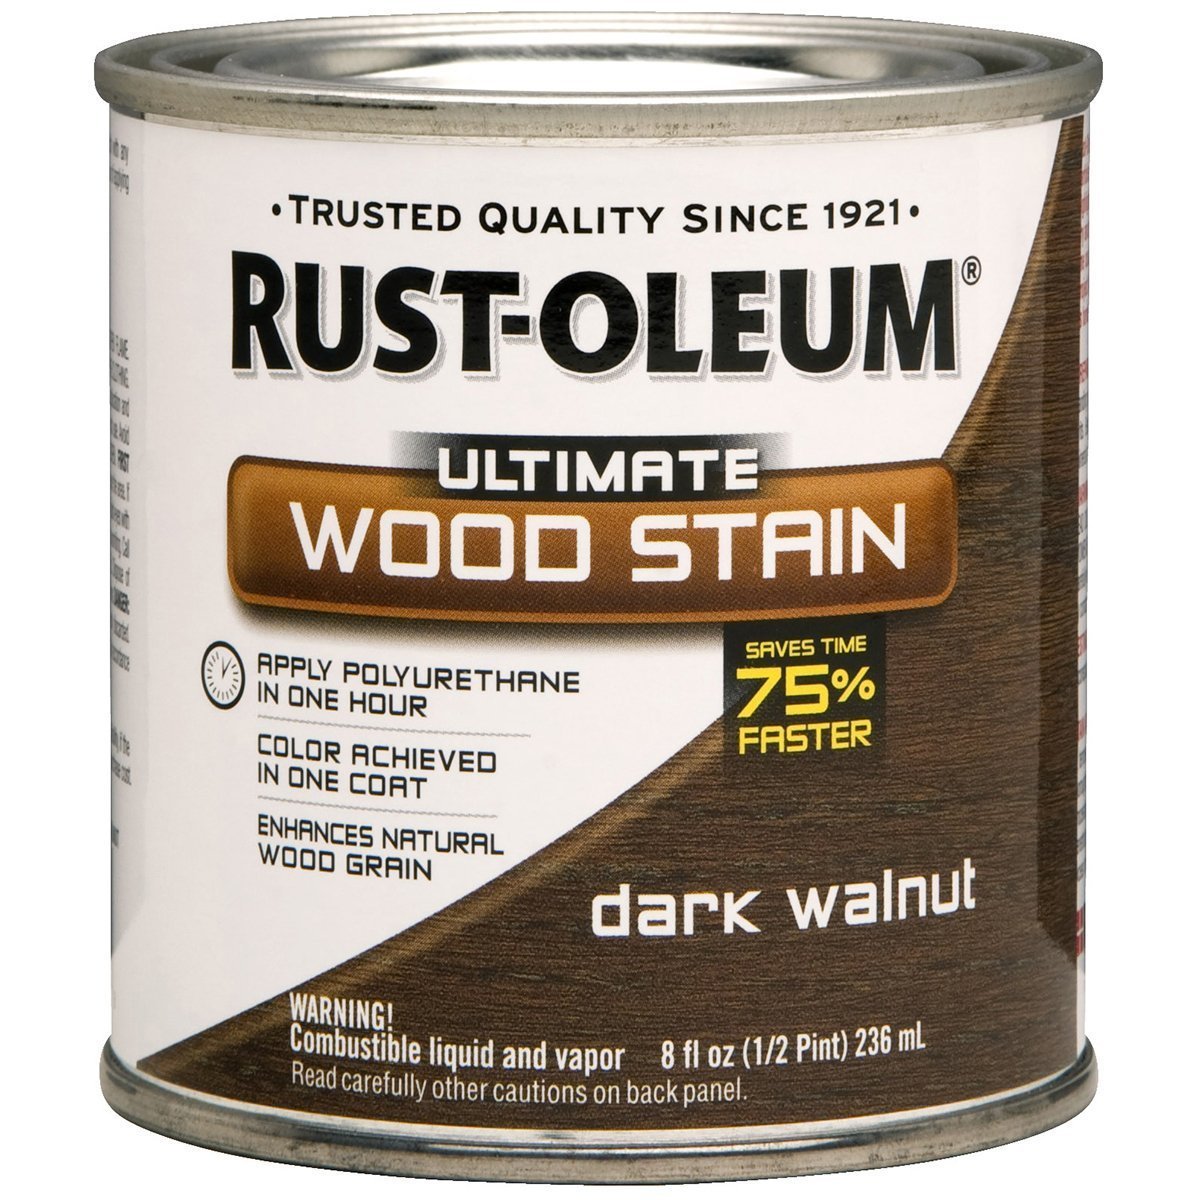
The stain we used is Rustoleum Dark Walnut.  It's a very neutrel but dark brown that I'm currently obsessed with and using all the time.

- We provide alot of tips and tricks in the video and you can watch this shelf being built, so do watch!

We are super happy with this project and excited to share it with you.  If you build, please share, we love seeing your finished projects.

Wooden Ladder Shelf Tutorial


Dimensions
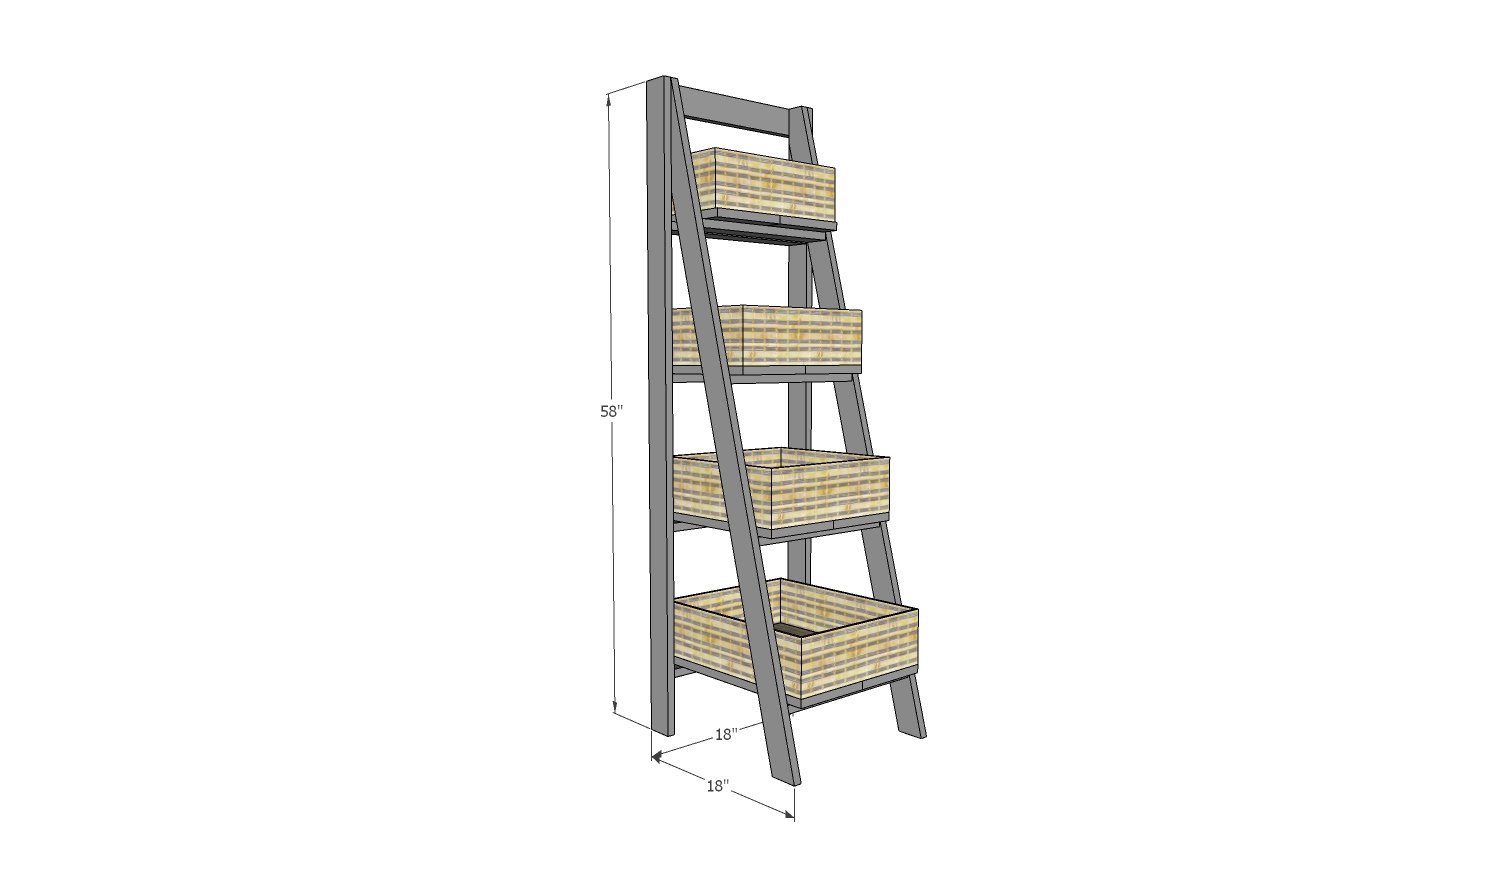
wooden bath ladder shelf dimensions
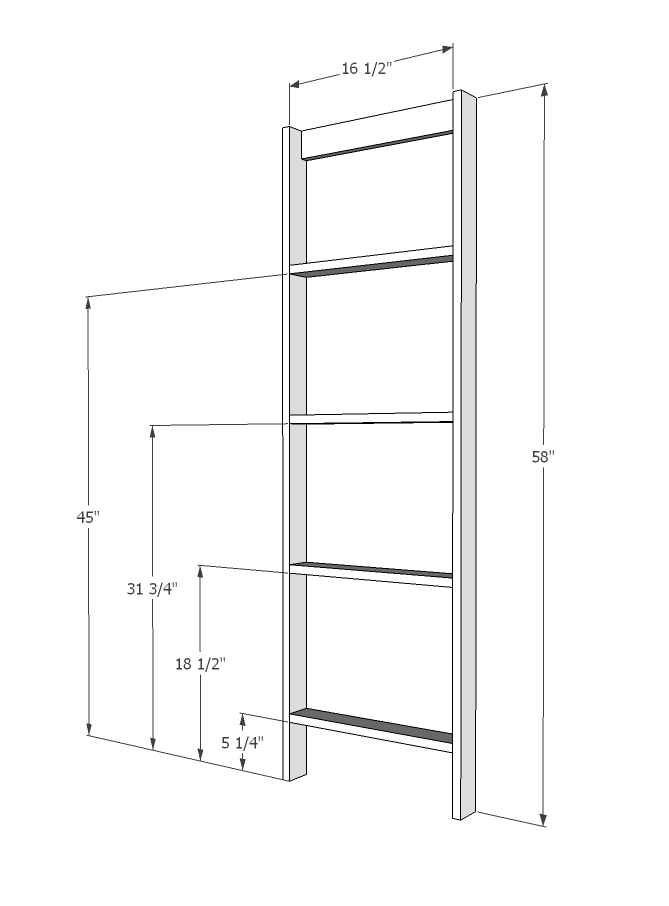
18" x 18" footprint, 58" tall

Preparation

Shopping List
  • 5 – 1x3 @ 8 feet long (cut longest cuts first)
  • 9 linear feet of 1x8 board
  • 1-1/4” pocket hole screws or 2” self tapping screws
  • 1-1/4” brad nails or staples
Cut List
  • 2 – 1x3 @ 58”
  • 4 – 1x3 @ 15”
  • 2 – 1x3 @ 60” – both ends cut at 15 degrees off square, long point to short point measurement, ends ARE parallel
  • 5 – 1x3 @ 16-1/2”
Tools
Tape Measure
Speed Square
Pencil
Safety Glasses
Hearing Protection
Kreg Jig
Drill
Miter Saw
Brad Nailer

Instructions

Step 1

Cut all of your boards according to the cut list. Cut longest lengths first to ensure best use of material.

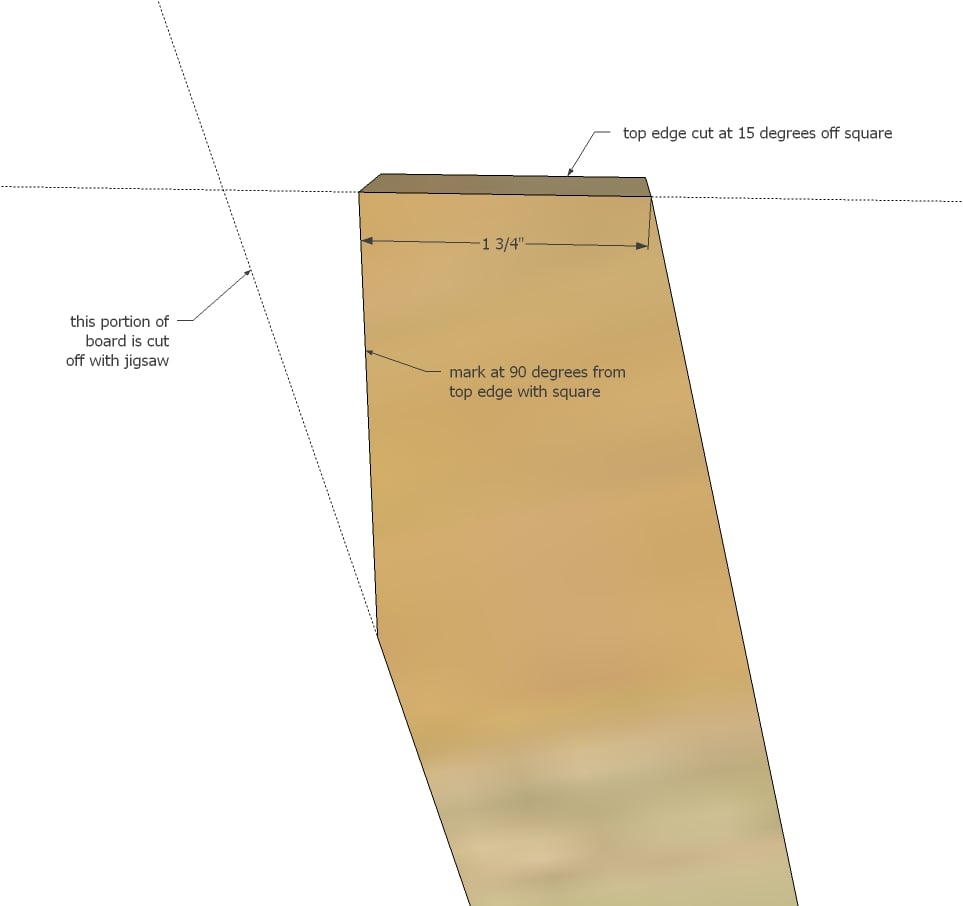
On angled front legs, set miter saw to 15 degrees on the deck, and cut both ends parallel, overall length is measured along same edge, long point to short point.

After angled front legs are cut, measure in 1-3/4” from short side and use a square to mark back of leg. Cut off with a jig saw.

Step 2

Assemble the back ladder with either 2” self tapping screws or pocket hole screws.

Step 3

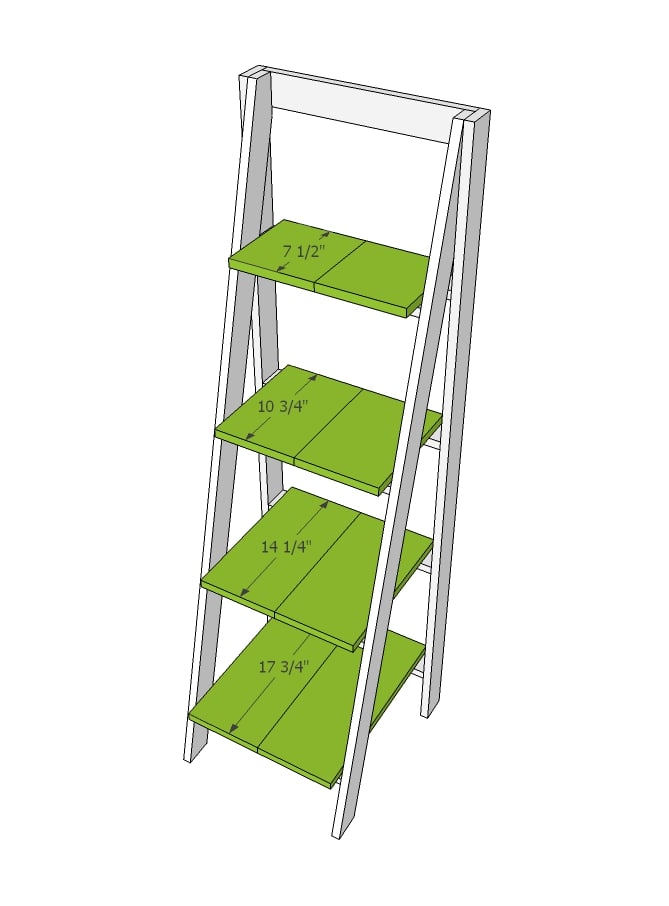
Attach front legs to back ladder making sure overall bottom measurement is 18”. Use 1-1/4” screws or brad nails or staples and glue.

Step 4

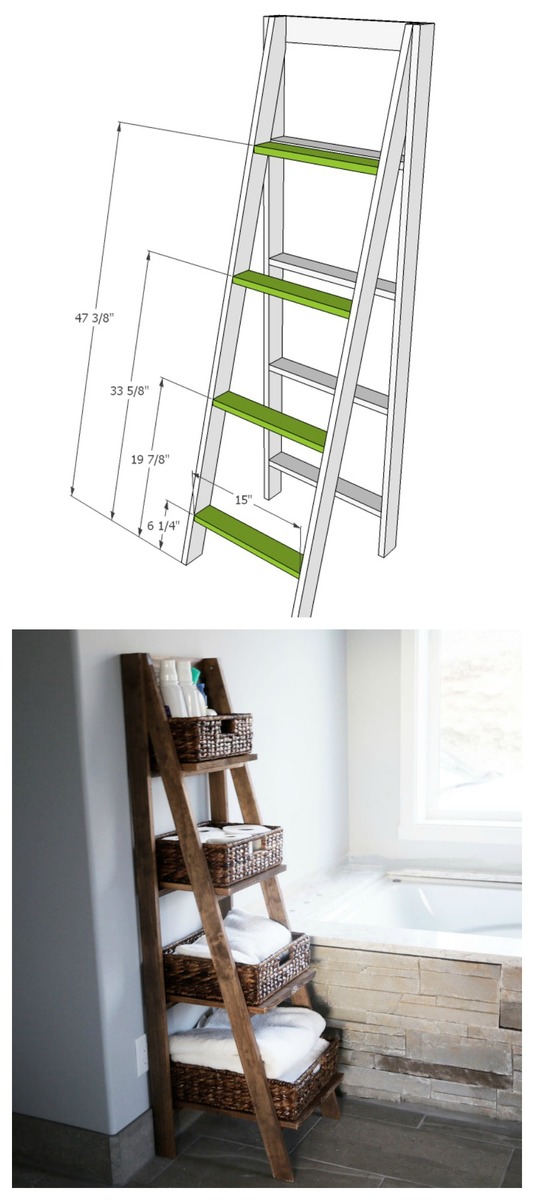
Mark points on front ladder and position front ladder boards in place. Use a level to make sure the boards are attached level to the ground. Attach with pocket holes or 2” self tapping screws.

Step 5

Position shelving boards centered on the ladder pieces and nail or staple down. Use glue and 1-1/4” fasteners.

Comments