Hi folks! Spring is finally here in Alaska and I'm dreaming about outdoor furnishings! For those of you working on outdoor furnishings, I wanted to take a second to share some of my outdoor finishing secrets with you.
Finishing outdoor furniture is more like finishing a deck than a dining room table - especially if you live in a wet climate. So today I thought I'd share a few of my hard earned outdoor furniture finishing secrets with my blog friends.
Selecting Wood Species for Outdoor Furniture
Ideally, we'd all build furniture out of teak or other naturally rot resistant hardwoods. But these exotic hardwoods can be very expensive and difficult to source, (and terrible for our environment, as they are often shipped around the world and much slower renewing than a locally grown softwood).
So many people choose to build furniture using standard off the shelf lumber. If your project budget allows, DO investing in cedar or other outdoor friendly wood species, but avoid chemically treated wood for tabletops and seating, as it may be hazardous to the health of your family. DO seek out locally grown and harvested wood - trees that grow in your climate are often the best suited for you climate.
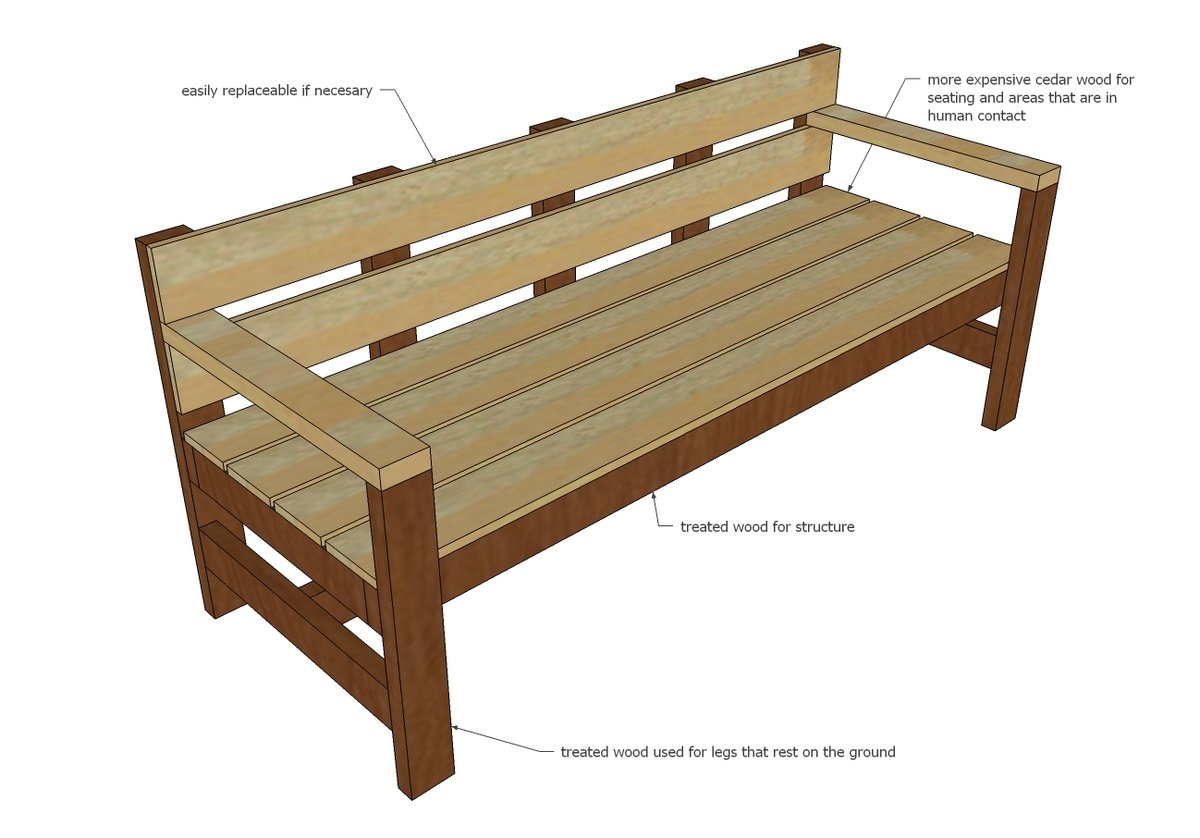
I often will mix treated wood with untreated, much like a deck, where the structure is built with treated, but the tops are cedar. This works well for projects like picnic tables or lounge chairs, where the legs may rest on the ground. This also give you an option to just replace the tabletop or seating boards, intead of the entire structure, as mother nature does her thing. An opaque penetrating stain will hide the different wood species - more on this is a second.
Building Outdoor Furniture with Softwoods
Yes, you can build outdoor furniture with softwoods. There are millions of decks built with softwoods to prove this, that take much more abuse than a tabletop or lounge chair ever will. But over the years, I've learned to build my outdoor furniture like a deck.
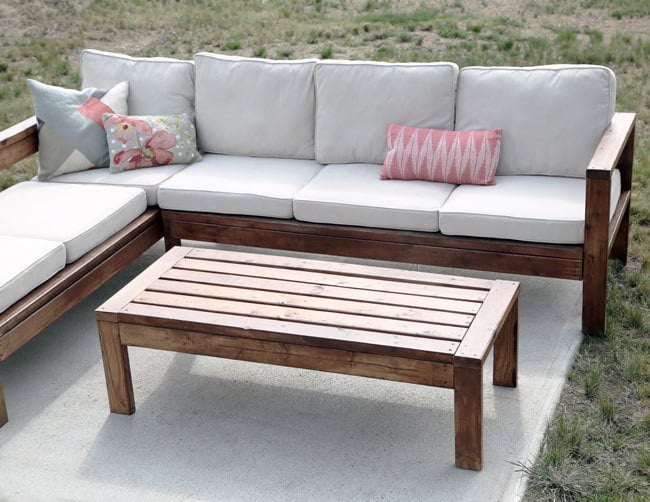
I use 2x thickness wood whenever possible, always preferred over 1x thickness wood. Not only is a 2x stronger and thicker than a 1x, it adds weight ( a good thing when the wind blows) and will hold up better to the seasons. I love 2x4 Outdoor Furniture so much, I even put an entire post together of my favorite projects.
You will need to appropriately finish softwoods to make your piece last (more on that in a second).
/about/decking-56a4a1ca5f9b58b7d0d7e764.jpg) Outdoor Furniture Construction Secrets
Outdoor Furniture Construction Secrets
Just like a deck, you have to think about water drainage. I like to leave a gap between boards so water can easily drain off tabletops or bench seats (that's a no brainer).
I also orientate my boards bark side down so the board crowns instead of cups, allowing the water to drain off the board. This is very important when you use a wider width board where cupping becomes more exaggerated and the distance from the center of the board to the edge is greater. (image source The Spruce: How to Install Wood Deck Boards)
If possible, I hide my fasteners on the underside, to prevent holes in the surface for water to pool and rot the boards. You can achieve this with pocket holes or screwing through cleats from underneath.
Finishing Softwood Furniture
There's two basic types of wood finishes for outdoor furniture - film-formers and penetrators.
Film-formers dry on the surface of the wood and include products like paint or poly. But soft woods may expand and contract with climate changes... and unfortunately the paint or poly isn't as flexible. So the paint or poly will crack and peel over time. To refinish, you have to remove all of the paint or poly and start over. If you have to have a clear, natural glossy poly, choose Helmsman Spar Urethane - it is formulated to be less crack resistant than other outdoor polys (but I'm still hesitant since it's a film former).
I almost exclusively use penetrating stains for my outdoor projects now. Penetrating stains soak into the wood, instead of drying on top, so the wood can expand and contract. It's an easy finish to apply, just brush on and wipe off. And refinishing is just as easy - when your project is looking a little dull or needs more protection, simply wipe a coat right on overtop of the existing finish.
Choosing Stain Colors
But here's the trade-off with penetrating stains - you almost have to use a color. The color provides the UV protectant - the more pigment, the more UV protection. You can choose a semi-transparent for a stained look with wood grain showing through, or a opaque for a paint-like look. I'm usually aiming for a stained look anyway.
Often penetrating stains have names like "cedar" or "walnut". The reason for this is the stain color is formulated to match a natural "cedar" or "walnut" look, but this doesn't mean you have to use it on cedar or you can't use a different color over cedar.
The Gray Option
A final option is allowing the wood to naturally gray. This is a popular option with today's rustic design trends. If you are using a rot resistant wood like cedar, you can leave the wood completely bare and let nature do it's thing.
But there are finishes that provide waterproof protection, without UV protection, that can further protect cedar and waterproof softwoods like pine and spruce, but still allow the wood to naturally gray age.

There are many different brands you can use beyond Thompsons WaterSeal - this is not a sponsored post.
If you want your wood to age quicker, try a aging accelerator like I used in this video, or the steel wool and vinegar finish, prior to applying the waterproofing sealer.
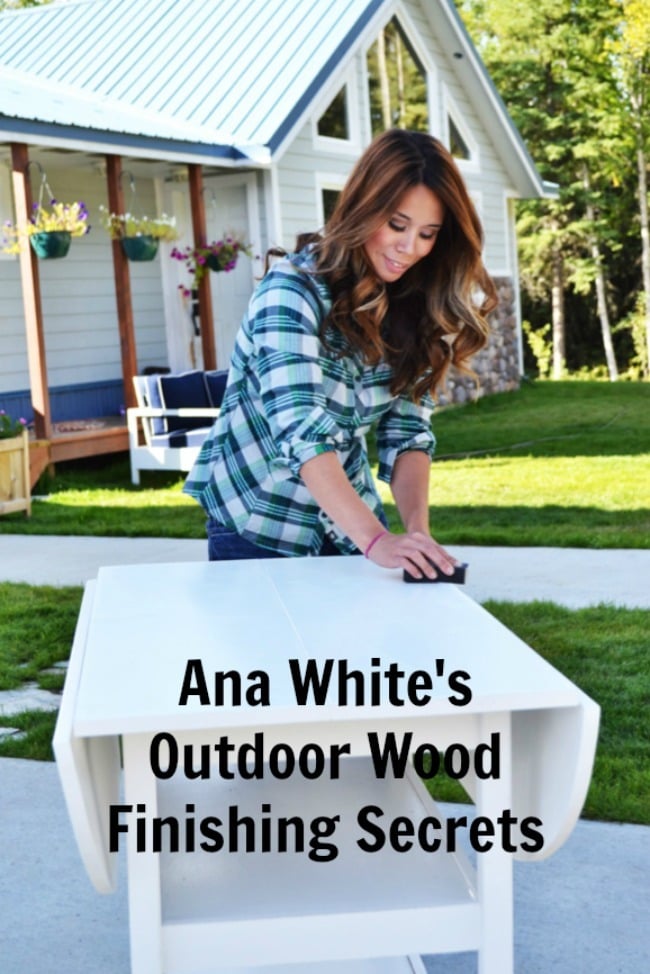
Hopefully sharing a few of my exterior wood finishing secrets will help you build better furniture that lasts longer. Do share your projects when you are done, and your tips and comments are always welcome below.

Comments
CamJay
Sat, 06/08/2019 - 19:19
Thanks + question
Thanks so much for this article, it came at the perfect time as I’m undertaking my first outdoor build. Question: at what point do you stain / weatherproof your wood, before joining all the pieces together, or after?
kaiserrm
Wed, 07/24/2019 - 07:33
I'd like to know this as…
I'd like to know this as well! Thanks.
kaiserrm
Wed, 07/24/2019 - 07:40
Stain + Poly
If the poly finish is desired, would it work to use a semi-transparent stain first?
karentron
Mon, 08/05/2019 - 09:51
Stain before assembly?
Hi!
I love your projects. I am wondering if you ever stain before assembly?
If so, I’m trying to picture the best way to have the plugs match (because of the sanding involved)...
thank you!!!!
Girlinthedress78
Tue, 05/19/2020 - 11:18
Brand of stain
What brand of penetrating stain do you use? How often do you need to reapply?
mlisahughes
Wed, 05/27/2020 - 11:08
Stain and finish before or after assembly
Hi! Did we get an answer about staining and finishing before or after assembly? Thank you :)