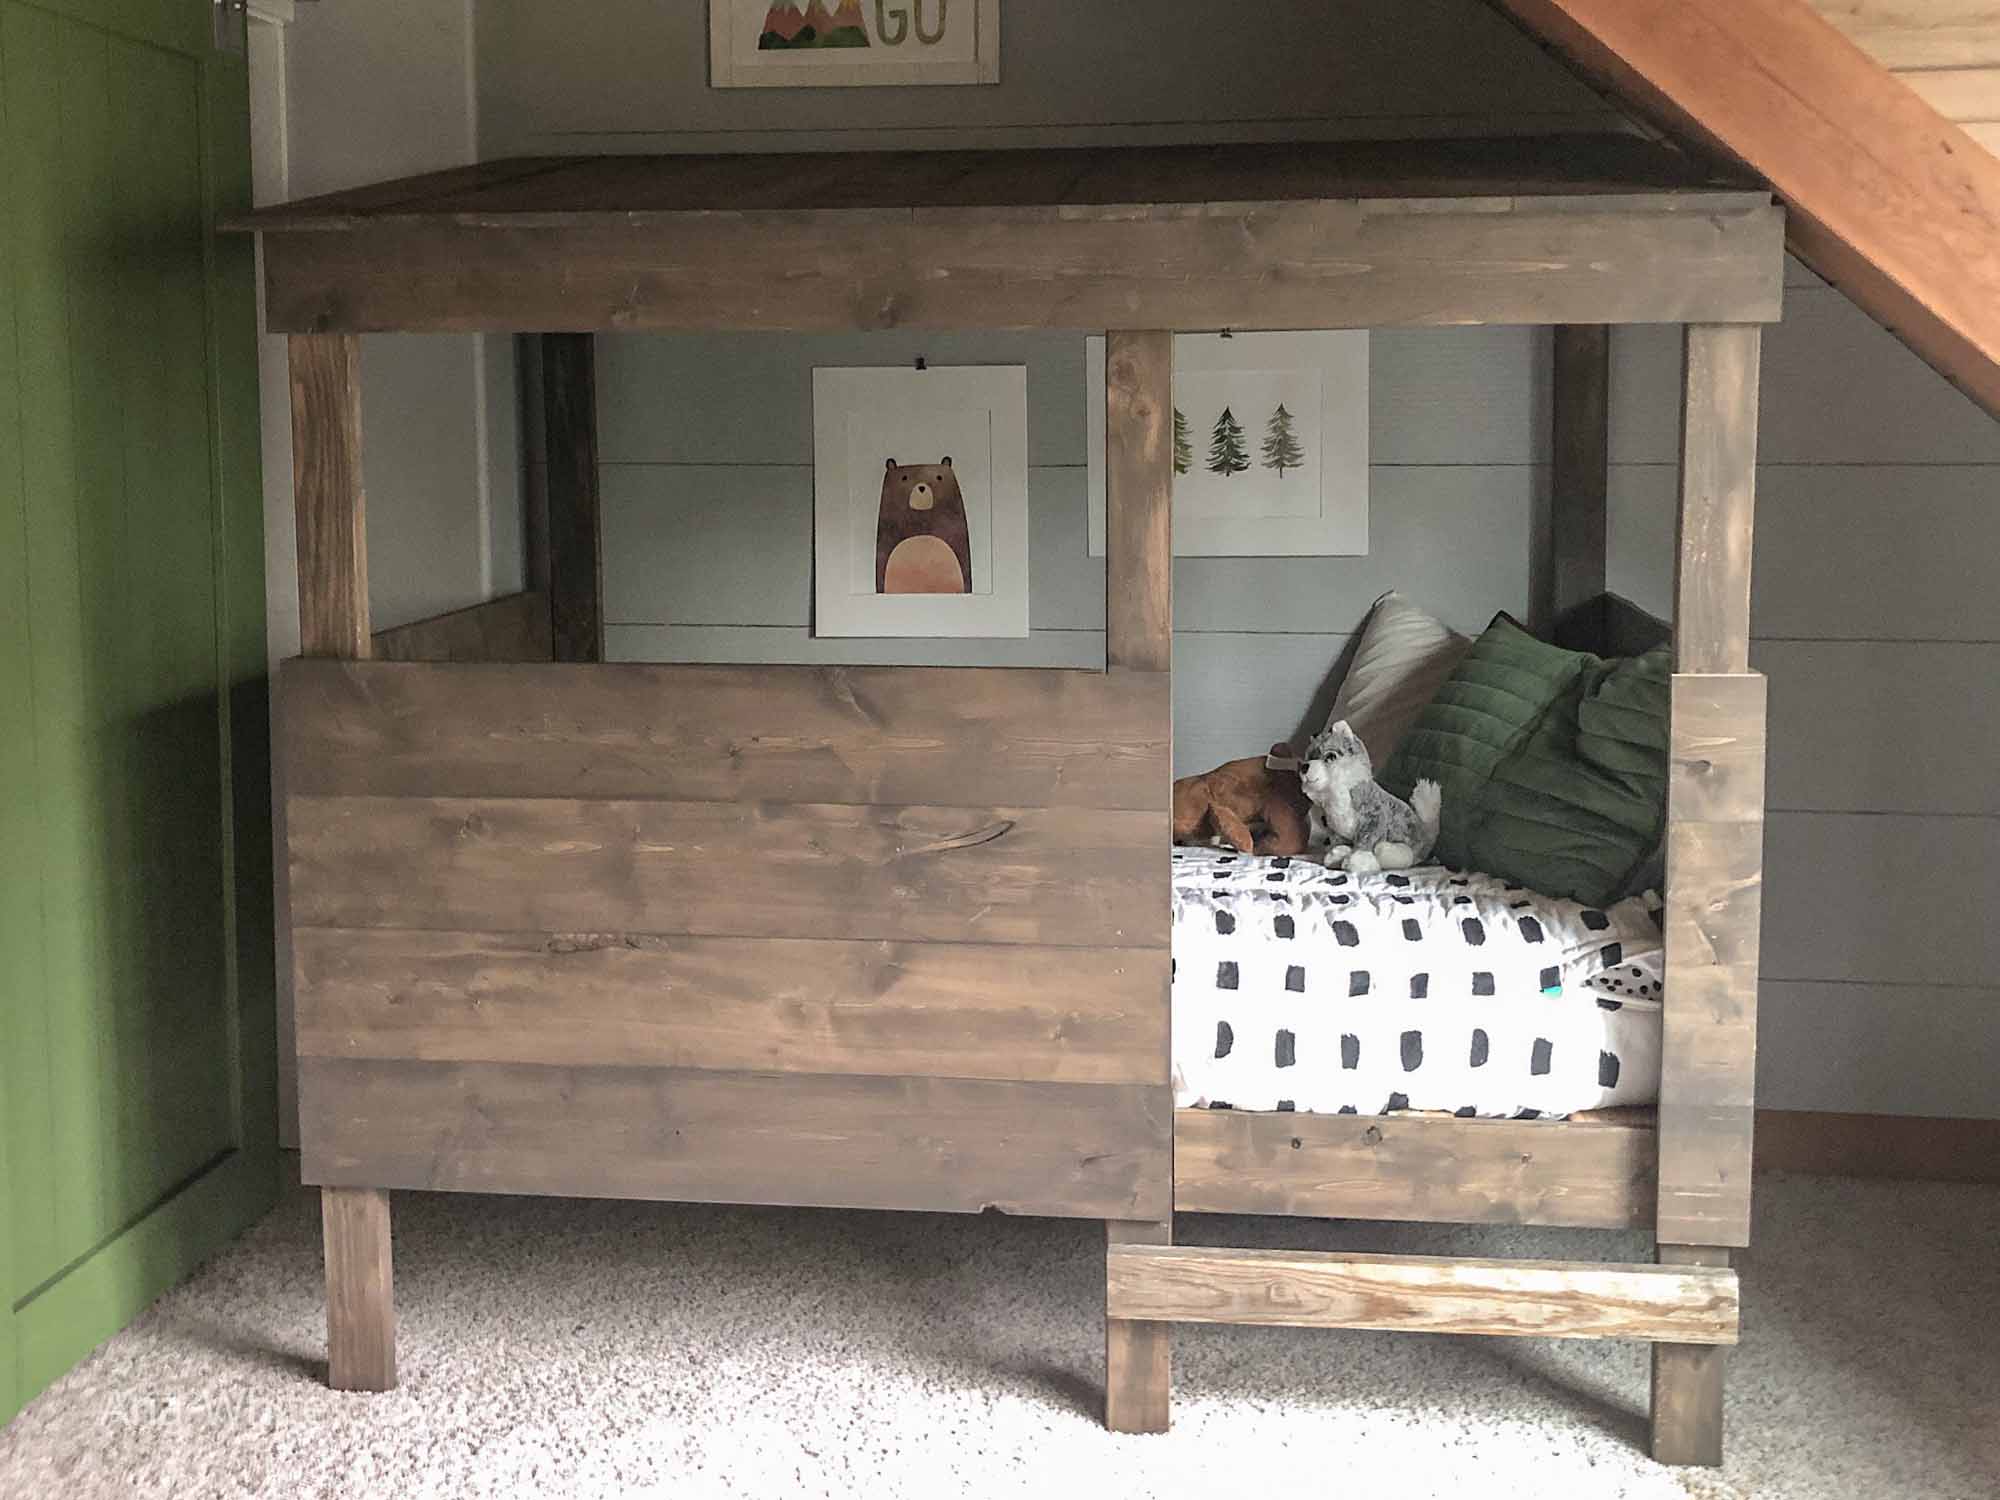
Build your own treehouse bed for about $200! This free plan include step by step diagrams, cut list and shopping list. You'll just need a few basic power tools to build - no plywood and no pocket holes!
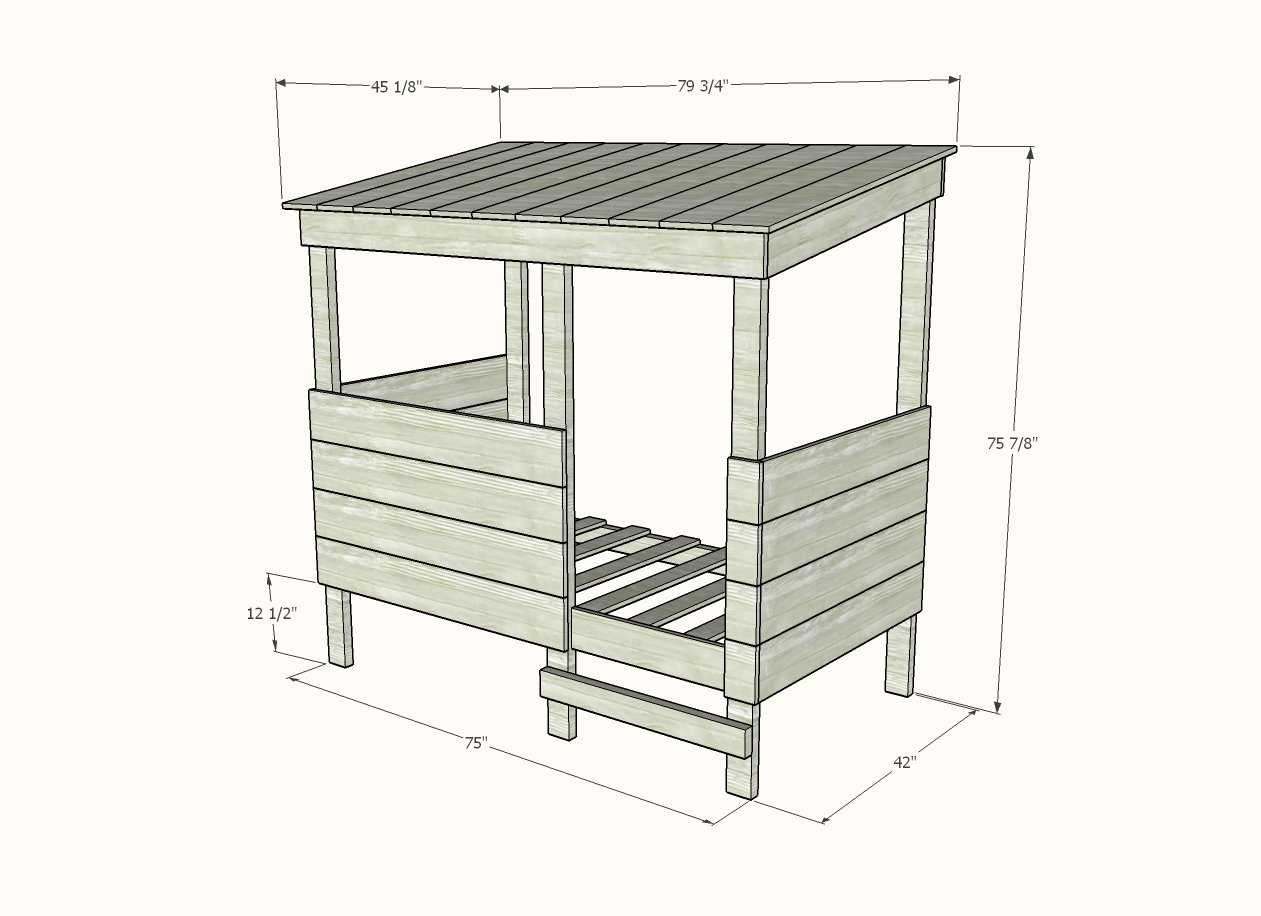
Preparation
12 - 2x4 @ 8 feet or stud length (whatever is cheaper or better material)
3 - 1x6 @ 8 feet long
12 - 1x8 @ 8 feet long
About 60 - 2-3/4" self tapping screws (SPAX or similar) (can be 2-1/2" length to 3" length)
About 150 - 1 - 3/4" self tapping screws (SPAX or similar) (can also use brad nails but will be hard to dismantle bed to move from room)
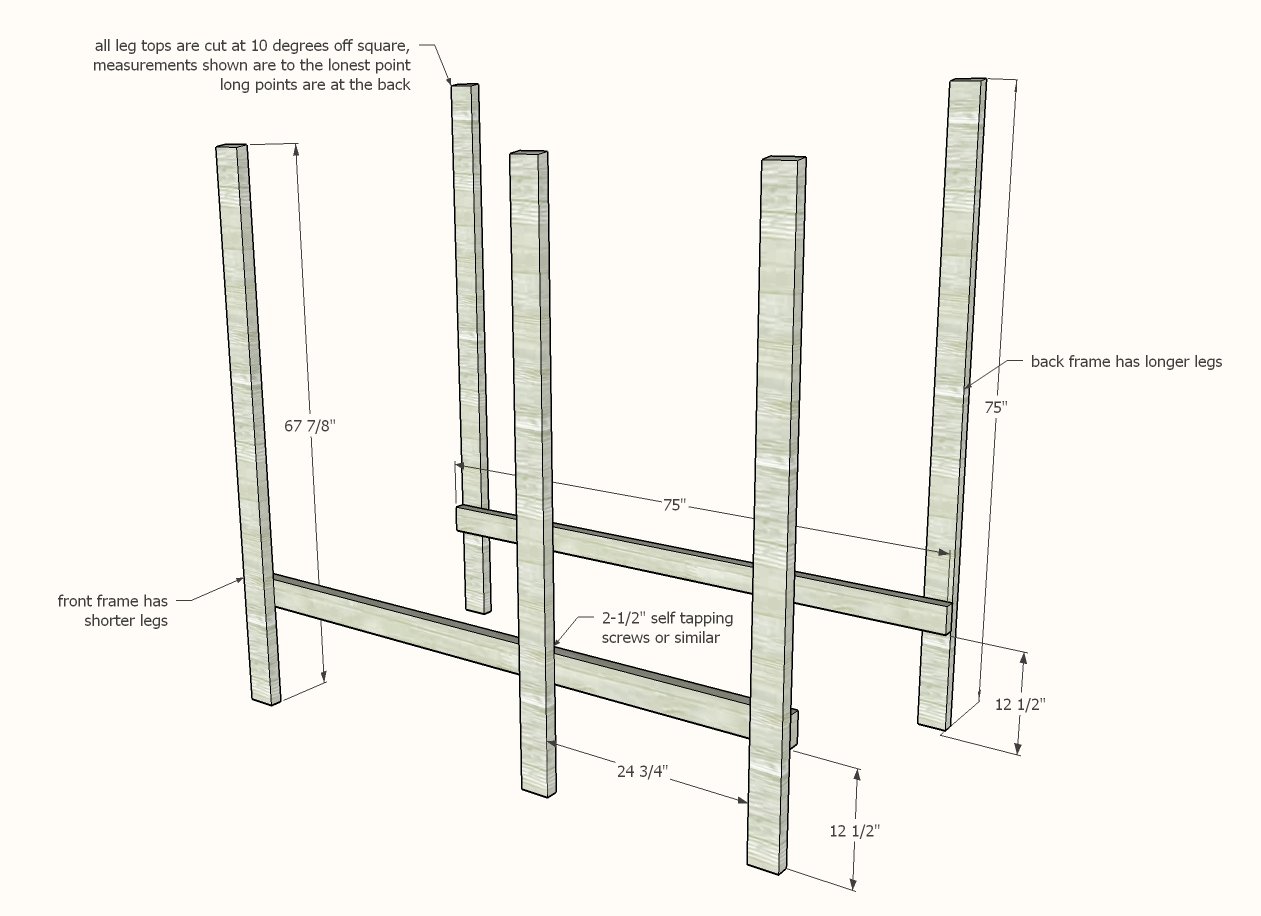
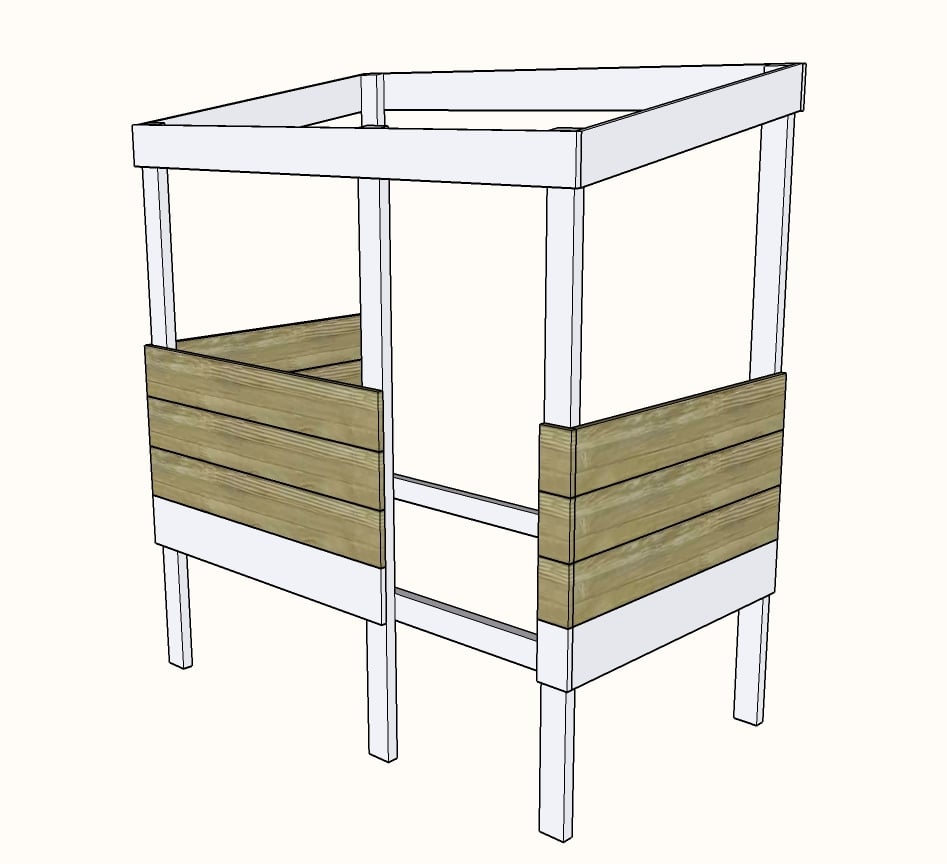
2 - 2x4 @ 75" - longest point measurement, one end cut at 10 degree bevel - back legs
3 - 2x4 @ 67-7/8" - longest point measurement, one end cut at 10 degree bevel - front legs
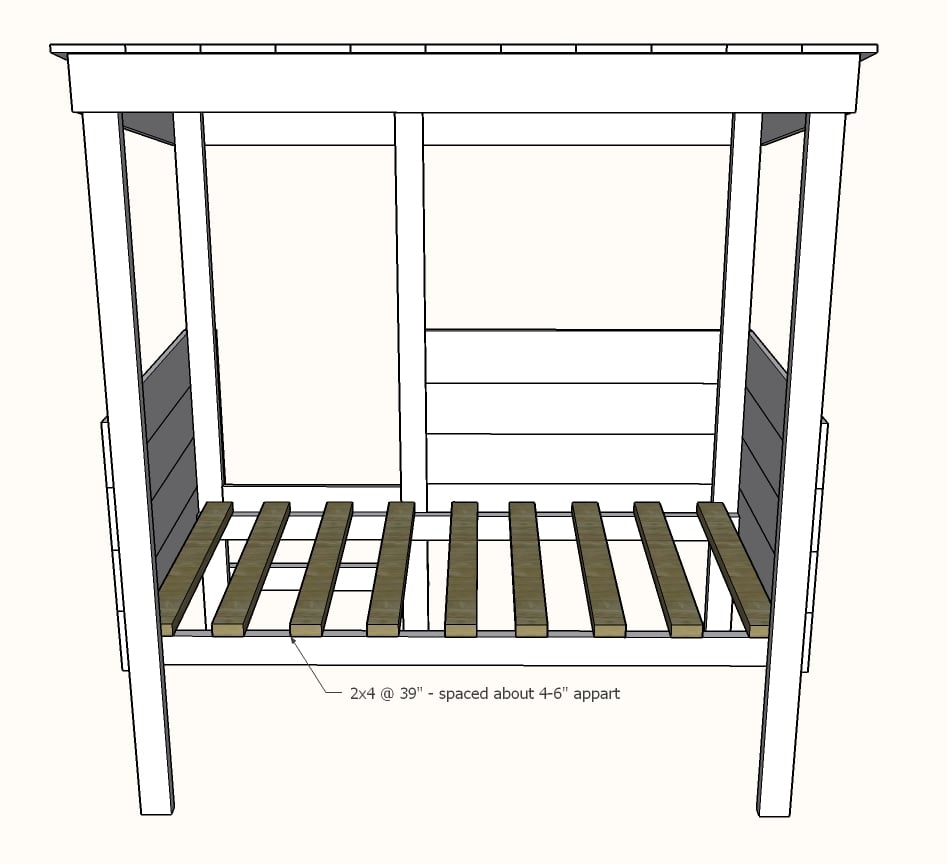
2 - 2x4 @ 75" - mattress cleats
2 - 1x6 @ 42-5/8" - long point to short point measurement, both ends cut at 10 degree angle, ends ARE parallel - side roof trim
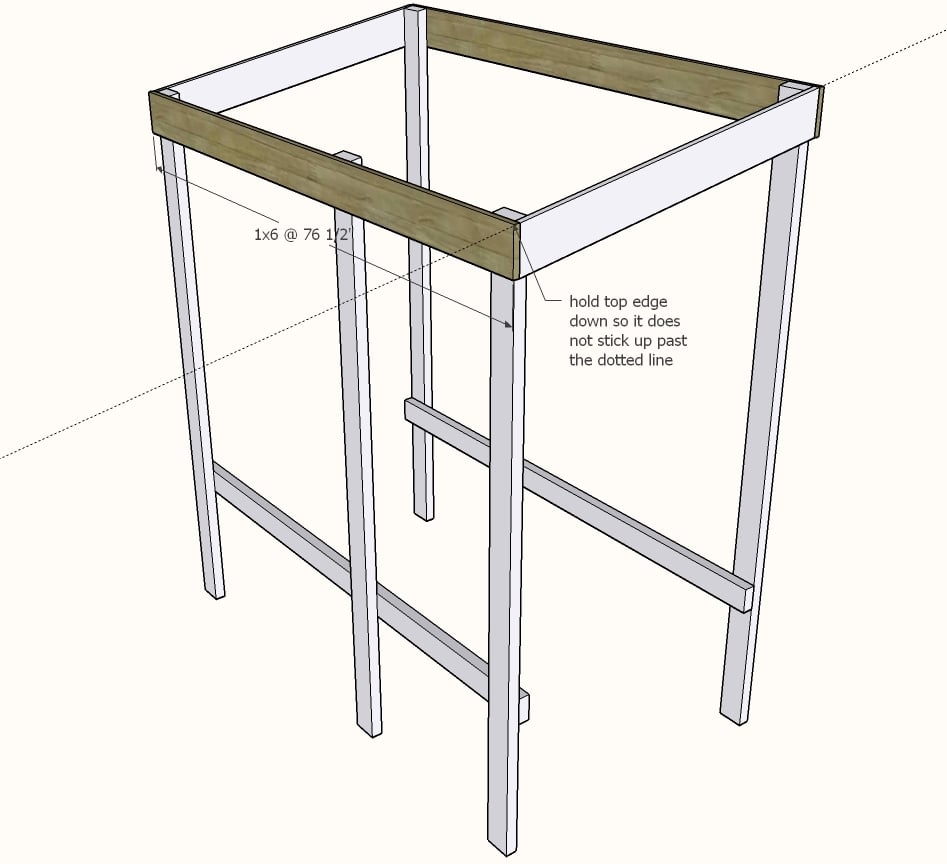
2 - 1x6 @ 76-1/2" - front/back roof trim
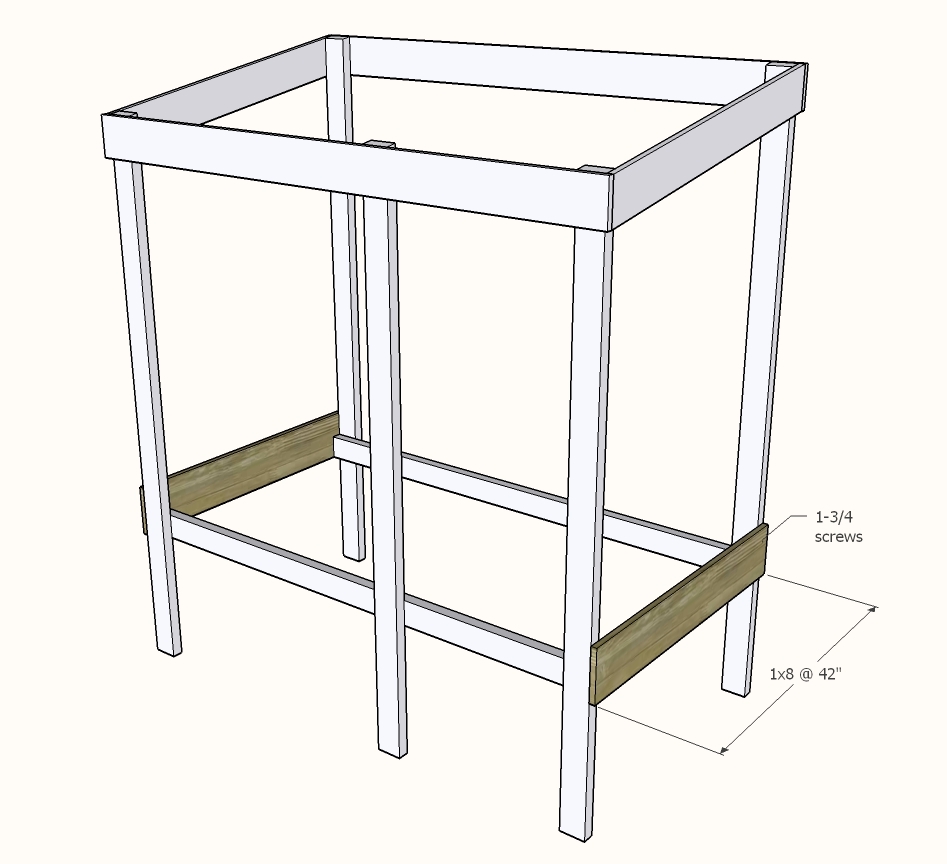
8 - 1x8 @ 42" - side siding
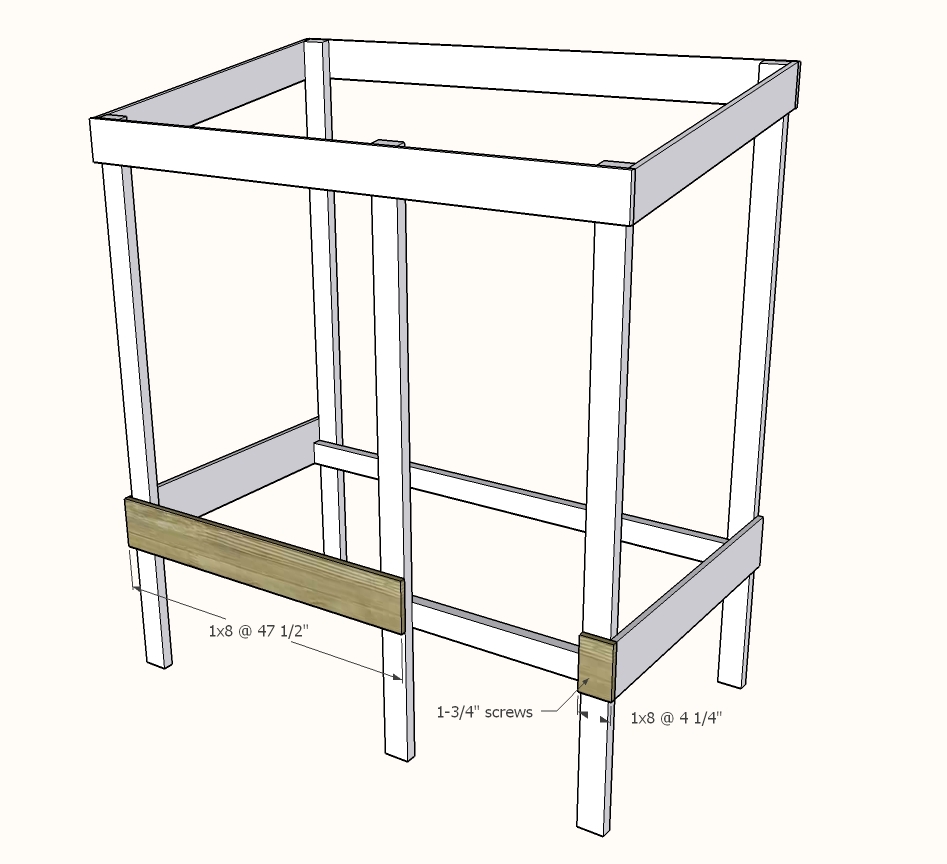
4 - 1x8 @ 47-1/2" - front siding
4 - 1x8 @ 4-1/4" - small front siding - cut last from scraps
1 - 1x8 @ 24-3/4" - front mattress trim
1 - 2x4 @ 31-3/4" - step
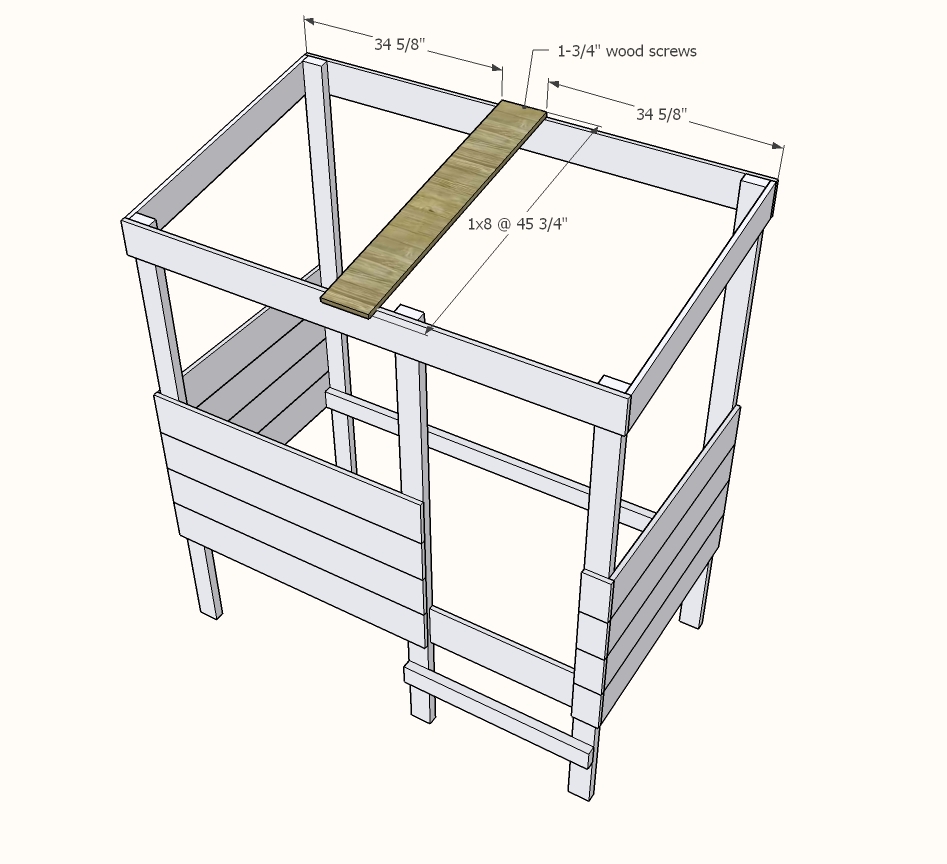
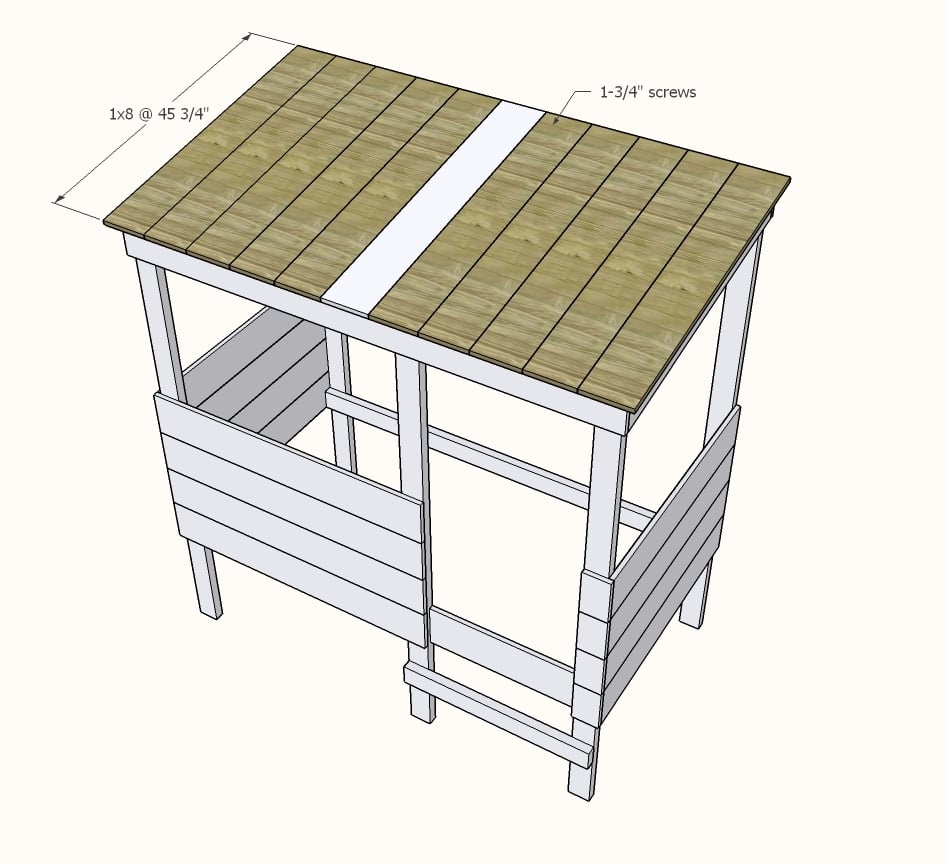
11 - 1x8 @ 45-3/4" - roof
9 - 2x4 @ 39" - mattress slats
It may be easier to prefinish all of the boards before assembly
Instructions
Step 1
Step 3
Step 7
Step 8
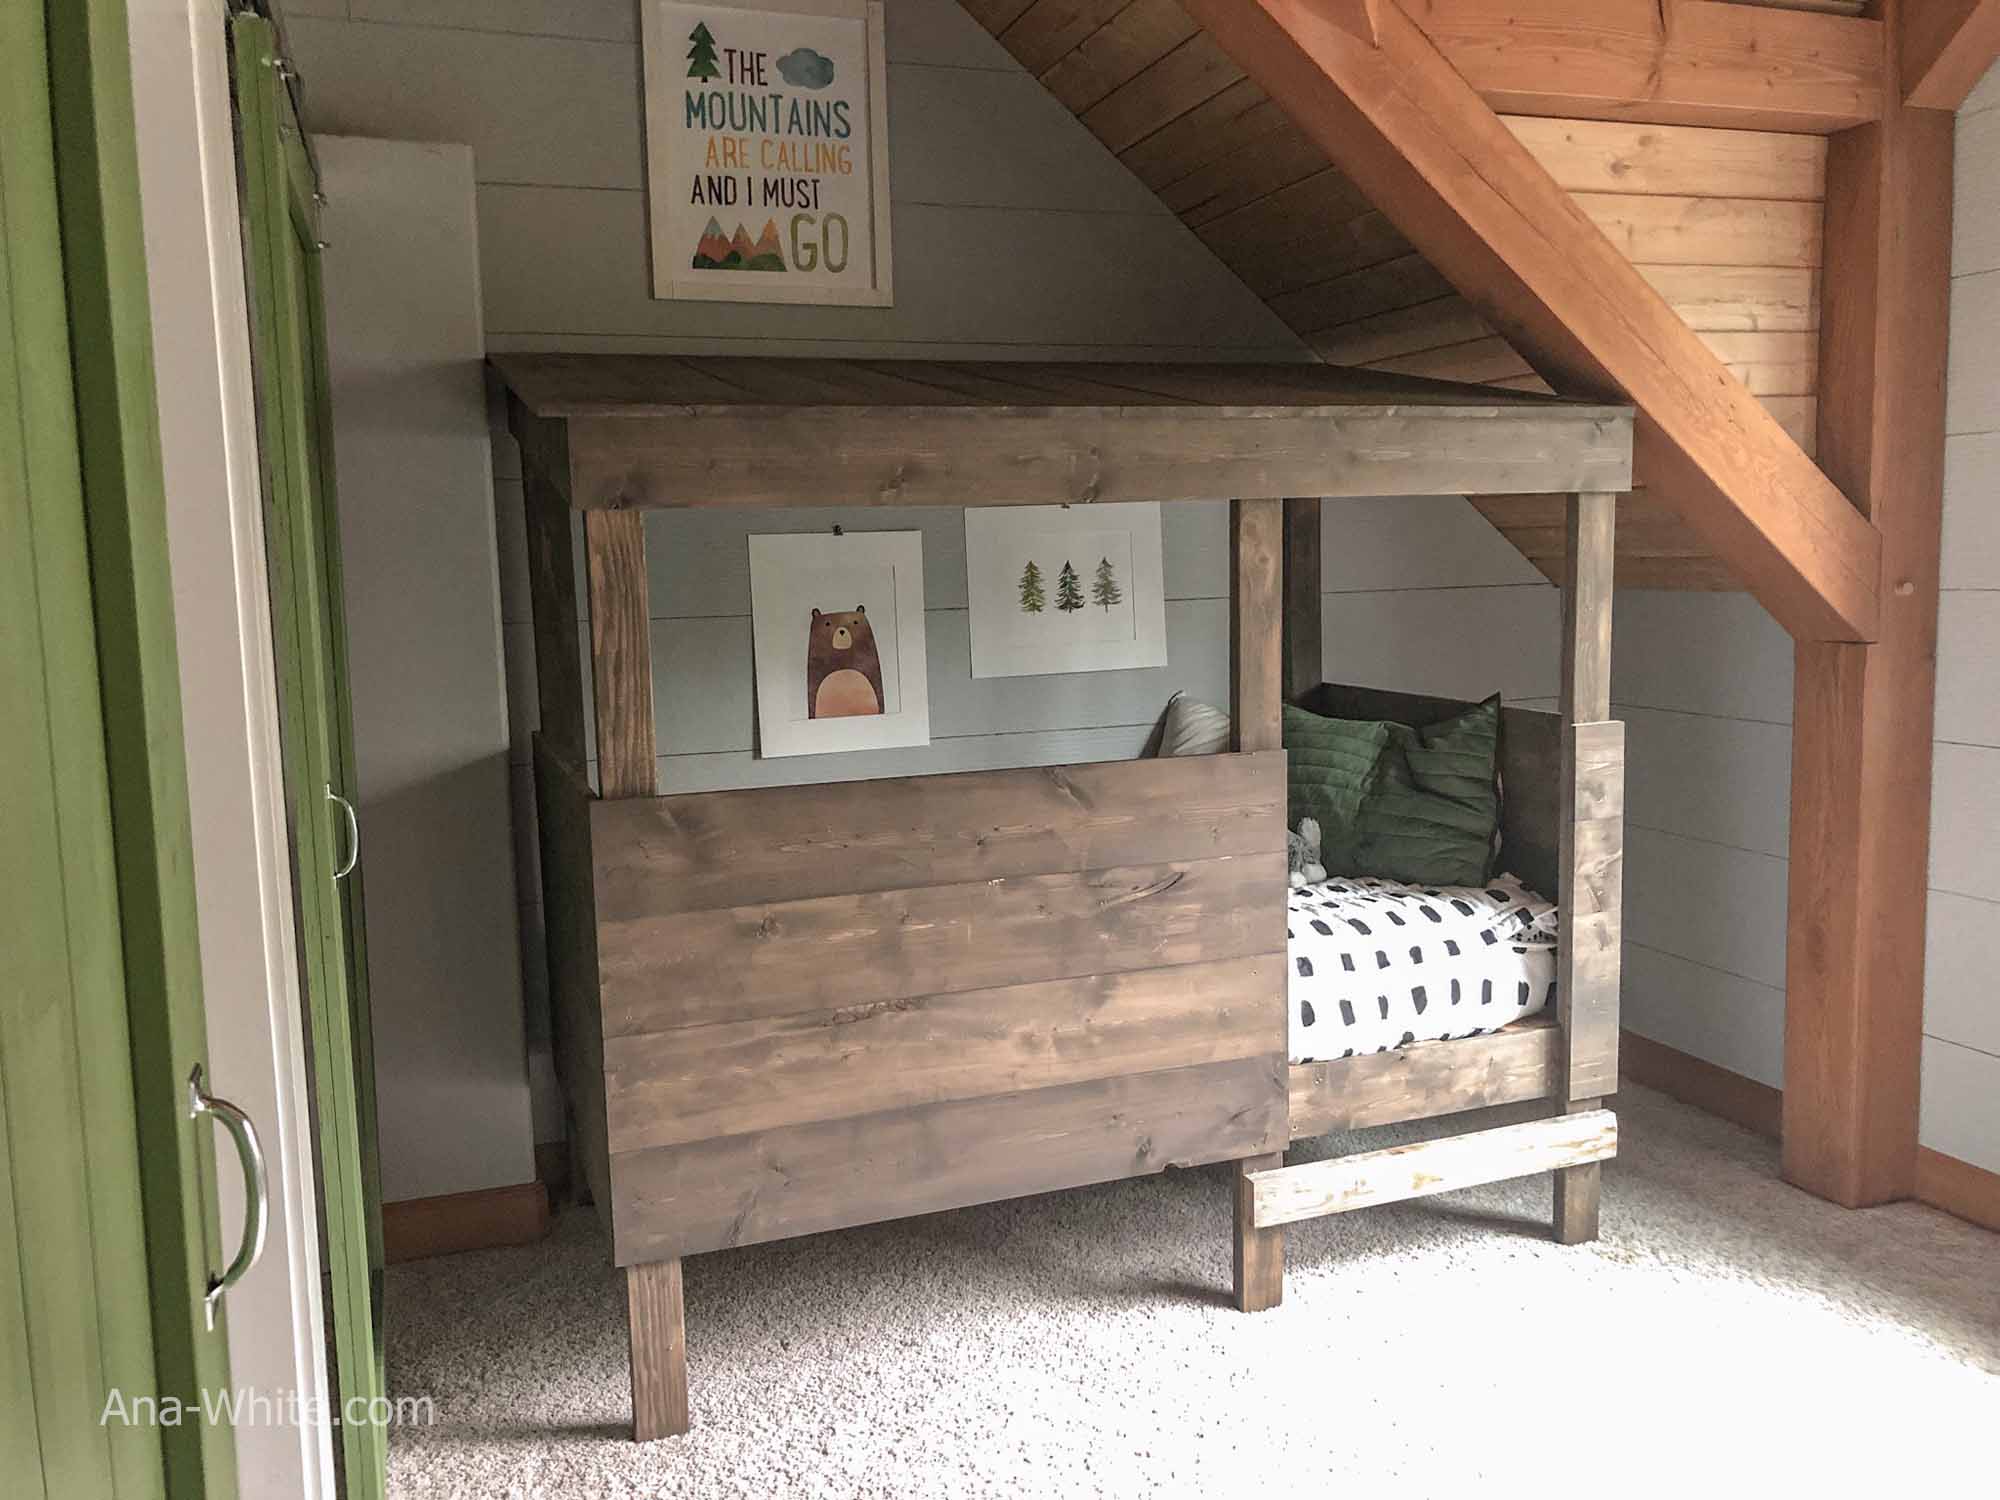
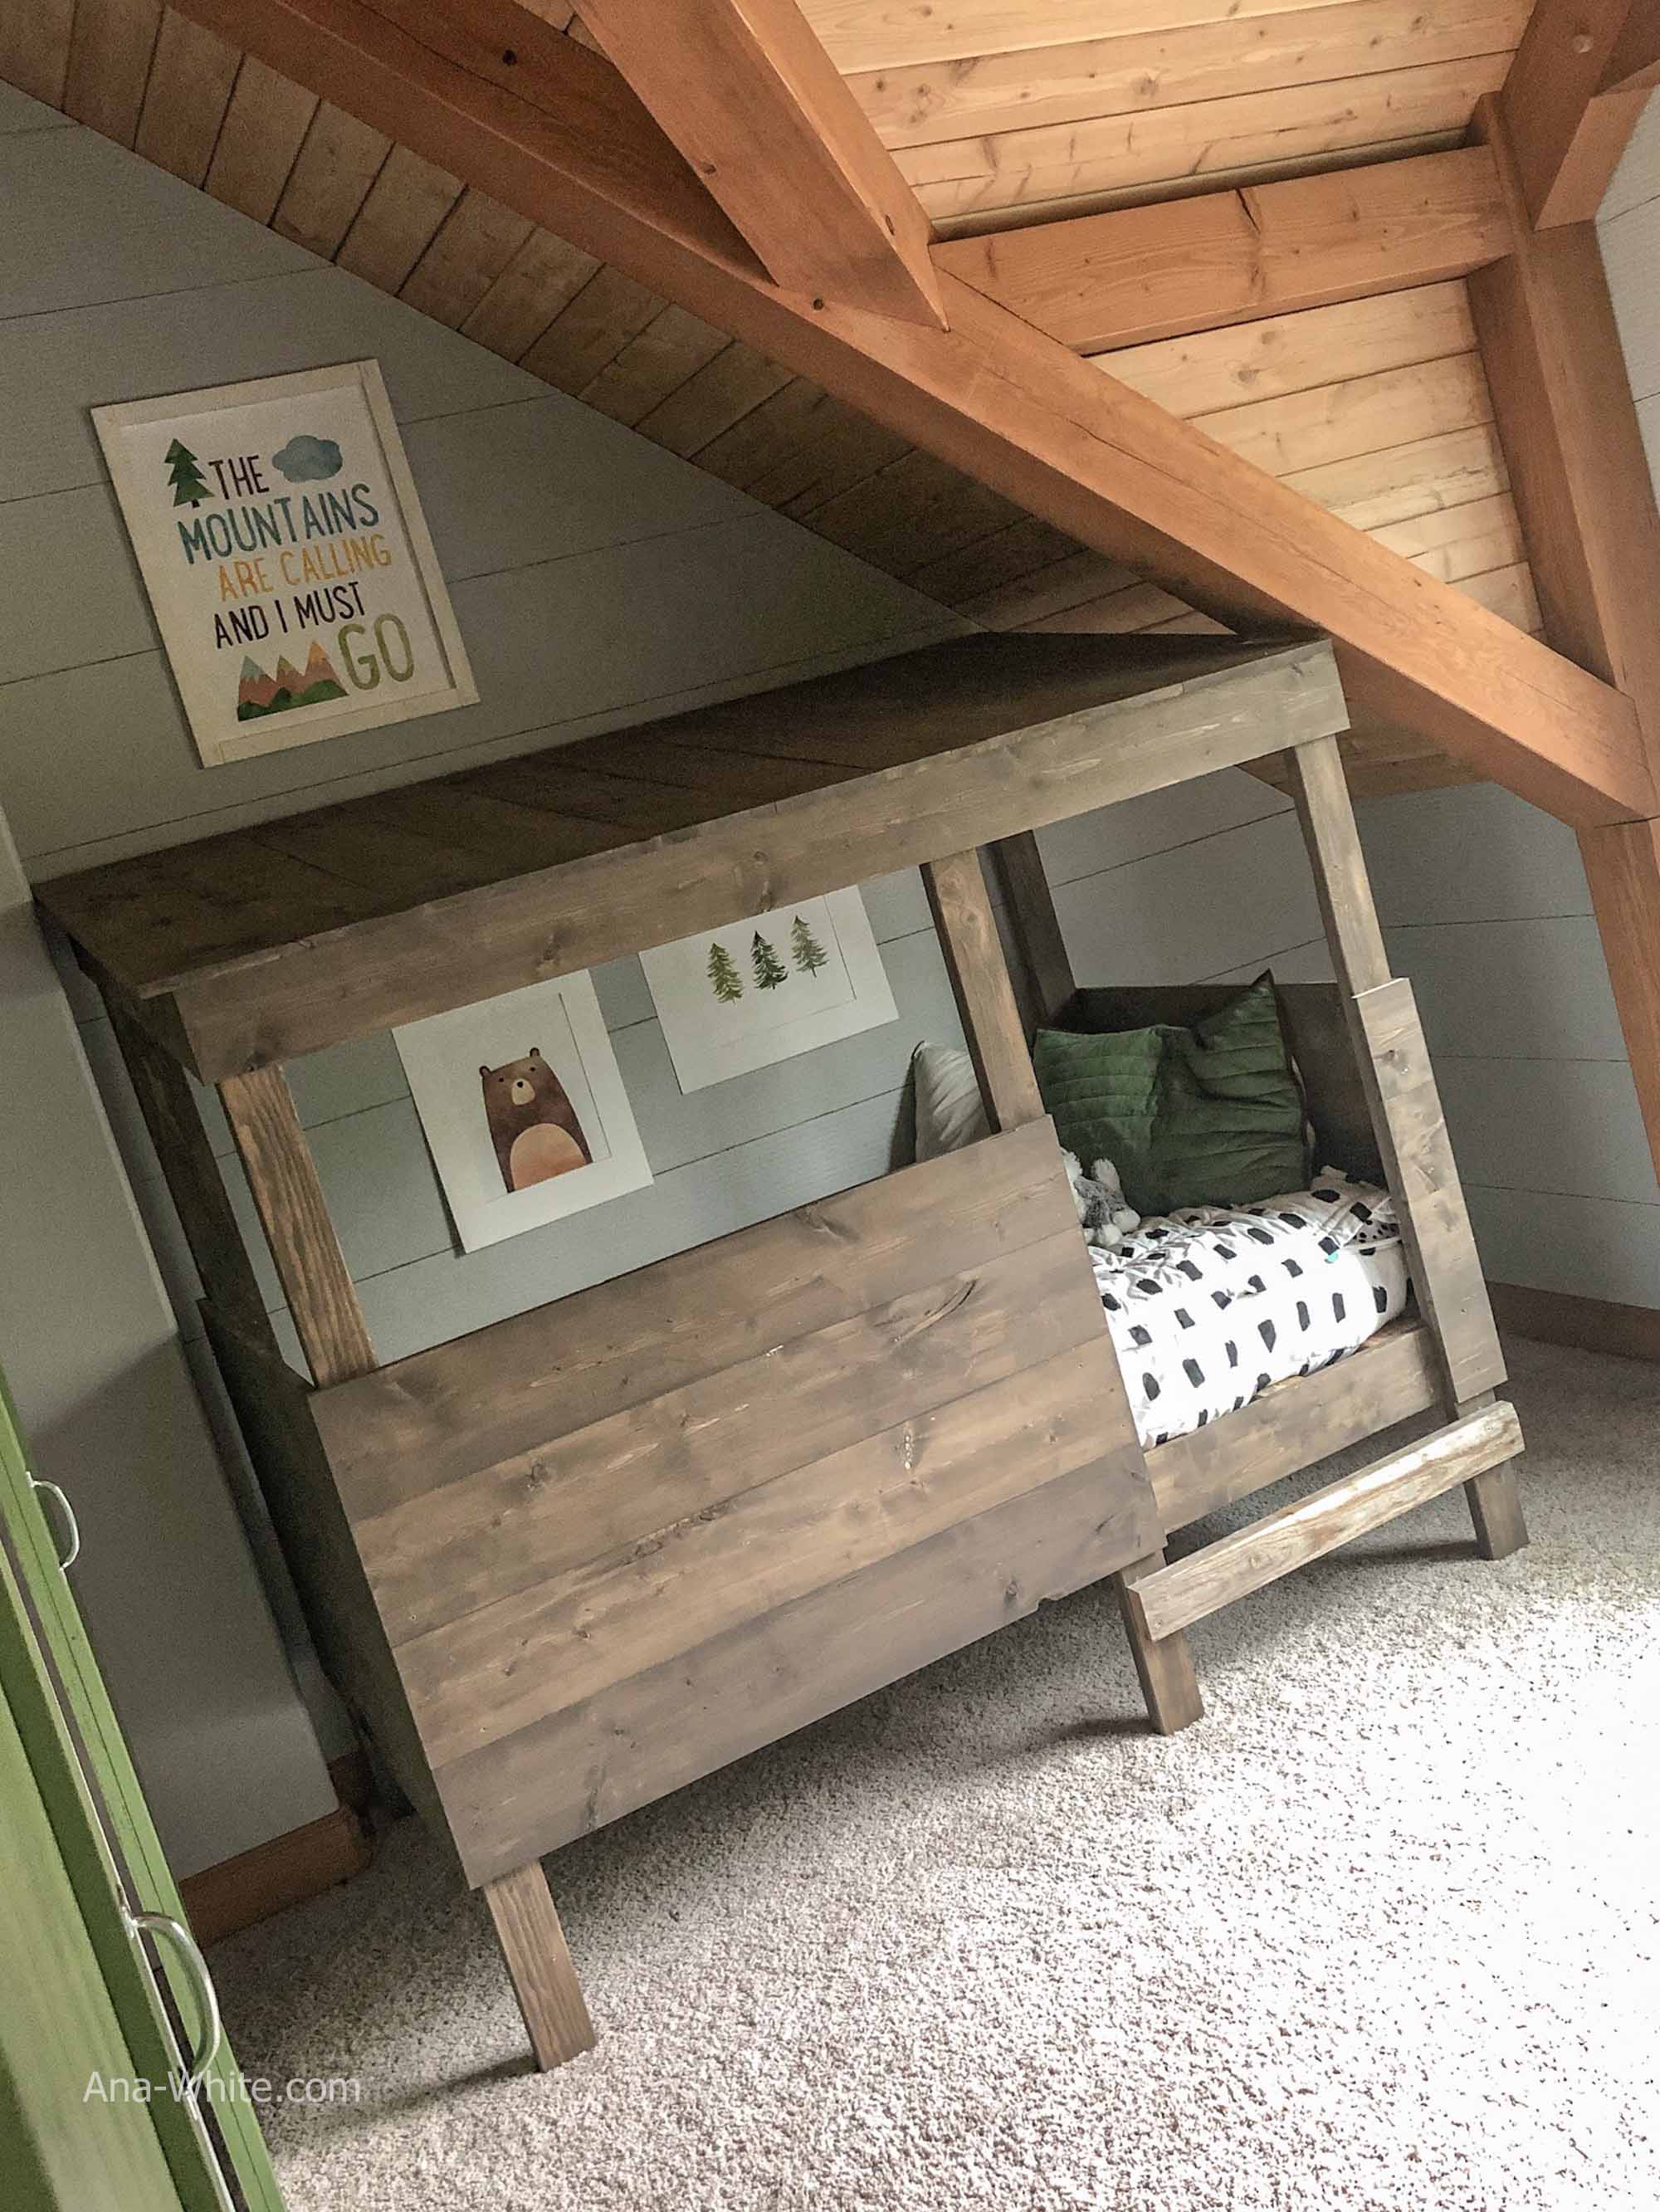
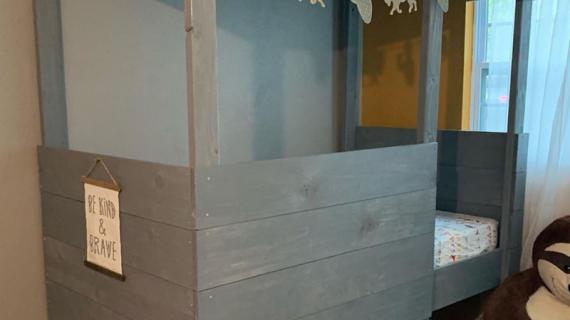
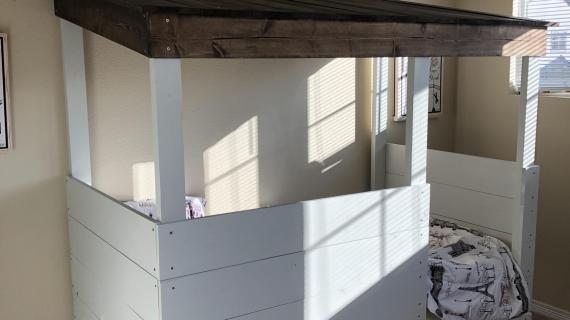
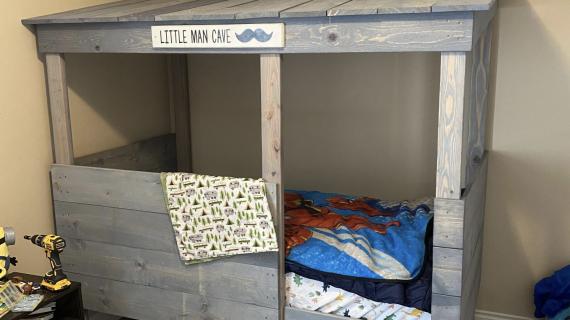
We prefinished all the boards first, and then brought the boards into the room and build the bed.






Comments
OliveAnn
Mon, 08/05/2019 - 07:02
baby mattress size
Are there any instructions on how to make this using the size of a crib mattress? Or is this not recommended for a child under 5yrs old?
In reply to baby mattress size by OliveAnn
Ana White
Mon, 08/05/2019 - 16:44
That would be cute! I can't…
That would be cute! I can't promise anything, but will see what I can do!
In reply to baby mattress size by OliveAnn
Ana White
Sat, 08/10/2019 - 12:27
Thank you for requesting…
Thank you for requesting plans! We were able to make this happen for you!
https://www.ana-white.com/woodworking-projects/toddler-treehouse-bed
If you do end up building (no pressure!) please brag photos!
ashwilham
Tue, 02/11/2020 - 22:13
Advice.
Love this bed so much! Is there a way to make it into a junior loft bed? Would it be strong enough if I still used 2x4s on the corners or would 4x4s be better? I’d like to have about a 40” height under the bed to the floor.
Star
Tue, 02/25/2020 - 17:06
Thank you!
First of all—thank you for your website and YouTube channel. You have inspired me to try and build something so I chose to make this bed for my guy! It took us four days to complete the bed and it is a solid piece of furniture and we love it. I would like to know what wood you used and where you purchased it. When we priced wood for this project, it ranged from $500-$900. And how do you cut an angle? Our circular saw had the 10 degree bevel cut but we misread and cut the 10 degree angle cut as a bevel. And did you sand the wood before staining it? Have you ever considered making a basic how to video? Since we are new to building, we would love a how to video on bevel versus angle, how to use a circular saw, sanding, using a square, how to make sure the cuts are straight, how to prevent splintering of the wood as you cut it etc. #firsttimers #thankyou
MountainDrew
Mon, 05/25/2020 - 08:54
Great design, our toddler…
Great design, our toddler loves this bed! Here’s our finished product.
https://www.ana-white.com/community-projects/treehouse-bed-0