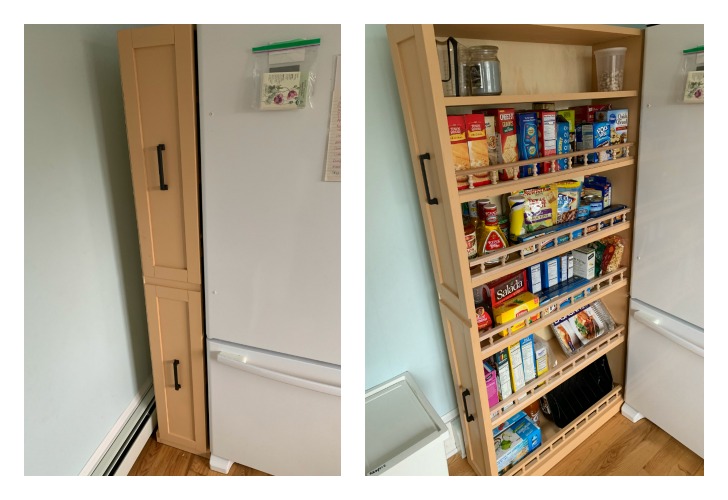
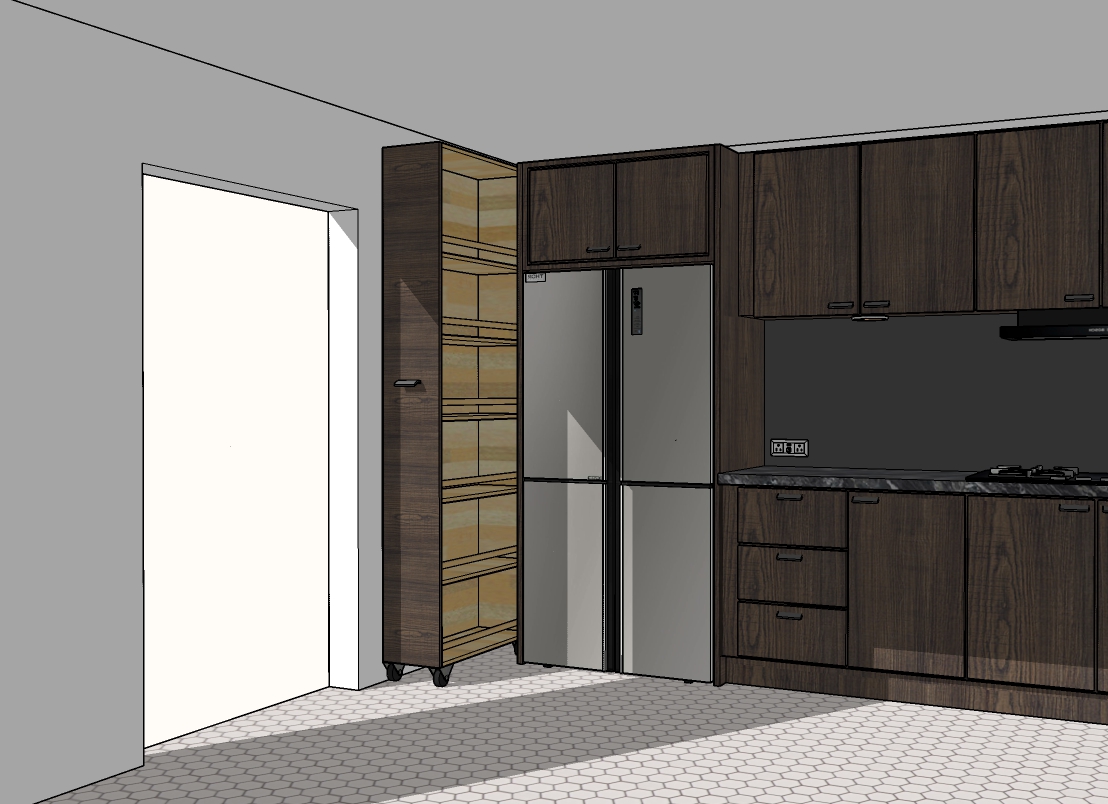
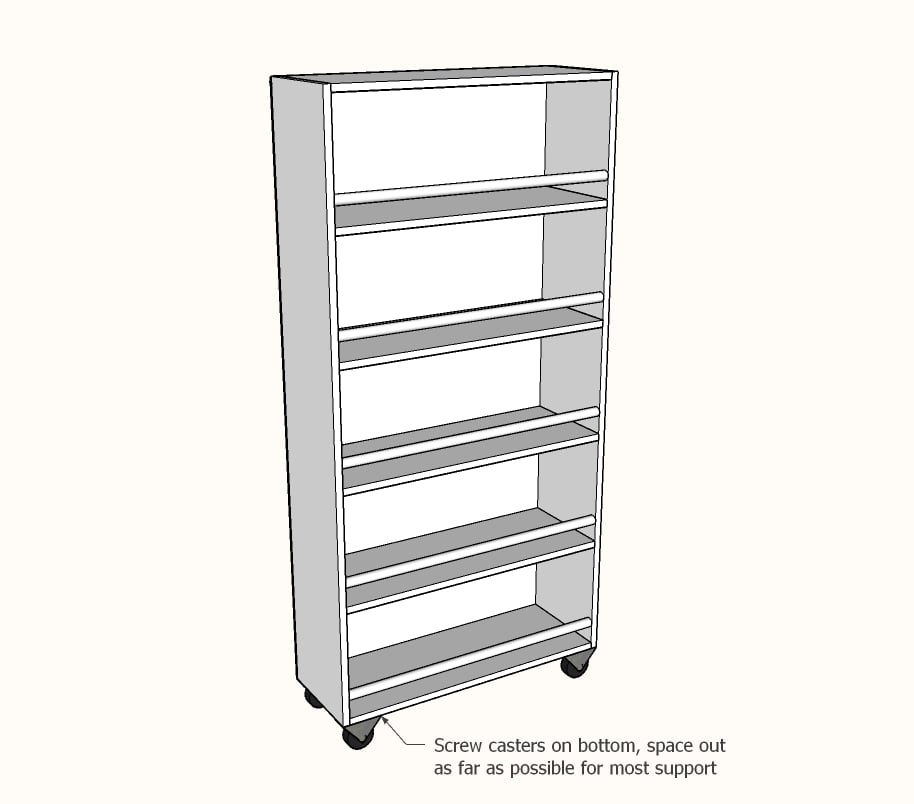
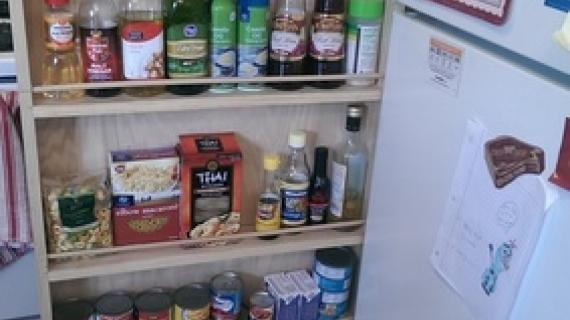
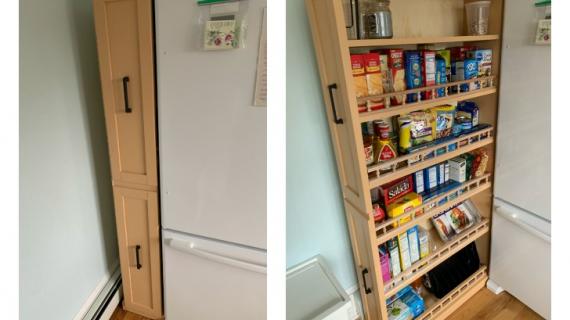
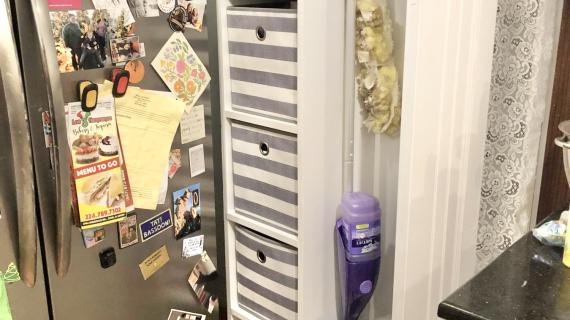
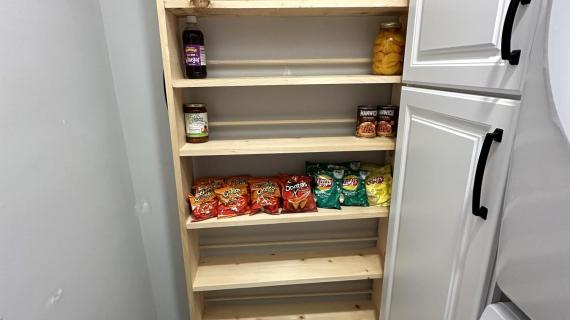
If you have a narrow open space in your kitchen, maybe next to your fridge, you can make this space useful. In this tutorial, we'll walk you through how to build a roll out pantry shelf that can slide in the wasted space. Free plans with step by step diagrams from Ana-White.com
Dimensions
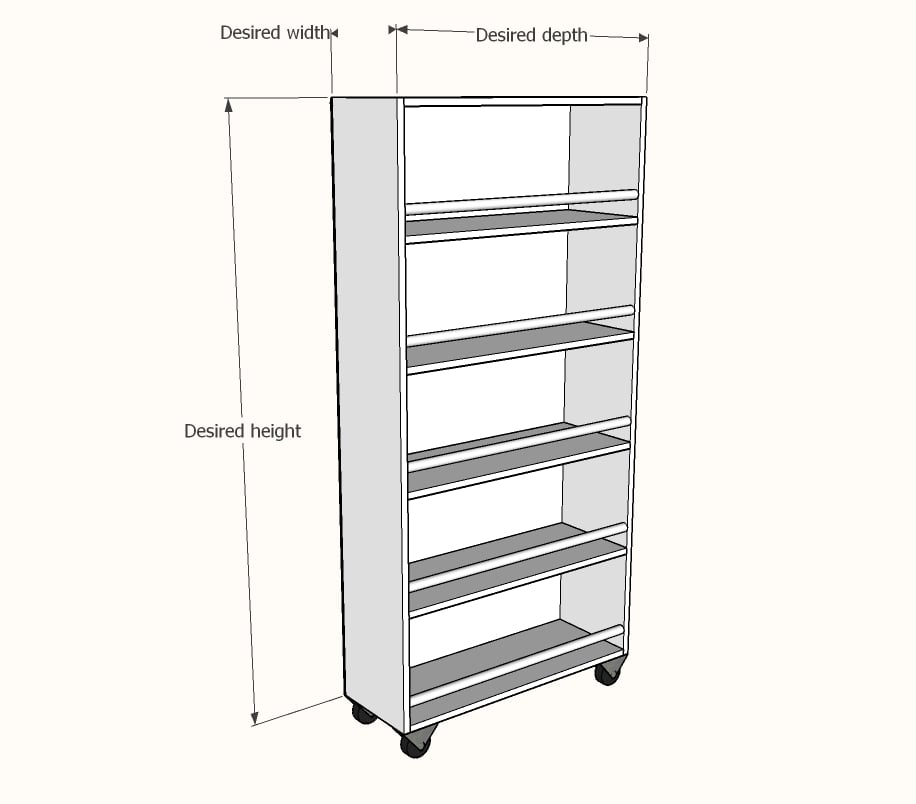
Customize to fit your kitchen space
Preparation
Shopping List
- 1x boards in desired width (about 4 boards, each 8 feet long)
- 1x4s for 4" gap
- 1x6s for 6" gap
- 1x8s for 8" gap
- 1x10s for 10" gap
- 1x12s for 12" gap
- 3/4" diameter wood dowels, 36" long each, one per shelf
- One full sheet of 1/4" thick plywood
- 4 fixed caster wheels, 2-3" in height with screws
- 1-1/4" pocket hole screws (recommended) or 2" self tapping wood construction screws (about 25 for 1x4, 1x6, 1x8 widths, about 40 for 1x10, 1x12 widths)
- 5/8" brad nails or staples for attaching the back
- 1-1/4" brad nails or 2" wood trim screws for attaching the wood dowels (two screws per dowel)
Cut List
- 2 - 1x boards @ desired height minus height of caster wheels - sides
- 6 - 1x boards @ desired depth minus 2" - shelves (can have more or less shelves)
- 6 - 3/4" wood dowels @ same length as shelves (if more or less shelves, adjust number of dowels to match)
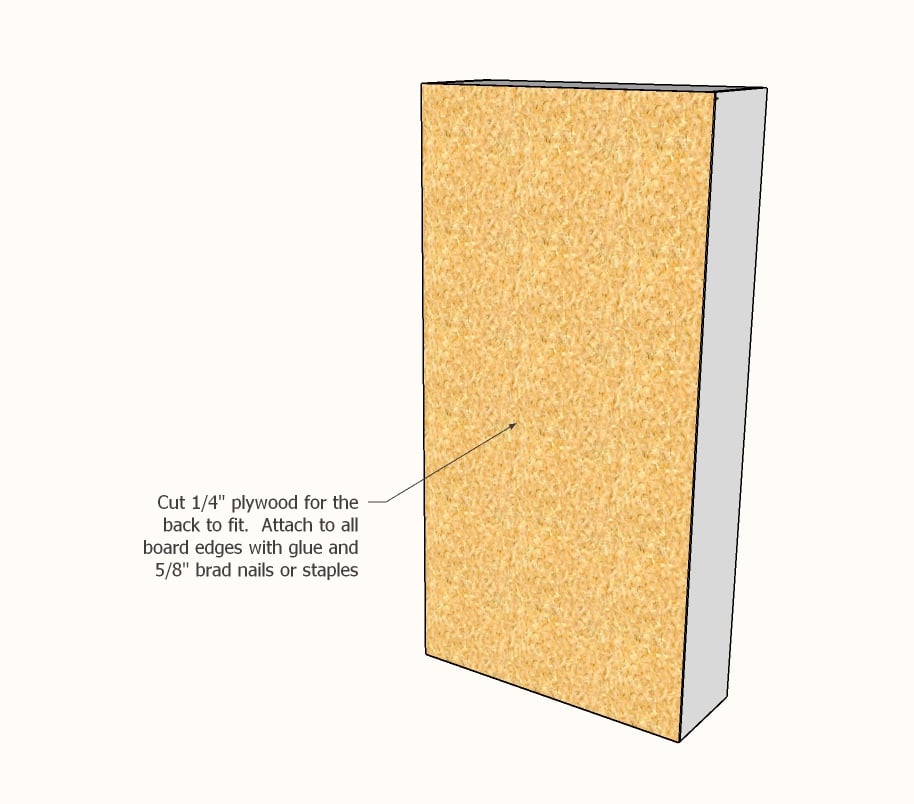
- 1/4" plywood for back is cut to fit
Instructions
Step 1
Project Type
Room





Comments
Carpenters_Daughter
Tue, 09/24/2019 - 16:30
DIY Rolling Pantry question
Do you think this can be made deeper? I need one about 15 inches deep (side) by 38 inches wide (front) and 72 inches tall. I will be making it look like it is a "pantry" by using faux cabinet doors on one end but it will be a pull out. Any suggestions would be appreciated.
Ana White
Wed, 09/25/2019 - 12:01
Yes, the size should…
Yes, the size should actually be better bigger, as it will increase stability.
I'd use 3/4" plywood ripped into strips of the width you need, and then just go from there.
Please post a pic when you are done!