


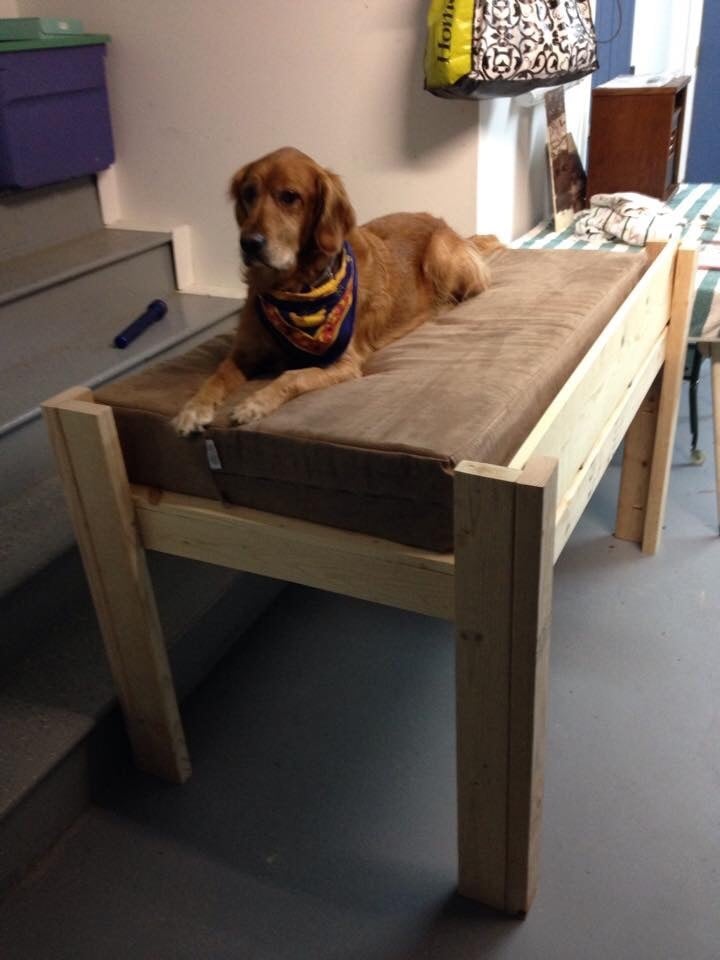
This is a dog bed made the same height as my bed.
Preparation
2x4 x 8 (6)
1x4 x 8 (2)
1x8 x 8
1x10 x 8
1x12 x 8
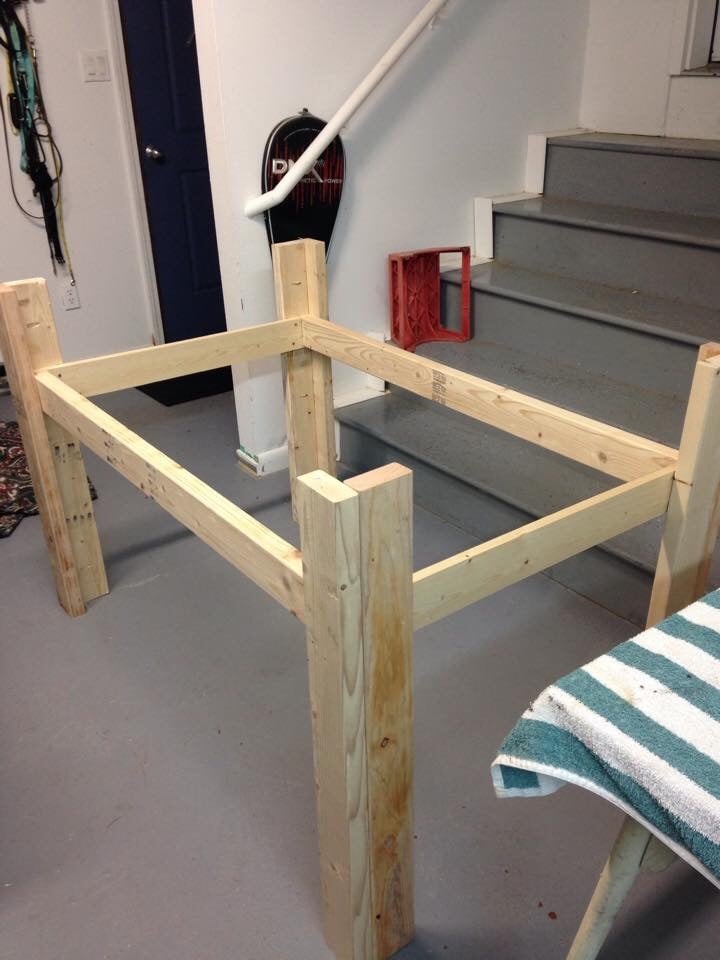
You will need to cut the boards to fit the size bed you need. The legs on mine are 34". I would use 2 x 4's all the way around for the bed frame. You just need to make it to fit your mattress that you have for the dog.


Depending on the size bed you make, I added a couple more slats than are in the pic to hold the mattress. My dog likes to dig a "hole" in his bed so it needed support .
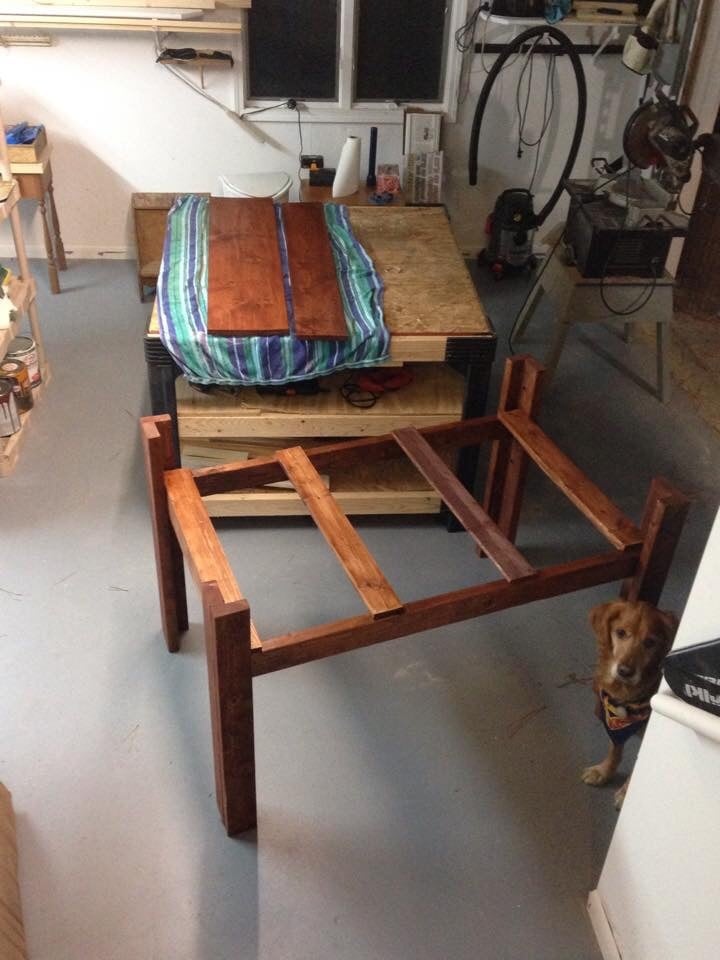
I used 1 x 10, 1 x 12 and 1 x 8 for the rails. You can use what you think to make the dog feel secure. These are just pushed in and are not attached. That way if you decide to put the bed in a different position you can rearrange the rails. My dog gets up on my bed and goes over to his bed. I don't need any stairs for mine. The legs need to be removable on this size bed so you can get it in the room. So just use screws, no glue or nails.
Please read through the entire plan and all comments before beginning this project. It is also advisable to review the Getting Started Section. Take all necessary precautions to build safely and smartly. Work on a clean level surface, free of imperfections or debris. Always use straight boards. Check for square after each step. Always predrill holes before attaching with screws. Use glue with finish nails for a stronger hold. Wipe excess glue off bare wood for stained projects, as dried glue will not take stain. Be safe, have fun, and ask for help if you need it. Good luck!
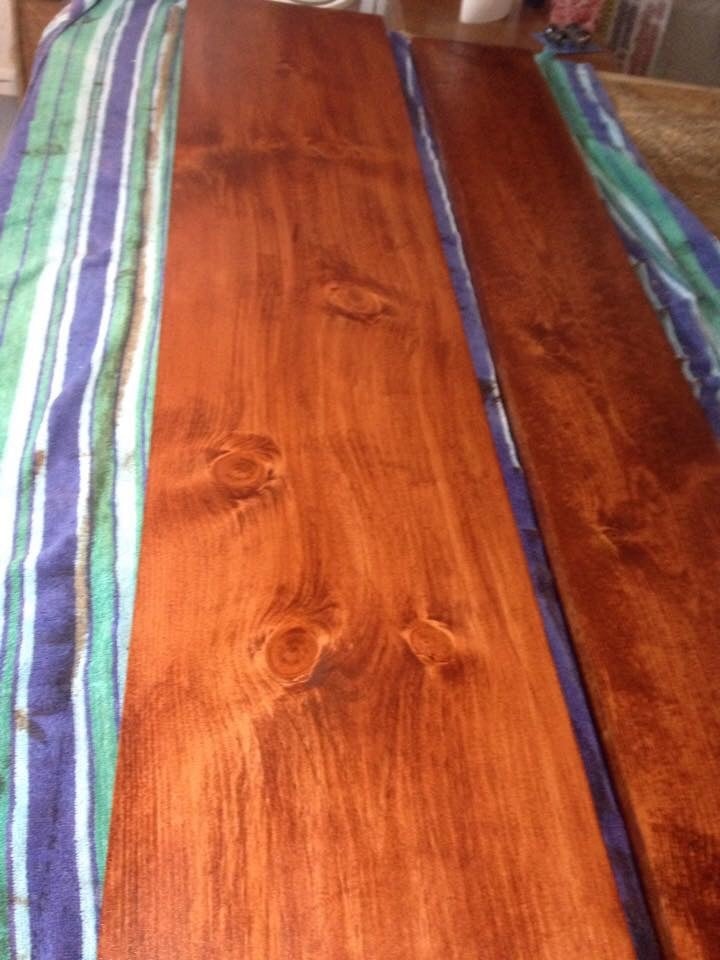
It is always recommended to apply a test coat on a hidden area or scrap piece to ensure color evenness and adhesion. Use primer or wood conditioner as needed.
Comments
Mrs H
Sun, 02/15/2015 - 08:37
Dog bed
Such a lucky dog. I noticed that your best friend likes to be up high enough to relax and look out of the window. Nice work and good instructions. I love the photos.
In reply to Dog bed by Mrs H
Seamagnolia
Sun, 02/15/2015 - 10:53
Dog bed
Thank you so much. He's a wonderful boy.
cmcteague
Thu, 11/07/2019 - 08:47
Instructions
Are there step by step instructions for this project? Or do you just have general instructions? Thanks!