Here's an amazing (and inexpensive) way to decorate for the Christmas - and you don't have to be an artist to do it!
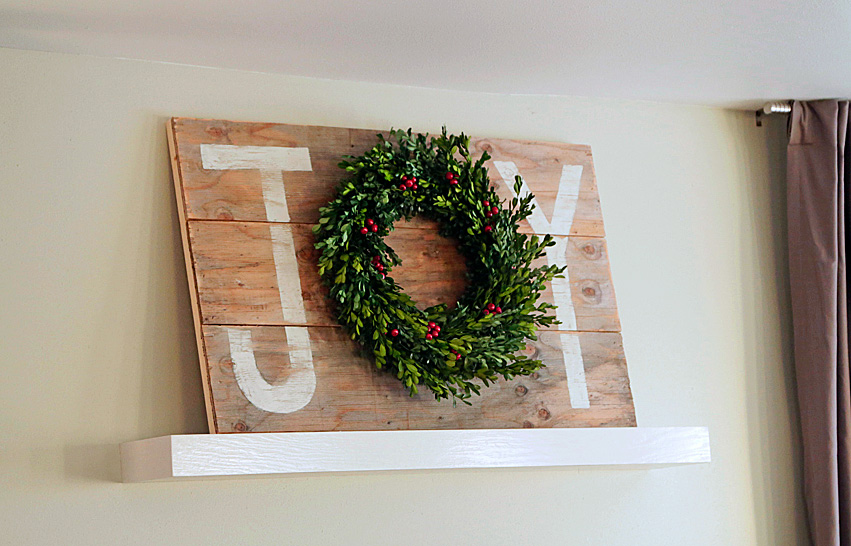
Let's create a wall art out of scrap wood, paint a few letters on it, and add a store bought wreath!
This JOY sign is SO easy to make!
How Do I Build It?
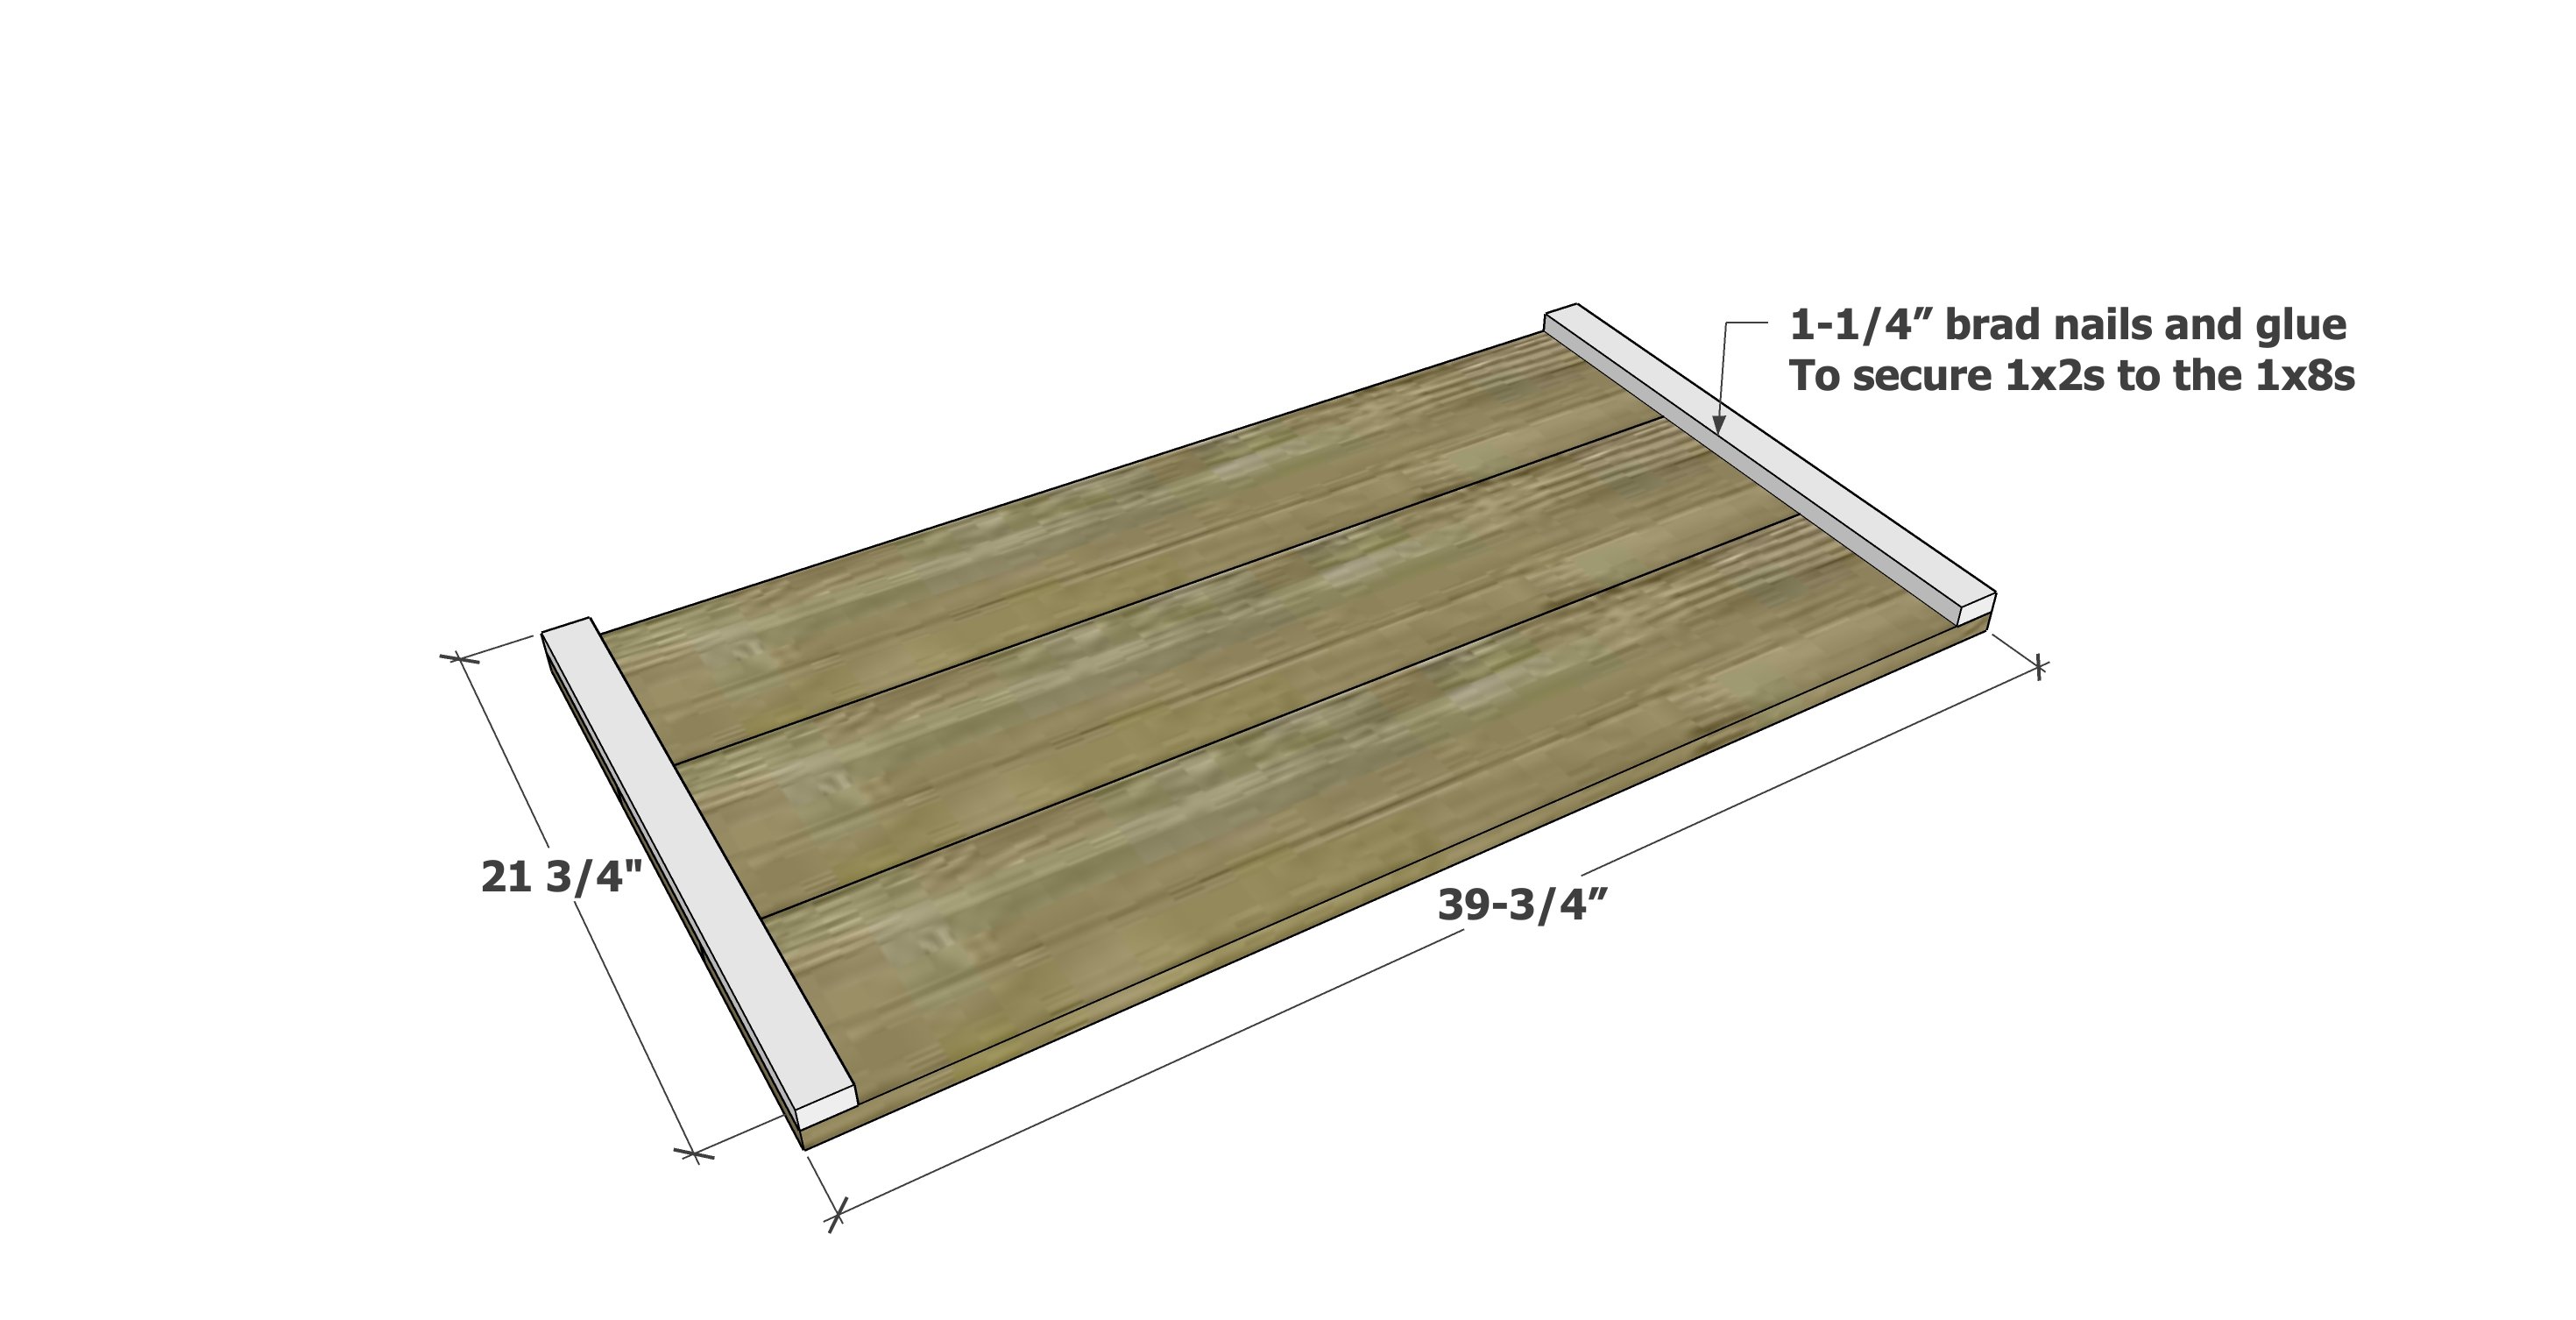
Cut the boards with a circular saw, handsaw or jigsaw, or if you have it a chop/miter saw.
Lay the boards out on a flat surface.
Figure how long to cut the 1x2 back supports and cut them.
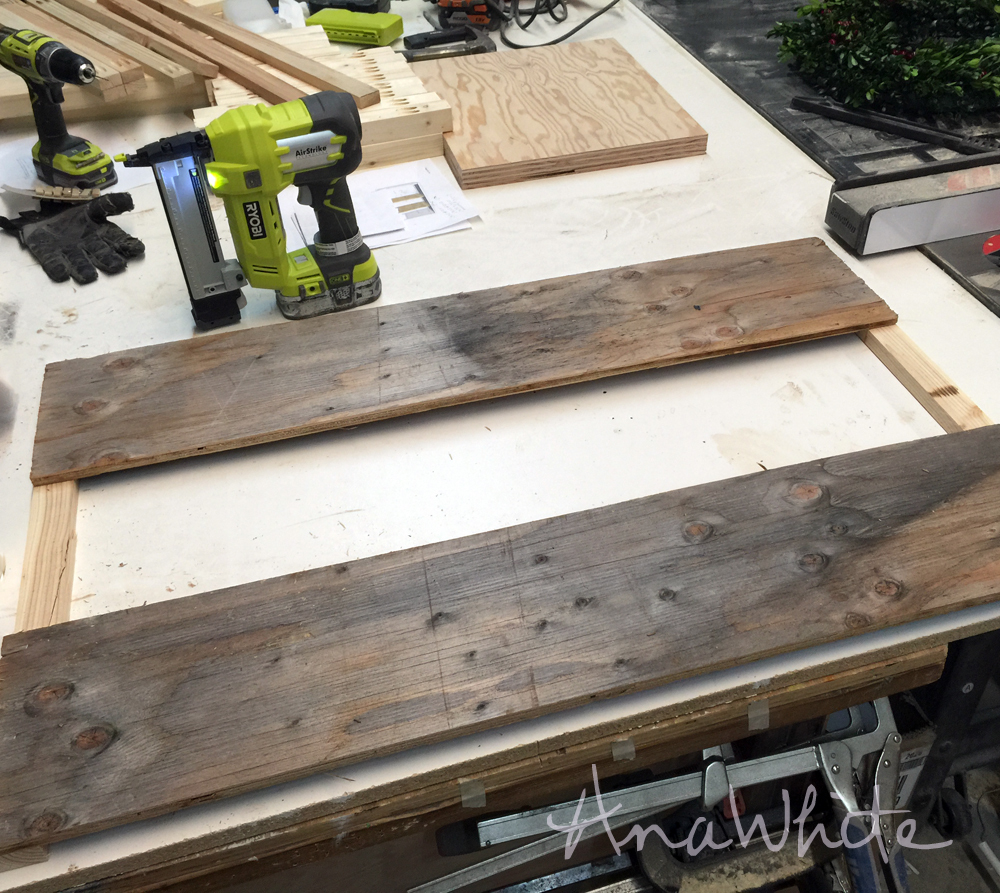
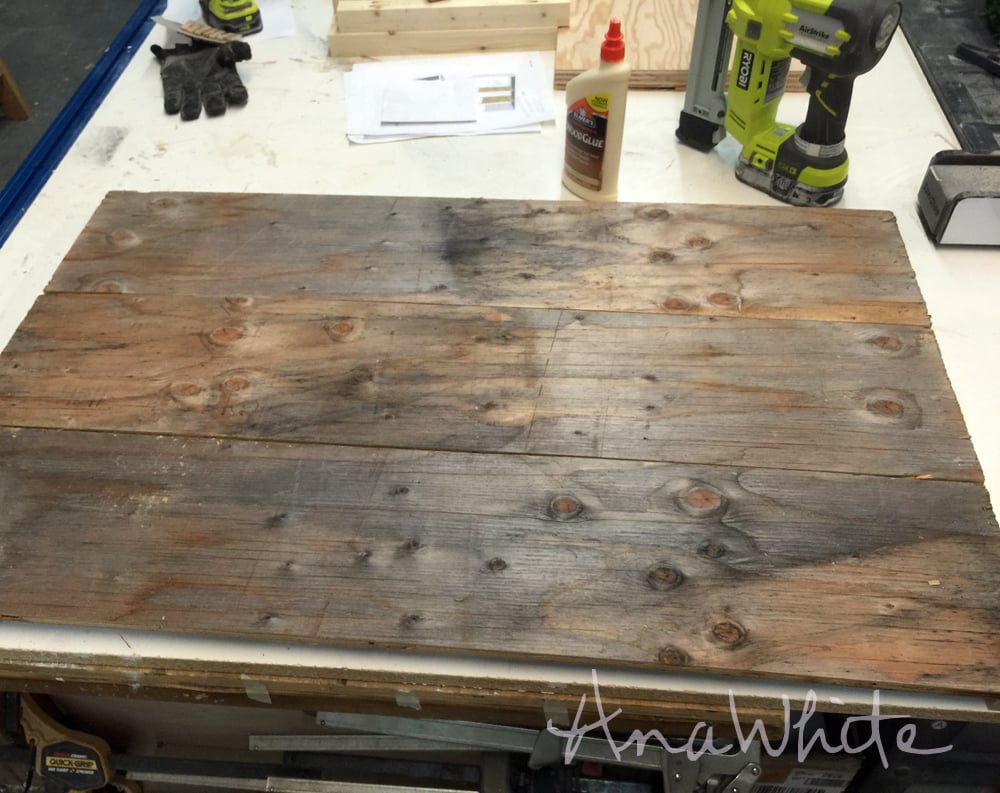
Then attach the sign boards to the 1x2s with your choice of fastener (or hot glue).
How to Get the Weathered Look? How to Stain?
Now it's time to paint or stain the wood back. My boards were weathered (pallet wood is good) so I applied nothing. If you have new boards, here's a few options:
- Weathered Wood Accelerator by Varathane
- Gray Stain
- Steel Wool and Vinegar Treatment
- Leave it outside in the sun for a few months (maybe do that next summer)
Painting the JOY Letters
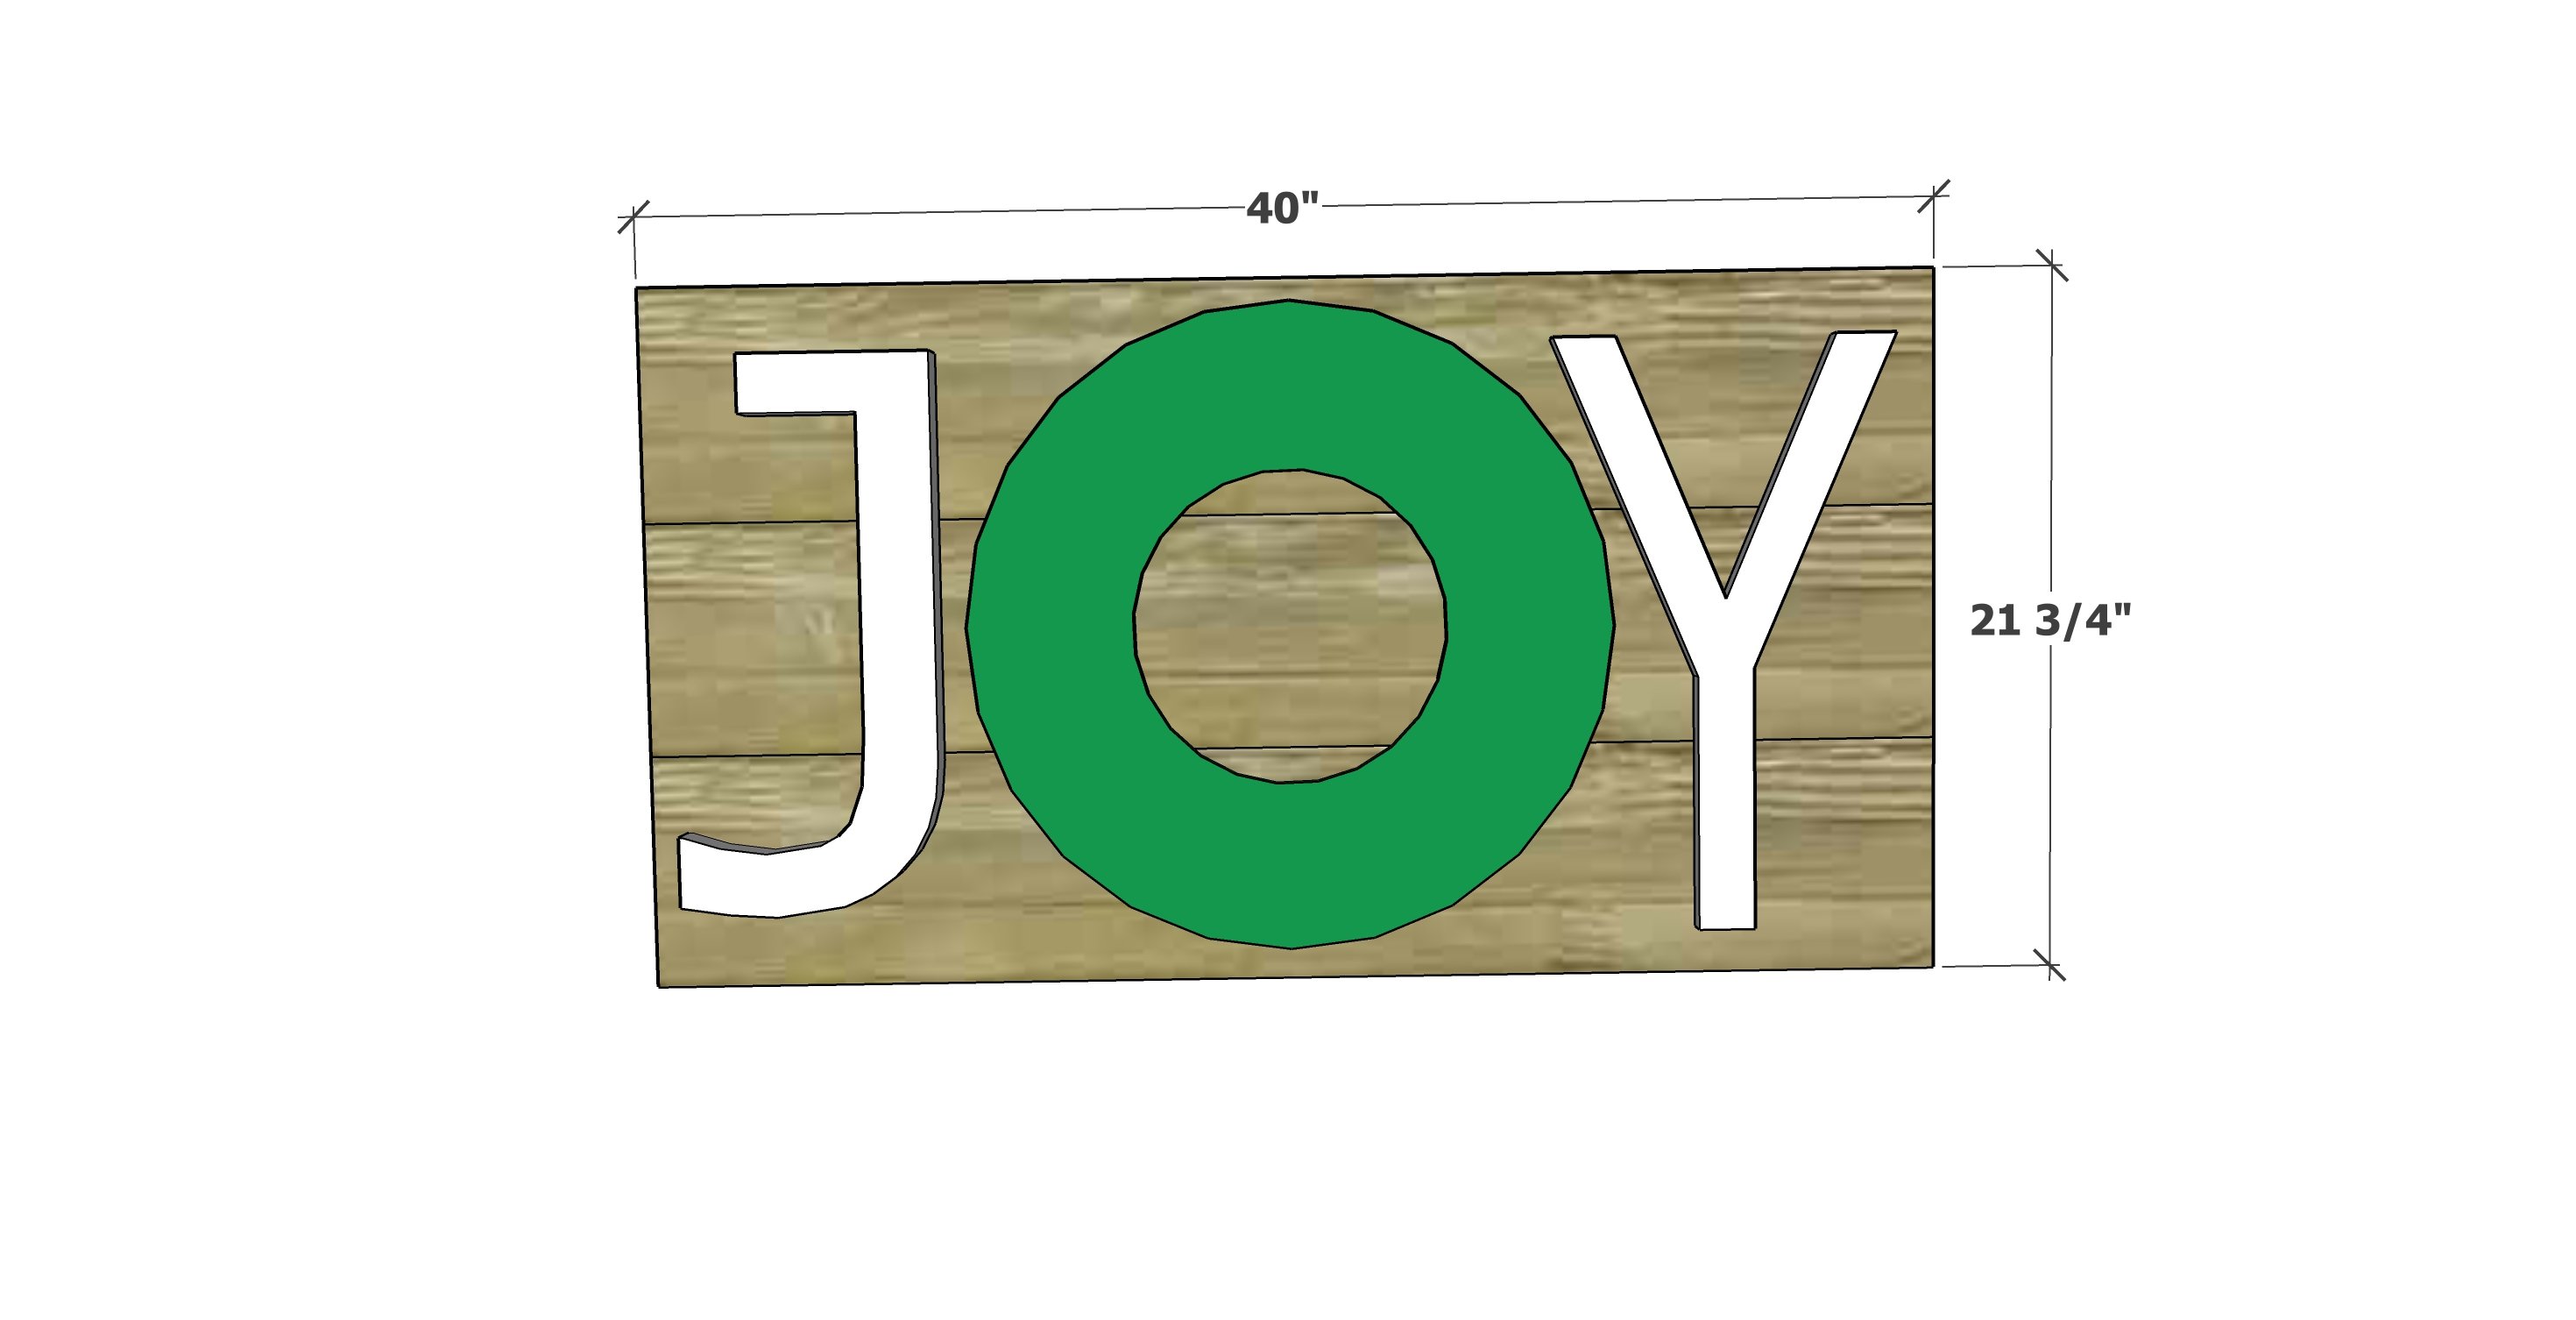
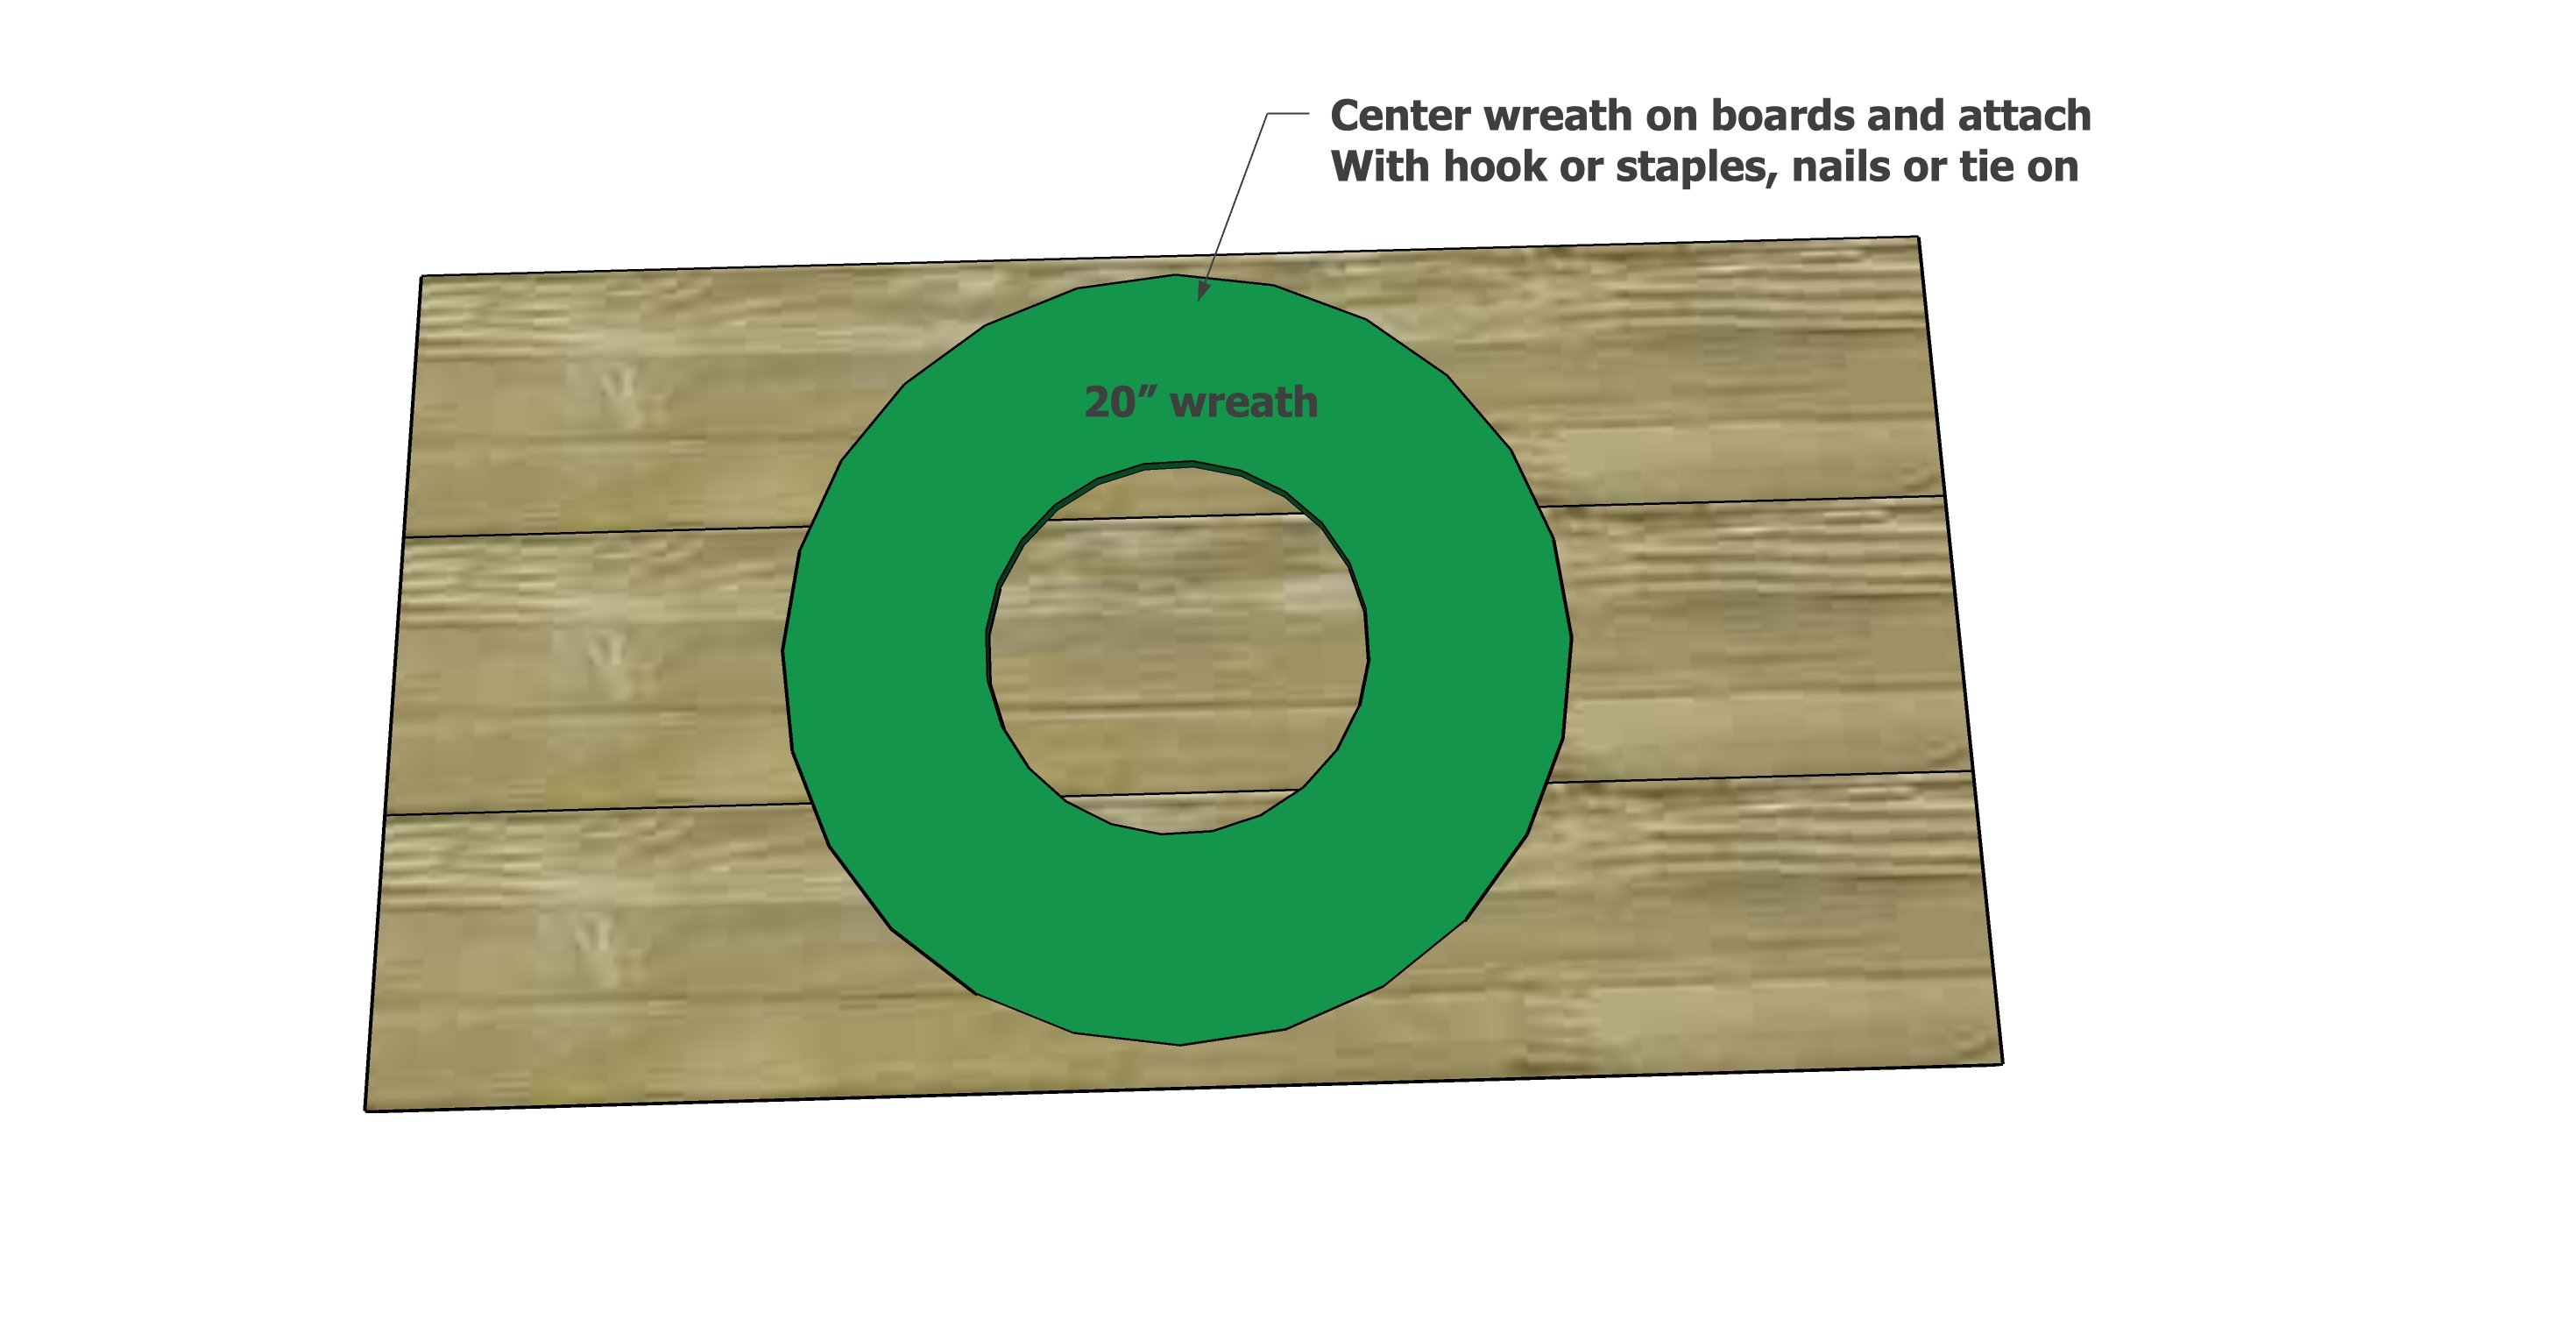
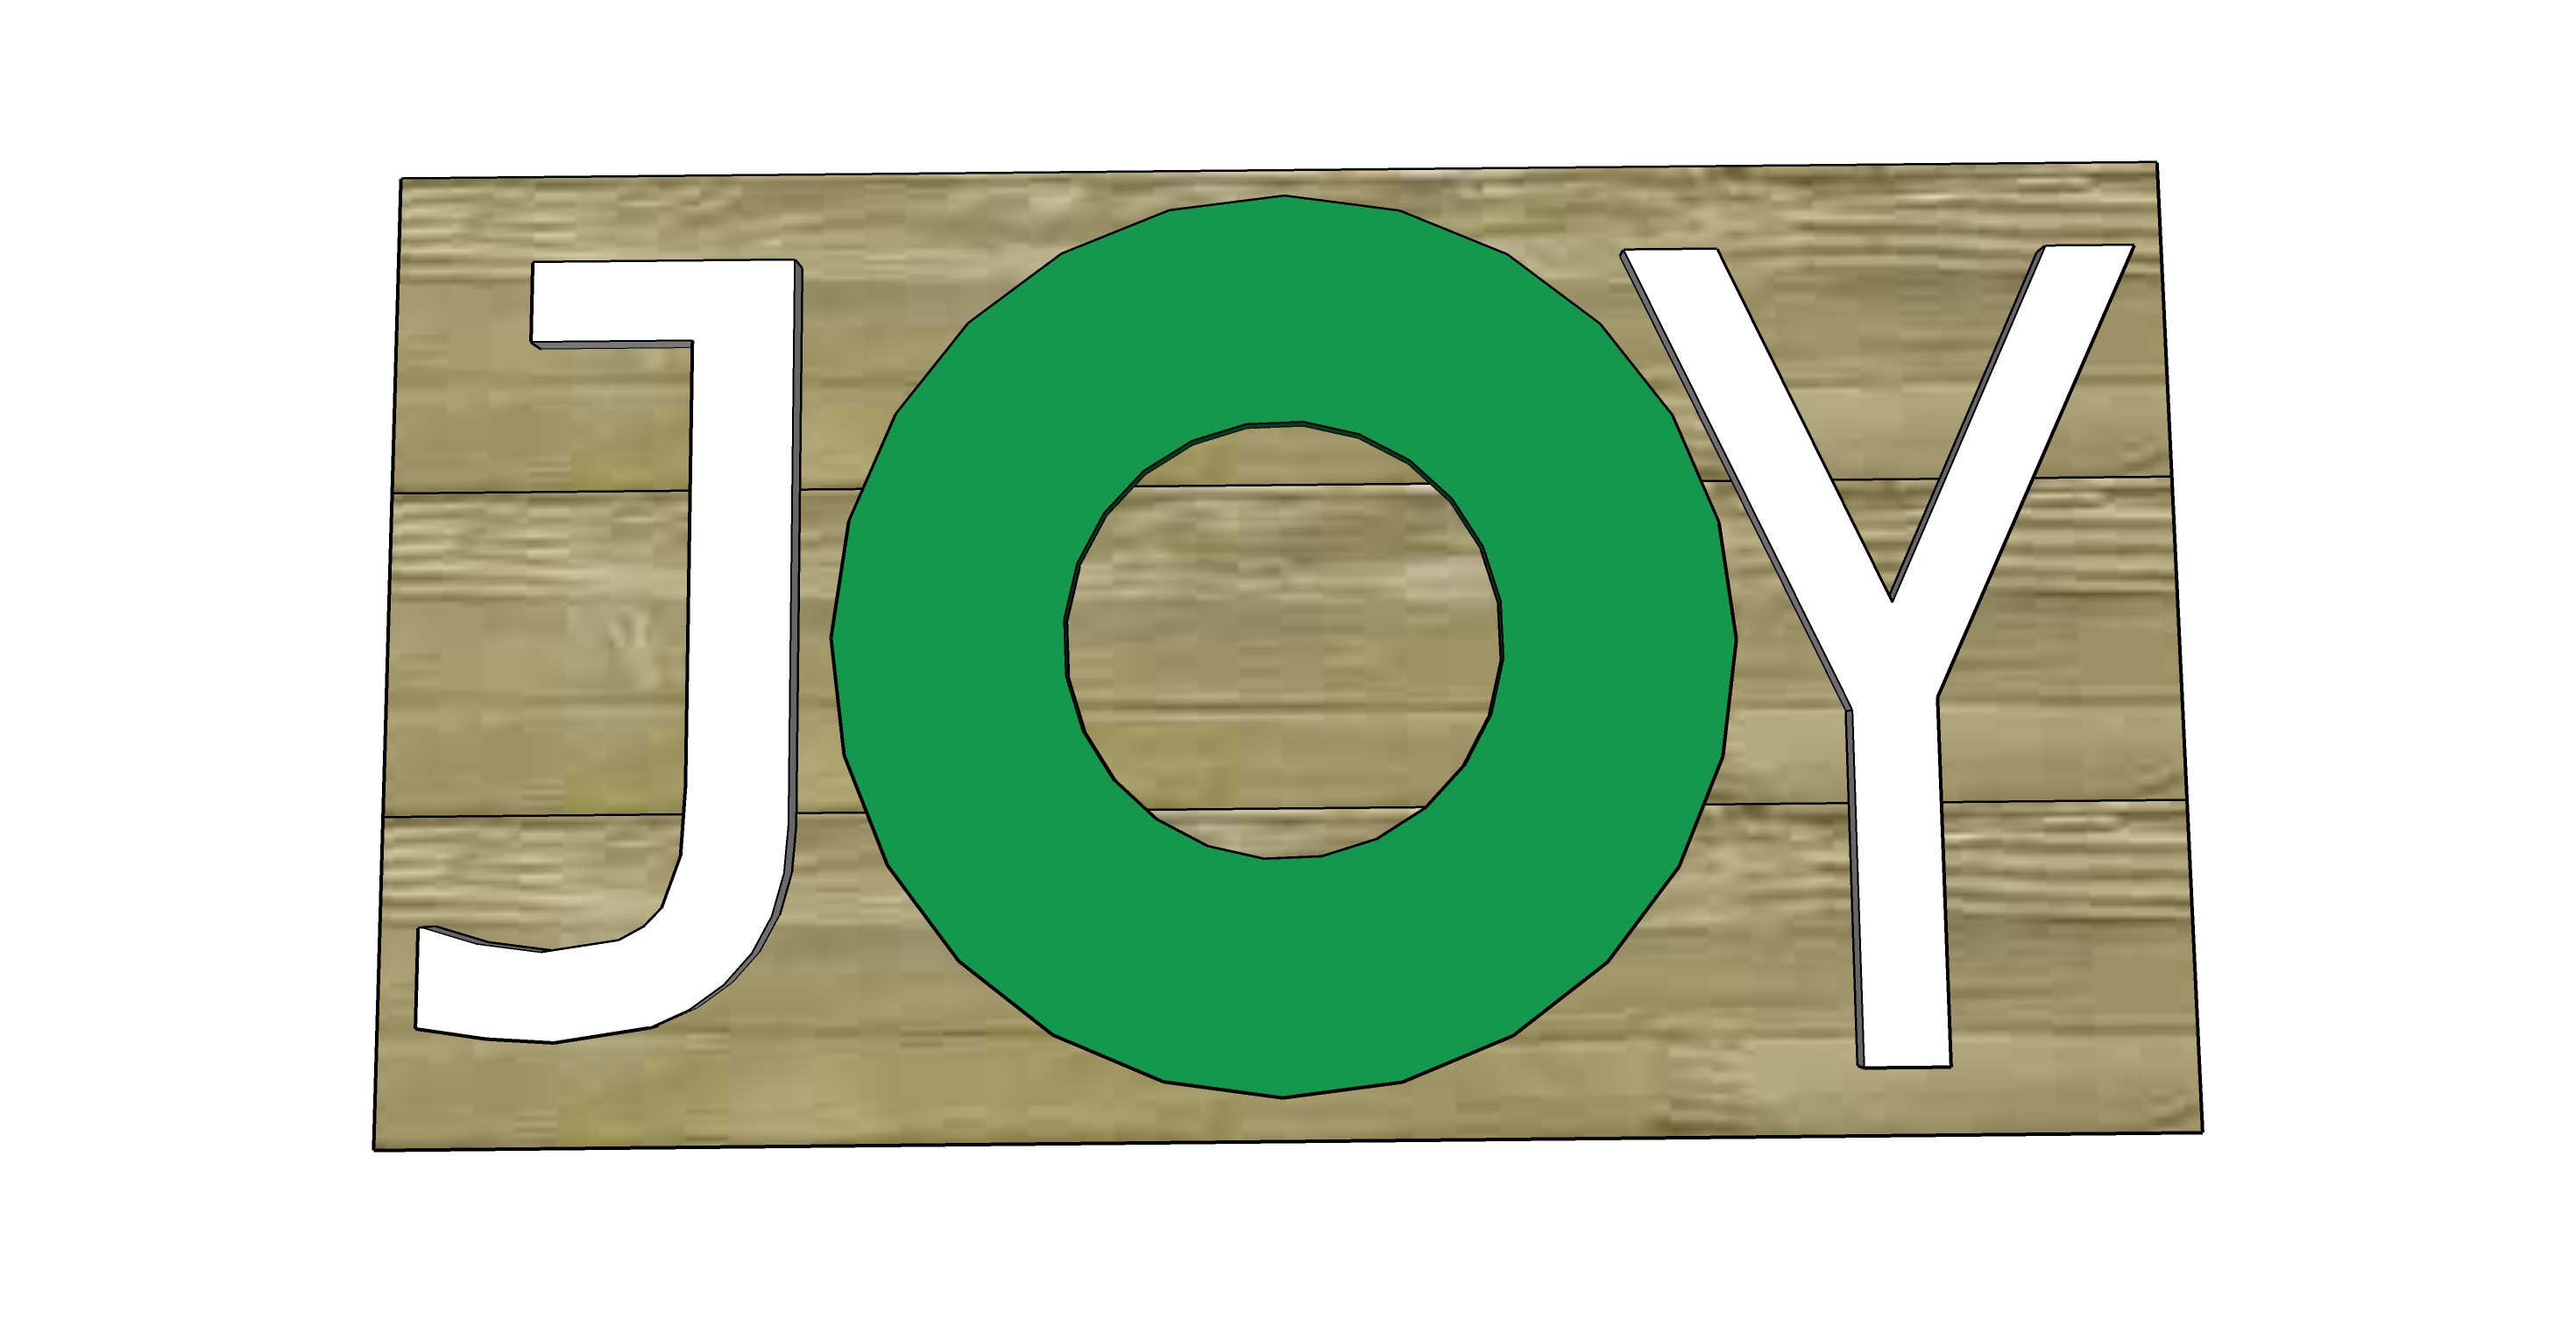
Place your store bought wreath in the center of the sign. Now you can figure where the letters need to be.
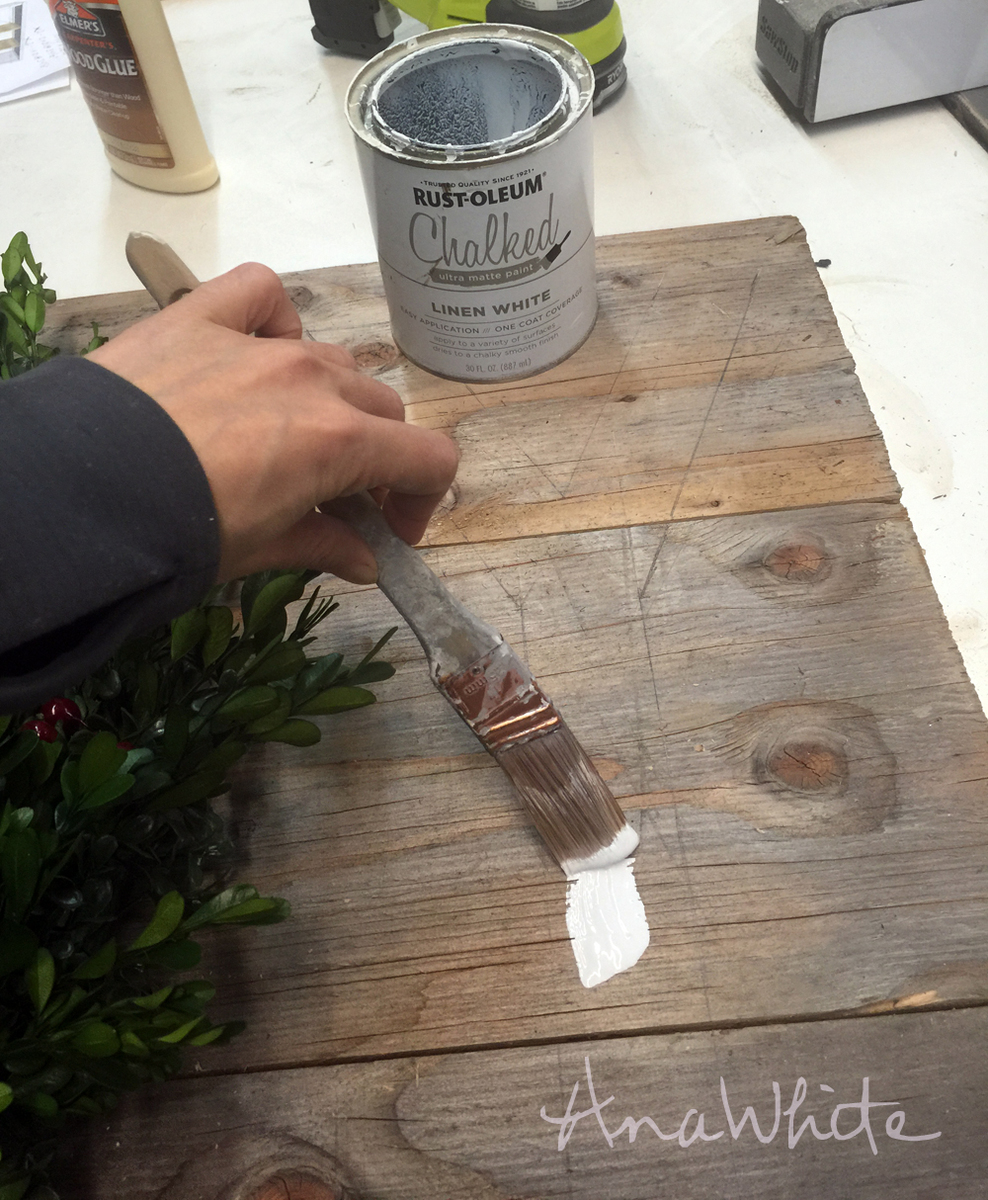
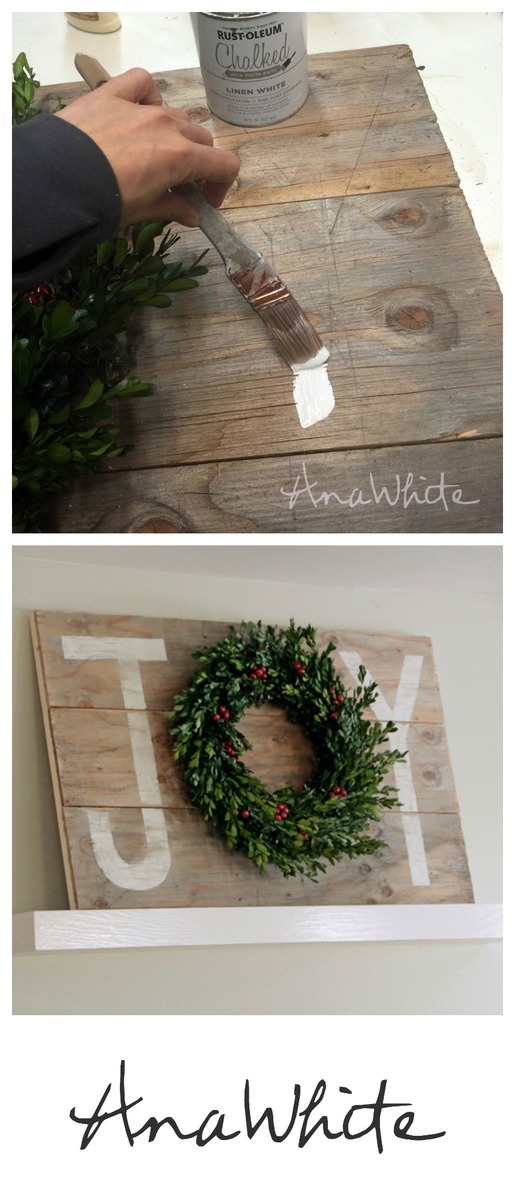
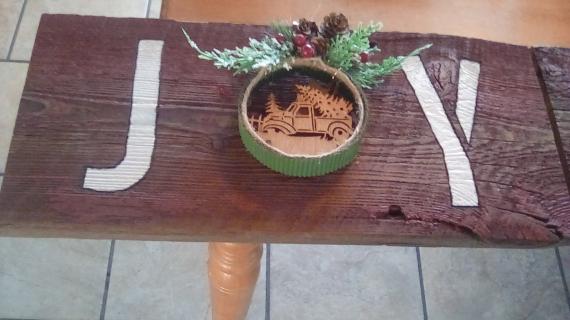
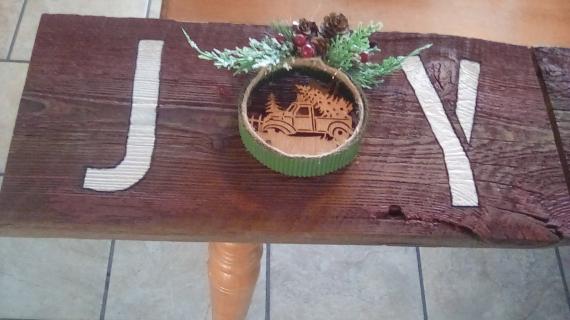
I used a 1x2 to create my J and Y letters, leaving a 1x2s width around the outside, and then the letters themselves are 1x2 width wide. The I just painted inside the letters with white paint.
Great Kids Craft Project

Then I just added a nail and hung a wreath on the nail (wreath is from Home Depot). My little niece helped out and was quite proud of the finished project too.
Easy Way to Display a Wreath without Hangers

I love it, and hope you do too!
Perfect on Shelves or Ledges or Mantles!
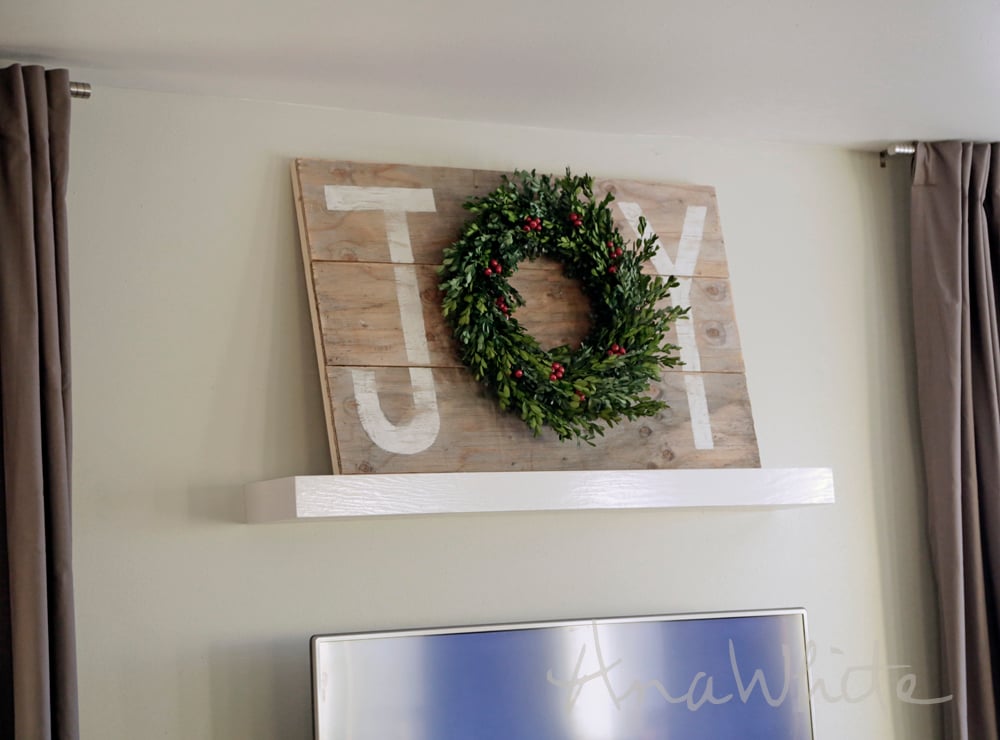
We don't have a mantle, but this floating white shelf we made a little while back is perfect.
In a small space, wall decorating is your best option. A few fun holiday pillow covers bounce the Holiday spirit around the room, and is just the right amount of Christmas decorating for our small space.

PS - Don't forget to pin this wood Joy sign for next year!





Comments
Emily Frazier
Fri, 12/25/2015 - 17:20
Kreg foreman
Hey all my fellow builders. I just got a new Kreg Foreman for Christmas. It is tawesome check it out.
Margo
Mon, 12/28/2015 - 15:38
Love the Joy wreath! Also
Love the Joy wreath! Also like the tv console table shown in the same picture. Do you have plans for that on your site too?
In reply to Love the Joy wreath! Also by Margo
Ana White
Mon, 11/18/2019 - 18:27
Yes, plans are here https:/…
Yes, plans are here https://www.ana-white.com/woodworking-projects/henry-media-console