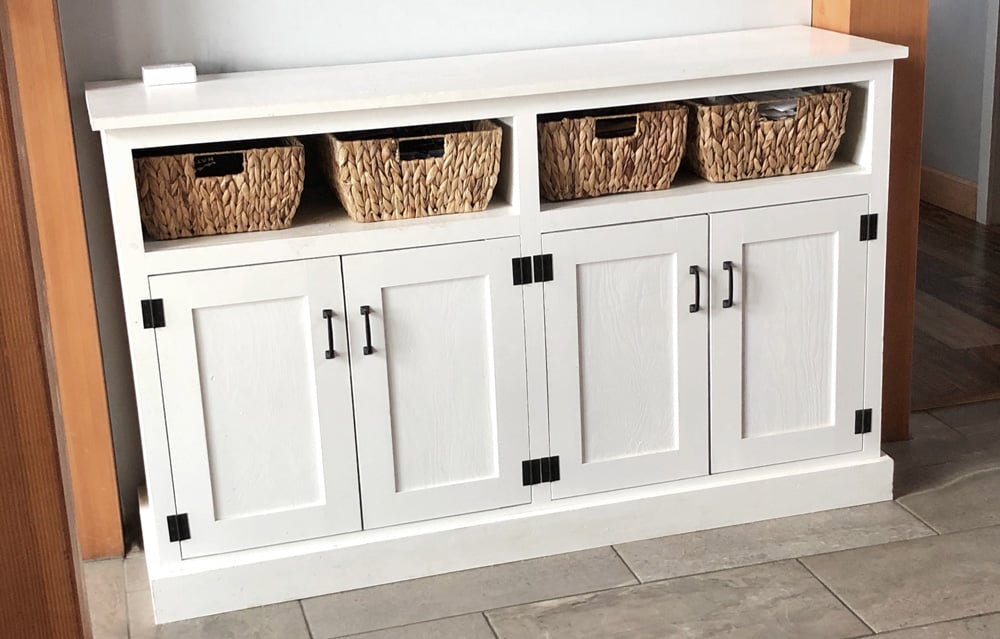
Build your own entryway console table with free plans from Ana-White.com
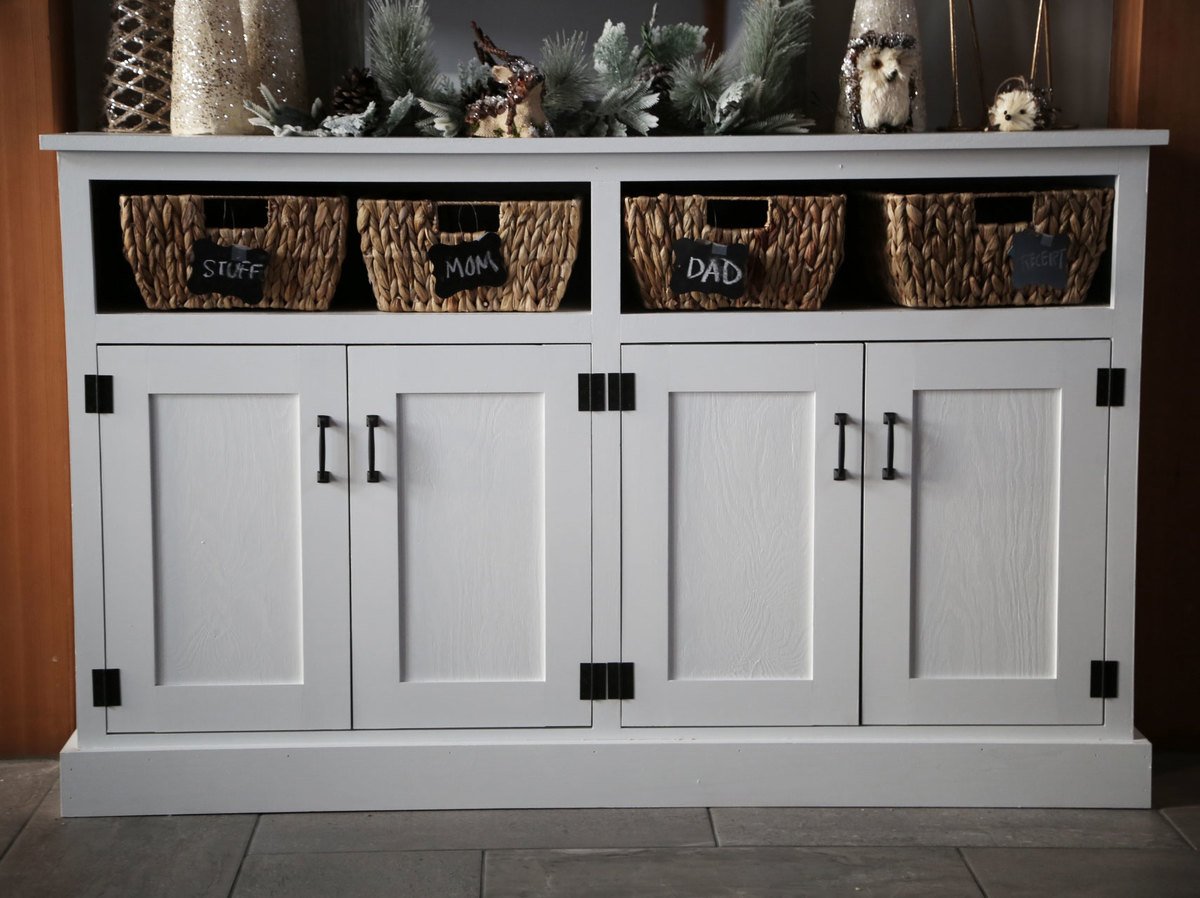
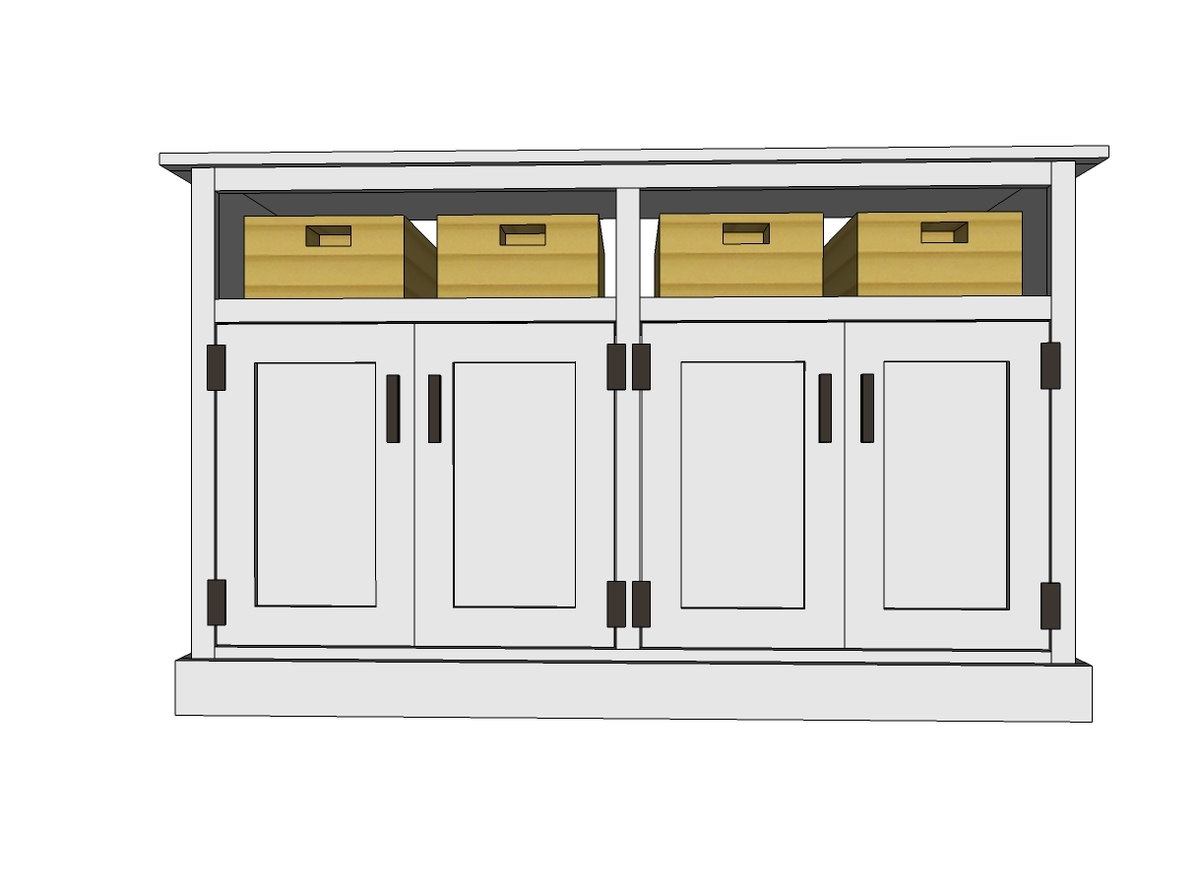
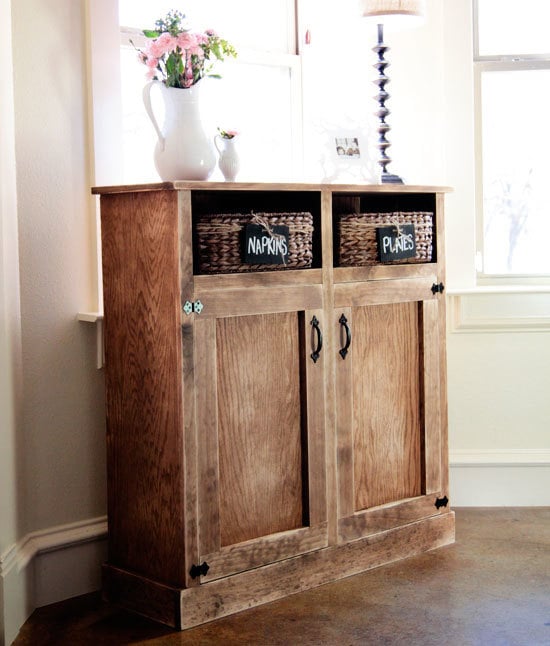
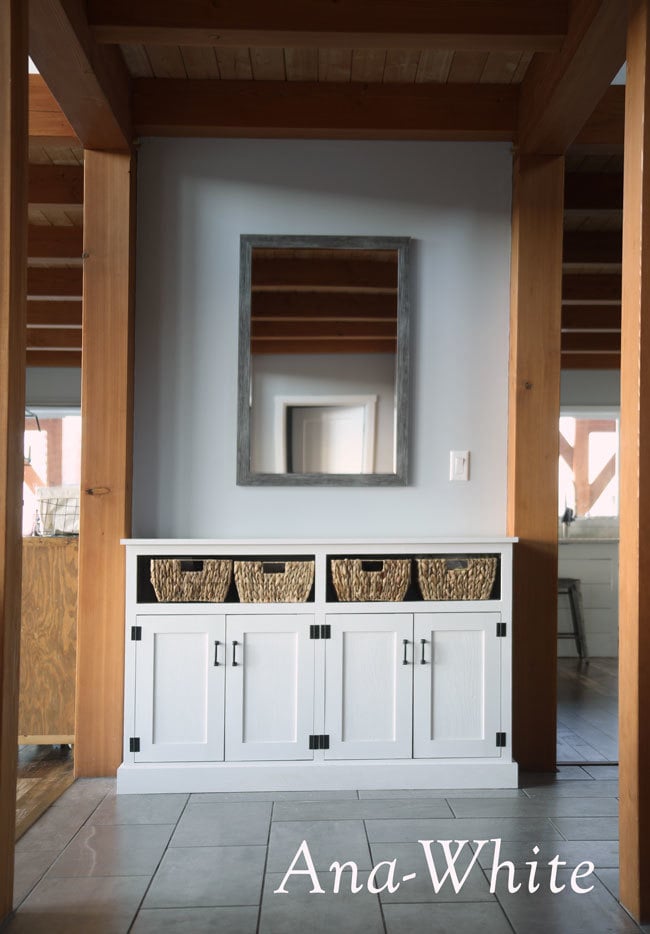
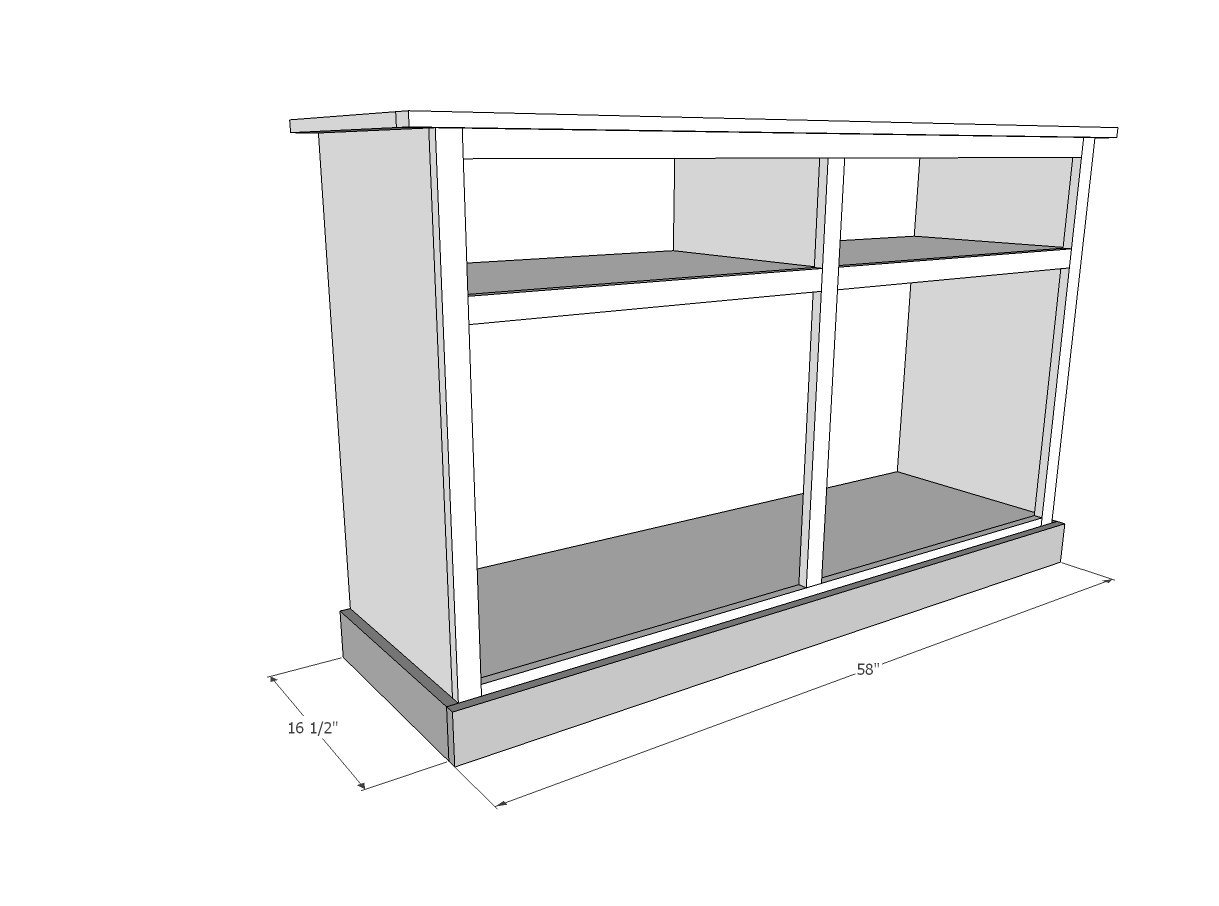
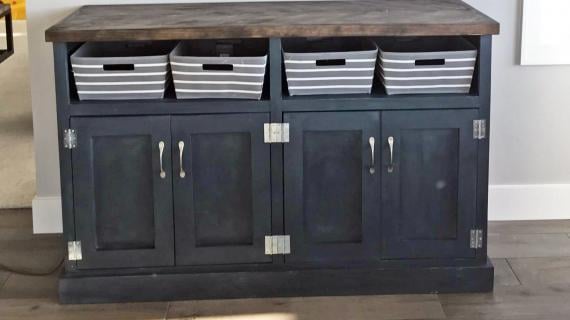
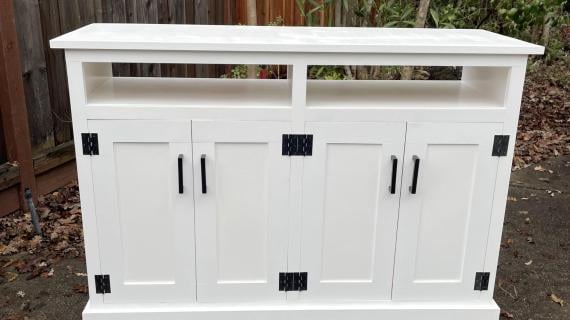
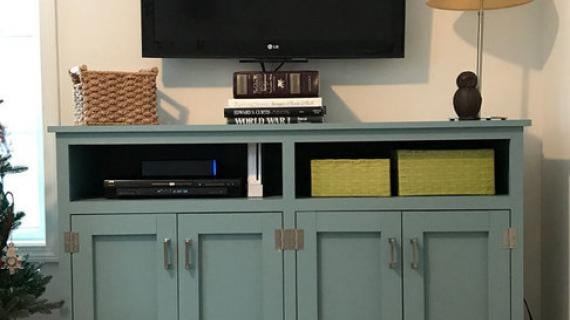
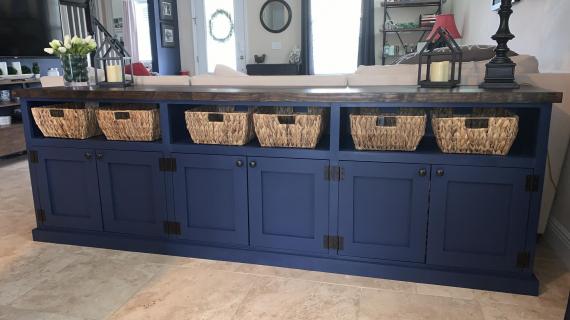
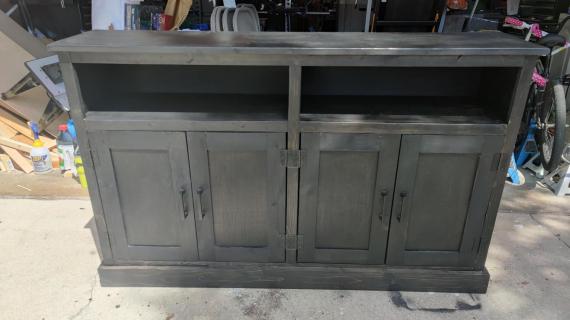
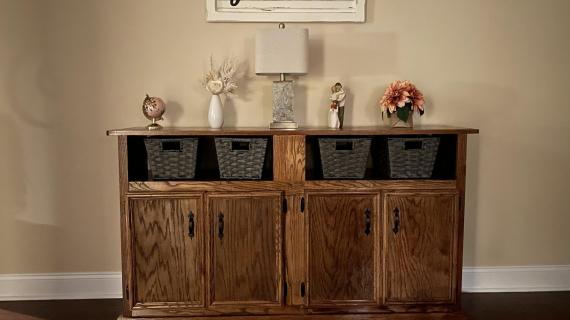
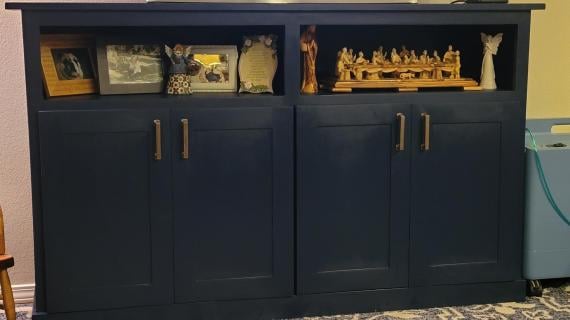
This entryway console features large shelves, open shelving space for baskets or bins, and a generous sized top. The bottom is concealed, so you never have to clean underneath. We love this also as a media console table, buffet in the dining room, or anywhere more storage and tabletop space is needed in a beautiful, simple design.
The free plans include step by step diagrams, shopping and cut list and video tutorial.
Pin For Later!
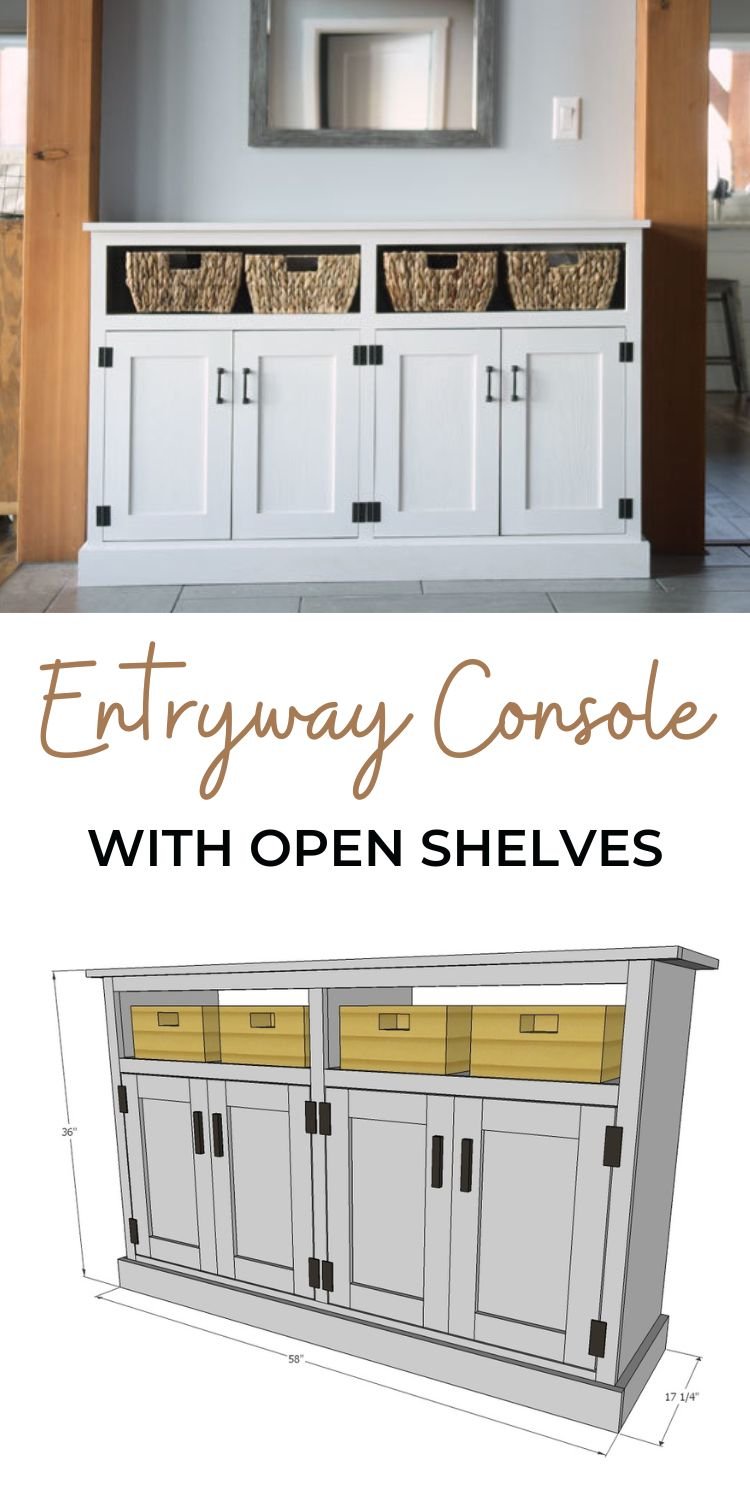
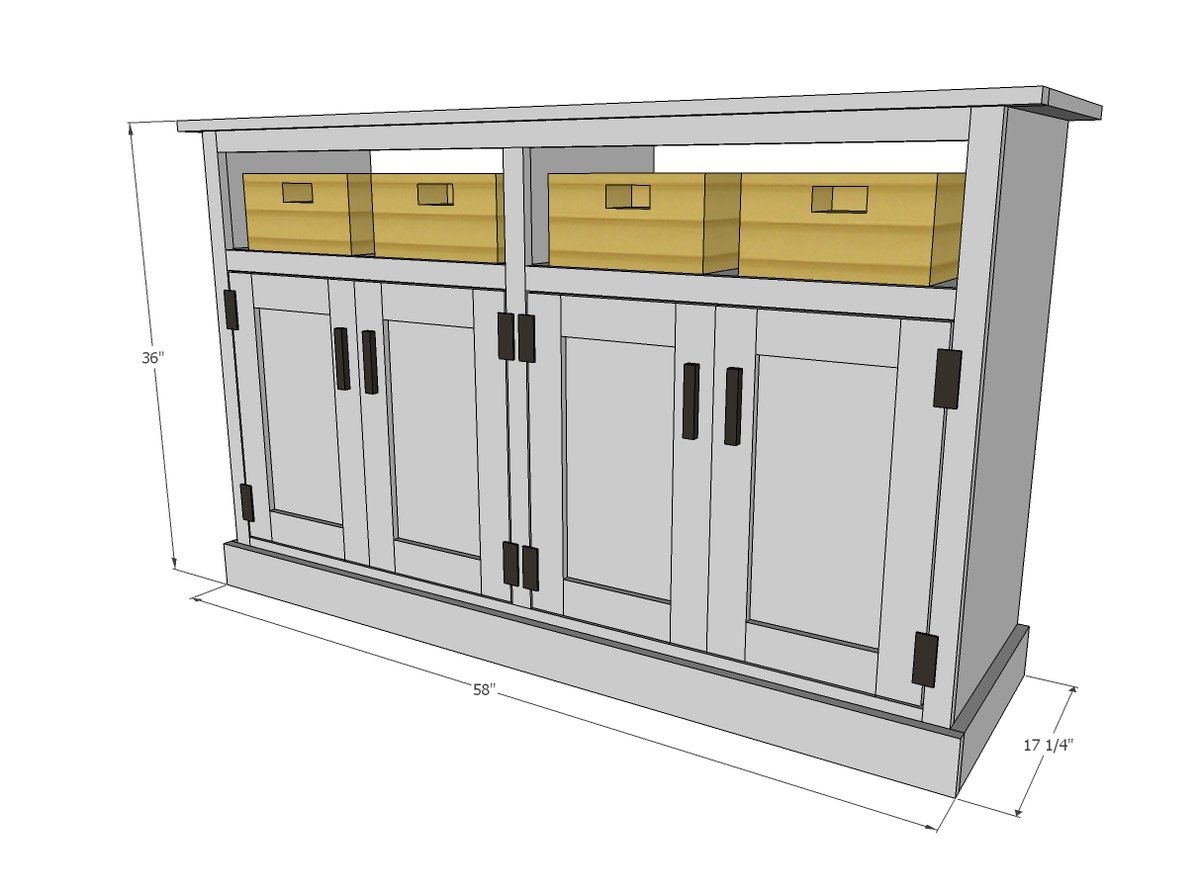
Preparation
- 1 – 4’ x 8’ x 3/4”thick cabinet grade plywood sheet ripped into 15-3/4” wide strips (you can also use 4-1x12x8' boards instead for a narrower depth console table)
- 4 – 1x2 @ 8 feet long
- 1 – 1x4 @ 8 feet long
- 3 – 1x3 @ 8 feet long
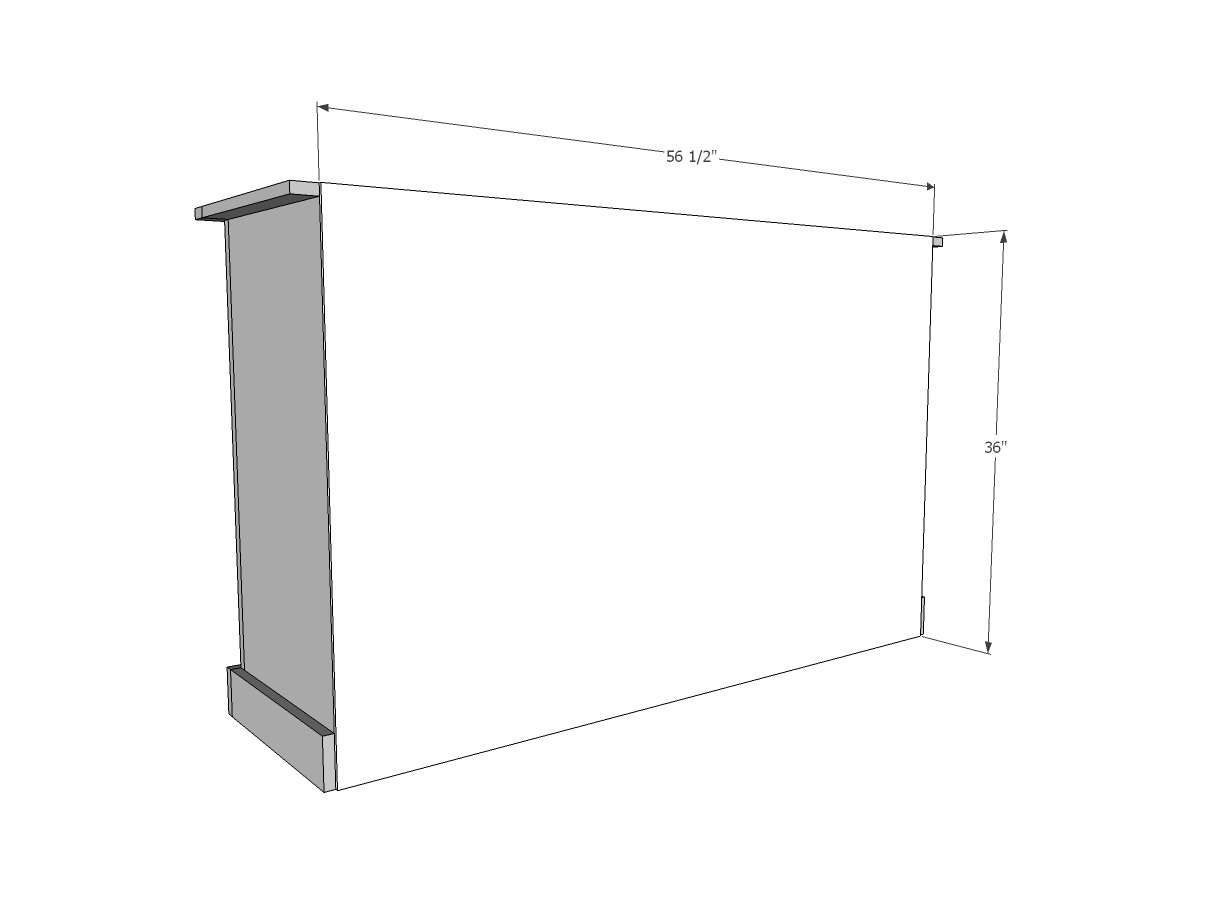
- 1- 4’x 8’ x 1/4” thick plywood (for the back)
- 4 sets of hinges
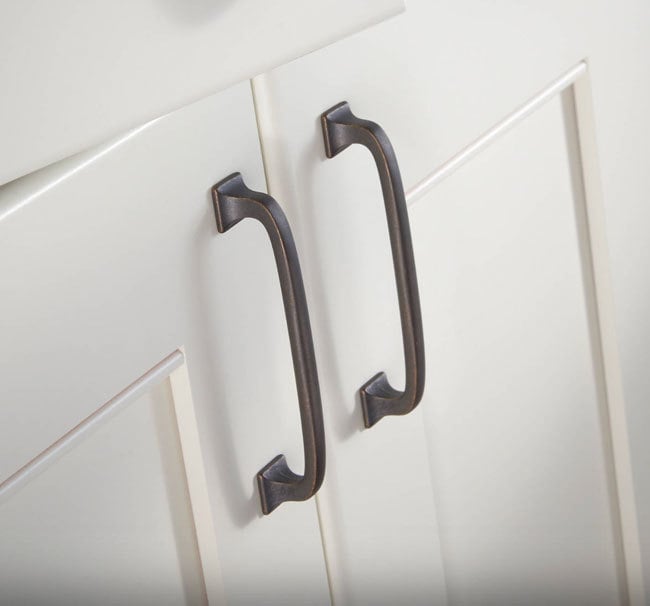
- 4 knobs/pulls
- 4 magnetic clasps
- 1-1/4” and 3/4” brad nails
- 1-1/4” pocket hole screws
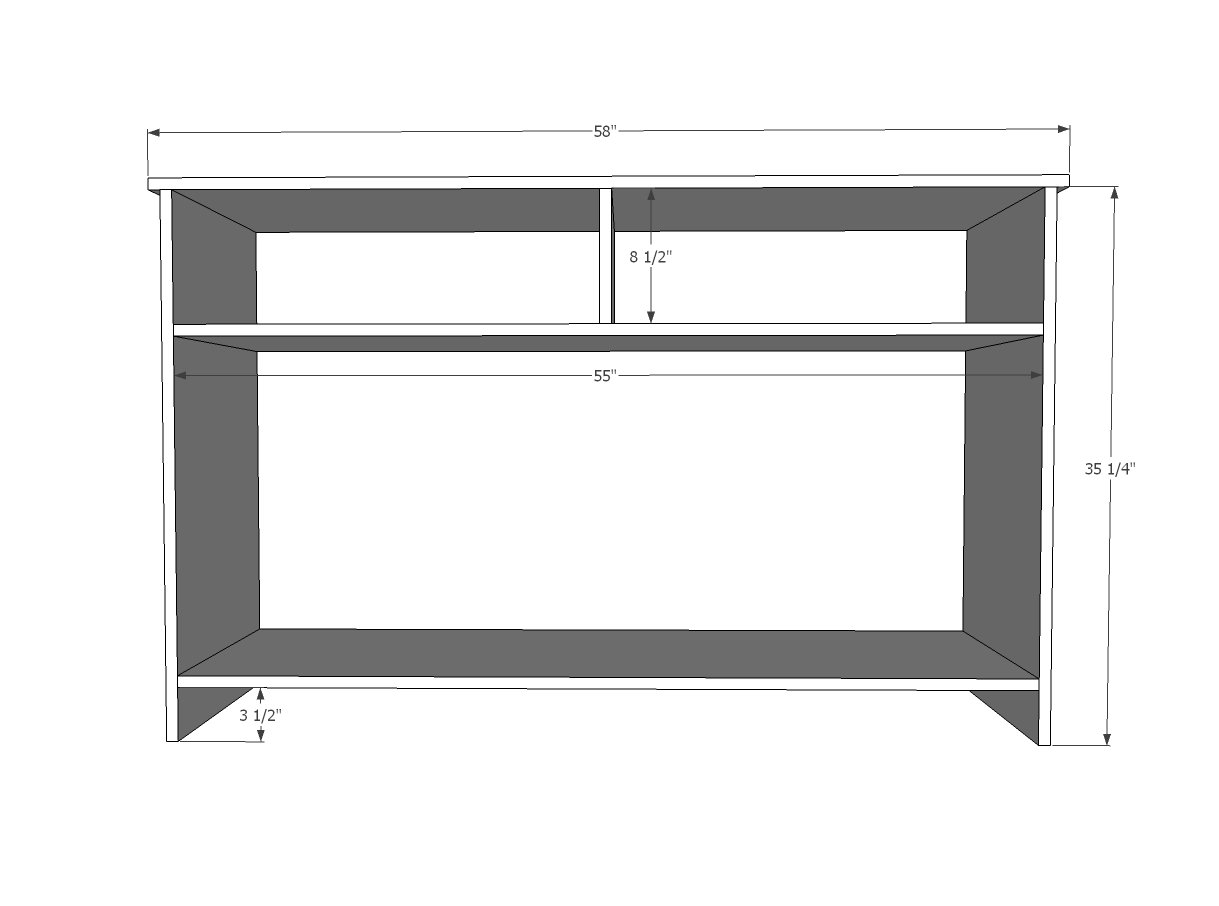
- 1 – ¾” plywood @ 15-3/4” x 58” – top
- 2 – ¾” plywood @ 15-3/4” x 55” – shelves
- 2 – ¾” plywood @ 15-3/4” x 35-1/4” – sides
- 1 – ¾” plywood @ 15-3/4” x 8-1/2” – divider
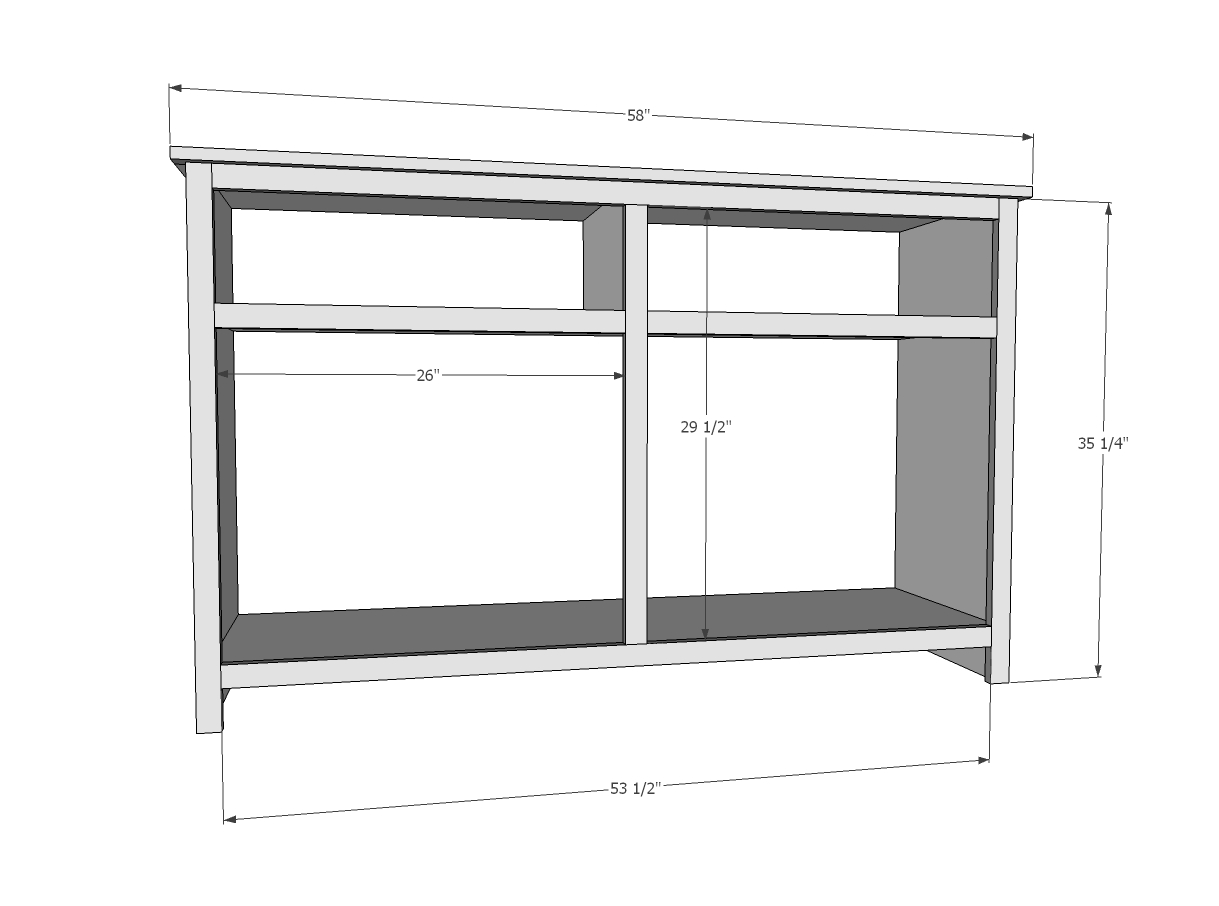
- 1 – 1x2 @ 58” – face frame top
- 2 – 1x2 @ 35-1/4” – face frame sides
- 2 – 1x2 @ 53-1/2” – face frame stiles
- 1 – 1x2 @ 29-1/2”- face frame center
- 2 – 1x2 @ 26” – face frame shelves
- 1 – 1x4 @ 16-1/2” – base sides
- 1 – 1x4 @ 58” – base front cut to fit
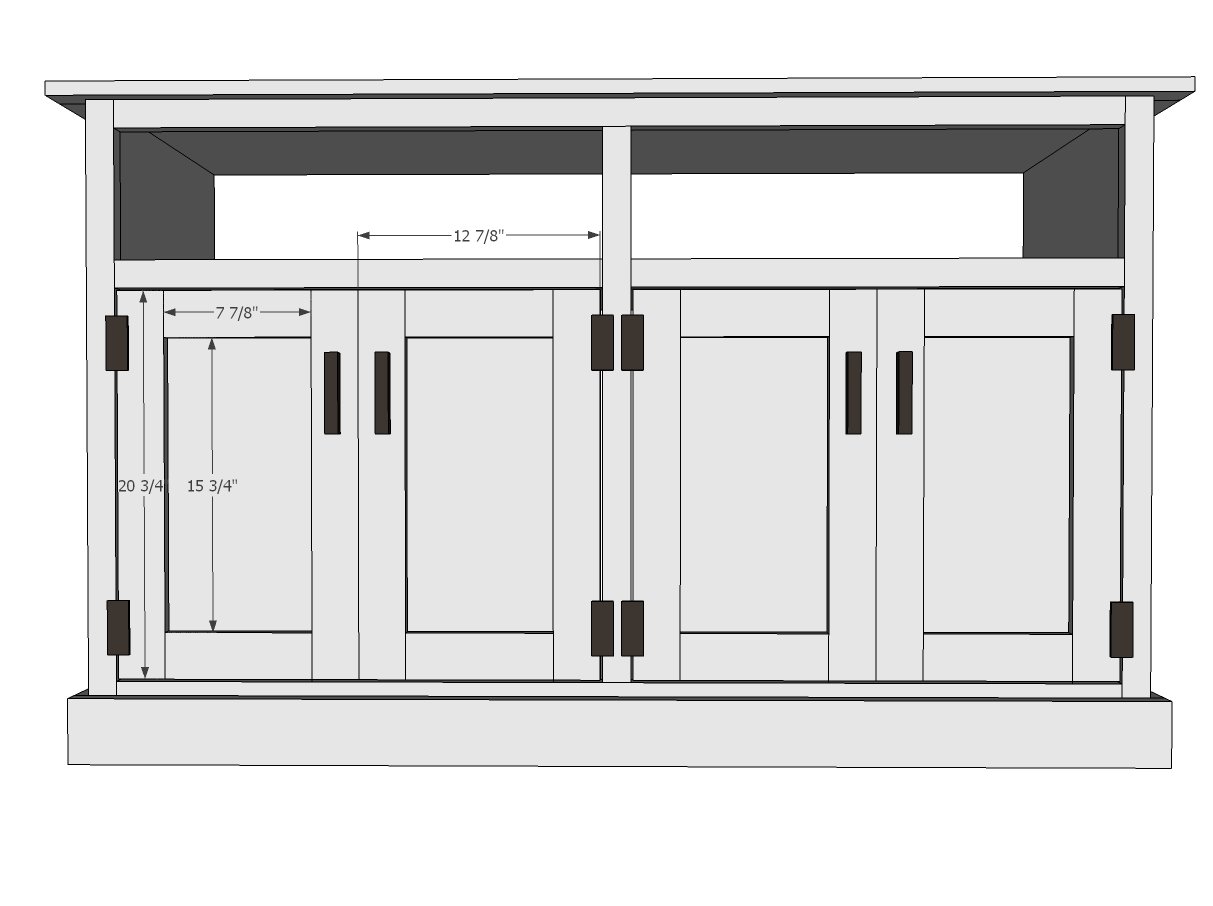
- 8 – 1x3 @ 20-3/4” – door stiles
- 8 – 1x3 @ 7-7/8 – door rails
- 4 - ¼” plywood cut to fit approx. 8” x 15-3/4”
Instructions
Step 1
Rip plywood on tablesaw or with circular saw into strips 15-3/4” wide by 8 feet long. From these strips, cut out pieces for carcass. Assemble the carcass using three ¾” pocket holes and 1-1/4” pocket hole screws per joint, for all joints except center divider.
For center divider, apply glue to both ends and position in center of upper shelf opening. Use 1-1/4” brad nails to secure in place.
Step 2
Using ¾” pocket holes and 1-1/4” pocket hole screws, build face frame on flat level surface. Top face frame piece overhangs front and sides by ¾”.
Nail completed face frame to front of carcass with 1-1/4” brad nails and wood glue.
Additional shelves can be added, but need to be at least 1/2" less in width than the carcass to allow for the door backs to be added in last step.
Step 3
Step 4
Step 5
Assemble door frame pieces using ¾” pocket holes and 1-1/4” pocket hole screws. Cut plywood slightly larger than opening and nail to back with ¾” brad nails and wood glue.
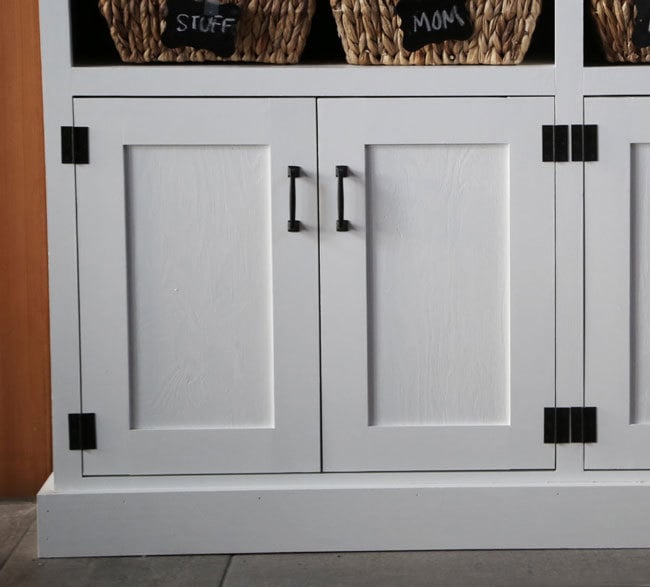
Install doors with hinges. Add knobs or pulls and magnetic clasps.
NOTE: Please watch the video as there is more details on steps for the doors in the video





Comments
Mazur
Thu, 02/06/2020 - 01:39
Nice furniture.
Nice furniture.
emilygoutagny
Mon, 05/04/2020 - 09:01
NICE!
Charm guests right from the door with an entryway table. A console table offers both and style in any room of the house. Check us here
LittlekelPA
Wed, 09/02/2020 - 06:28
First DIY cabinet for me!!
Loved this cabinet; however, I needed something a little bit smaller for my space. Thanks so much for sharing the plans! I made mine half the size and only one door that was on the outside of the face frame not inset like yours. I think it looks pretty cute for my first cabinet. I even used the router table for the first time. :D
kyermalovich
Tue, 02/09/2021 - 07:20
Wood used
Hi what type of wood did you use for 1x2,3,4? Thank you
Alienz17
Mon, 05/24/2021 - 00:49
Love it!!
Just finished making this and absolutely love it!! Thank you so much for these plans.
cayenne
Sat, 01/14/2023 - 14:54
Entryway Console
Hi Ana,
Can you tell me what size bit for my router do I need for the Entryway Console ? I'm just at the point of building the doors and you don't say in your video, what size bit for door's rails and stiles ?