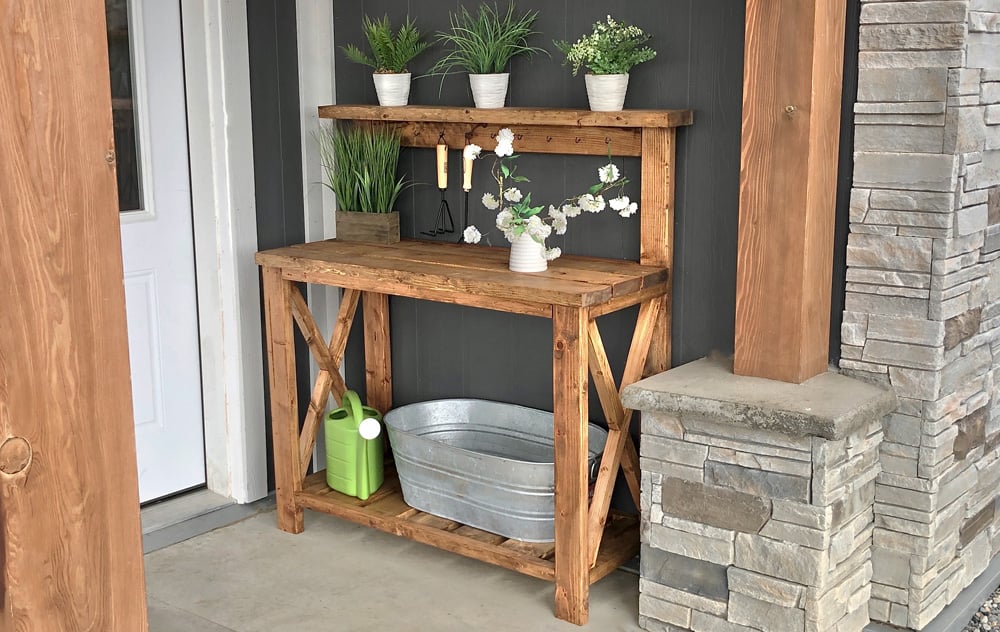


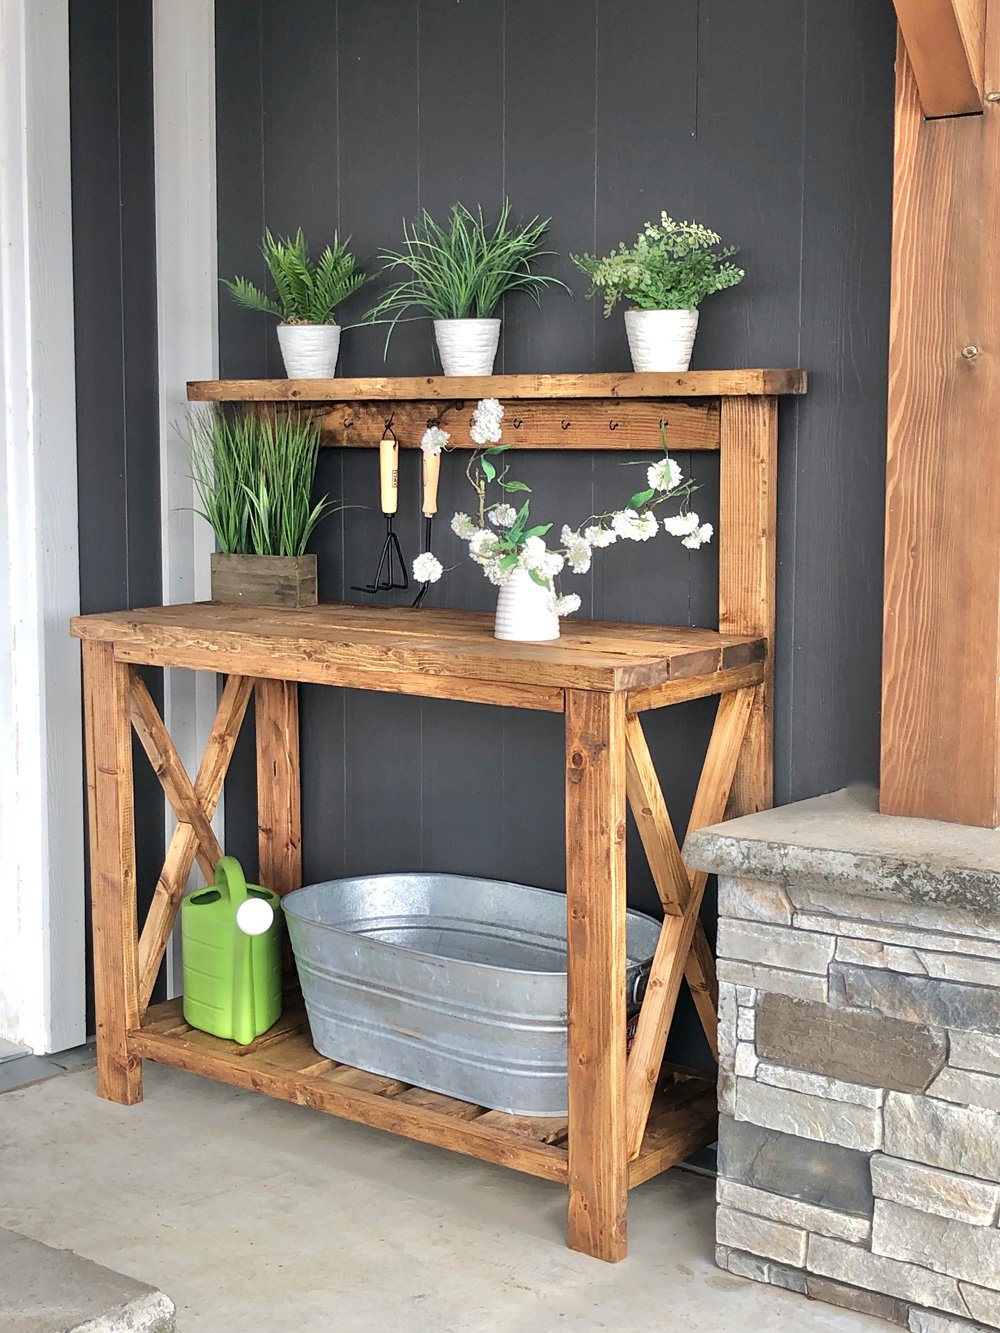
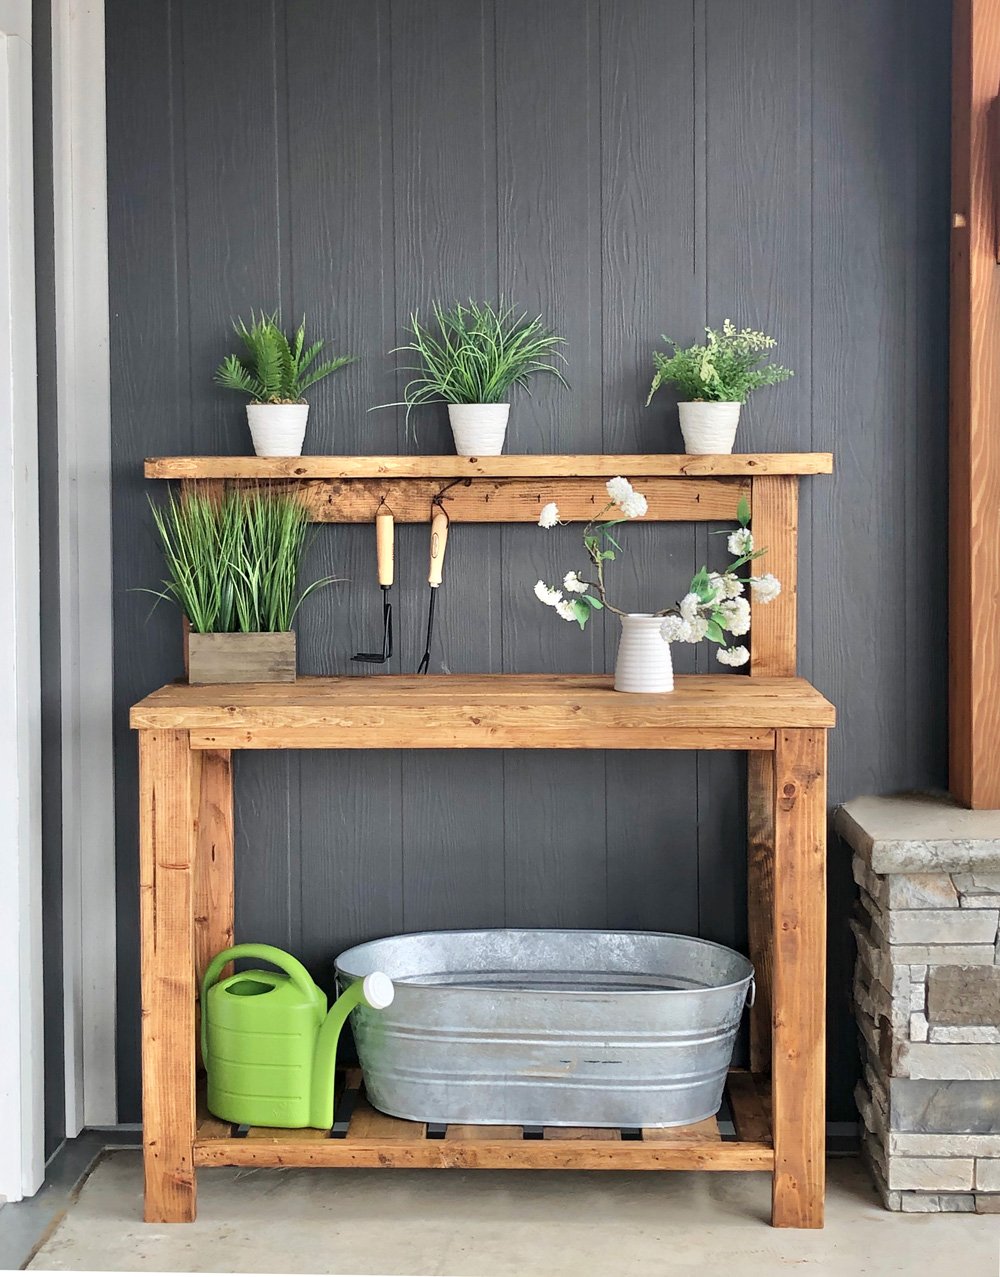
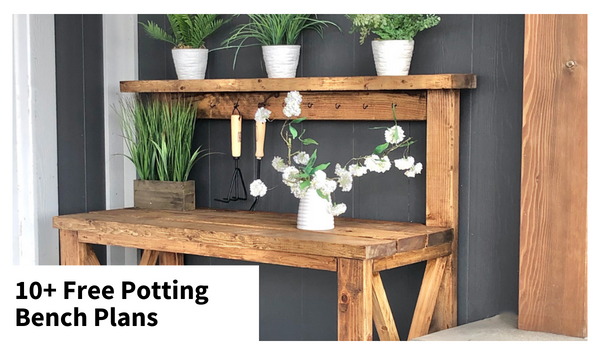
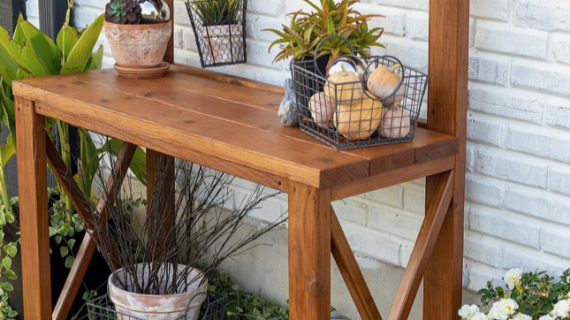
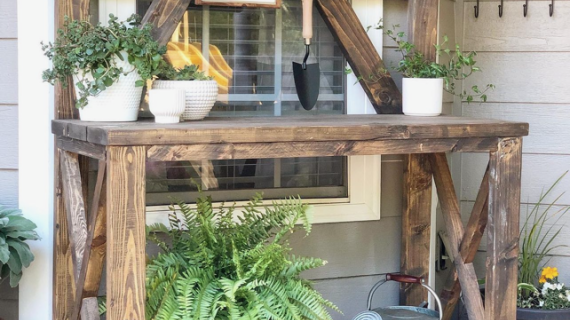
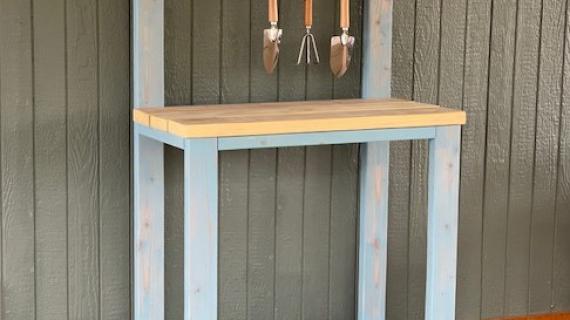
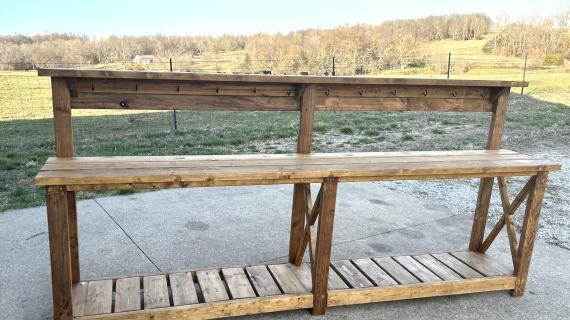
Build your own potting bench for about $50! This farmhouse style potting bench features a slatted bottom shelf, upper shelf with hook bar, and X detailing on the ends. Simple construction uses basic tools and off the shelf materials. Free plans by Ana-White.com
Why I Designed This Potting Bench
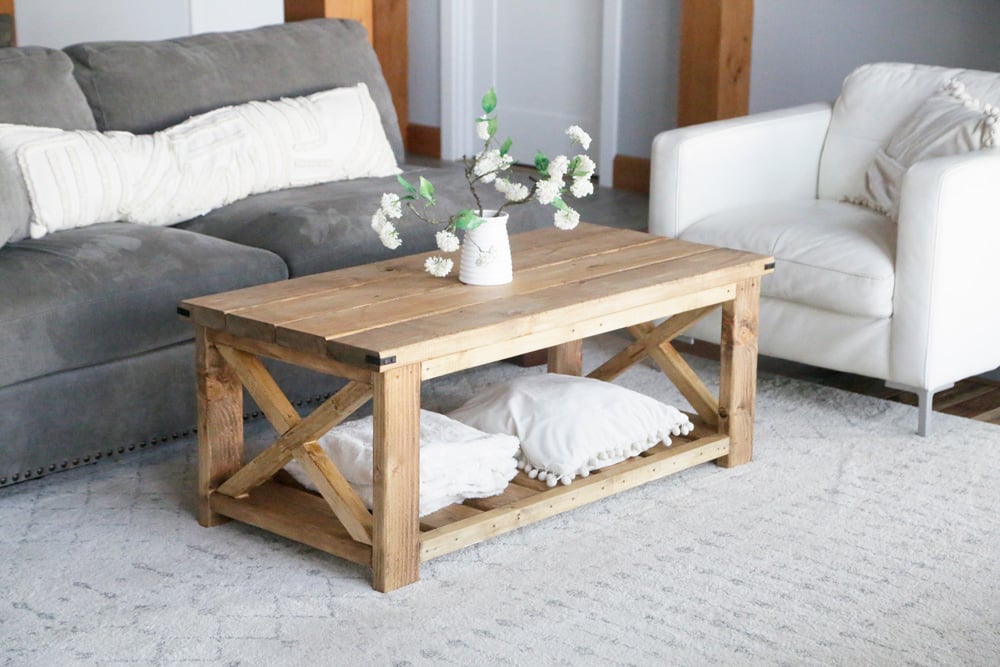
Last winter, I built a farmhouse style coffee table for our living room. We have loved it and get so many compliments on it!
As spring showed up, guess what started happening???
I noticed a TON of people building the farmhouse coffee table as an outdoor coffee table!
I don't know why I didn't see that sooner - with it's slatted design, 2x construction - this is the PERFECT outdoor coffee table!
You guys are so smart.
I've been wanting to build a potting bench, and my friend suggested with the beauty and success of the farmhouse coffee table, why not build a matching potting bench?
I've got such smart friends! This potting bench is absolutely gorgeous!
And it was a fairly quick and easy build!
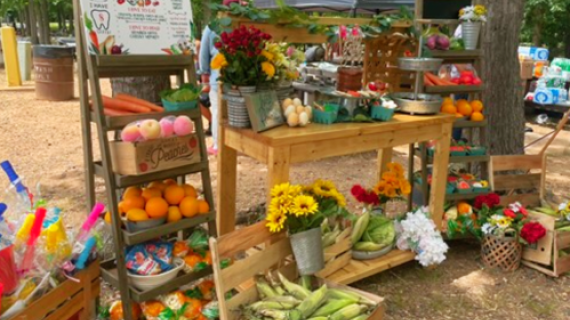
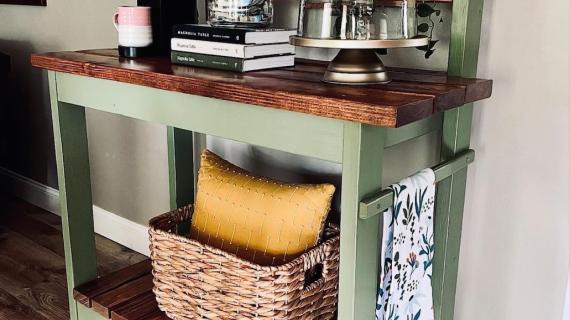
Other Uses for This Potting Bench
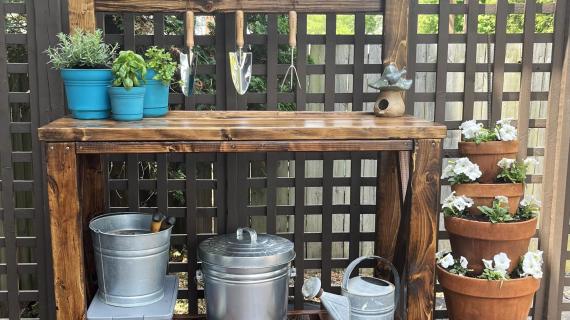
We love how it turned out and can see it used indoors and out! Wouldn't it be gorgeous as an indoor console table, as an outdoor bar, as a drop zone, or even as a baker's rack? SO MANY POSSIBILITIES!
Video Tutorial
We filmed this build so you can see it come together:
And the free plans follow.
MORE POTTING BENCH PLANS
Want even more DIY Potting Bench Plans? Here's a round up of some of our favorites!
Here's Some Tips to Build Better Outdoor Furniture
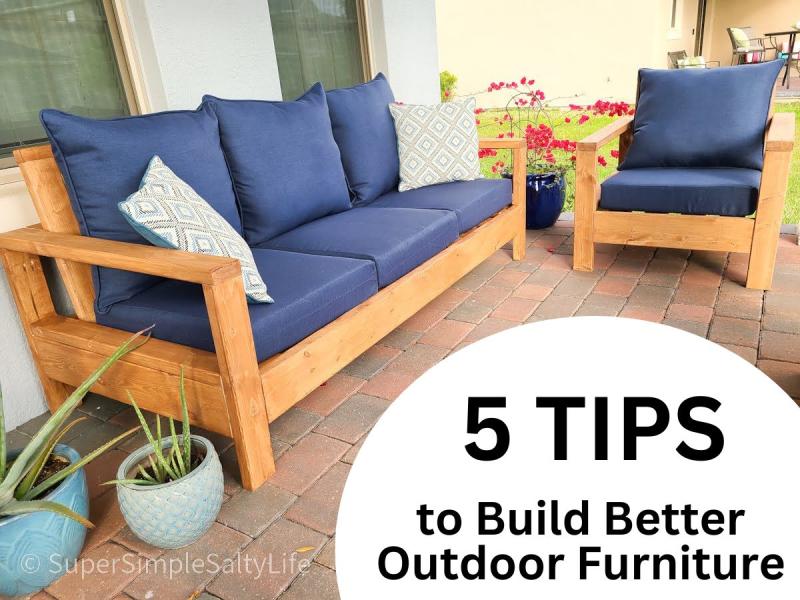
Want to build better outdoor furniture? Over the twenty years I've been building, maintaining, and enjoying my own outdoor furniture, I've learned a few tips that can help build longer lasting furniture.
Preparation
3 - 2x2 @ 8 feet long
4 - 2x4 @ 8 feet long
4 - 2x6 @ 8 feet long
About 120 - 2-1/2" long #8 self tapping wood screws (I recommend these from Home Depot)
Exterior appropriate wood glue
2 - 2x4 @ 34-1/2" - front legs
2 - 2x4 @ 53-1/2" - back legs
10 - 2x6 @ 15-1/2" - slats
3 - 2x2 @ 40" - front/backs
1 - 2x4 @ 40" - back
1 - 2x4 @ 47" - top back (recommend cutting this board to fit when you get to this step in the build)
3 - 2x6 @ 48" - tabletop boards
1 - 2x4 @ 50"
NOTE: This cut list has been corrected per user comments for the 3-2x6 tabletop boards
Cut longest cuts first to maximize use of all boards


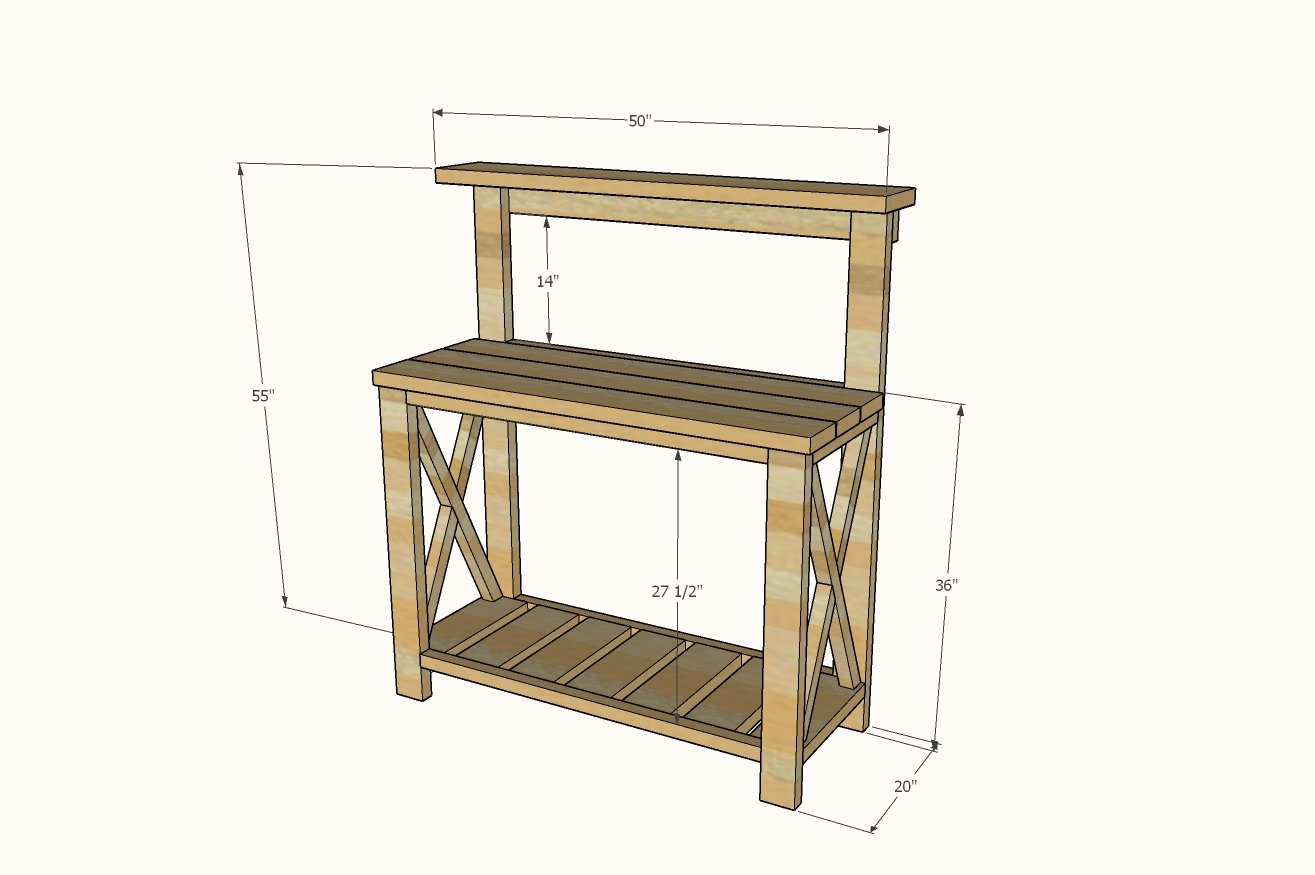
Instructions
Step 1
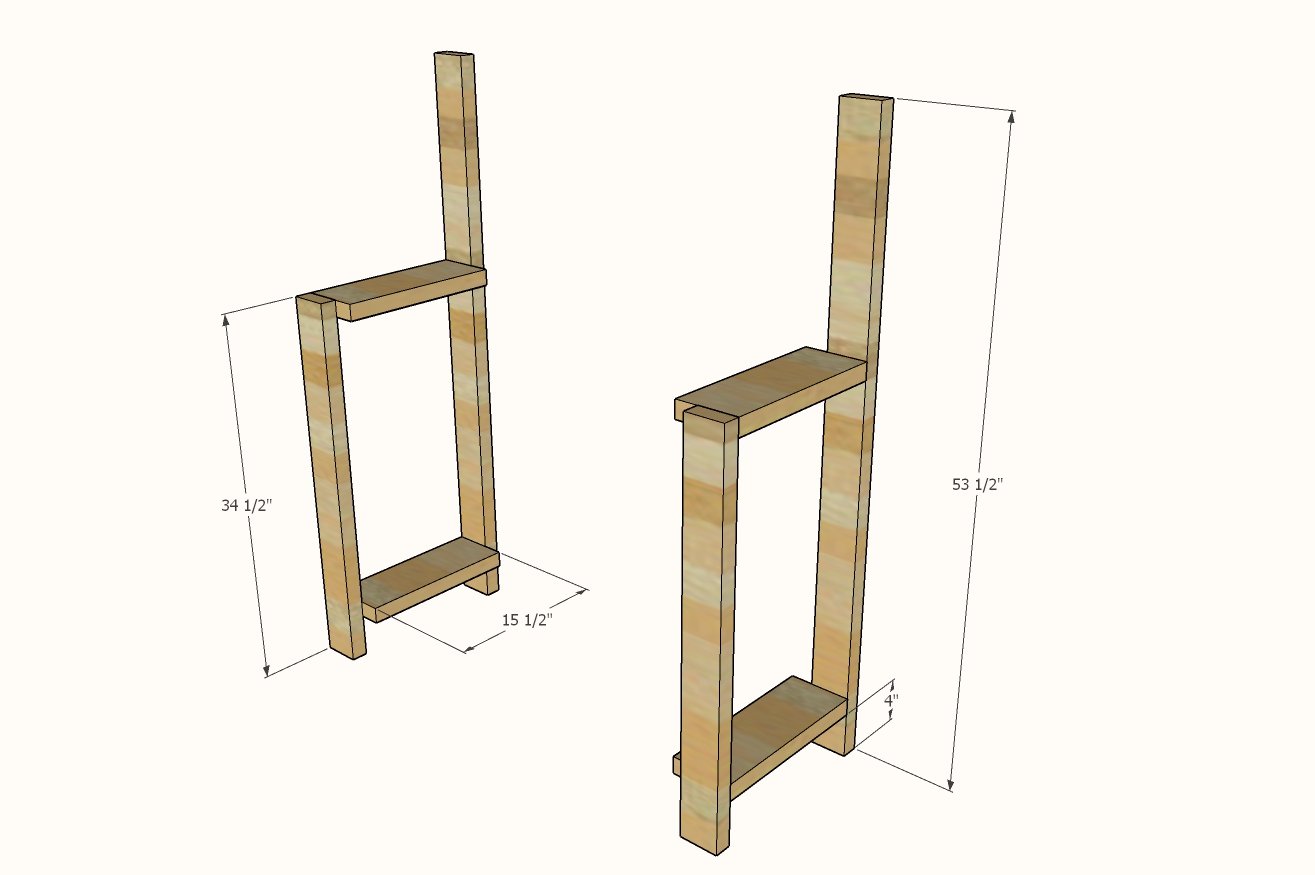
Build the two leg sets as shown in the diagram with 2 screws per joint and glue. The two legs need to be built in mirror.
Step 2
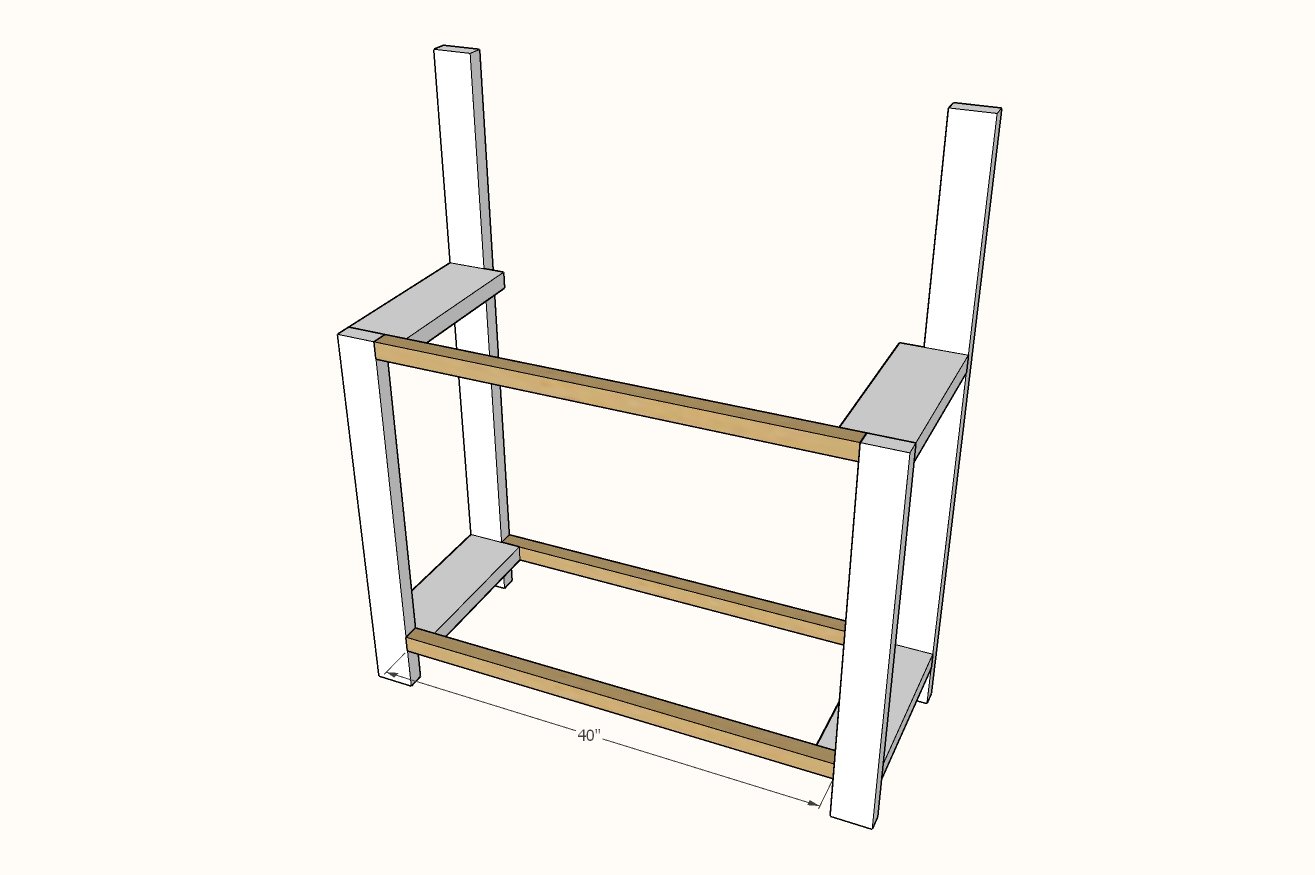
Attach the two legs sets together using the 2x2s with screws and glue on a level surface.
Step 3
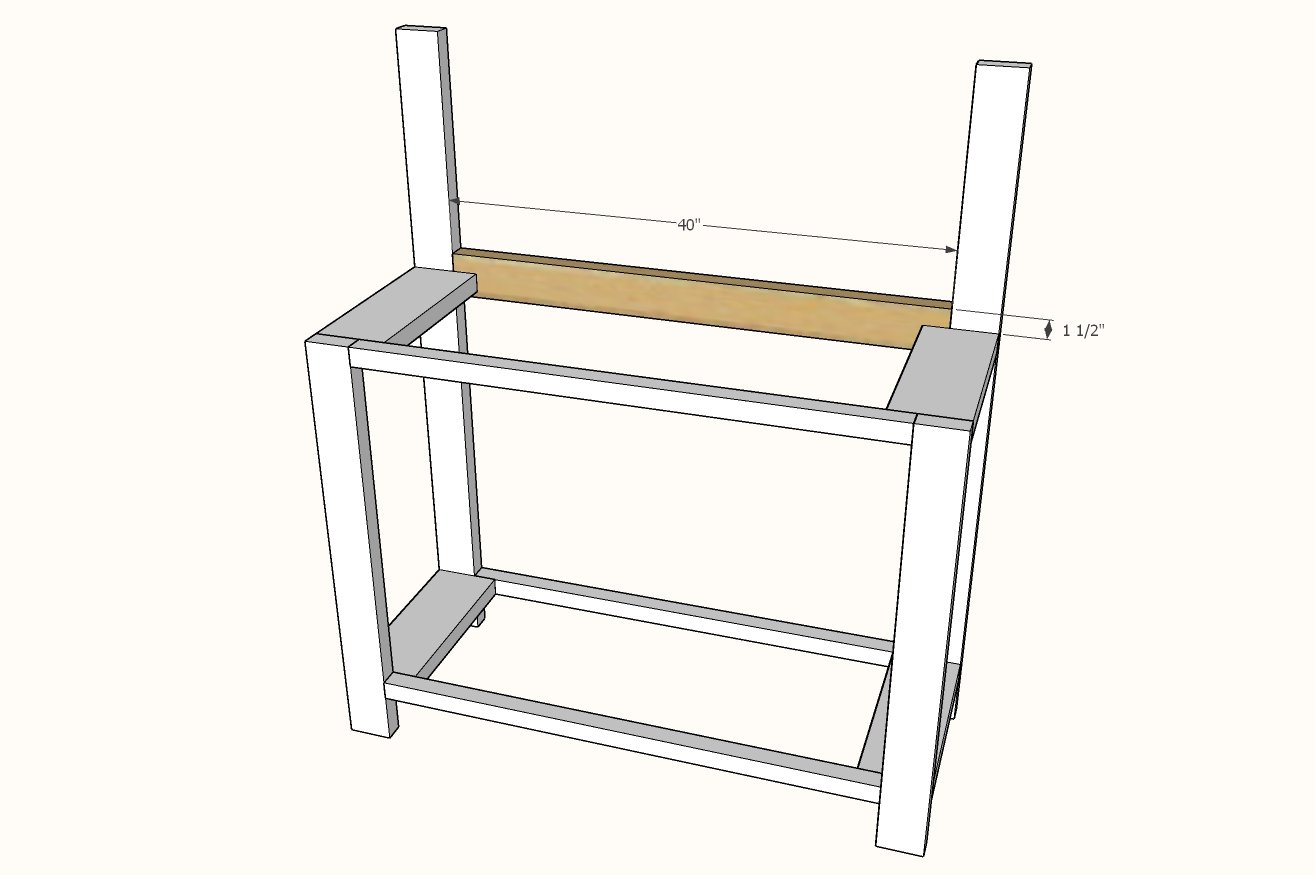
Measure up 1-1/2" on the back legs from the tops of the 2x6s. Attach 2x4 back with screws to the 2x6. Also recommended is a screw at an angle from the top of the 2x4 into the back legs.
Step 4
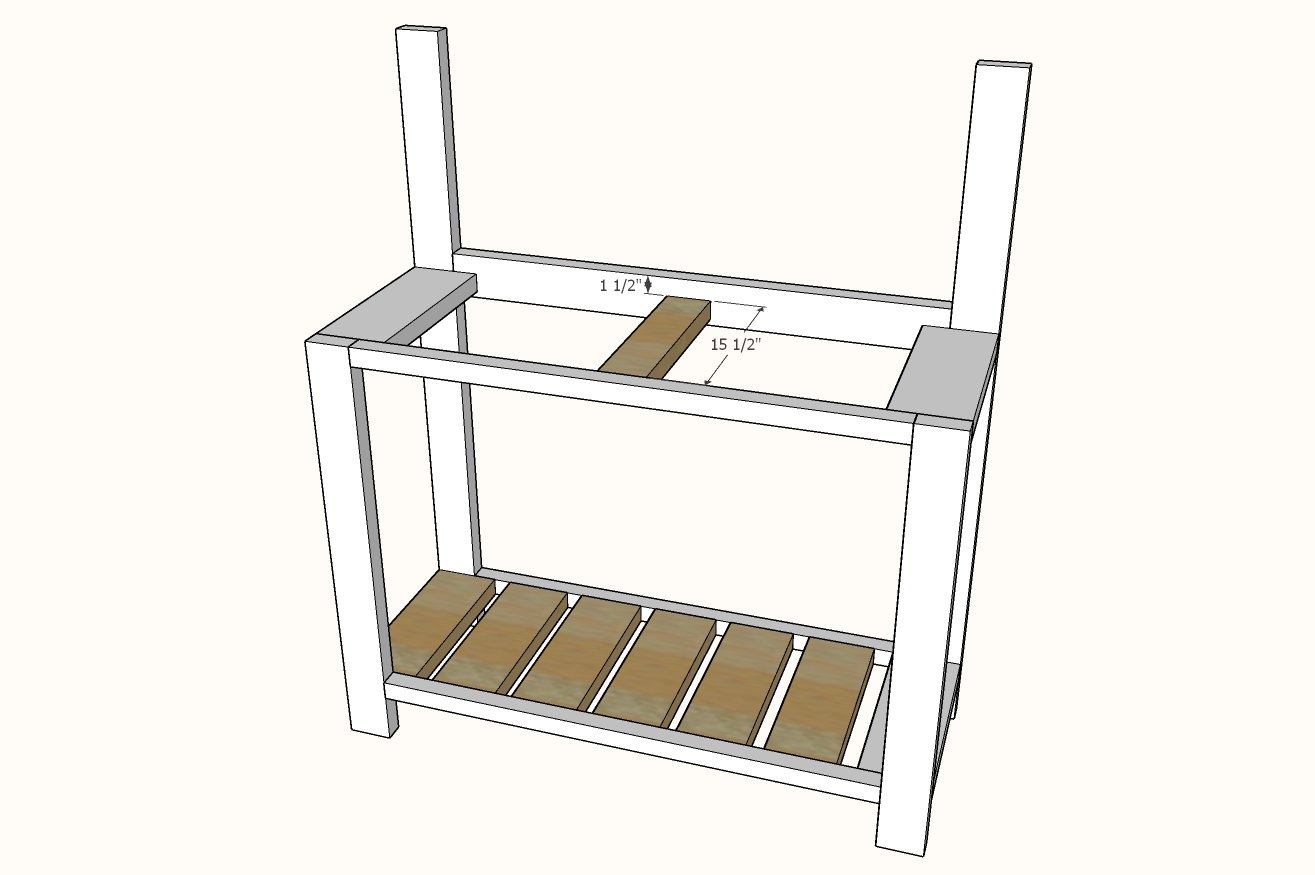
Attach 2x6 slats inside the bottom shelf.
Also recommended in another 2x6 support in the center of the tabletop so you have something to screw your tabletop boards to. It is shown as a 2x4 in the diagram, but you can use a 2x6 as you will have the scraps leftover.
Step 5

Measure and cut the back from the 2x4. Attach with screws and glue along the top edge.
Step 6
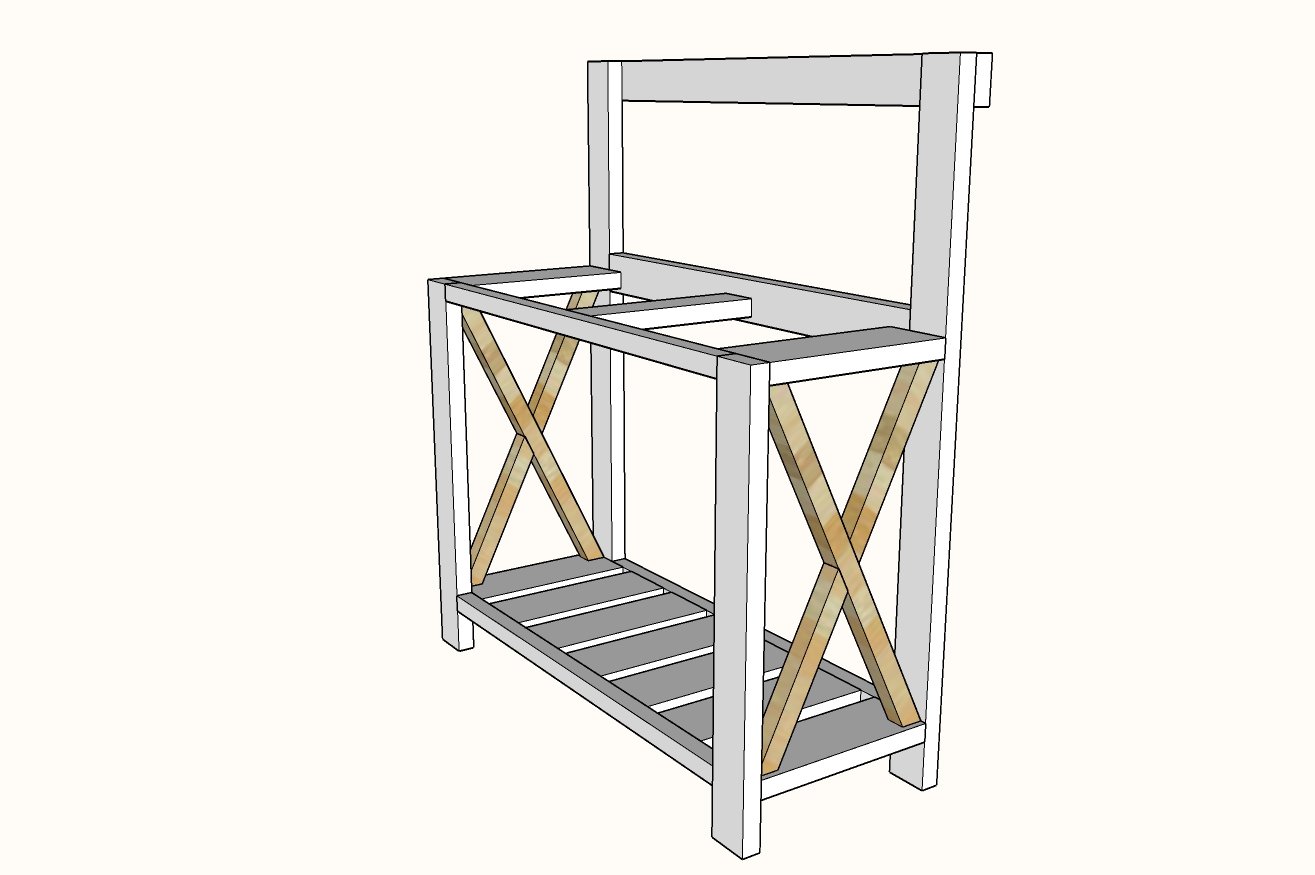
Scribe the 2x2 X detailing and cut on the compound miter saw. This step is shown in detail in the video, so please watch if you are having issues.
Use glue to attach the middle X and a screw or a brad nail (if you have a brad nailer).
Step 7
Space out the tabletop boards and attach from underneath.
Attach top shelf to the tops of legs and the back top piece with glue.


Comments
rljoy1
Tue, 04/21/2020 - 07:51
Double check the cut list
I believe the last two items on the cut list should be 2x6 and not 2x4.
heatherrose
Sun, 05/03/2020 - 06:06
👍🏼 Totally, had to go back…
👍🏼 Totally, had to go back to the lumber yard
heatherrose
Sun, 05/03/2020 - 06:09
👍🏼 Totally, had to go back…
👍🏼 Totally, had to go back to the lumber yard but it is fantastic
csn610
Tue, 05/05/2020 - 07:44
hello there, would you…
hello there,
would you happen to know the correct cutting list? what did you need to buy?
Thank you ...CSN
csn610
Tue, 05/05/2020 - 07:44
hello there, would you…
hello there,
would you happen to know the correct cutting list? what did you need to buy?
Thank you ...CSN
c.mlopez
Wed, 04/22/2020 - 16:10
There is no cutting list for…
There is no cutting list for the X on the sides and I believe the two last things on the cutting list are supposed to be 2x6.
kimwlk
Wed, 05/06/2020 - 15:19
Just began measuring out the…
Just began measuring out the pieces and I believe the quantity for the 2x4s and 2x6s are backwards. I'm going to need to go grab another 2x4.
kimwlk
Thu, 05/07/2020 - 16:20
CUT LIST IS INCORRECT
I'm so sorry! Please disregard my last comment. The shopping list is not wrong, but the CUT LIST is wrong. The last 2 items on the cut list say 3 - 48" 2x4s and 1 - 50" 2x4. Those should actually be 2x6s, which makes the shopping list completely correct. I knew when I was measuring things out in the beginning that something was wrong. I should have finished the process before I posted my comment. Sorry!
Axil
Sun, 05/10/2020 - 22:58
Fun afternoon project
This was an awesome afternoon project, although there were some typos in the cut list. The X-braces were omitted and the table top boards were listed as 2x4's
The table turned out really nice! Thanks for making the plans available
mariet
Sun, 06/07/2020 - 08:48
Make with Kreg?
Do you think this could be made with pocket holes? If so, would you have to change the order of operation?
natalieleaman
Tue, 06/16/2020 - 11:25
Farmhouse potting bench
This was my first woodworking project and it turned out great!! Simple to follow plans after figuring out the correct cut list.
lbmots
Sun, 03/07/2021 - 12:15
Great Saturday Project!
This was my first woodworking project and it went really well thanks to the detailed instructions! However, the other comments are correct: the last item on the cut list should be 1 2x6 @50, NOT 2x4. The shopping list is correct.
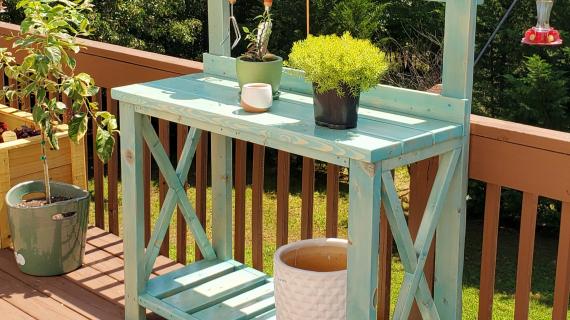
I skipped the X and did vertical 2x2s there instead. The whole project took about 5 hours and cost more than anticipated (about $100) but I don't know if there are more affordable places for lumber, or if Seattle is just expensive.
Anyways, love the finished product, thanks for the detailed plans!! Highly recommend this project.