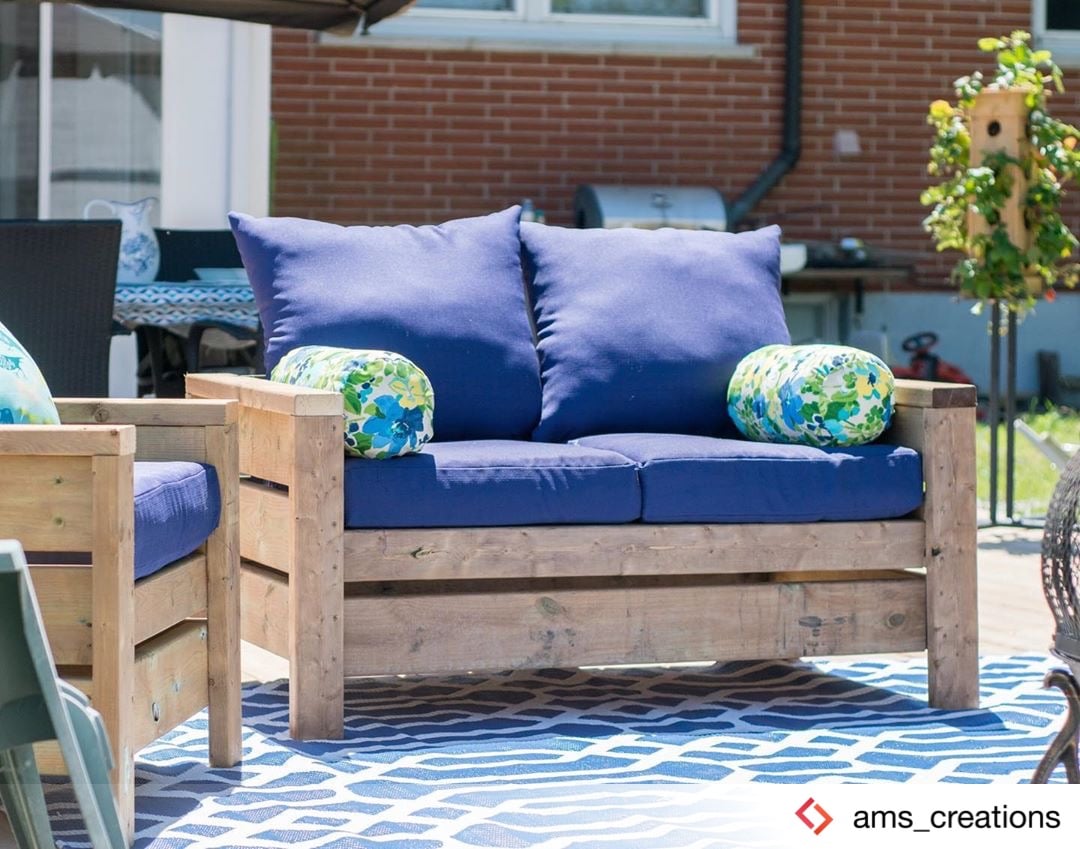
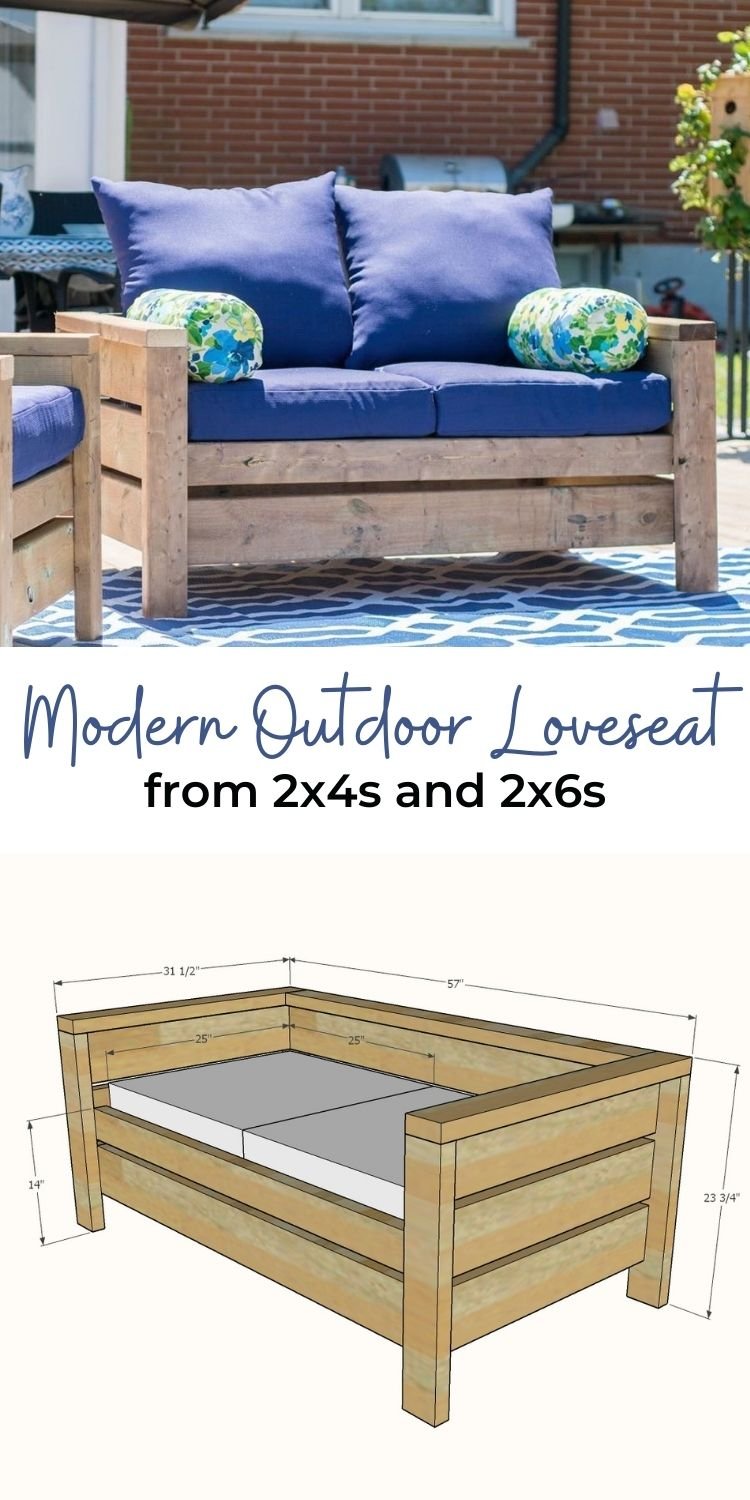
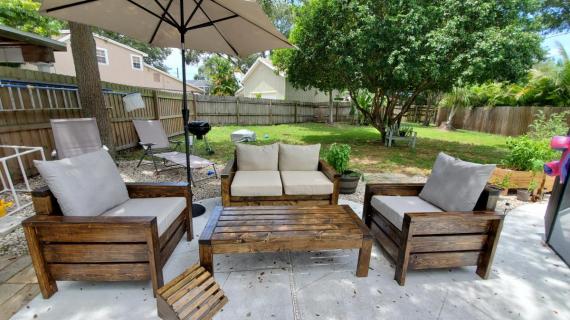
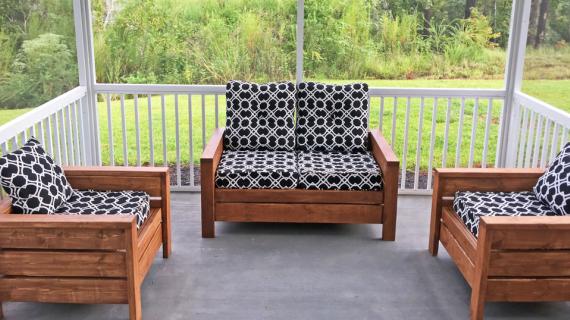
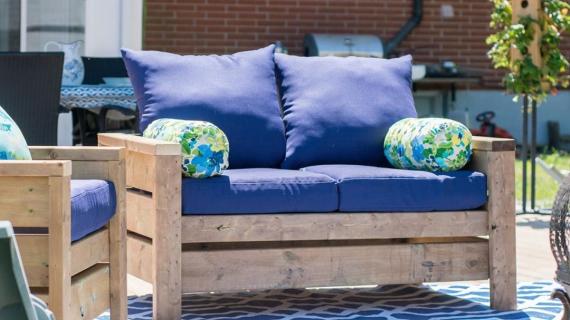
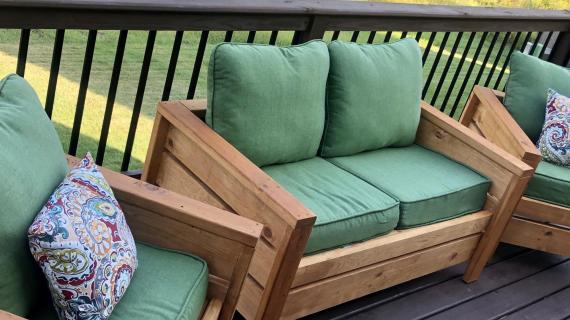
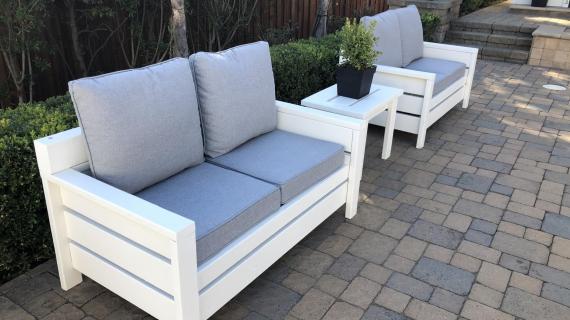
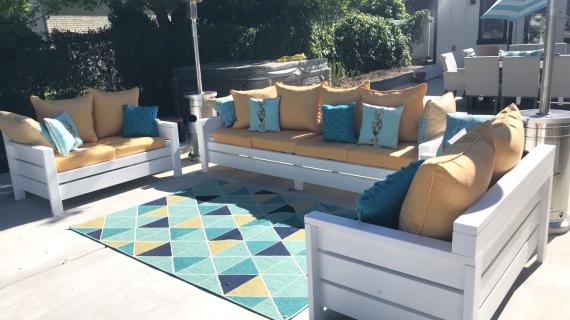
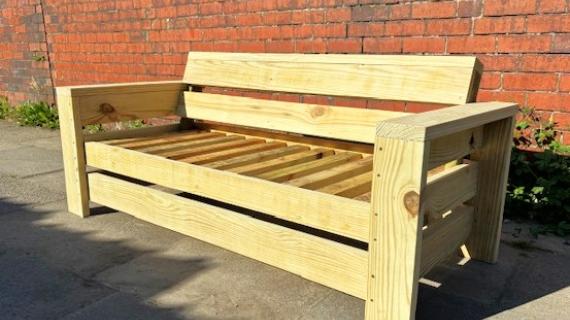
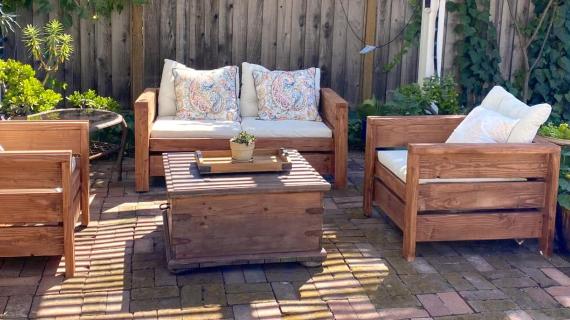
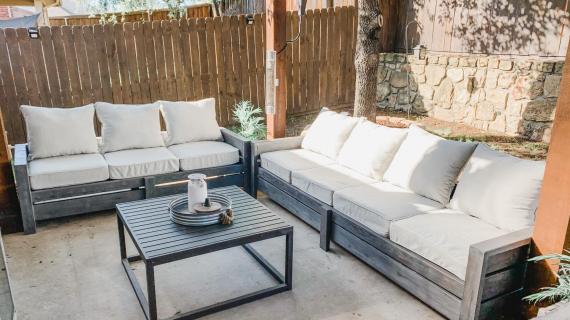
We love the clean lines and modern styling of this DIY outdoor loveseat. It's built strong and sturdy and won't blow away in the wind. You'll love the free, step by step plans with diagrams and shopping and cut lists.
Also check out our super popular matching Modern Outdoor Chairs.
Collections
Pin For Later!
Dimensions
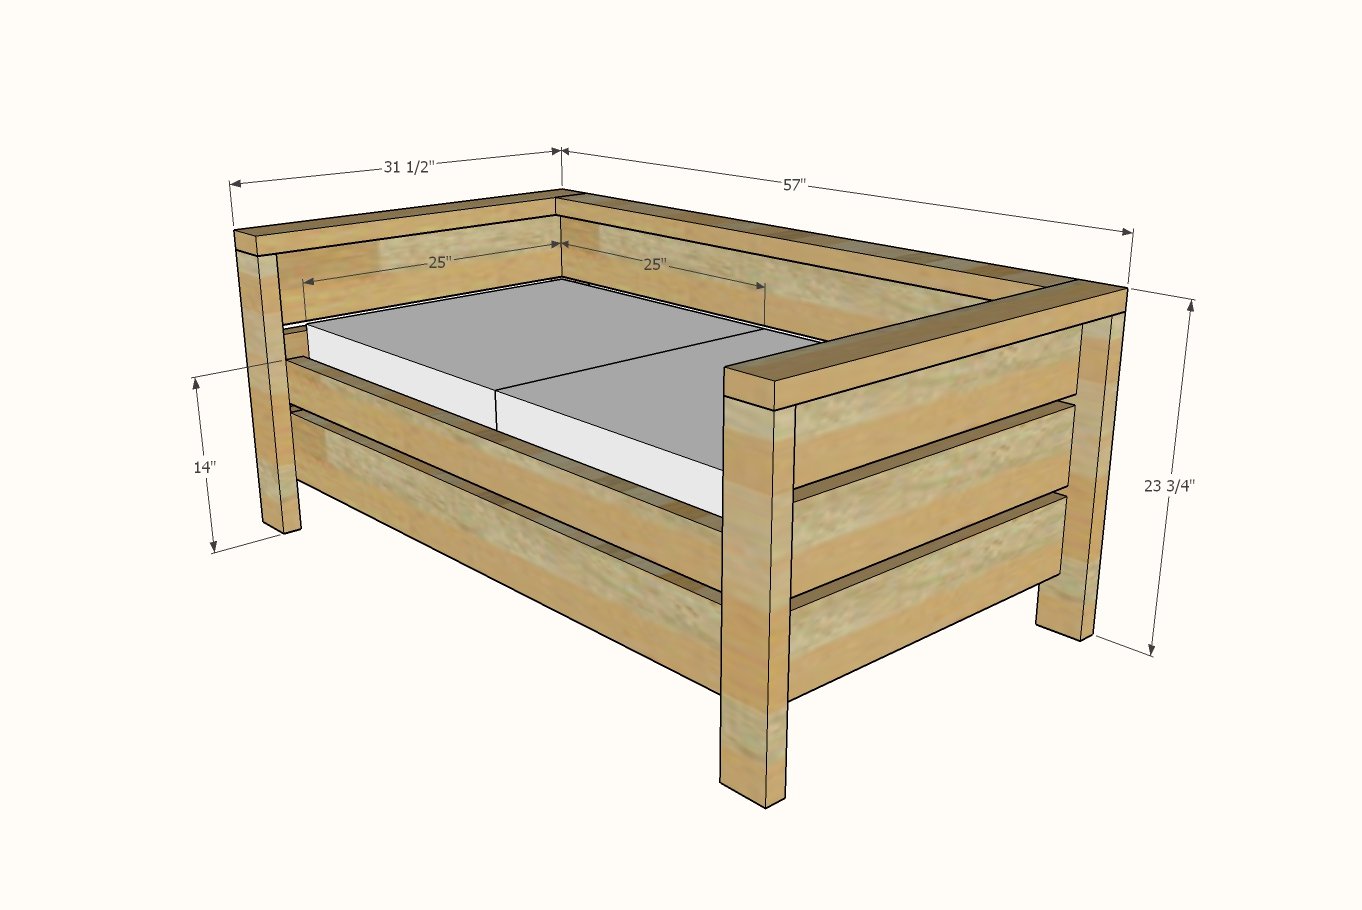
Fits TWO 25" x 25" cushions
Preparation
Shopping List
SHOPPING LIST FOR ONE LOVESEAT
6 - 2x4 @ 8 feet long or stud length
1 - 2x2 @ 10 feet long (only need two pieces 50" long each)
2 - 2x6 @ 8 feet long or stud length
1 - 2x6 @ 10 feet long (cut 50" pieces from this board)
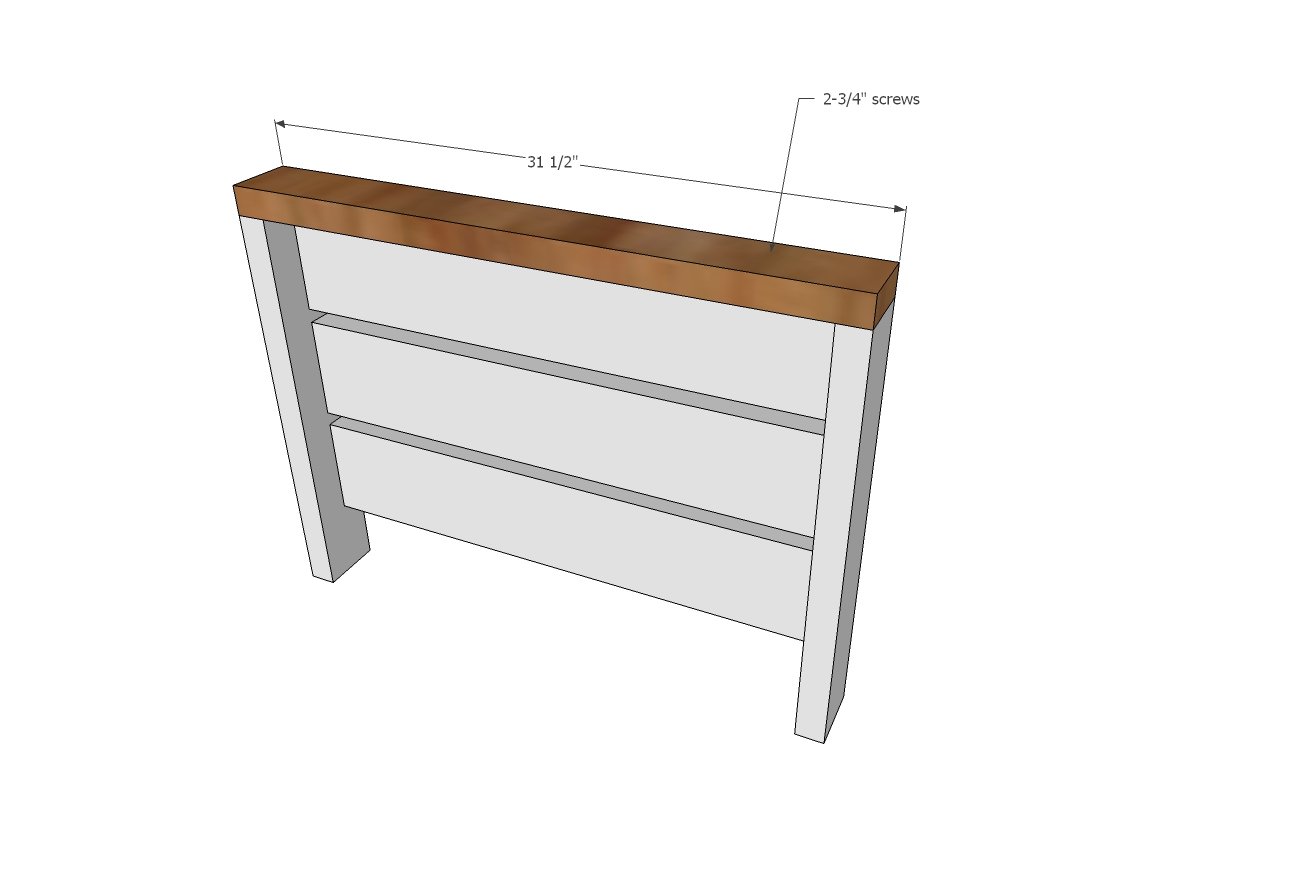
100 - 2-3/4" self tapping exterior screws (deck screws or similar)
2 - 25" x 25" Outdoor cushions
Cut List
CUT LIST FOR ONE LOVESEAT
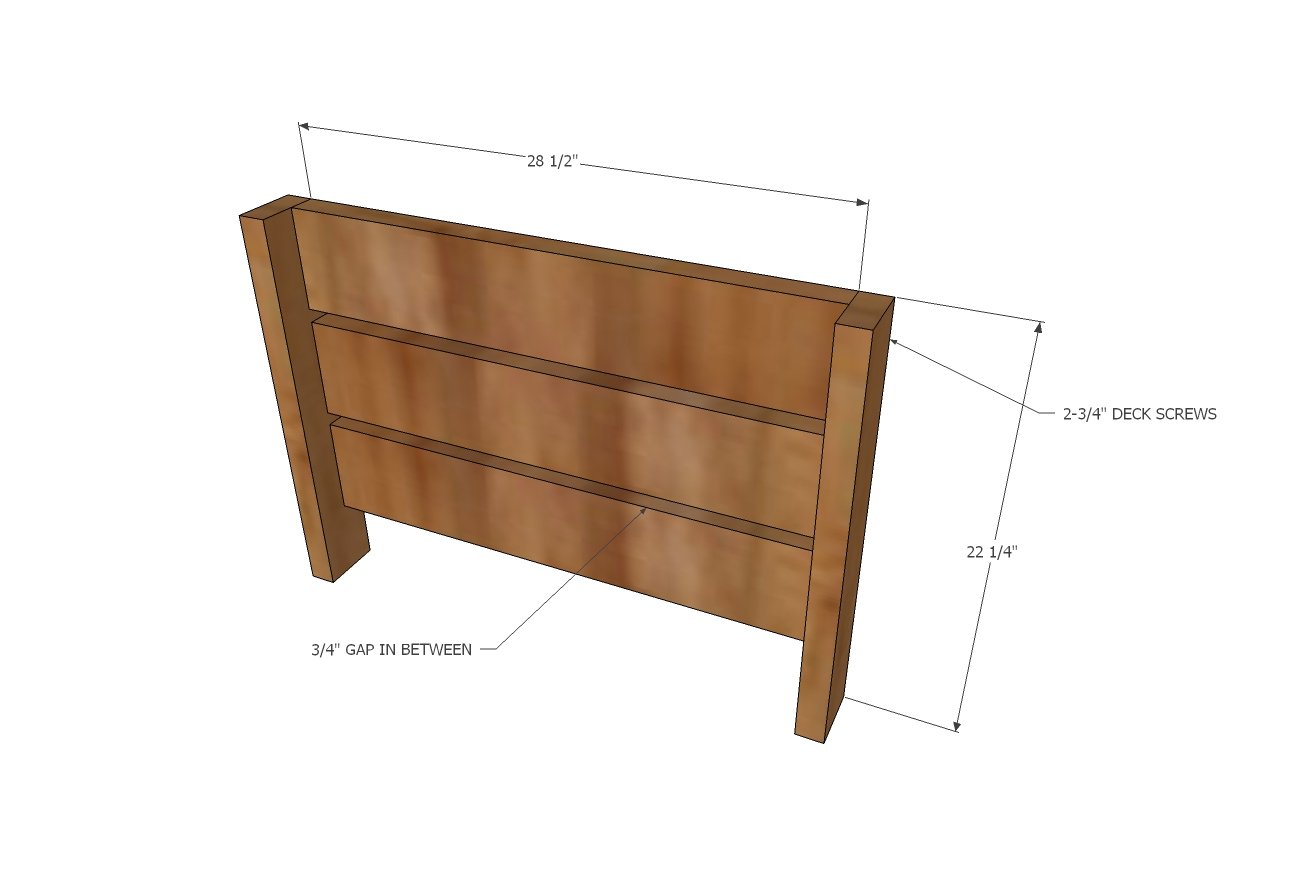
- 4 - 2x4 @ 22-1/4" - Legs
- 6 - 2x6 @ 28-1/2" - Side Slats
- 2 - 2x4 @ 31-1/2" - Arm Rests
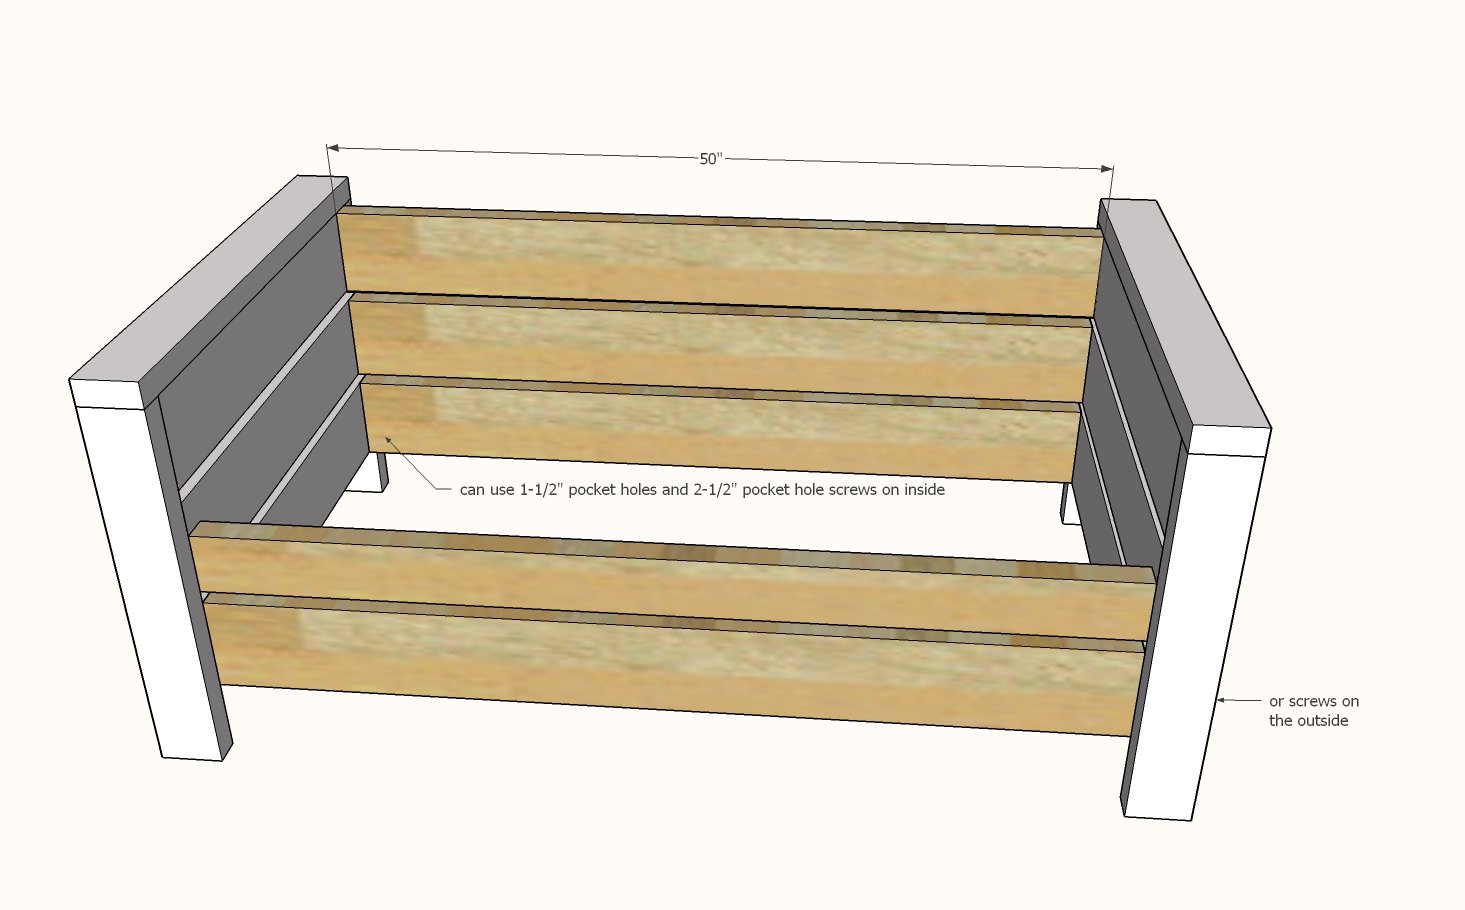
- 4 - 2x6 @ 50" - Front and Back Slats
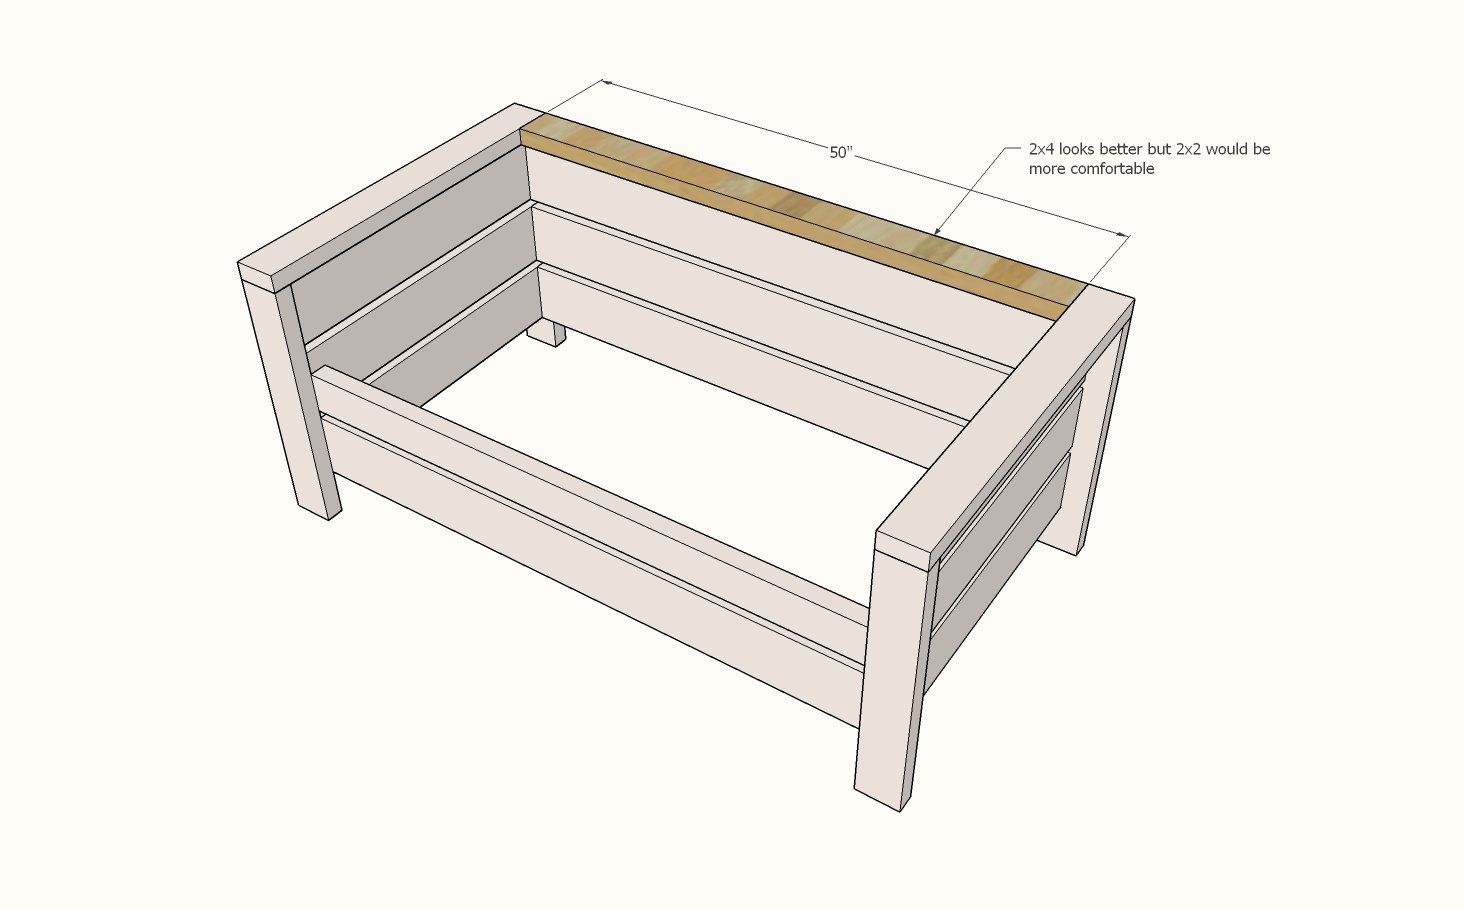
- 2 - 2x4 @ 50" - Front Top Slat and Back Top
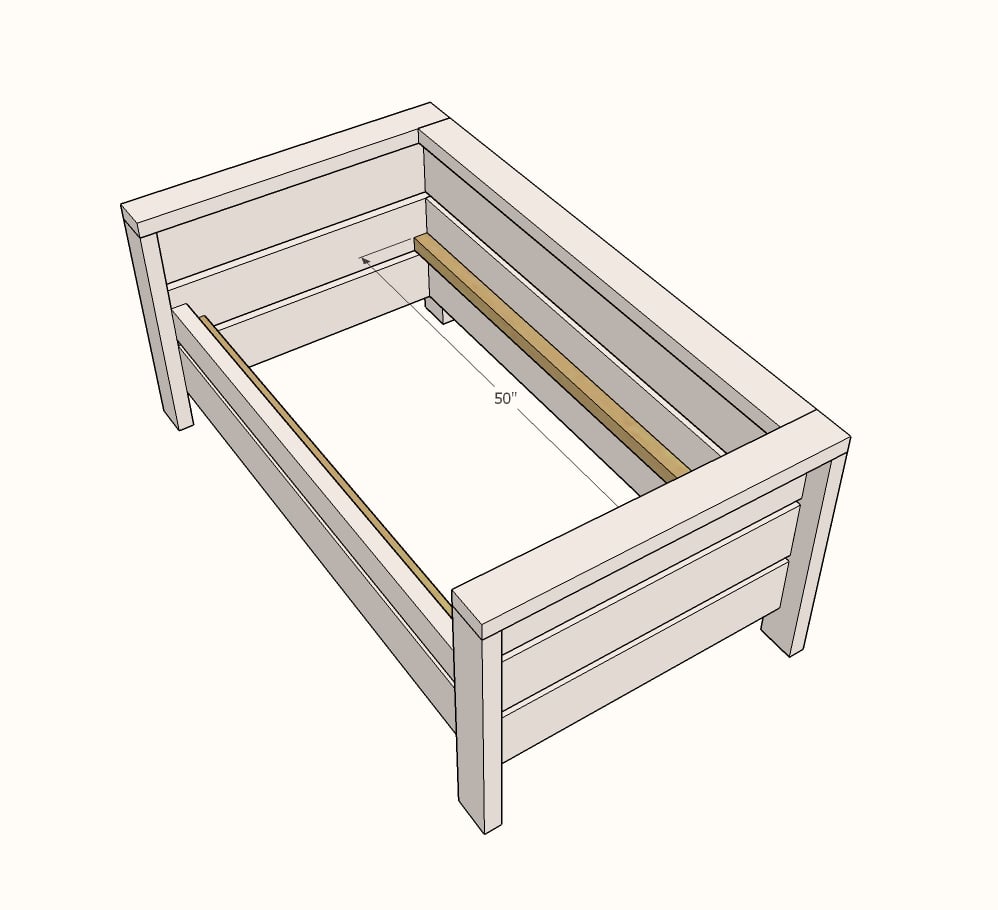
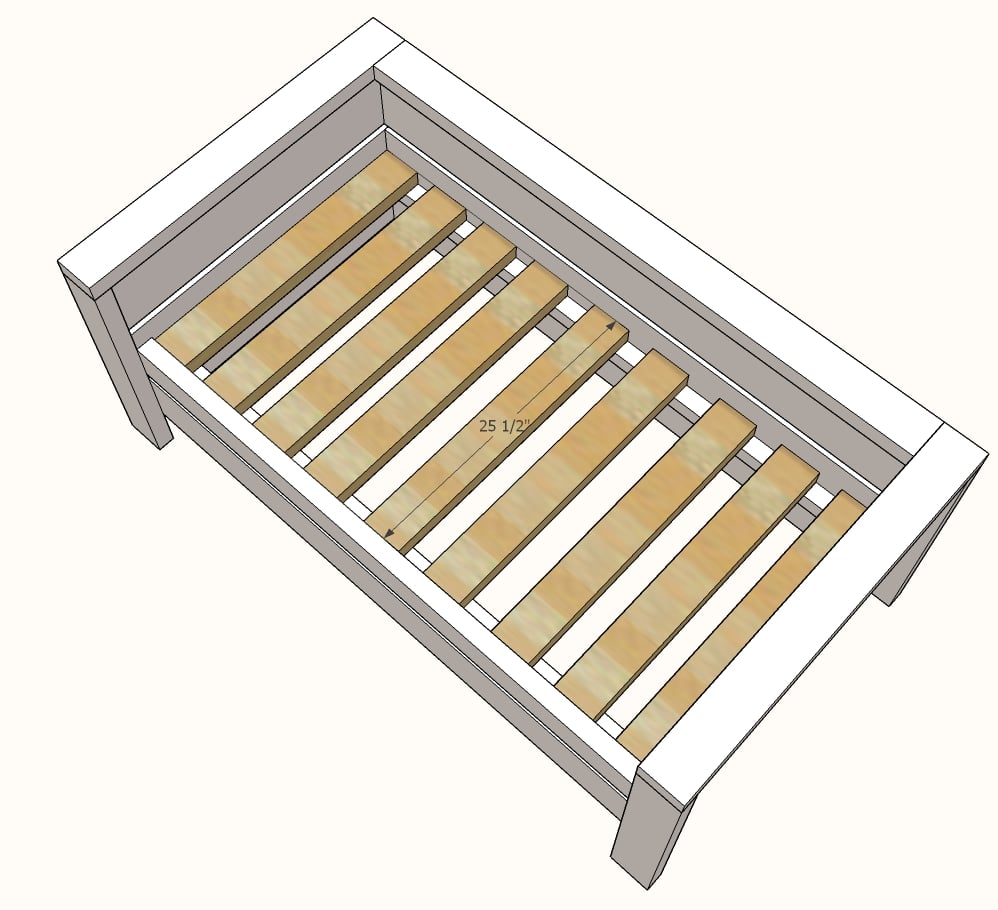
- 2 - 2x2 @ 50" - Inside Cleat
- 9 - 2x4 @ 25-1/2" - Seat Slats (can get away with less or other materials ie 2x6)
Instructions
Step 1
Step 3
Step 4
Project Type
Room



Comments
alalonde83
Sat, 07/06/2019 - 10:44
Your shopping list is…
Your shopping list is missing 1-2x6@10' . Didn't discover this till we started marking the cuts.
Nate2007
Tue, 07/09/2019 - 18:04
When attaching the legs, is…
When attaching the legs, is one side flush while the other is screwed in. i thought bout legs were supposed to be flushed and the 2x6 screwed into them so that the front 2x6 is lapping over the front but it seems off. any advice?
Nate2007
Tue, 07/09/2019 - 18:04
When attaching the legs, is…
When attaching the legs, is one side flush while the other is screwed in. i thought bout legs were supposed to be flushed and the 2x6 screwed into them so that the front 2x6 is lapping over the front but it seems off. any advice?
jackdyrhaug
Fri, 08/23/2019 - 06:16
Modifications
If you were to angle the base to make it more comfortable, what is the steepest angle you would use?
rgray198434
Fri, 05/01/2020 - 18:18
Very easy to follow the plans
I built the outdoor loveseat bench and I thought it was very easy to follow the plans. So, I decided to build another loveseat bench but I did some modifications to it. I made the seat a little longer so I could put put an arm rest in the middle. I built the arm rest to fit just right in the middle then I screwed it in from the bottom. I had a great time building it, thank you for sharing your plans.
nelsonlg
Fri, 05/29/2020 - 09:59
1) Longer screws and 2) issue with cleats and slats
For step 3, just be aware that if you plan to screw from the outside to attach the front and back slats to the arms, you will need screws longer than 2.375". I just had to run out and buy 4" screws in order to attach these.
Also, I have an almost built loveseat, only to find out that a 2x2x10 is actually a 1.5x1.5x10 (this is apparently true for most dimensional lumber- height and width are overstated by ½"). Unfortunately, I cannot screw the slats down to the seat cleats because the cleats are too narrow. Save yourself some time, and more trips to the hardware store, by making sure what you are buying is actually 2x2x10. Or, perhaps consider changing the plan to make the slats 26 ½, in order that the slats have somewhere to screw into.