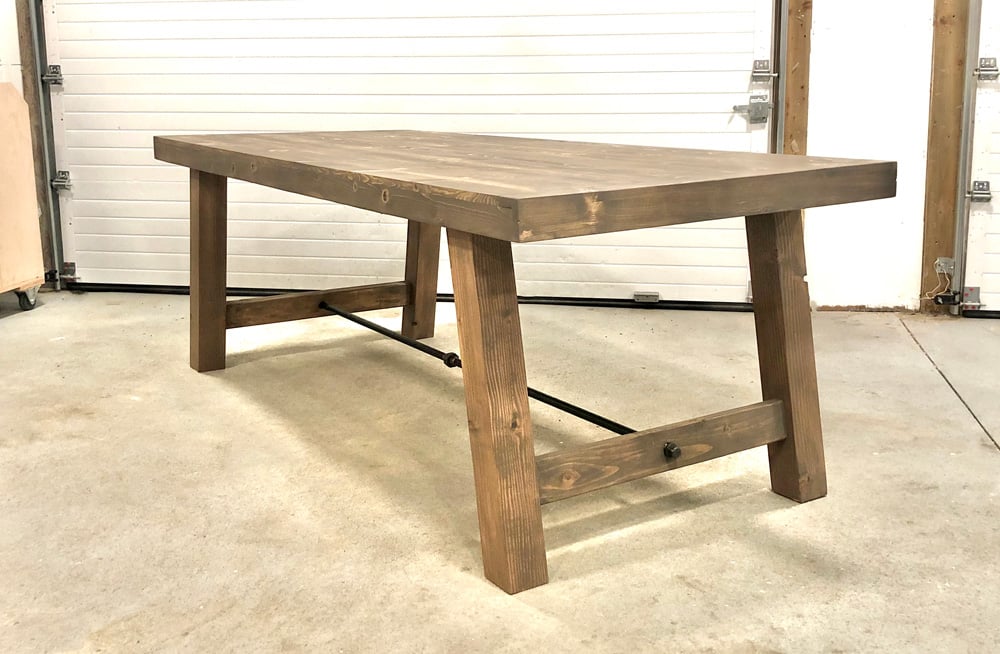


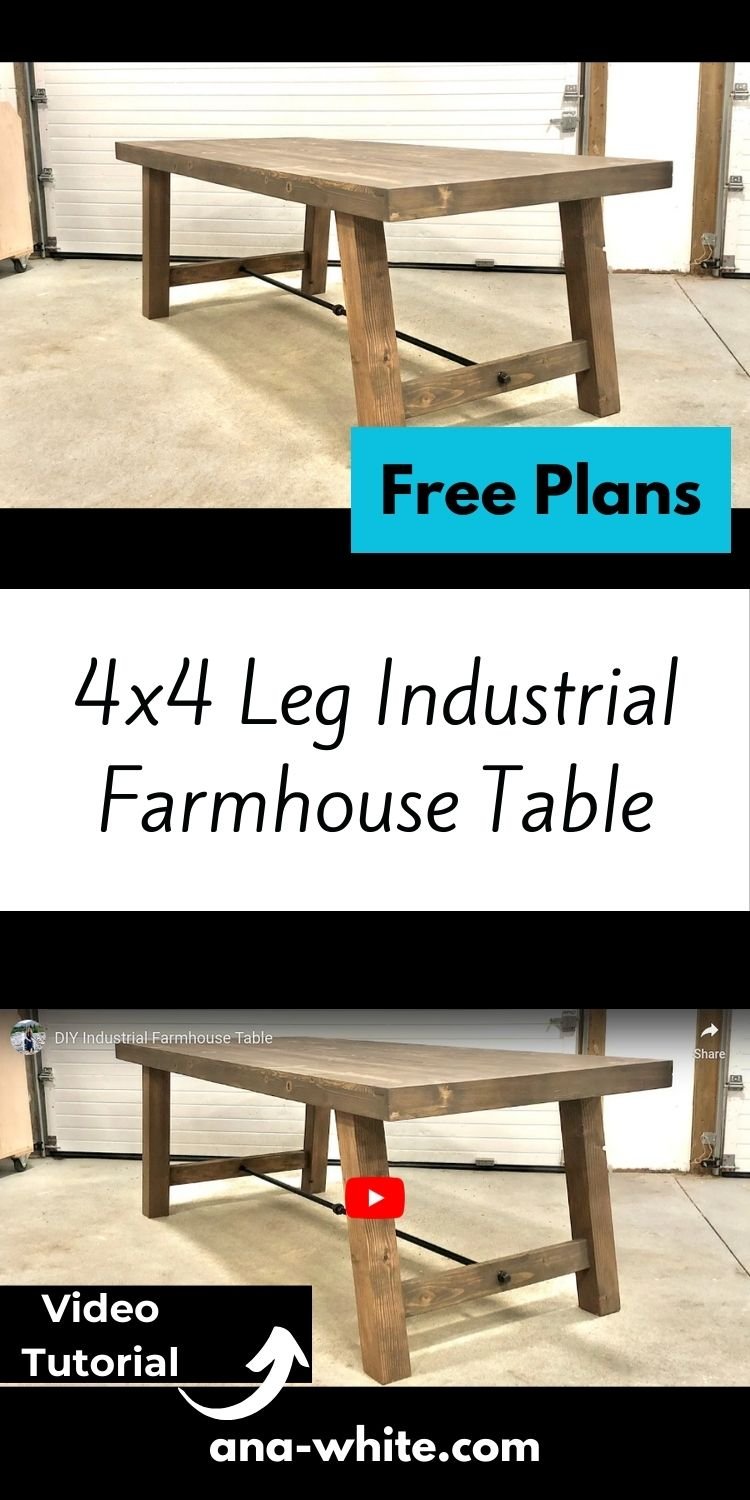
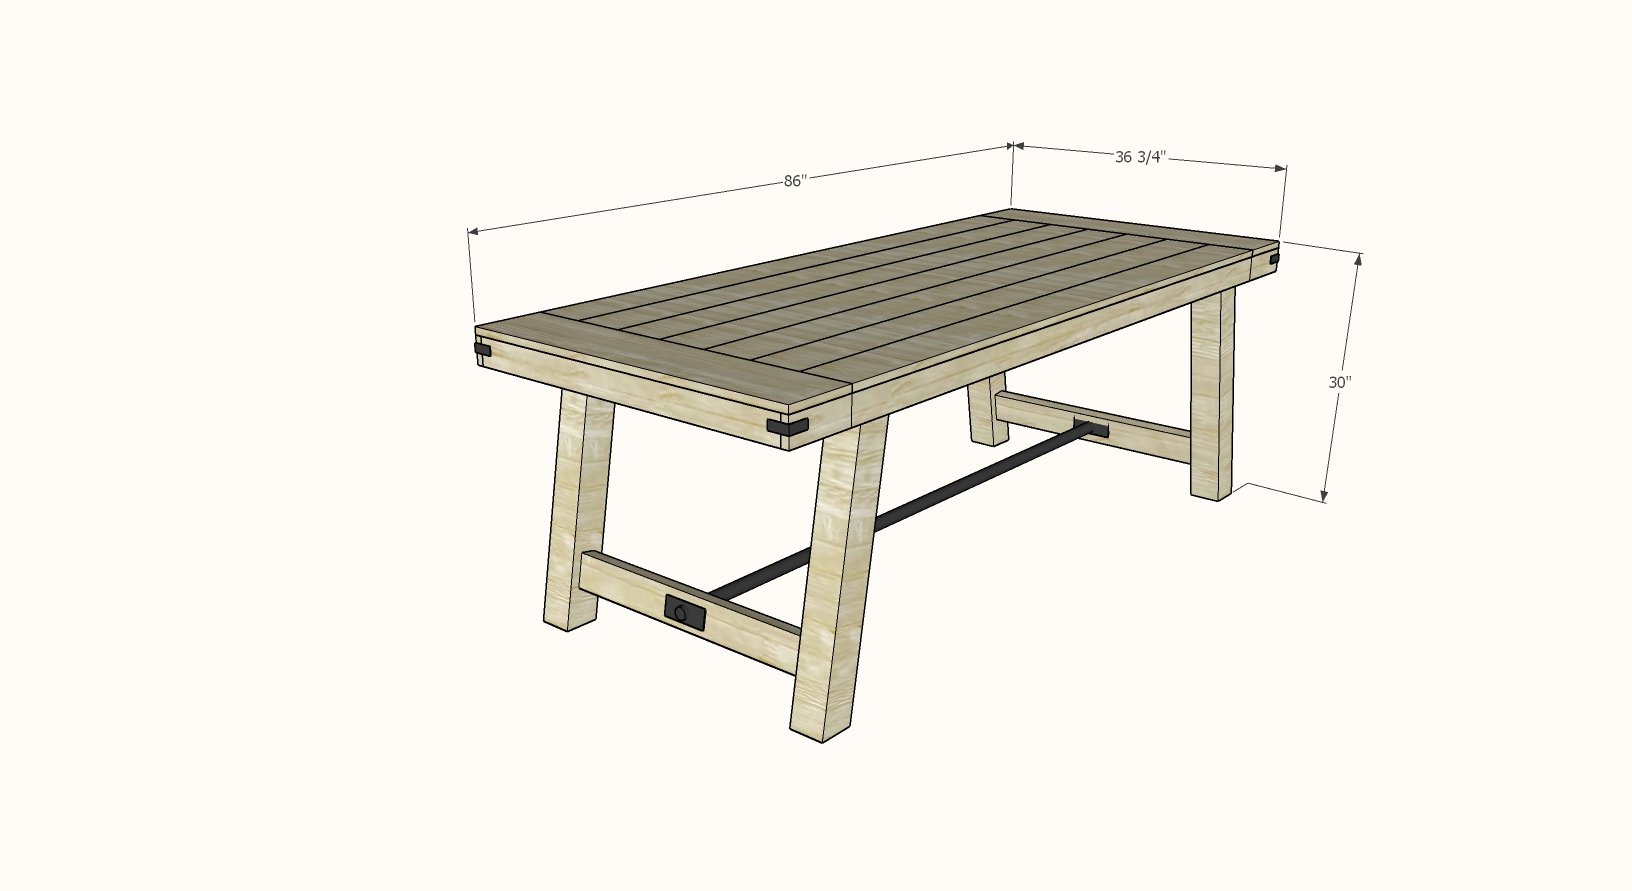
Free plans to build your own industrial farmhouse table. This plan is similar in design to our original Benchwright Industrial Farmhouse table, but this plan uses solid 4x4 legs, and a simplified tabletop design.
Bench plans not available yet - I will create plans if there is an interest.
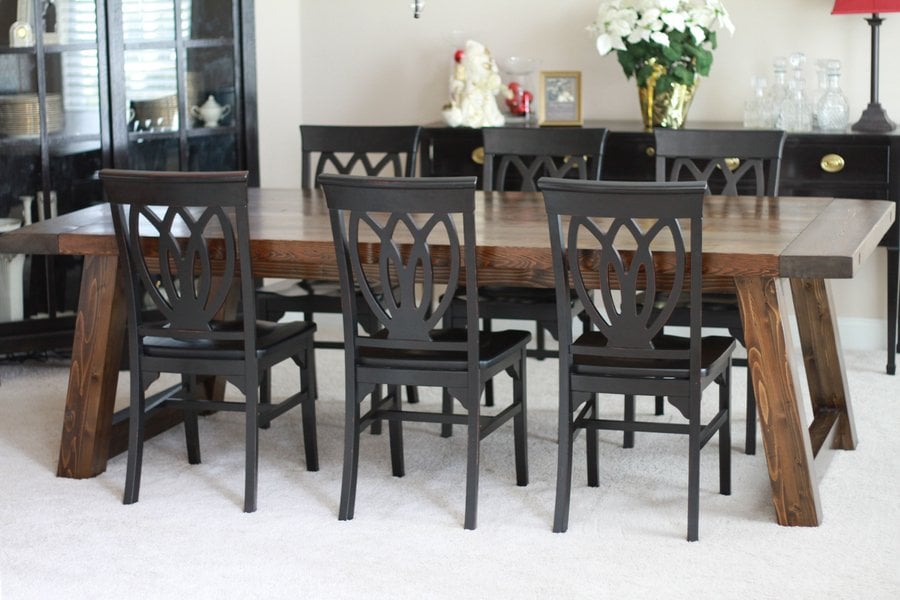
My friend needed a new dining table. Up here in rural Alaska, it's hard to find nice furniture and shipping is expensive. So I built her a new industrial farmhouse table. I'll update with more pictures when we get some, but it is so beautiful!
This table is different than our original Benchwright Industrial Dining table in that I built this table with solid 4x4 legs. Also, the top is super smooth - my friend has a family of 7 and keeping things easy to clean is essential.
Here's the video of how we built this table:
And the plans are below. Note that I did make some small changes in the plans in areas that I felt could be improved.
What did you use for the pipe?
I used two pieces of 36" long iron pipe in 1/2" diameter. I used a union and end plugs. This all should be available at most hardware stores.
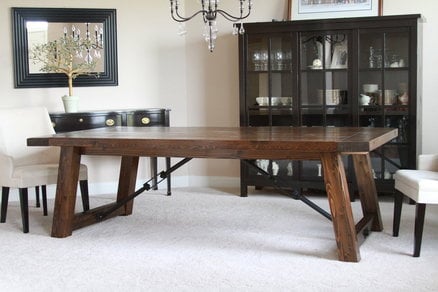
I wanted to also share with you this table built by VBQuick1 over at Lumberjocks
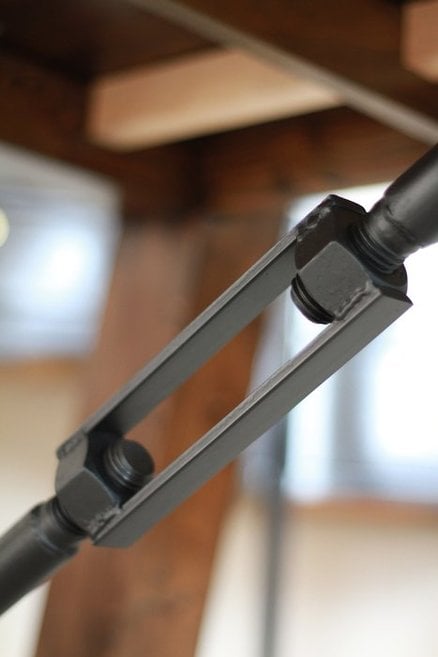
The turnbuckle is two nuts welded together with flat bar. More info here.
Pin for Later!
Preparation
- 7 - 1x6 @ 6 feet long (rip down to 5-1/4" width, both edges are ripped square)
- 1 - 1x8 @ 8 feet long
- 3 - 1x4 @ 8 feet long (rip down to 2-3/4" width, one edge is still rounded) OR use select pine 1x3s with square edges
- 2 - 2x3 @ 8 feet long or stud length
- 1 - 2x4 @ 8 feet long or stud length
- 72" overall of iron pipe (can use unions or turnbuckles) with end nuts
- 100 - 1-1/4" pocket hole screws
- 25 - 2-1/2" pocket hole screws
- 20 - 2" self tapping cabinet screws
- wood glue
Tabletop
- 7 - 1x6 @ 72" - rip both edges down to 5-1/4" wide
- 2 - 1x8 @ 36-3/4" *
- 2 - 1x4 ripped top edge down to 2-3/4" width (or use select pine in 1x3 width with square edges) @ 86" *
- 2 - 1x4 ripped top edge down to 2-3/4" width (or use select pine in 1x3 width with square edges) @ 35-1/4" *
Base
- 4 - 4x4 @ 29-3/4" - long point to short point, both ends cut at 10 degrees off square, ends are parallel
- 2 - 2x3 @ 28-1/4" *
- 2 - 2x4 @ 28-1/4" *
- 2 - 2x3 @ 60" - long point to long point measurement, both ends cut at 10 degrees off square, ends NOT parallel
To create a perfect tabletop, a tablesaw is needed for this plan.


Instructions
Step 1

Rip rounded edges off of the 1x6s with a final width of 5-1/4".
Drill 3/4" pocket holes every 8" along long edge of all but one of the 1x6 boards.
Glue, clamp and attach, 1-1/4" pocket hole screws.
Cut ends square so final tabletop length is 71-1/2".
NOTE: If you are adjusting the overall length of the table, the tabletop boards should equal the length of your pipe.
Step 2

Measure and cut the 1x8 breadboard ends.
Mark location of pocket holes on 1x8s and drill 3/4" pocket holes.
Attach 1x8s to tabletop with 1-1/4" pocket hole screws and wood glue.
Step 3

Rip 1x4s down to 2-3/4" width (one edge should be cut square, bottom edge can be rounded).
Drill 3/4" pocket holes facing upward along one edge, every 8".
Attach to underside of the tabletop with 1-1/4" pocket hole screws and wood glue.
For the false cuts, you can use a square to score the wood with a razor knife or chisel or use a circular saw with the blade set to about 1/8" deep.
*If using select pine or other wood with square edges, you can use 1x3s here and not rip
Step 4
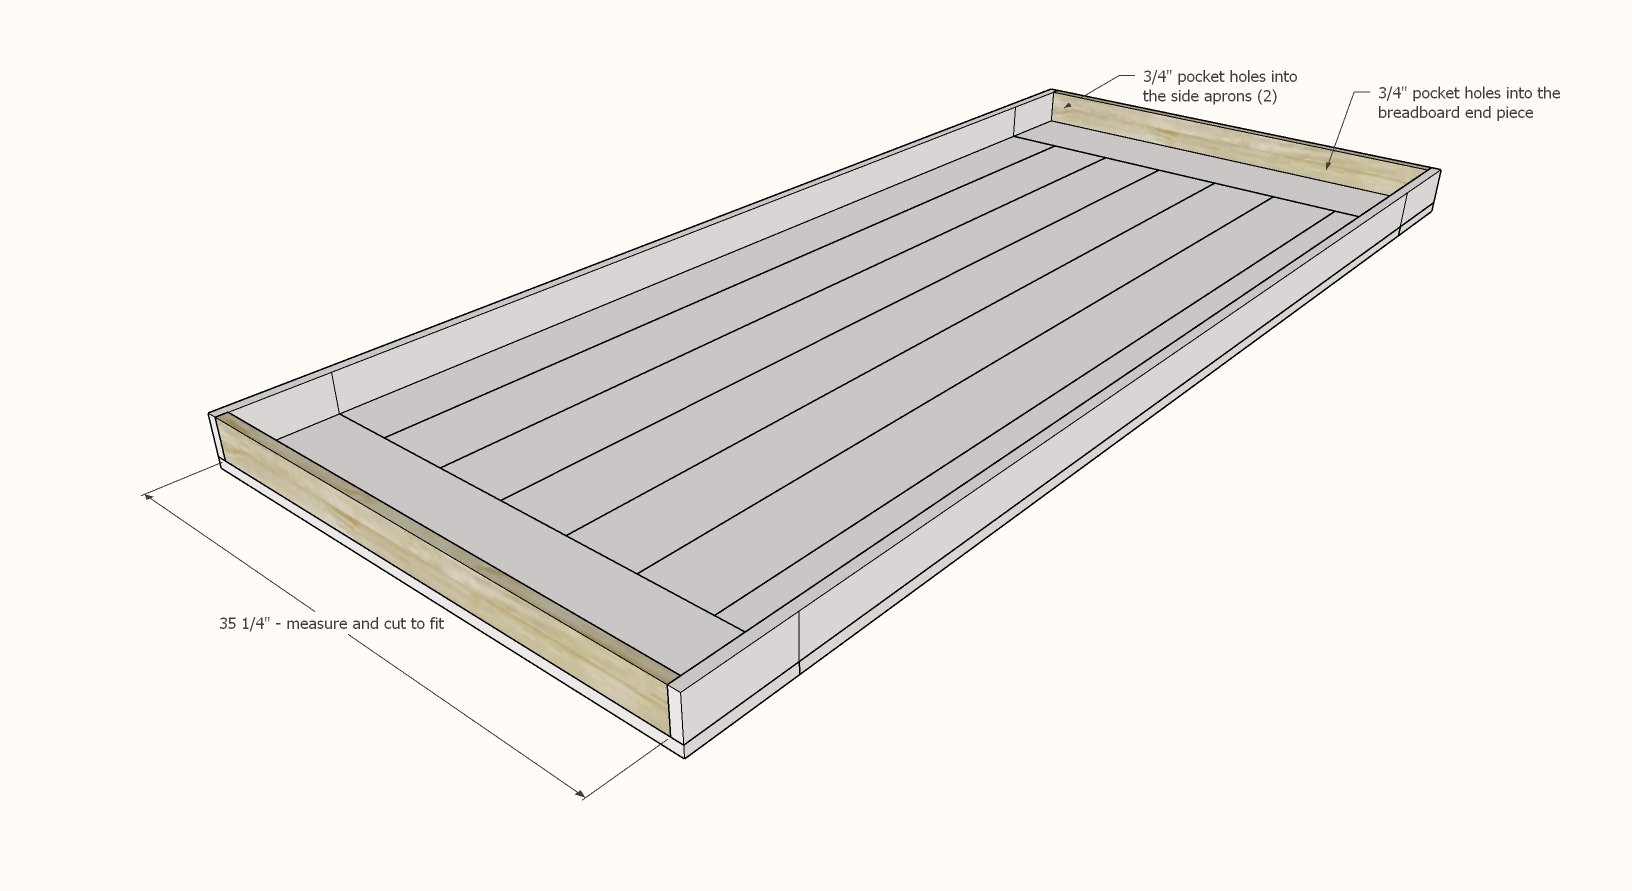
Measure and cut the end aprons.
Drill 3/4" pocket holes both facing upward and to attach to the side aprons.
Attach with 1-1/4" pocket hole screws and glue.
Set tabletop aside on a flat level surface to dry.
Step 5

Set miter saw to 10 degree angle cut off square.
Cut the legs, ends are parallel, 29-3/4" short point to long point measurement.
Cut the 2x3 and 2x4 end aprons and stretcher pieces so that the legs and 2x3 apron fit inside the tabletop. Dryfit.
Set Kreg Jig to 1-1/2" material.
Drill 1-1/2" pocket holes, two per end, on the 2x3 and 2x4s.
Attach as shown in diagram to the 4x4 legs with 2-1/2" pocket hole screws.
It worked best for me to attach both to one leg first, then flip and attach both to the other leg, using gravity to help me.
Step 6

Drill two 1-1/2" pocket holes on each end of the 2x3 inside aprons.
Attach to the 4x4 legs with 2-1/2" pocket hole screws and glue.
Step 7
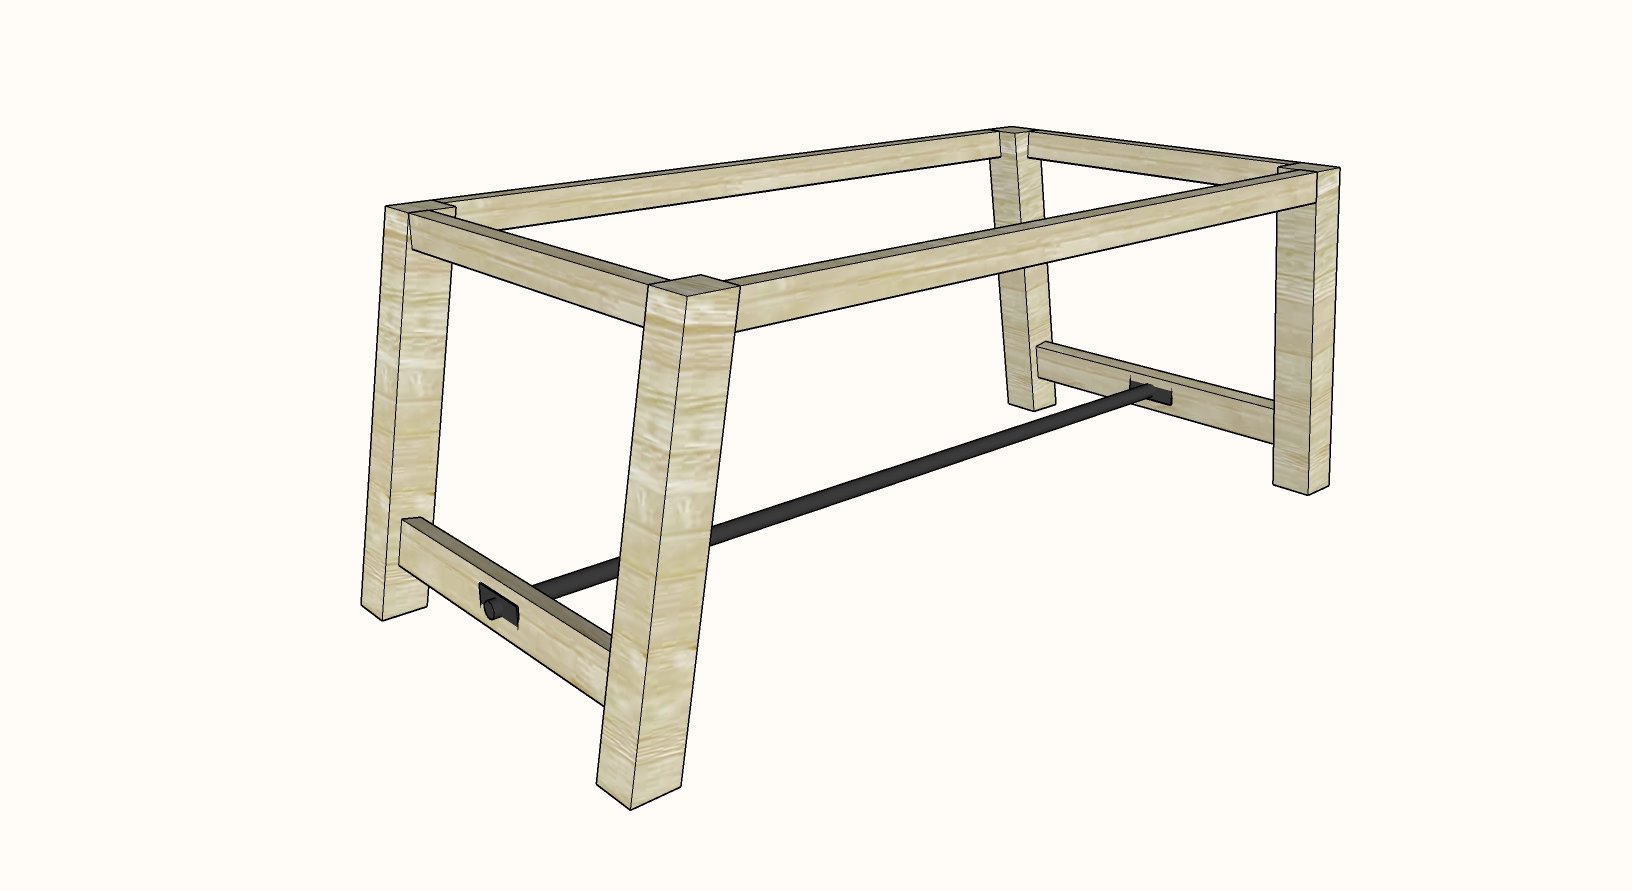
Drill holes centered in the 2x4 stretcher slightly larger than the outside pipe diameter. I used a forstner bit.
Thread pipe through and tighten.
Step 8
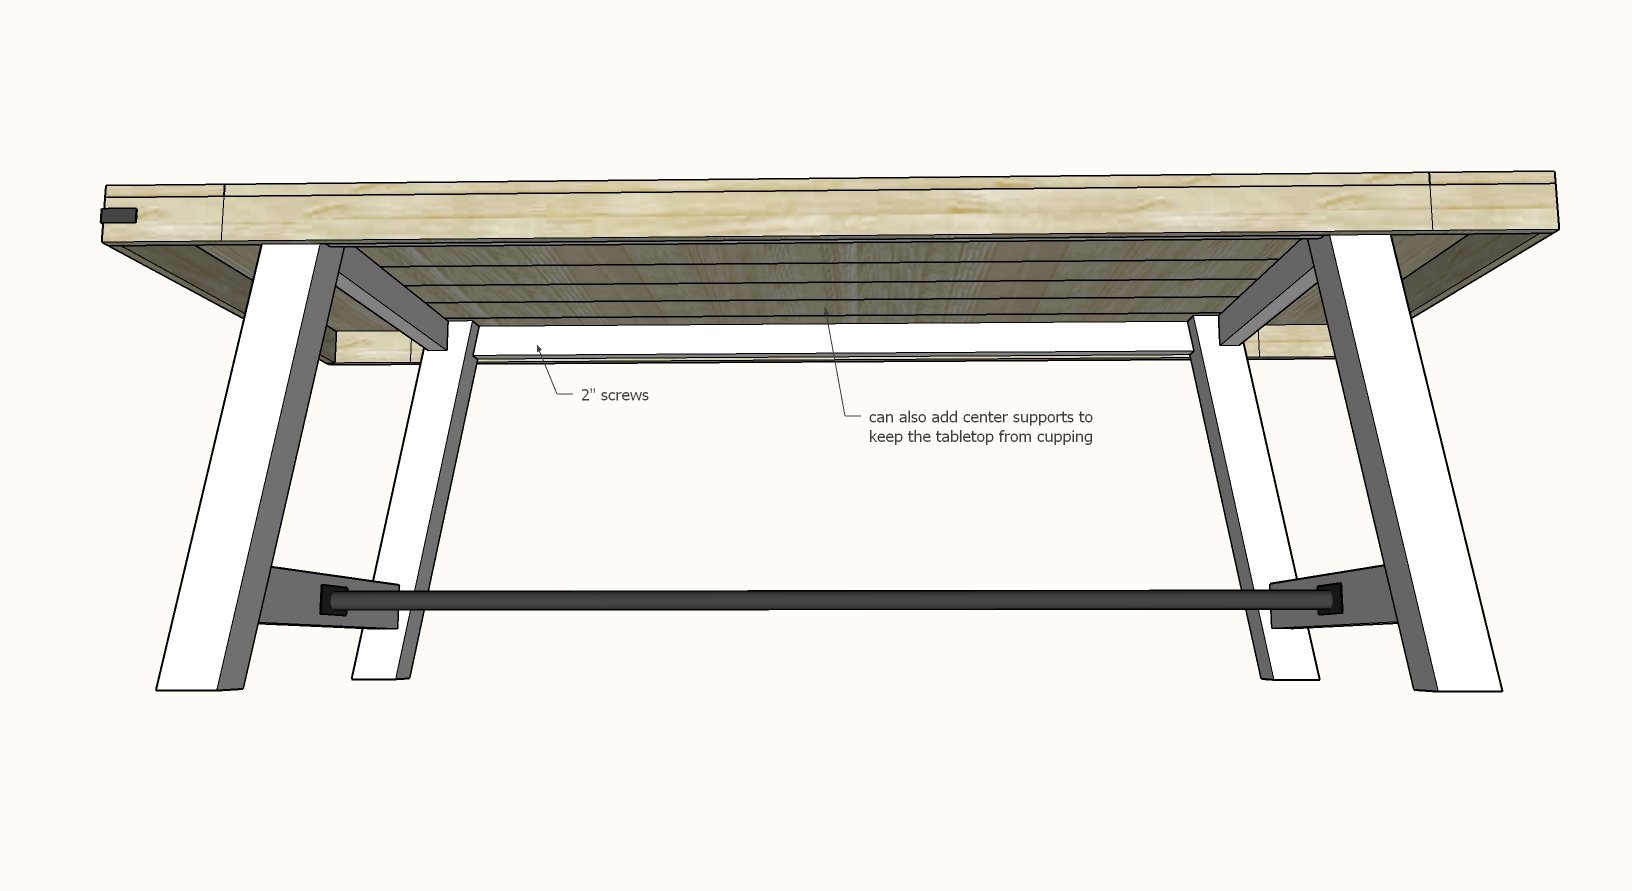
Place tabletop on top of the base.
Attach from inside with 2" screws and glue.
You can also add additional 1x3 supports to further strengthen the underside of the table with pocket holes, so the 1x3 is attached to both the underside of the tabletop and the 2x3 side aprons.
Comments
RubyJ15
Tue, 12/17/2019 - 12:31
Is there a way to adapt…
Is there a way to adapt these plans for a square dining table? We are looking to make a 54 inch square table and I love this style!
mattgold
Thu, 06/25/2020 - 11:01
Farmhouse Table Bench
I am interested in building the farmhouse table but would love to have plans for the bench as well.
nirnat
Thu, 12/09/2021 - 09:47
expansion and contraction
hi Ana,
Thanks for this wonder plan. I want to build the table for outdoor. Can it work? what about expansion and contraction of the table top?
I fear that breadboard ends will nor let the tabletop to expand and that it will crack in some way. What do you think?