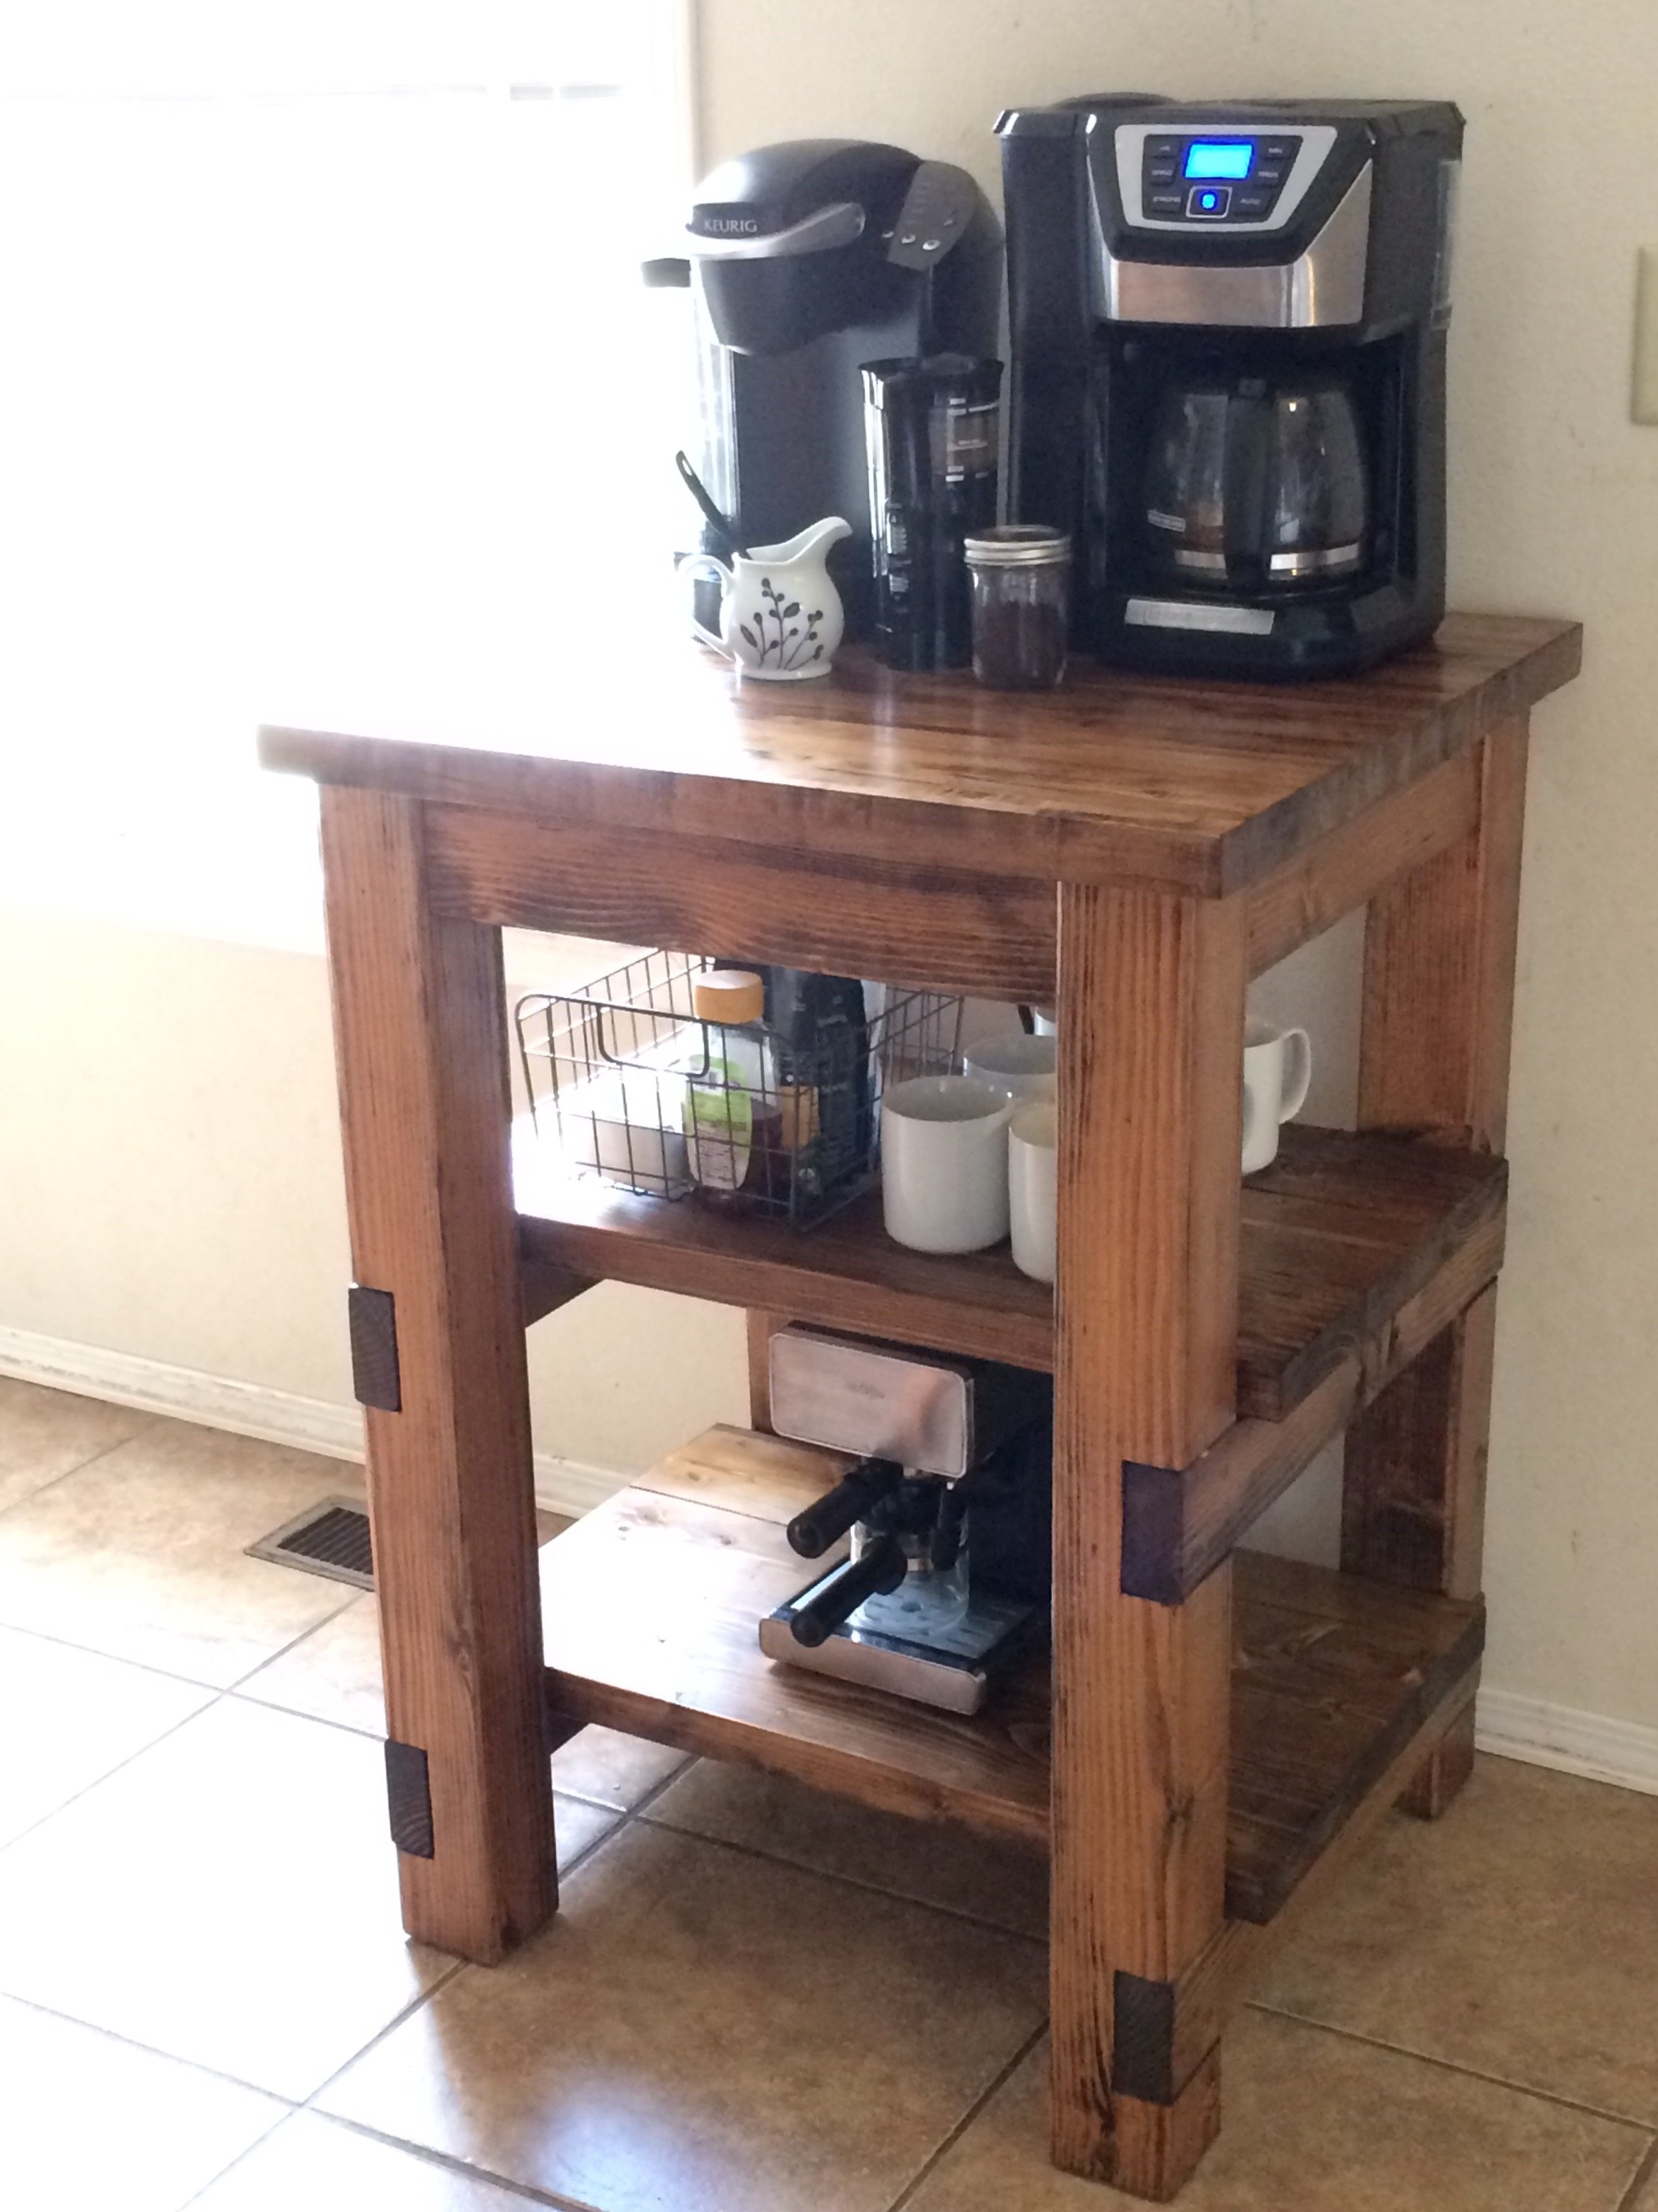
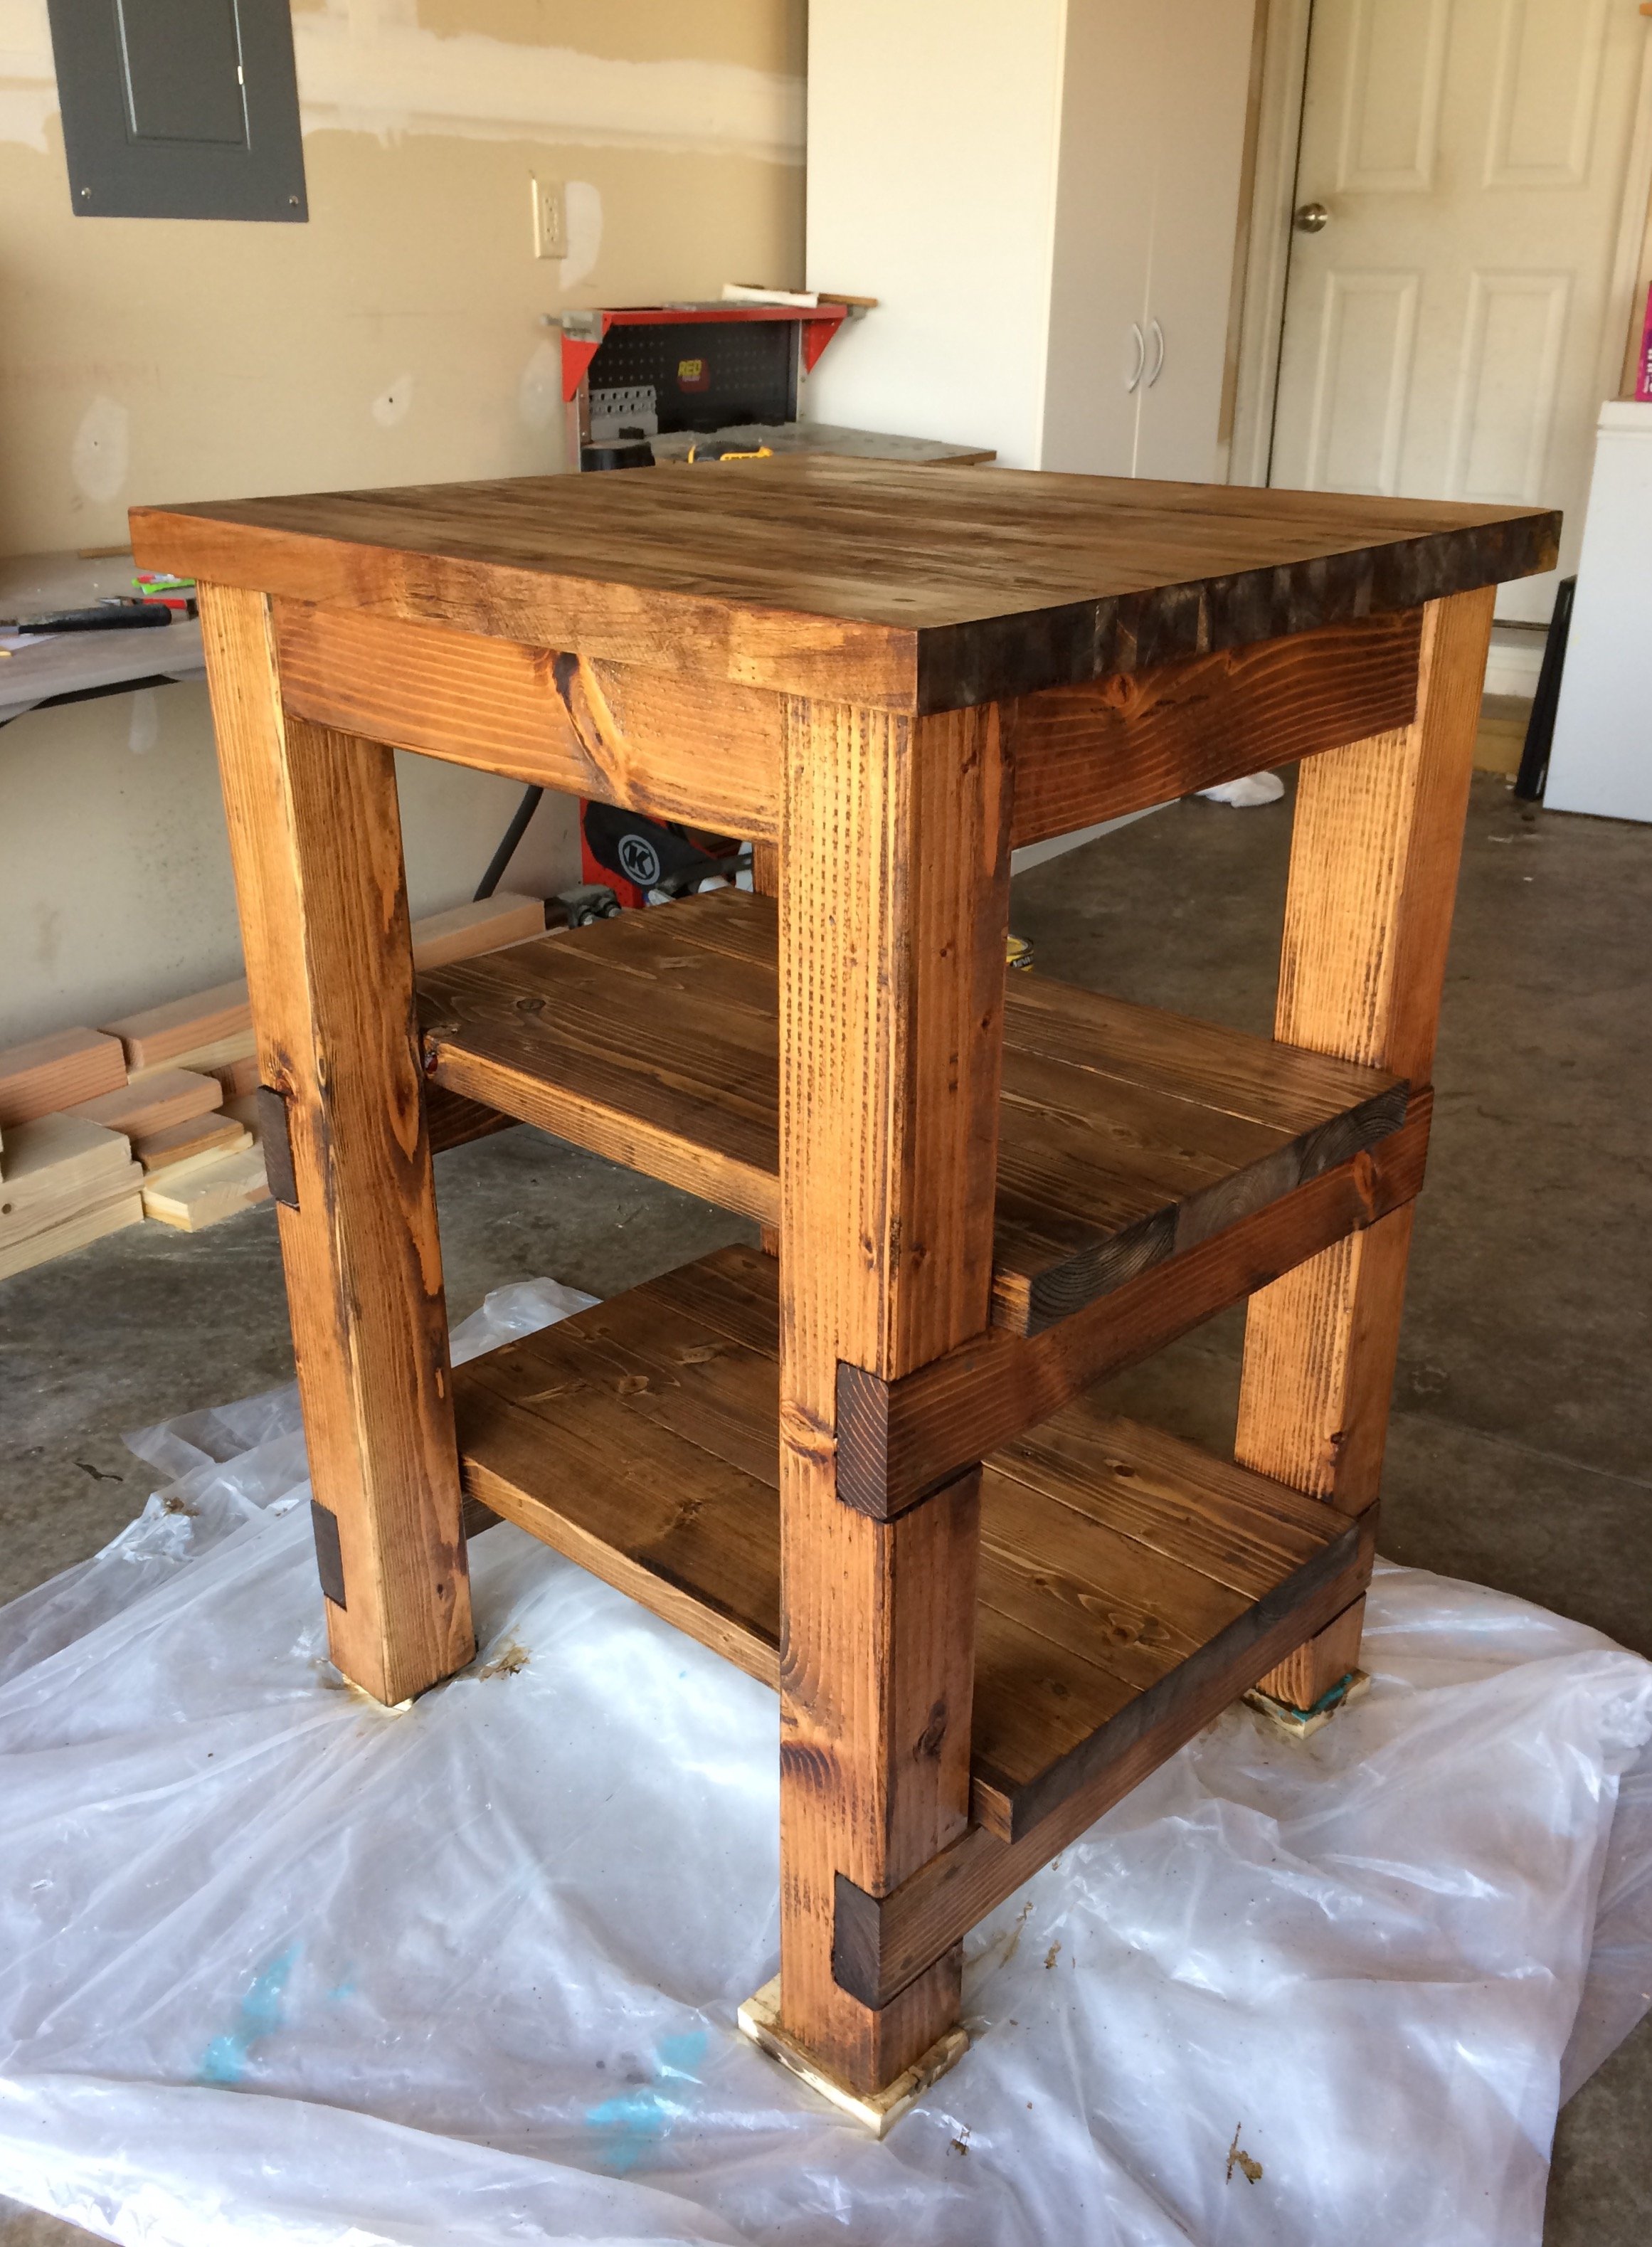
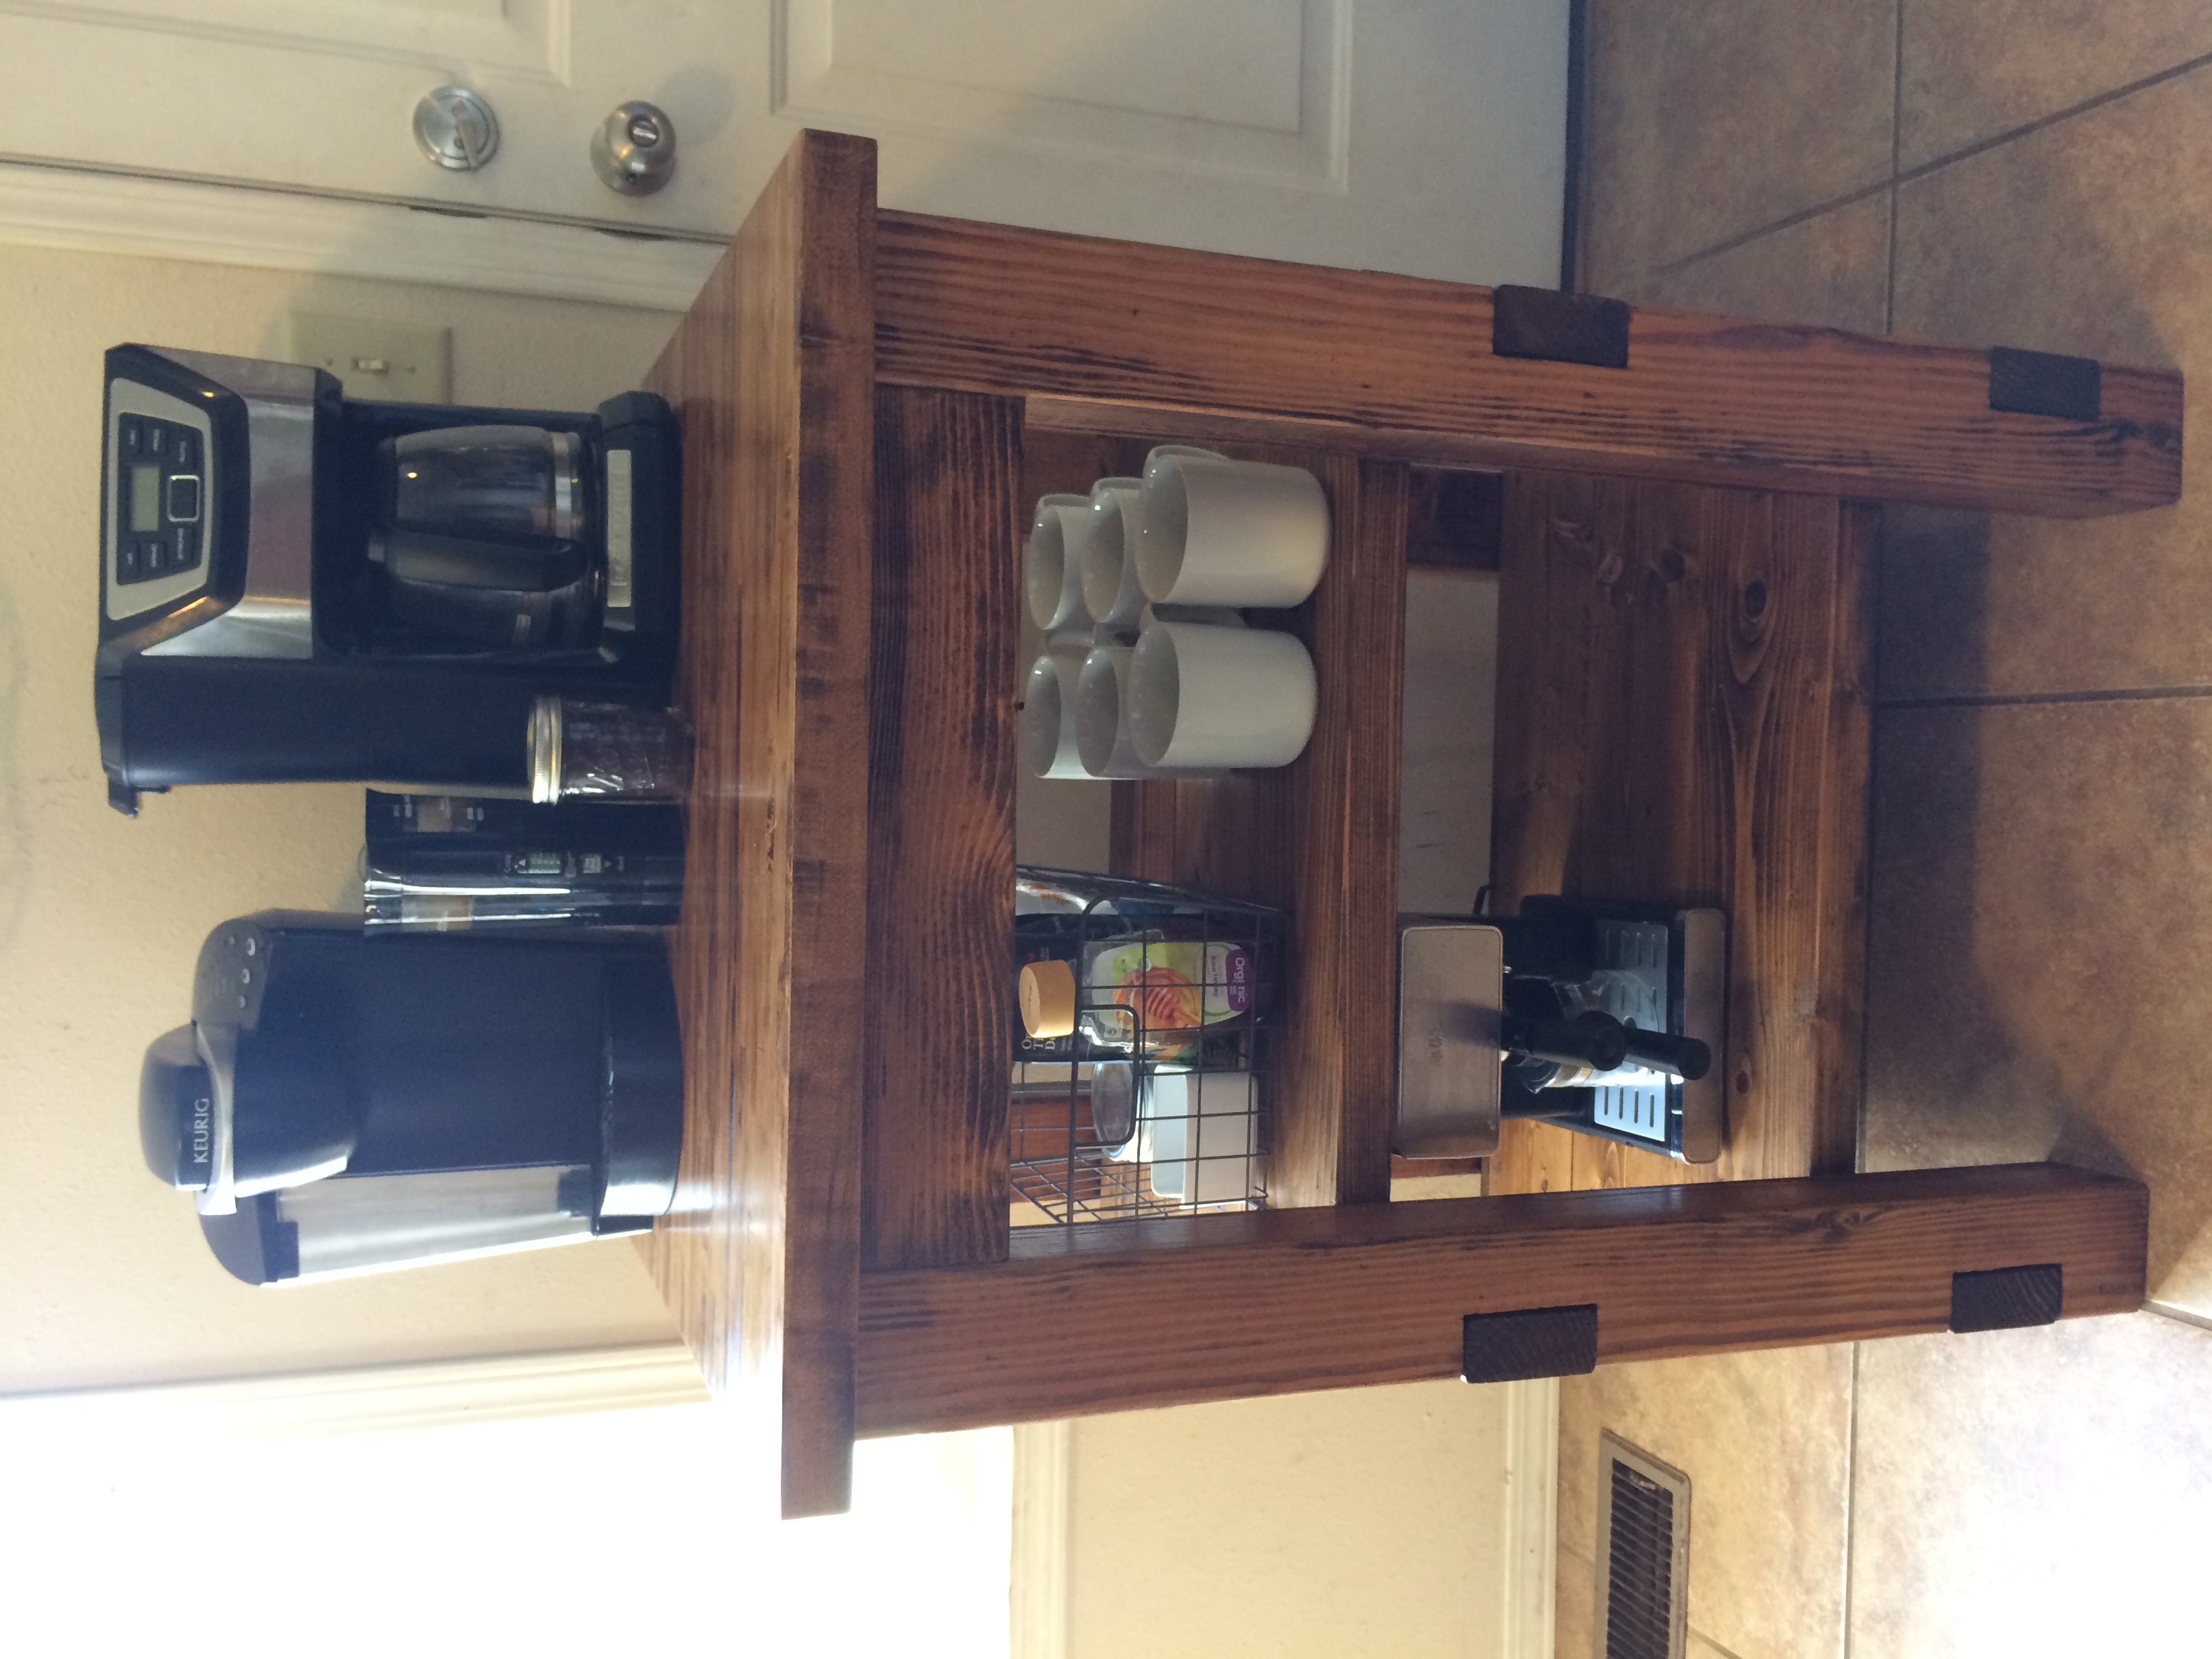
I modified this plan to fit a 27"x 25" chunk of butcher block that my mother-in-law gave me. The finished height is 36 & 1/2". I didn't have any special tools to make the notches for the shelves. I simply lowered the blade-stop on my 7&1/4" miter saw and fastened the screw with hair ties (or in other words, I jimmy-rigged it ;)). I practiced on scrap wood until I reached the depth I needed. There is a 9&1/4" clearance between both shelves, and the shelves have a 1" overhang off the sides. I mainly used pocket holes to connect the pieces. The shelves (3-2x6s each) were fastened together with wood glue and pocket holes, then I slid them into place and screwed them into the side aprons/supports from the top, then filled with wood filler. For the top, I added support from underneathe (2x2s that I had on-hand), then used 2&1/2" screws from underneathe through the 2x2s into the butcher block. At first I used zinc wood screws, but learned quickly that they strip extremely easily, so I switched to sheet rock screws. Fun project!!
Comments
deadspuds
Sat, 06/27/2020 - 16:26
Plans
Can you please send plans for this..thanks