Farmhouse Counter Stools

The free plans on this website are made possible with advertising and affiliate links.  Thank you for helping us keep plans free.


farmhouse counter stools
Difficulty
Intermediate
| Print this plan

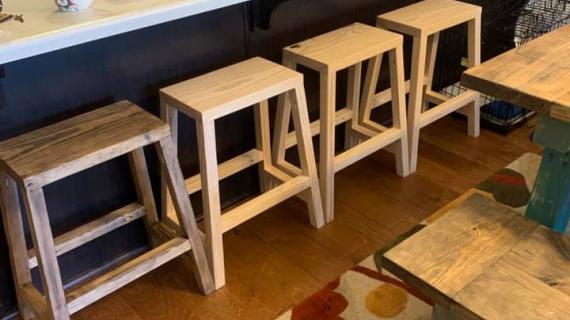
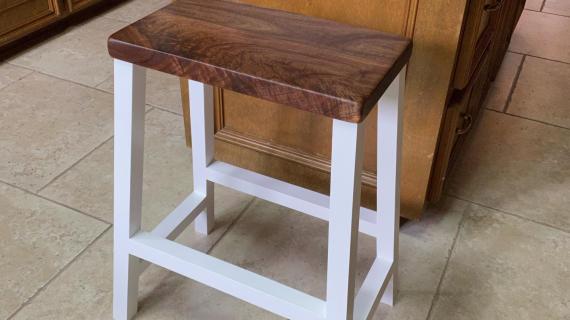
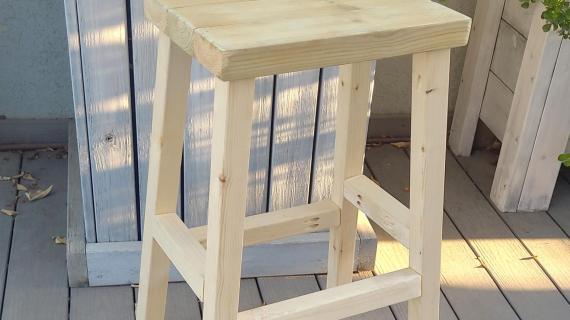
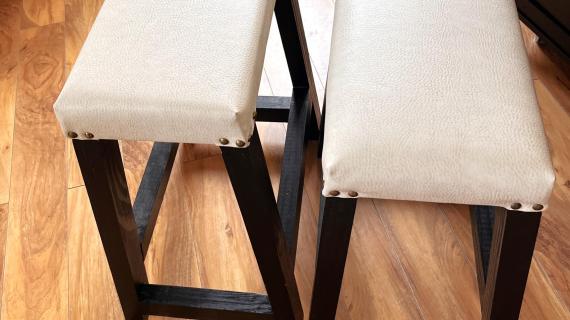
Build your own farmhouse style counter stools with free plans by Ana-White.com  These gorgeous stools feature clean, simple lines that bring a wood accent to your kitchen without competing.  Surprisingly comfortable with a well placed footrest and wide seat, yet still very sturdy, we can't wait to see how your stools turn out!

Collections

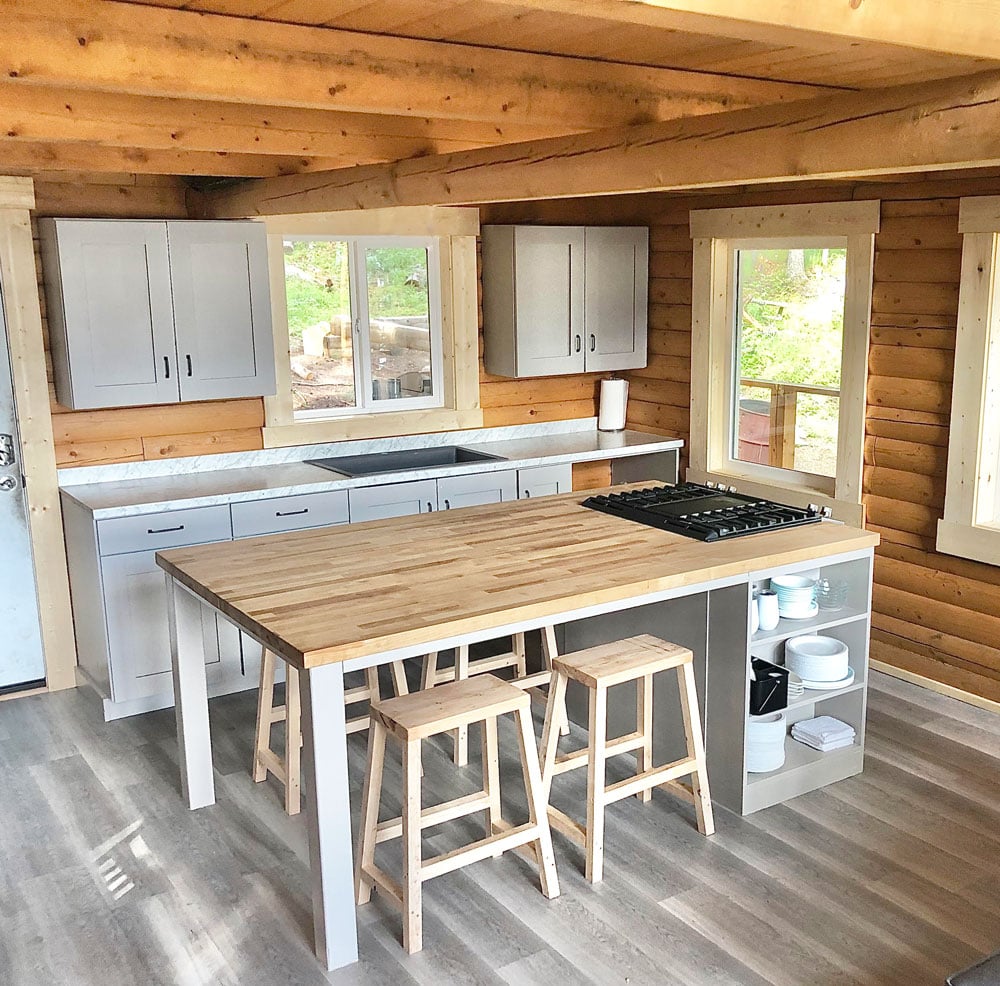
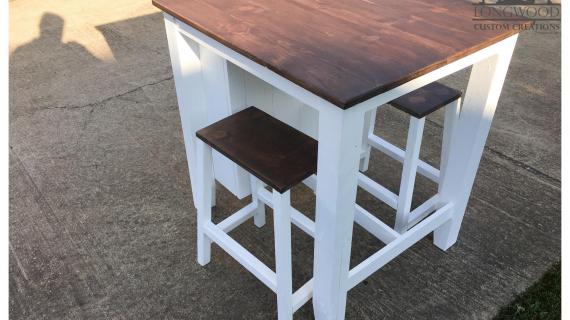
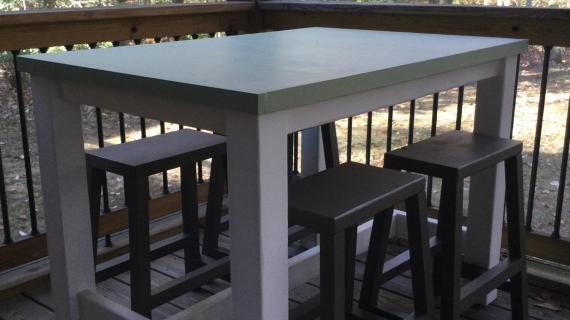
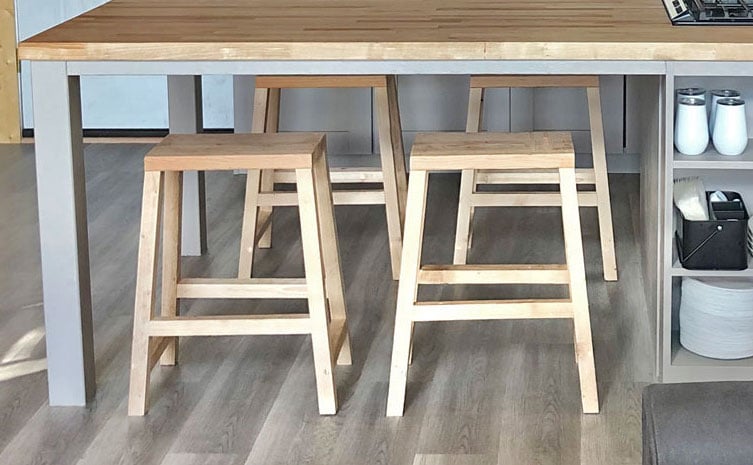
We just finished up a giant kitchen island with seating on three sides -

modern cabin kitchen

We love all the seating, but now I need six stools.

I looked and looked for affordable counter stools with a simple design, but with needing so many - I couldn't find any options for less than $400. 

I also was having trouble finding a truly simple stool - since you can see through the island, with all stools visible at the same time, I wanted the stools to be as clean lined as possible. Any ornate details or fussiness could create a busy look.

Unable to find exactly what I wanted, I decided to DIY my kitchen stools.

So here's the verdict:

1. Sturdiness - We splayed the legs out so it's very difficult to get these stools to rock one way or the other.  My husband did quite a bit of testing and approved them for sturdiness (this is following a couple of prototypes that were not sturdy enough)

2. Comfort - I was very worried about comfort with the flat seat, so I found a way to decrease the load on the seat by as much as half!  How?  These stools are designed with a higher footrest - yes, footrest! - a little higher up and wide enough for both feet to take the weight off your bum and share it on the footrest.  It's also nice to be able to put your feet up.  We all have been surprised at how comfortable these humble stools are despite no saddle seat or cushion.

3. Style - If these stools had any more fuss to them, can you imagine how busy under our island would look?  We have gotten many compliments on the stools even without a finish on them yet.

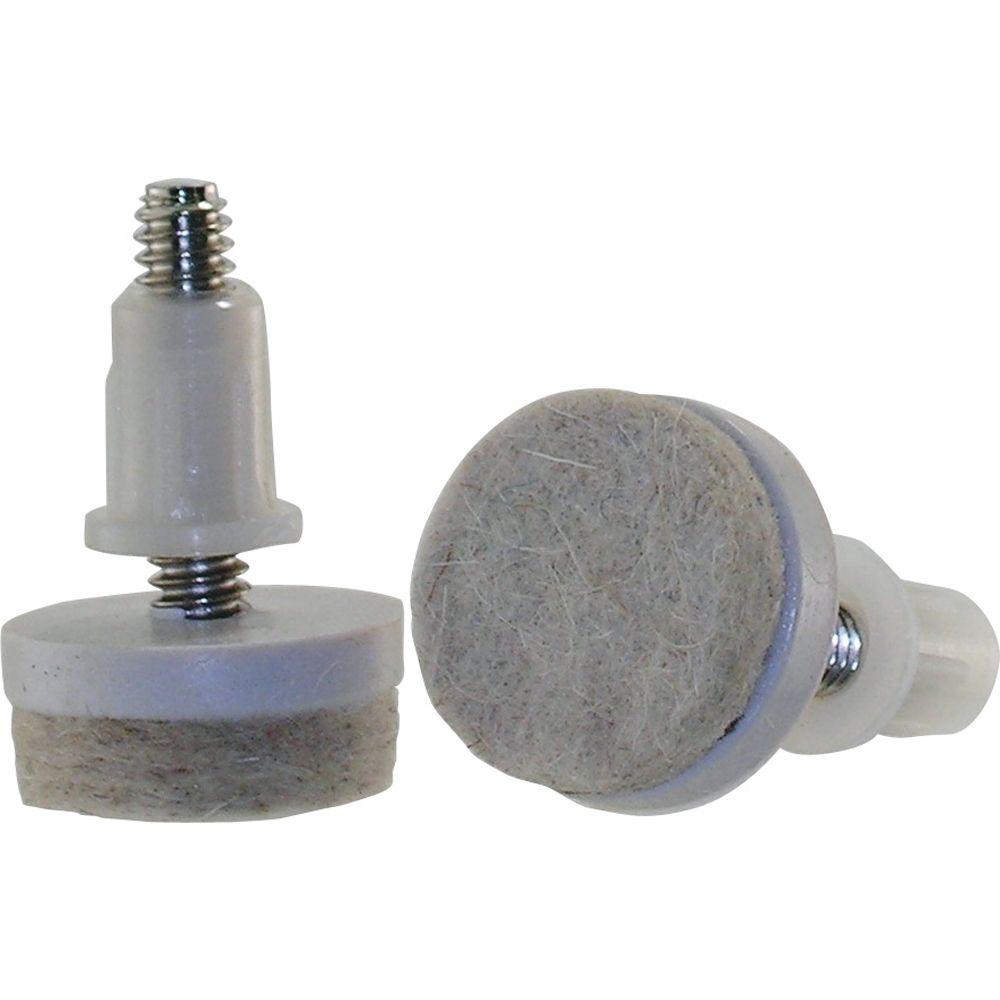
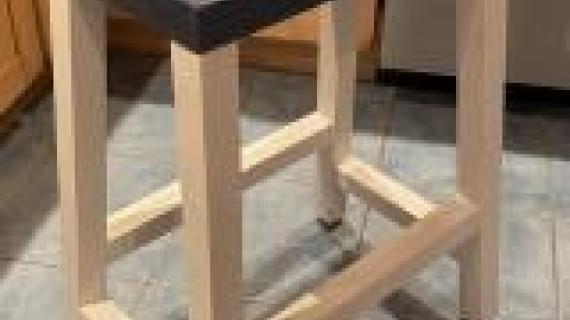
4. Moveability - Stools are always being moved, moved to sit in, moved back out of the way - especially in this tiny cabin where being able to tuck the stools away frees up so much space.  I purposely designed these stools with no supports directly under the seat, so your hands can easily grasp the seat and move it.  We also add glides under the legs to protect the floor and help the stools slide better.

How We Built The Stools

So the first four stools, my husband and I built together, and this is definitely the way to go.  Two people makes for quick work.

But the last two stools, I put together myself, and had to come up with some marking and clamping techniques to make it possible to build with just two hands.  You can watch me build this stool in our Farmhouse Counter Stools Video

Dimensions
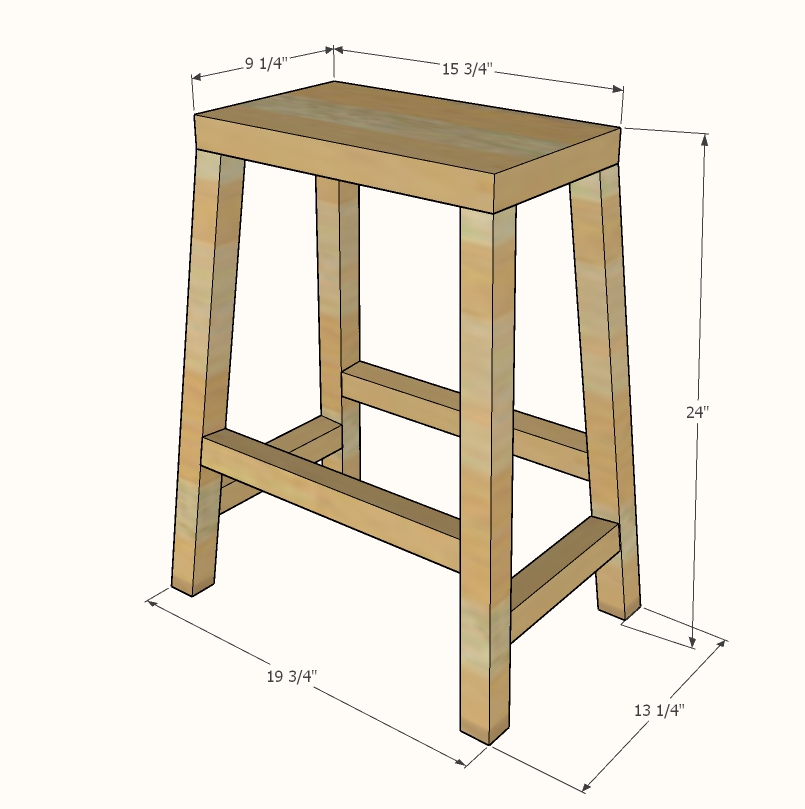
farmhouse counter height stool dimensions
Suitable for counter height dining

Preparation

Shopping List

Shopping List per Stool

  • 2x10 @ 16" long
  • 2 - 2x2 @ 8 feet long (I used 2x2 furring strips)
  • 12 - 3" long self tapping wood screws with star bit
  • wood glue

NOTE: There will be about half a 2x2 leftover, so if you are making multiple stools you may be able to purchase less 2x2s

Cut List

Cut List Per ONE Stool

  • 1 - 2x10 @ 15-3/4"
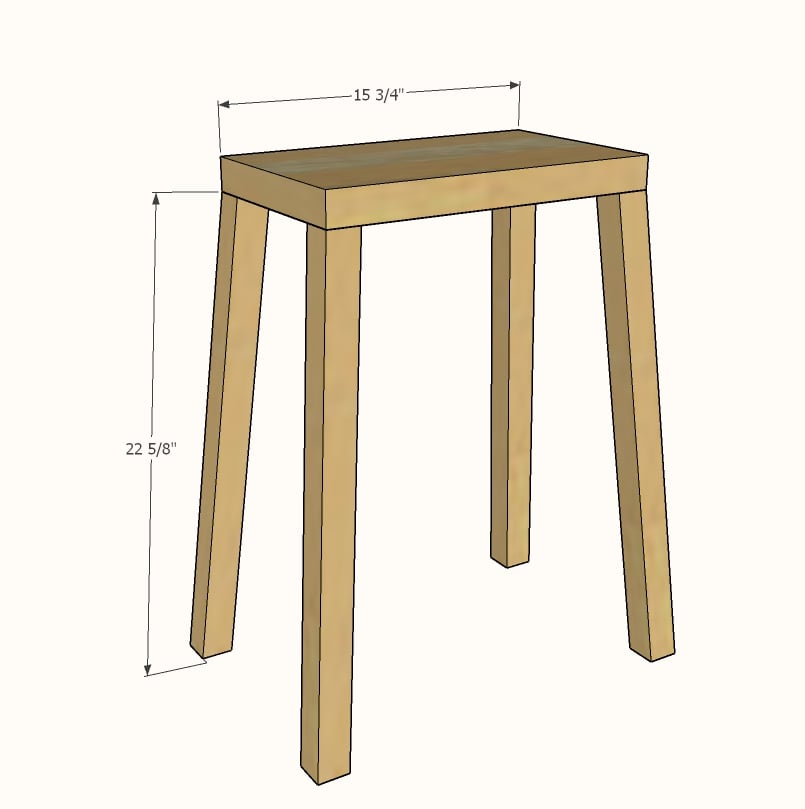
  • 4 - 2x2 @ 22-5/8" both ends cut at a double bevel - 5 degrees angle and 5 degrees bevel - ends ARE parallel, longest point to shortest point measurement
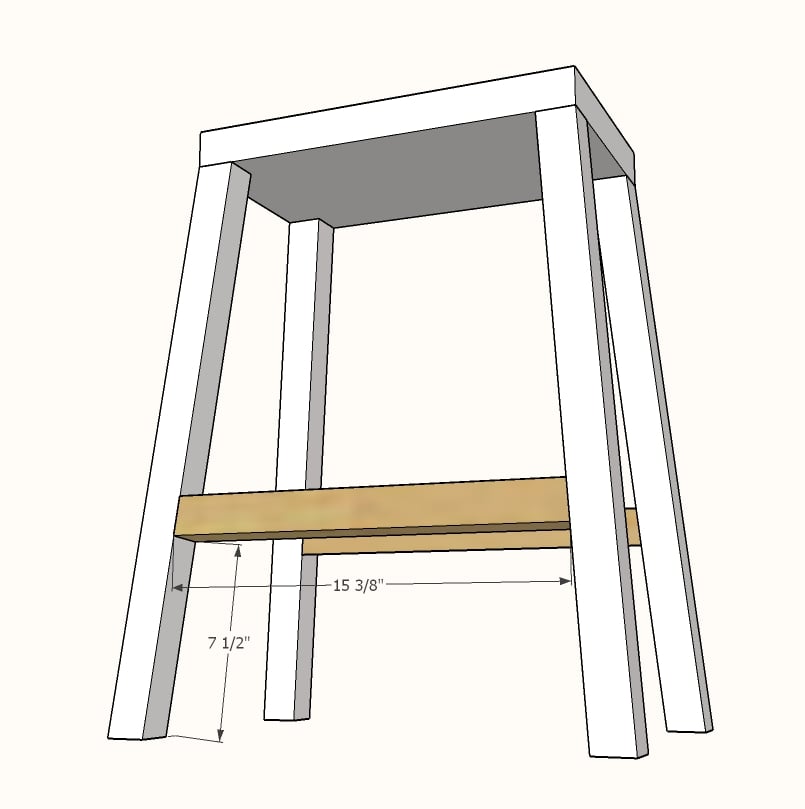
  • 2 - 2x2 @ 15-3/8" - both ends cut at a 5 degree angle (not a double bevel), ends NOT parallel, long point to long point measurement
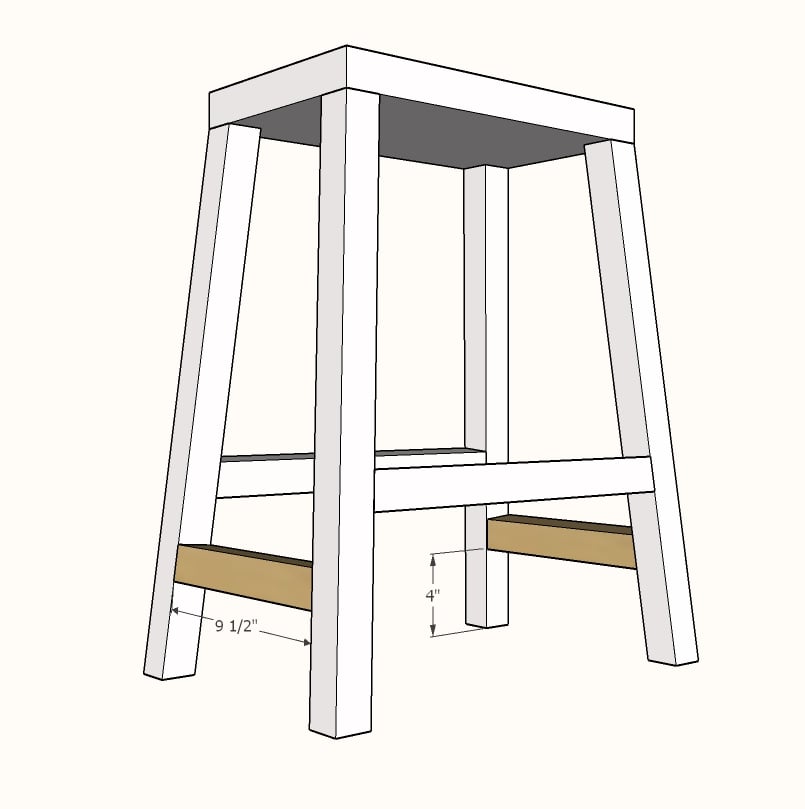
  • 2 - 2x2 @ 9-1/2" - both ends cut at a 5 degree angle (not a double bevel), ends NOT parallel, long point to long point measurement
Tools
Tape Measure
Pencil
Safety Glasses
Drill
Miter Saw
Power Sander

Instructions

Step 1

Mark the location of the legs on the underside of the stool, with the legs rotate so they are splayed out, and the short point of the leg top is on the inside corner.

Attach legs with glue and a screw from the top of the stool.

Step 2

On the inside of the leg, measure upward 7-1/2" and mark.

Attach the longer 2x2 support with one screw per end.

Step 3

Measure up 4" on the inside of the leg and attach the remaining support pieces.

Step 4

I recommend leveling feet to help adjust your stools for level if slightly out of square, and also protect your floors.  These ones are about 50 cents a piece.

Project Type
Room

Comments