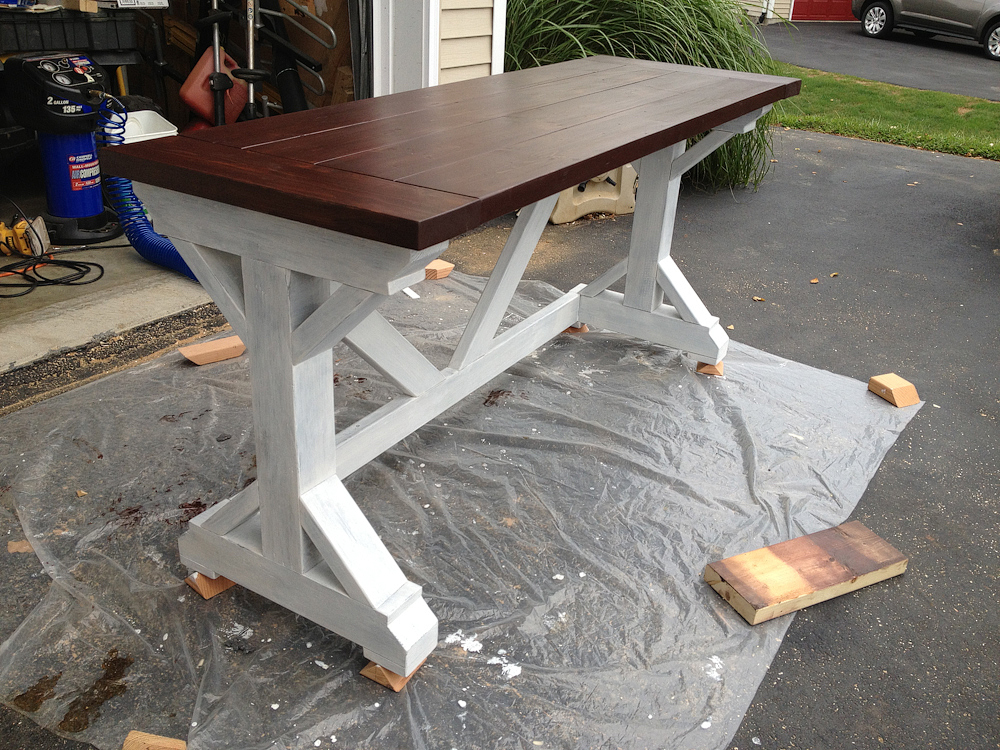
I love the fancy X desk plans but made some adjustments to suit my tastes better.
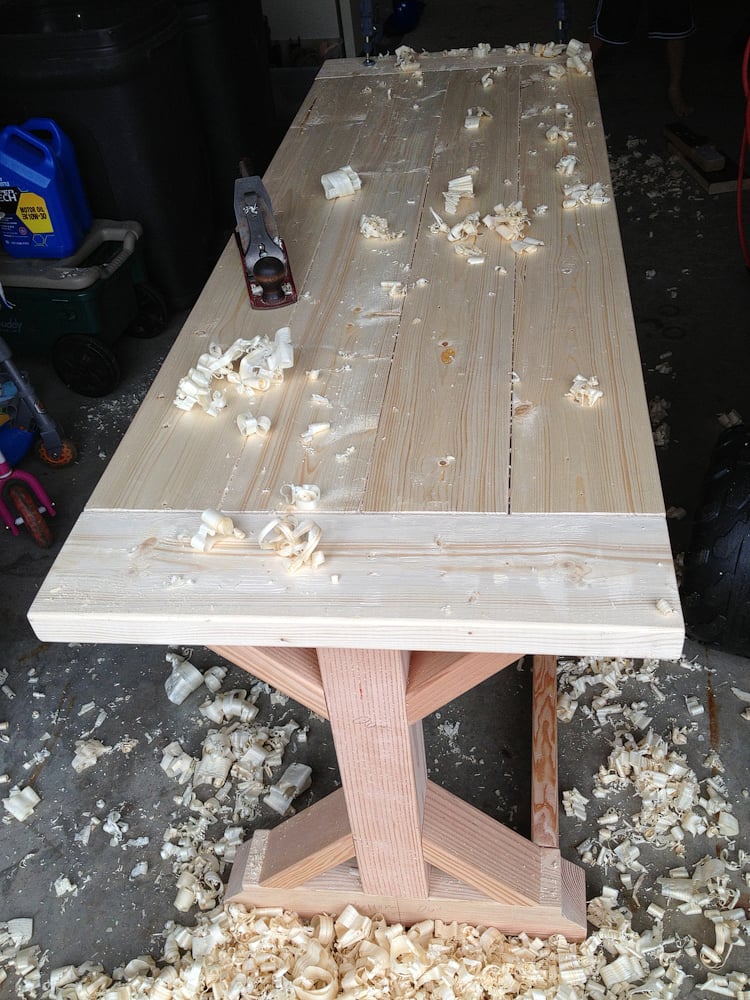
I used 4x4s instead of the 2x4's for the legs and 2x6's instead of 2x12's for the top. Once I have everything built, I hand planed the desktop to even out the 2x6's and make it feel less like standard hardware store lumber and more like an old handmade farm table. I love all the slight surface imperfections that the hand plane left behind.
As always, building it doesn't take long, but finishing it does. I only had about 6 hours invested in the build, but doing the many layers of stain, paint, shellac, and poly took several more days to complete.
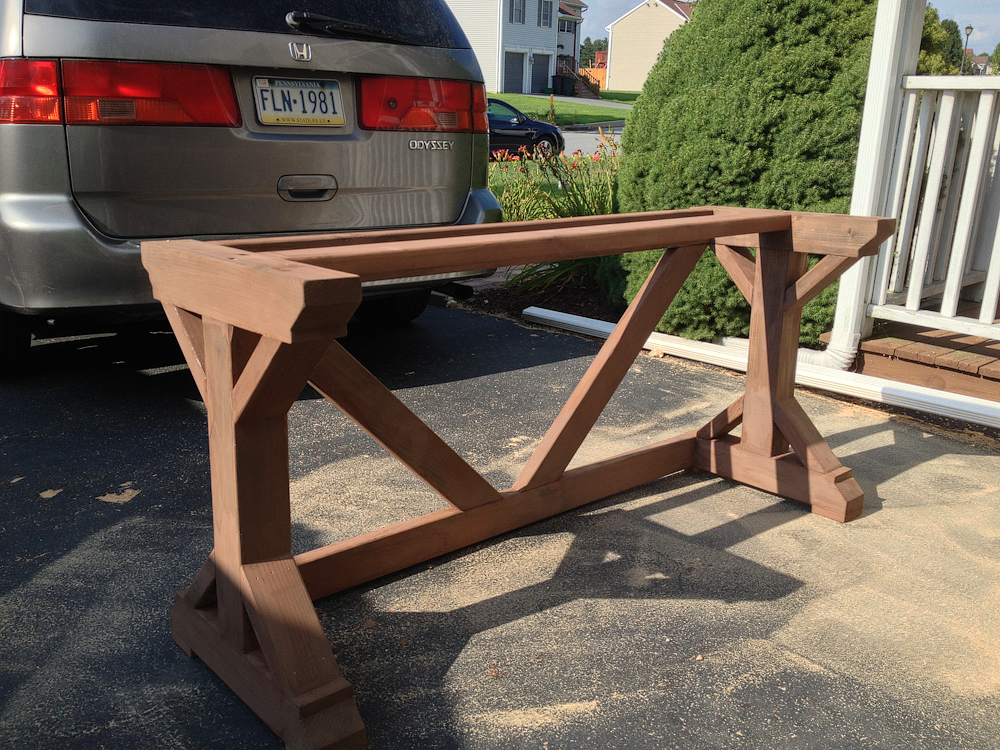
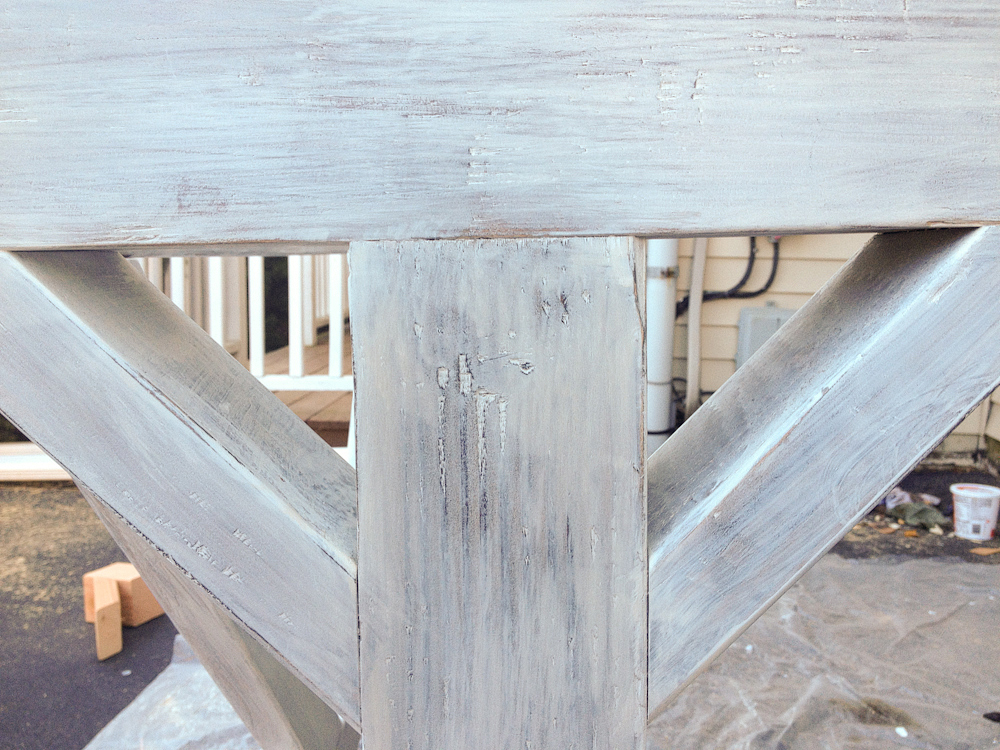
for the base of the desk, I started by staining it with a vinegar and steel wool concoction. After letting it dry I lightly sanded off the chalky surface, leaving the aged looking wood. I then used white primer and a rag to give it a white washed look. After the white washing was dry, I used fine steel wool rubbing the surface to reveal some of the faux aged wood below. CAUTION: If you plan on using water based stains, paints or sealers, you may want to avoid using steel wool to avoid rust spots.
For the desktop I alternated coats of Morish Teak and Rosewood from ZAR until I was happy with the color. I had some troublesome knots that kept leaking sap so I sealed them with de-waxed shellac. before sealing everything with polyurethane.
I'm really happy with my new desk. Thanks for the inspiration!
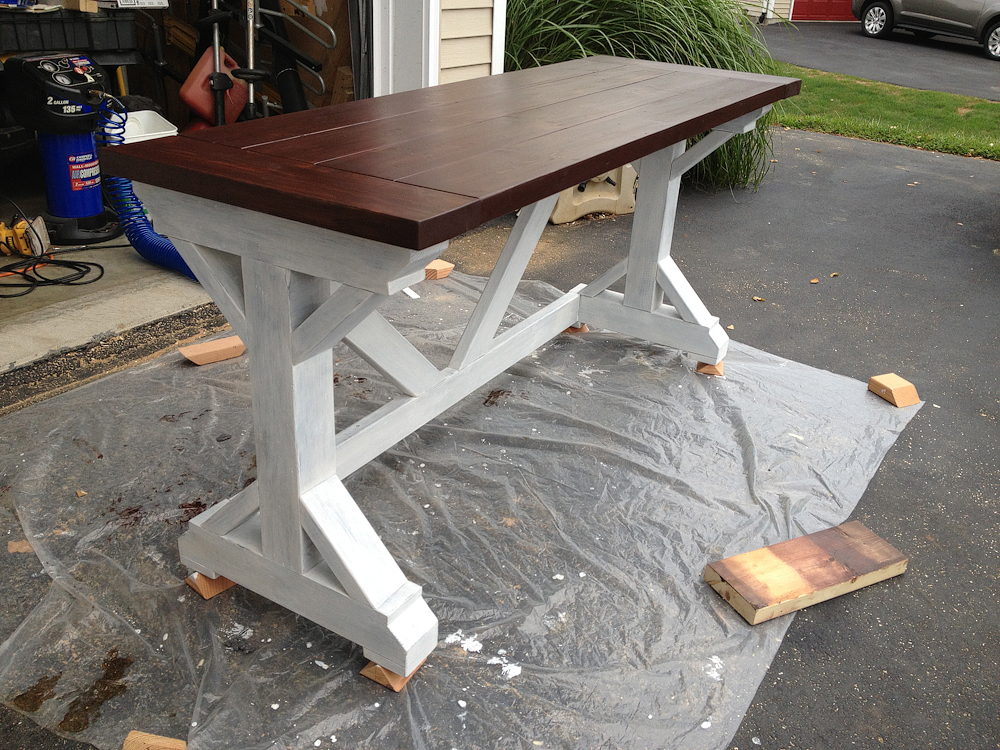
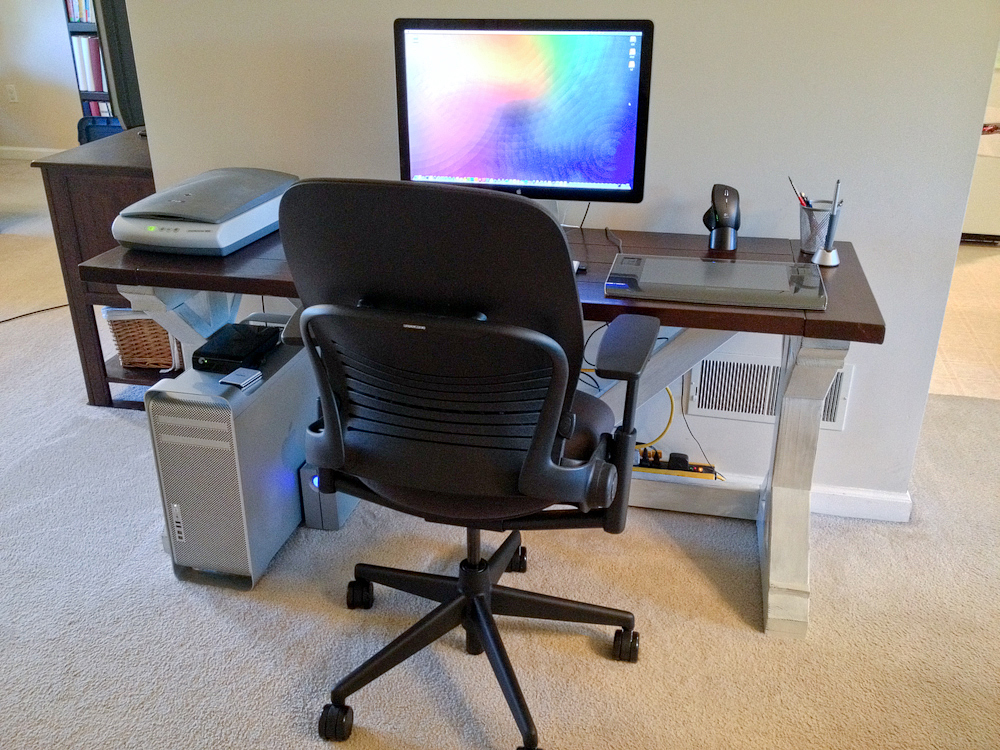
TOP = Morish Teak and Rosewood stains from ZAR, SealCoat Shellac from Zinsser, Satin finish polyurethane