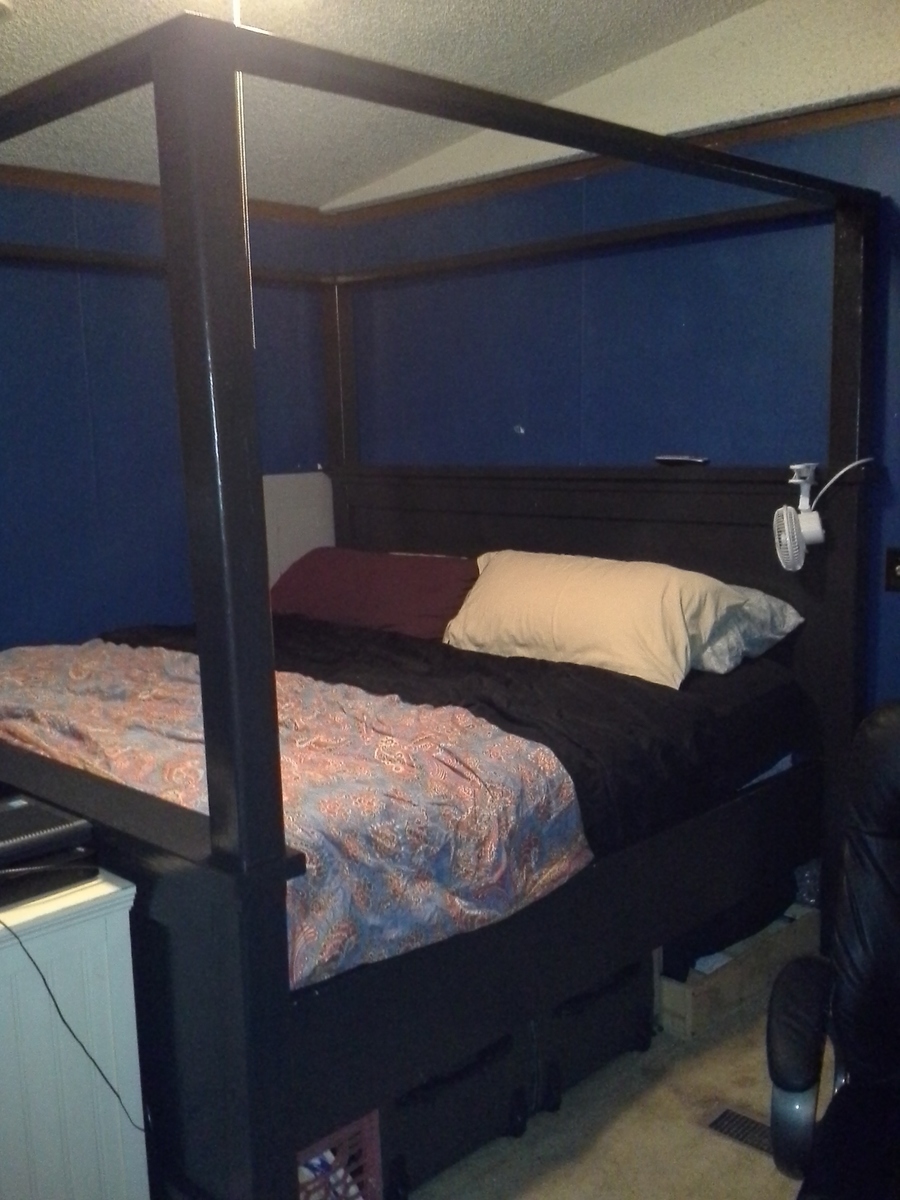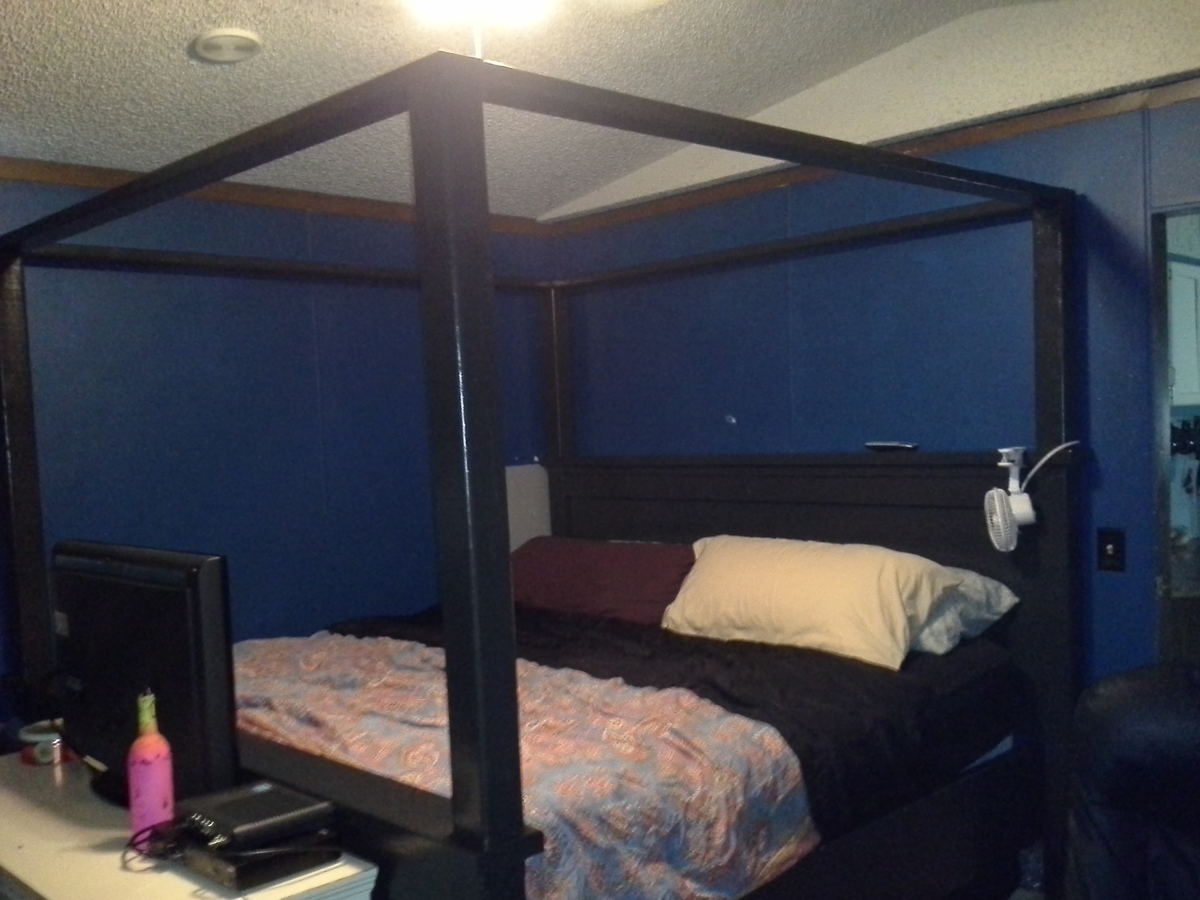
As our very first project we decided to go big or go home as the expression goes lol and it turned out great.
Let's start first with the list of mods that we did.
1. We wanted the bed to be higher. A lot higher. Gives more room for storage under the bed also. Plus we like high beds and it serves to keep 2 out of our 3 dogs off completely since they can't reach anymore \o/
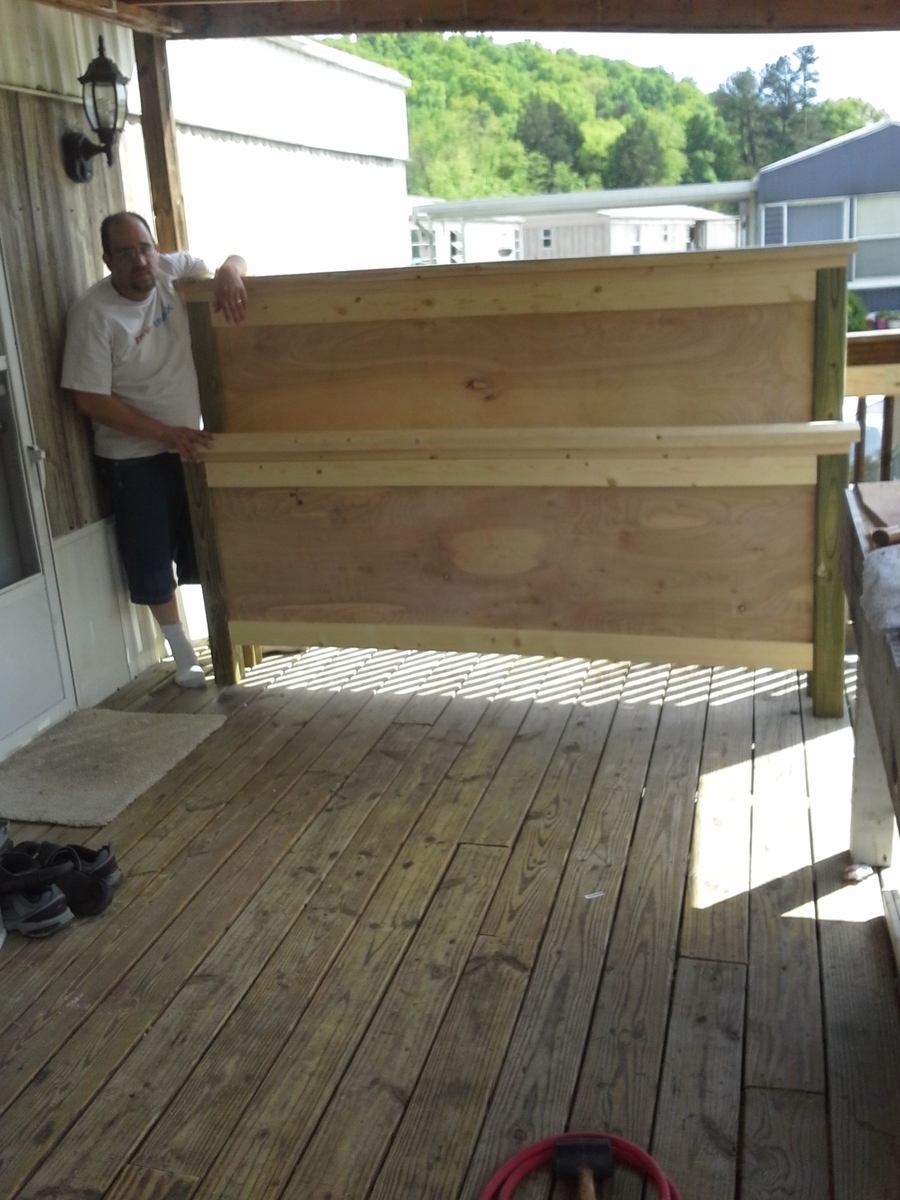
2. We raised the footboard up 12" in height. So everything on the footboard height we just added 12" to which was really simple to do.
3. We added side rails, and despite the fact I thought wife was crazy she wanted 2 x 12 used for this. 12" wide so that it would look a lot better plus cover the the box spring and help hold mattress into place. We couldn't find a reasonable sized board that wasn't pressure treated so ended up getting a 2x12 that was 16 feet long, and just had it cut down to 7' long pieces at the store.
4. We swapped out the paneled look on the headboard and footboard with sheets of hardwood plywood. If your not adjusting the footboard as much as we did you could get away with a single sheet but we went so much higher that we had to use 2 sheet and have a lot of leftover wood.
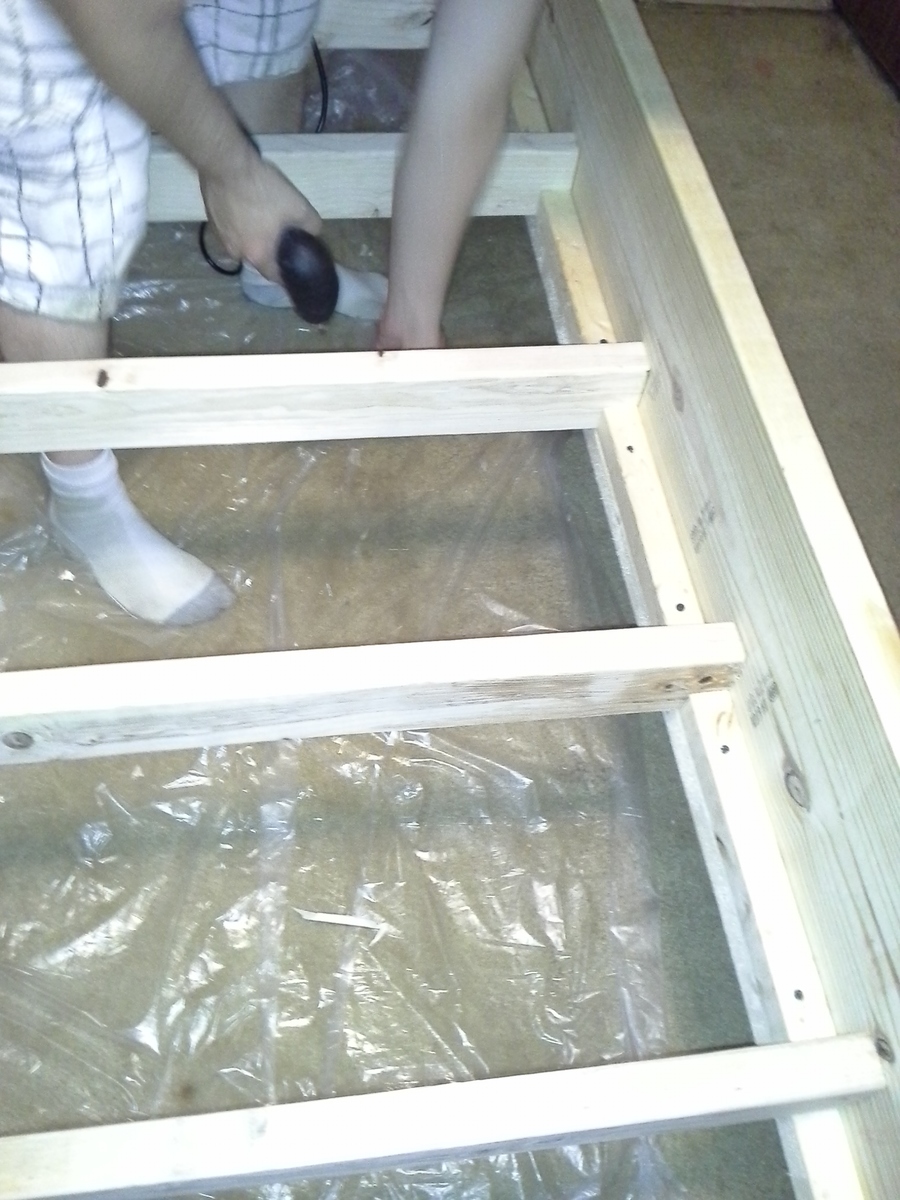
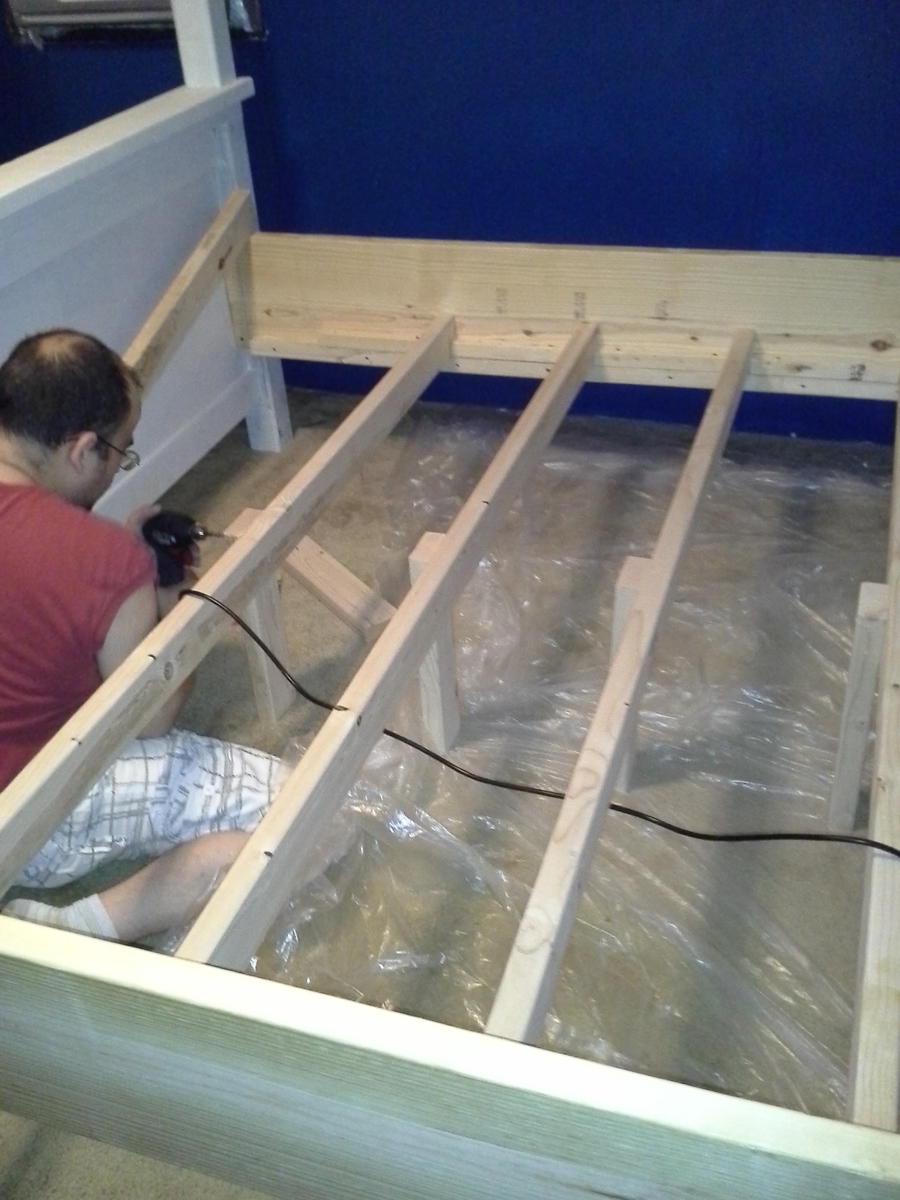
5. We did slats to support the mattress and boxspring and added small legs to them also. We just added furring strips ($1.82ish) to both side rails on the very bottom so they would be flush. Used wood glue and 3" screws to hold them onto the side rail using clamps and made sure they were thoroughly secured. From there, we just measured across and cut 2x4's to fit and slide them into place. We used the extra parts of the 2x4's to make legs that we put into the center of the boards also to help give a bit of extra support. Plus, to ensure stuff doesn't move around at all, we added an extra furring strip cut into pieces that we used to help hold the 2x4 supports into place. Only took 1 of those to do that and works out great.
Some tips:
Now, we had issues locating 4x4's at the local big box retail hardware stores. The only options there were pressure treated (ok for our usage) but if your wanting to stain the bed would need to use an actual lumber store which could get them, but the cost was approx $3 more each and had to wait for them to come in. We opted to use pressure treated since they were already available, we were planning to paint so the look difference wouldn't matter, plus we have 2 male dogs who are being difficult about marking so the pressure treated aspect helps protect against them. -.-
As for the side rails. We looked through tons of posts and saw very little about this. What we did was attach the side rails onto the insides of the 4x4's. For the footboard end there is just under 2" of space or so that you can connect to, and of course on the headboard side you have the entire area to work with. Worked out great. We initially attached them using 2 3" screws to get them into place and make sure everything was level and squared and after that was all done added in some beefy 4" bolts that we predrilled holes for a bit to make it easier to get them in.
While we were building the bed, we went ahead and did the canopy at the same time. So we just added on a few screws, 4 corner brackets, 4 hanger bolts and then the 4 2x4's. Was approximately an extra $25 or so to do and was really quick. We were planning to do the canopy to start with anyways so bought 4 of the 4x4's and ended up with very little scrap after it was all over and done with.
Total costs all said and done including the paint was just around $300 or so. However, again if your not wanting to completely change the height of your footboard could be cut by approx $50 (cost of extra sheet of hardwood plywood).
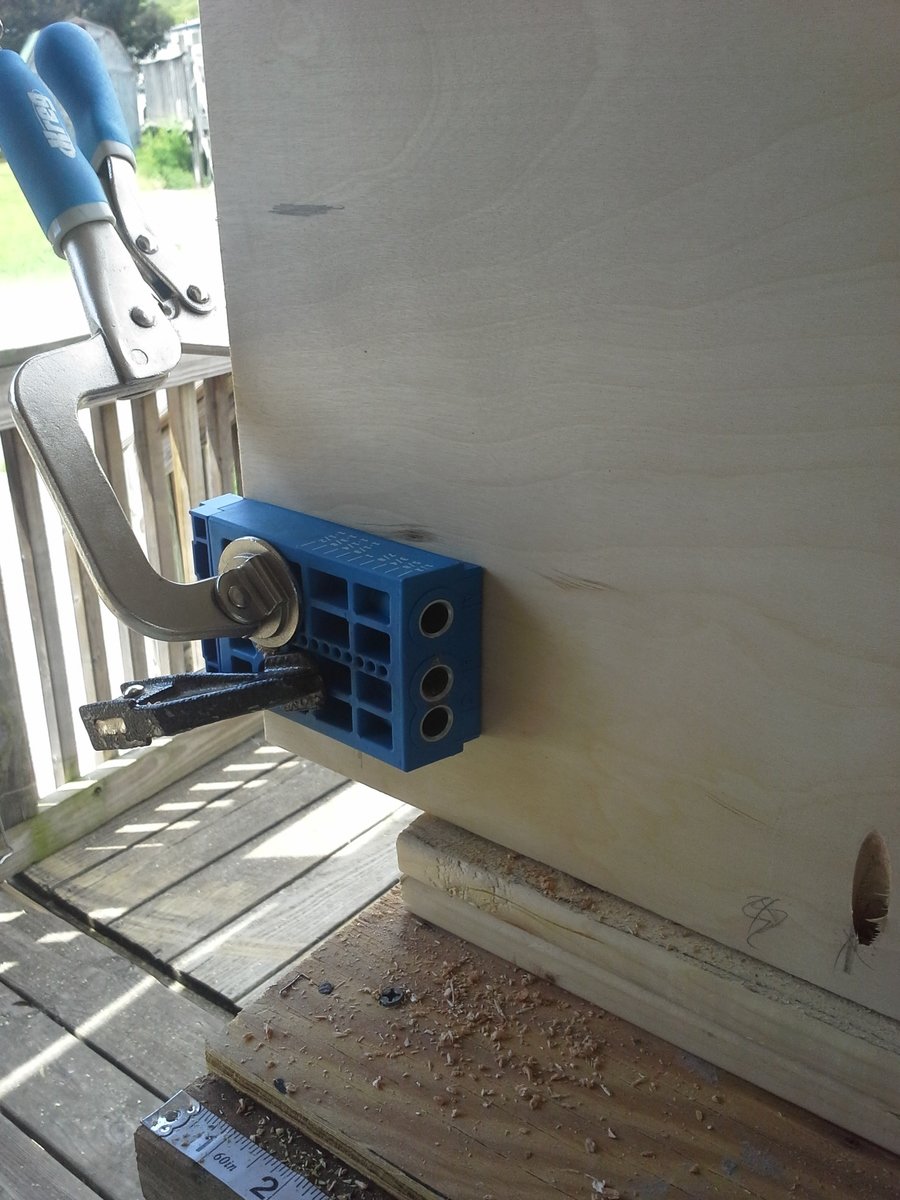
We added a pic to show how we did the pocket holes for the hardwood plywood on the sides. Since the directions themselves call for just the 1x8's to be used figured this might help some. The kreg mounted to the workbench helps loads for the top, but not so much for the sides since we were building on our covered deck and couldn't just turn it straight up on it's side.
Final piece of advice, we debated for a long time between the Harbor Freight pocket hole jig and the Kreg version. Ended up going with the Kreg Master Kit and got a great deal on it ($111 or so plus tax) so saved a bundle there which helped. HF sends out 20% off 1 item coupons all the time, we took that to Lowe's and used it for the Kreg jig set without any problems. So would definitely recommend this if your considering and trying to decide which to buy. Cost differences between them is huge, and if your scraping it can be a great way to get the costs a lot lower.
Also, seriously, seriously, seriously, get a nail gun and air compressor. Don't nail stuff in yourself. It saves a huge amount of time. We picked up an air compressor for $150 that works awesome and has great CFM and found some great air tools off CraigsList that cut the costs for a nailer down to just $10 and gives tools to use on plenty of other projects so was a really great investment for the time it saves. Definitely beats nailing by hand with a normal hammer.
Final advice, if your painting check the weather. We had problems with the primer drying to start with since we had primed the pieces outside and left them on the deck to dry and it started pouring something awful. So the pieces had to be brought inside to finish priming and fix the parts that were messed up by the rain coming in on them. Without this complication a single coat of primer might have worked but not sure. Overall still looks great though and quite happy with the results.
As for the paint, took less than 1/2 a gallon to do all 3 coats and still have enough left over to repaint the rest of the bedroom furniture to match. Hopefully this gives enough information to help anyone looking to change things up. We were really nervous about it to start with since we were shifting so much from the original plans but it came out great and my wife loves it so I'm definitely a happy guy.
We brought all of the wood home by carefully packing it all into our lil 4 door Saturn. Yes it was a super tight fit, but it was possible. We didn't have access to a truck, and none of our local stores had a truck that was available to rent. So you shouldn't stress out if you can't get your hands on a truck it's still possible to get everything home you need to do this project. Just get as many of the huge pieces cut as possible at the store.
