

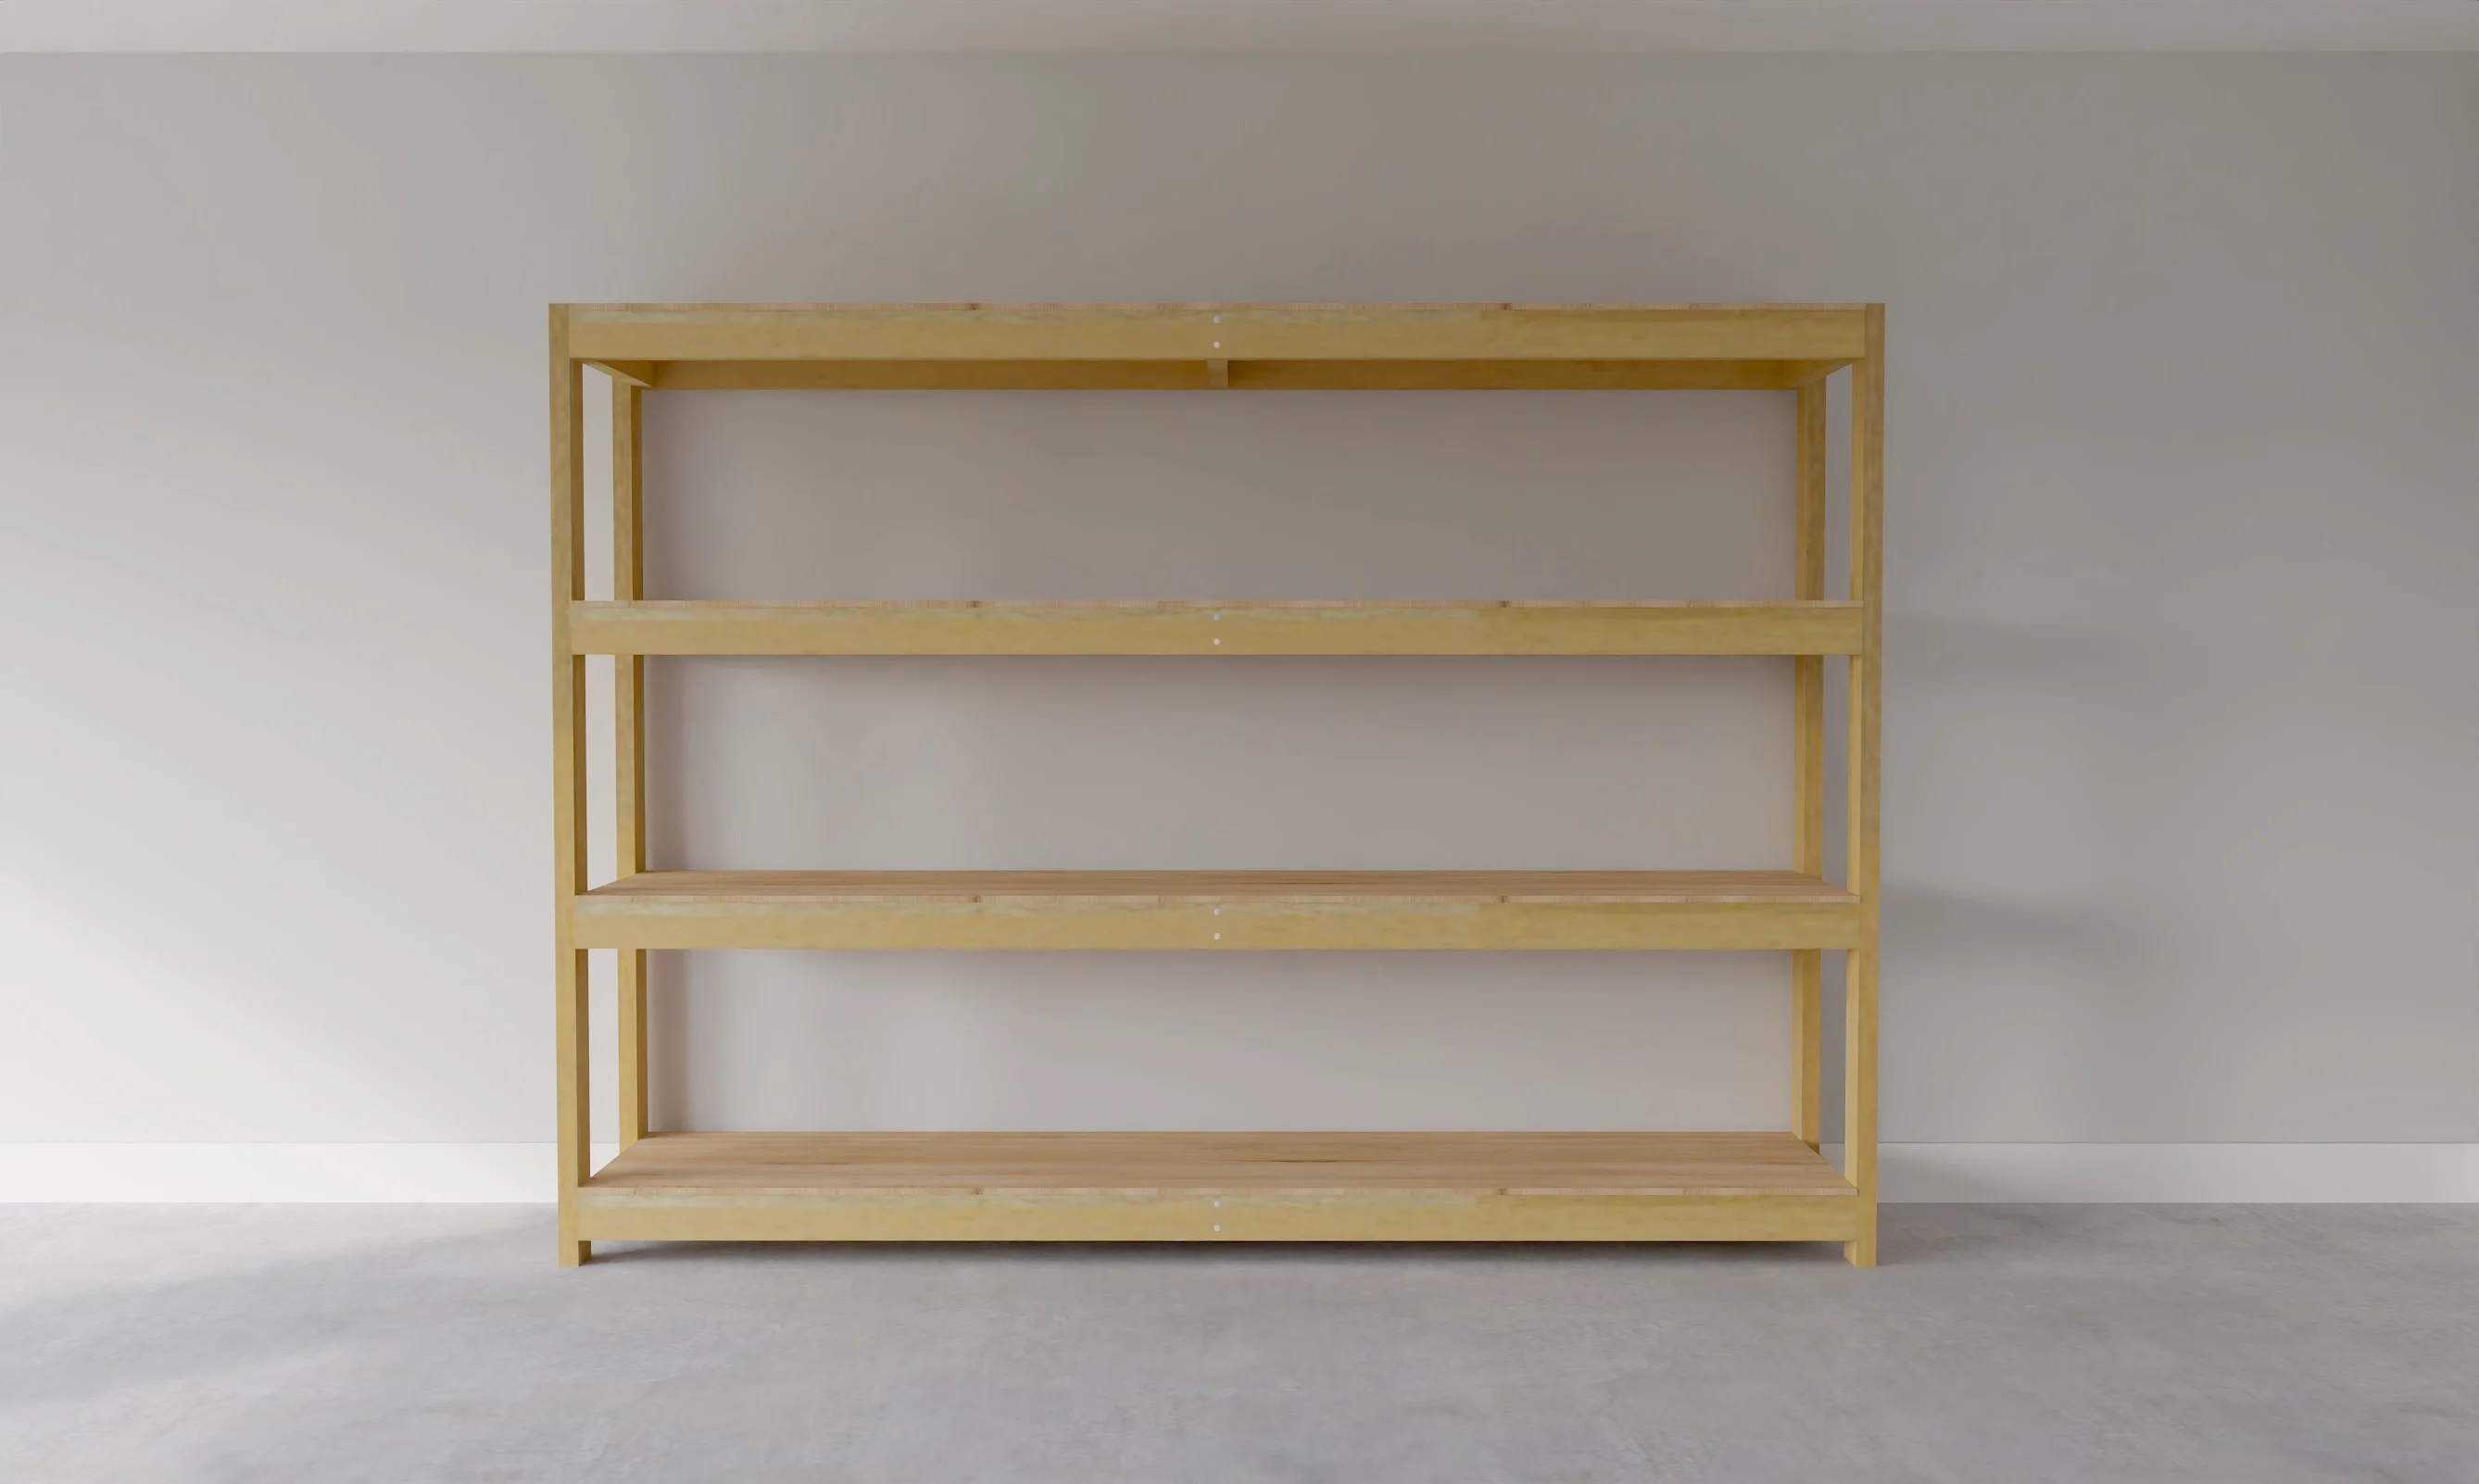
A free, print and go, complete solution to building a standard sized wood shelving unit.
Looking to maximize storage in your garage, basement, or workshop? This free 8-foot garage shelving plan is the perfect solution! Designed for easy construction with minimal waste, this shelving unit is strong, spacious, and budget-friendly. Whether you're organizing tools, bins, or bulky items, this shelving system provides heavy-duty supportwithout the need for custom designs.
Why Choose Wood Shelving Over Metal?
Wood shelving isn't just about looks—it’s about functionality, flexibility, and sustainability. Here’s why wood is the better choice:
✔ Easily Customizable – Want to add hooks, brackets, or accessories? Simply screw them in! Need to modify a shelf? A saw and drill make it easy.
✔ Environmentally Friendly – Wood is a renewable resource and much more sustainable than metal or plastic.
✔ Biodegradable & Upcyclable – Unlike metal shelving that sits in a landfill forever once it breaks, wood can be repurposed, upcycled, or even composted.
✔ Strong & Durable – With proper construction, wood shelving can hold just as much weight as expensive metal alternatives.
What’s Included in the Free Plan?
- Complete Shopping List – Know exactly what to buy.
- Cut List – Minimize waste and make precise cuts.
- Step-by-Step Instructions – Easy-to-follow diagrams for every step.
- 3D Diagrams – Visual guides to help with assembly.
Why Build This Garage Shelving?
✔ Affordable & Minimal Waste – The design is optimized to use materials efficiently.
✔ Strong & Sturdy Design – Holds heavy items with ease.
✔ Simple DIY Build – No complicated joinery, just straightforward assembly.
✔ Fits Most Spaces – A standard 8-foot width makes it ideal for garages, basements, and workshops.
Perfect for DIYers of All Levels
Even if you’re new to woodworking, this plan makes it easy to build custom-quality shelving at a fraction of the cost of store-bought options. No special tools required—just basic materials from your local hardware store!
Free Plans to Build Your Own Garage Shelving
Here is the free plans to tackle this garage shelving. Thank you for using our free plans.
Pin For Later!


Preparation
- 8 - 8 foot long 2x4s, do not cut
- 2 - 12 foot long 2x4s, cut in half exactly
- 3 - 8 foot or stud length 2x4s, use these boards to cut the 21" long pieces
- 2 - 1/2" sheets of plywood, cut in half lengthwise
- 100 - 3" self tapping star bit screws
- 40 - 1-3/4" self tapping star bit screws
- Extra support - 2-6 1x4 boards, 72" long and additional 1-3/4" screws
TIP: For lighter weight, easier to build shelving, use the light toned pine or spruce 2x4s. For heavier duty shelving with better moisture control, look for red toned 2x4 boards
- 4 - 2x4 @ 72" - legs (cut the 12' 2x4 boards in half to make these)
- 8 - 2x4 @ 96" - long supports (use the 8' 2x4 boards for these, check the ends for square and cut to length)
- 12 - 2x4 @ 21" - supports (cut from the three remaining 2x4s)
- 4 - 1/2" plywood @ 24" wide x 96" long (rip the plywood sheets in half with a circular saw)


The build steps to this plan are very similar to this workbench. Here is a video showing the workbench being built.
Instructions
Step 1

Find a flat, level surface to build the shelving. Mark the location of the joints, remembering the 2x4s are 3-1/2" wide.
Lay out the legs and the long supports.
Attach with 3" screws, so the frame pieces are all flush on the bottom.
Repeat to build two identical.
Step 2

Join the two frames together with the 21" pieces, using two screws per joint. Reinforce the corner joints with additional screws into the long supports.
Step 3

Place the 1/2" plywood on top of the shelving. Screw down, using the plywood to square up the shelving, with 1-3/4" screws.
Step 4

For heavier loads, add 1x4s as shown to support the center of the shelving.