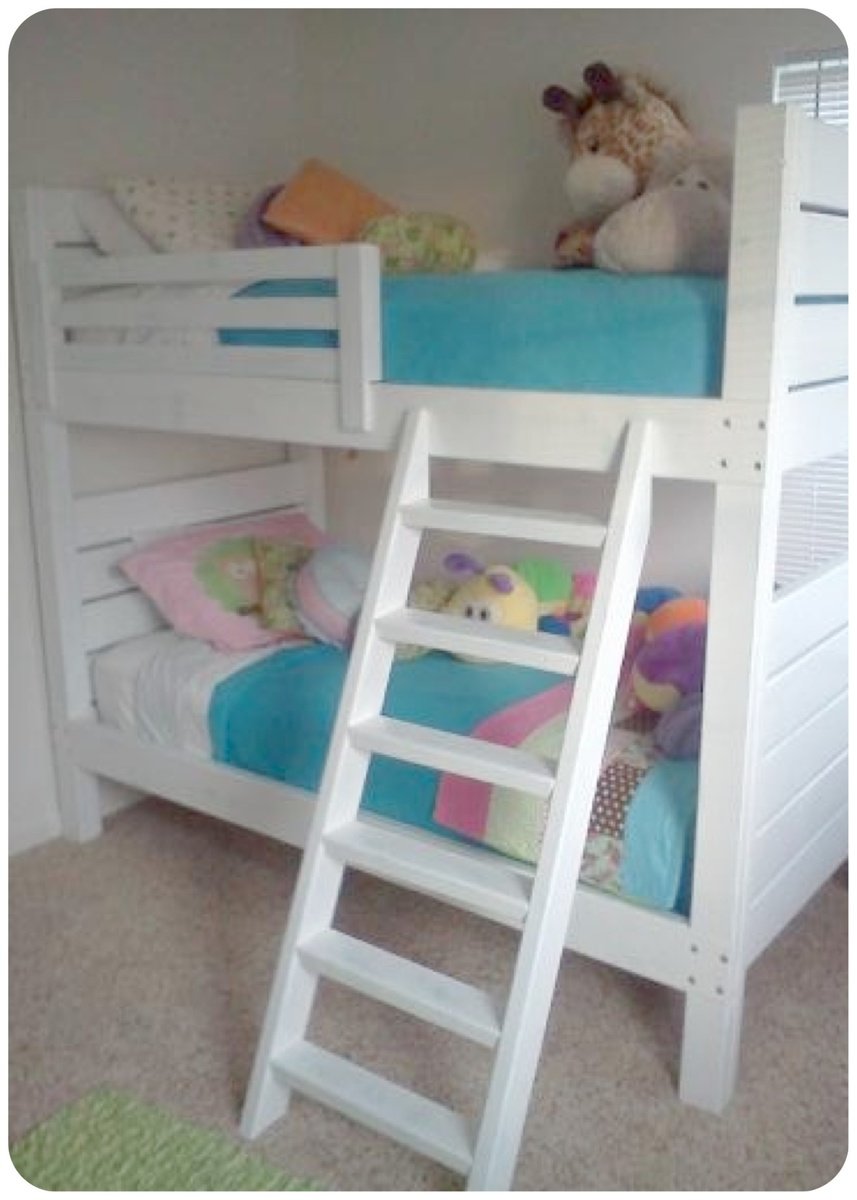
I followed the plans for the Side Street Bunk Beds and added the ladder and guard rail from the Simple Bunk Bed plans. I modified the angle on the ladder so that it wasn't as steep of an angle as called for in the plans. I'm not sure the length for the ladder stated in the plans was correct anyhow as mine came up too short, leading me to modify my angles and not completely scrap my boards. I don't recall the angles I used at the moment. This was a "side" project that I completed this Fall in between the normal duties of mom and being in 3rd trimester of pregnancy! Not a hard build, but a heavy one! I used 1/4" lag bolts for the rails so we could easily disassemble it.
Sanding proved to be a big task. I thought I had skimped a little on this task, but once we applied our paints, it all smoothed out just fine. We distressed it, so it has a slightly rugged look, yet a shiny, satin finish. I didn't focus too much attention in painting the slats and inside rails (one coat of white plus one clear top coat). We sanded down the rails that are exposed to the bottom bunk, and slacked on the ones closest to the floor.
The beds are gorgeous! The picture doesn't do it justice. Well worth the effort and savings as opposed to buying a $1500 bed. Plus, my girls got to see mommy create something practical! When they are old enough, they can help!
Comments
Lauren_Handy
Sun, 03/09/2014 - 10:40
Plans
This looks amazing, exactly what I need for my girls!! Can you email me these plans to lauren_226@rocketmail.com, Thanks!
Lauren_Handy
Sun, 03/09/2014 - 10:40
Plans
This looks amazing, exactly what I need for my girls!! Can you email me these plans to lauren_226@rocketmail.com, Thanks!
vpihoney
Tue, 03/11/2014 - 08:05
I used Ana White's plans
The links to Ana's plans are in the post. I changed the ladder dimensions a little, but I don't remember what I did.
vpihoney
Tue, 03/11/2014 - 08:05
I used Ana White's plans
The links to Ana's plans are in the post. I changed the ladder dimensions a little, but I don't remember what I did.