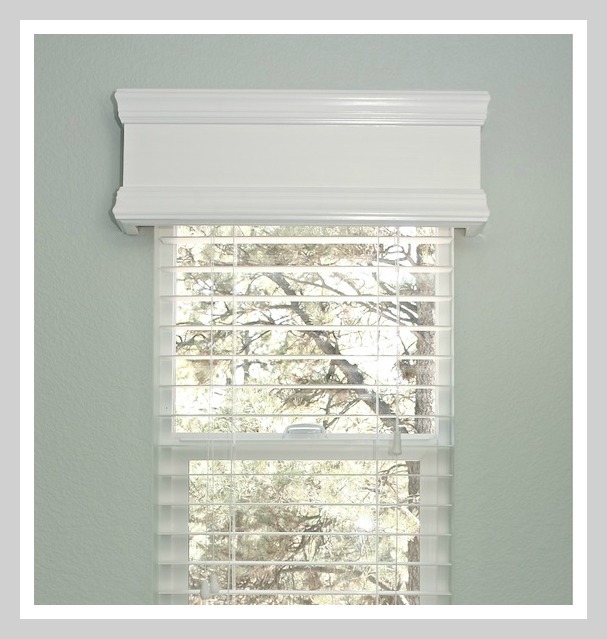
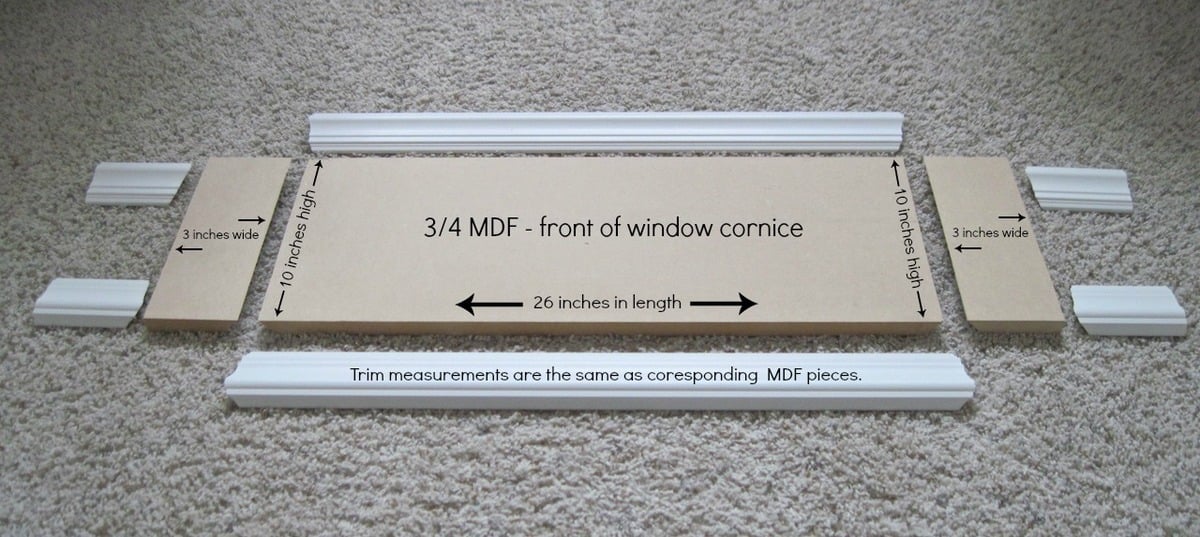
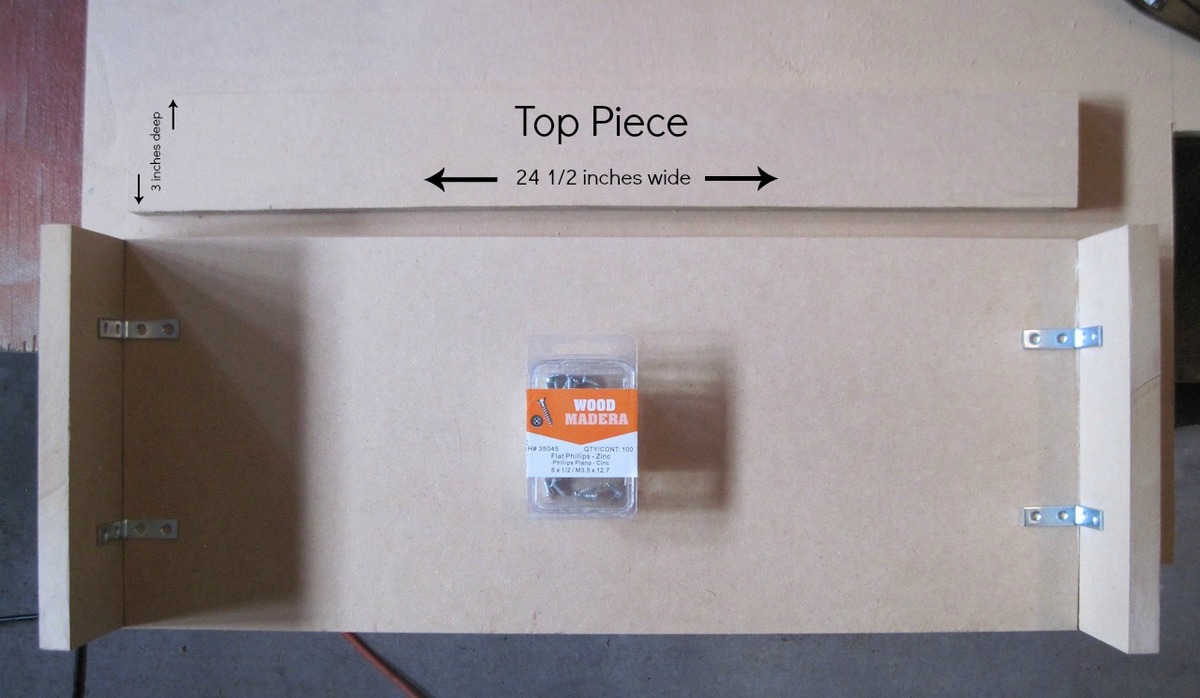
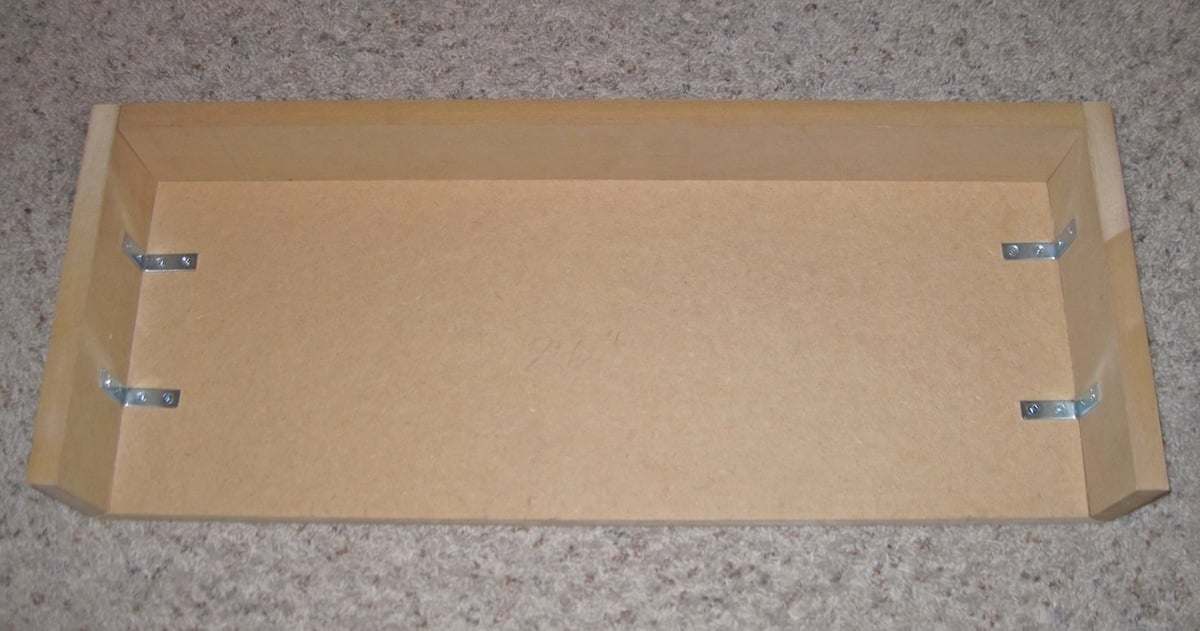
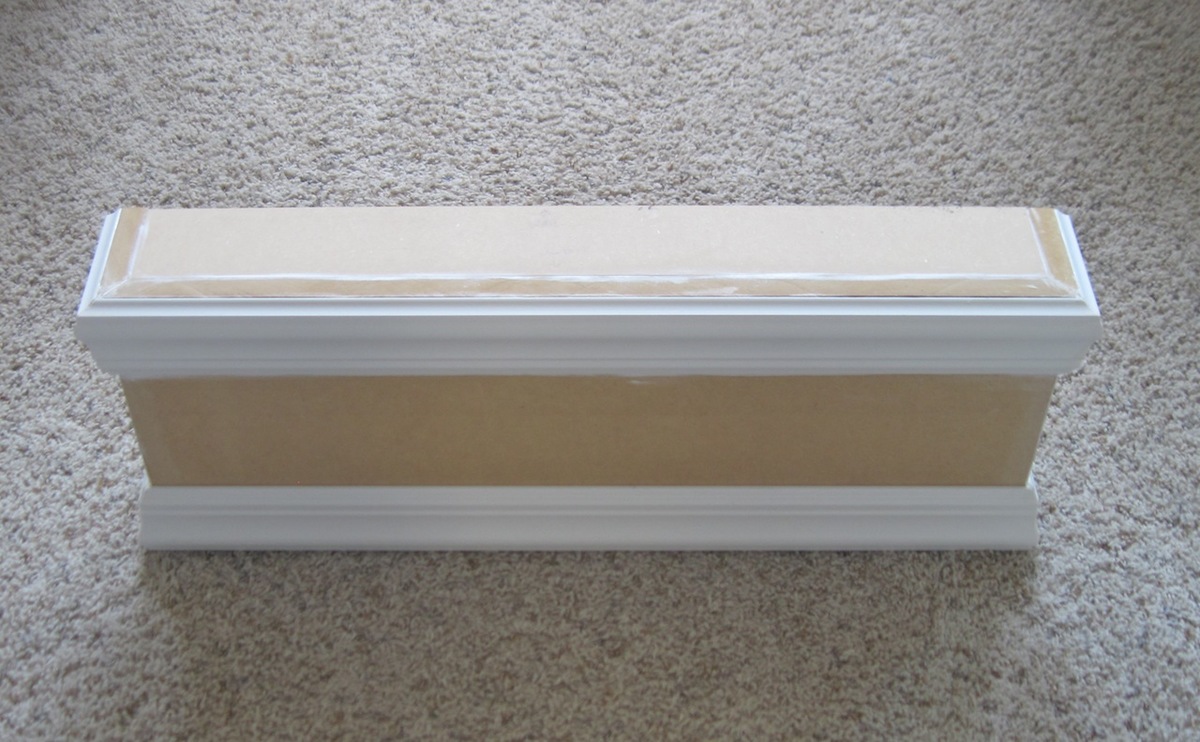
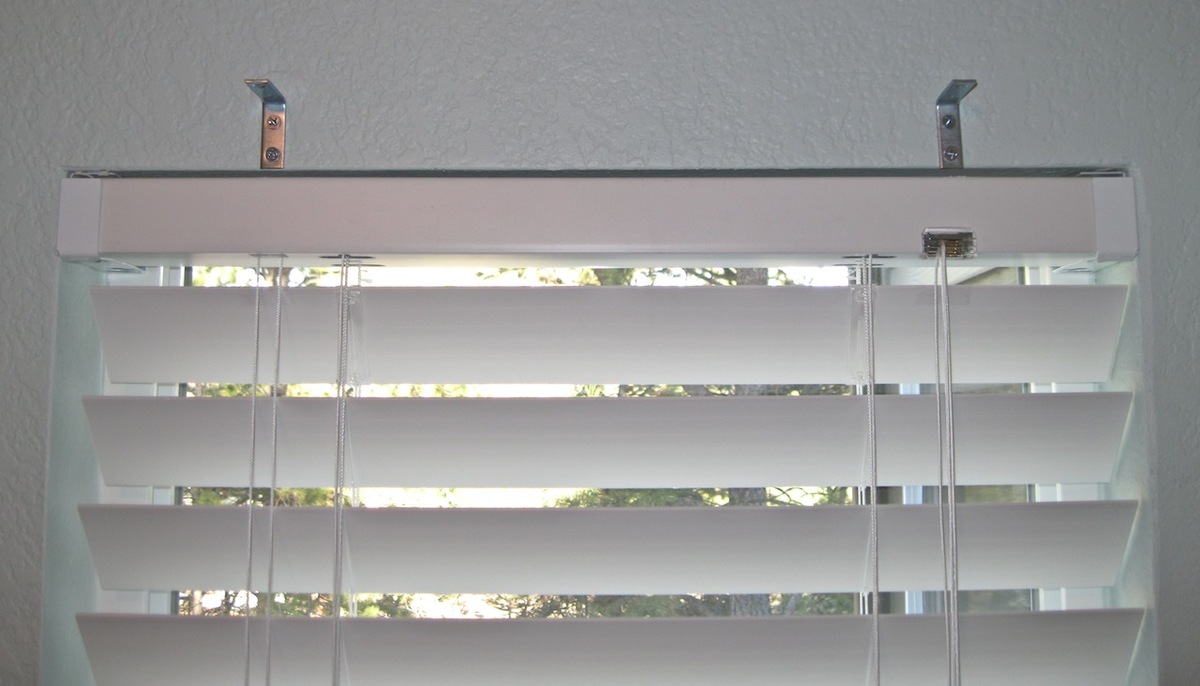
I have been wanting to build a window cornice for the laundry / mudroom and decided it was finally time. This project was very easy and inexpensive. Luckily, I was able to use some leftover MDF and only had to purchase and 8ft piece of trim. Everything things else I already had. 1. Using left over MDF the front and sides of cornice were measured, mitered and glued together using Loctite power grab (very strong glue). 2. Once glue dried, L brackets were placed on the corner insides for additional reinforcement. Probably not necessary since Loctite power grab is some super strong glue, but I did it anyway. ;) 3. Attached top piece of cornice using nail gun and #18, 1 3/4 inch nails. 4. Mitered trim pieces and glued on using Loctite power grab. 5. Paint cornice. 6. Attach L brackets onto top window frame. 7. Mount cornice onto L brackets. Once in place, I used #6, 1/2 inch wood screws to secure the cornice onto the L brackets. Again, this was an easy and a fun starter / beginner project. :) For more info, please check out my window cornice blog post. Thank you.
Comments
JoanneS
Thu, 04/04/2013 - 17:08
Awesome window cornice!
This is lovely! The trim looks perfect and it goes great with the blinds! Love it!
BeingHome
Sun, 08/25/2013 - 22:24
Thank you! :)
Thank you! :)