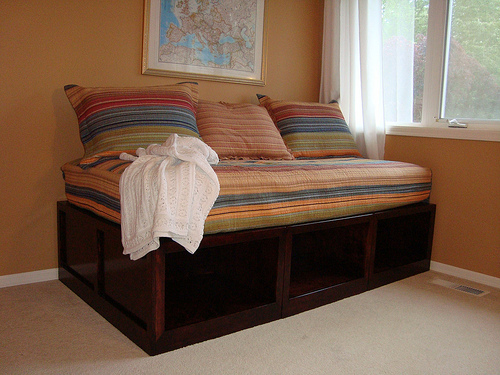
Reclaimed wood headboard -- queen sized
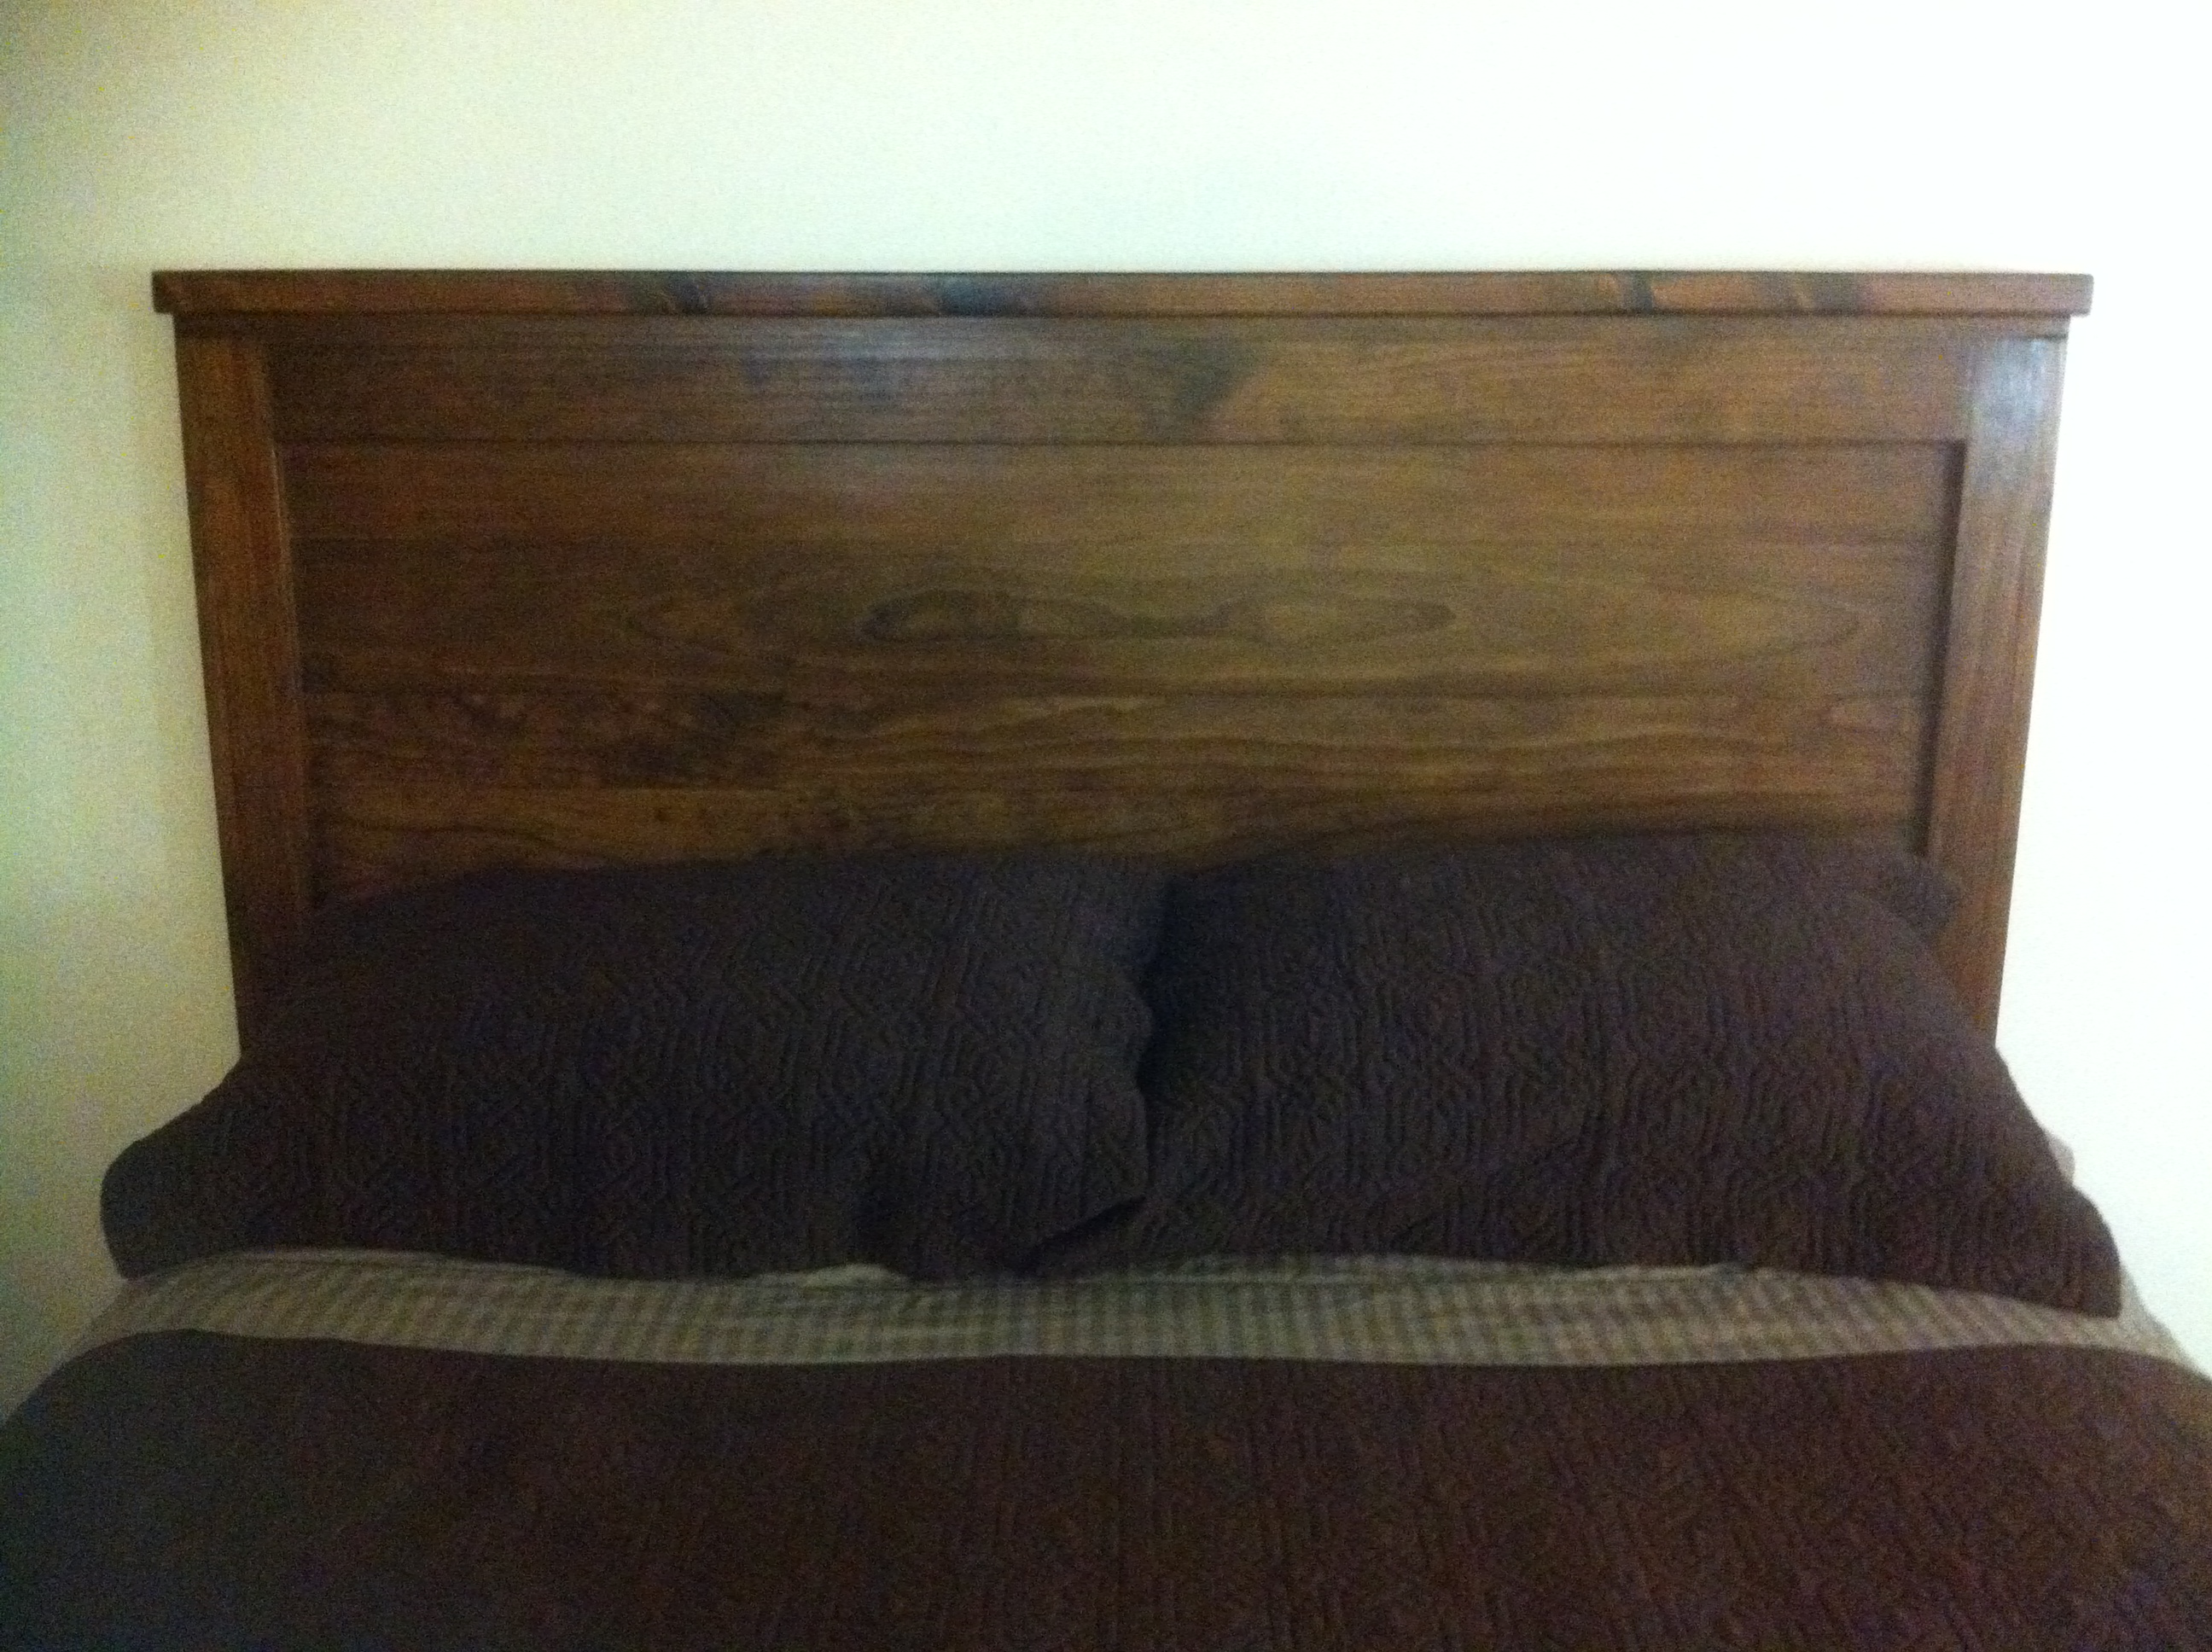
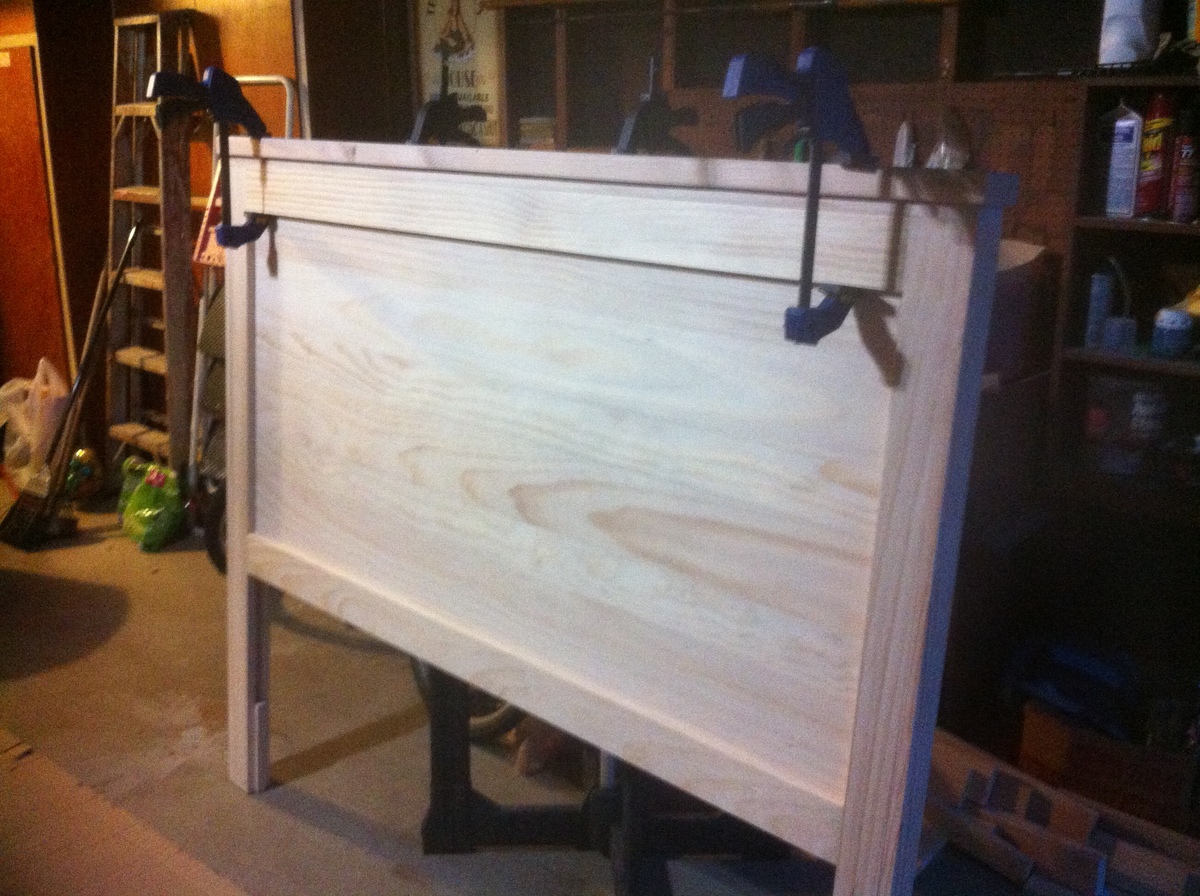
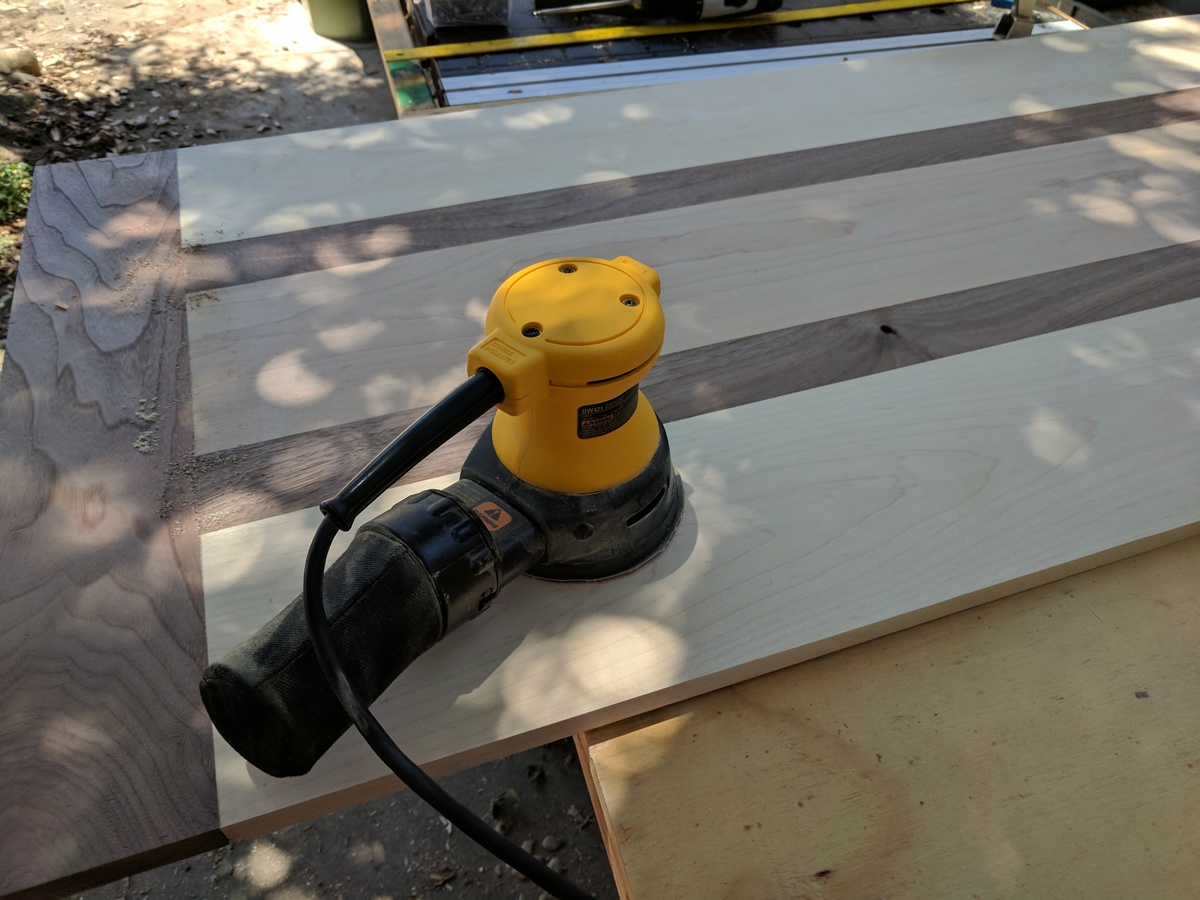
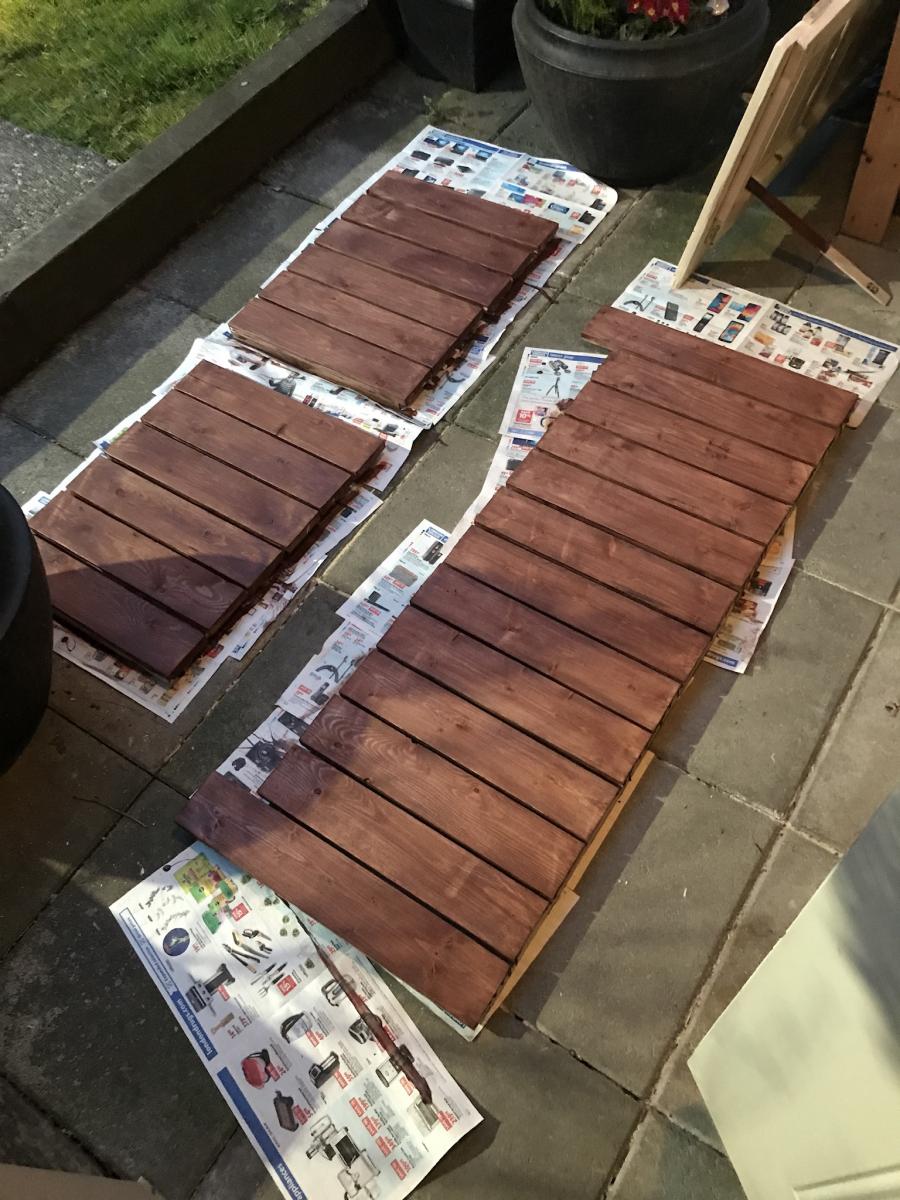
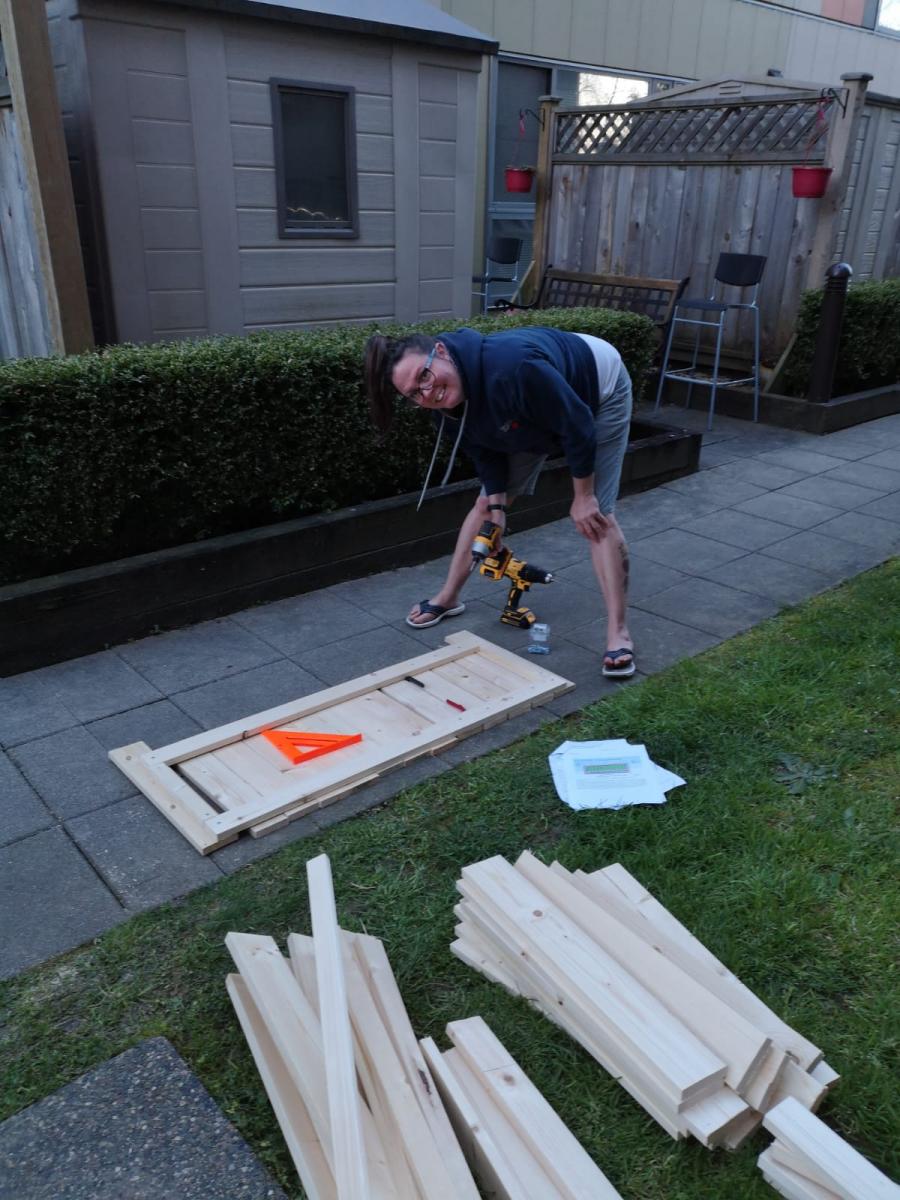
This is my first project, and it turned out really well! I bought the wood at Home Depot. It is pine (except for the crowning 2x4, that's douglas fir because Home Depo didn't have that size in pine) and I probably spent about $150 just on the wood, and then I also bought a palm sander, corded drill, circular saw, and Kreg Jig. I also bought pre-stain, stain, and polycrylic finish which added another $45. Plus I spent money on sand paper, clamps, Kreg Jig screws, and some nails.
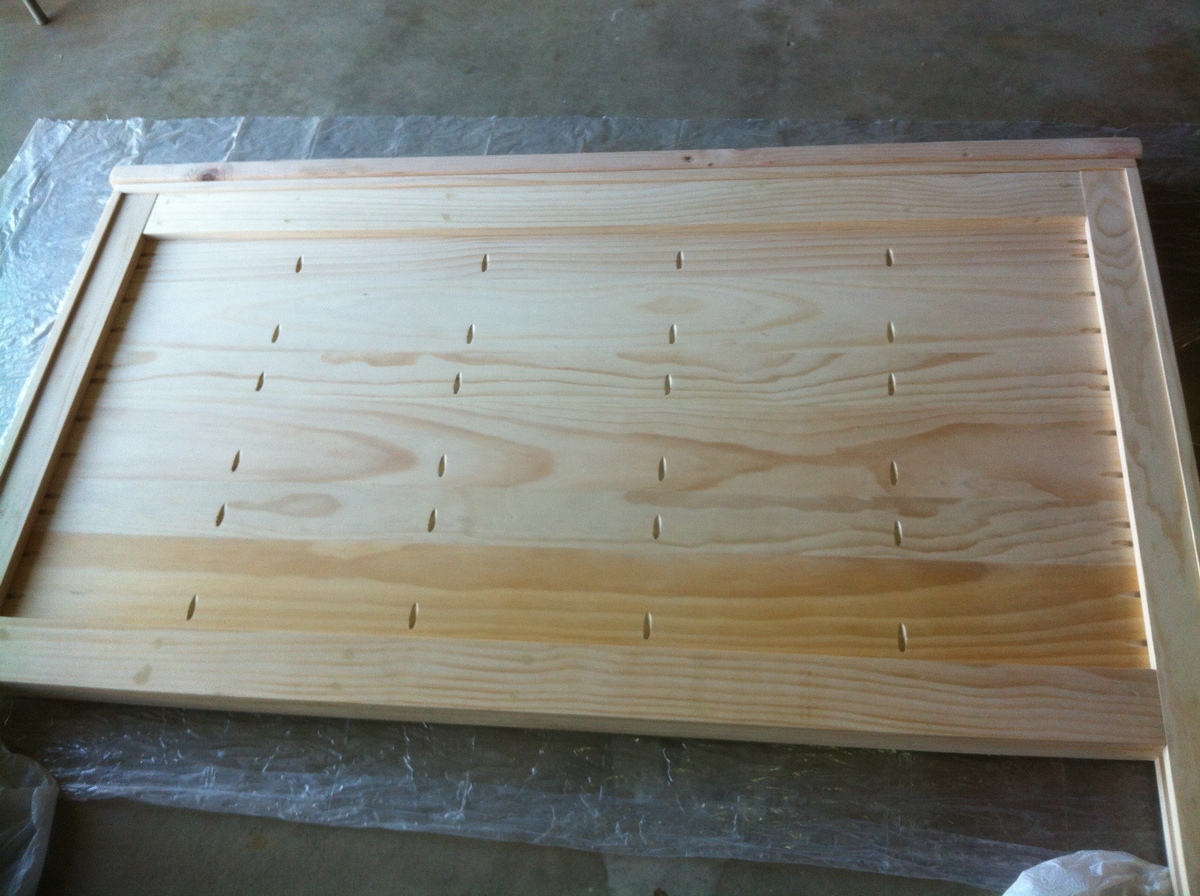
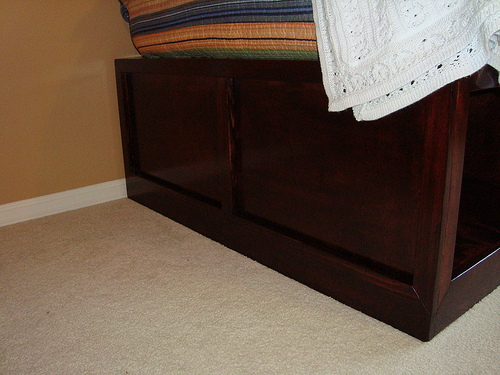
I included the picture of the back to show how I used the Kreg Jig. I used it to not only attach the middle part to the sides, but I made the middle part one connected piece so it would be extra sturdy, tight, and pieces would not bow when leaned against. The back isn't pretty, but it's against the wall so no one can see. The Kreg Jig is awesome and I'm glad I bought it so I can do other projects.
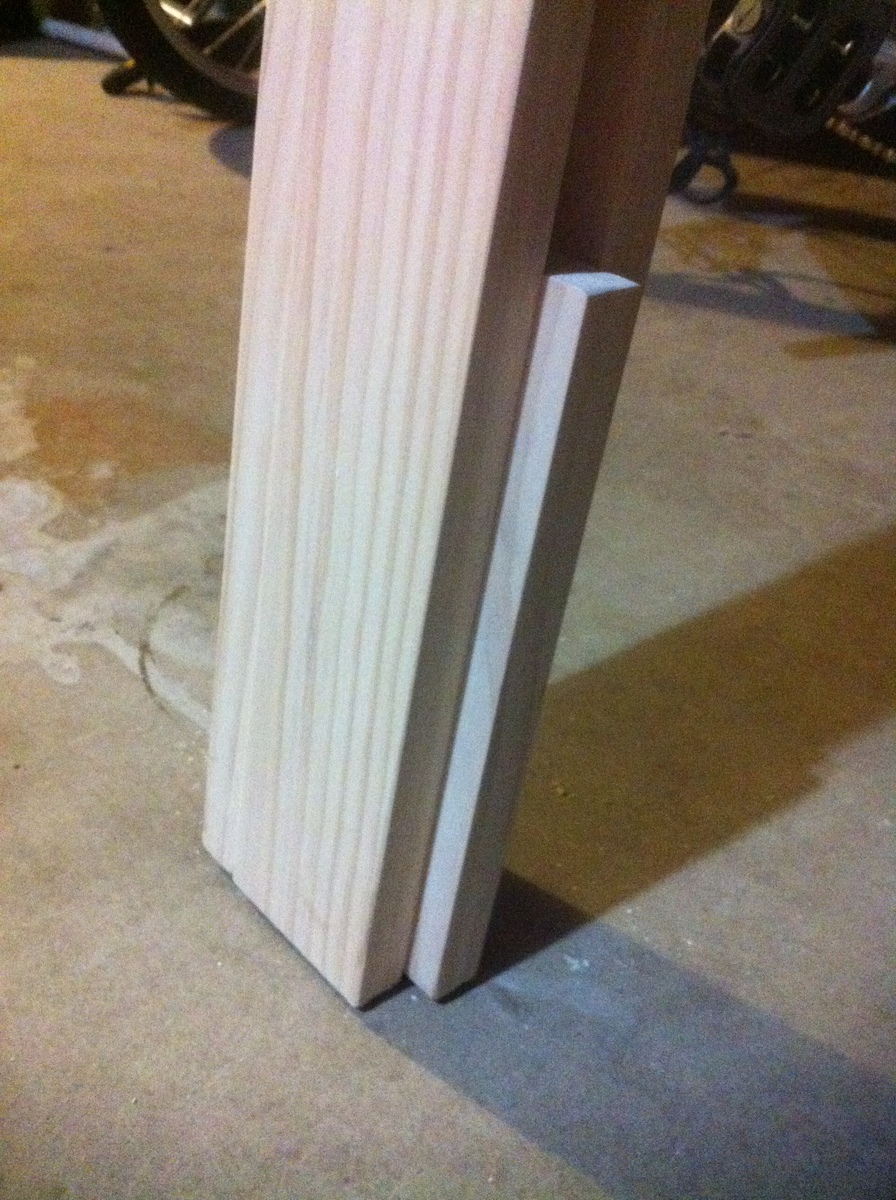
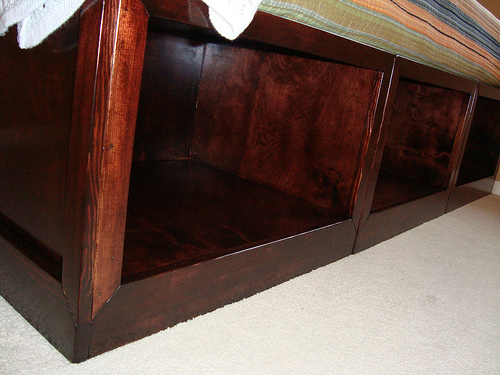
I also included a photo of the bottom of the side. I used a scrap piece of wood to make it more sturdy since that's where I drilled the holes to bolt it to the bed's metal frame.
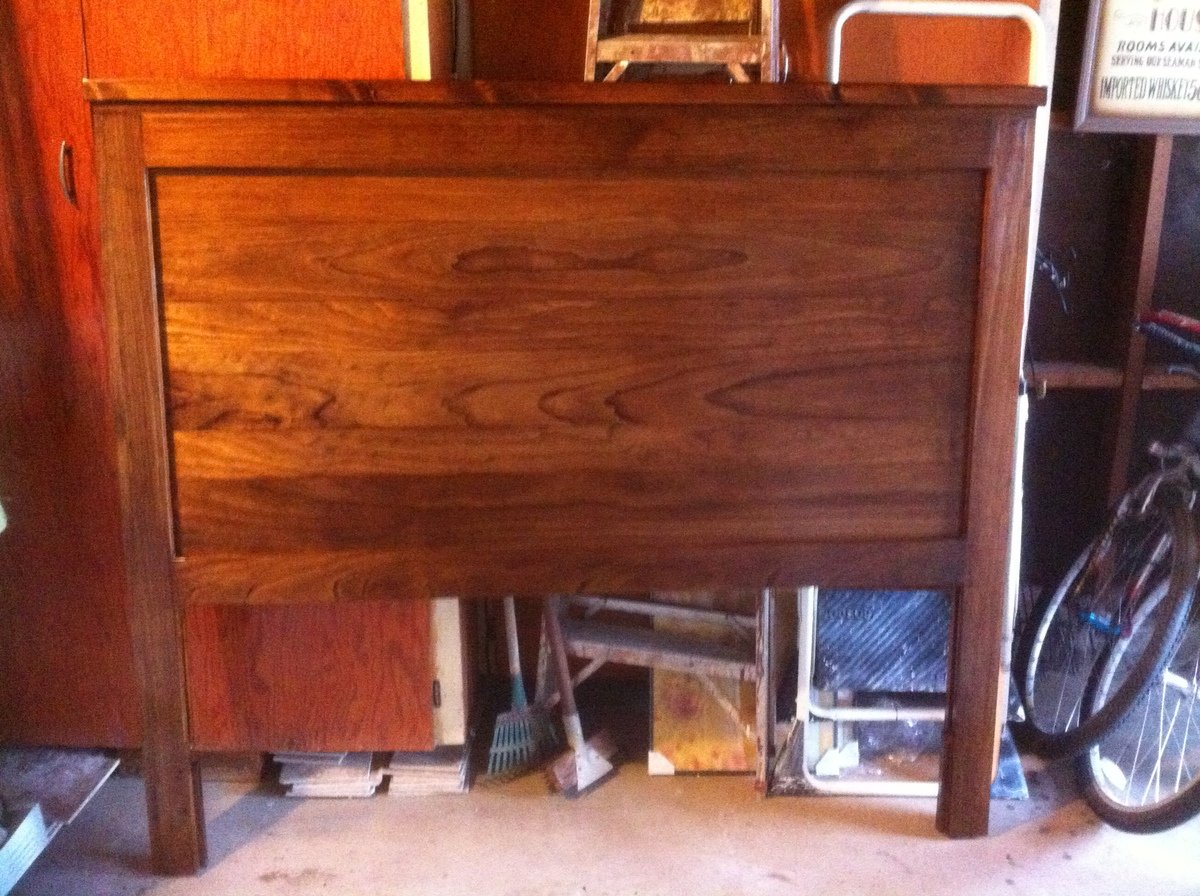
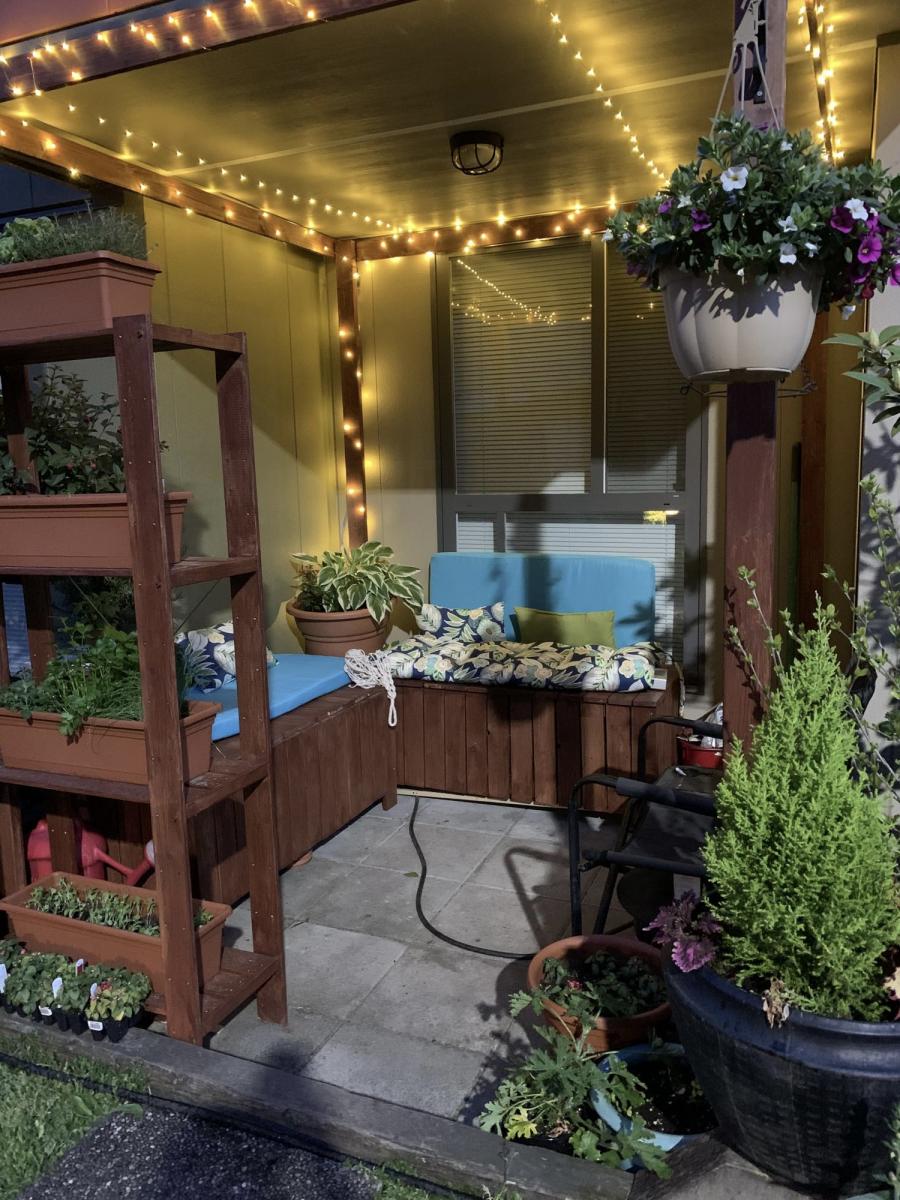
Between sanding, assembly, and finishing I worked on this over the course of about two months on the weekends. If you don't sand much and keep the finish more simple you could potentially get it done really fast. But since this is something we plan on using in our master bedroom for years to come I wanted to try to make it perfect. It still has a handful of mistakes (I learned a lot), but my joke is "it's a reclaimed wood headboard."
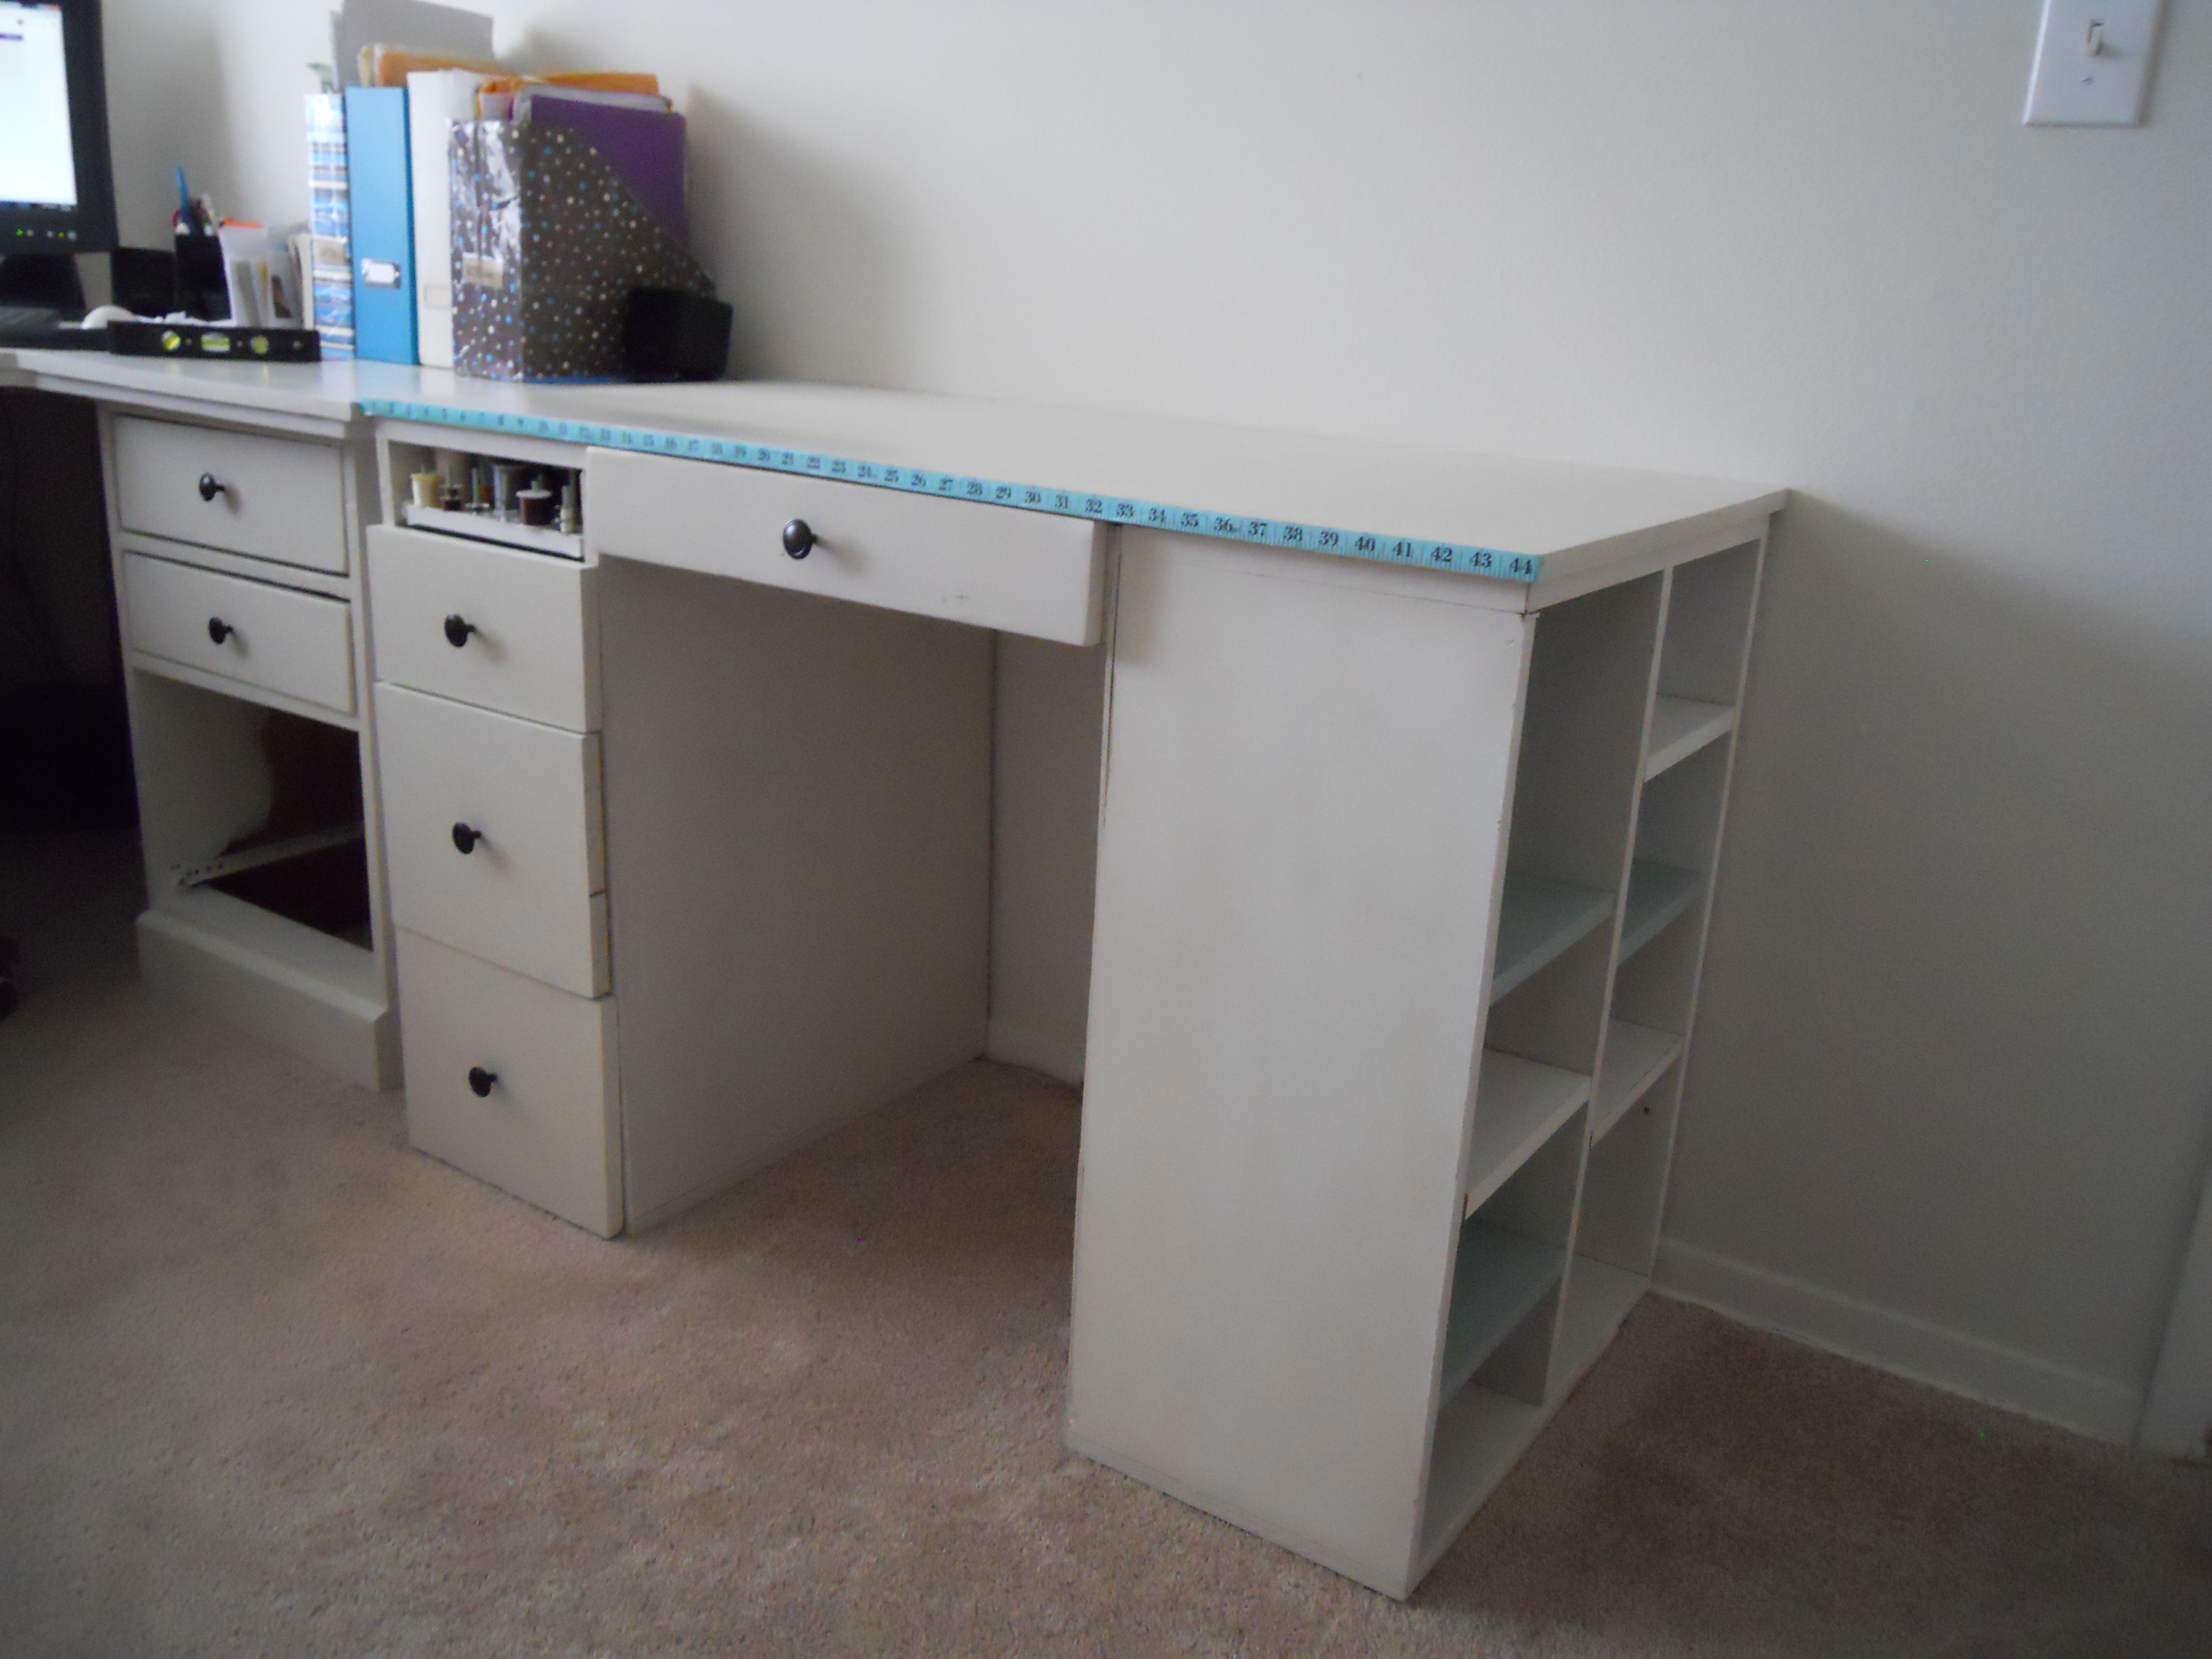
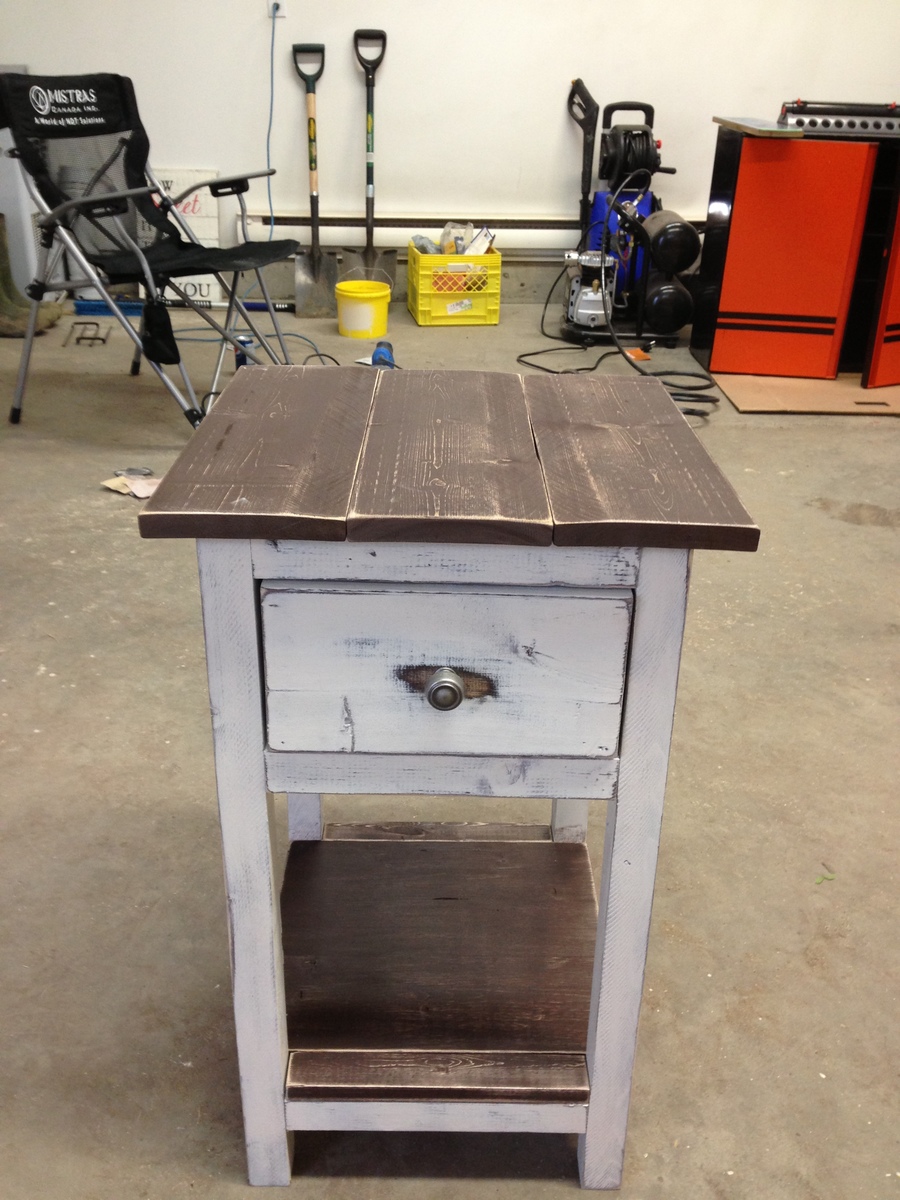
Now that I've got the tools I'm on to building matching side tables, and pending that goes well the plan is to build a dresser.