Simple Wood Chargers

The free plans on this website are made possible with advertising and affiliate links.  Thank you for helping us keep plans free.


wood charger
Difficulty
Starter Projects
| Print this plan
Beginner Projects
| Print this plan

DIY Holiday Charm! Add a rustic touch to your tablescape with these simple, FREE plans for a wood charger. Perfect for cozy gatherings, this easy DIY project brings warmth and style to your holiday table. Just cut your 1x12 board into desired size and round the corners with a jigsaw, how easy is that! Top it off with a custom touch for any occasion that each guest is sure to love.

diy wood charger
simple charger
wood charger

Why I Built this Project

We are hosting Thanksgiving this year, so I wanted to make our guests feel extra special with individual stamps letting them know they are loved and appreciated! These offered the perfect added touch. Not only were they super easy to build, but I love that you can customize the finish, size and message!


Why We Love these Simple Wood Chargers

  • Budget Friendly
  • Easy to Build
  • Great way to add a custom touch to any tablescape
  • Gift to friends and family or make some to sell
  • Built using basic tools and material


How I Built this Project

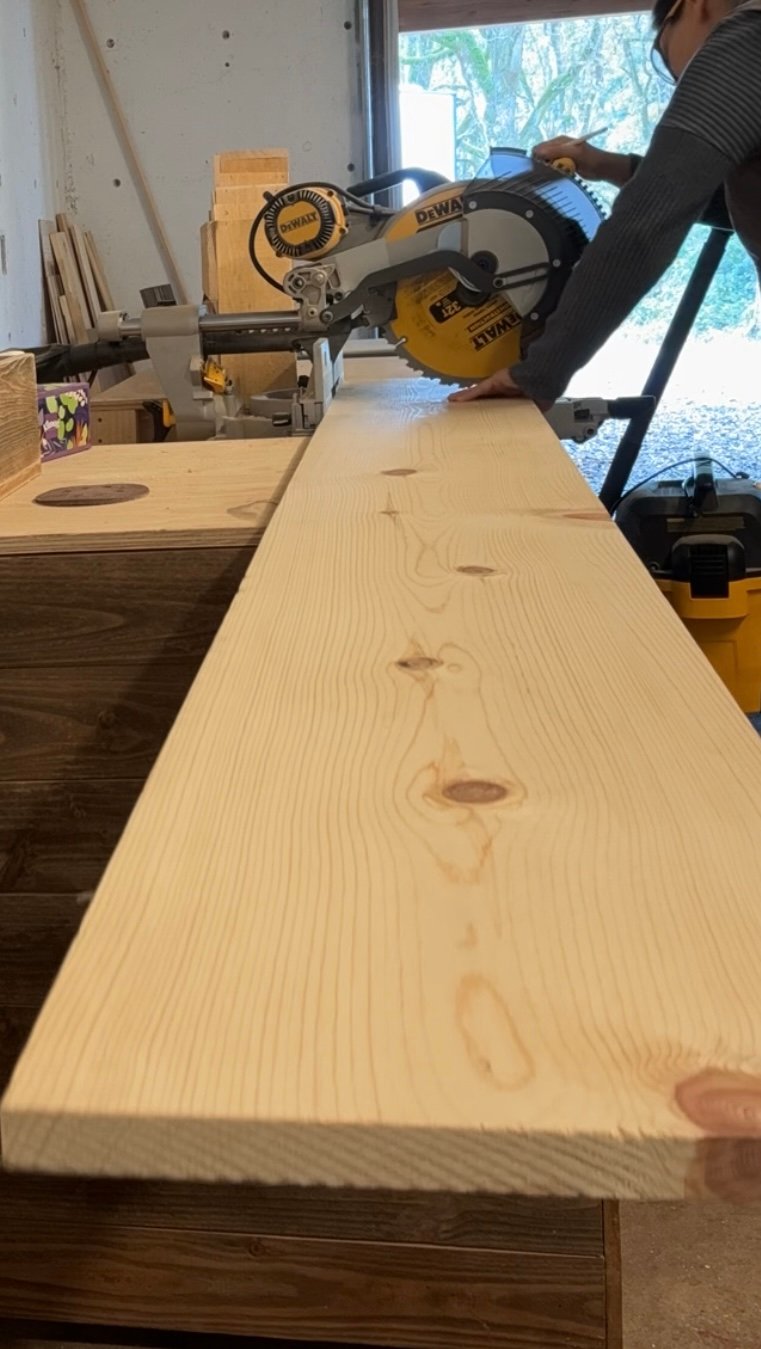
Cut your 1x12 to desired size. I cut each piece at 12".

1x12

cut pieces

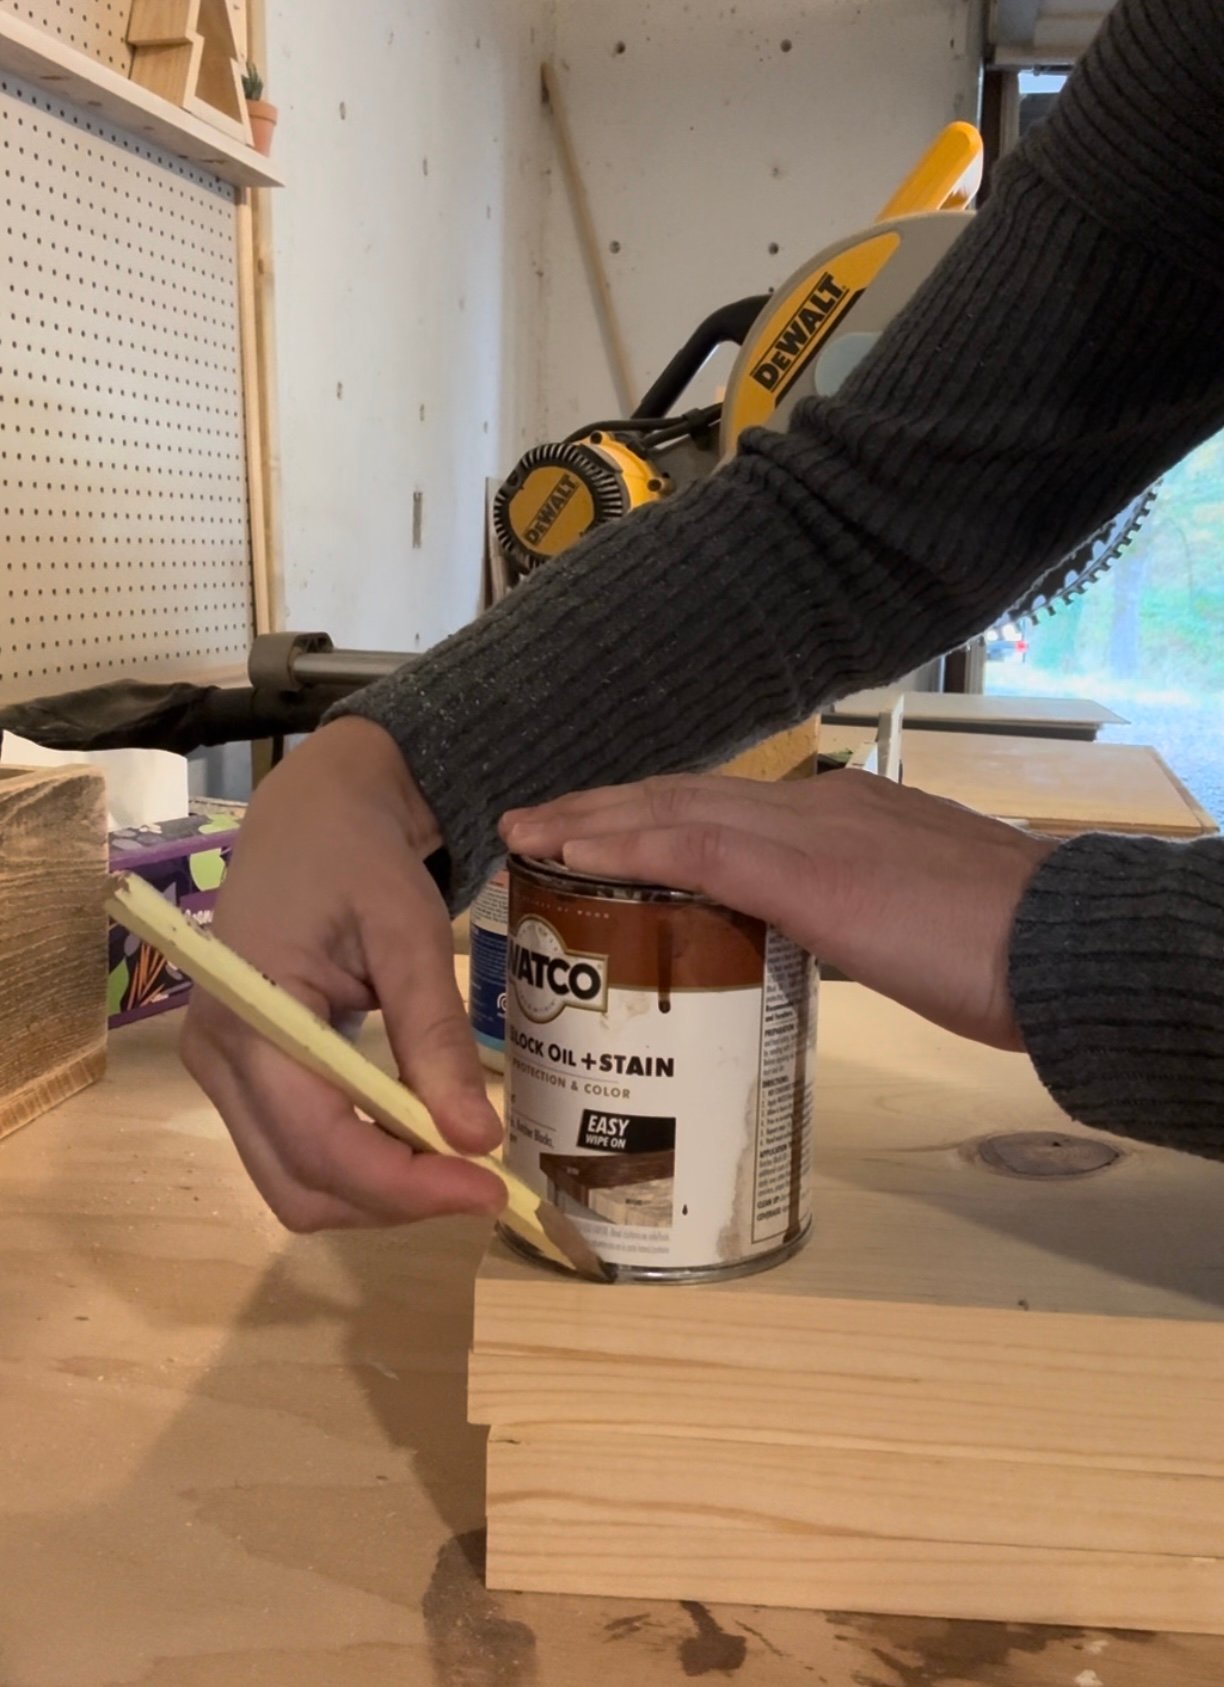
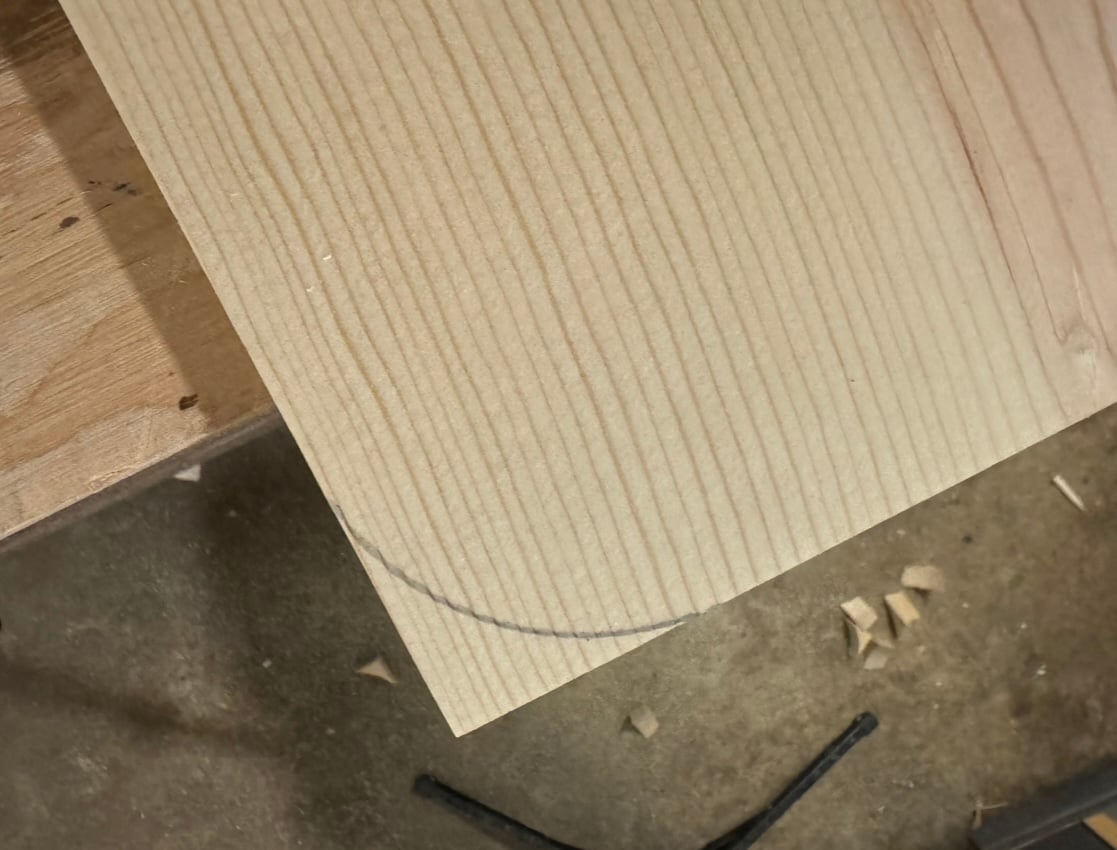
Next you will find something with a round bottom and trace a partial circle at each corner. 

trace

trace

trace

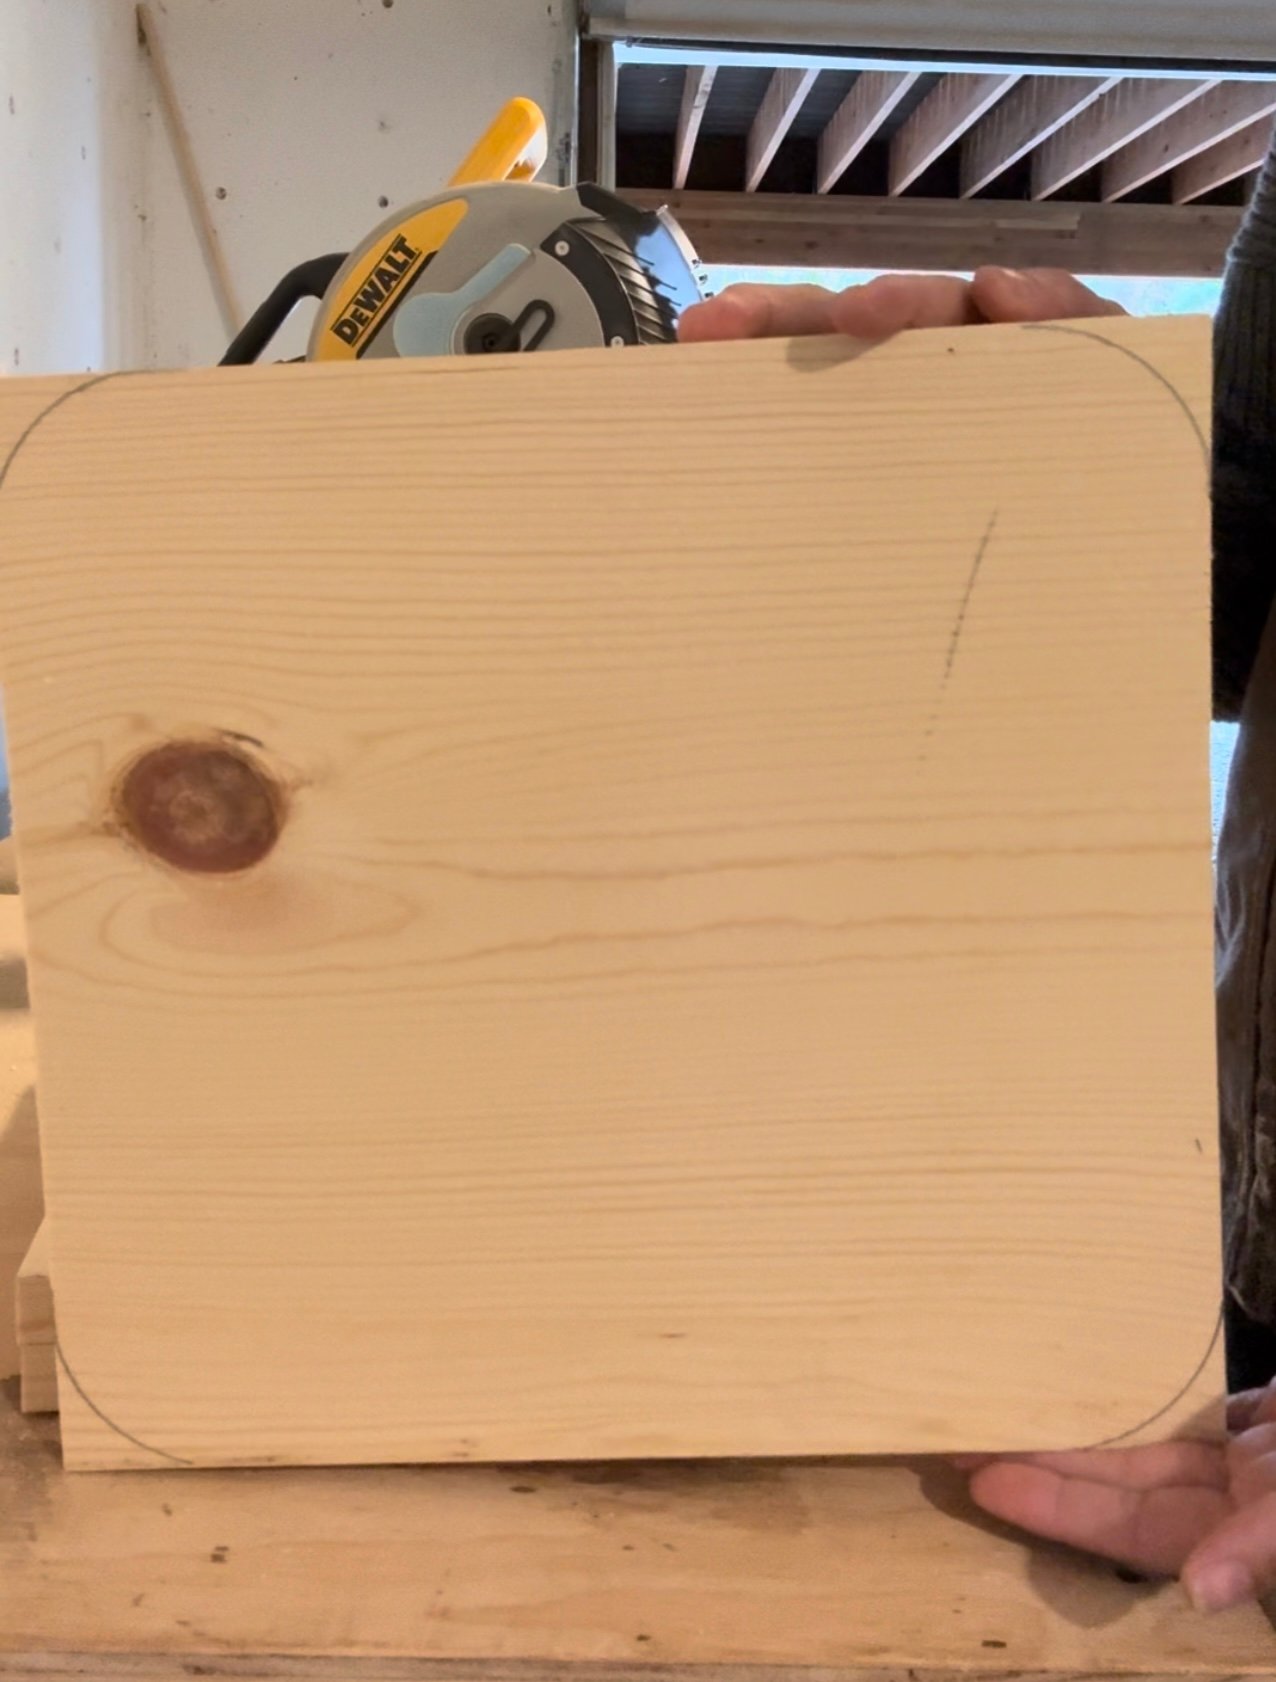
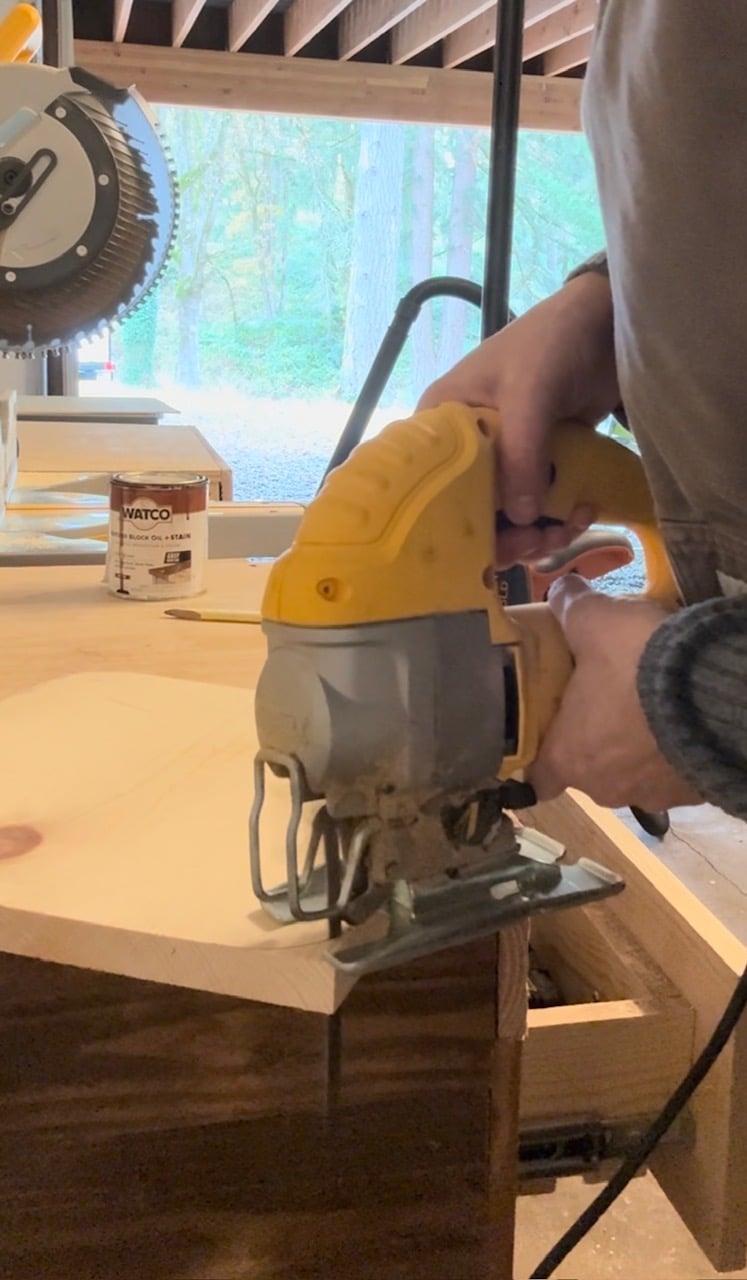
Here's a great time to practice using the jig saw. Go slow and follow the lines at each corner to cut off the ends.

jigsaw

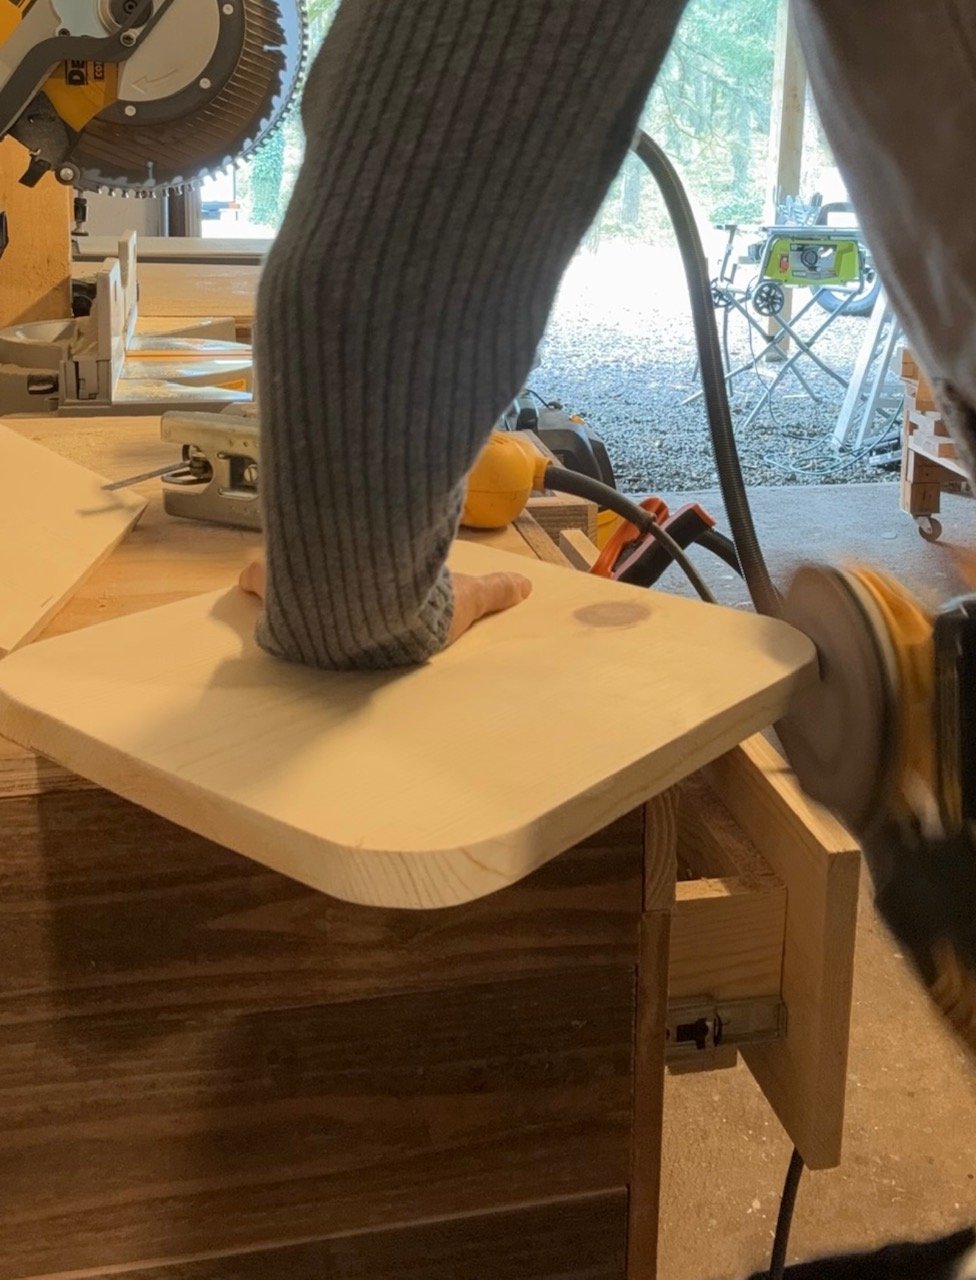
Sand the entire board and round out the corners with a sander.

sand


sand

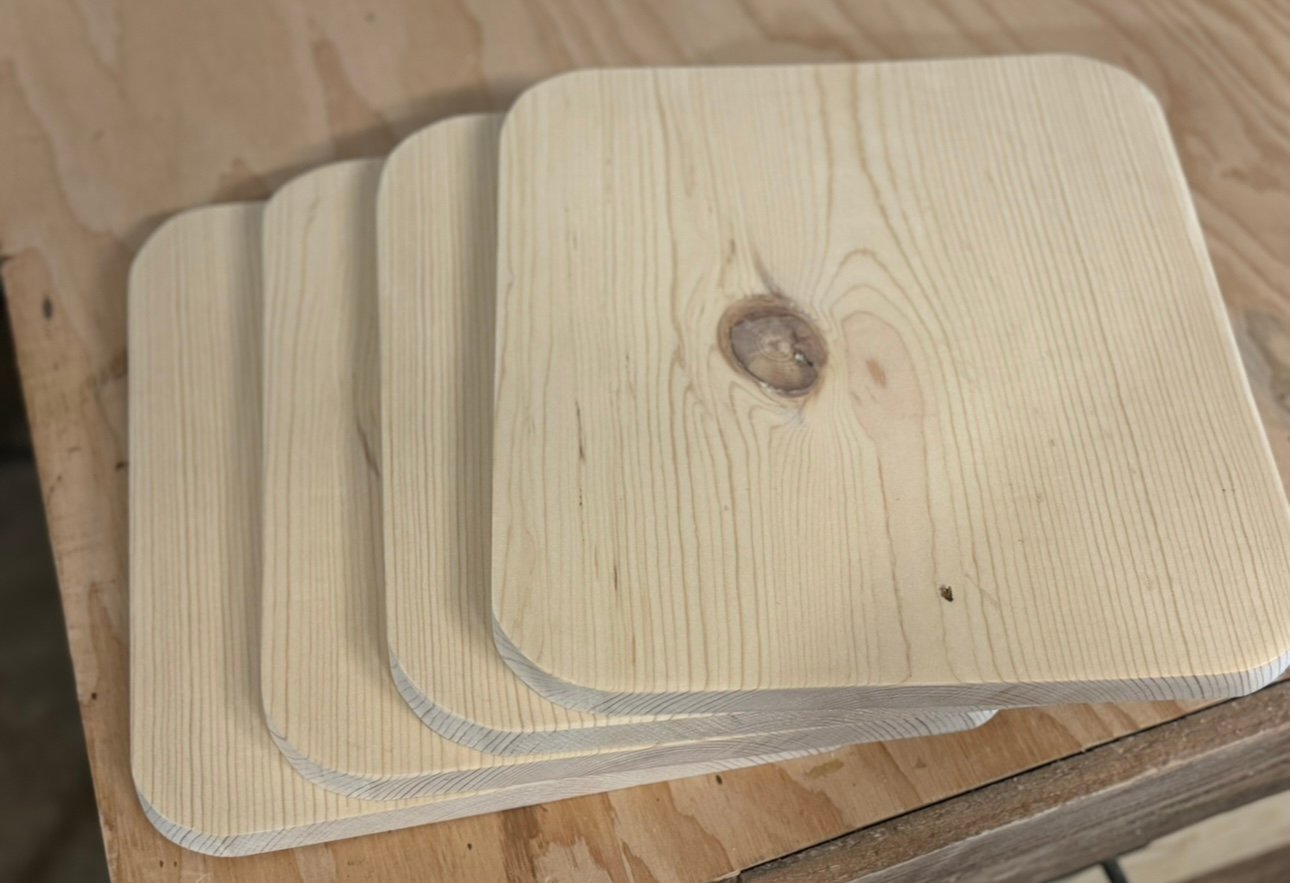
chargers

Finish and customize as desired!

finished

Watch!  Build Video for This Project

video coming soon


Free Plans to Build Your Own Simple Wood Chargers

Ready to build this yourself?  Here's the free plans, enjoy!

Preparation

Shopping List

1x12 pine boards, 1 foot of 1x12 per charger

Common Materials
120 grit sandpaper
Cut List

Cut each 1x12 piece to 11-1/4" long

Cutting Instructions

Round the corners of each cut piece with a jigsaw.

Tools
Tape Measure
Pencil
Safety Glasses
Hearing Protection
Circular Saw
Jigsaw
Miter Saw
Power Sander
Finishing Instructions
Preparation Instructions
Sand the entire project well with 120 grit sandpaper.
Finish Used
Stain as desired
use a clear top coat to protect the wood chargers, covering all sides and ends
Seasonal And Holiday