What is a Cheeseboard?
First, let's discuss what is a cheeseboard? I wasn't entirely sure myself, but about ten years ago, I had some scrap wood and decided to make up some "decorative" cutting boards to decorate my kitchen with. But little did I know, I these wood decor pieces ended up being so much more useful!
Whenever I would need a quick spot to rest something - so it's not on the countertop or table - I'd reach for the cheeseboard. Whenever we entertained, I'd start with the cheeseboard. Years later, we are STILL using those original cheeseboards!
A cheeseboard is a piece of wood, cut into a decorate shape with usually a handle, that is designed to serve cheese off of.
Related: Footed, Pieced Cheeseboards
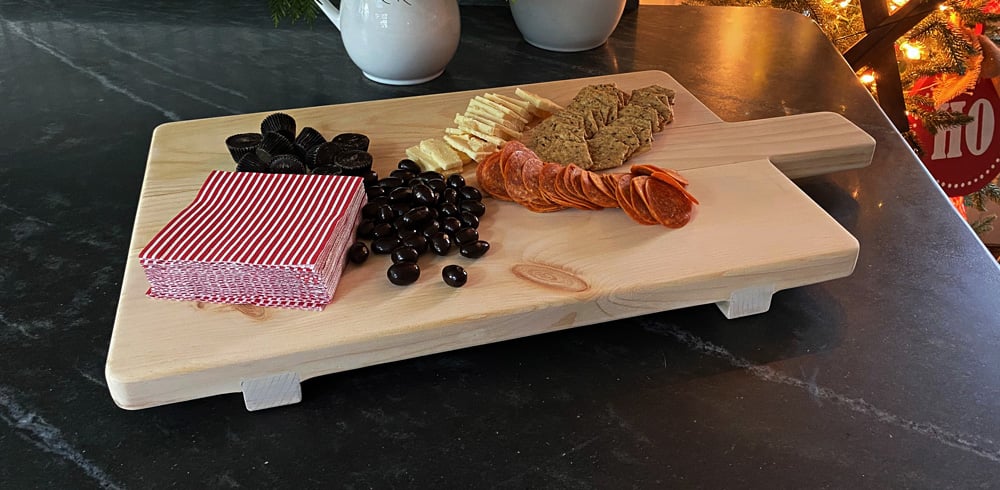
In this post, we'll just do simple cheeseboards, but do check out this fancier footed cheeseboard (pieced together with smaller width wood pieces too, so you can use up 1x3 and 1x4 scrap wood!)
Why We Love this Scrap Wood Cheeseboard Plan
- Any scrap wood piece larger than a 1x4 can be used!
- Just cut in any shape to fit your needs (or scrap wood piece)
- Great gift idea for hosts
How I Built this Project
The scrap wood cheeseboards are very easy to make! You'll just need some pine or "whitewood" boards, a 1x4 would make a very small, narrow cheeseboard, 1x6 a good size for end tables or longer runners, 1x8 is what I did in the pictures, 1x10 or 1x12 starts getting really good sized, almost charcuterie board sized.
First, you'll cut the board down to size you'd like. Remember the handle should be about 3-4" long, so figure that in when you choose the size board.
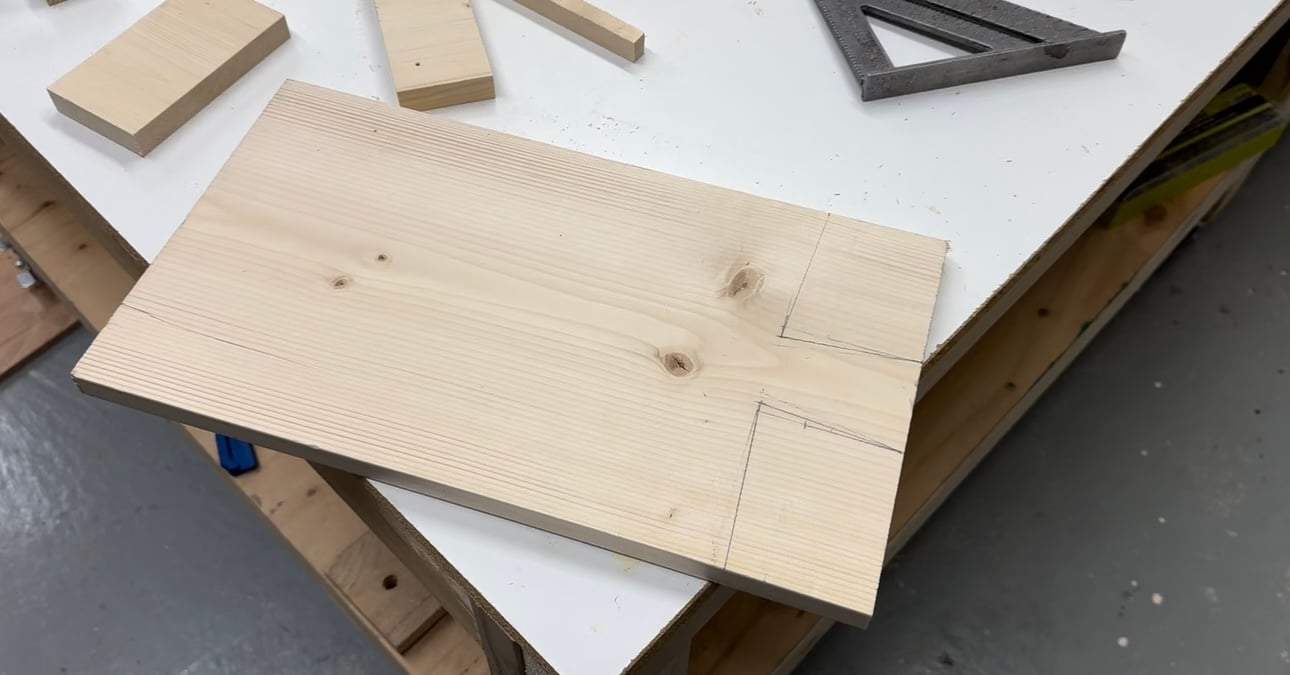
Then mark out the handle as desired. The straight lines like this are easier to cut than rounded lines, so I opted for that. It's a more modern look too.
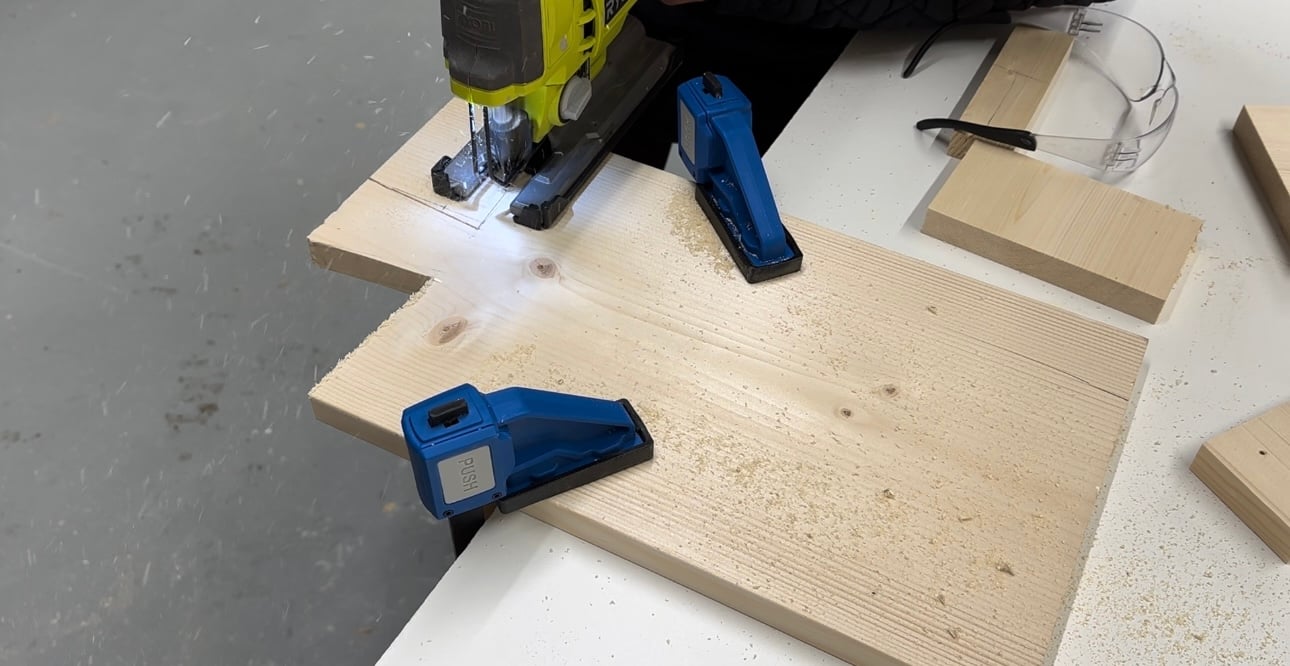
Then with a scrolling blade, fine toothed, I cut the lines with a jigsaw.
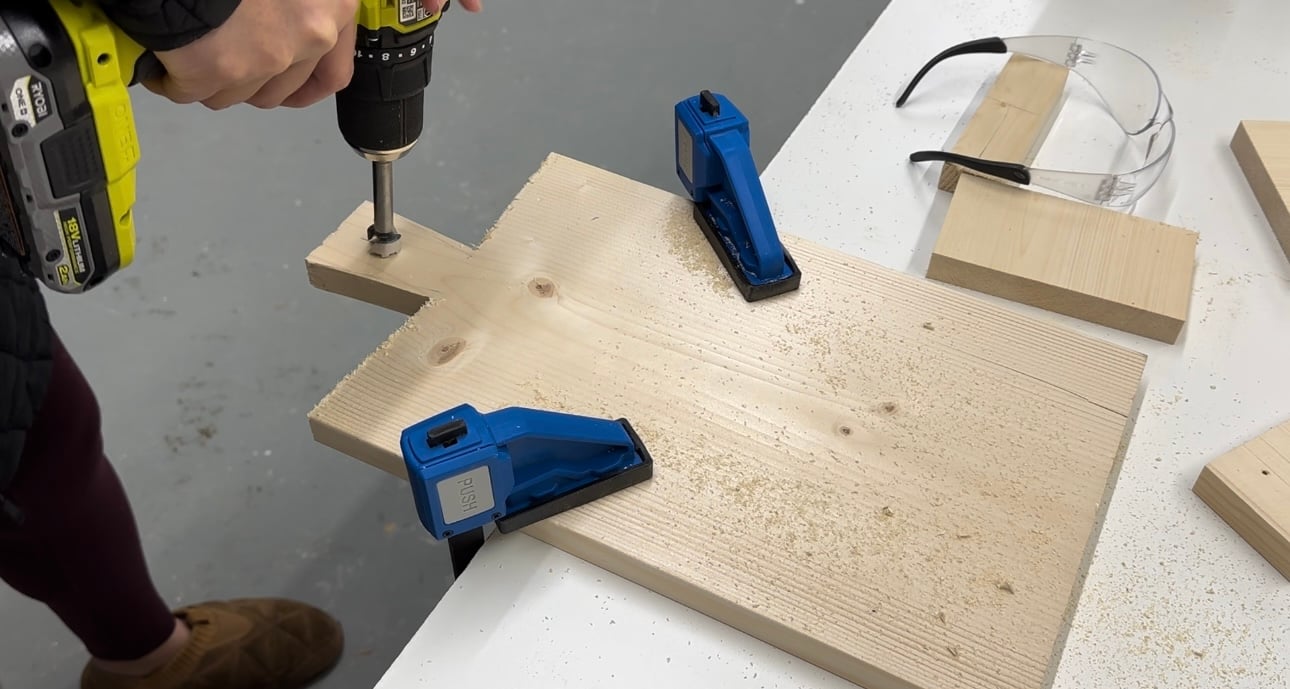
Then I drilled out the hole for the handle with a Forsner Bit. This bit drills a very clean hole in the wood. TIP: Drill most of the way through, then flip over and match the center point and drill all the way through.
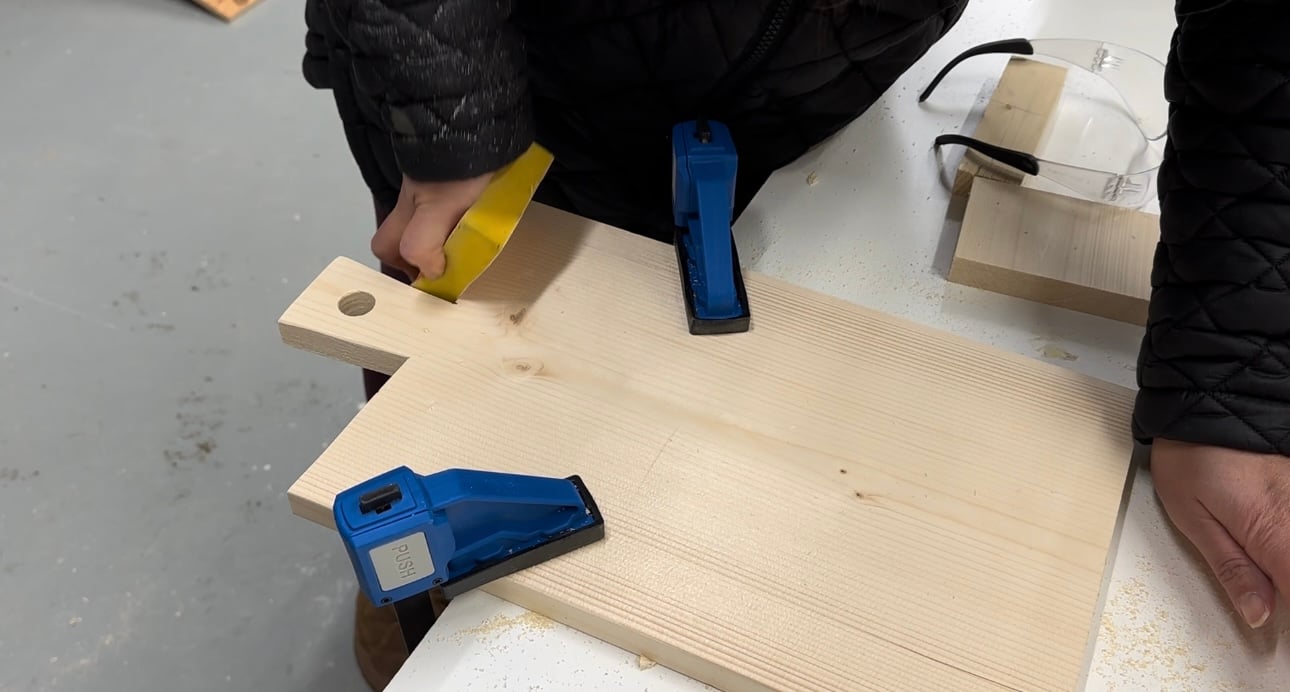
I used a sanding sponge to clean up the cut marks and sand the entire cheeseboard.
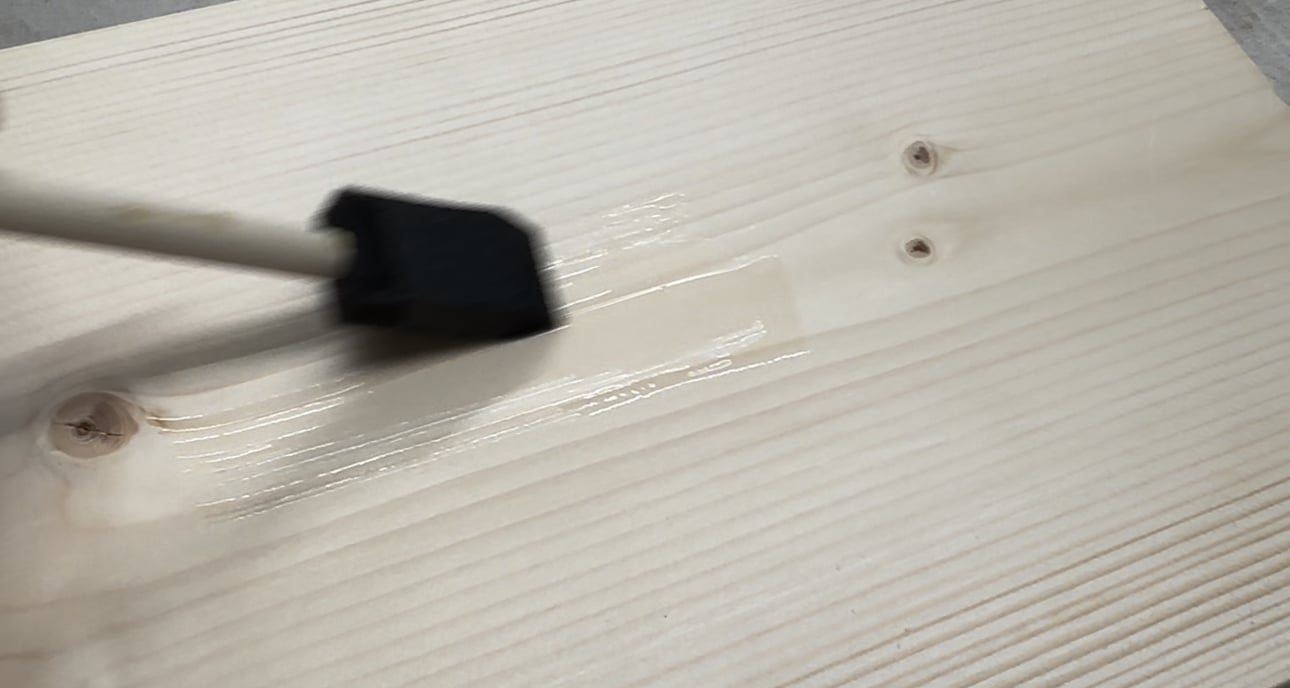
Now for the finish. I choose to use a butcher block oil, but since a cheeseboard isn't usually used as a cutting board, you can use a stain and polyurethane topcoat for more color options.
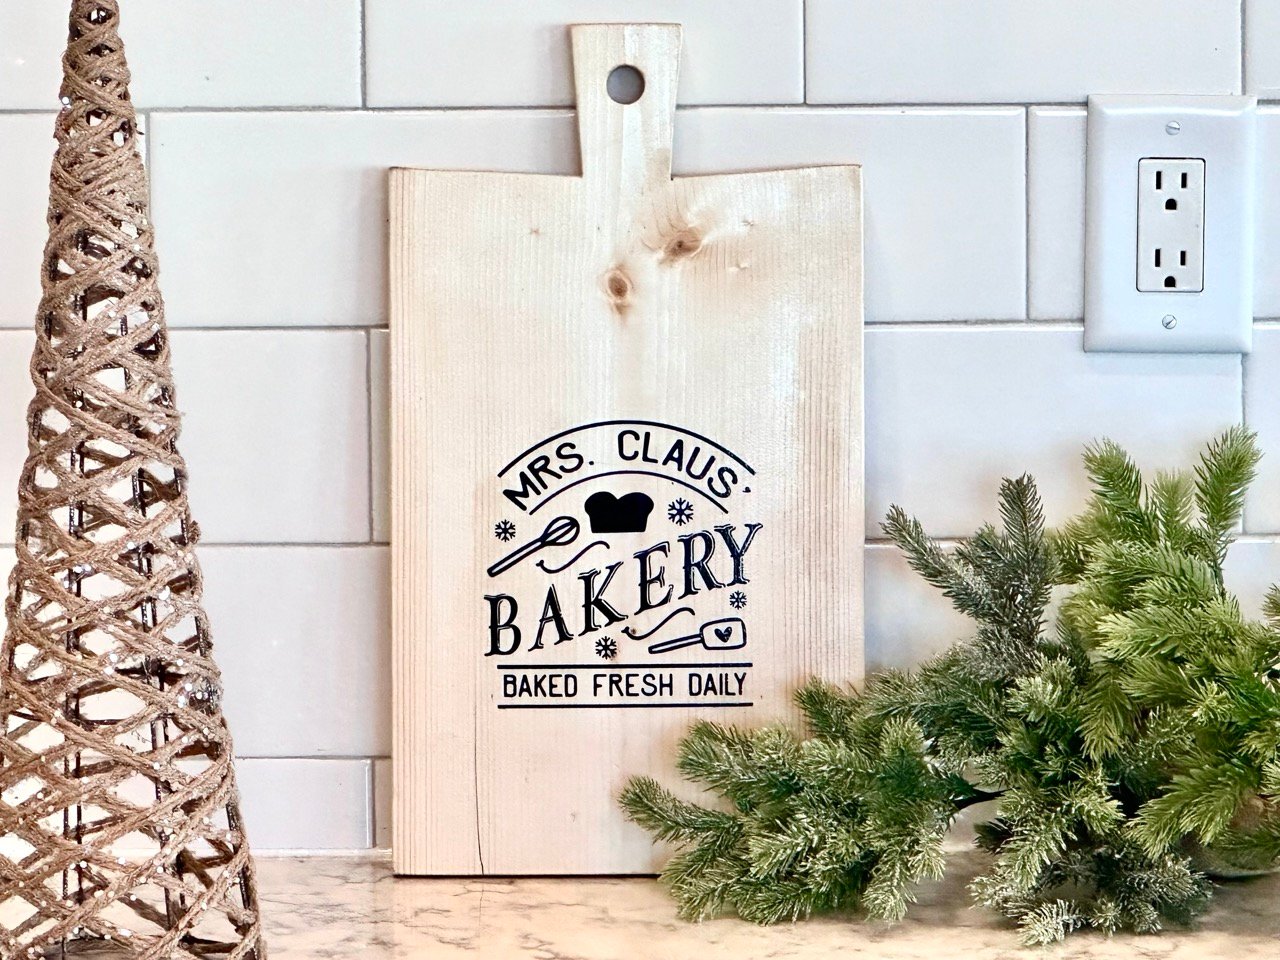
I didn't get photos or video, but I added with my Cricut the graphics to one side of the cheeseboard. I'd love to add a personalized name or monogram to make an extra special gift too!
Watch! Build Video for This Project
Video coming soon


