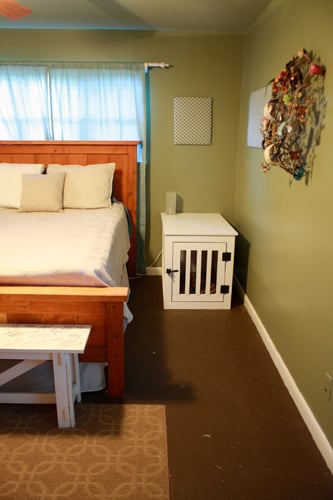
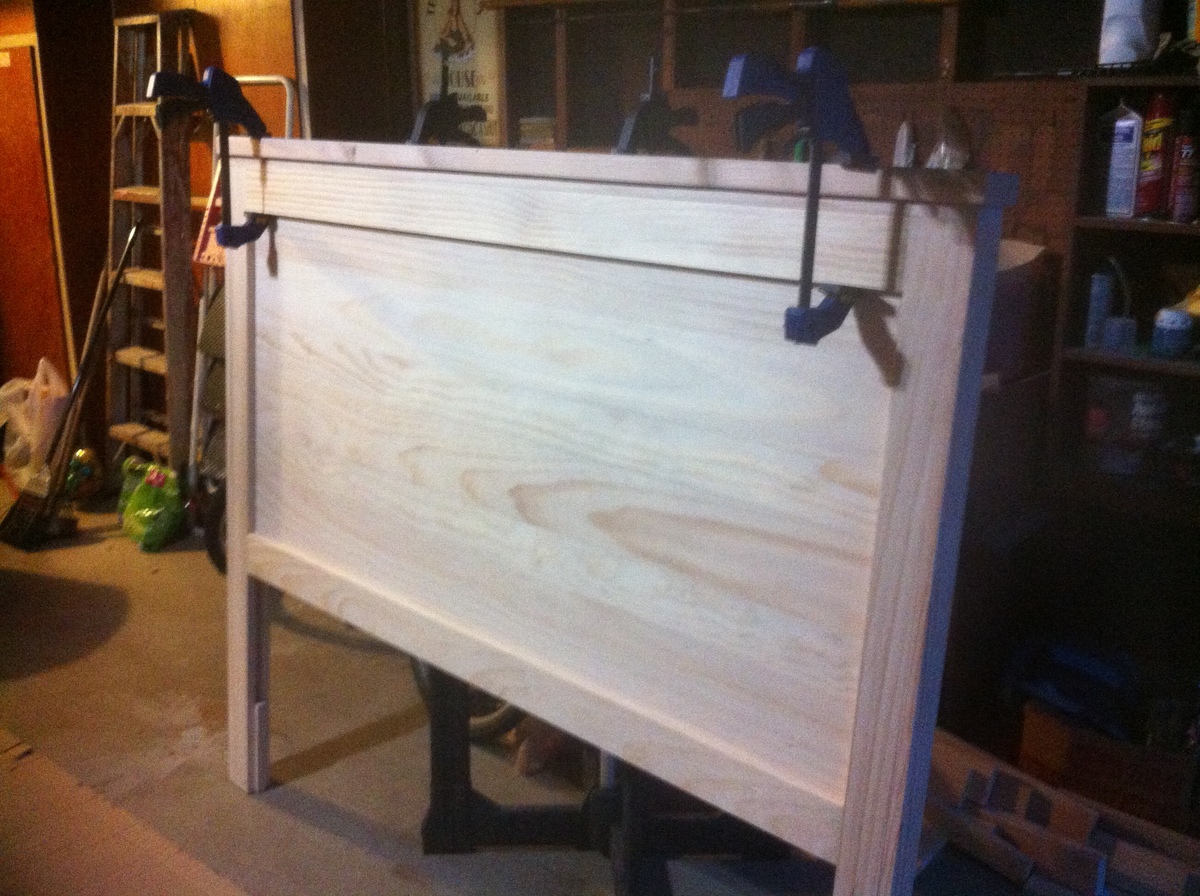
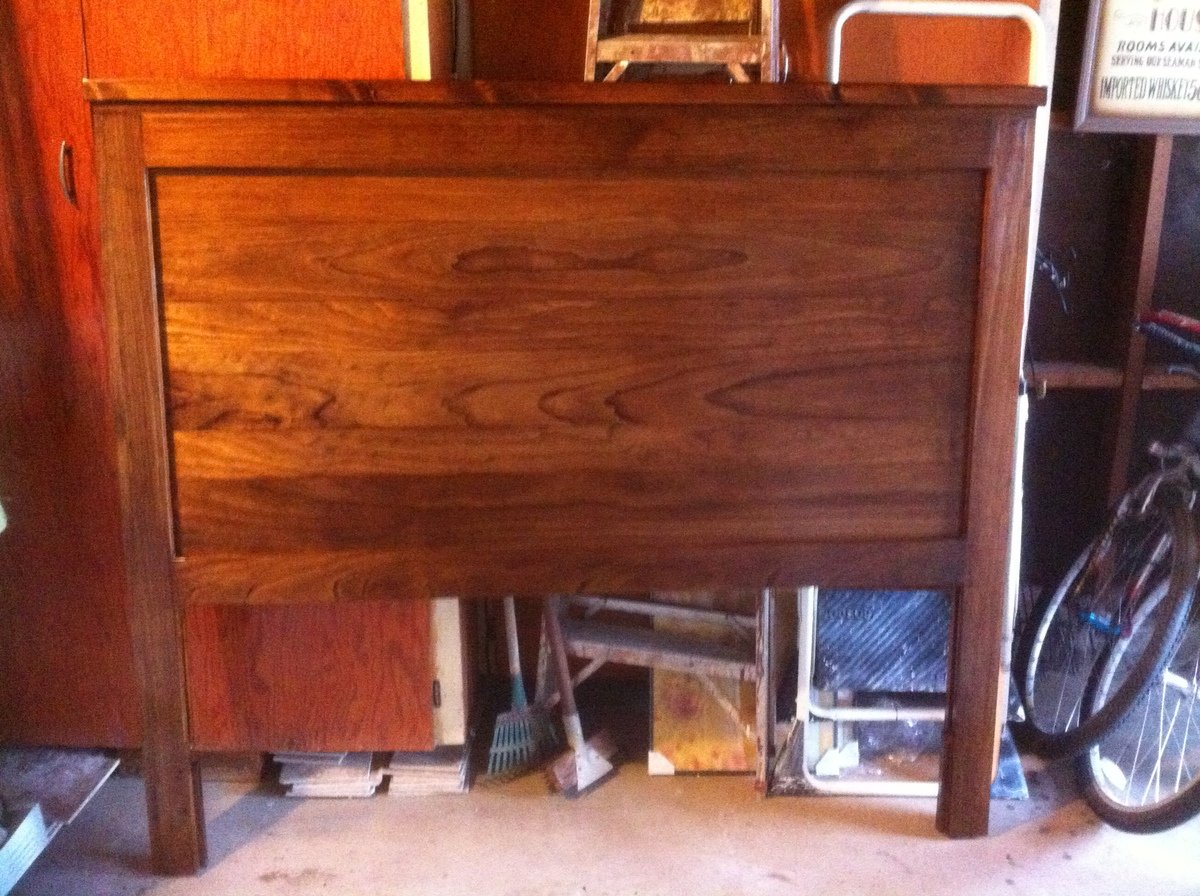
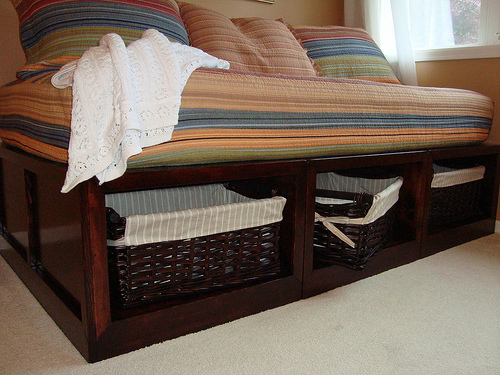
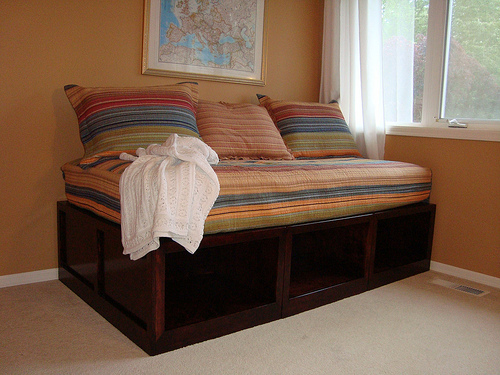
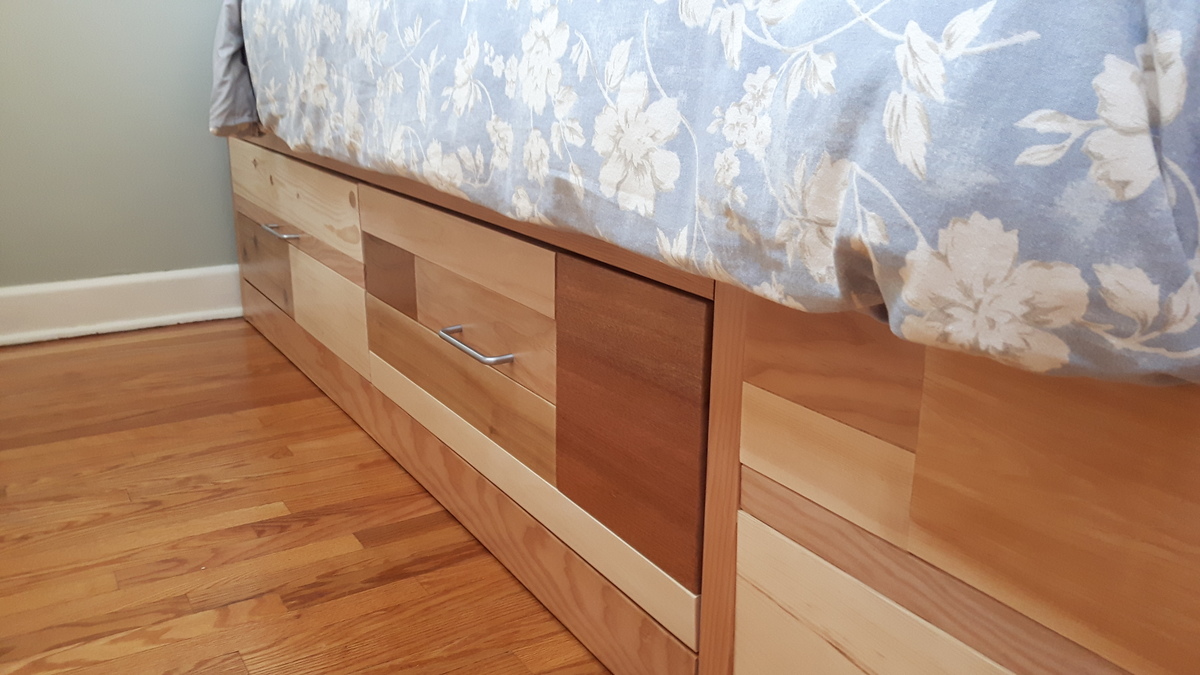
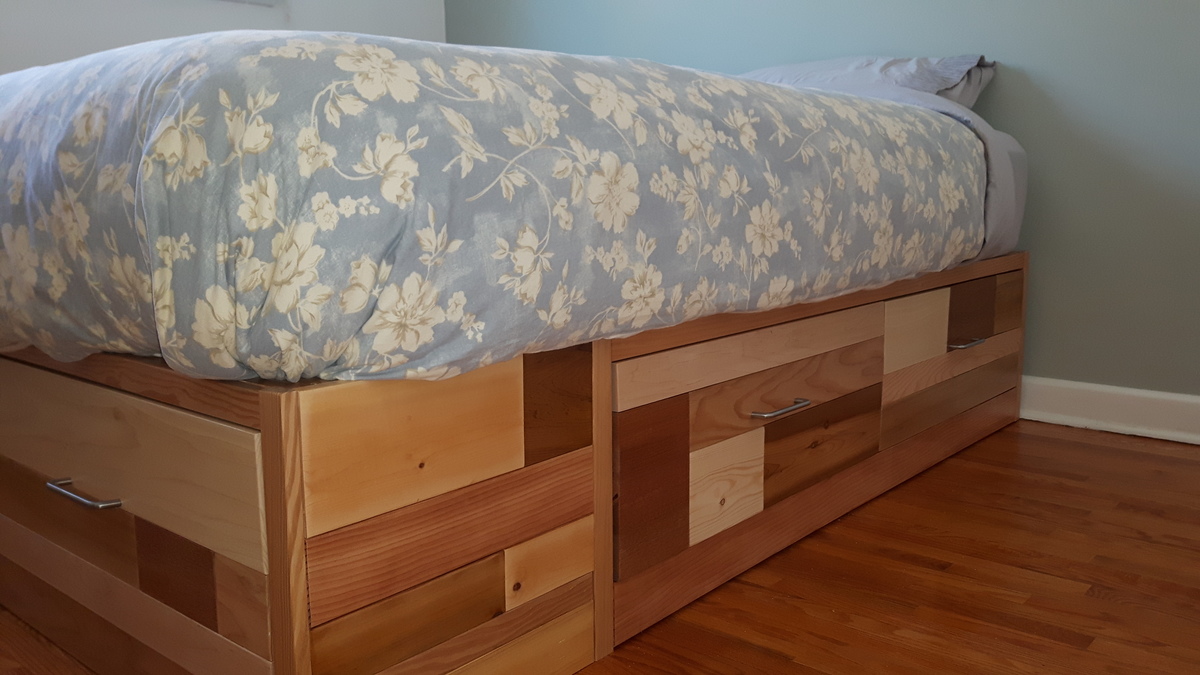
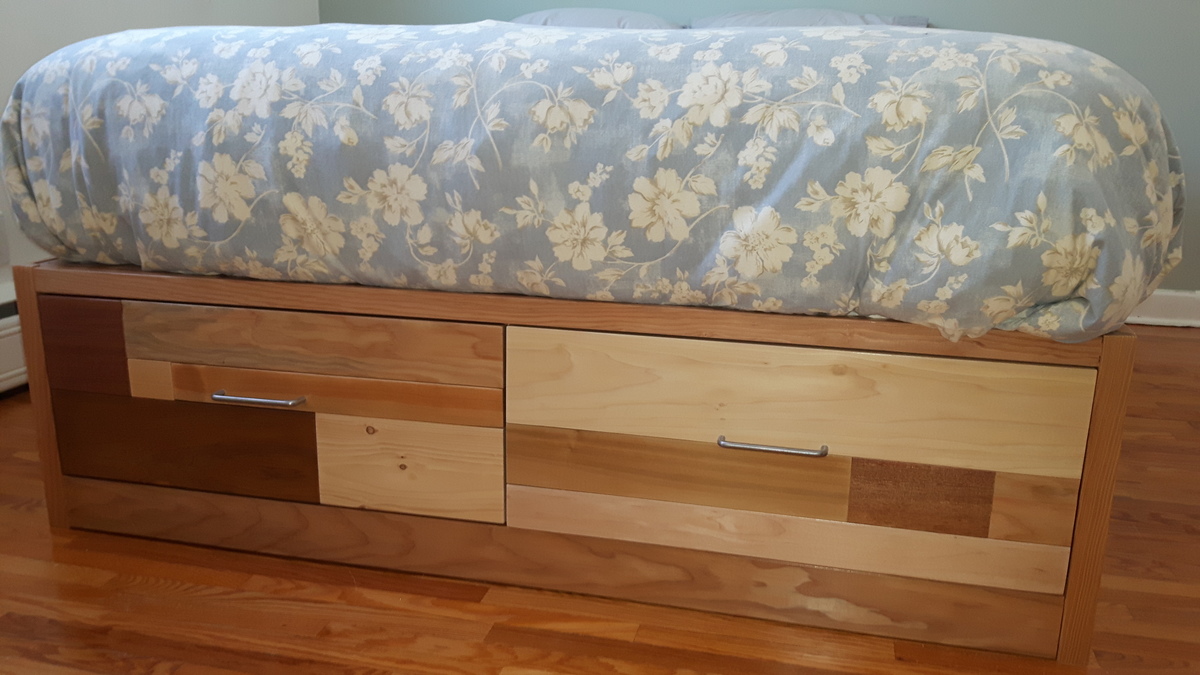
This is my first project, and it turned out really well! I bought the wood at Home Depot. It is pine (except for the crowning 2x4, that's douglas fir because Home Depo didn't have that size in pine) and I probably spent about $150 just on the wood, and then I also bought a palm sander, corded drill, circular saw, and Kreg Jig. I also bought pre-stain, stain, and polycrylic finish which added another $45. Plus I spent money on sand paper, clamps, Kreg Jig screws, and some nails.
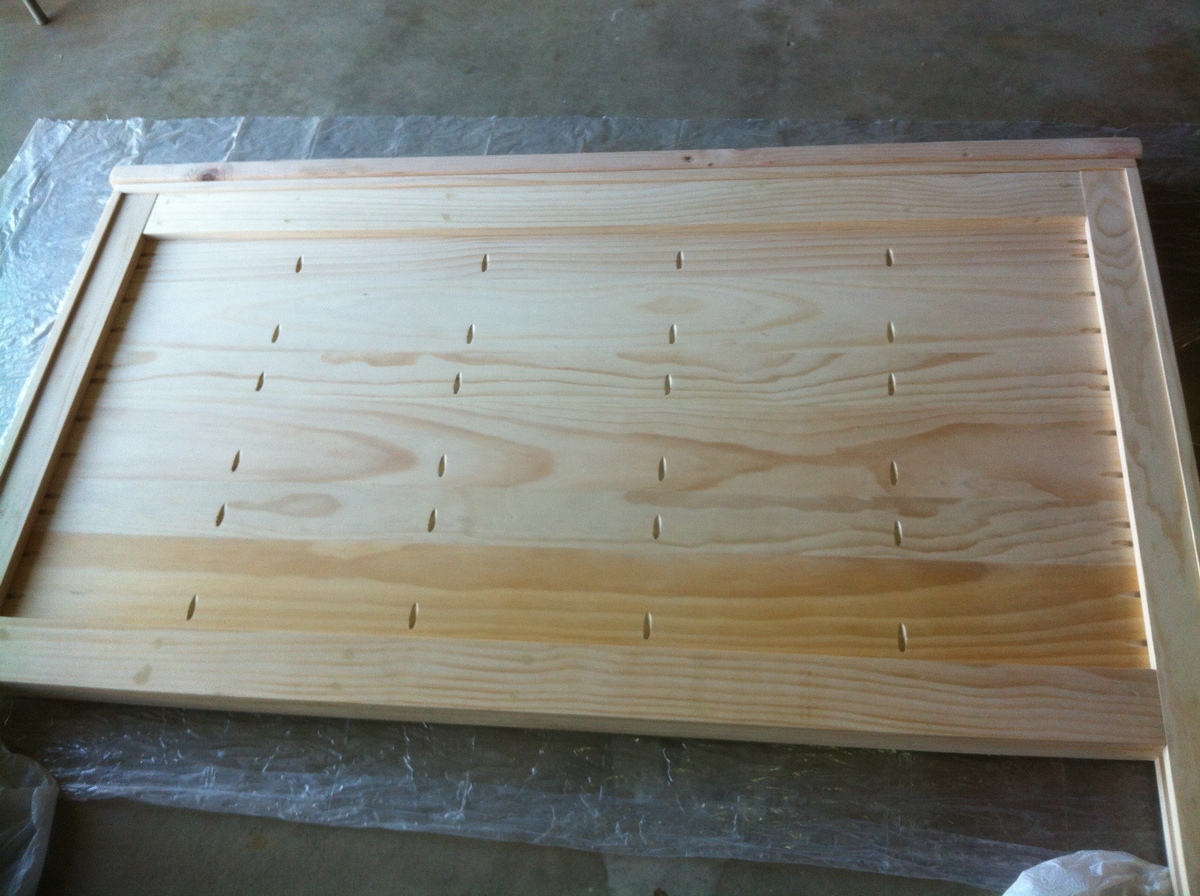
I included the picture of the back to show how I used the Kreg Jig. I used it to not only attach the middle part to the sides, but I made the middle part one connected piece so it would be extra sturdy, tight, and pieces would not bow when leaned against. The back isn't pretty, but it's against the wall so no one can see. The Kreg Jig is awesome and I'm glad I bought it so I can do other projects.
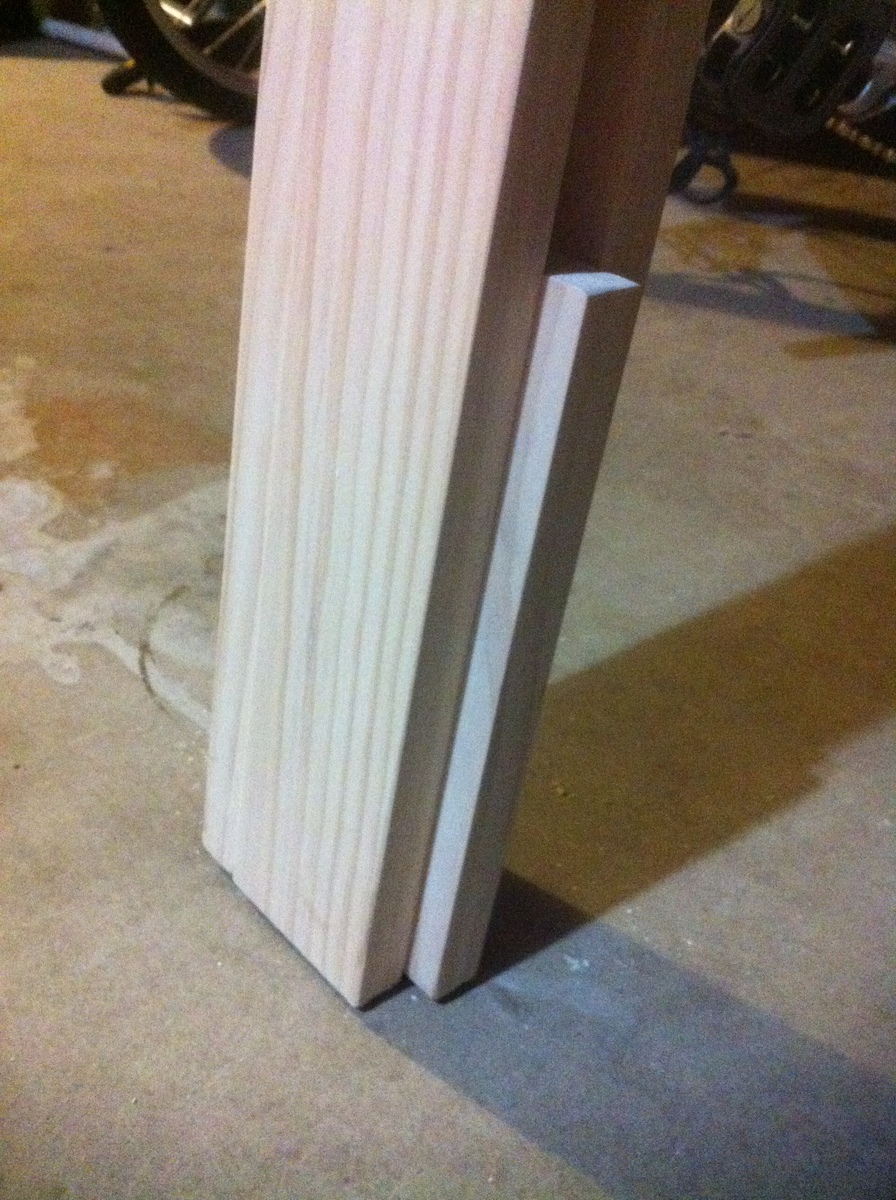
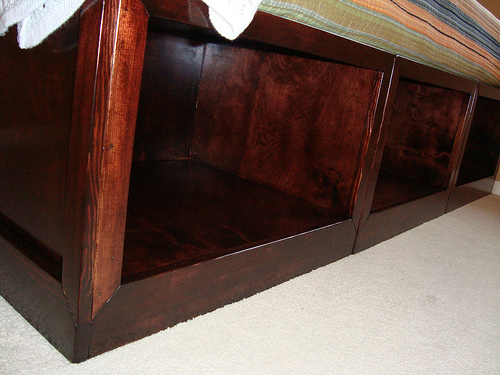
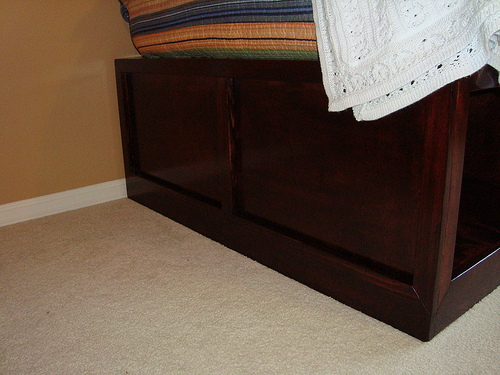
I also included a photo of the bottom of the side. I used a scrap piece of wood to make it more sturdy since that's where I drilled the holes to bolt it to the bed's metal frame.
Between sanding, assembly, and finishing I worked on this over the course of about two months on the weekends. If you don't sand much and keep the finish more simple you could potentially get it done really fast. But since this is something we plan on using in our master bedroom for years to come I wanted to try to make it perfect. It still has a handful of mistakes (I learned a lot), but my joke is "it's a reclaimed wood headboard."
Now that I've got the tools I'm on to building matching side tables, and pending that goes well the plan is to build a dresser.
Estimated Cost
$200 (wood, stain, and sand paper)
Estimated Time Investment
Week Long Project (20 Hours or More)
Finish Used
Before staining I watched a bunch of You Tube videos to get a feel for it. The finish is Minwax pre-stain (one coat), Minwax Provincial (three coats), and Minwax Polycrylic (three coats). When using pine wood you want a pre-stain to prevent blotchiness. My intention was to only do one or two coats of the Provincial (I liked what a couple people in the brag posts had done with provincial), but I had a couple spots that showed imperfections in the wood that could not be seen before staining, which I had to sand down and then restain. I also had a few small spots where the wood glue made it so I had to sand more (even though I sanded a lot!) and re-stain. I used a nice brush to apply the stain for the first couple coats, but the third I used a rag so I could focus on the areas I wanted to hit and not let it soak as long. The Polycrylic really did a great job at making the surface hard to prevent dings. The hard part I found was that its a large project and Polycrylic drys really fast, so even just doing one side I'd get to the bottom, fix a drip at the top, and then end up with some brush strokes. Polycrylic is water based so it doesn't smell so bad when you're using it and it's easier to clean the brushes.
Recommended Skill Level
Beginner











Comments
Ana White Admin
Tue, 10/05/2021 - 10:47
Very versatile!
YES, love the different options to use and move around as needed! Way to go, thanks for sharing!