Built It!

I followed the plans exactly and made this sand box for my friend and her children. Simple! Thank you so much!!!

I followed the plans exactly and made this sand box for my friend and her children. Simple! Thank you so much!!!
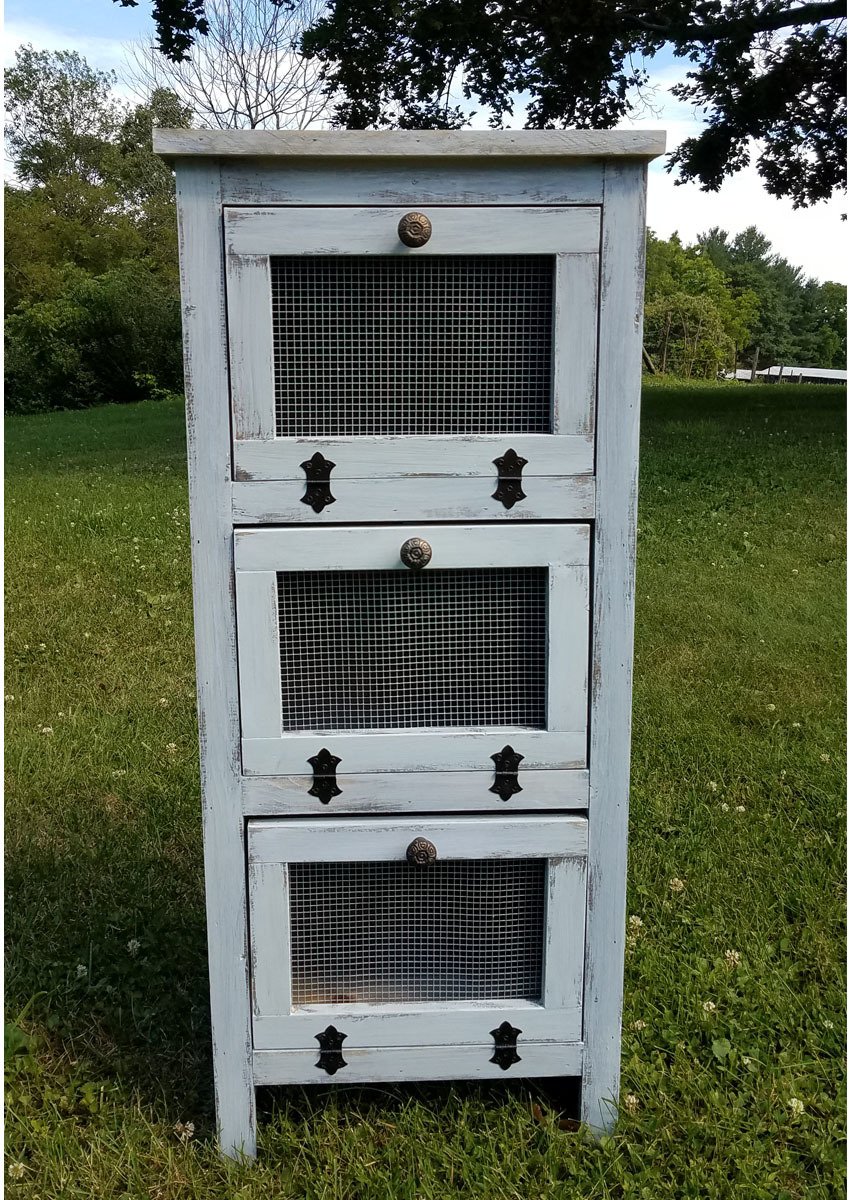
I followed the plans as written and my veggie bin came out looking awesome.
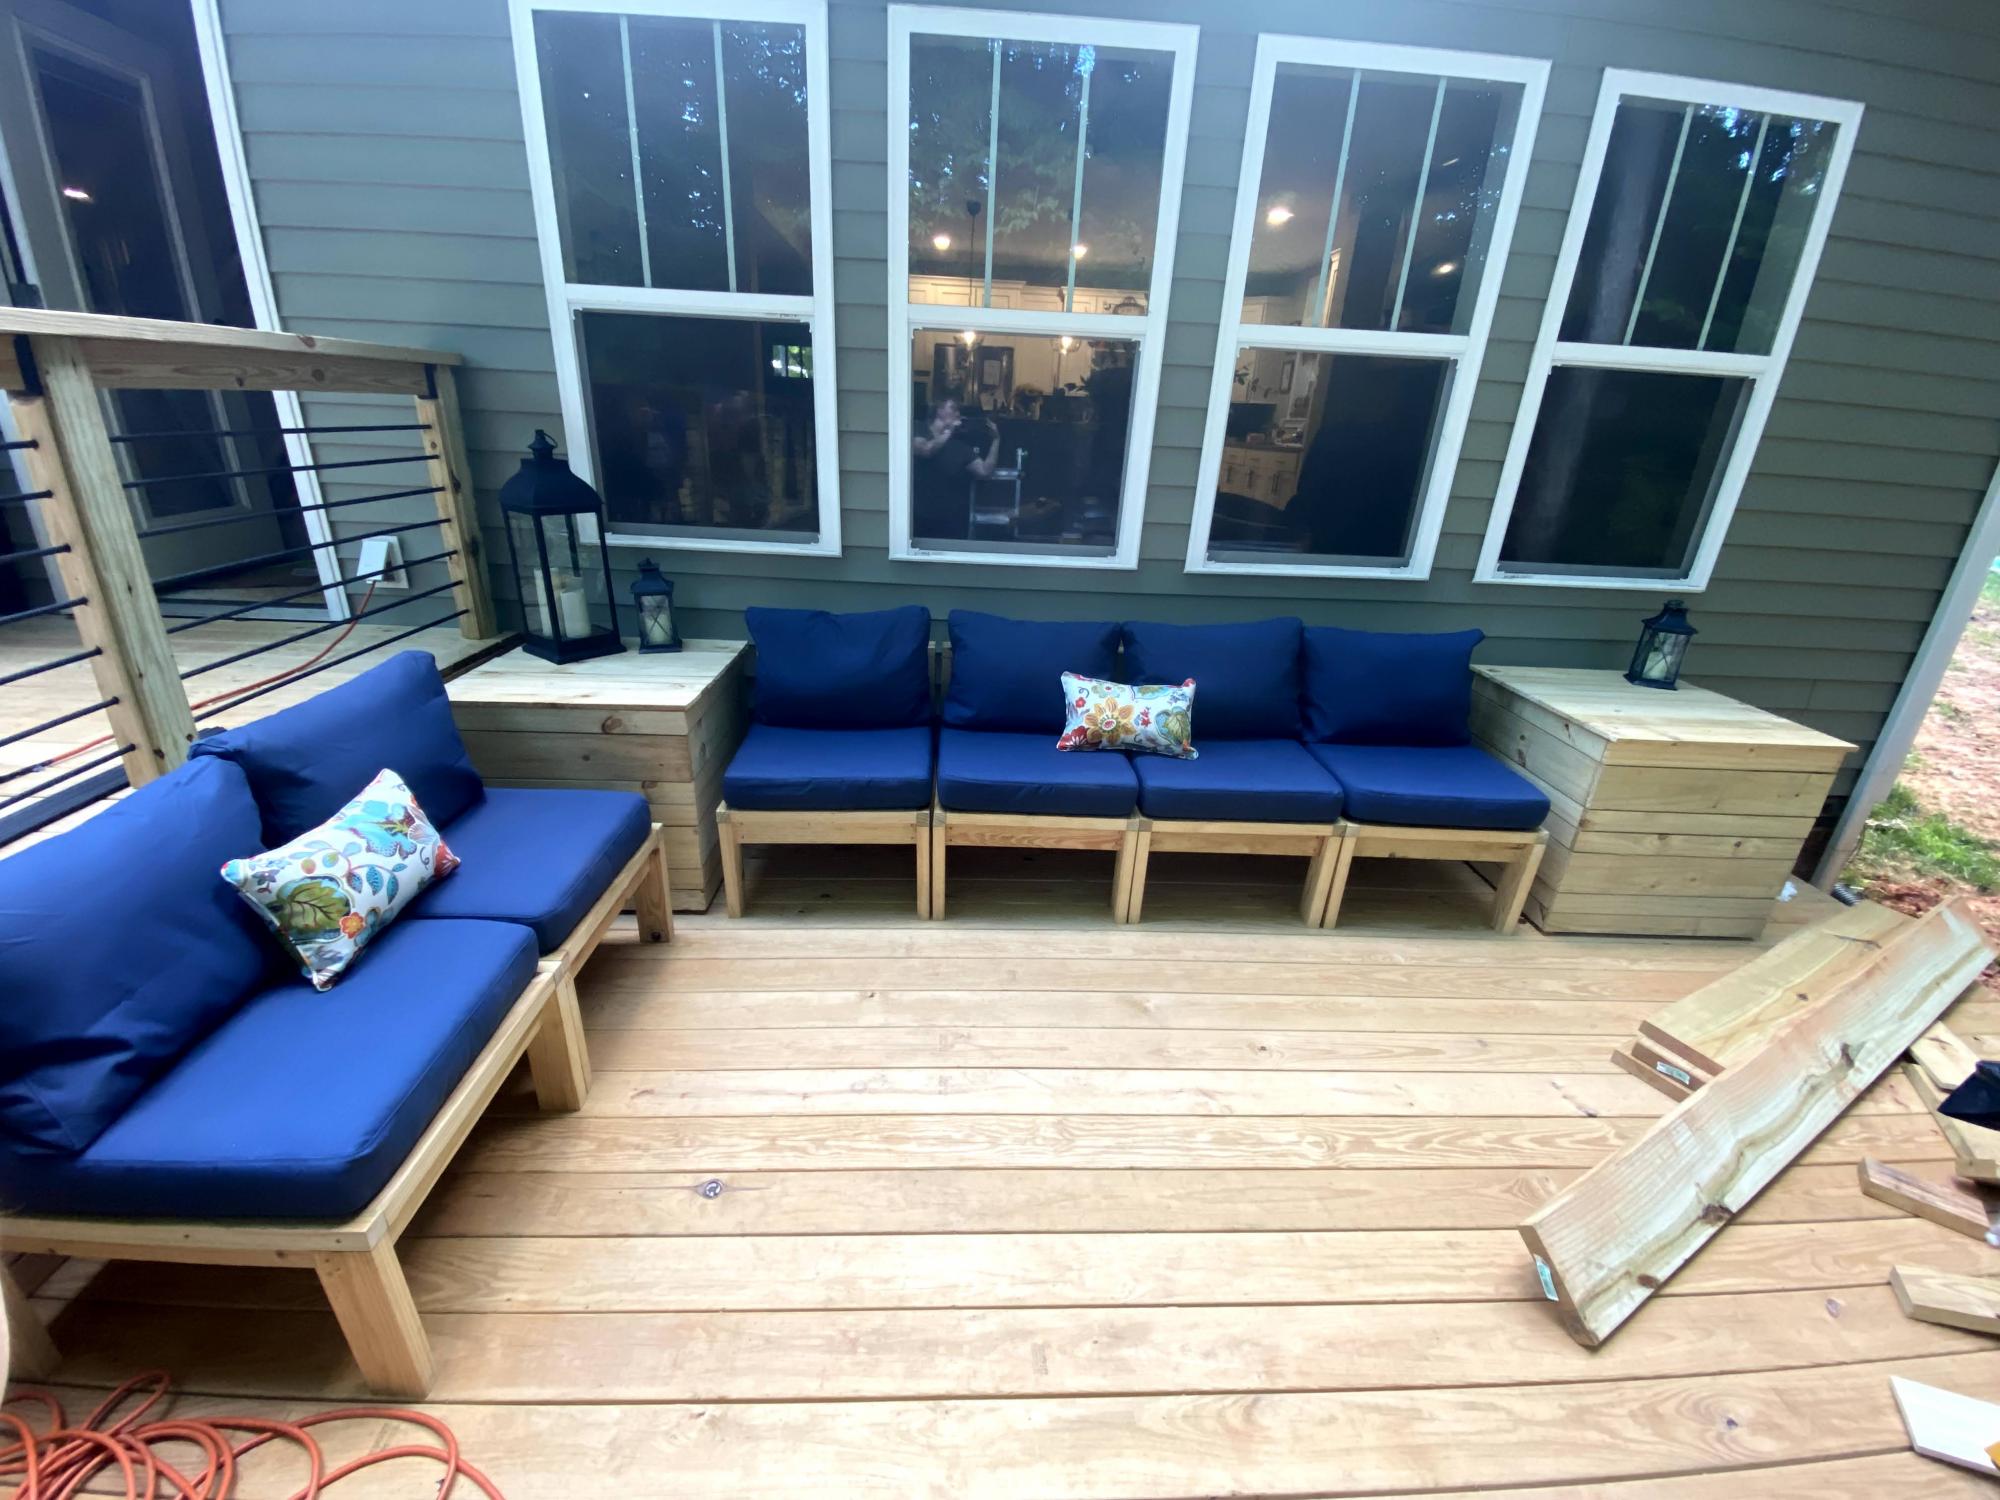
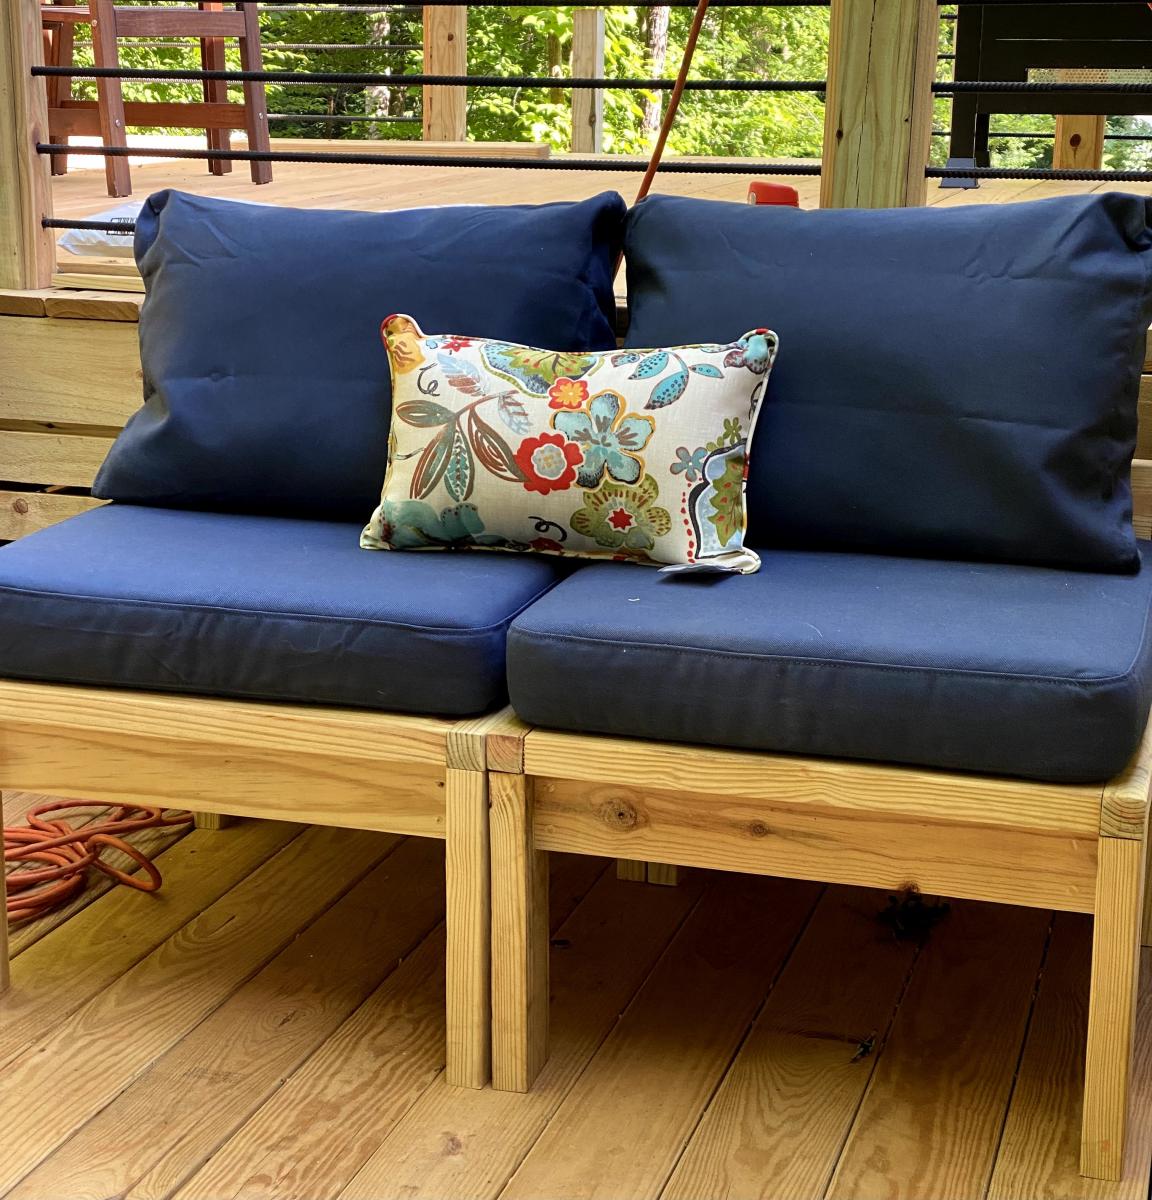
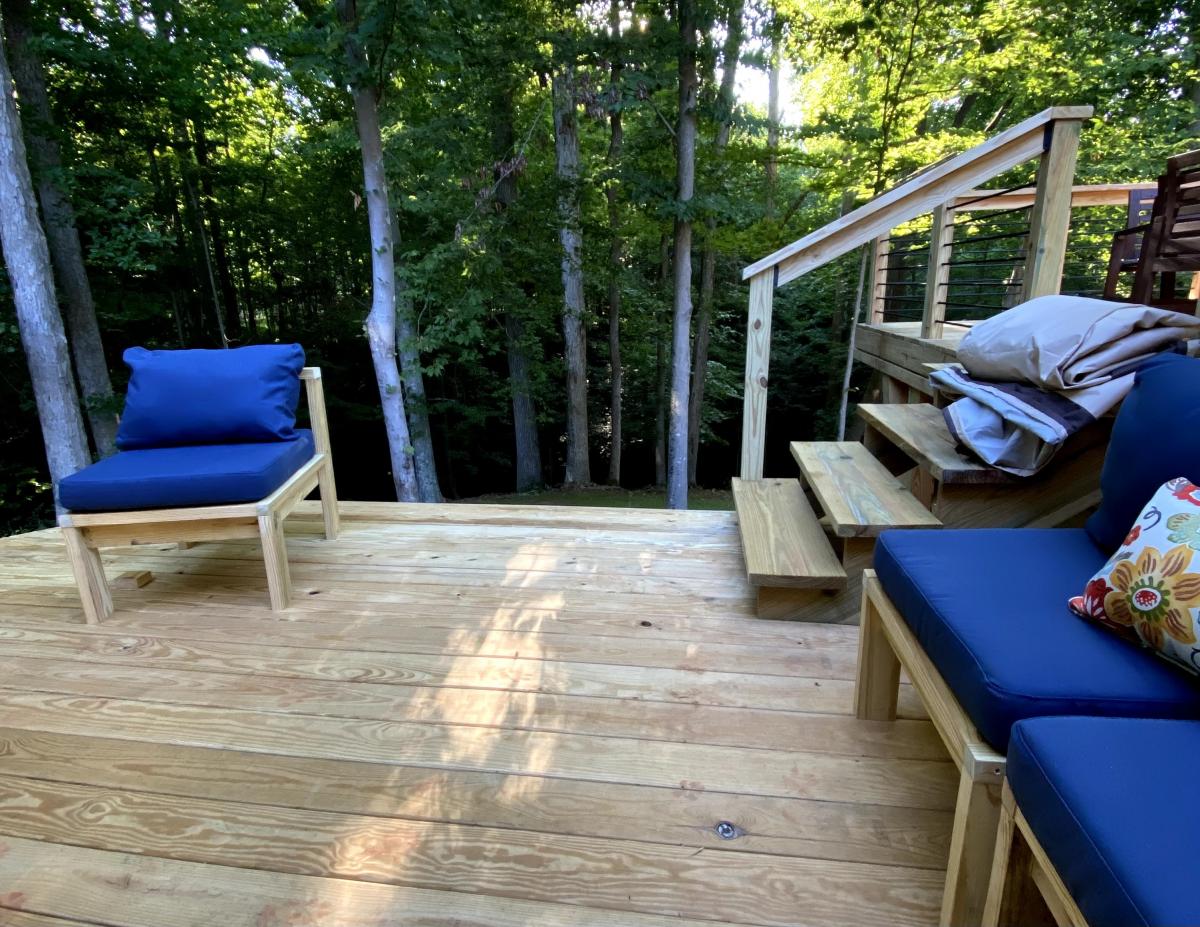
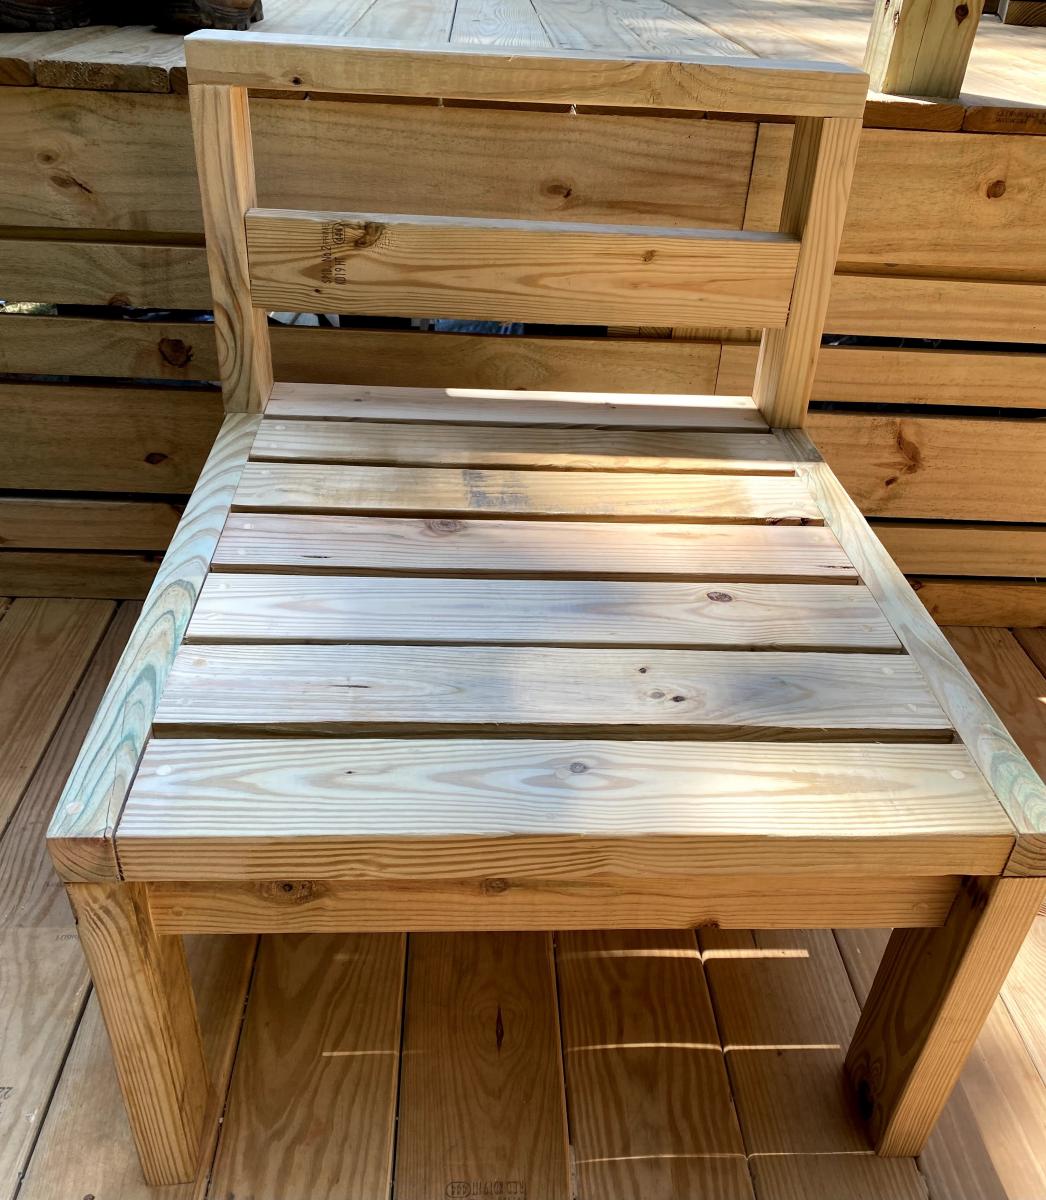
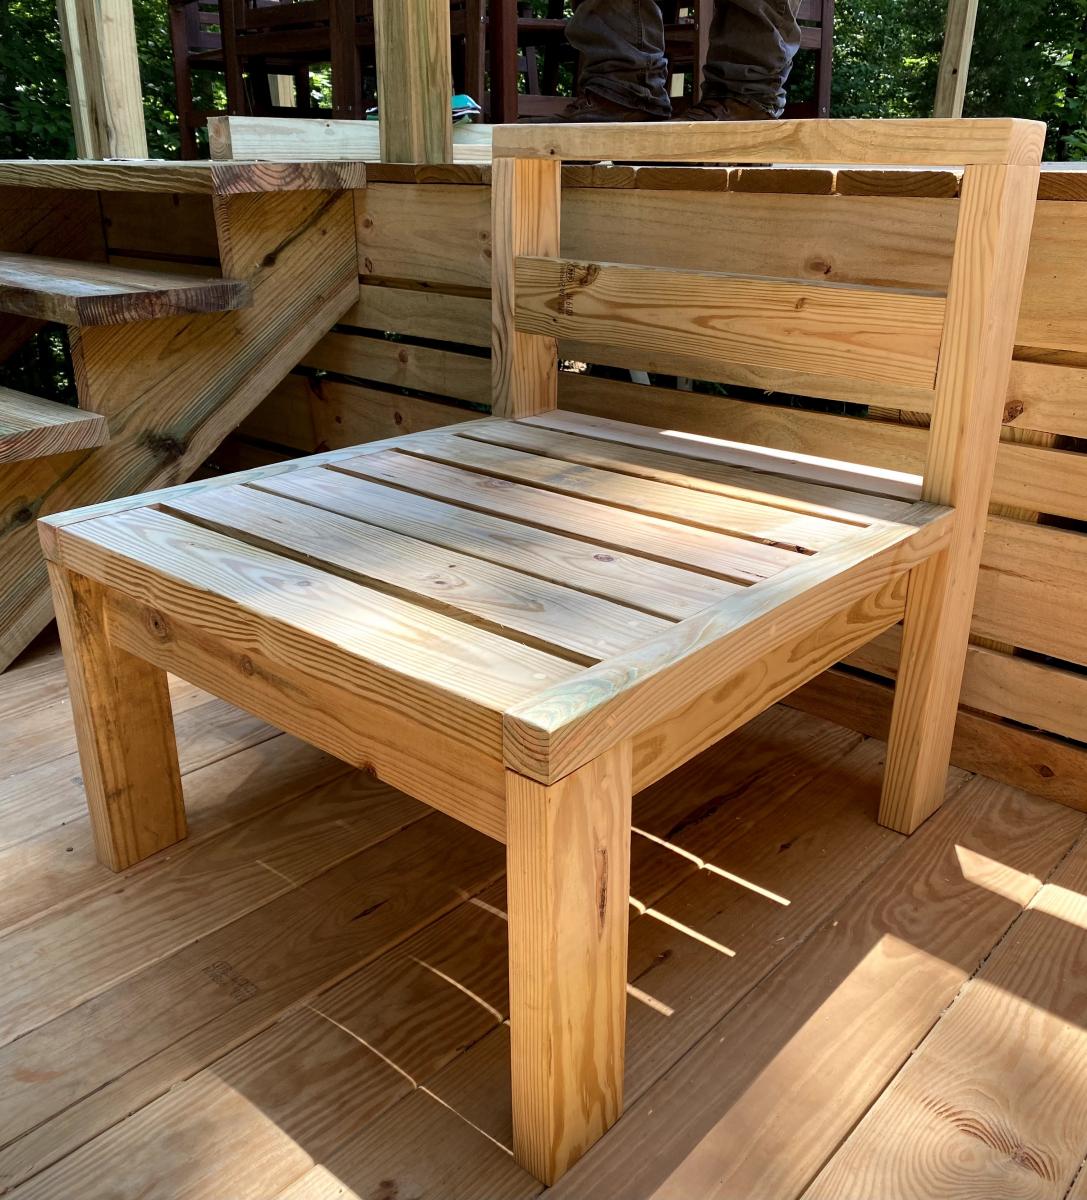
I love the versatility of this furniture. I wanted the ability to move it around in different seating sets. It was my first project with no help from my husband. So very easy to do and follow. I made a few tweaks and made wood plugs for all the screw holes. I plan to stain it later. I used ikea cushions.
Tue, 10/05/2021 - 10:47
YES, love the different options to use and move around as needed! Way to go, thanks for sharing!
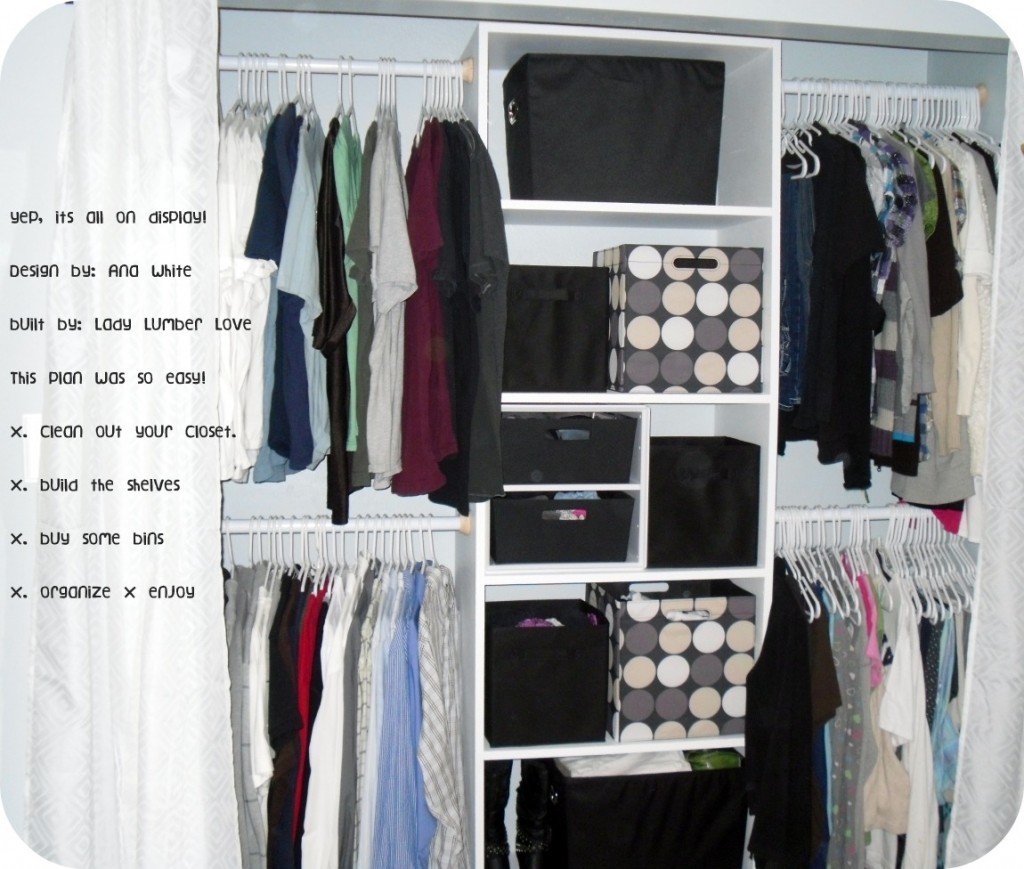
Wood was cut at Lowe’s for this one. We built it in the living room because it was seriously 10 degrees in the garage. It got moved upstairs, where we shimmed it, removed the molding off the wall, and painted it. Then we secured it, installed some rods, bought some bins (all from Target), hung a curtain, and called it a day. I reccomend you save all the scraps from this one, because they make for a free laundry basket dresser, that we also built.
I would love to see someone do this in birch plywood, and stain it for an elegant look!
This project only took a day to build and not the whole day. The painting took a bit I had to do first coat at night then the second one in the morning and flipped and did other side twice...
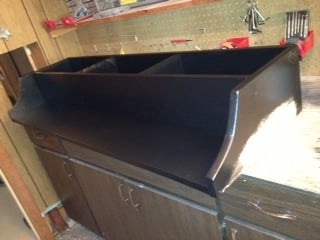
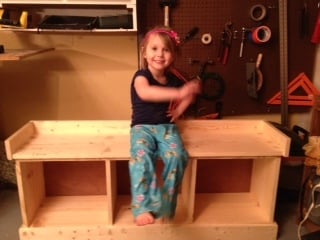
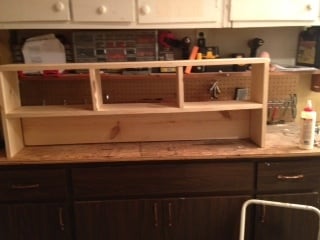
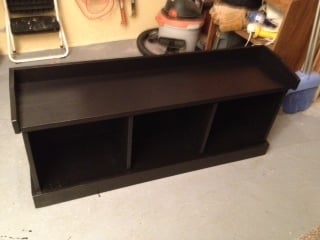
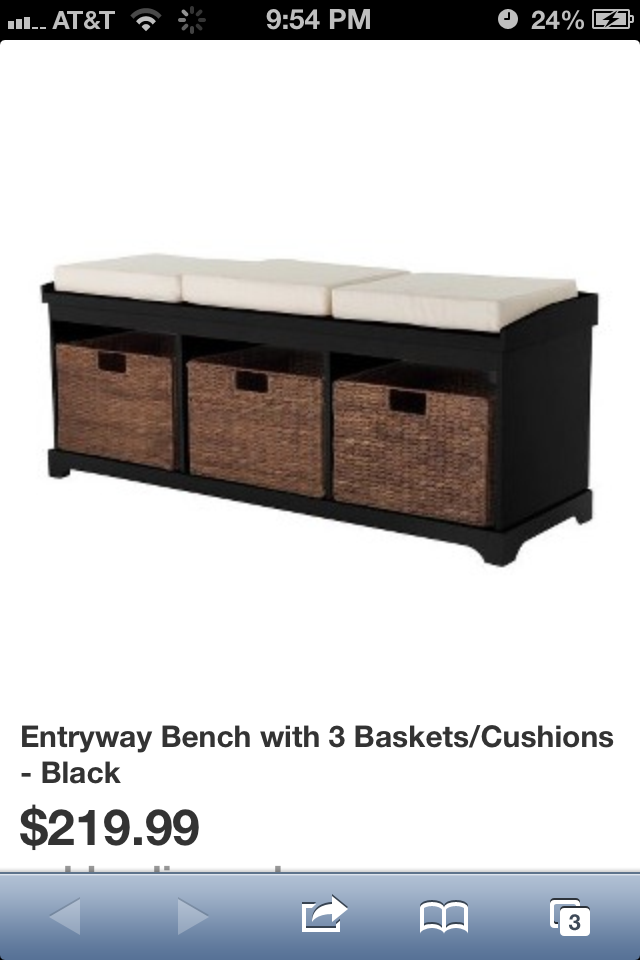

Top is using old scrap 4 x 10 sanded down to 220 grit and the 2 x 6 is cut at 10 degree so it support the top using pocket hole jig, I used 4 3.5 inch deck screw

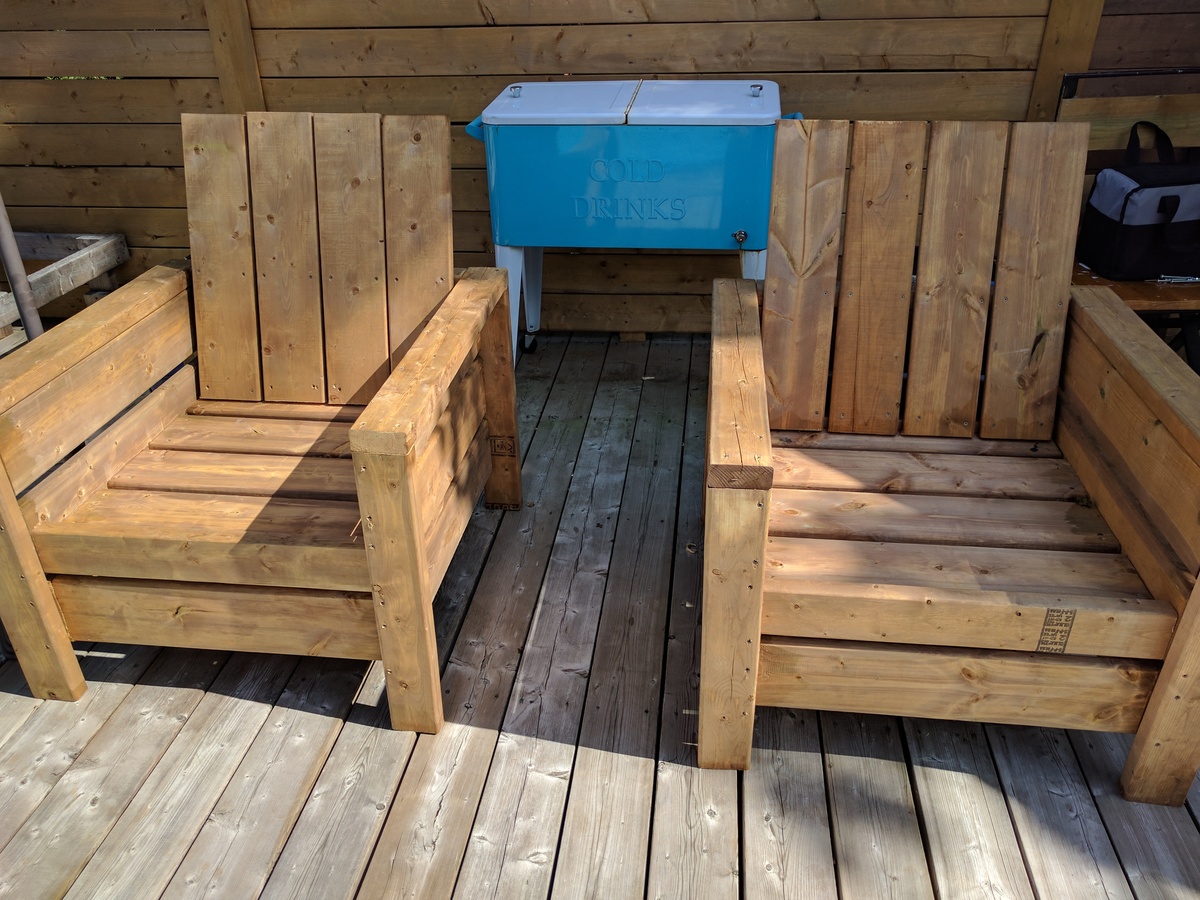
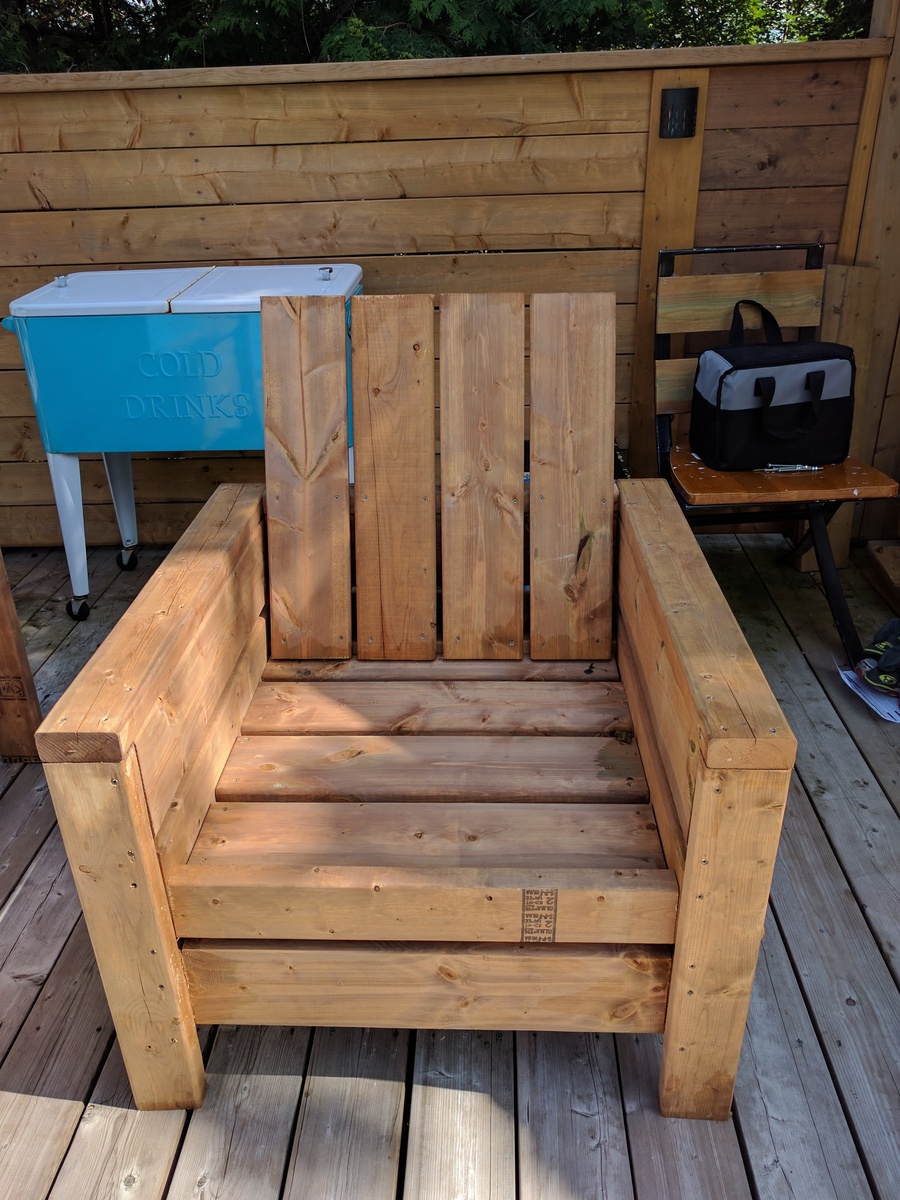
Thanks for the plans Ana. I substituted 5/4 x 6 for the 2x6 and it is plenty strong and sturdy. Also added an angled back to support 24x24" cushion. Very pleased with the finished chairs.
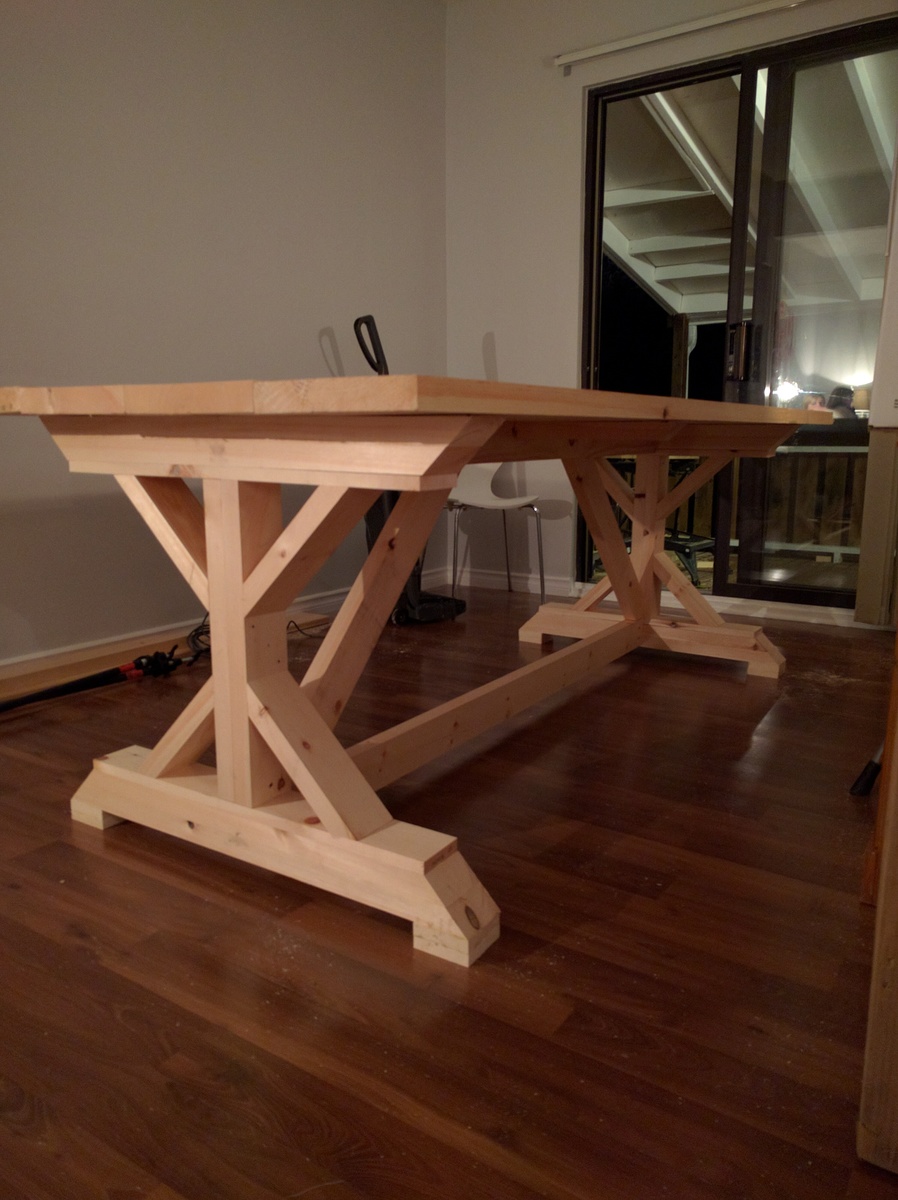
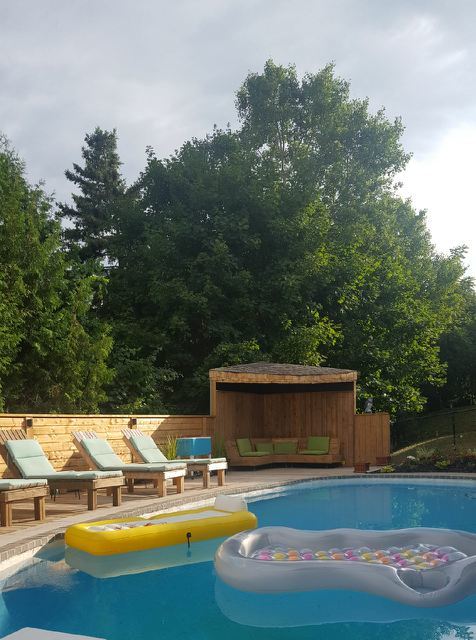
BTW: I have now used 4 of your plans. The X harvest table, an outside dining table and patio loungers (4 of them) and the box chairs. Cheers!
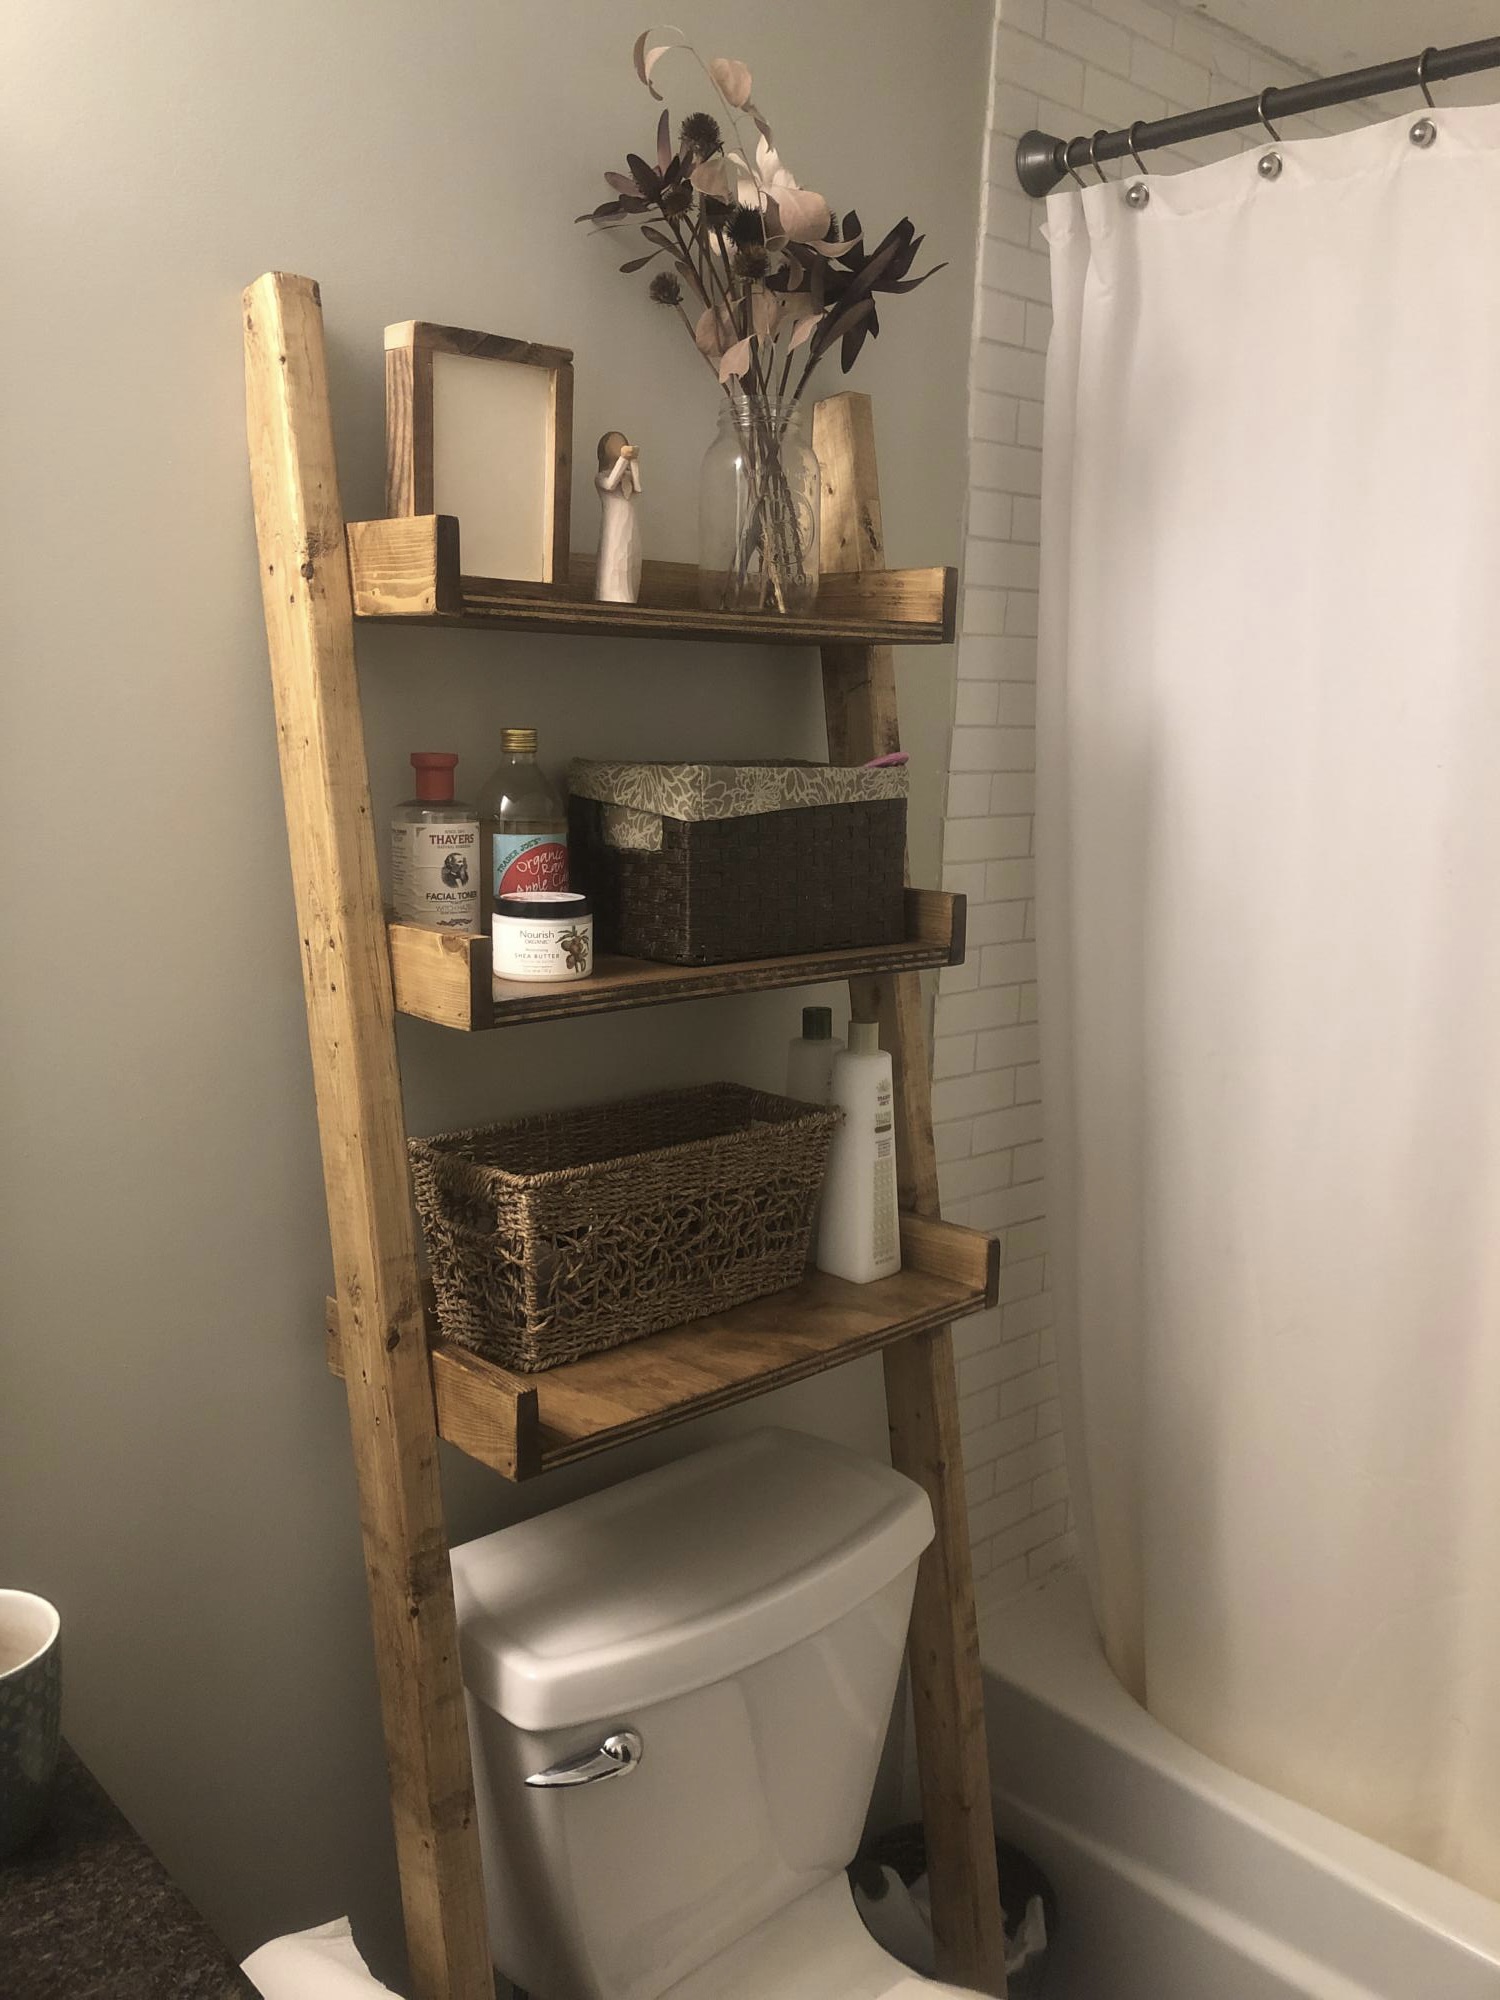
I made this less wide then the plans to fit in my small bathroom. Thank you for these wonderful
Plans!
Tue, 10/05/2021 - 09:49
Wonderful mods, fits like a glove and adds so much storage! Thanks for sharing:)
I love this little table!
I made 3 at the time. One for me, one for my sister, and one for my mom.
I had a little trouble with it not being level when I finished. I just sanded the bottoms of the legs until they all cooperated.
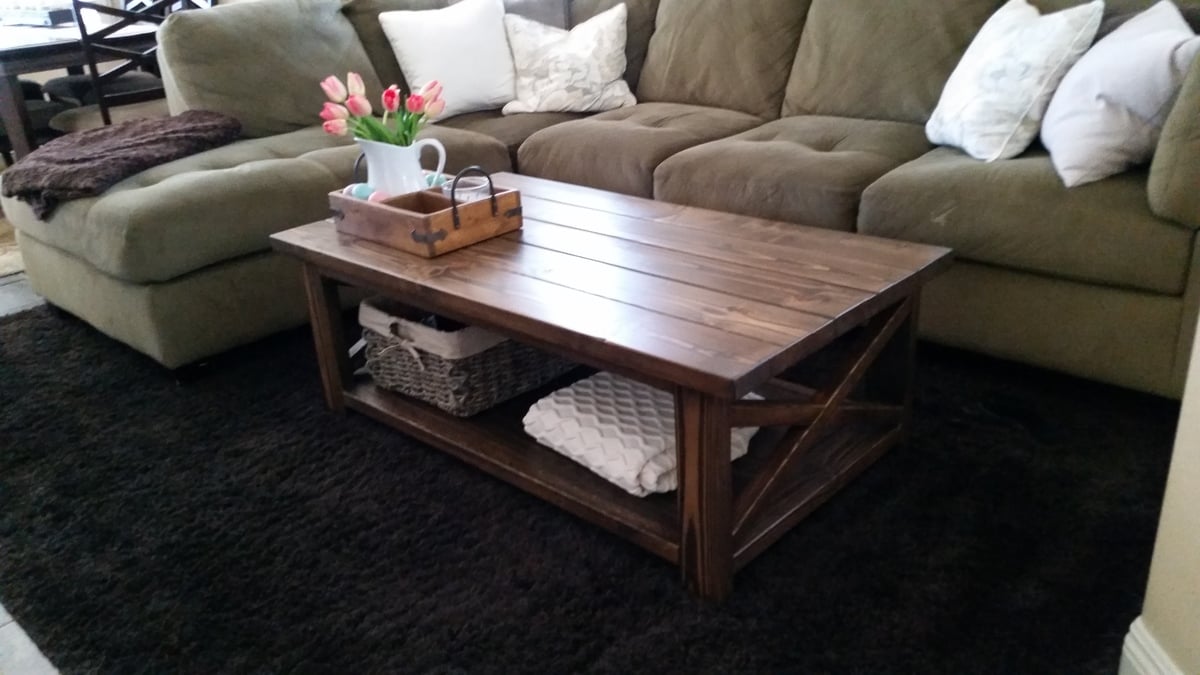
I found the plans for this table after googling "rustic coffee table". I had planned on purchasing a table until I saw this photo and LOVED it. It took a little time to convince my husband to take this on with me since neither one of us has experience building furniture. We decided to purchase the wood from a higher end lumber yard since the big box stores didn't carry much kiln dried lumber. We wanted to start on our project without having to wait for the lumber to dry out in the sun first.
This is definitely a two "man" job. The only issue we had was figuring out the "x's" since our saw didn't go past 45 degrees. We decided to just eye ball it and made the cuts. The cuts came out perfect. We also had some issue trying to figure out how to secure the "x's". After a few strategically placed screws and some wood glue, they stayed put and look great! We also took a lot of time sanding and picking out the perfect stain. We decided not to do the oxodizing treatment (husband vetoed that) and instead mixed two shades of minwax satin stain. I am so happy with the end result!
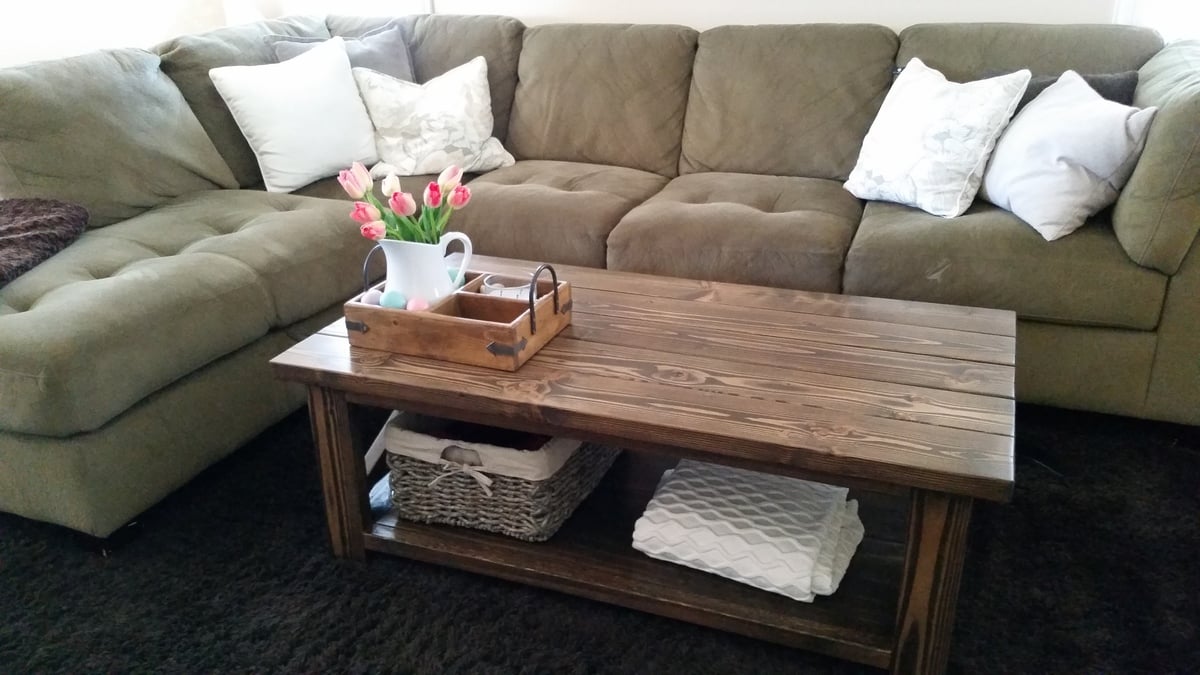
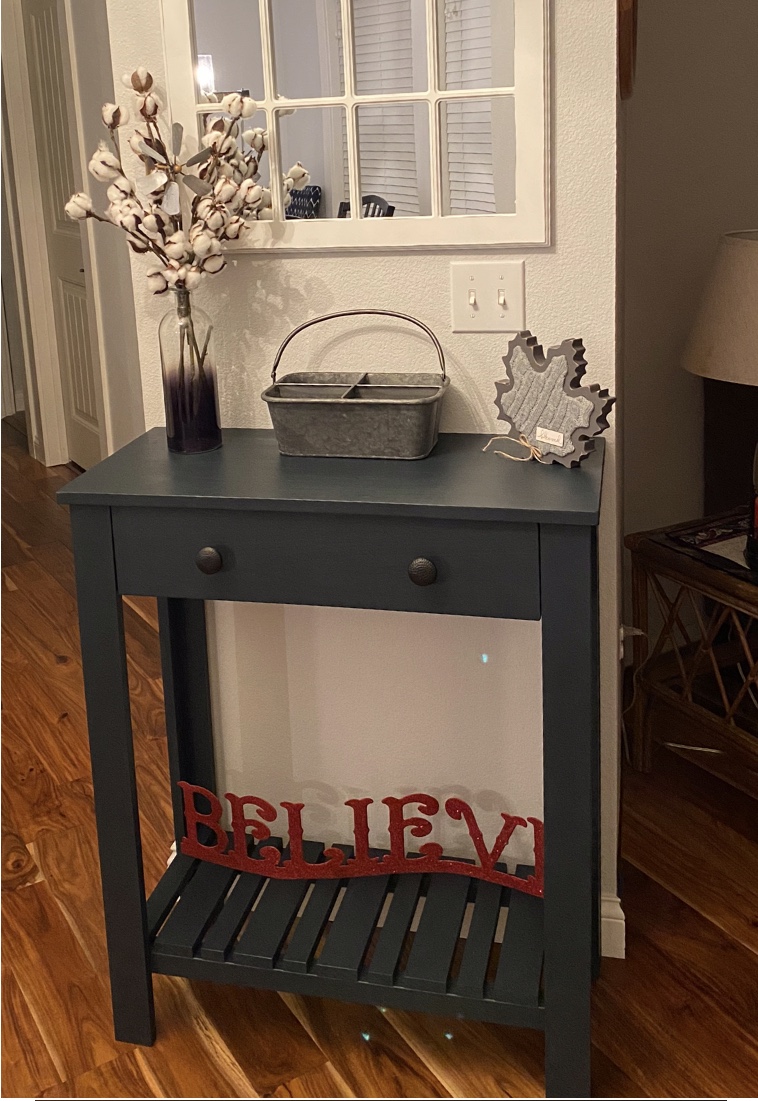
I used one by material because I wanted a piece that was less bulky. I also made side tables from the same plan.8 love these, they are exactly what I have been looking for!
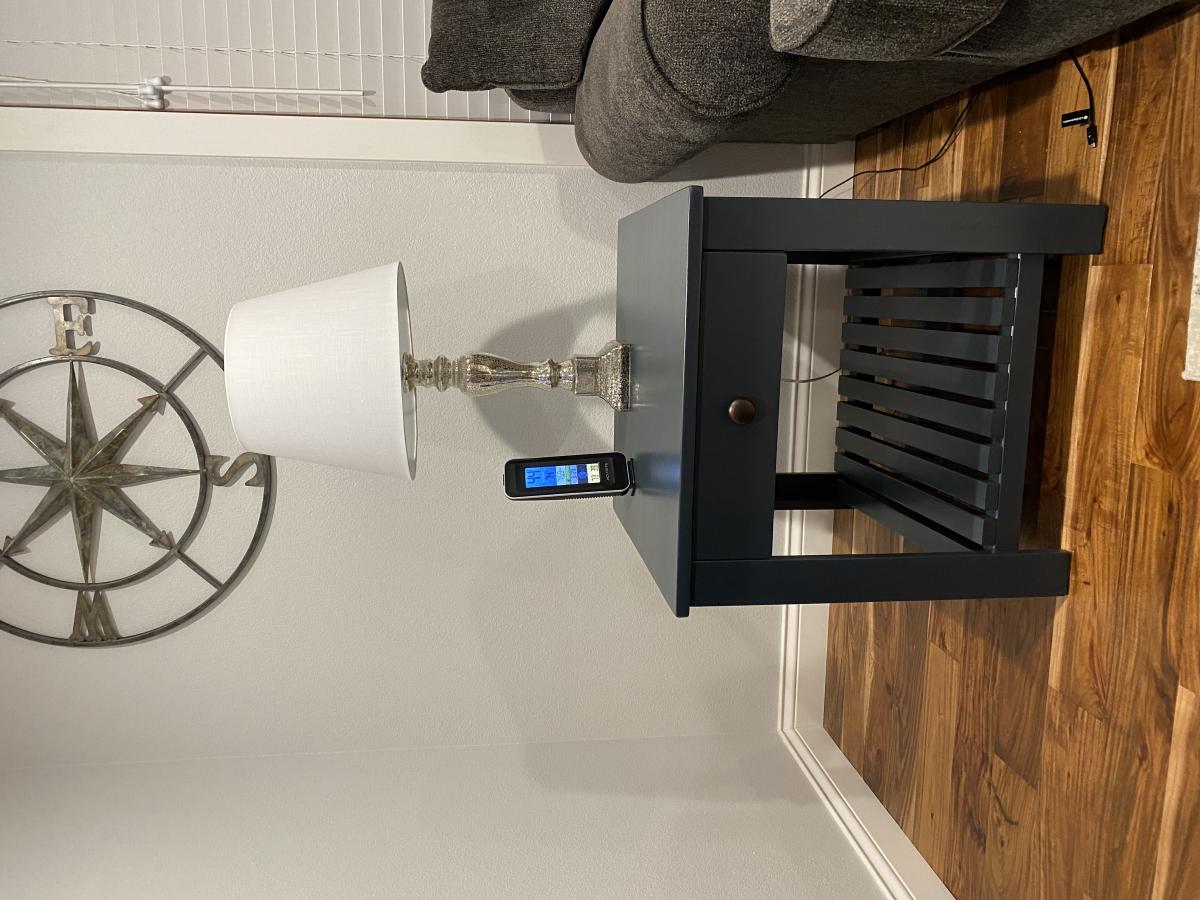
Mon, 10/04/2021 - 16:55
Excellent builds, love the color choice! Thank you for sharing ~
Crate cart made from pallet wood.
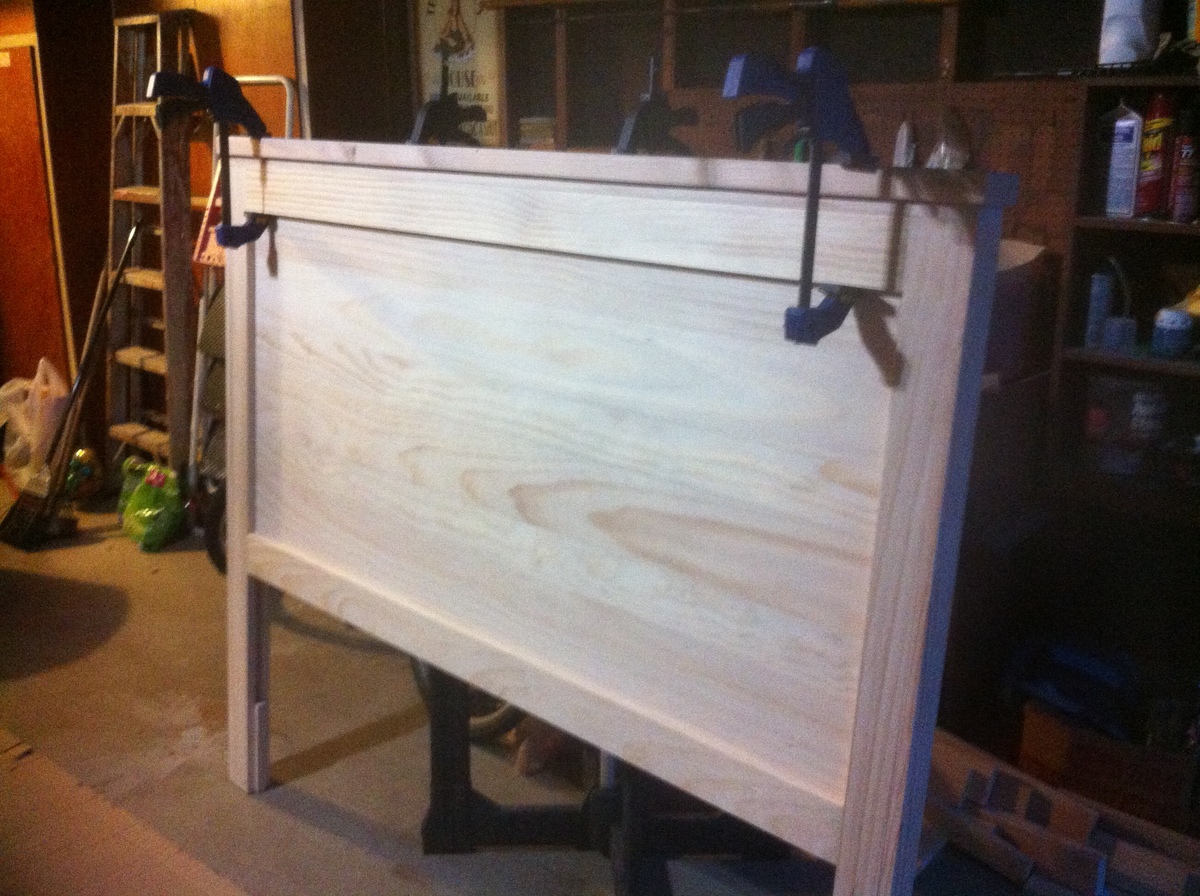
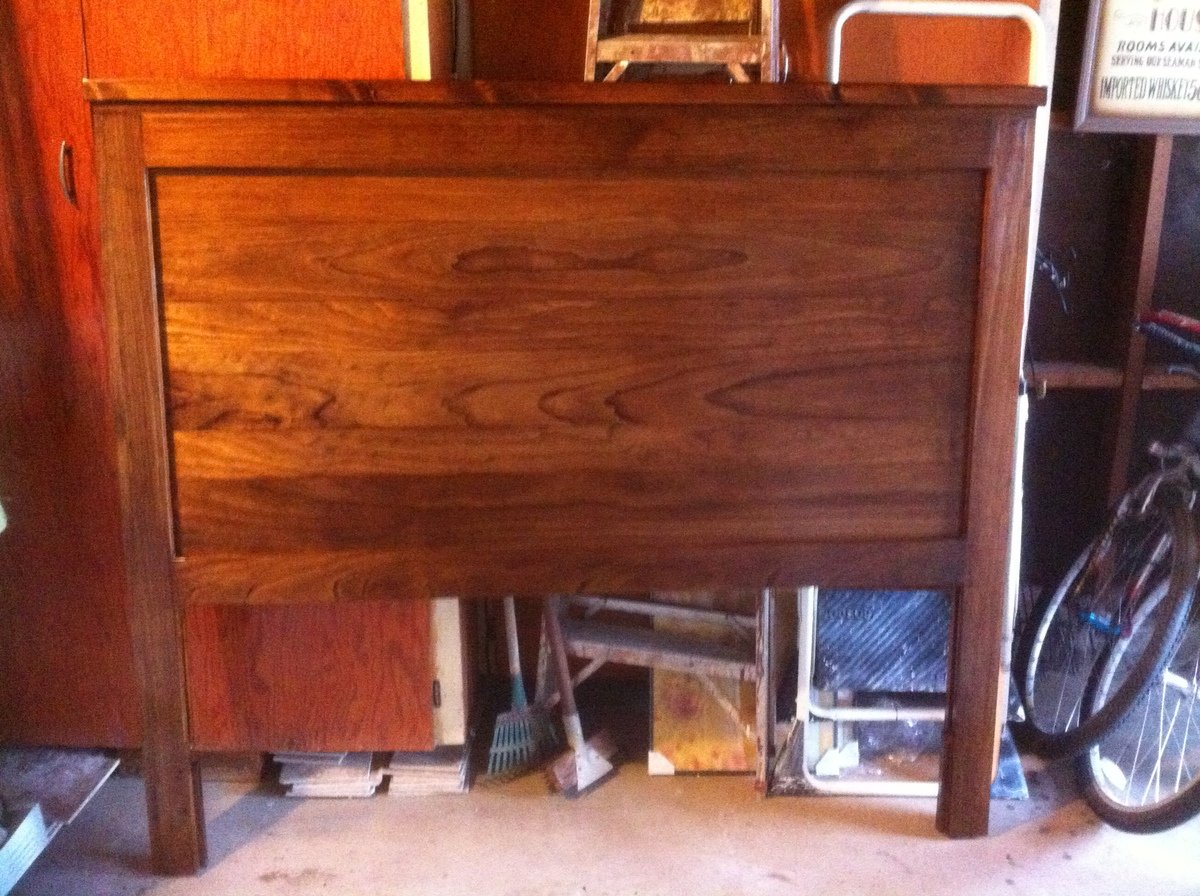
This is my first project, and it turned out really well! I bought the wood at Home Depot. It is pine (except for the crowning 2x4, that's douglas fir because Home Depo didn't have that size in pine) and I probably spent about $150 just on the wood, and then I also bought a palm sander, corded drill, circular saw, and Kreg Jig. I also bought pre-stain, stain, and polycrylic finish which added another $45. Plus I spent money on sand paper, clamps, Kreg Jig screws, and some nails.
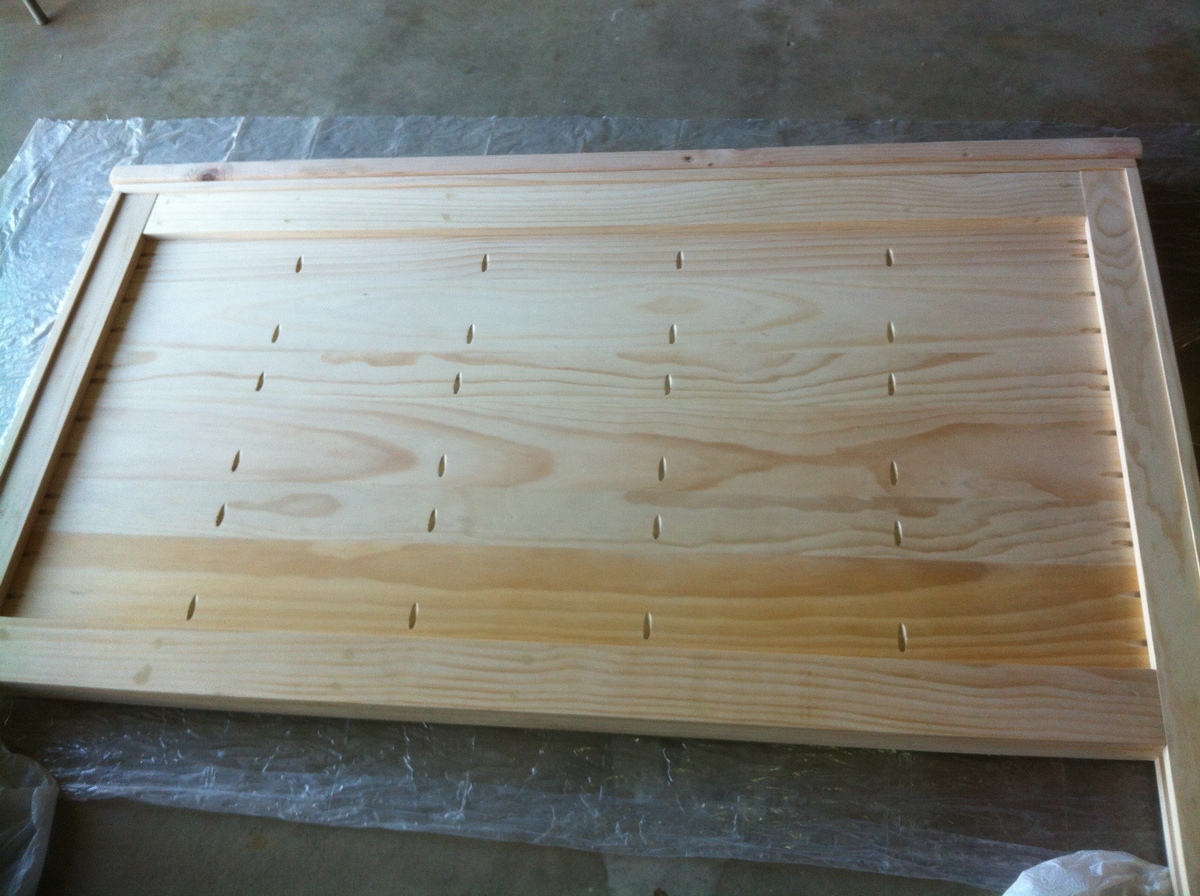
I included the picture of the back to show how I used the Kreg Jig. I used it to not only attach the middle part to the sides, but I made the middle part one connected piece so it would be extra sturdy, tight, and pieces would not bow when leaned against. The back isn't pretty, but it's against the wall so no one can see. The Kreg Jig is awesome and I'm glad I bought it so I can do other projects.
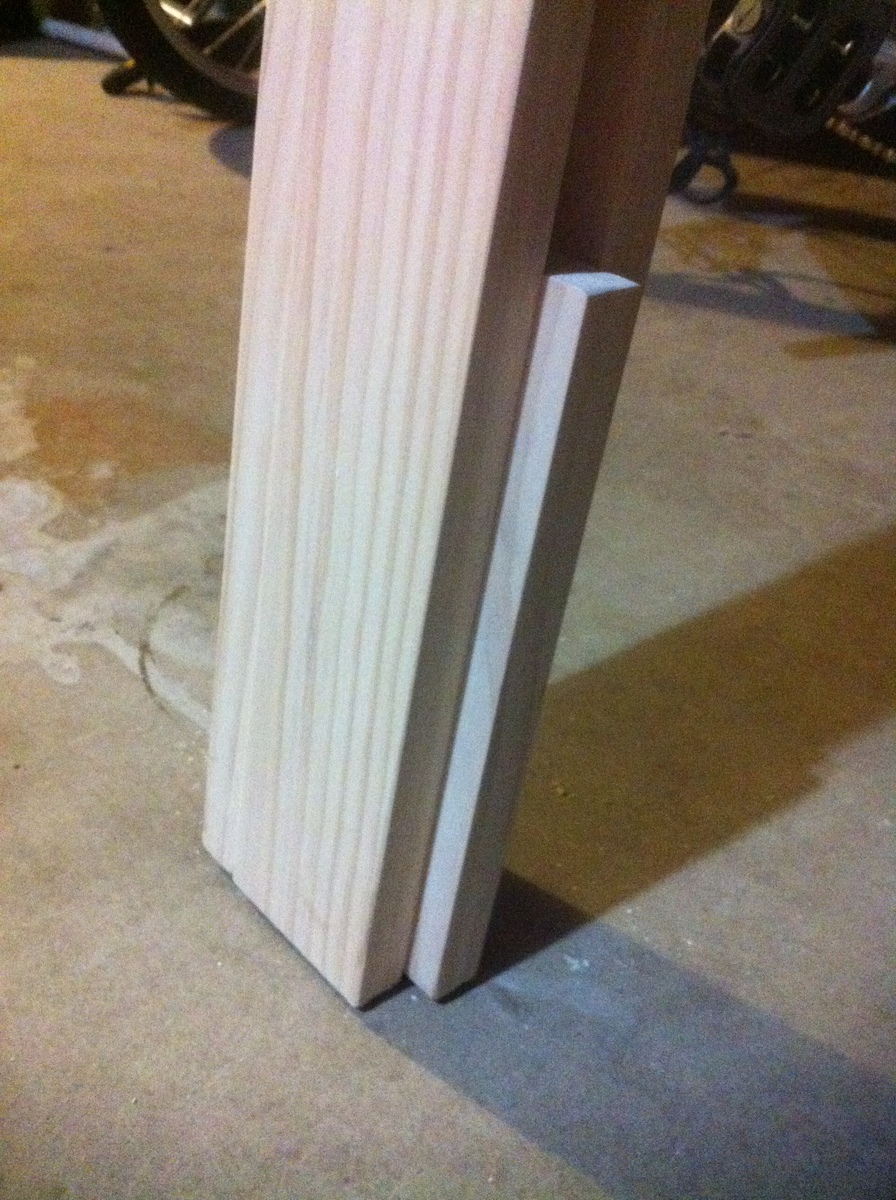
I also included a photo of the bottom of the side. I used a scrap piece of wood to make it more sturdy since that's where I drilled the holes to bolt it to the bed's metal frame.
Between sanding, assembly, and finishing I worked on this over the course of about two months on the weekends. If you don't sand much and keep the finish more simple you could potentially get it done really fast. But since this is something we plan on using in our master bedroom for years to come I wanted to try to make it perfect. It still has a handful of mistakes (I learned a lot), but my joke is "it's a reclaimed wood headboard."
Now that I've got the tools I'm on to building matching side tables, and pending that goes well the plan is to build a dresser.
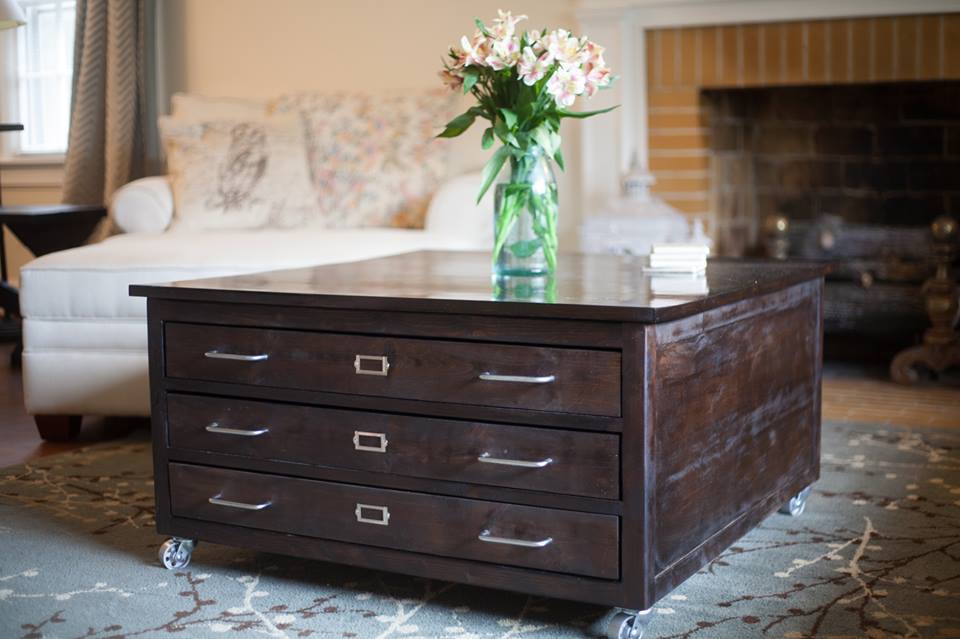
Coffee Table
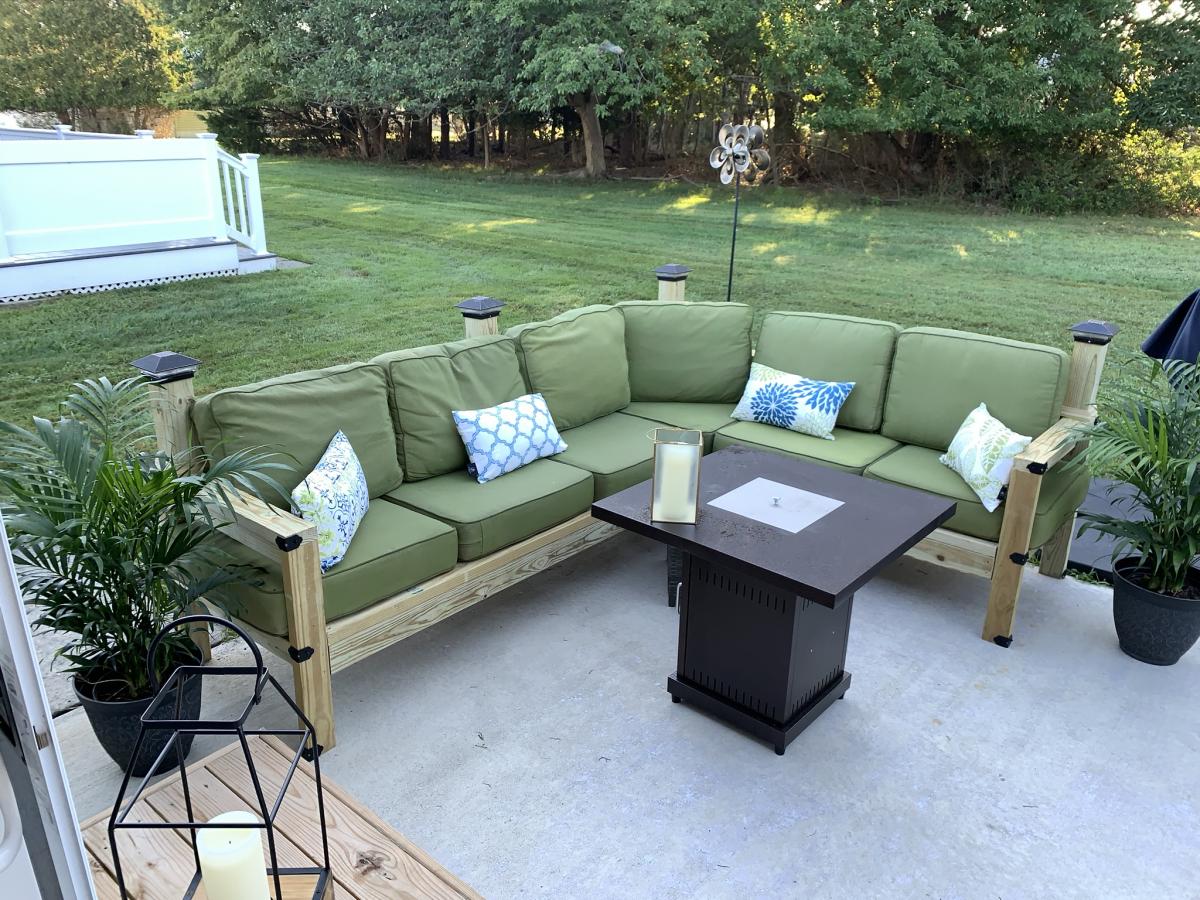
Build an outdoor sectional easily with these free plans.
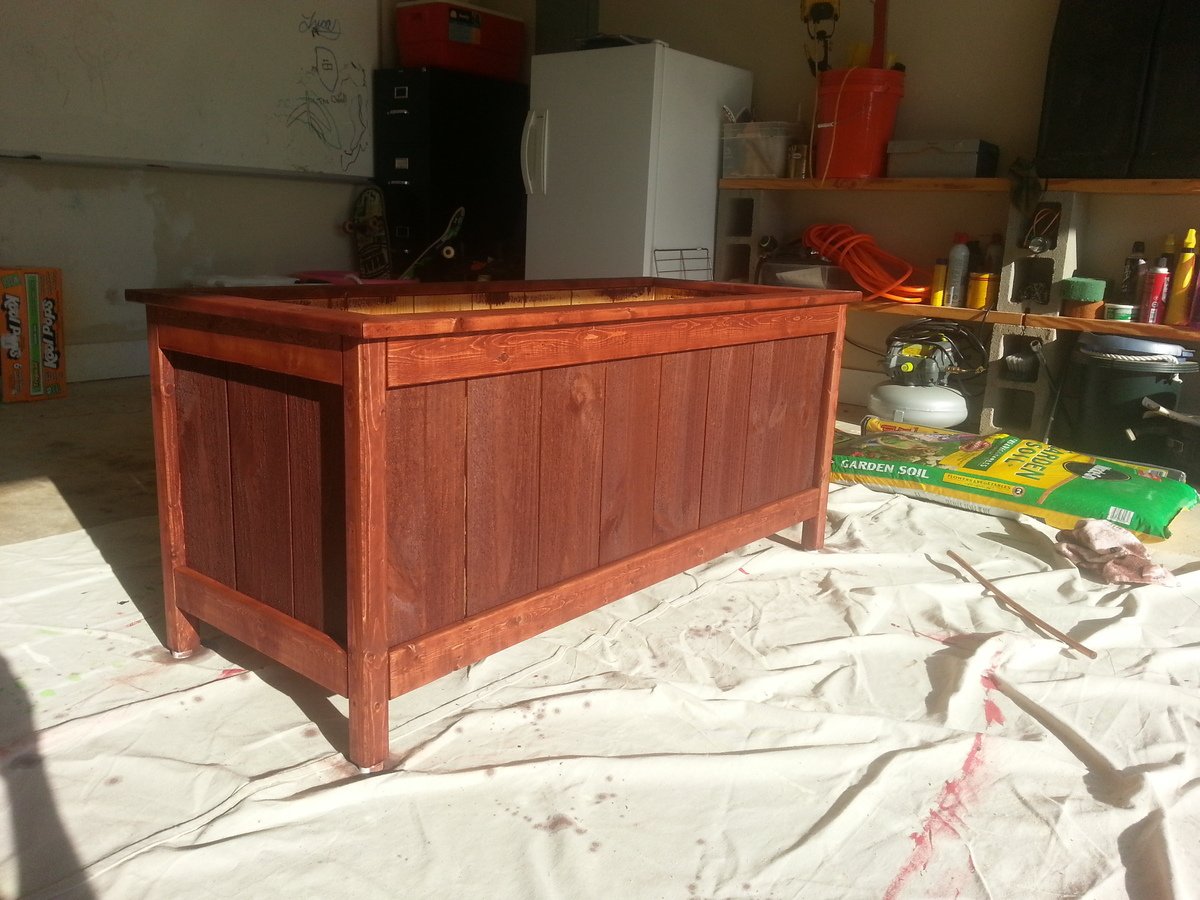
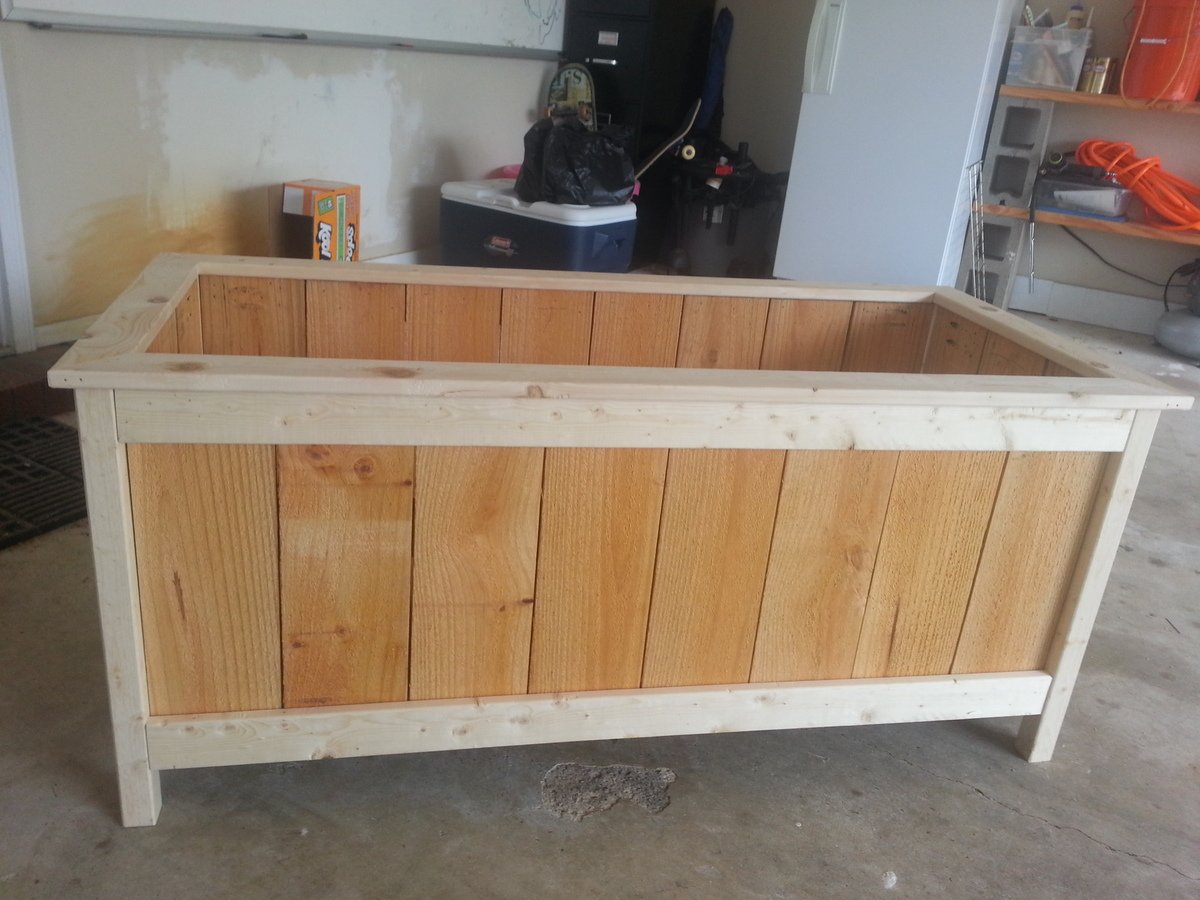
I modified the plan a little to make a rectangular 4 foot long planter and added a top.
Sun, 06/26/2016 - 18:25
I know it's been 3 years, but do you recall how many cedar boards you bought? This is the exact size i need. Thanks.
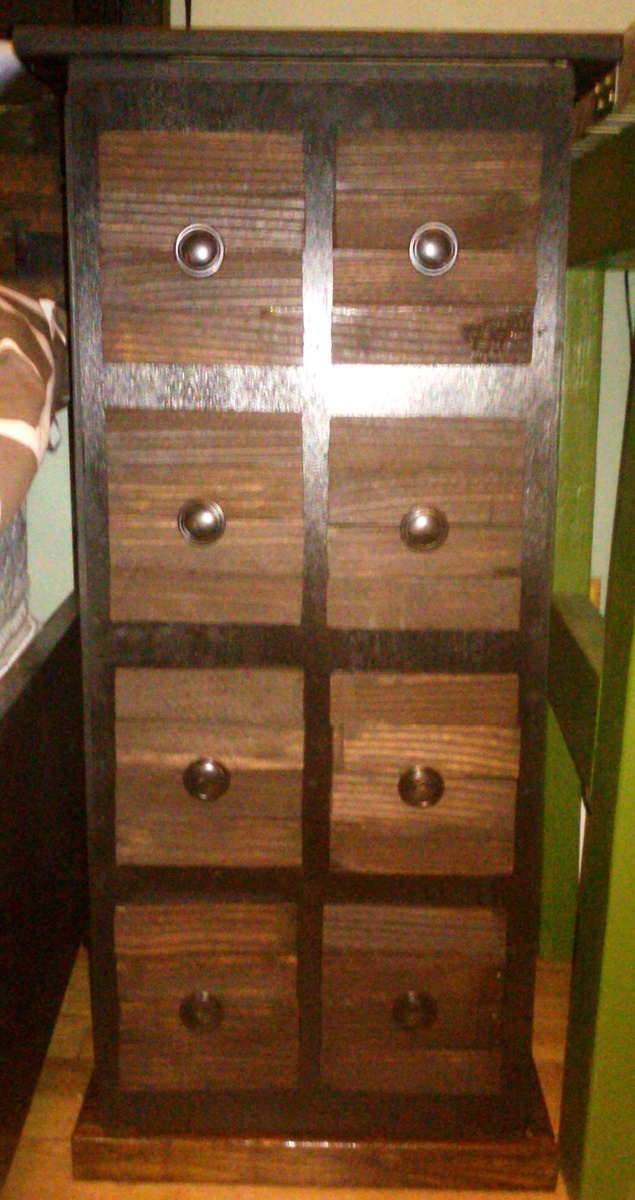
I made the shim bed a long time ago and really liked the look and height of the apothecary side table. I can put all my books and stationary and the stuff I want stashed next to my bed. I modifyied the plan slightly to have shims make up the front panels so it has a slight rustic feel to it and matches my bed. Thanks to Ana's plans I am starting to make my own bedroom set for under $300 bucks and completely to my taste.

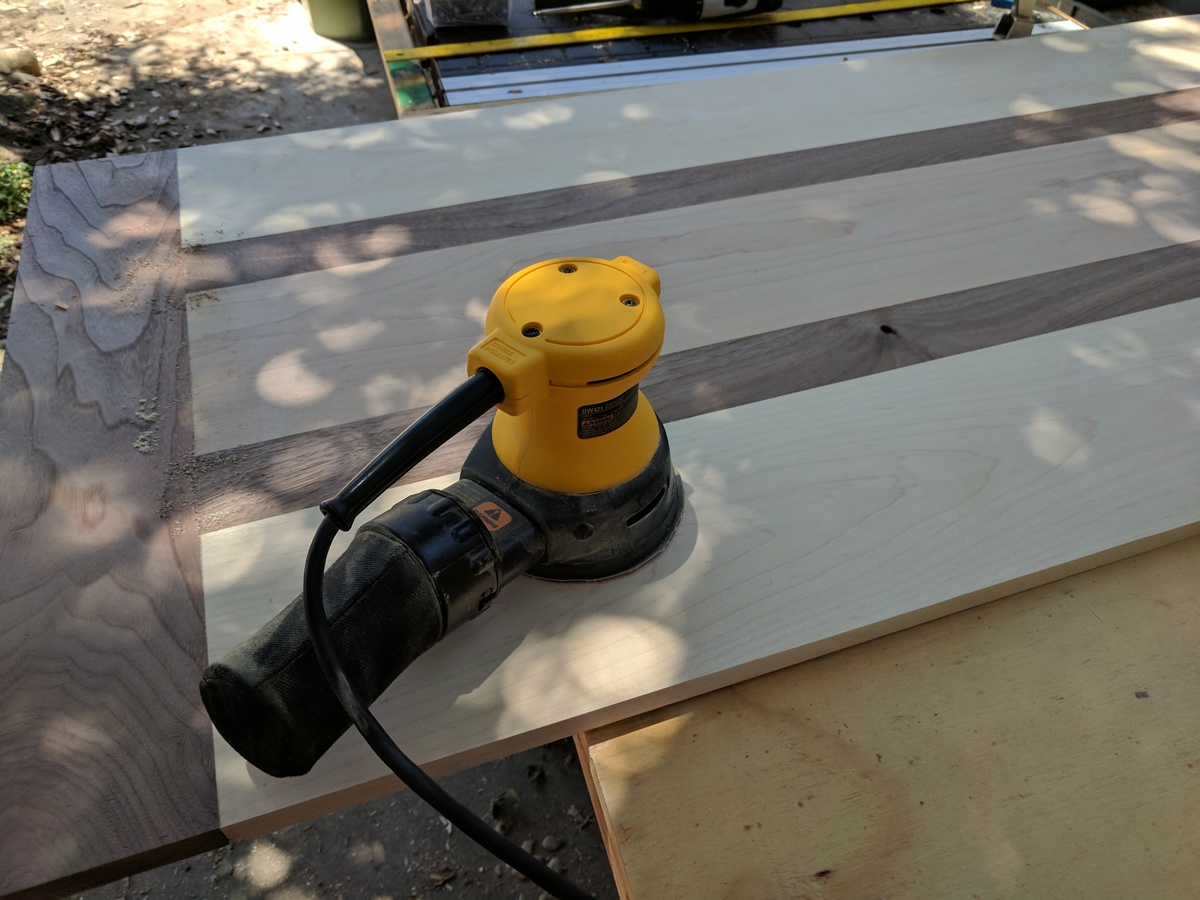
I really liked the basic table design. But since it was going in my wife's medical office I decided to make the top out of Maple and Walnut. It turned out to be a very big job. I had to Straighten the edges of the boards so that they would fit together without a space between the boards and then put them through a planer. I then glued the edges and used Kreg screws to put it all together. Surprisingly it all fits and the base sits flat and level. I spent a great deal of time measureing all of the 2 X 4s in an effort to make sure that the base was level and the angles all work.



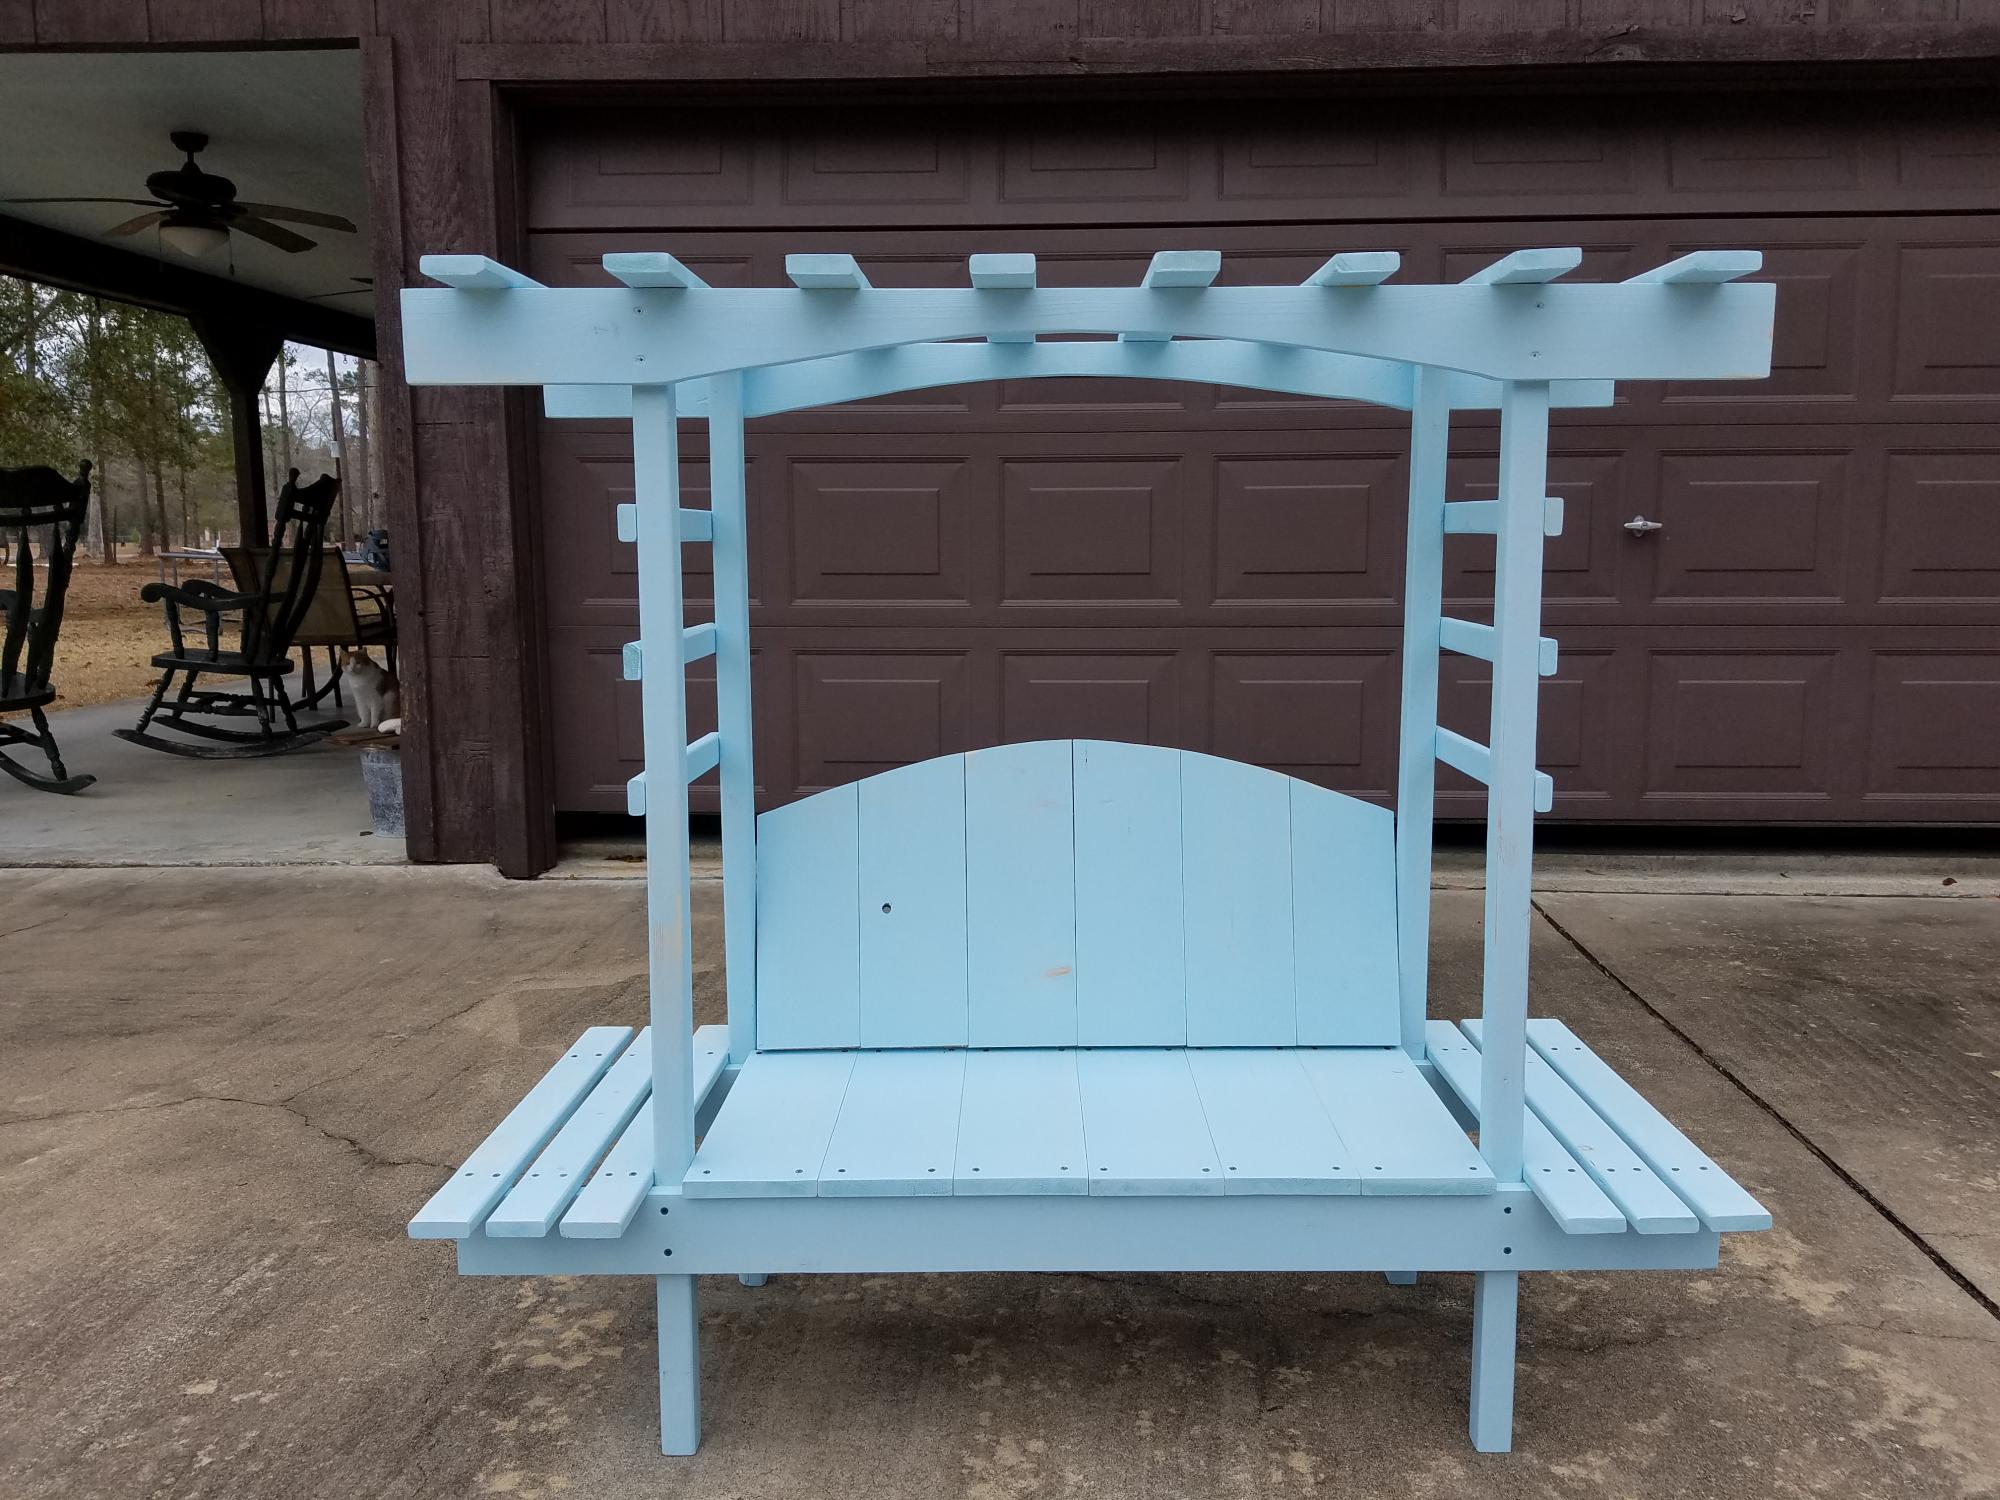
I love the way this bench turned out! And your plans were so simple to follow (as always). Thanks do much for sharing all your plans!!
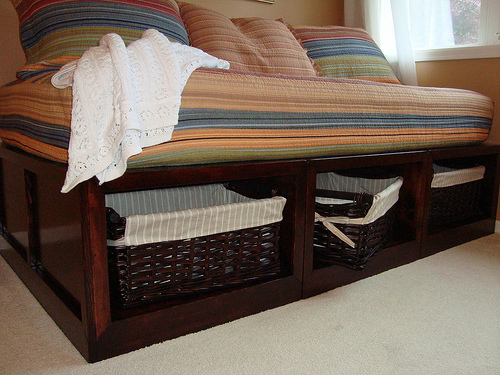
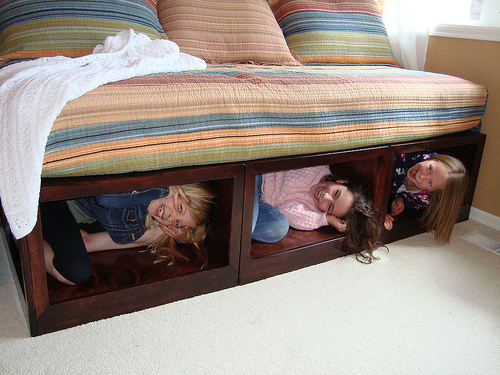
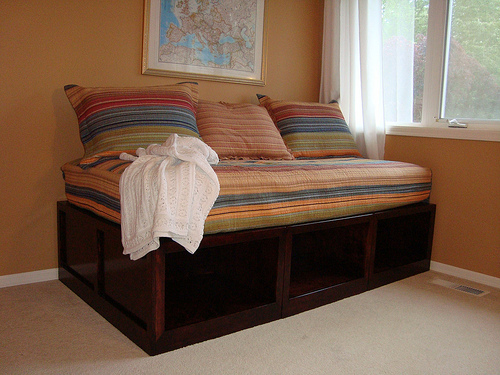
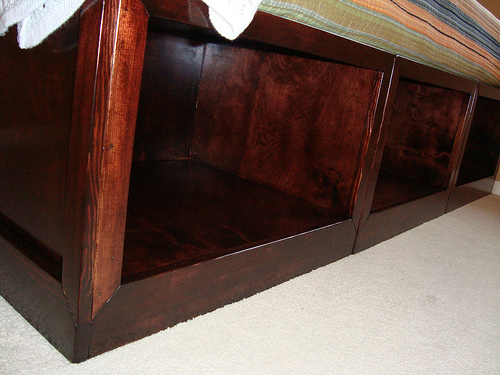
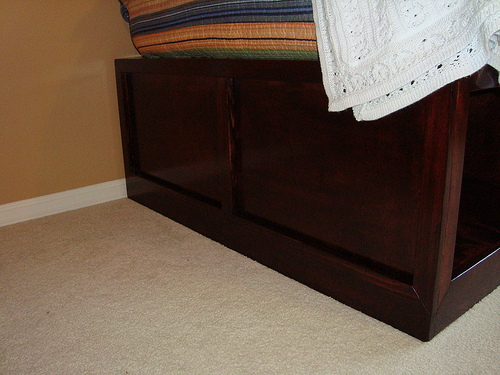
Ana White storage daybed with baskets! Of all the projects I've done based on Ana's plans, this is my favorite. It was my first staining project EVER so I was terrified. I am so in love with how this turned out. The boxes were made using birch plywood and the trim was all pine. Lots of gorilla wood glue (I think it's the least drippy) and a mix of nails (using our new nail gun) and countersunk screws. I used screws for the plywood and nails for the trim. After sanding... and sanding... and sanding... :) Finish is two coats of Minwax Red Mahogony stain (conditioned it first) and then three coats of Minwax Fast Drying Polyurethane in semi-gloss. Did I mention how much I love this color????? I did my best to get all of the glue sanded out, but I did miss in a few spots (end of this cubby...) But I am still thrilled because you can hardly notice. I've used a miter saw before, but never MITERED corners like this and I am so proud of my self with how they came out! :) I used longer, narrow felt pads along the bottom of each bench (for on each). On the bed is the Katy 5-Piece Daybed Set from Amazon. I got the sweater-like throw on Overstock.com. Baskets from World Market! :)
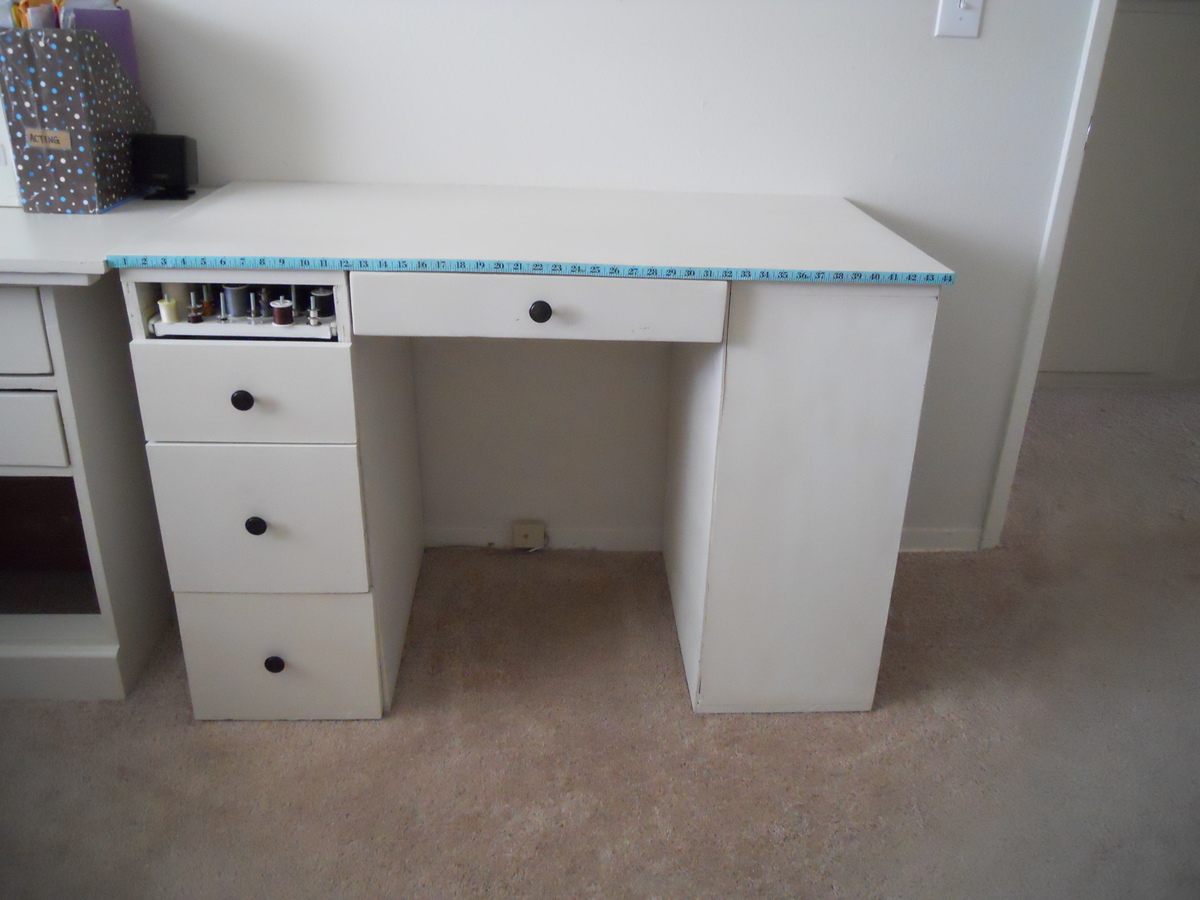
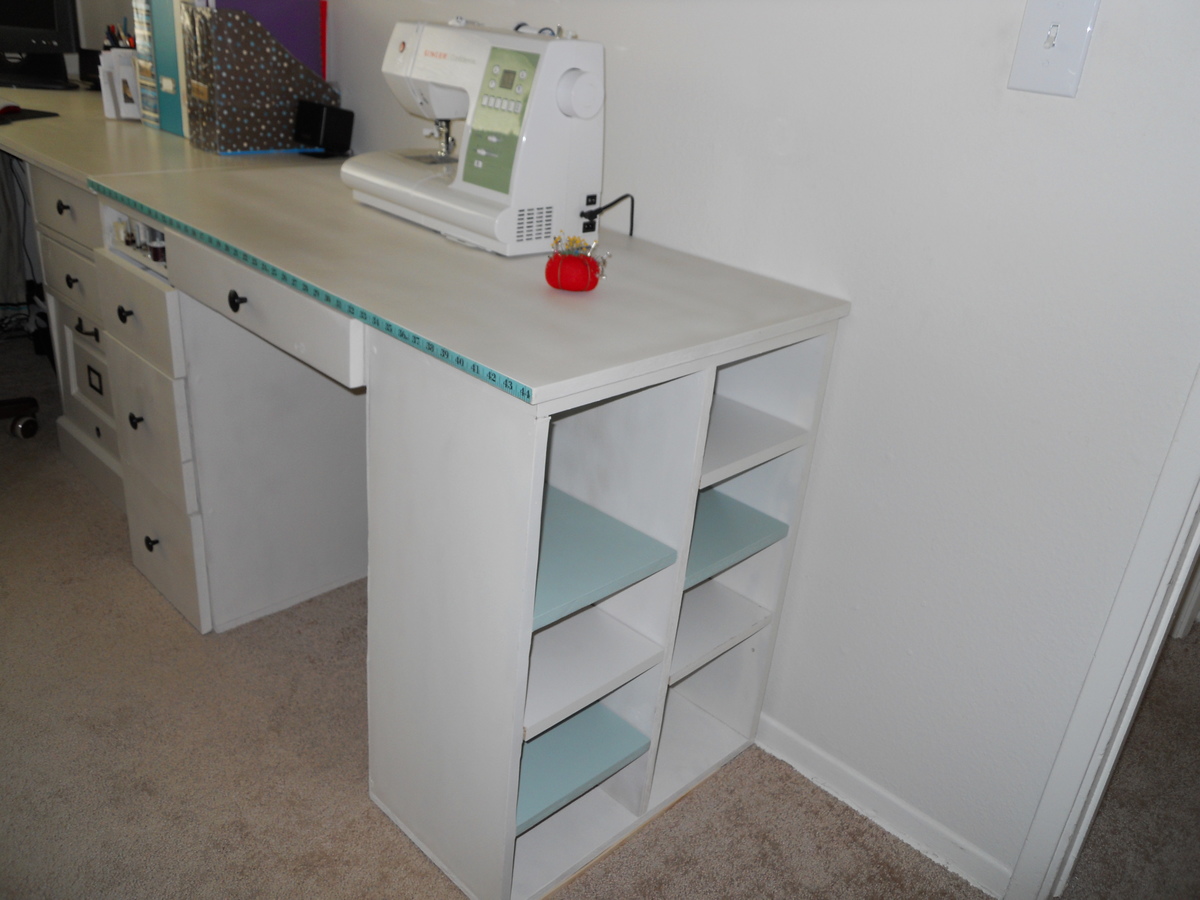
With some modifications, the Cubby bookcase Craft Table!
Particular things I changed to fit my needs:
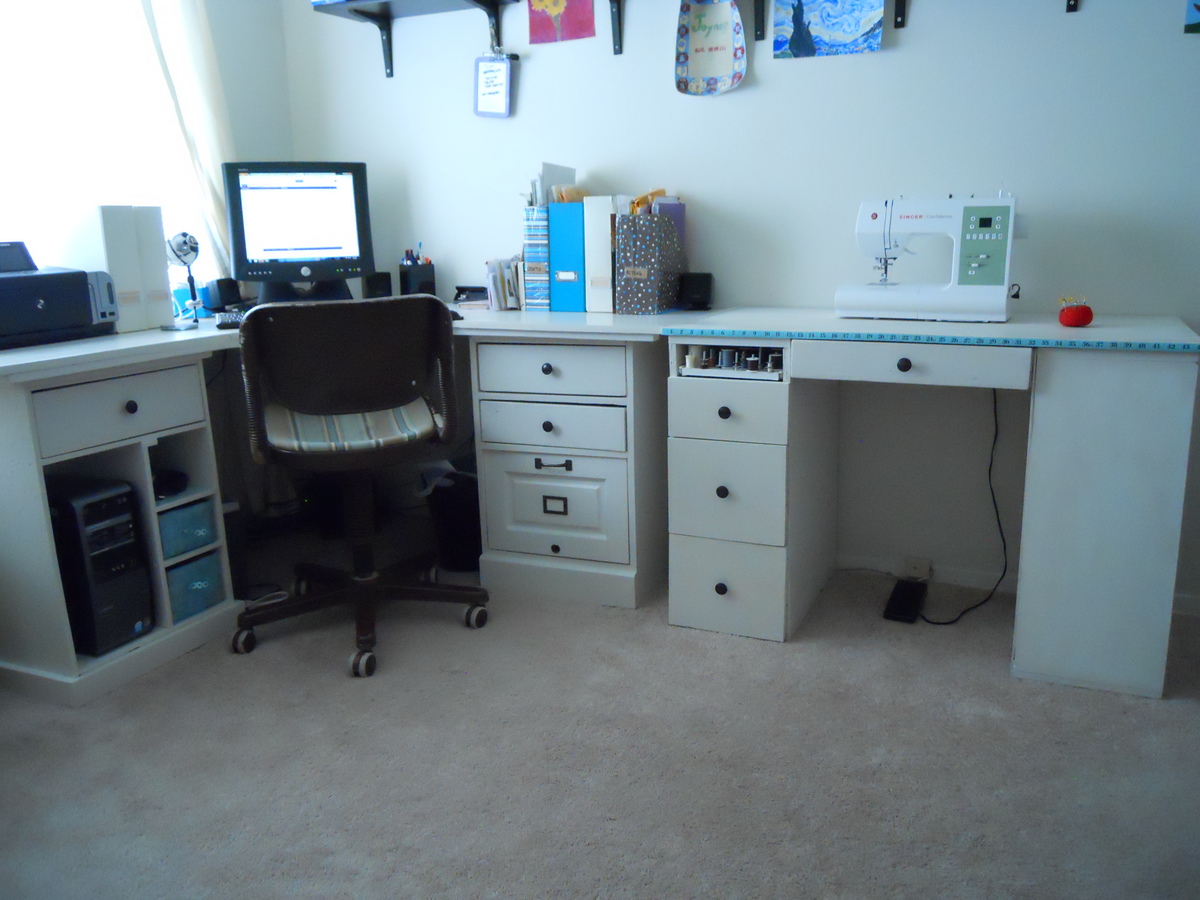
Made it to fit next to the corner desktop so I could have one long cohesive workstation that looked more built-in. That meant drawers on the left instead of cubbies. I glued a tape measure on the front for material cutting.
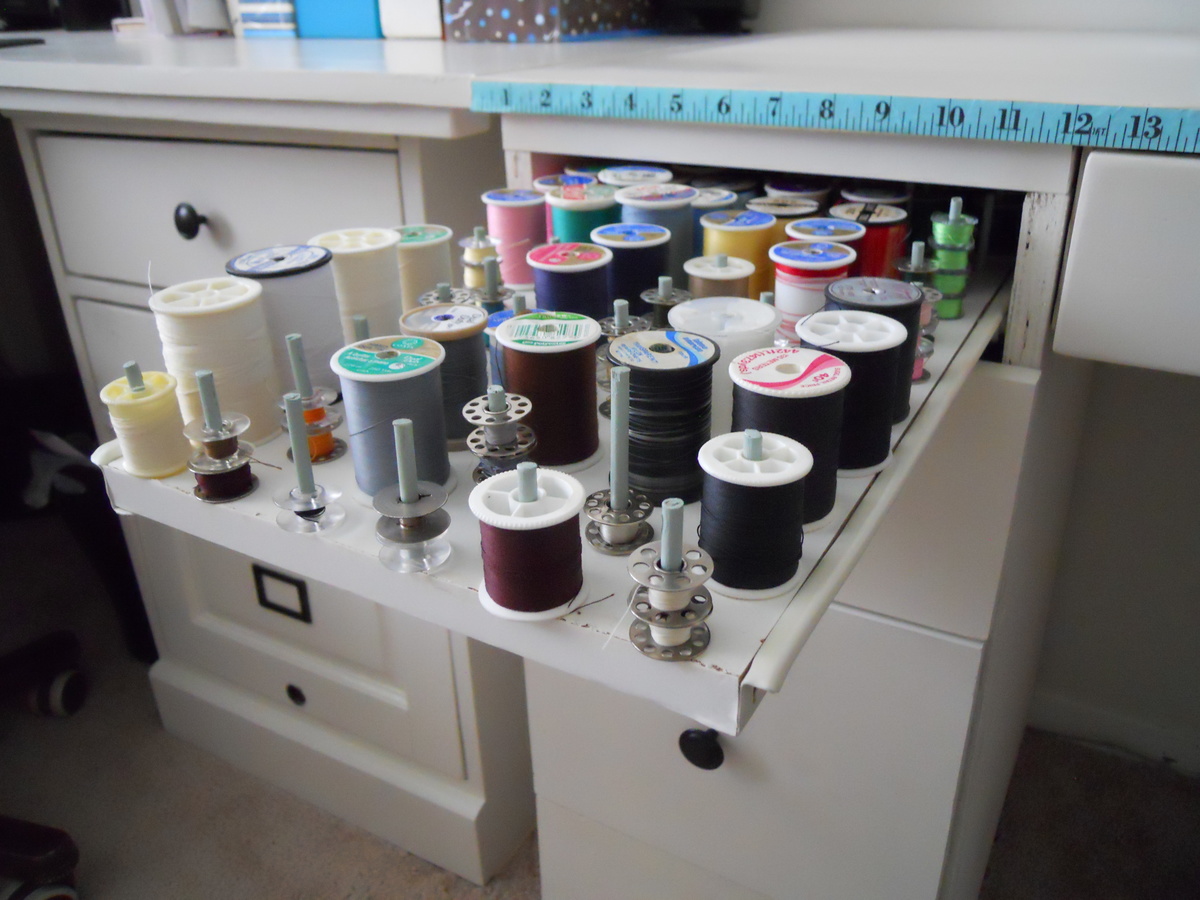
And, the piece de resistance: A roll-out spool holder.
I am VERY happy with how this turned out. Thank you Ana!
