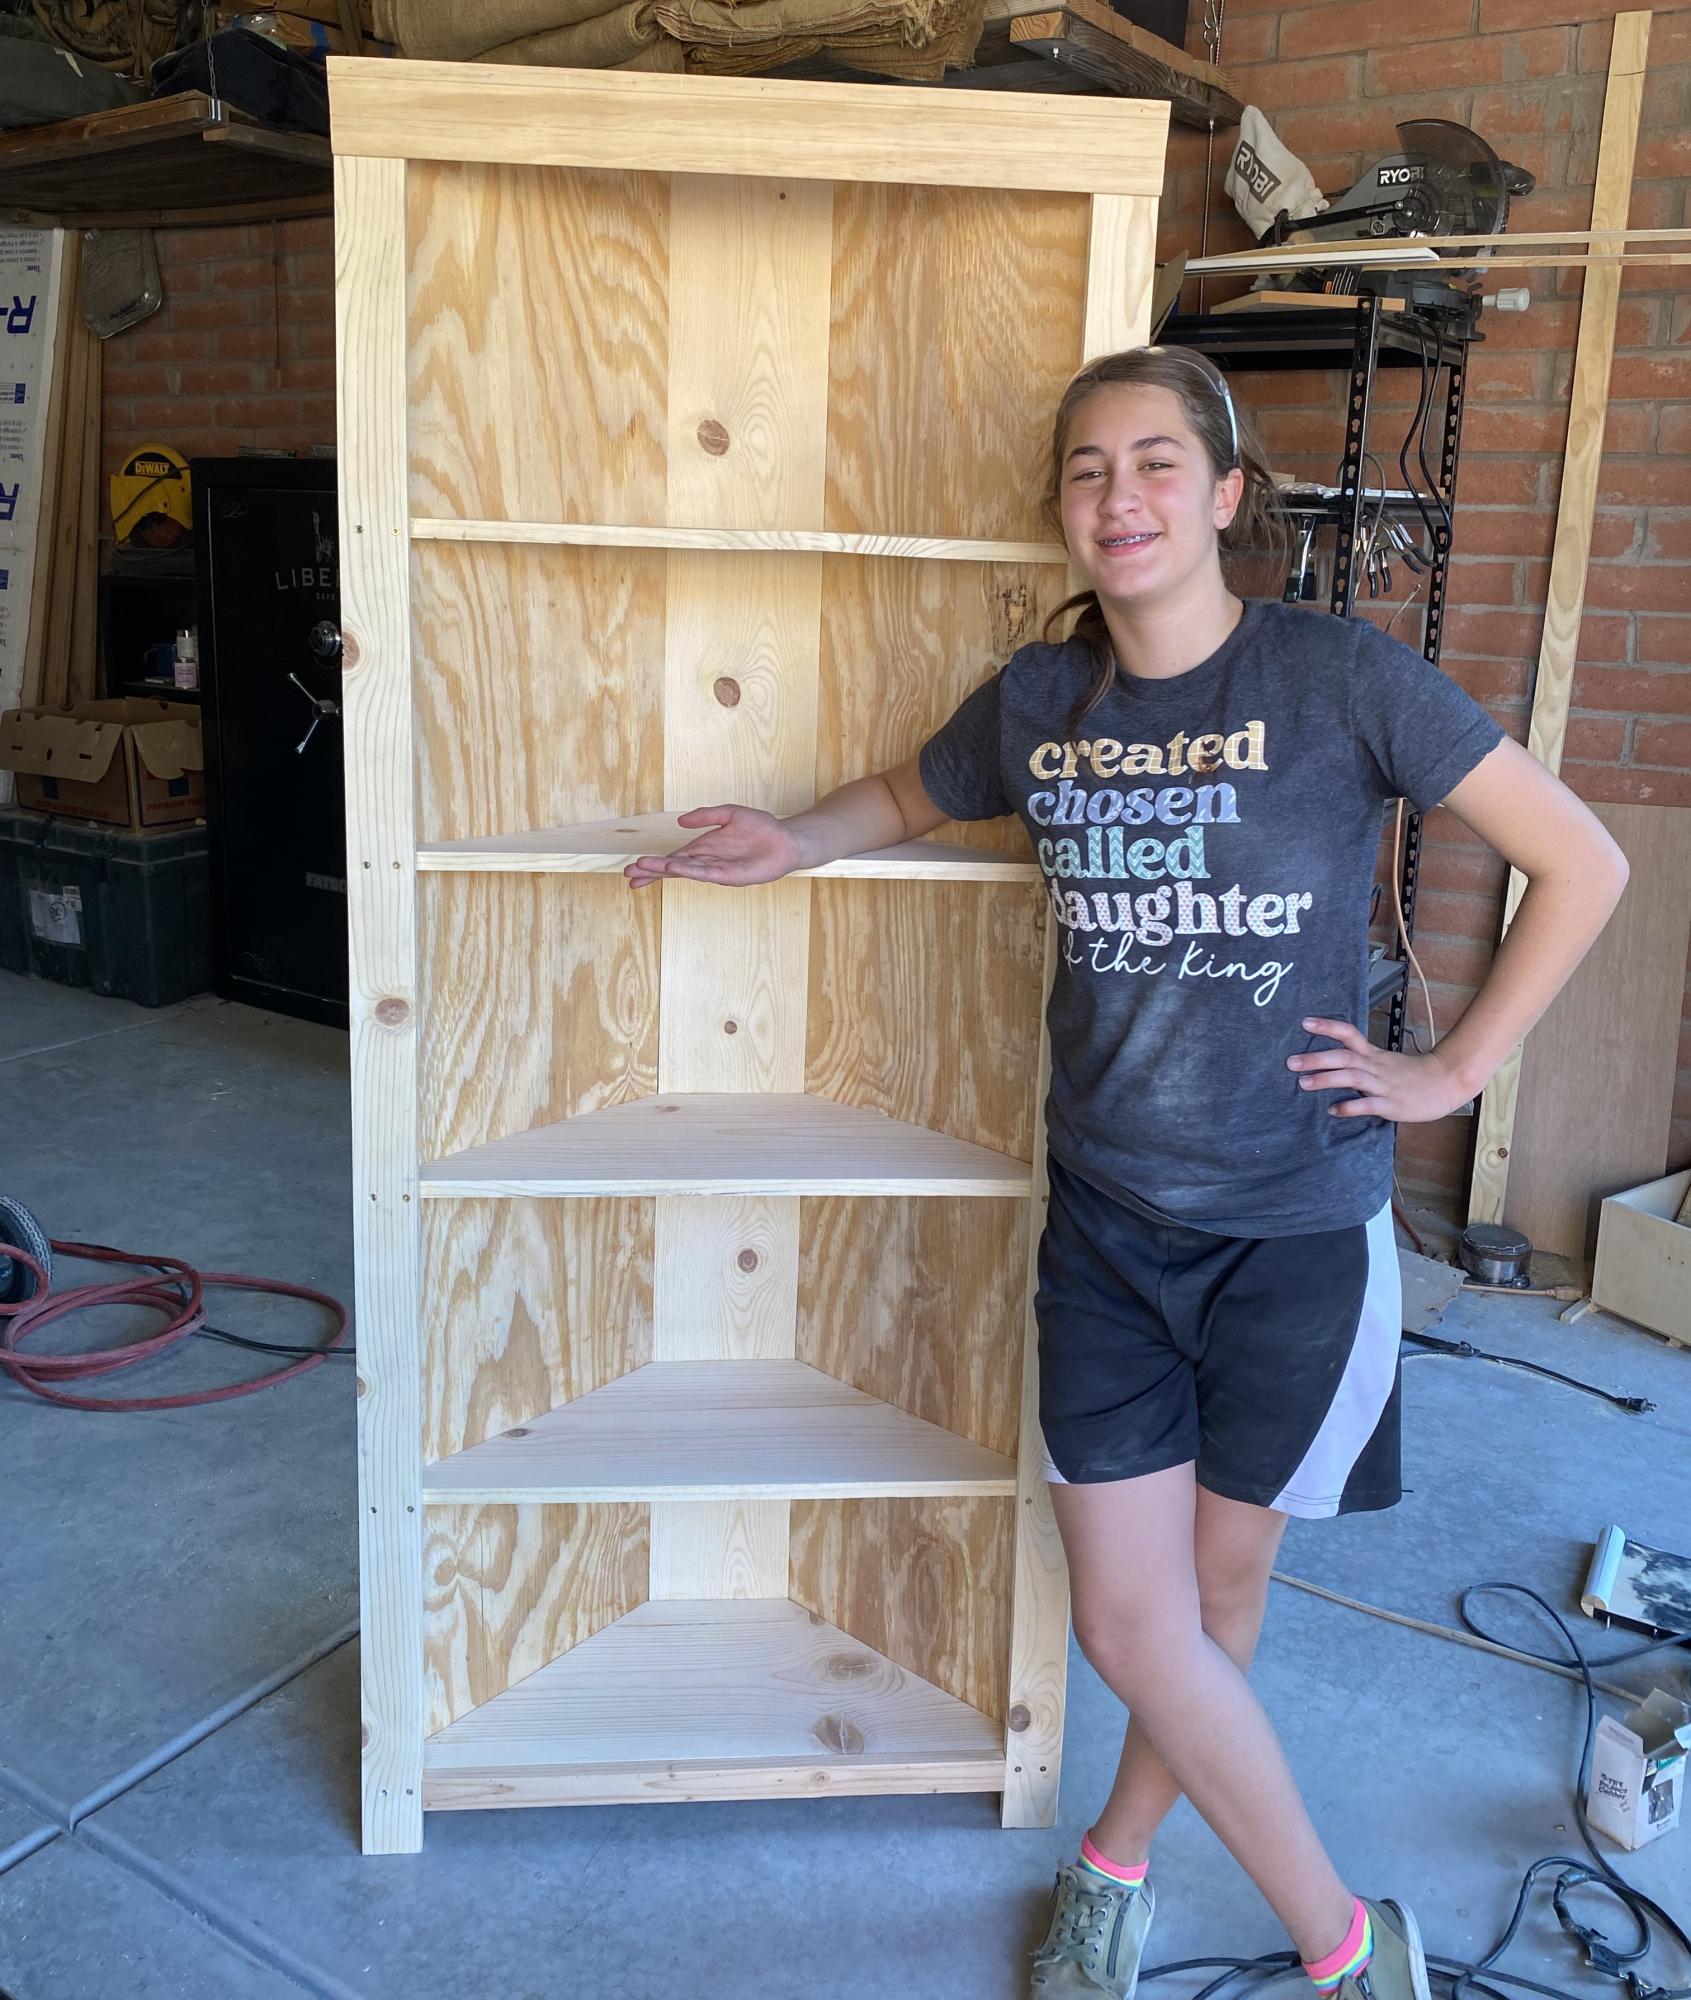
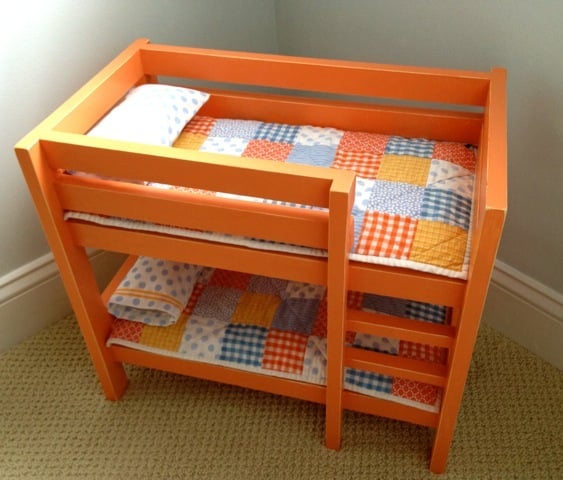
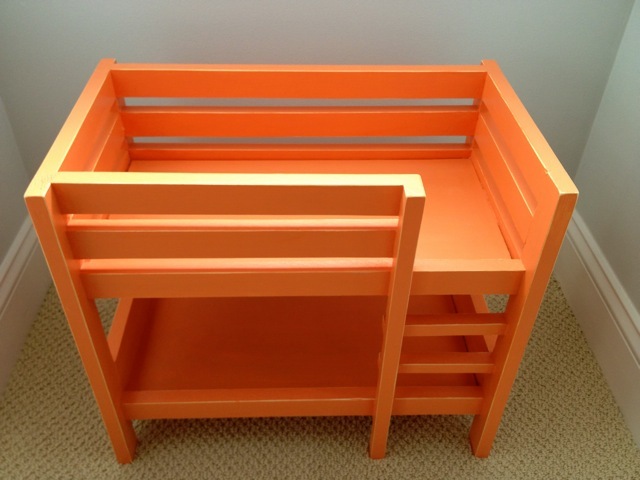
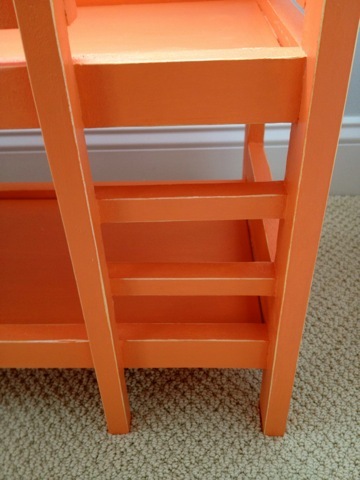
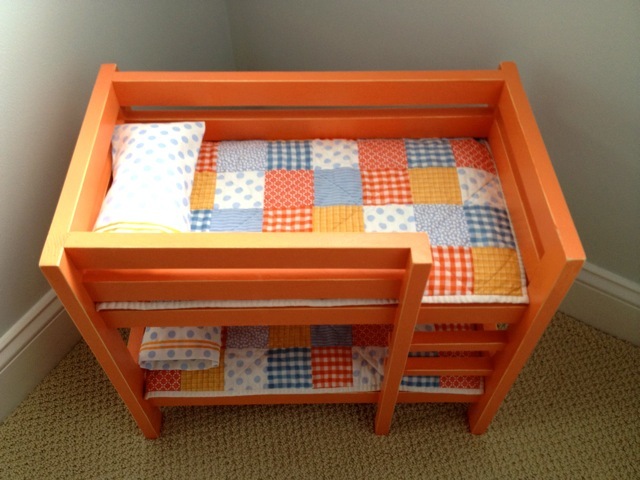
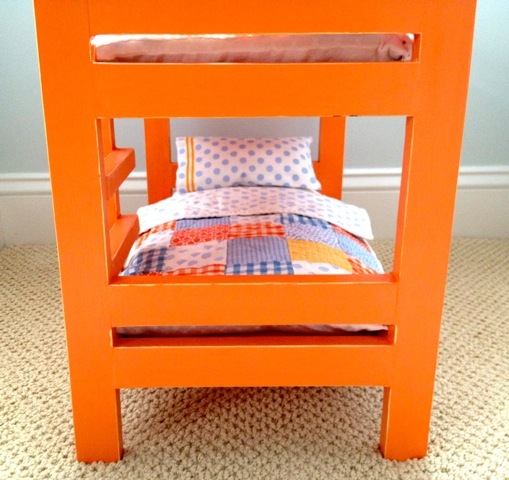
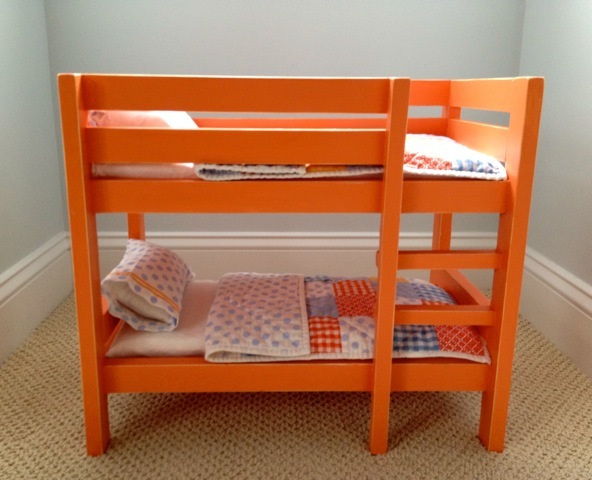
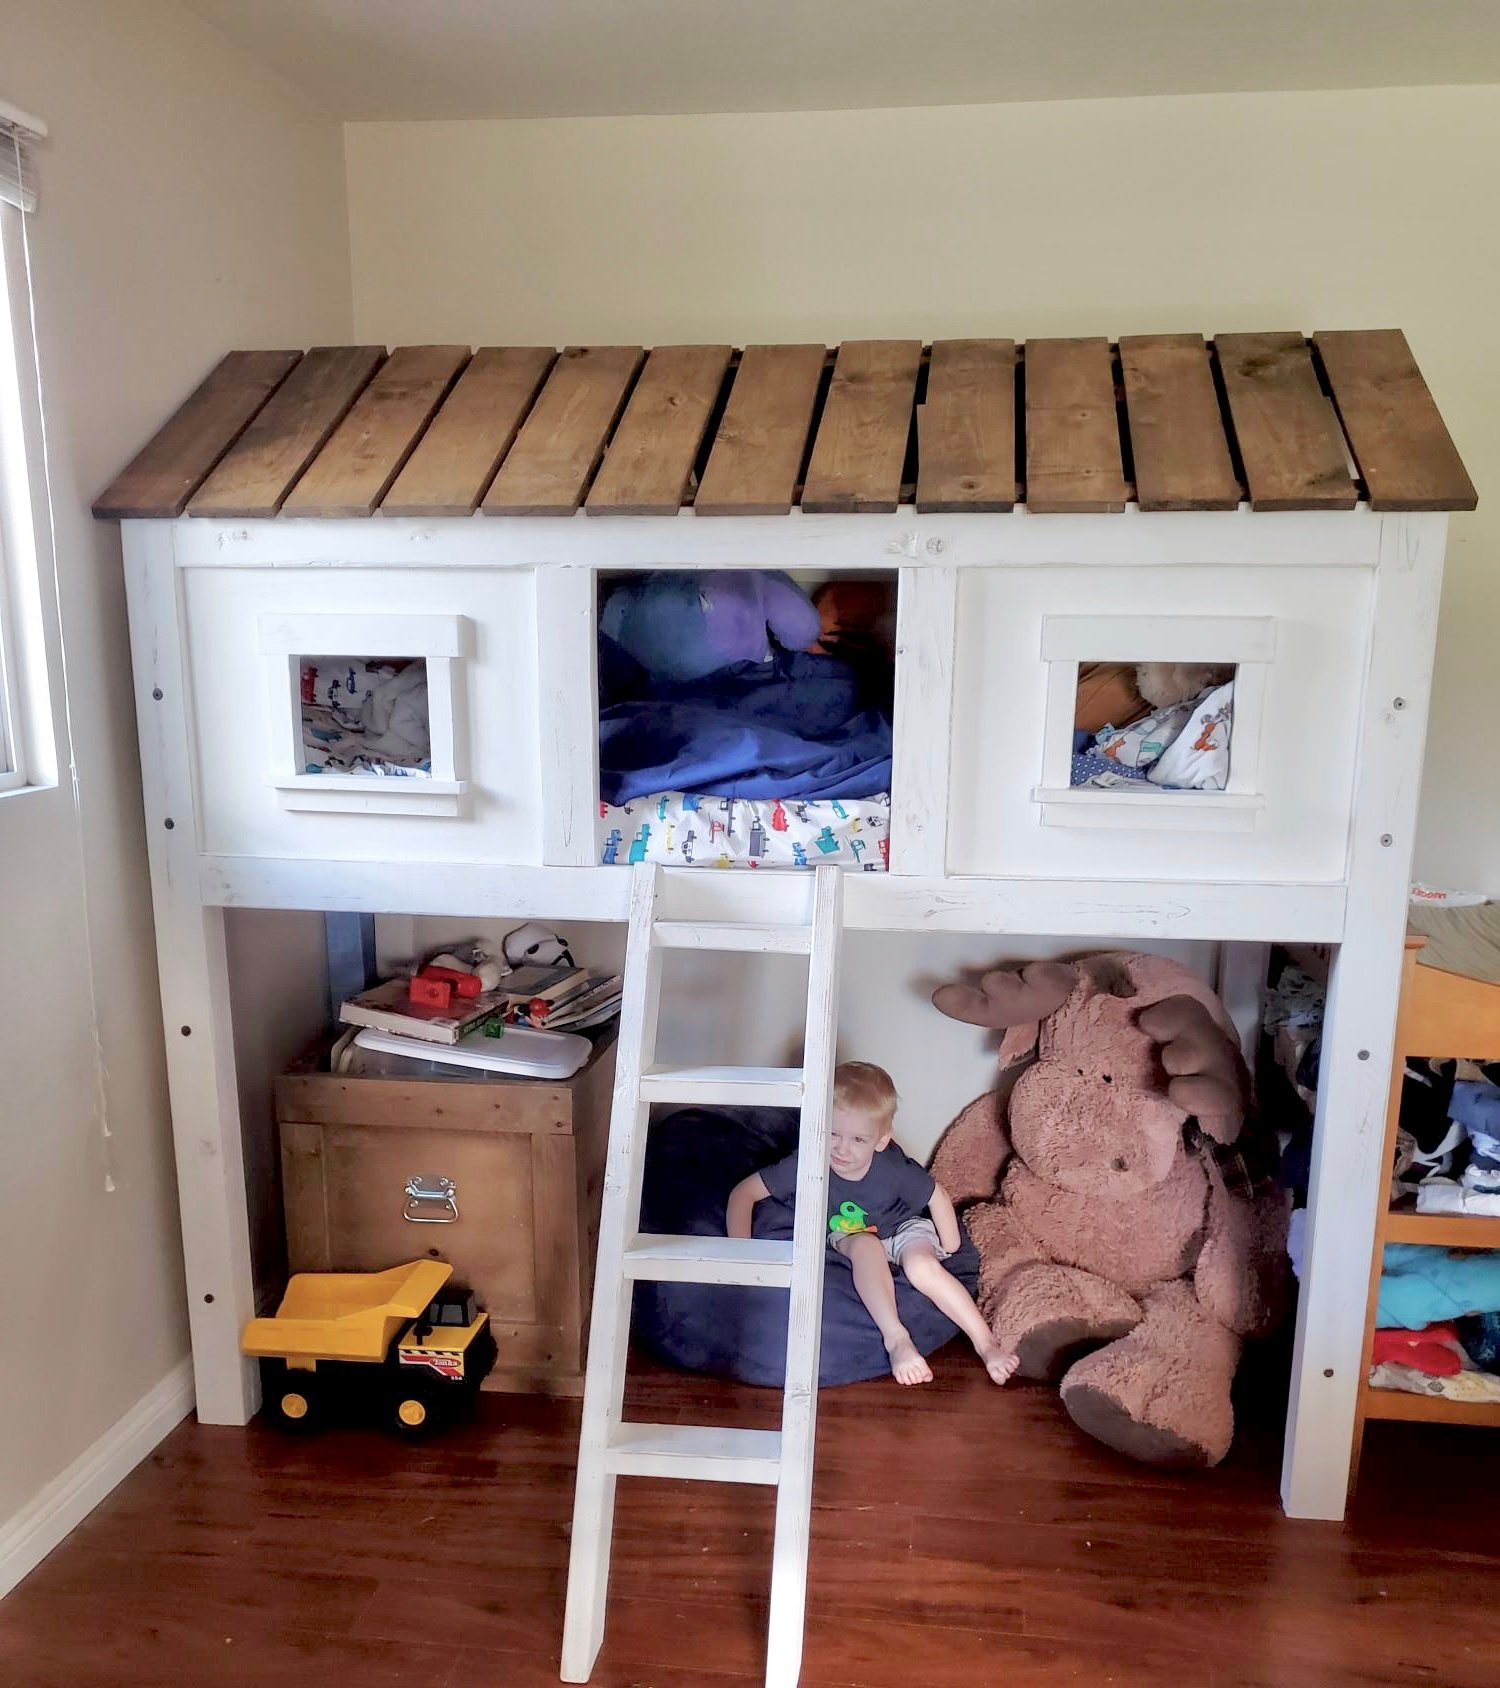
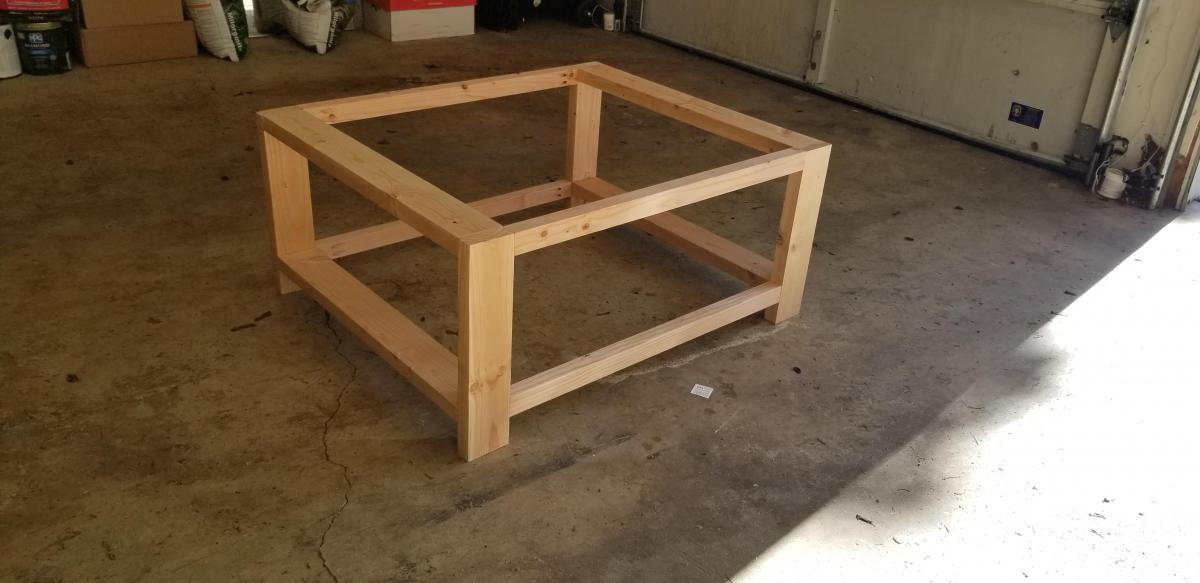
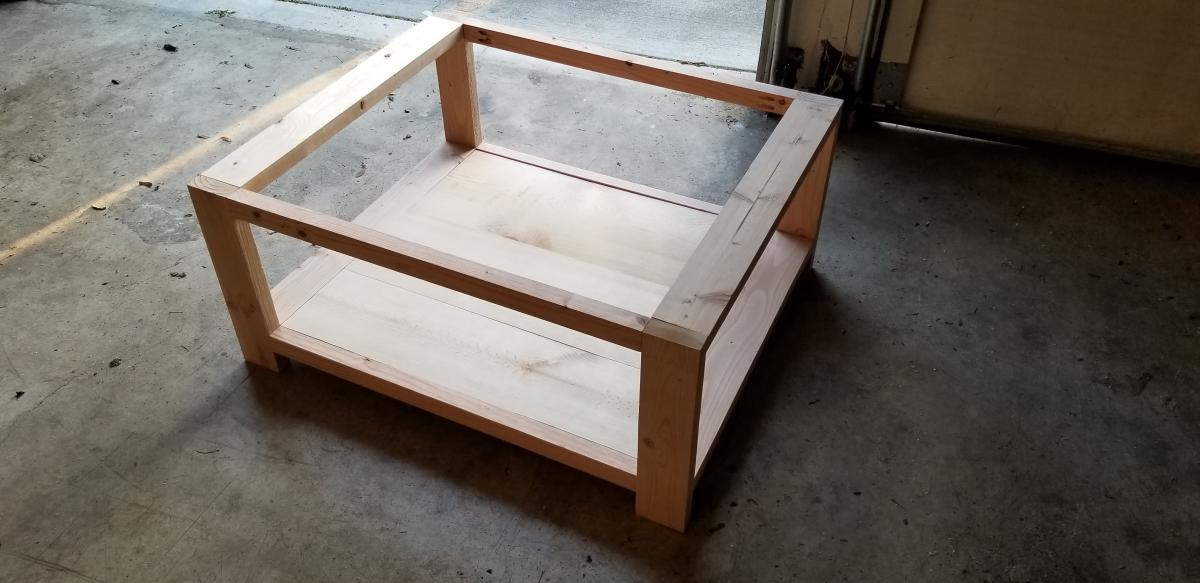
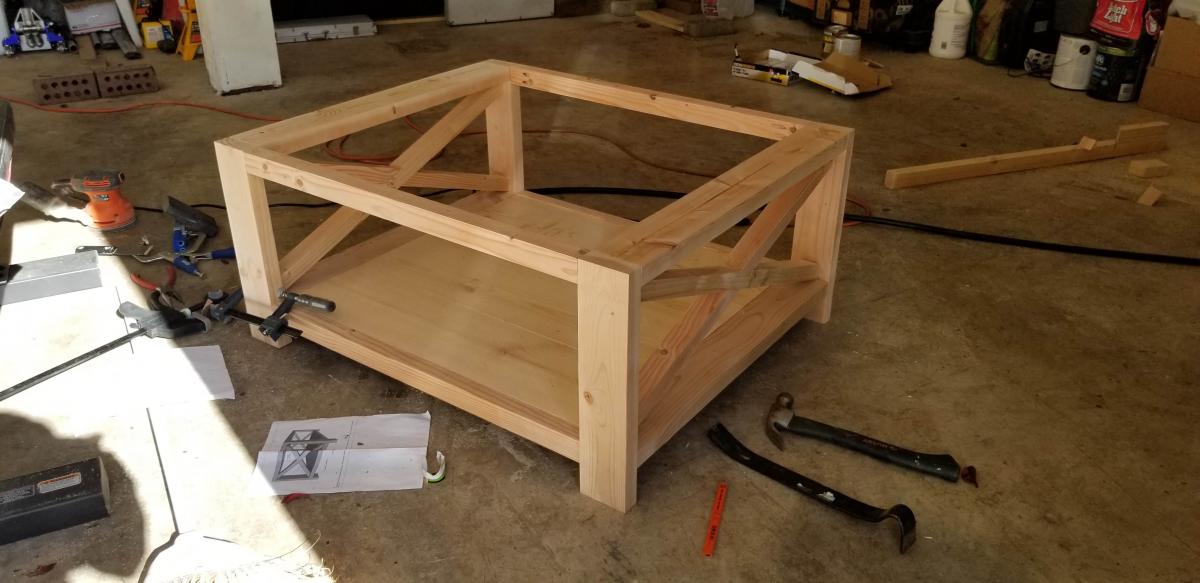
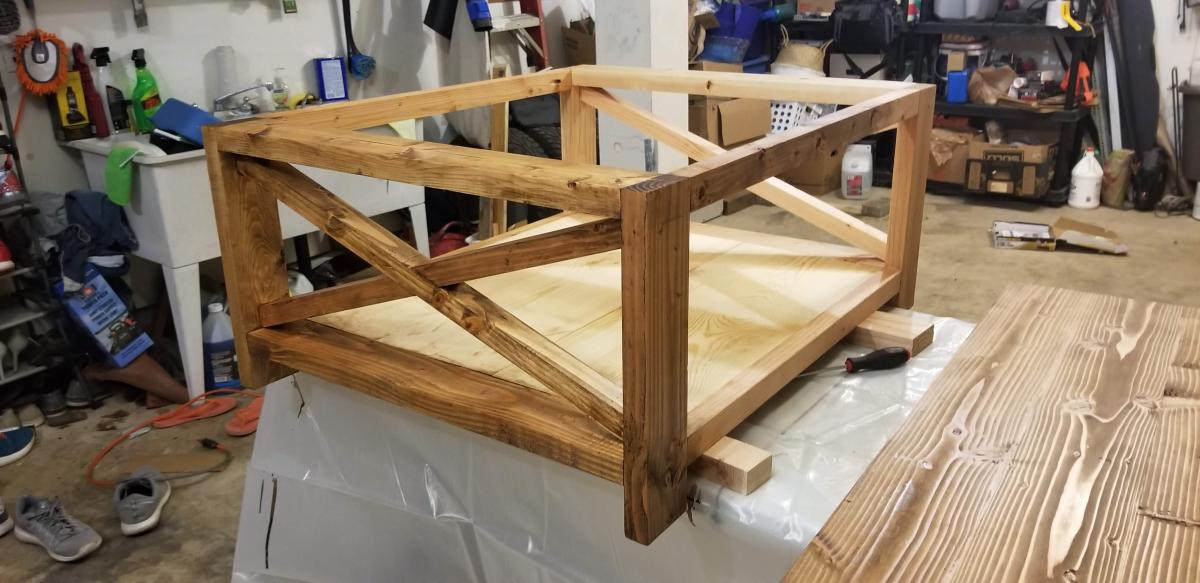
Bunk Beds with Climbing Wall
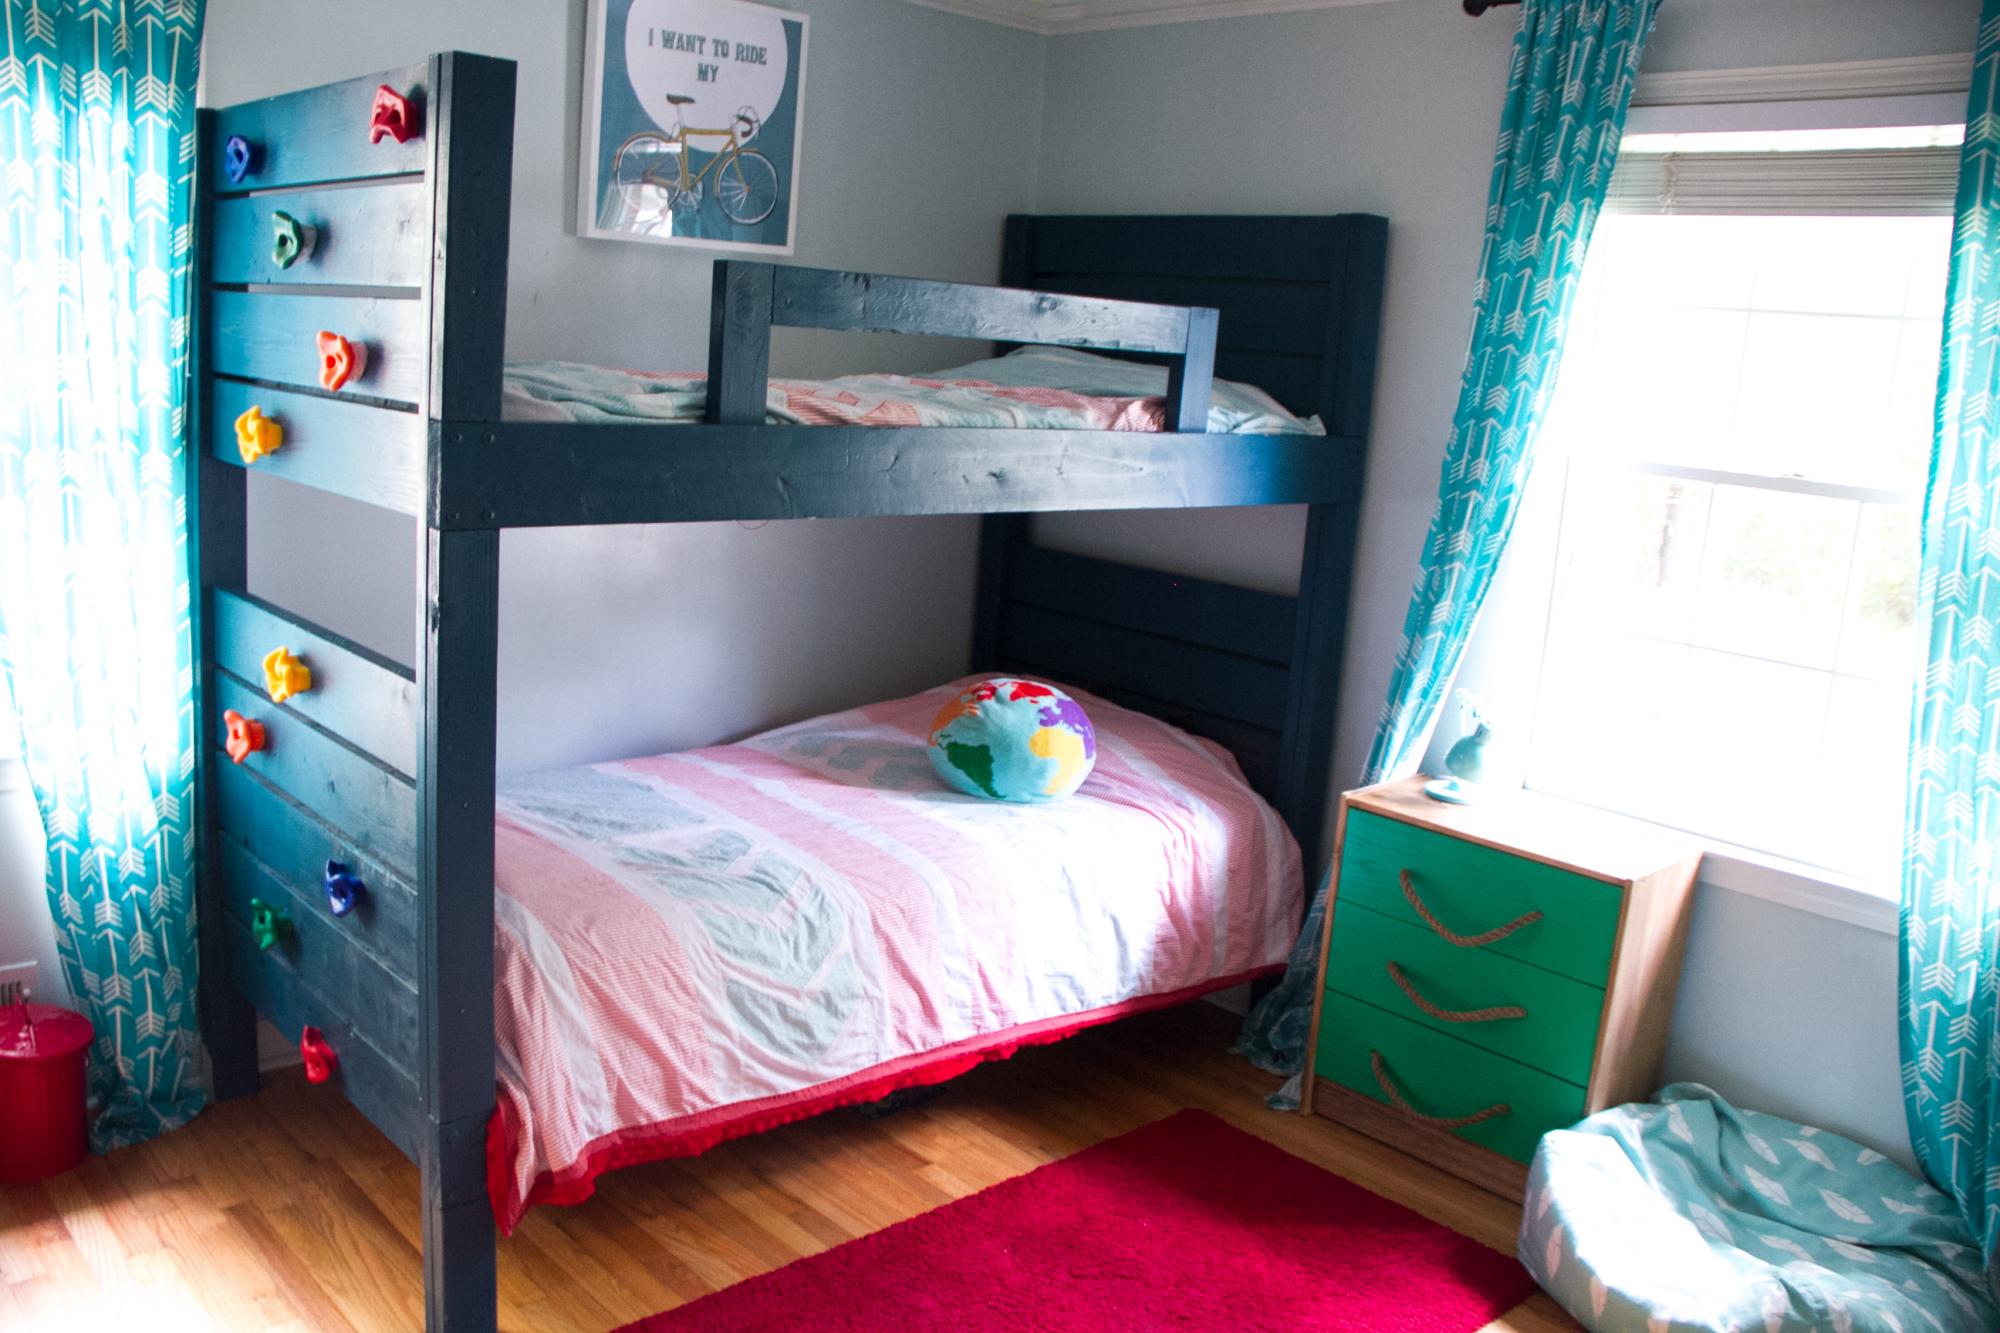
I built this bunkbed for my boys bedroom based on Ana's plans with a slight modification to make it more fun for them- a climbing wall on the end instead of a ladder! I followed Ana's plans which were easy and clear to understand and the result is super sturdy and strong! We had IKEA bed slats already and they fit perfectly on the cleats to hold up the mattresses. I simplified the guard rail a bit and used a dark teal paint to finish. A 10 pack of climbing wall hand holds was purchased from Amazon (link: https://www.amazon.com/gp/product/B074CM4DBN/ref=ppx_yo_dt_b_search_asi…)- I needed slightly longer bolts than what were provided to go through the 2x6s but found what I needed at a big box store. My boys (6 & 8) absolutely love it!
Built from Plan(s)
Estimated Cost
$150
Estimated Time Investment
Weekend Project (10-20 Hours)
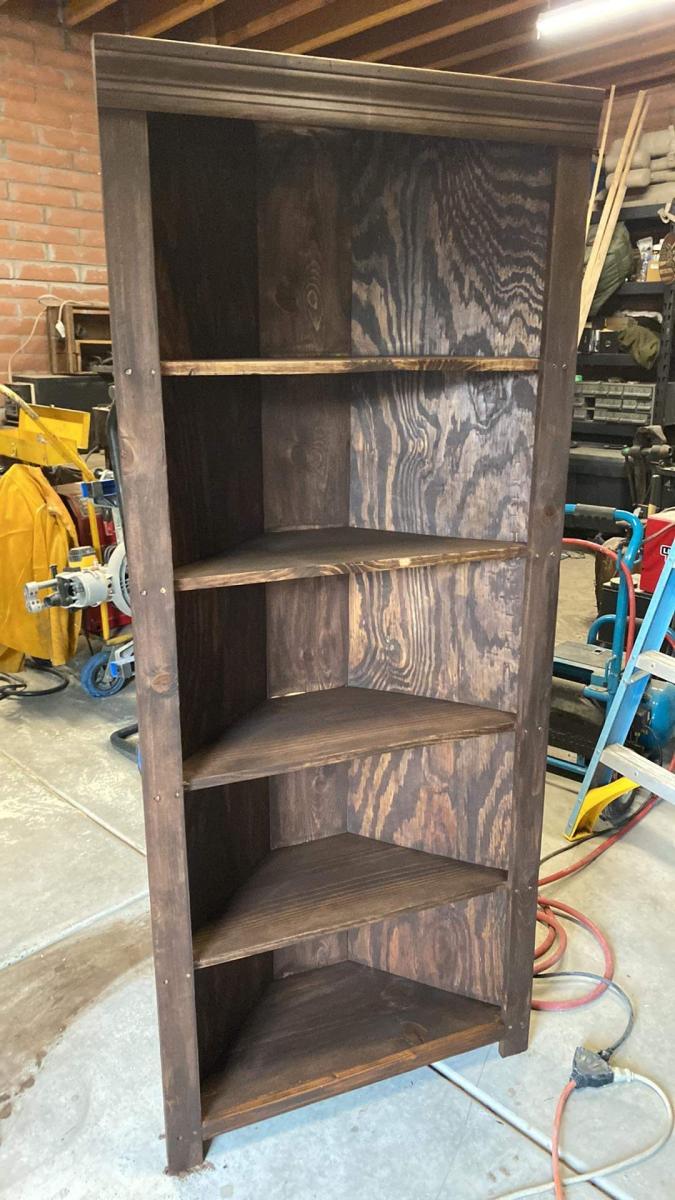
Finish Used
paint
Recommended Skill Level
Beginner