Drying Rack for Hockey Gear
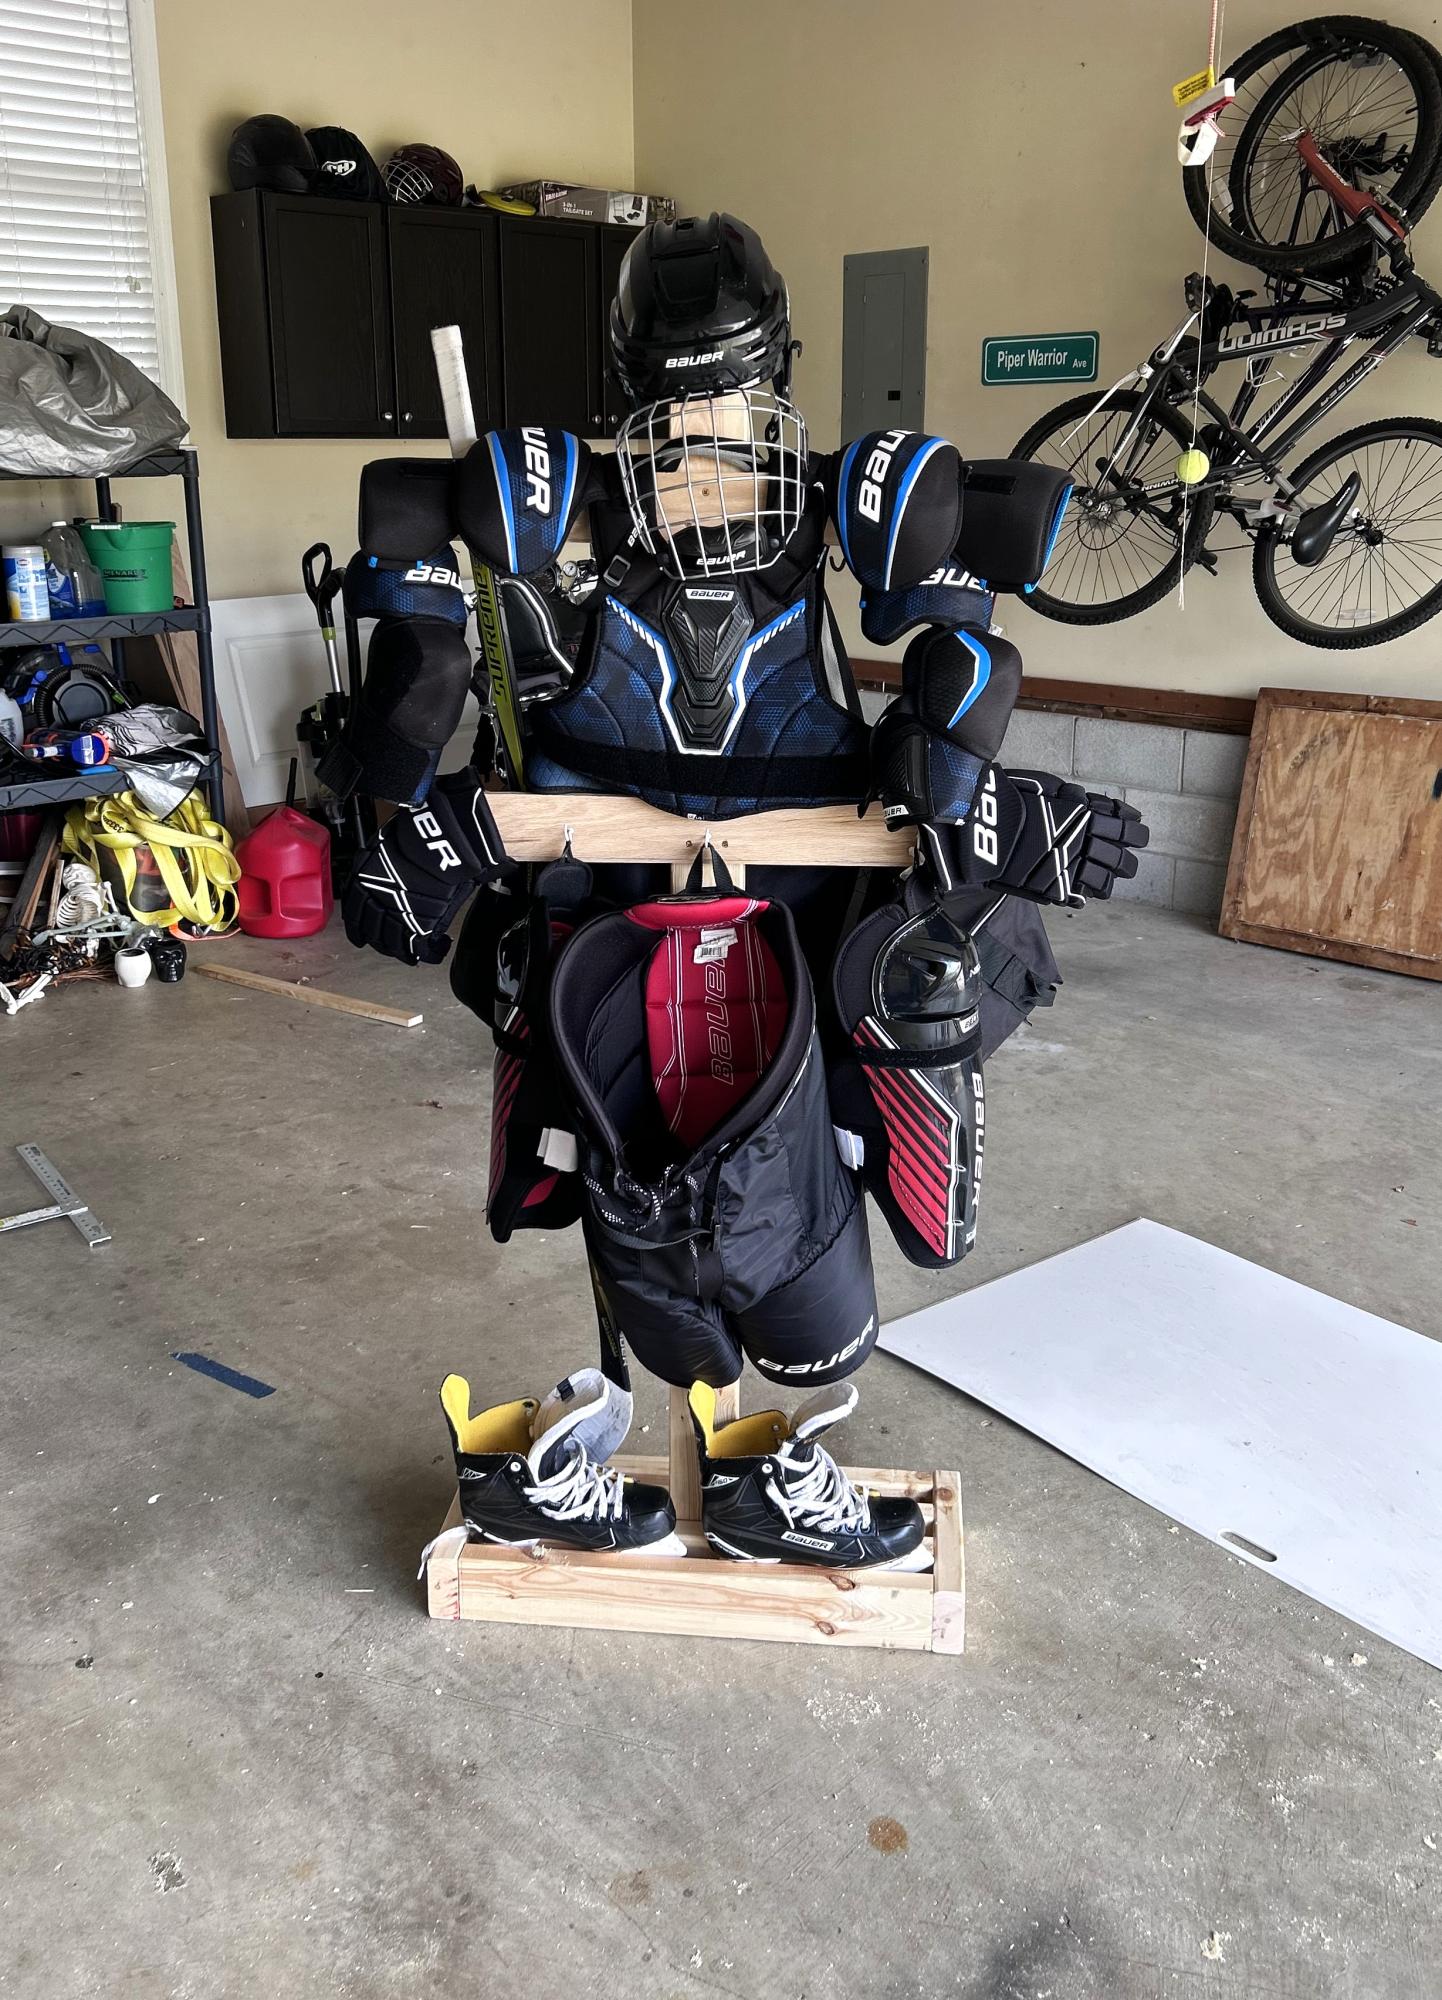
Super straight forward! - Kyle

Super straight forward! - Kyle
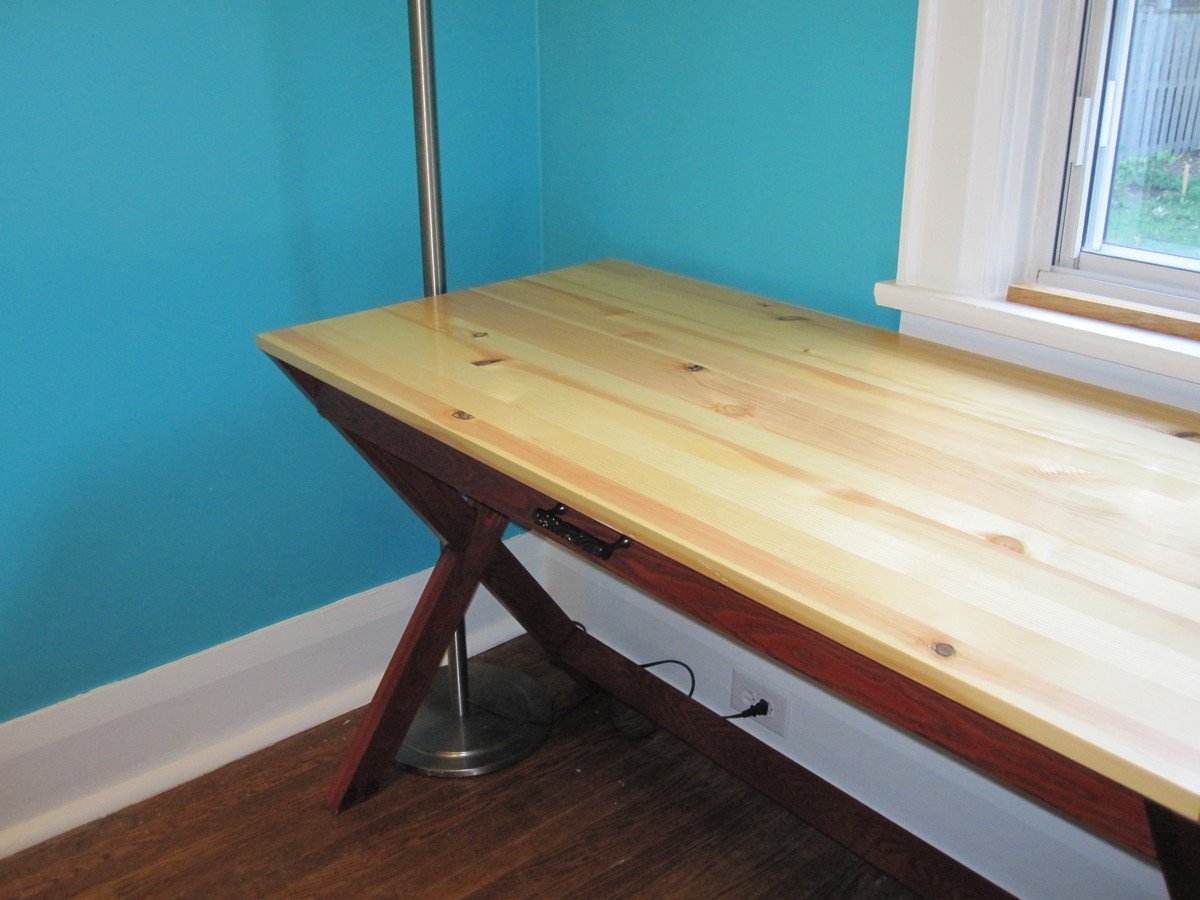
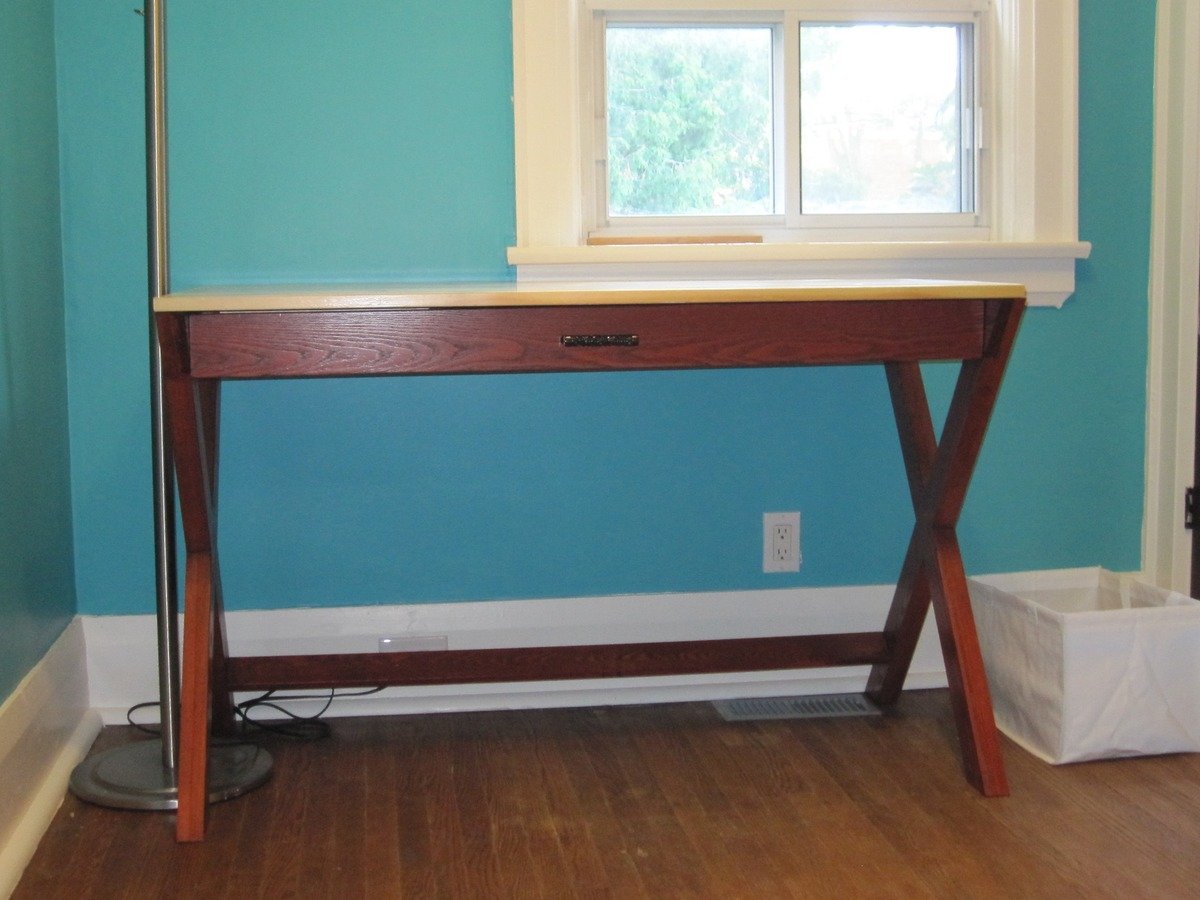
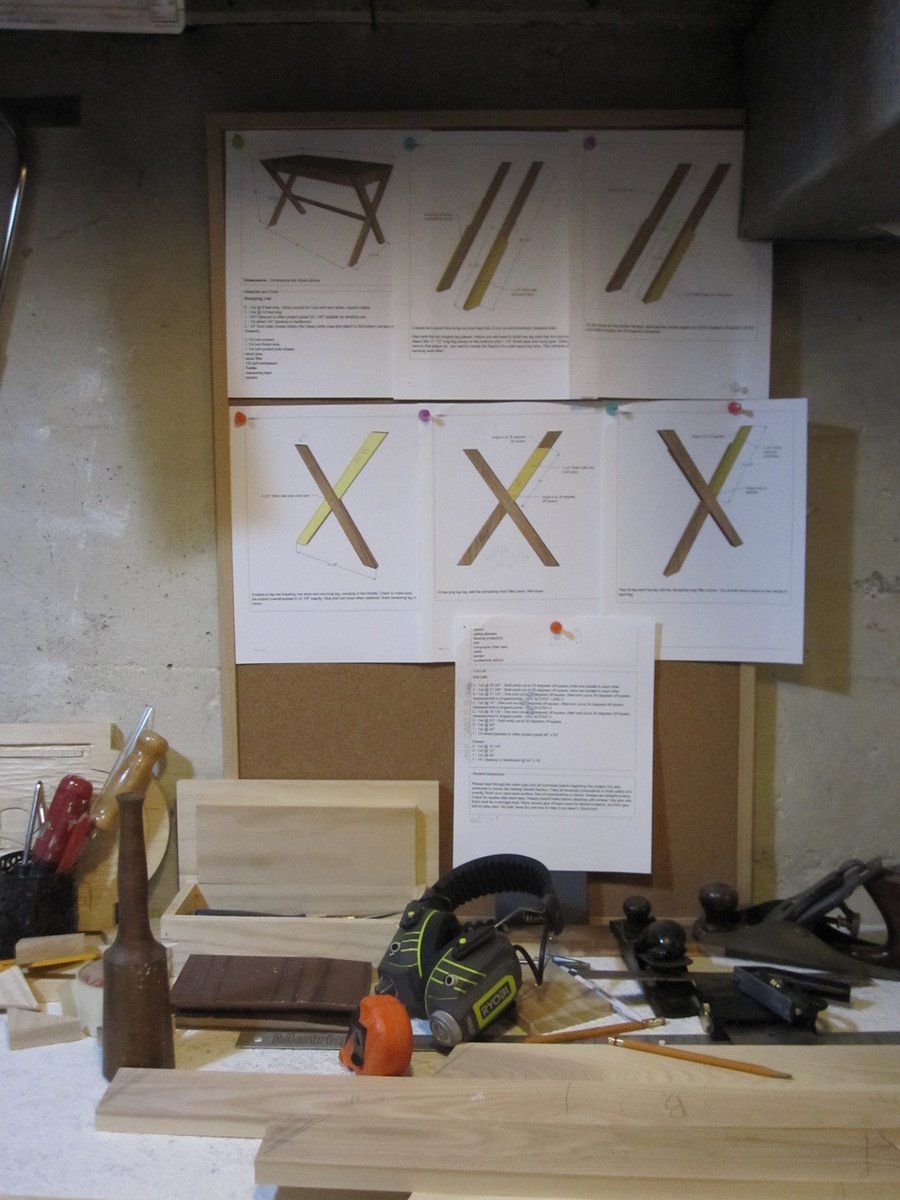
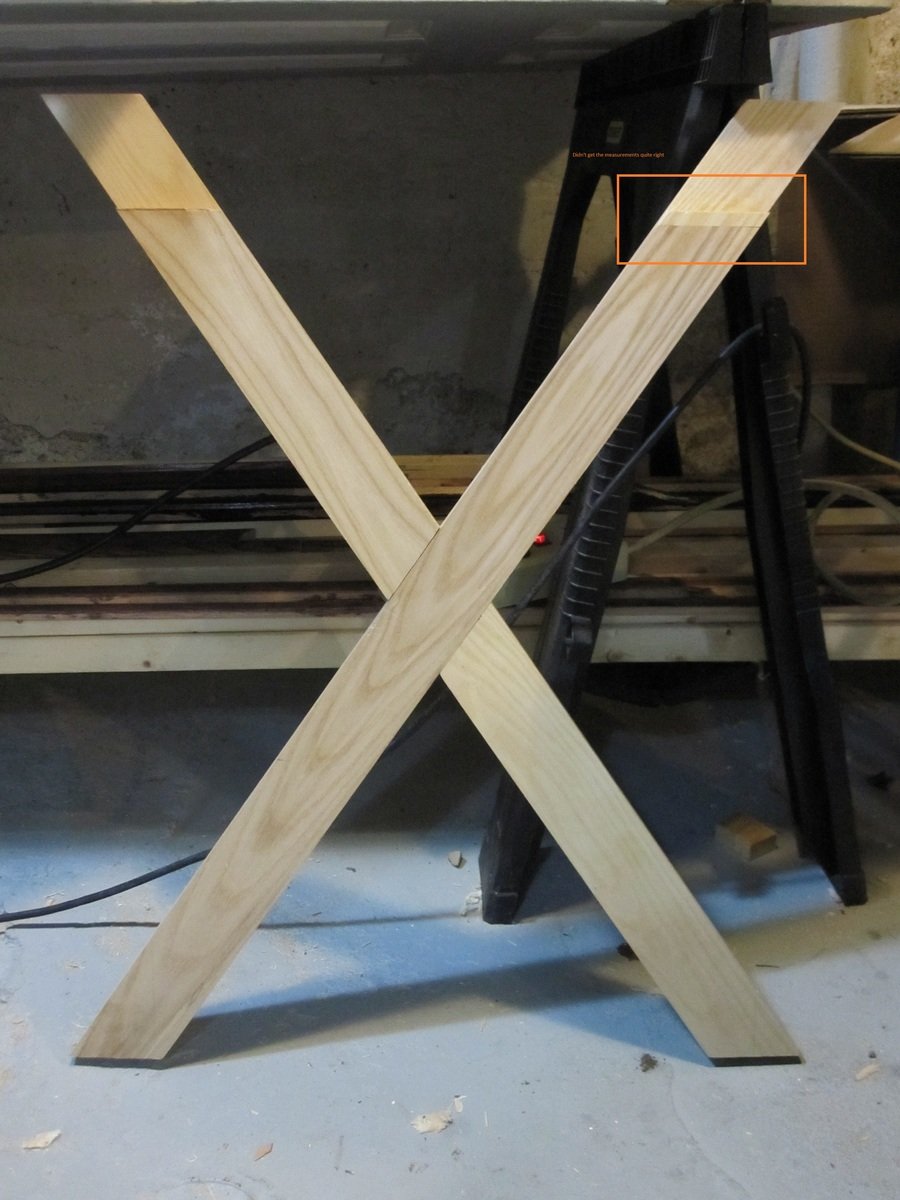
Strong, sturdy desk. Dressed ash for the body and a pine project panel for the top at my husband's request. I really enjoyed building this and learned a lot (meaning I also messed up a lot).
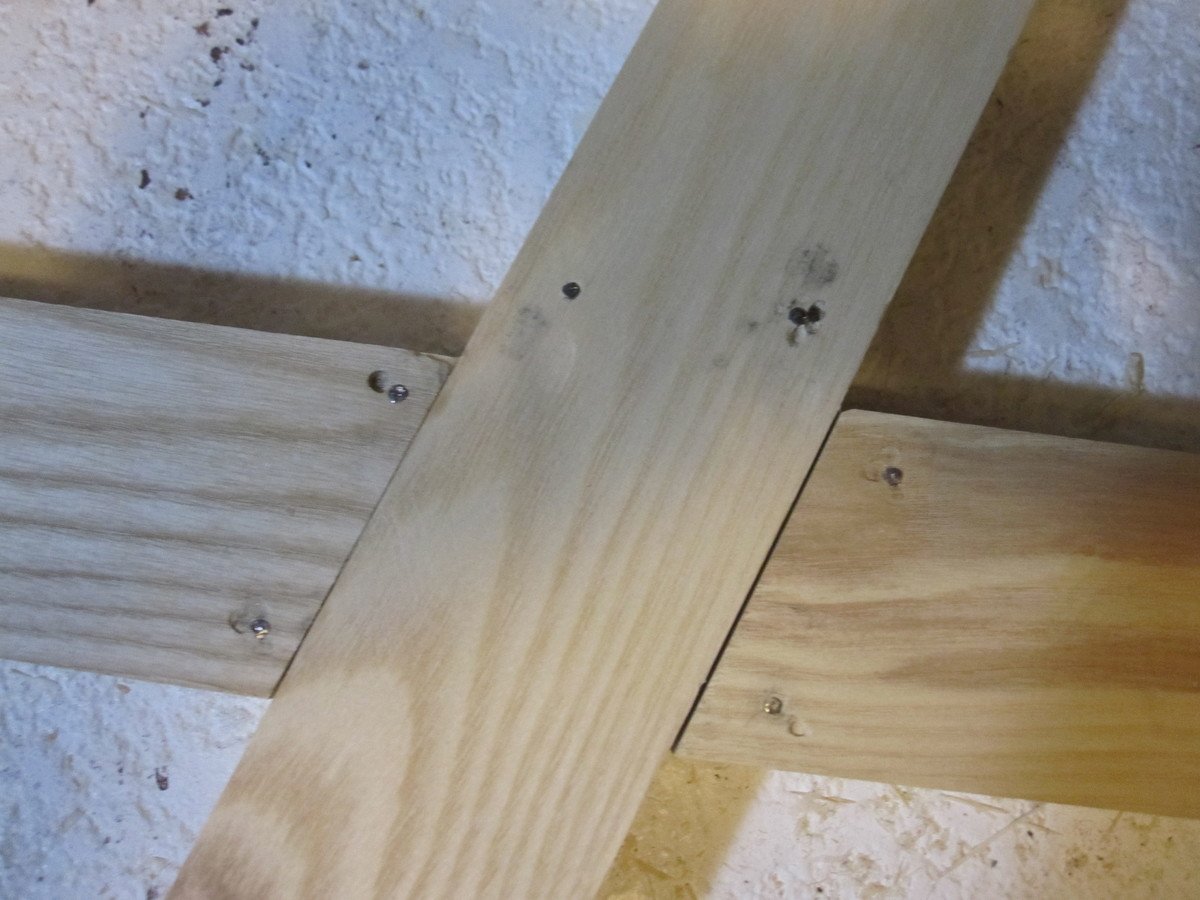
I used dressed ash for the legs and drawer front and discovered the difference between nailing in softwoods such as pine and hardwoods such as ash. I was using a nail set to get the nails flush. I ended up making holes when the nail set bounced off the nails (see picture). I learned that if the nailing was going too well, that was because the nail set was making a hole in the wood.
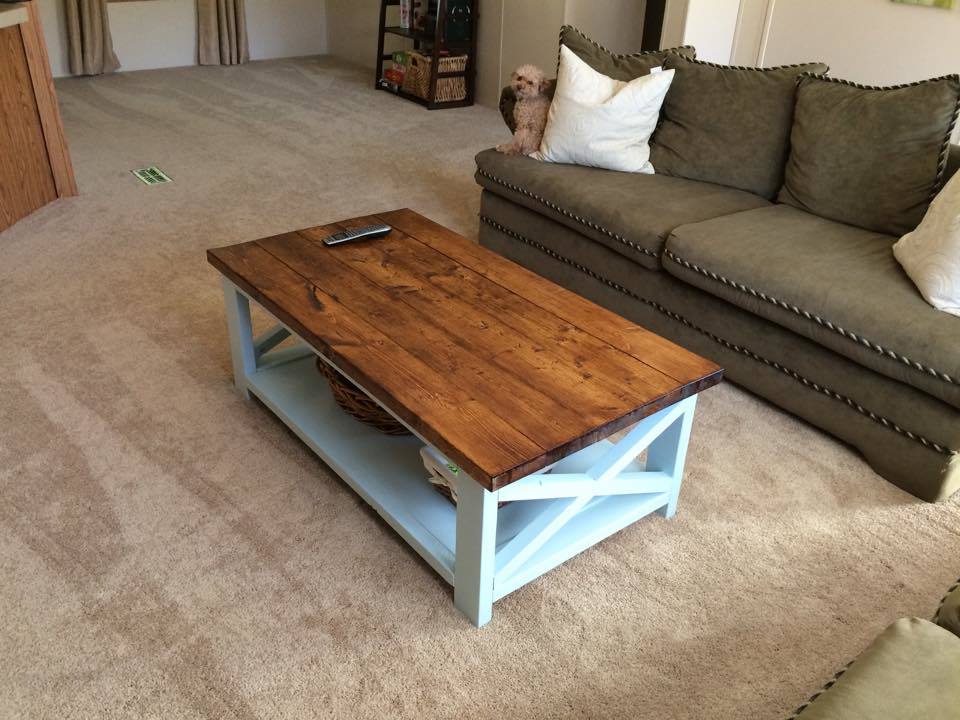
This was a great project for me. I am a beginner and building a coffee table this nice seemed too difficult. Fortunately, it turned out better than I expected. The biggest difficulty for me was putting in the 1x12's on the bottom. That was really my fault because I didn't square up the sides properly. Rookie mistake and lesson learned.
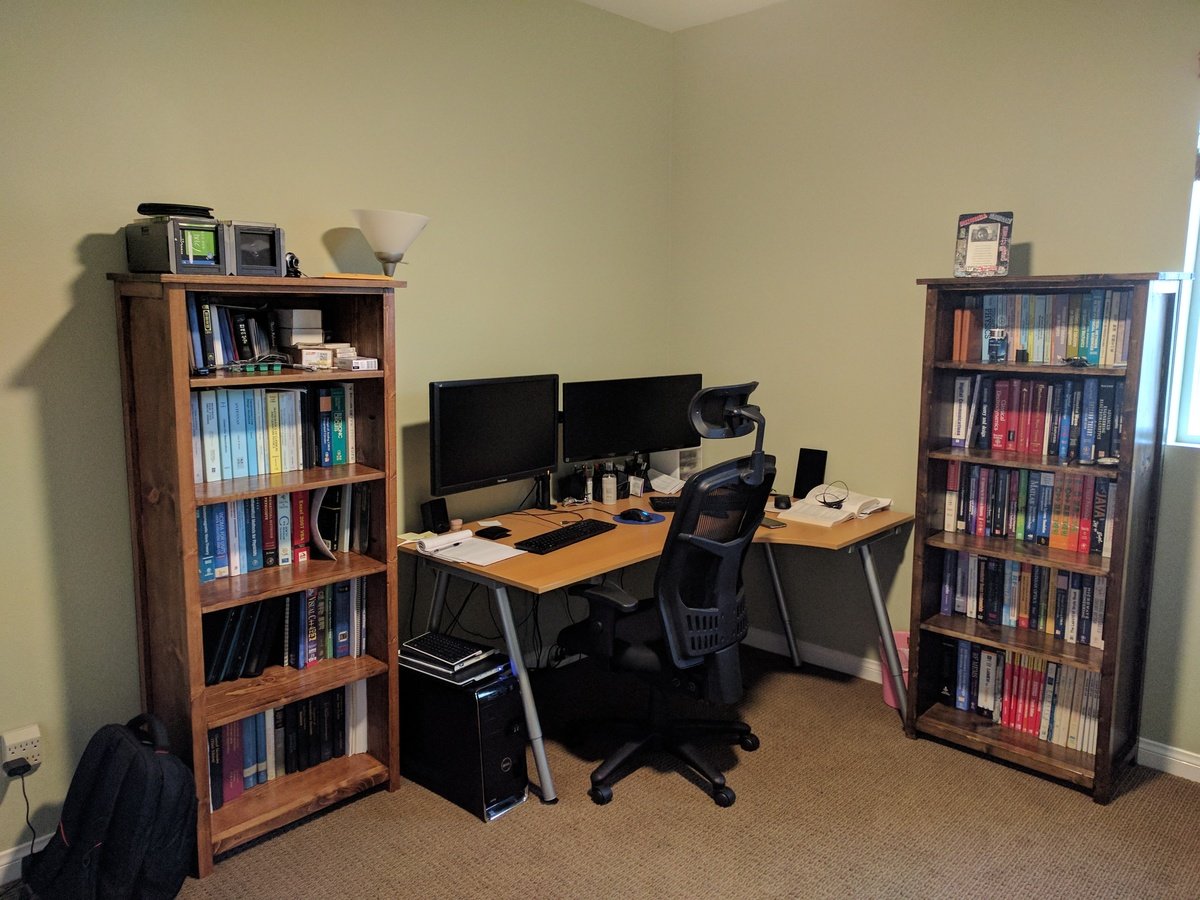
I made those for the christmas present of my hoby.
Followed Ana's plan exeactly same and it worked well for my need.
Thank you, Ana!
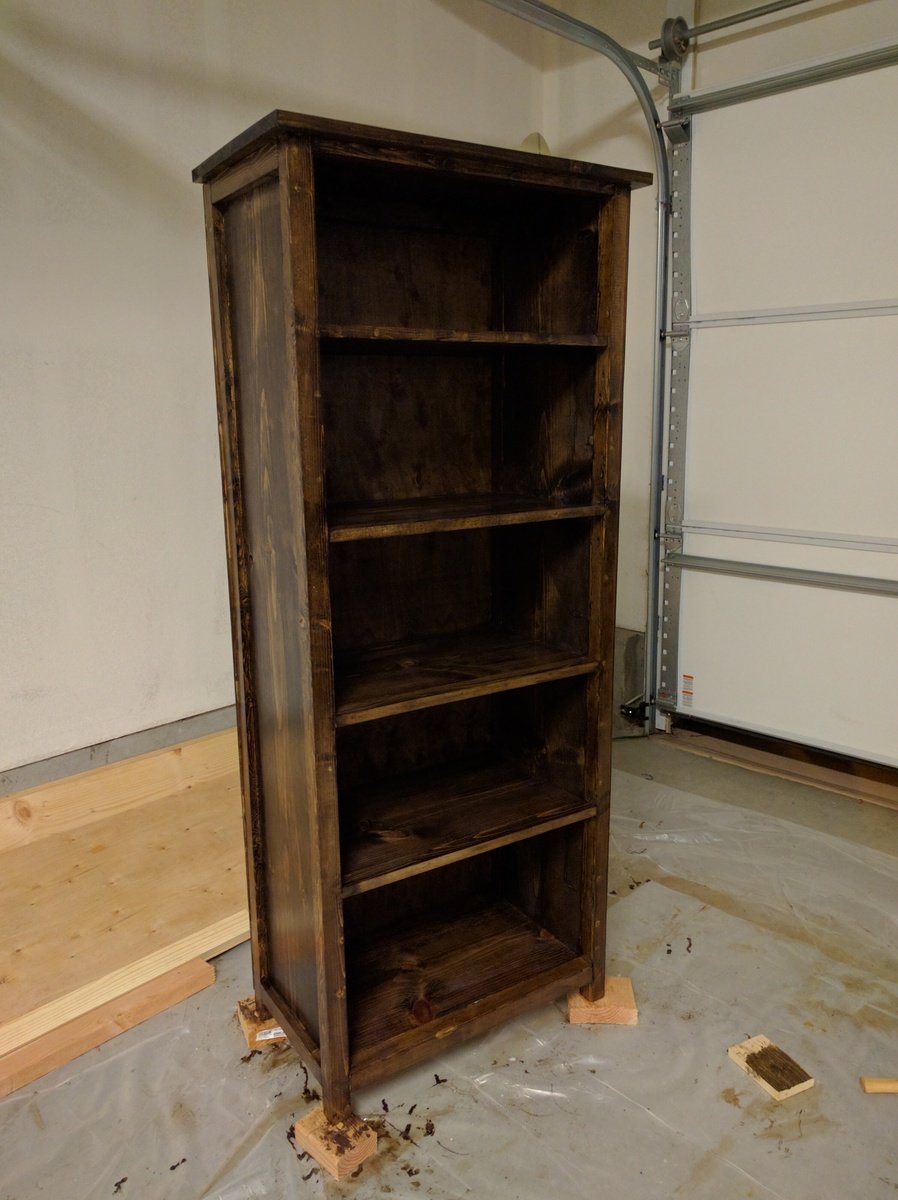
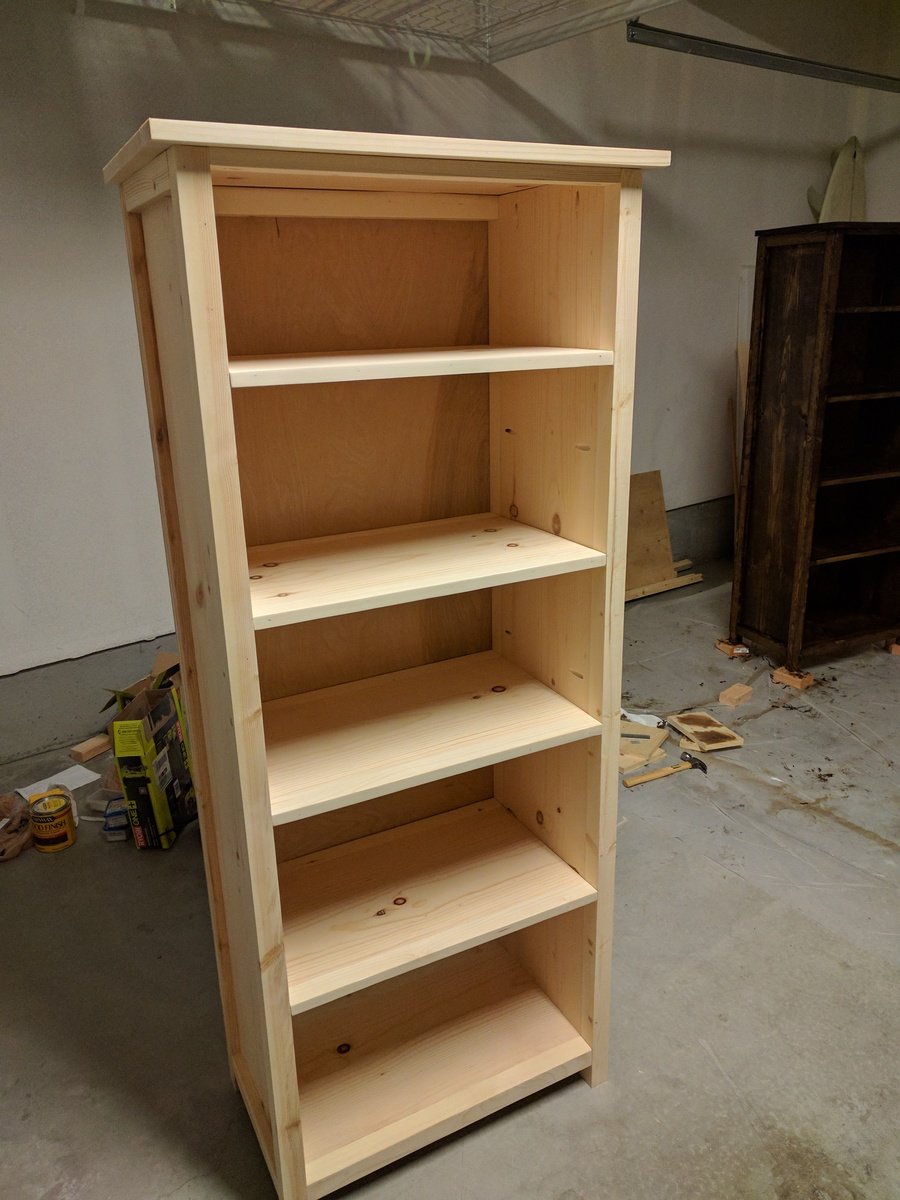
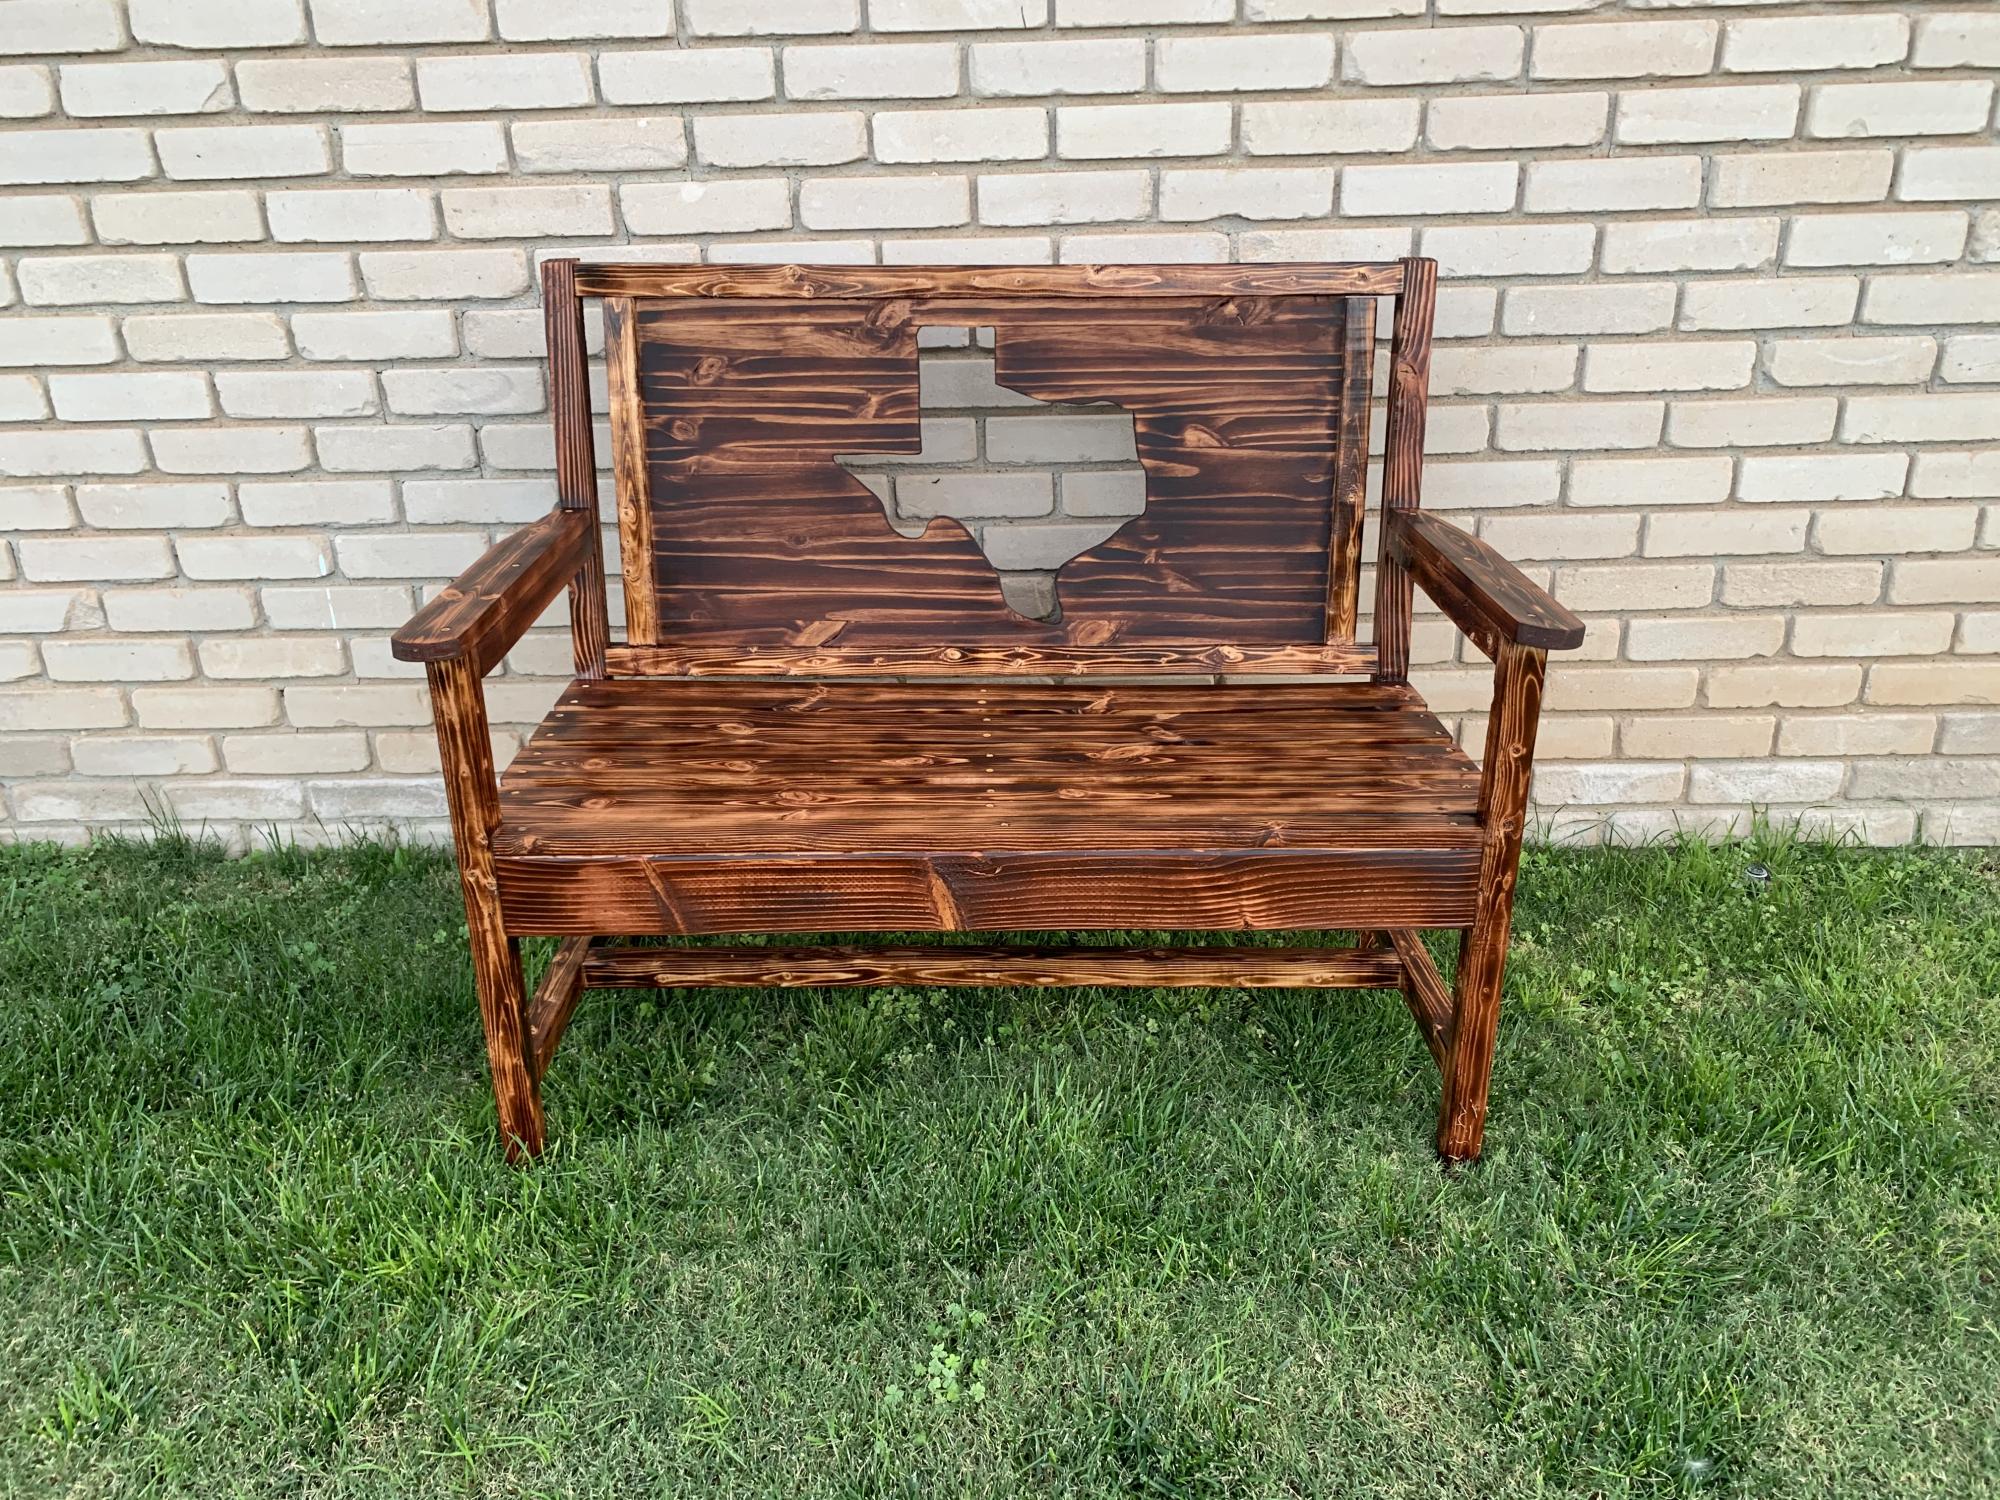
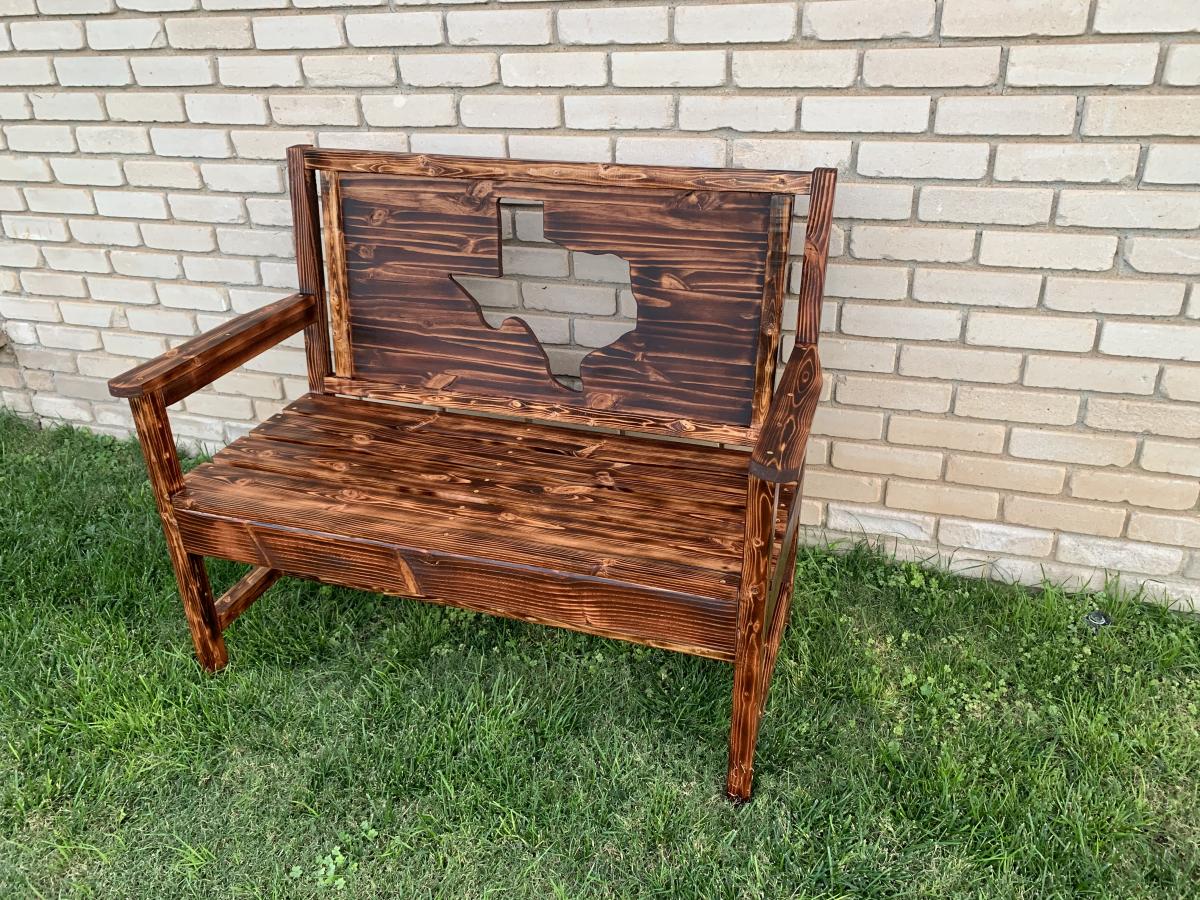
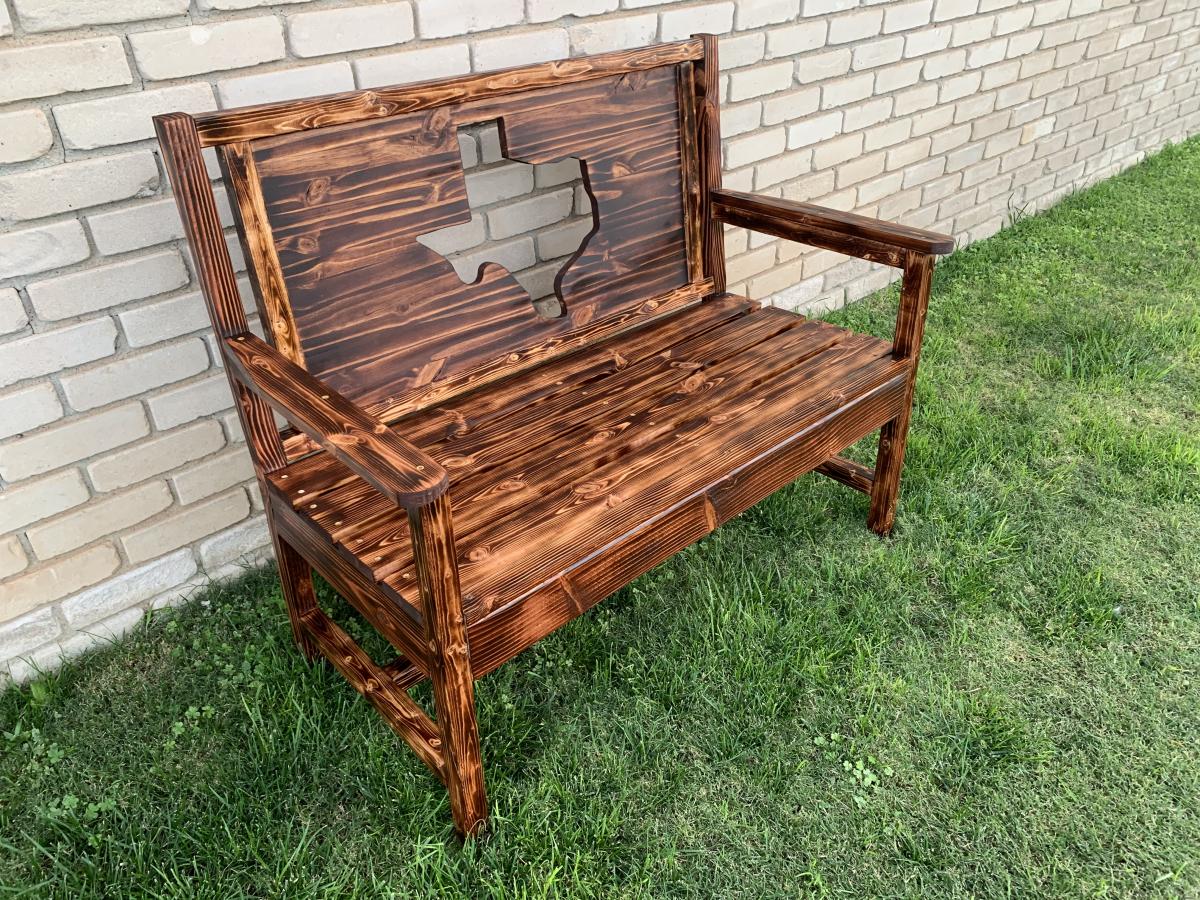
Saw this was done by modifying the Woven Back Bench so I decided to give it a go. Added center 2x4 for support under the 1x4 slats. To make this bench modified the woven back bench shopping list to the following.
2-2x4 Studs
3-2x2x8
2-1x4x8
1-1x2x8
1-1x3x8
1-1x16x6 edge glue board.
Cut list was modified:
4-2x2 @ 16”
3-2x4@16”
2-2x4@37”
3-2x2@37”
2-1x3@19 1/4”
1-1x16@32”
All other instructions were followed from the woven back bench.
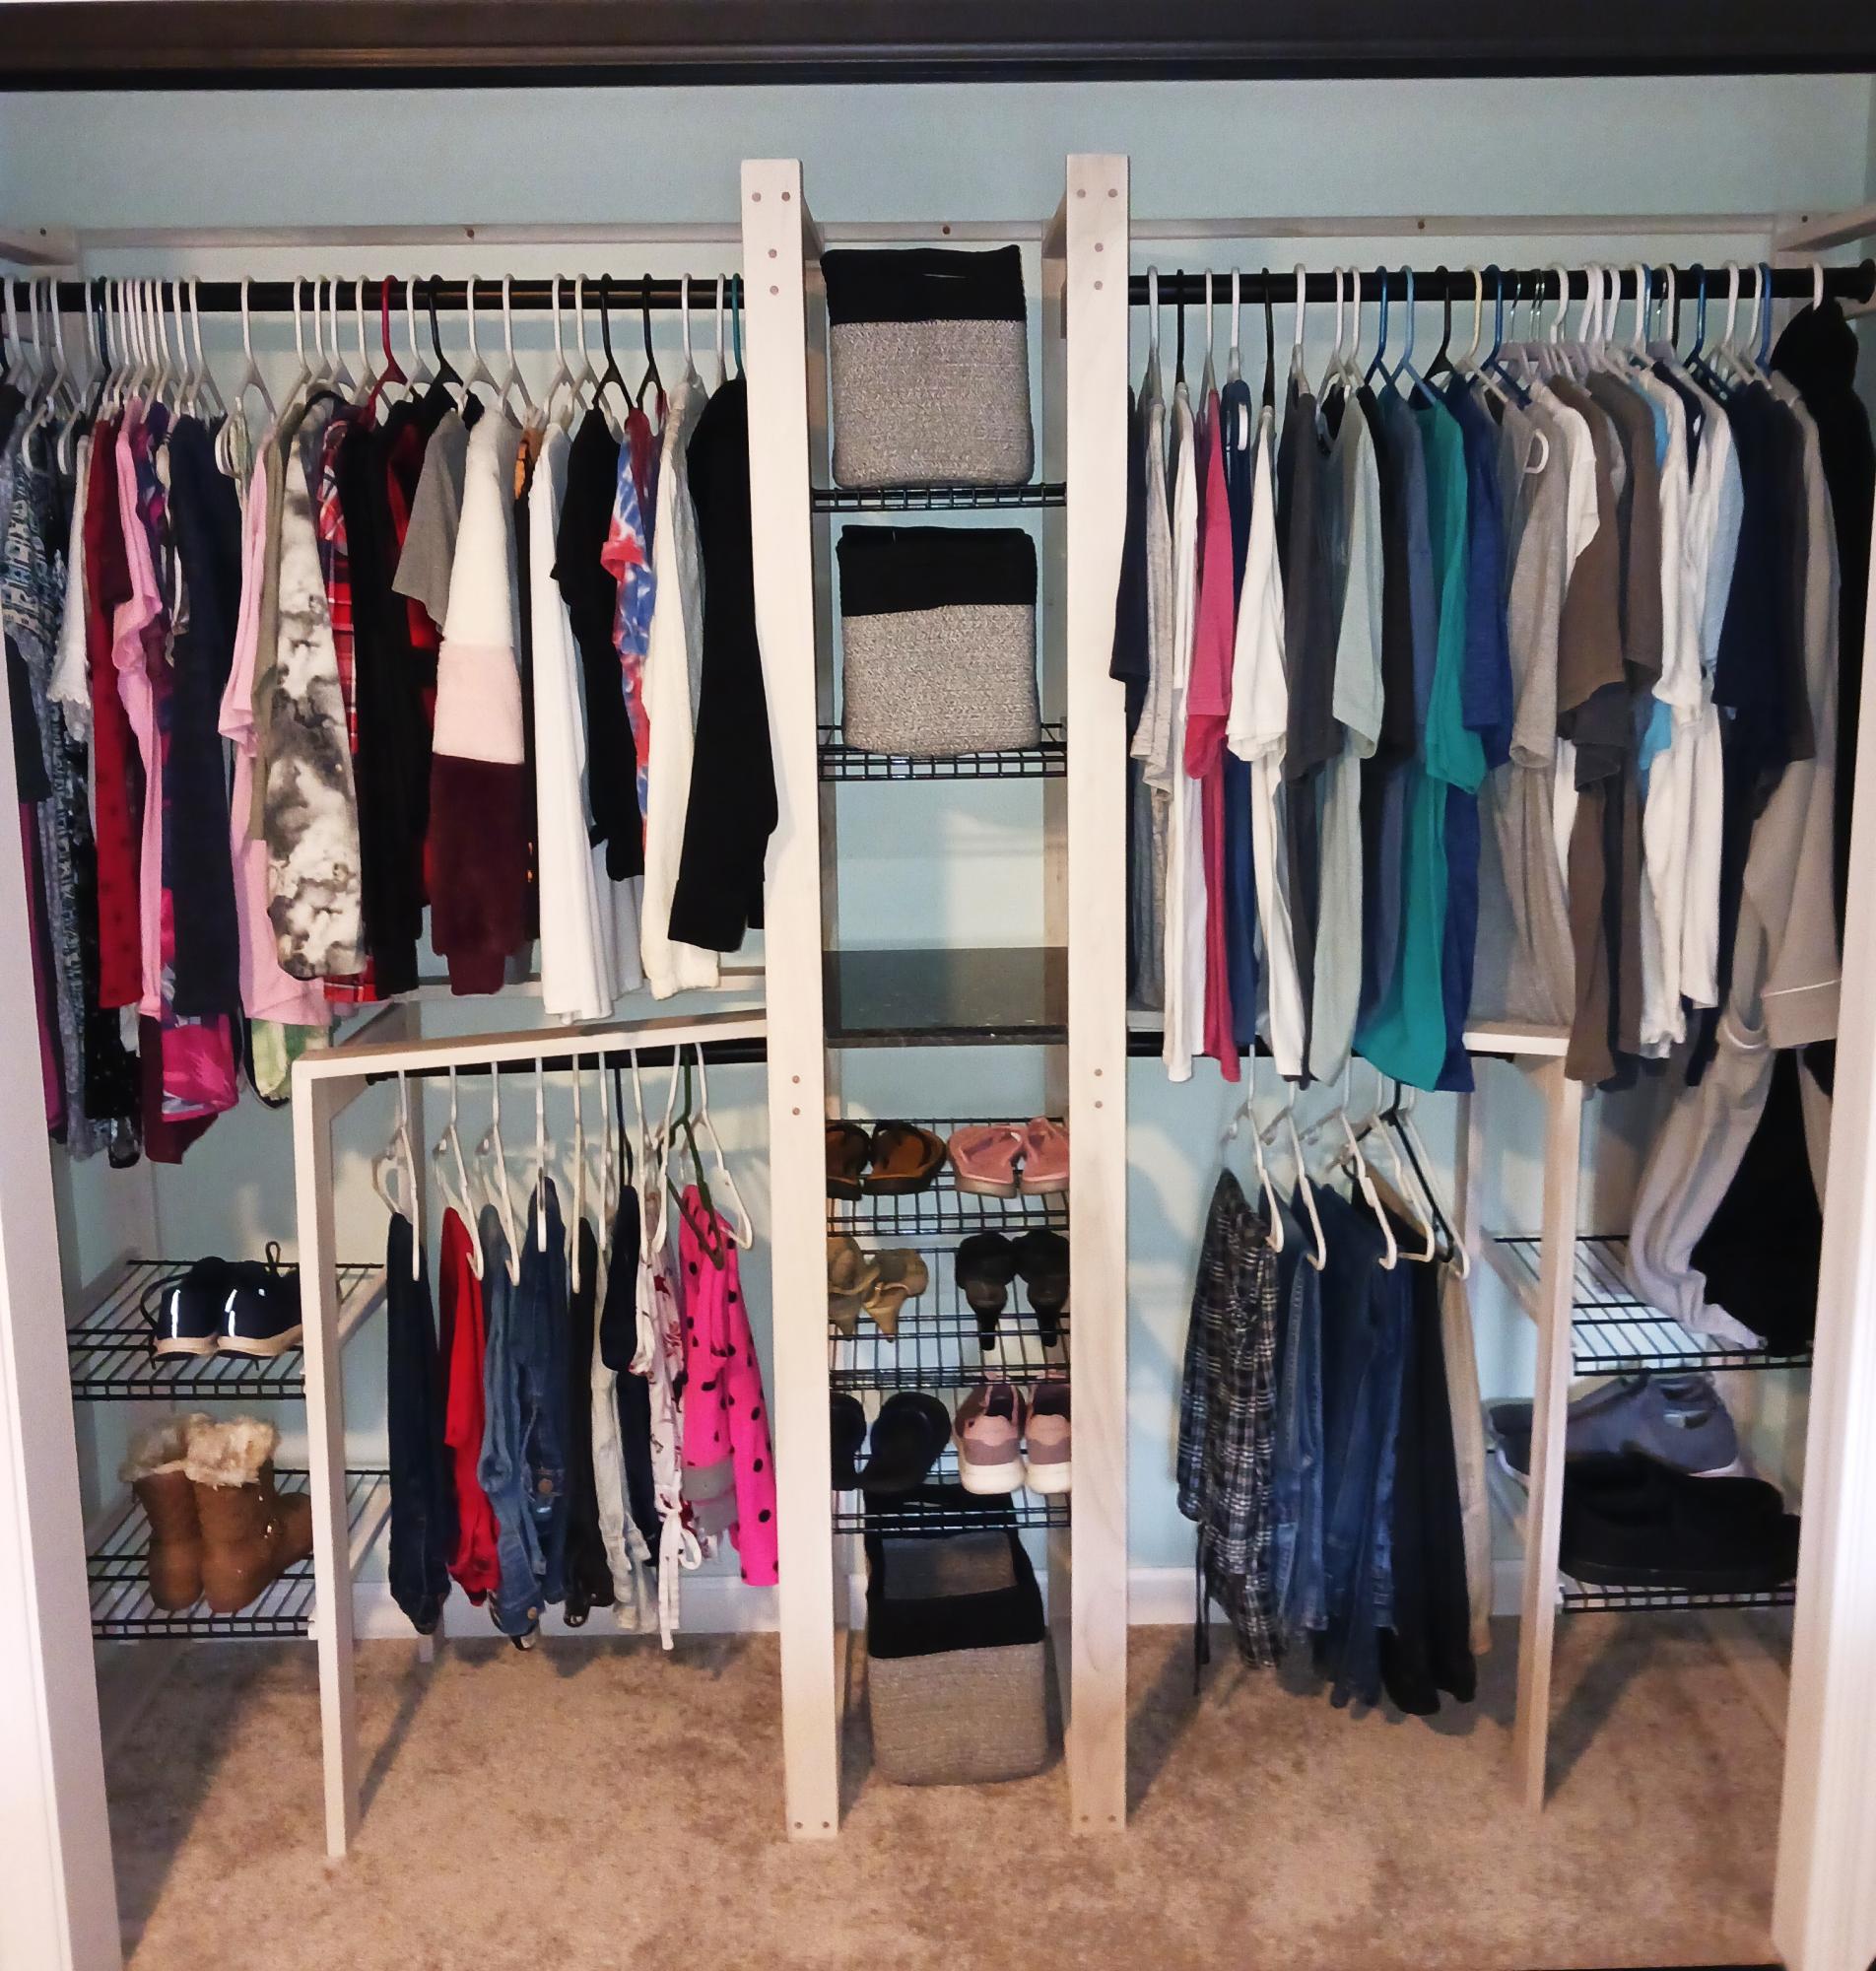
I took your 2x4 closet organizer I liked it cuz it looked easy but then I went crazy and modified it used one by three maple with a whitewash turned out great thanks for the plans.
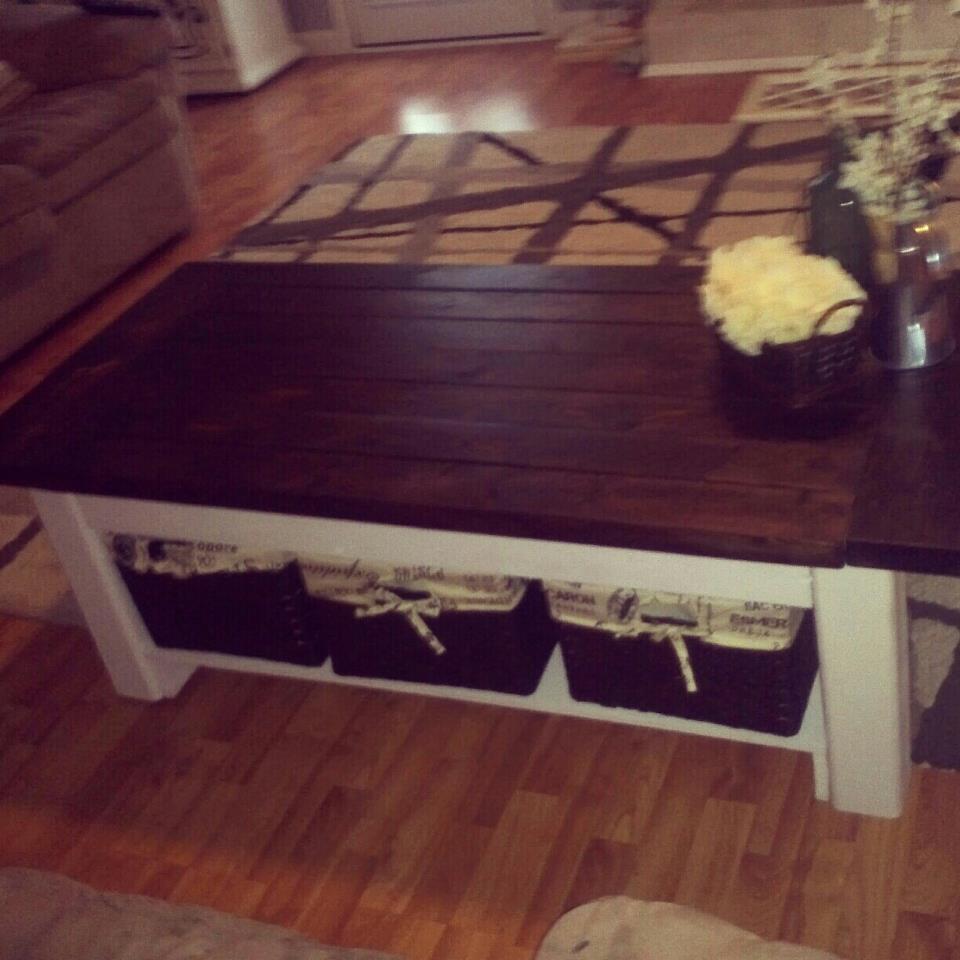
I made the table from the original plans and then just added a shelf on bottom to put my baskets on!
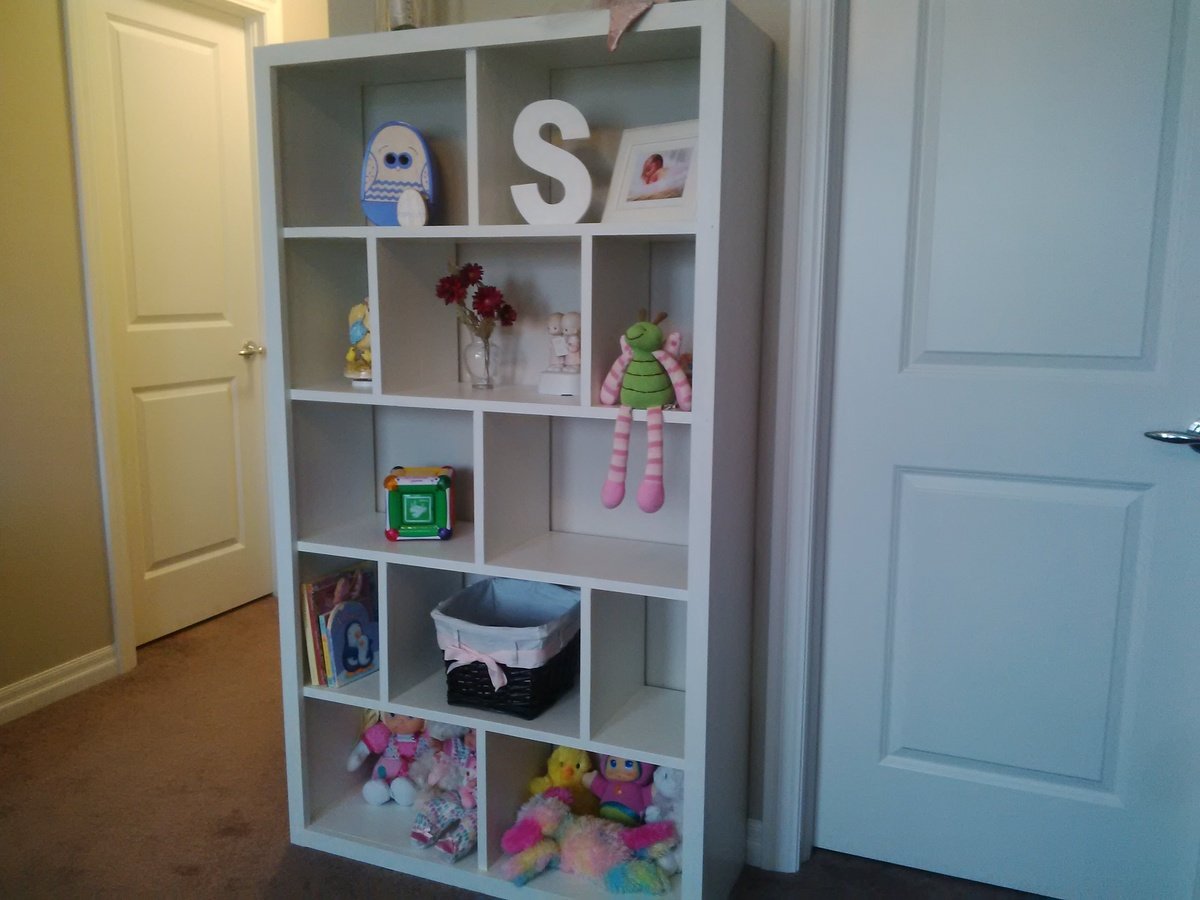
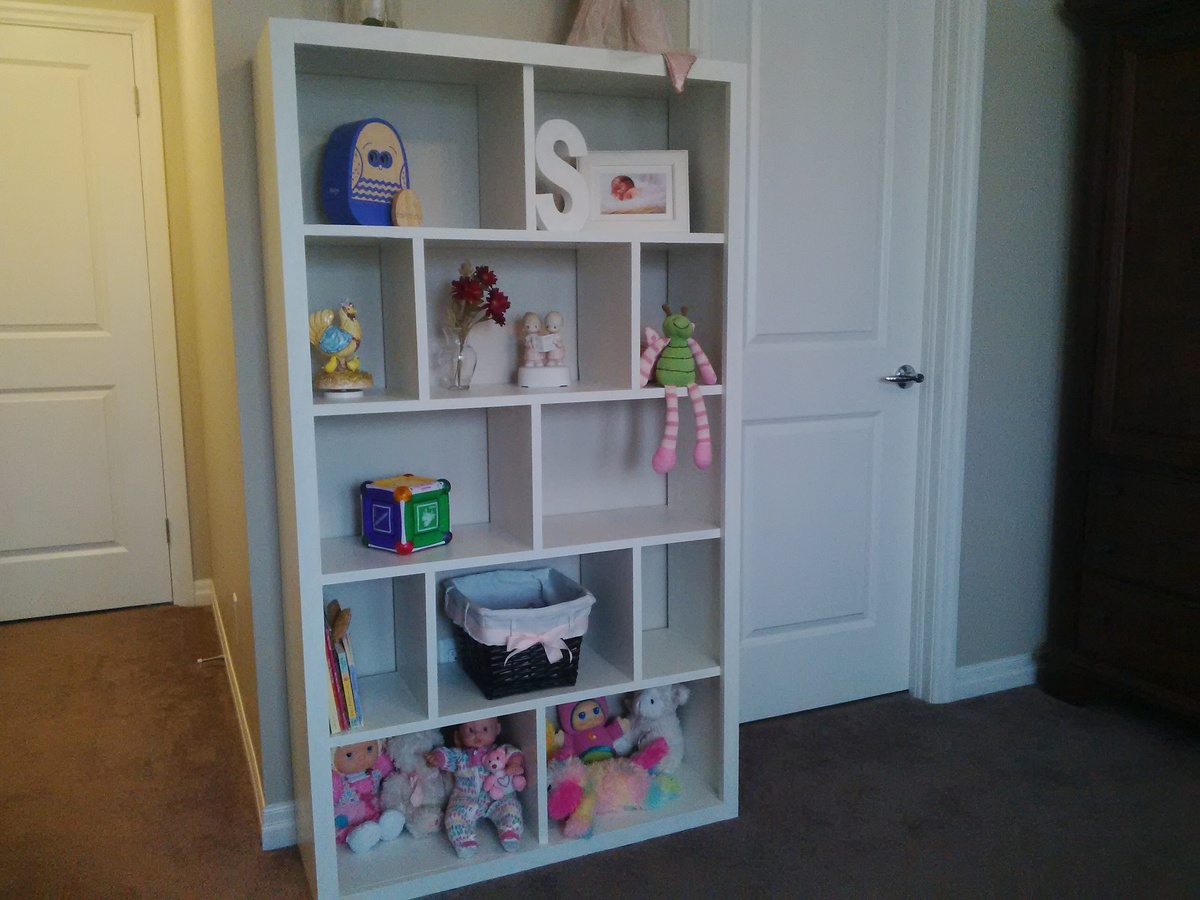
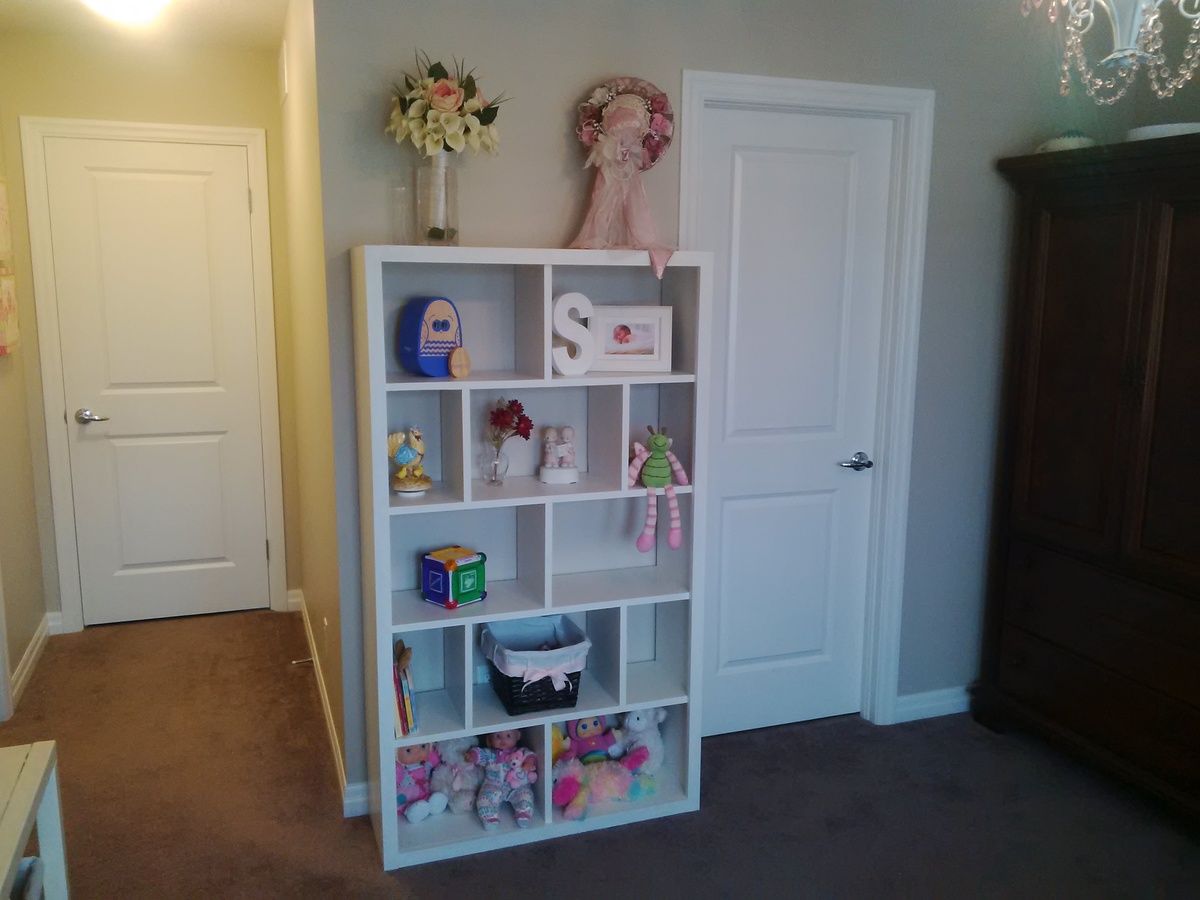
I followed the instructions except for the plywood backing, which I left out. This was a fairly simple build. I love the finished product and it fits perfectly in my daughter's room, providing tons of storage space for books, dolls, picture frames, etc.
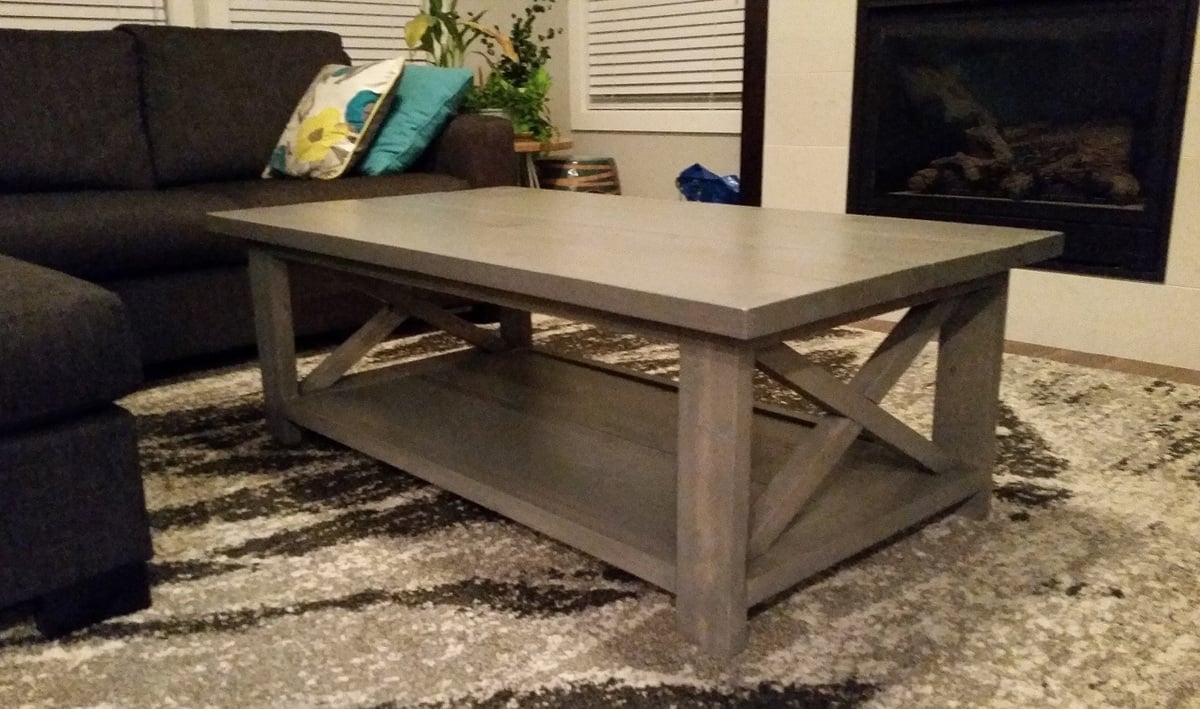
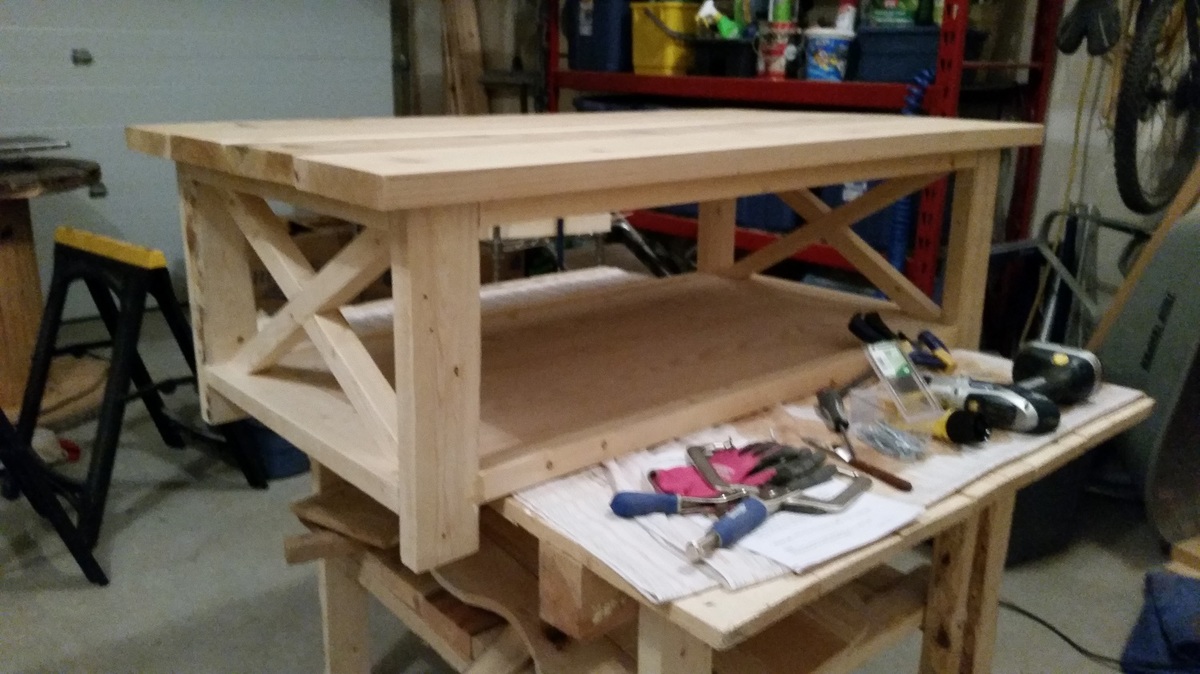
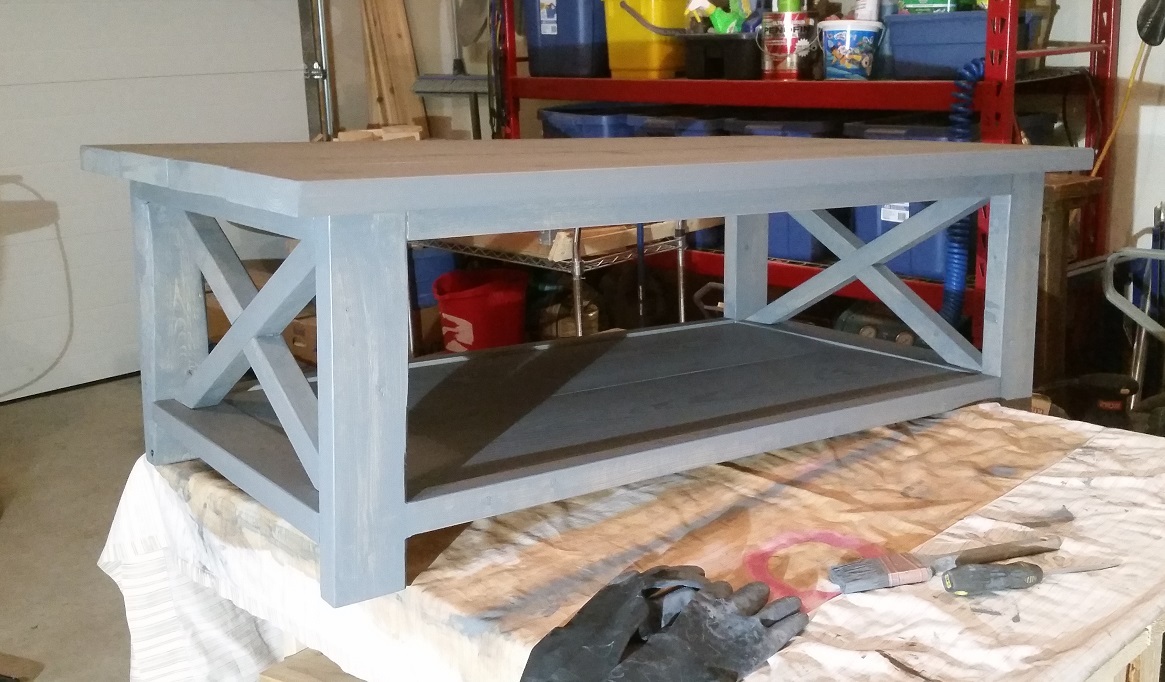
This was my FIRST DIY piece of furniture and I am thrilled with the outcome!
Since I am not really one to go for the rustic cottage look I wanted this DIY coffee table to have a bit more of a modern feel. I chose a grey gel stain to do the job. It gave the table a thicker stain but I am still able to see some of the wood grain beneath it.
Ana White has the best tutorials & free plans to get a crafter to switch to the dark side and become a DIYer!
I did a full blog post on my progress throughout with a lot more pictures.
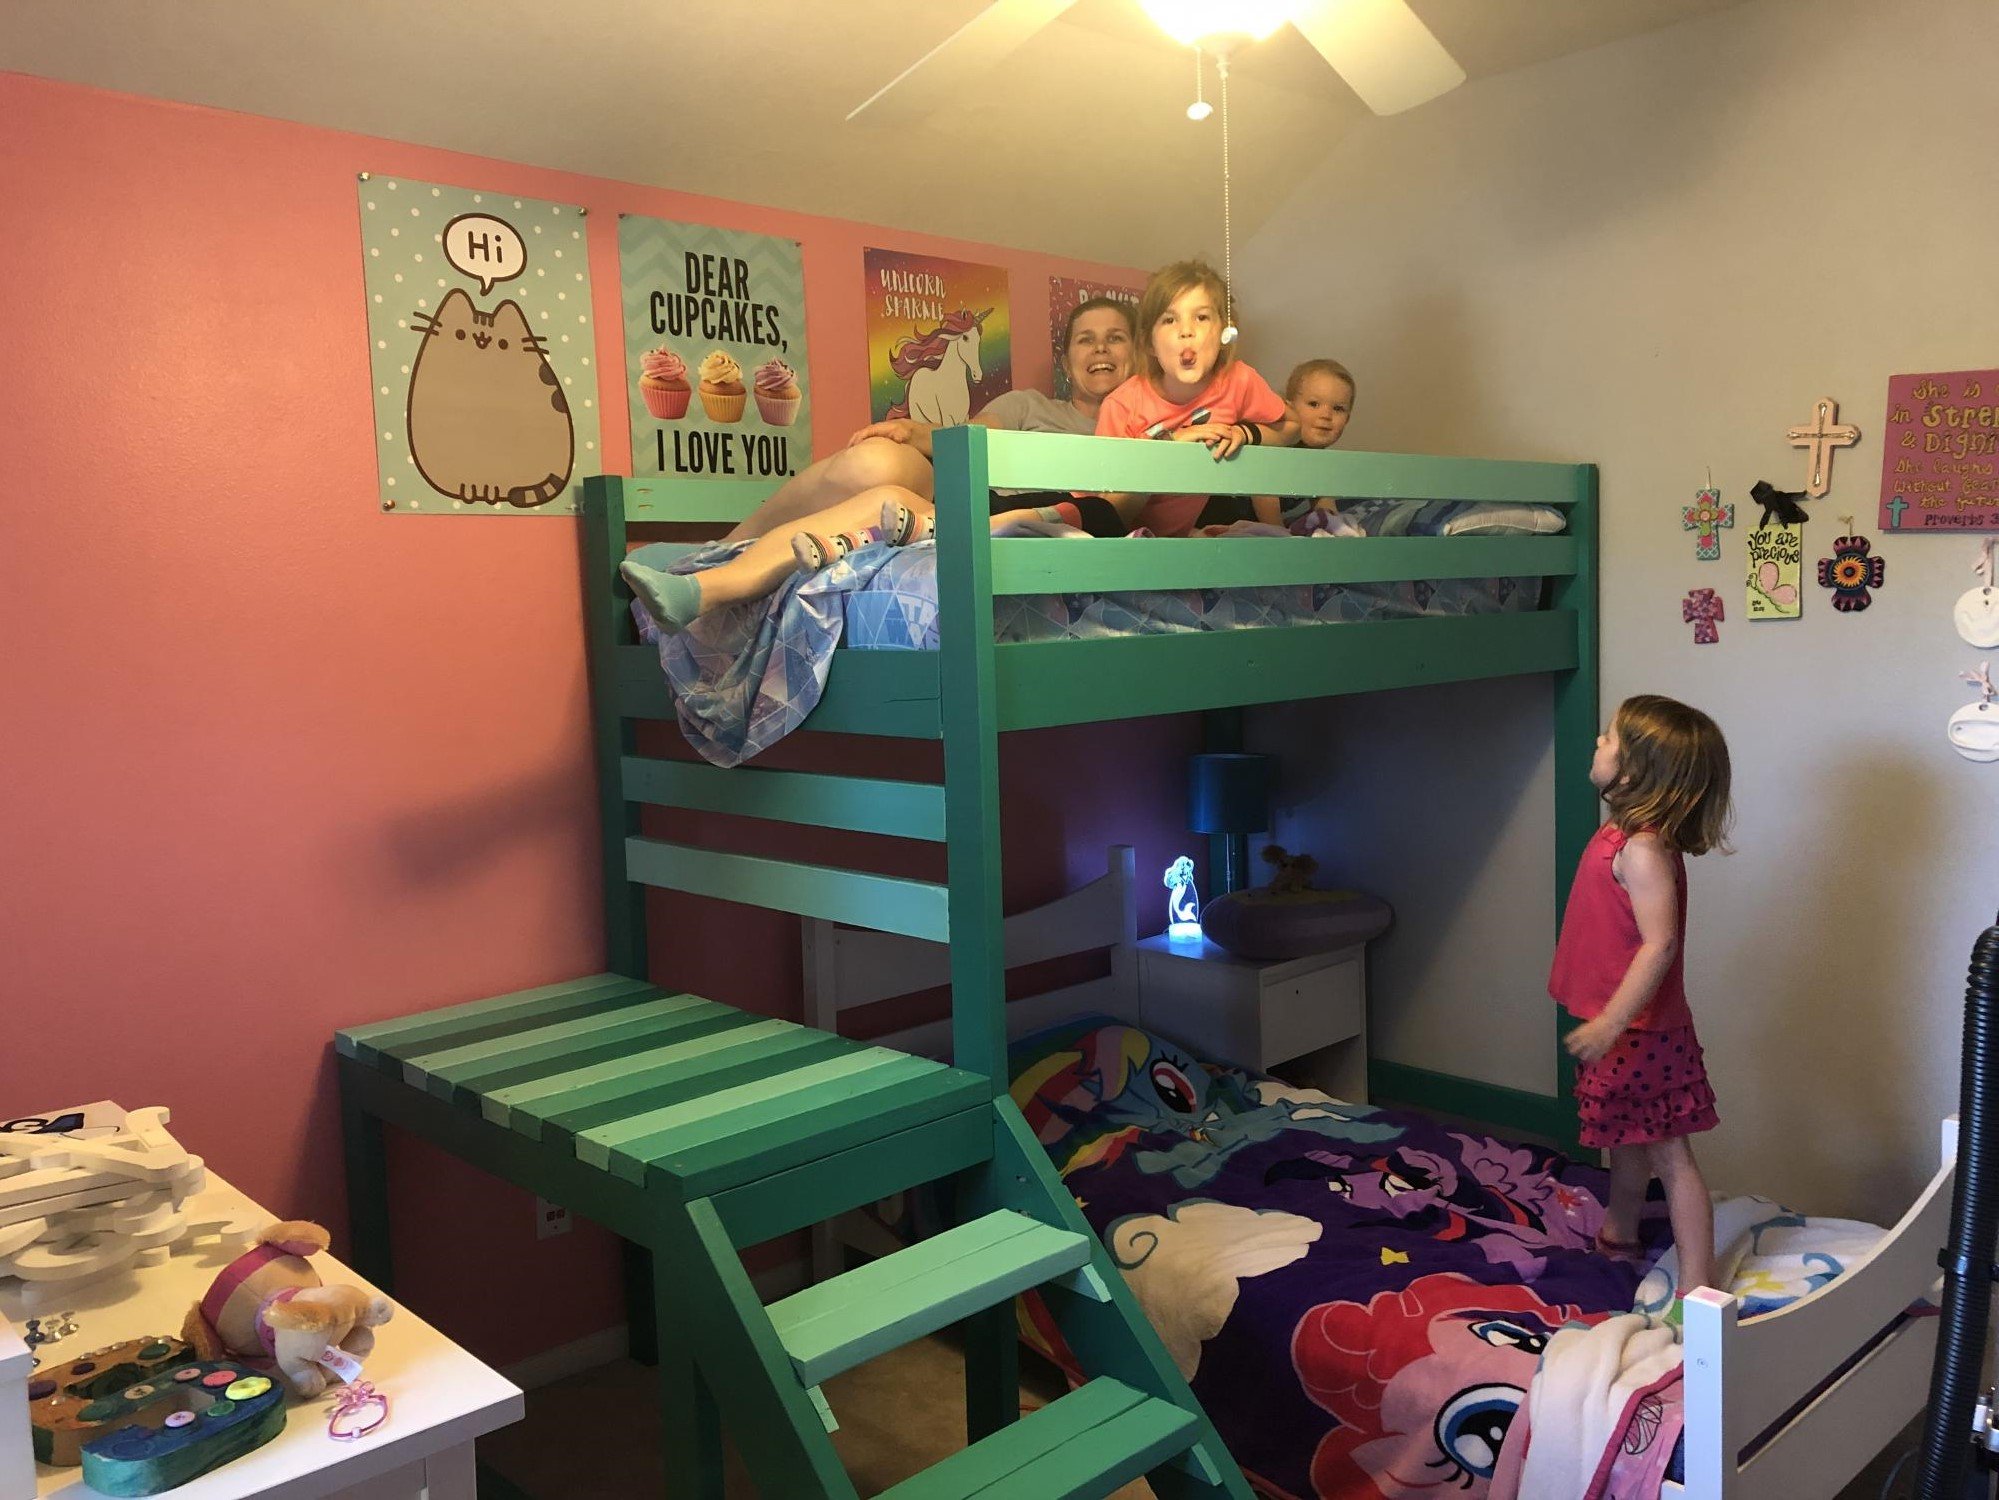
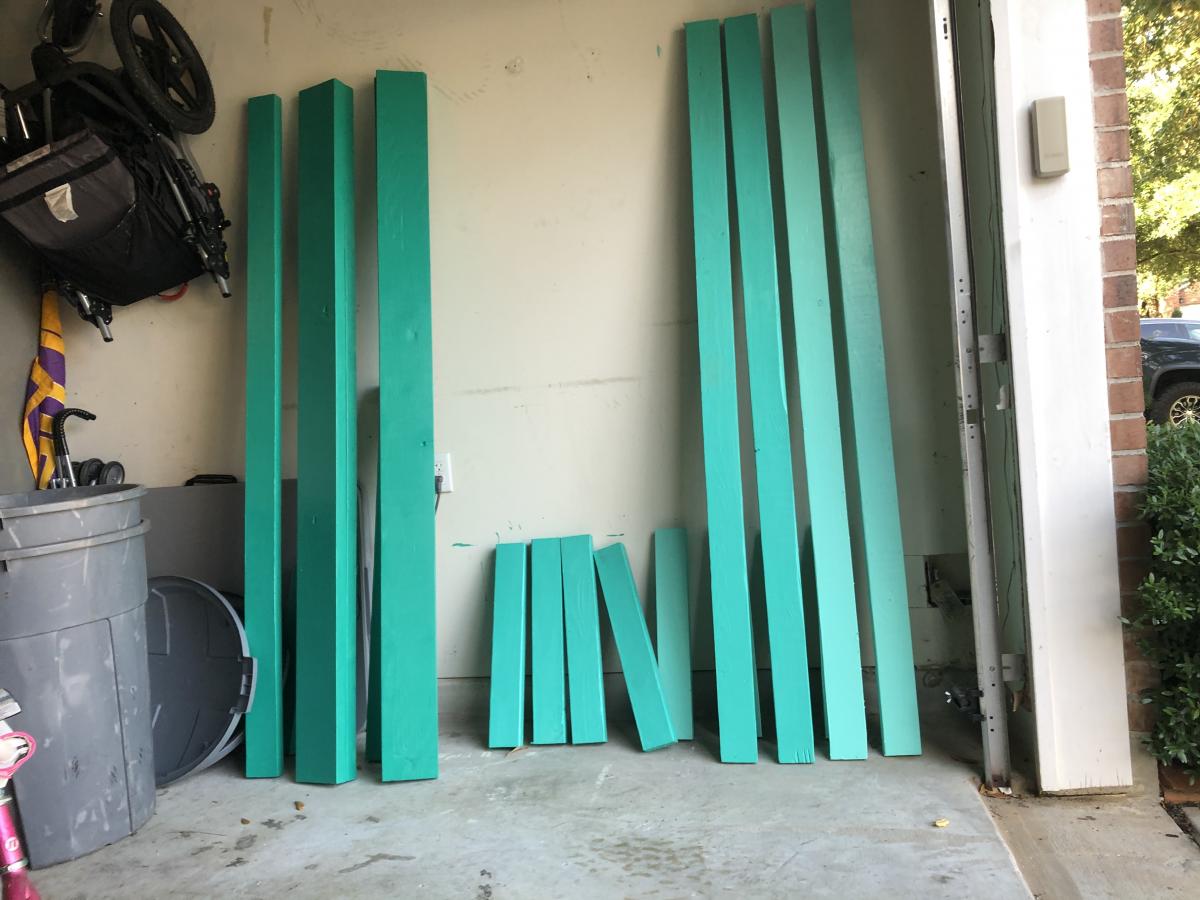
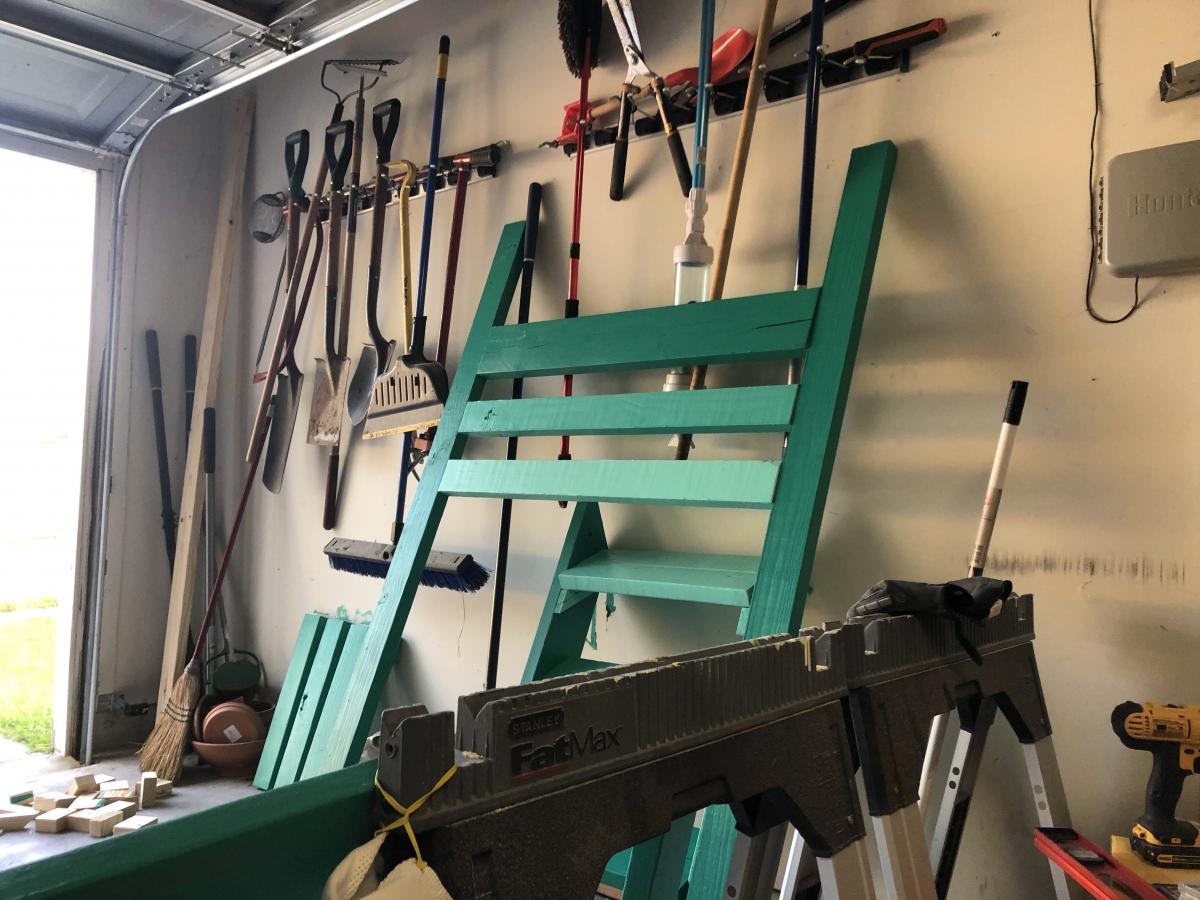
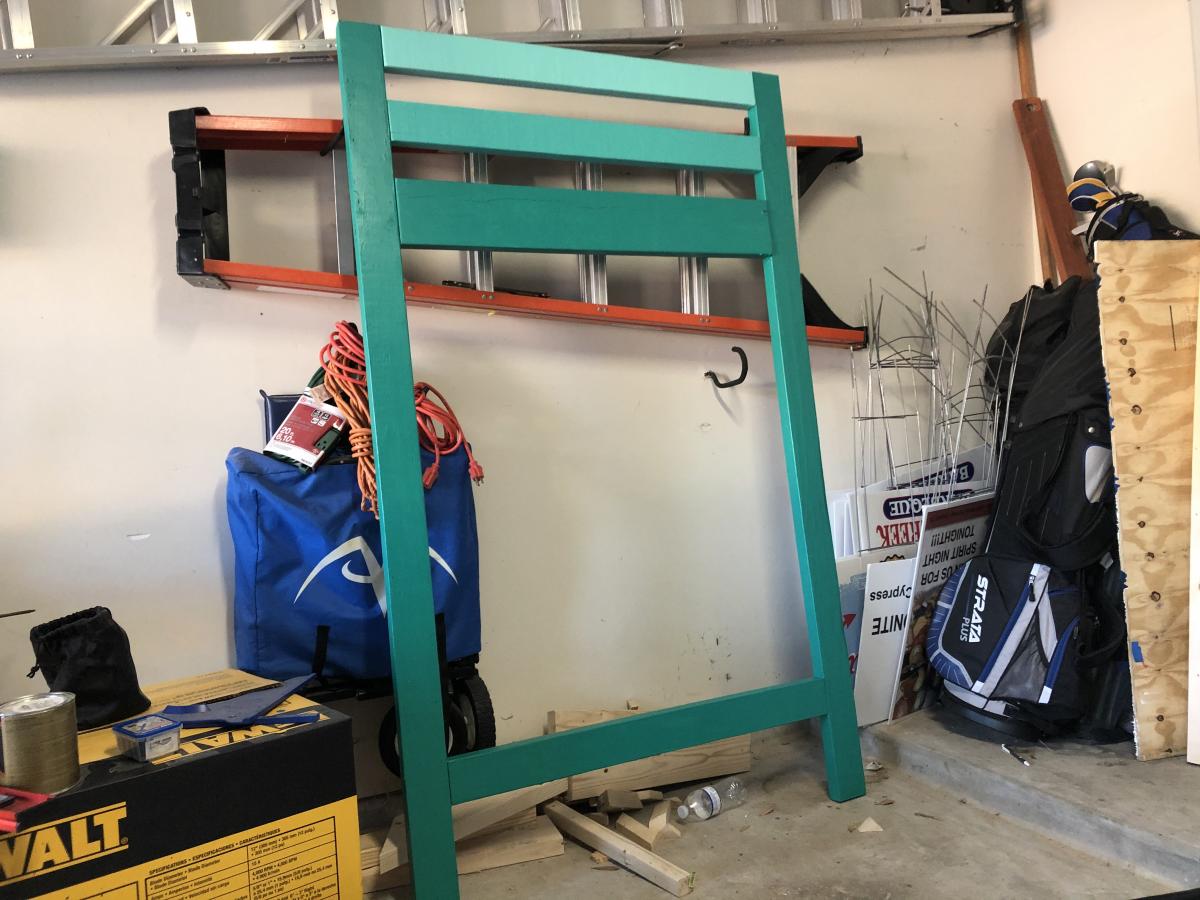
Used the Camp Loft Bed with Stairs plans but put the extra heights on the legs. The girls love it
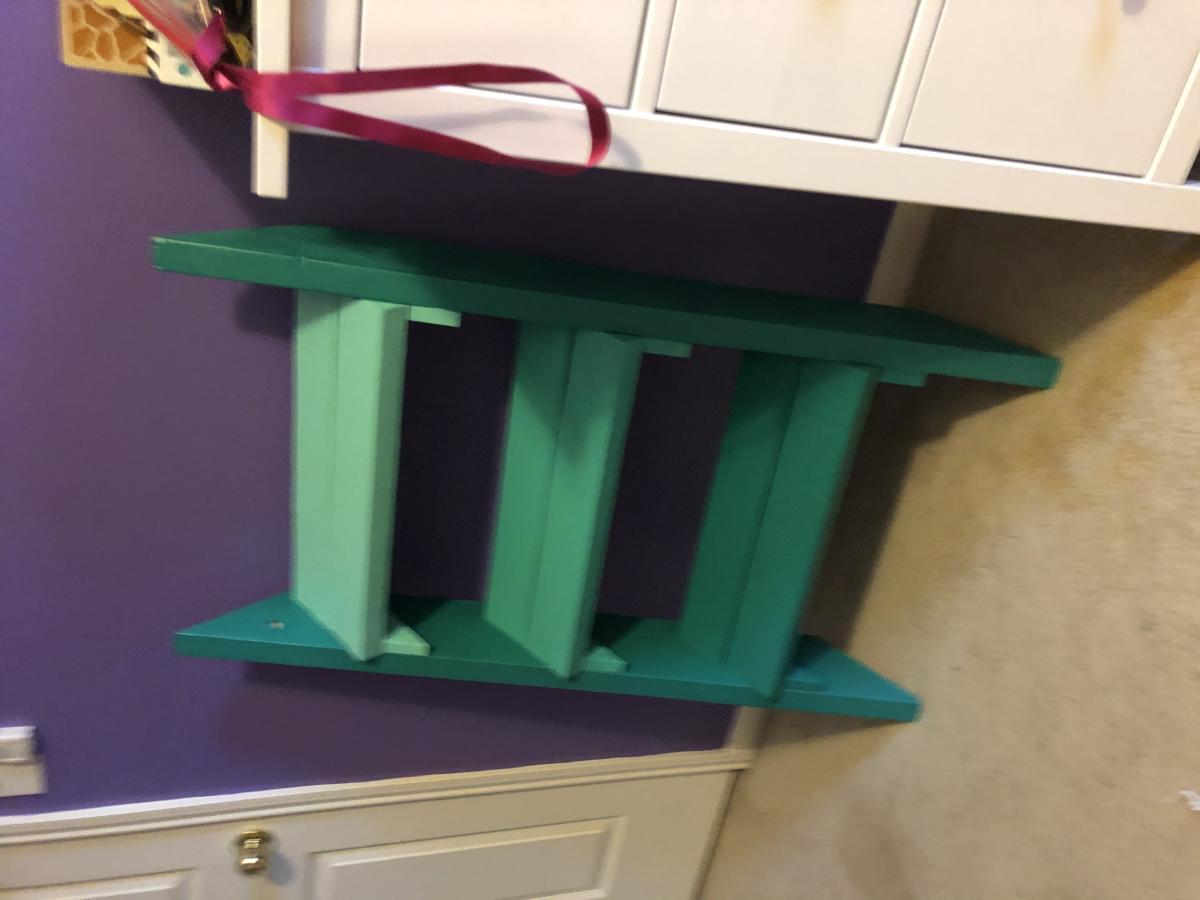
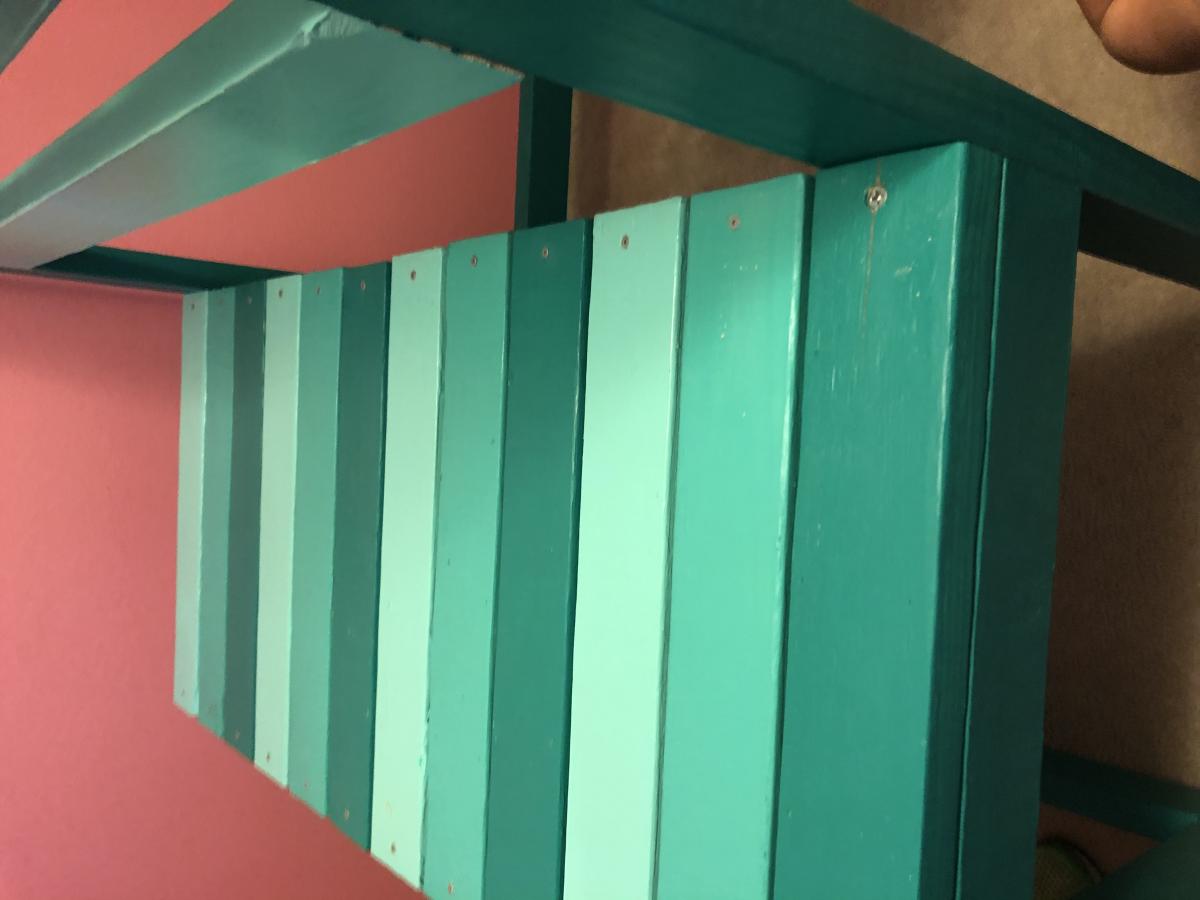
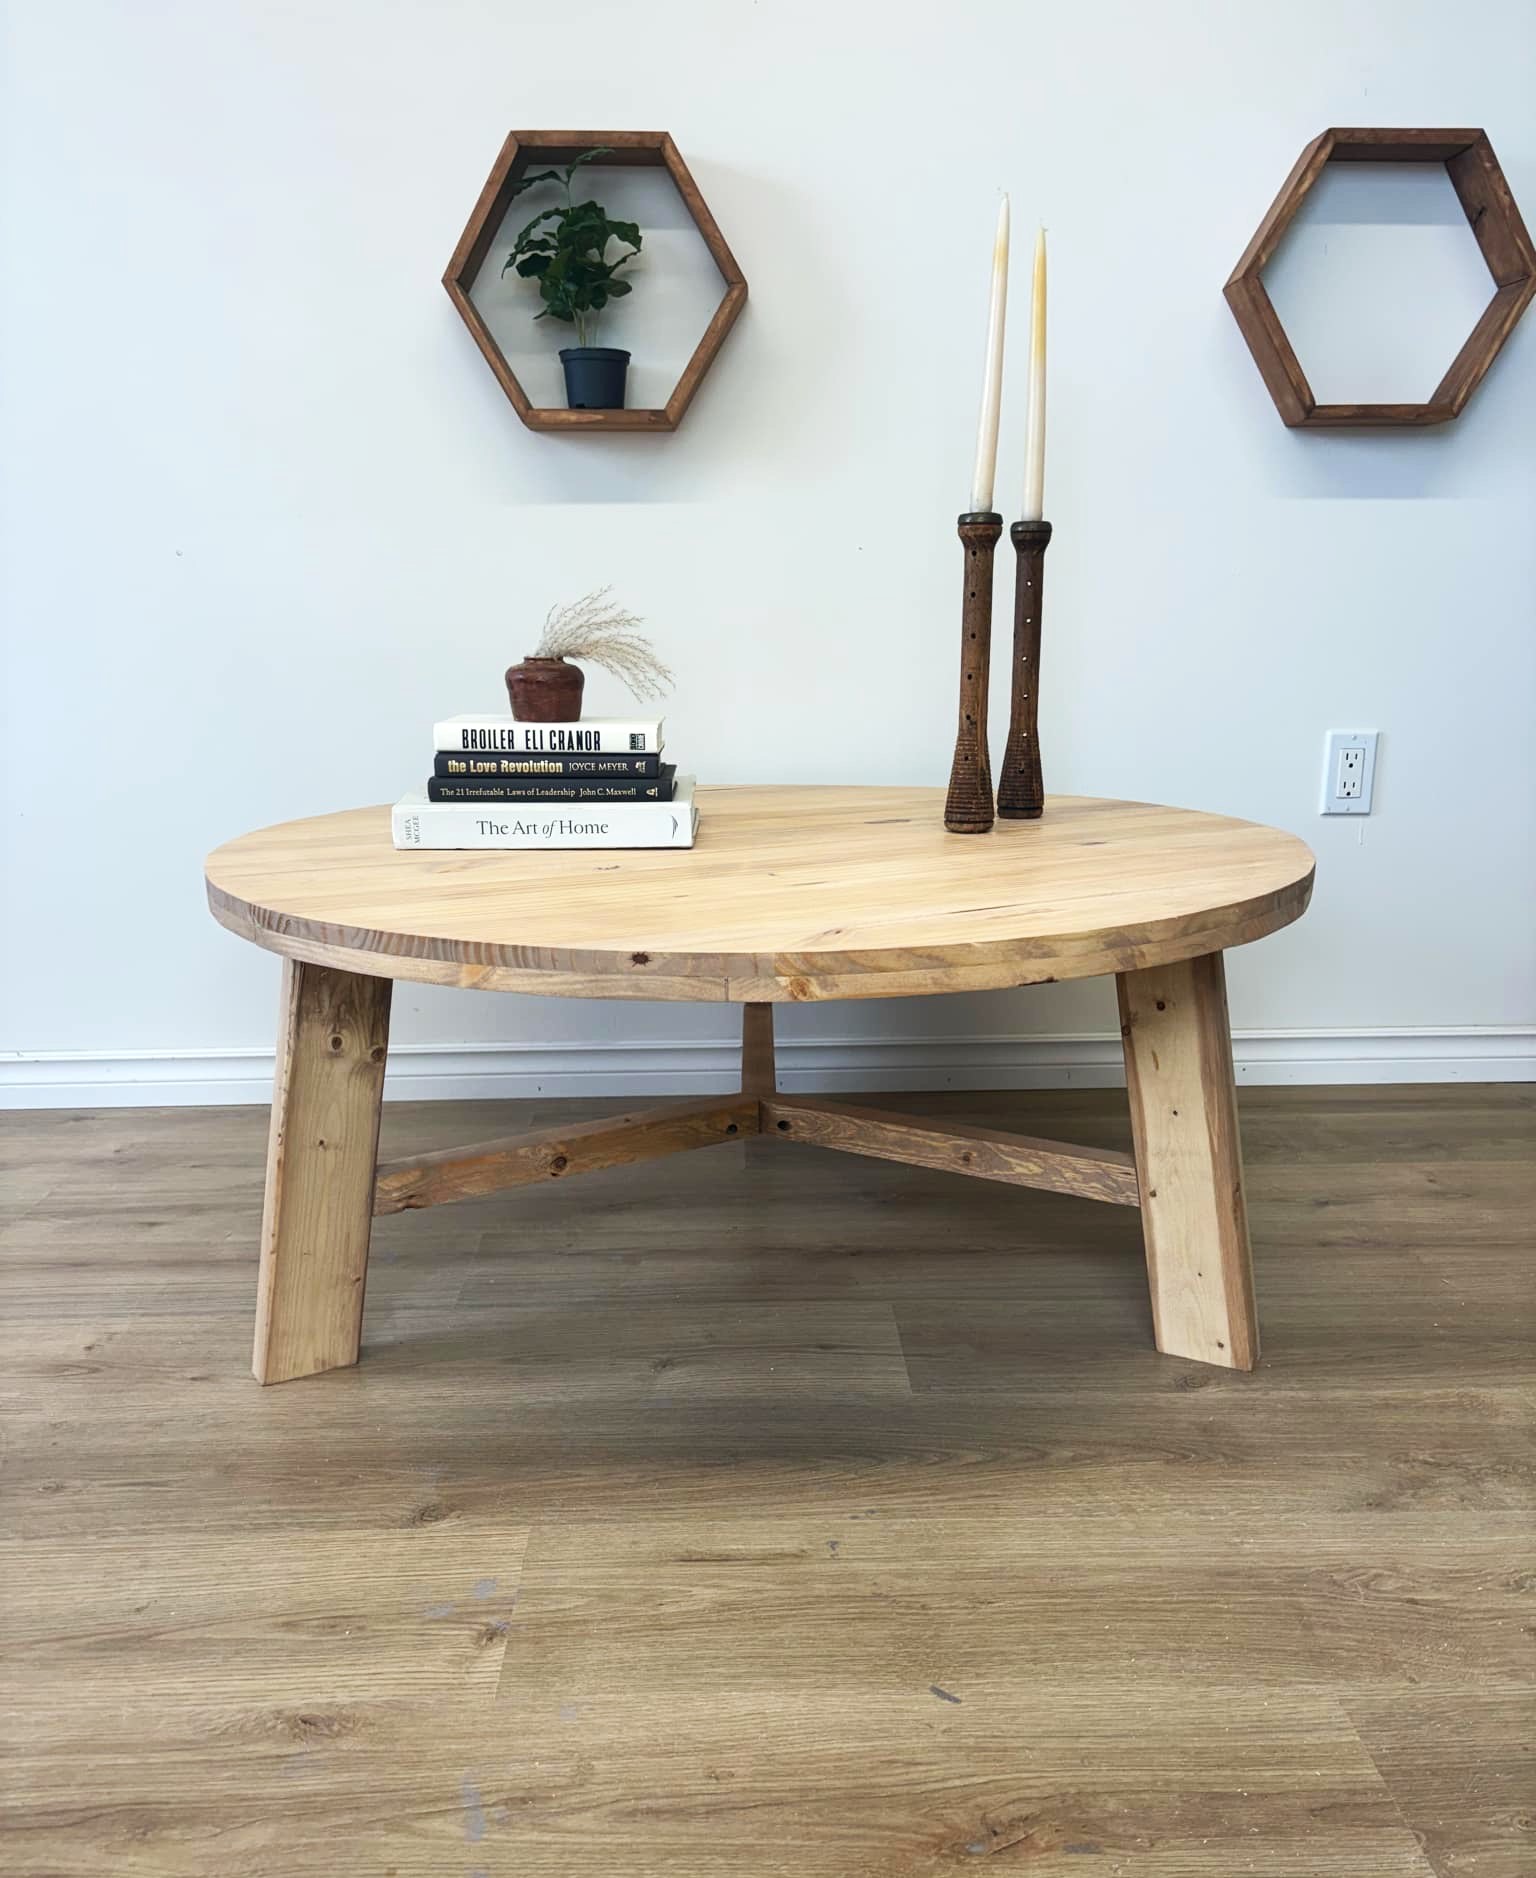
Built this beautiful table for a customer! Thanks. For the inspiration Ana. Follow me https://www.instagram.com/femwoodanddecor/
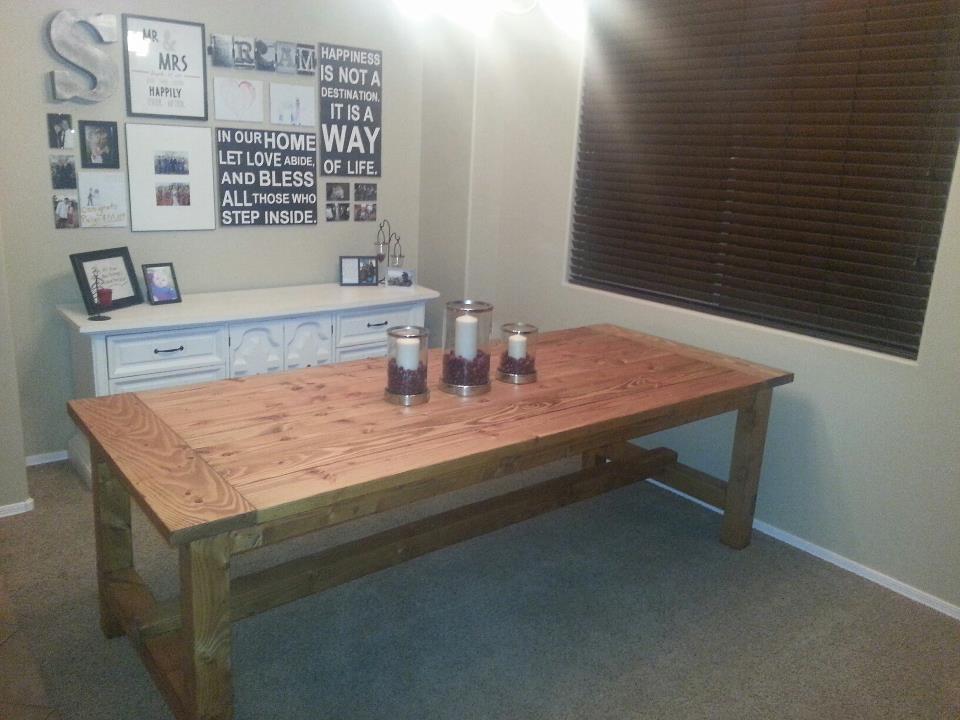
Made this table over the long New Years Eve weekend. Whole lot cheaper than the table from Pottery Barn.

I needed a new bird stand because the old was.. well.. old.. :) Even the cheapest particle board stuff was $100 and not what I wanted.. so i decided to make one.
Instead of paneling I used beadboard. I added a shelf on the inside, and a larger top.I originally stained the piece but then decided to paint. Much nicer. Larry the cockatiel approves.
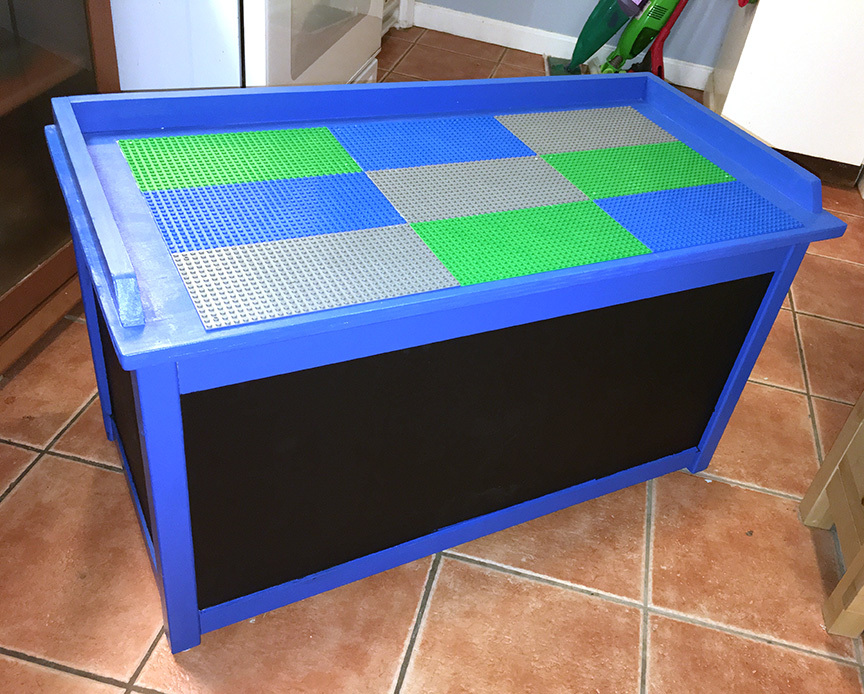
This toy chest has a lego top and chalkboard paint sides. Easy to put together, a bit harder to paint! The most tedious part was making sure all the sides were at 90 degrees and filling/glueing/trimming the remaining pocket holes afterwards (most I was able to do prior to putting it all together). I increased the depth and width to accommodate more toys and made the top a bit longer so I didn’t need the front edge cutout. My nephew loves it and my niece has already requested one. Thank you Ana!
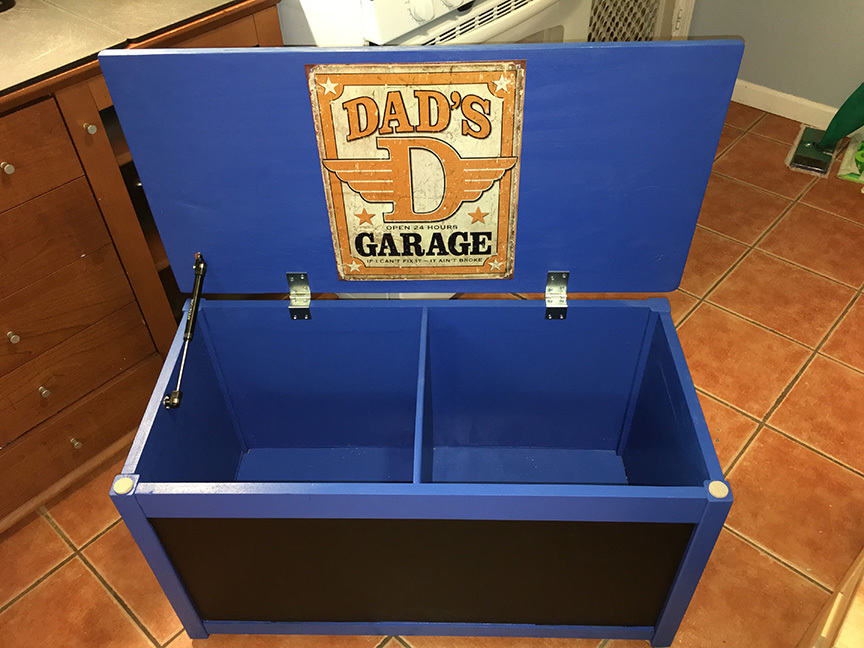
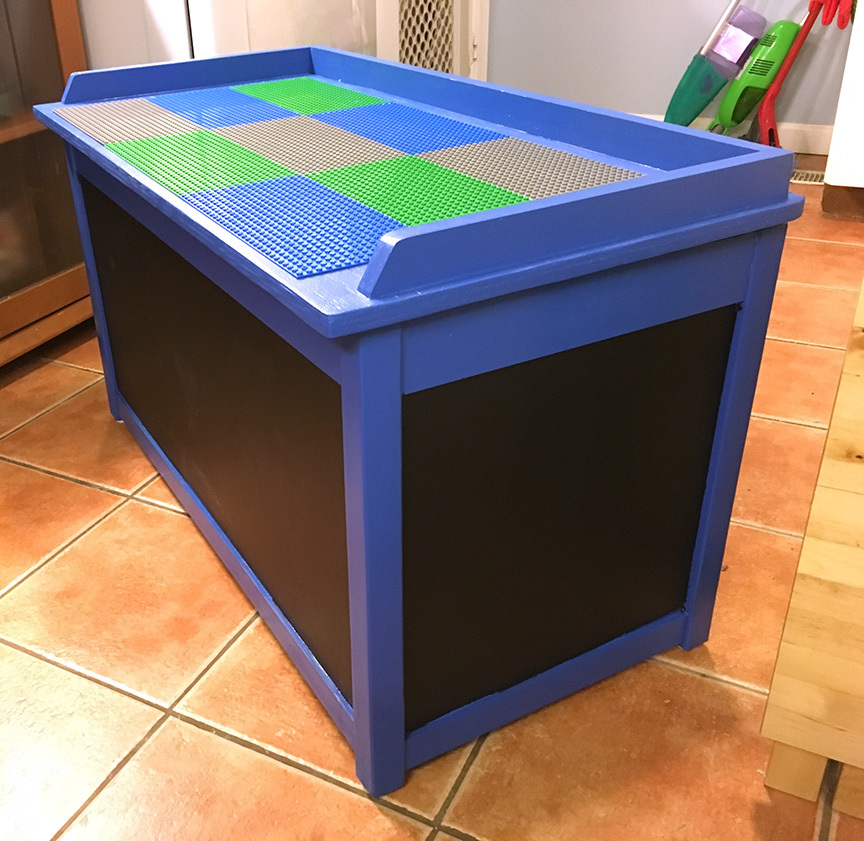
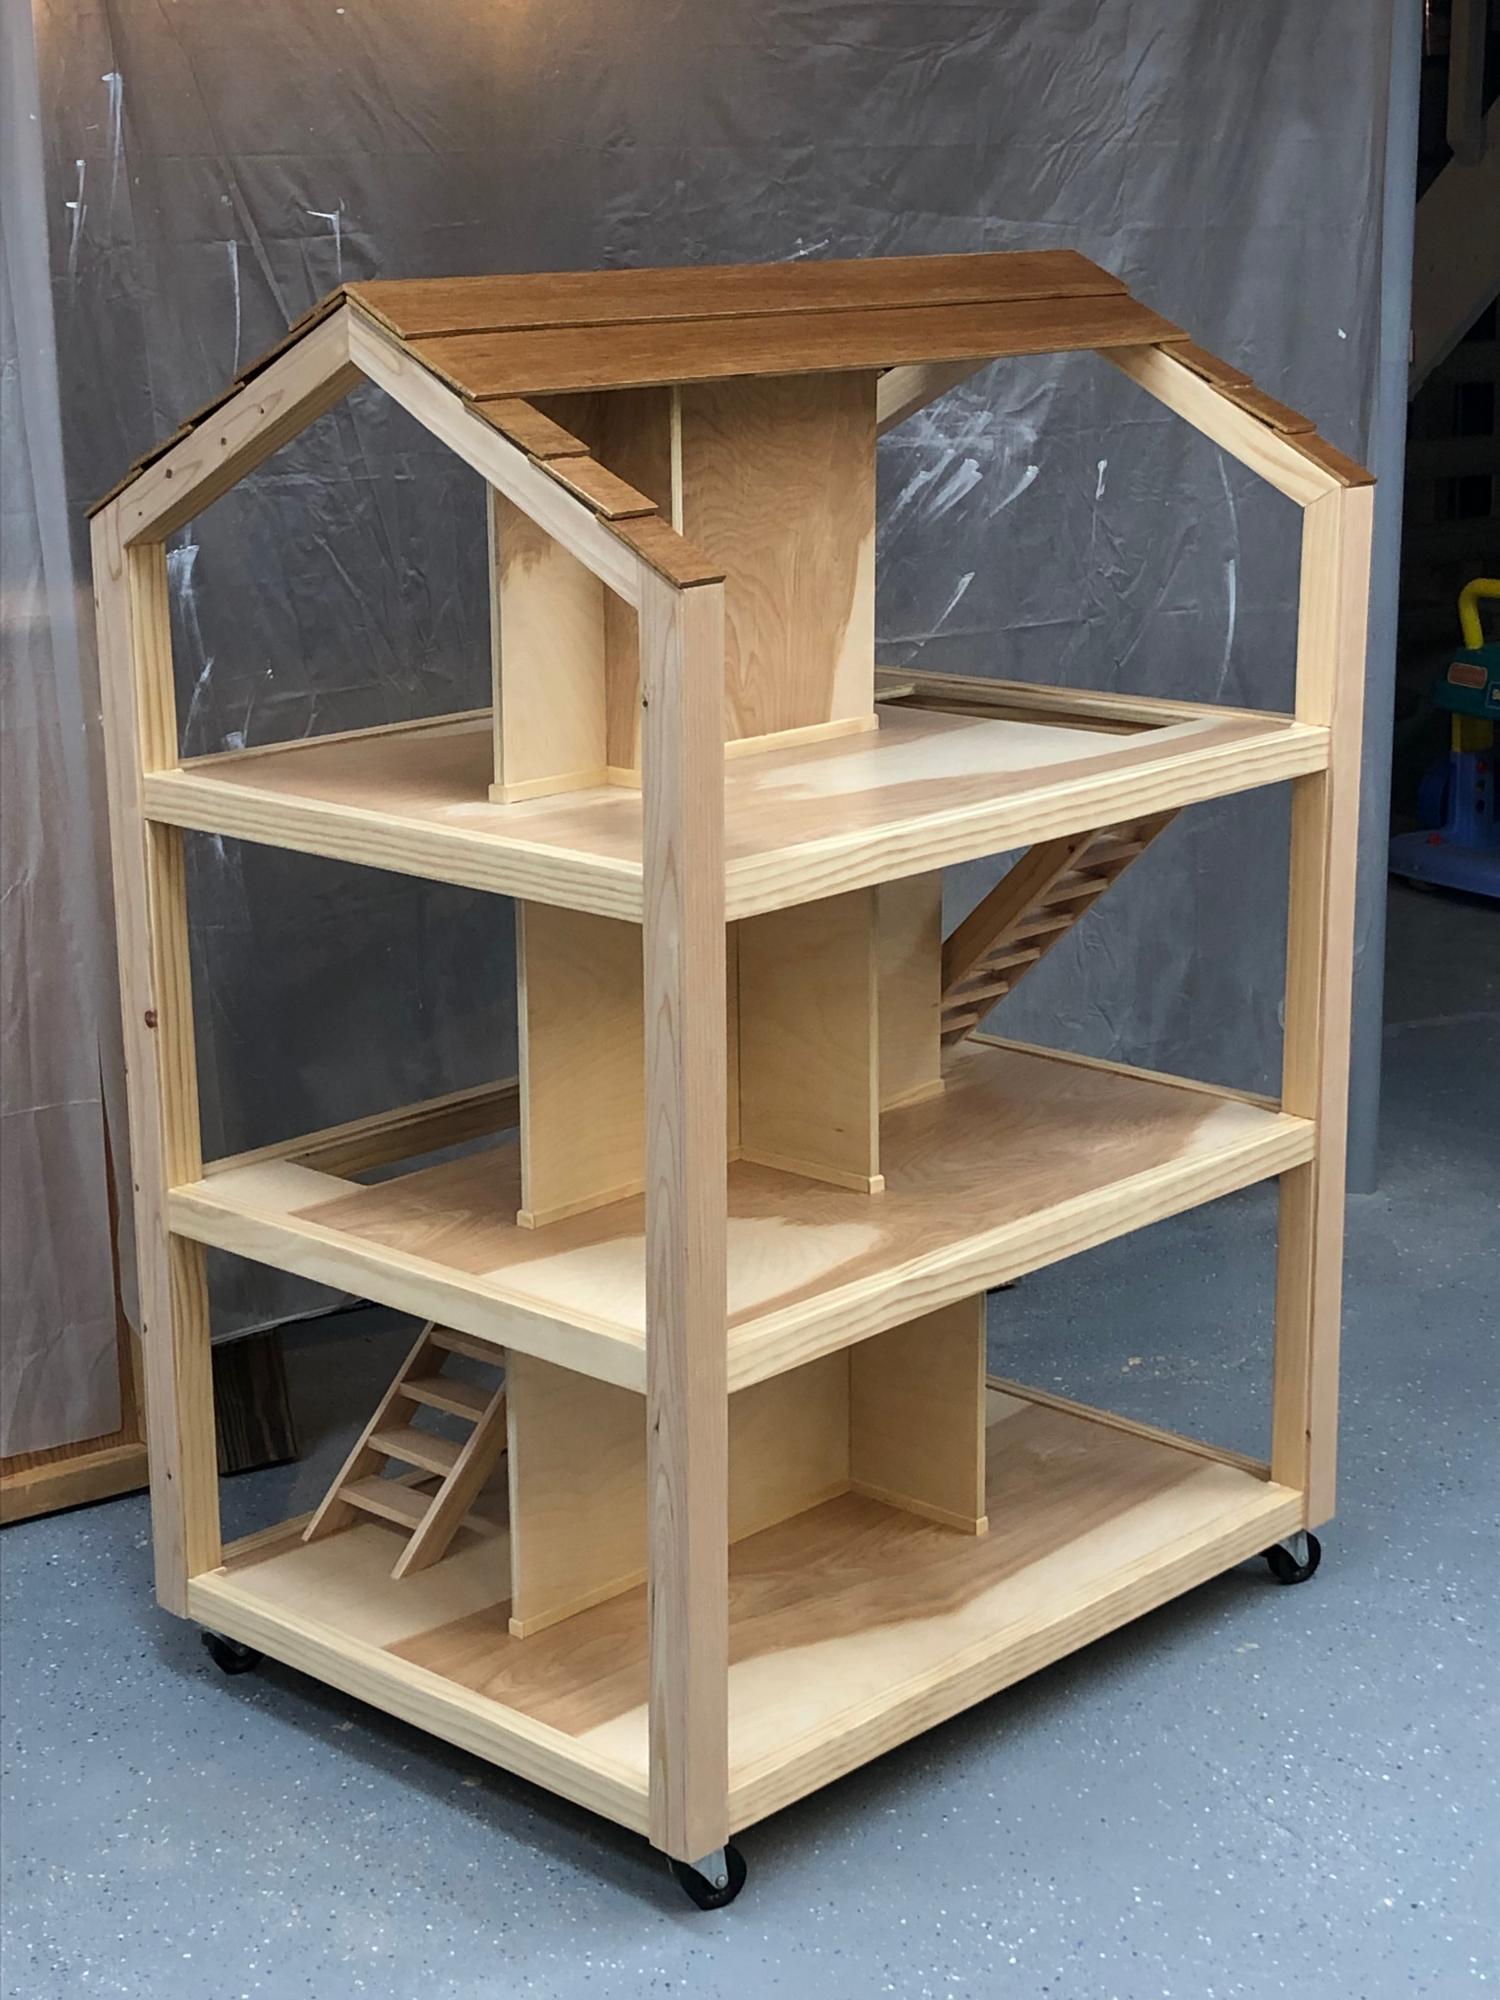
Here's my version of the Dream Doll House. Three stories, made with birch plywood and pine, featuring realistic stairs, baseboards, crown molding, exterior corner battens, and left in the natural state with just a few coats of water-based poly. Put the whole thing on casters for ease of rolling around the playroom. Fun project and the hugs were all the reward I needed!
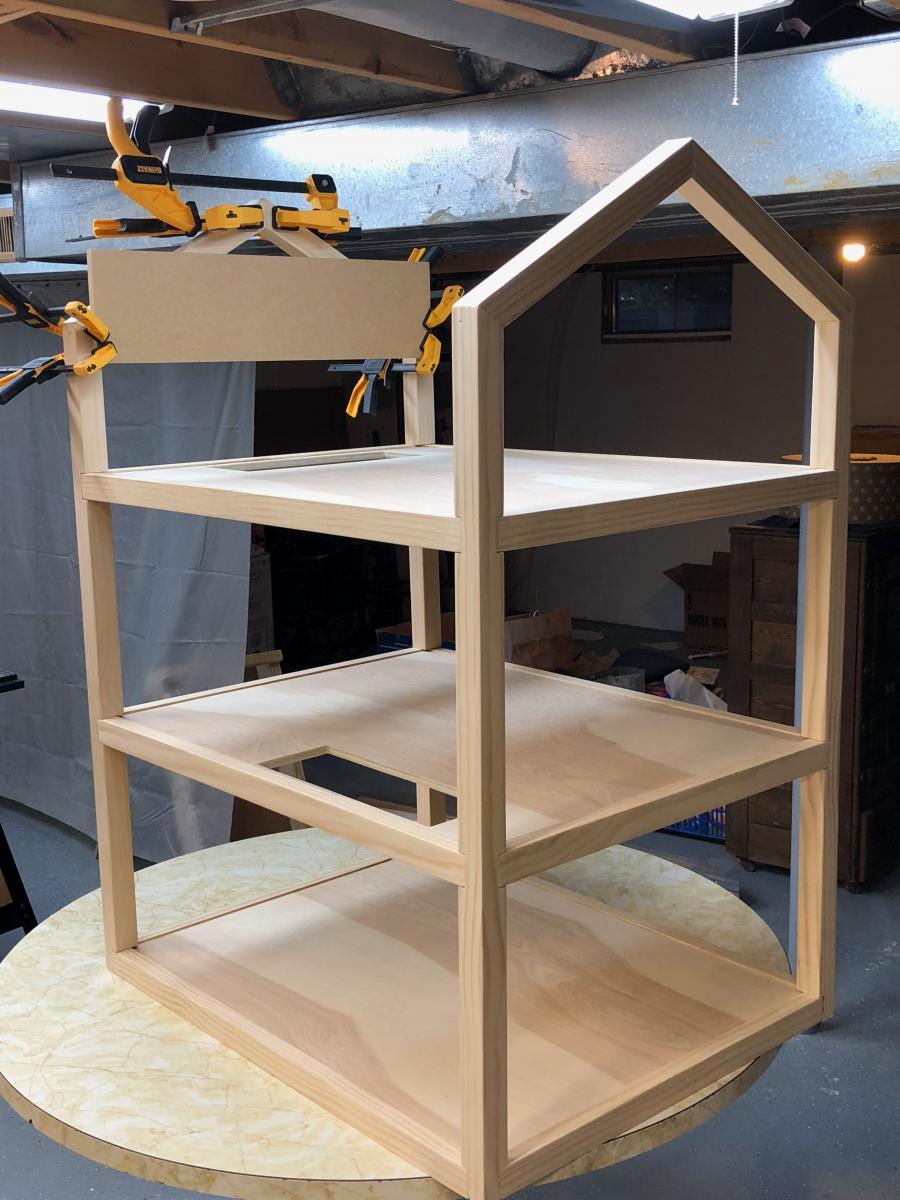
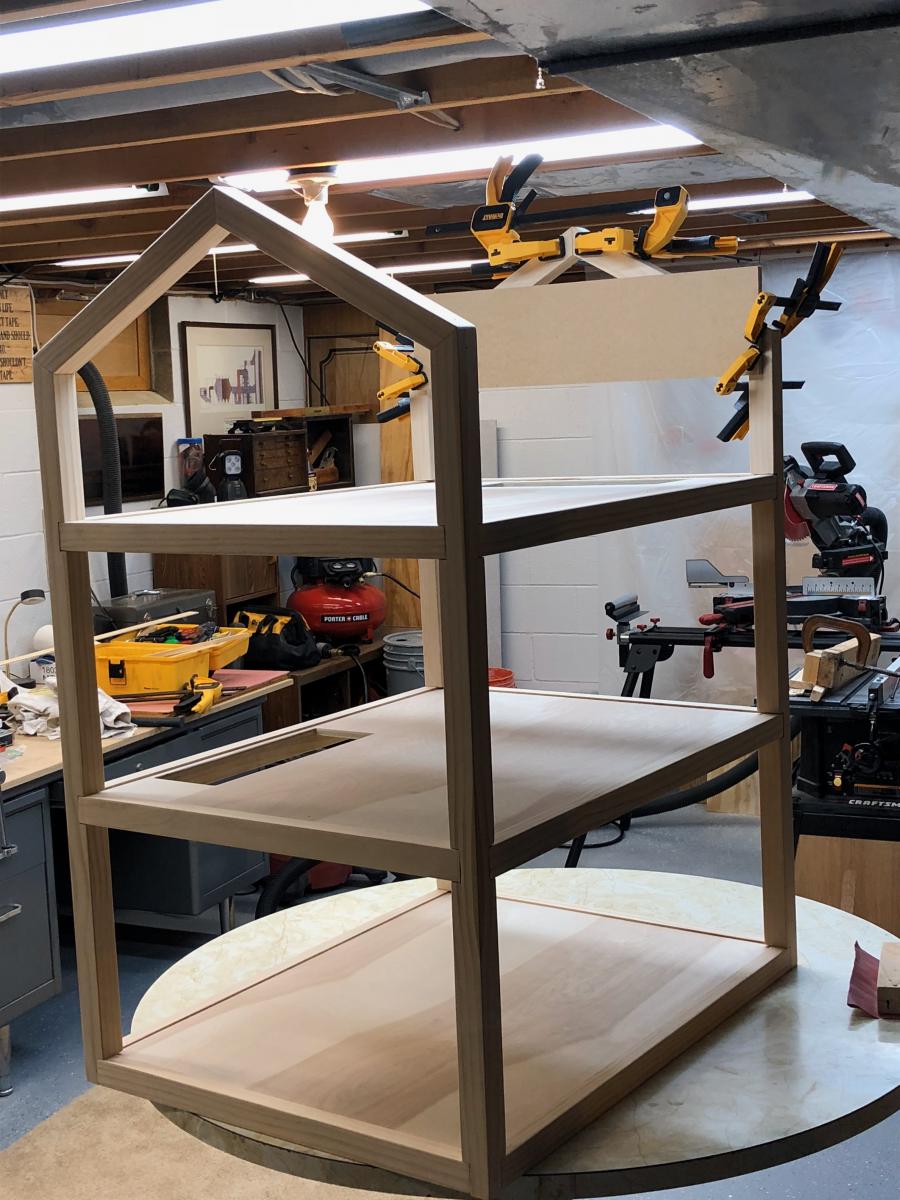
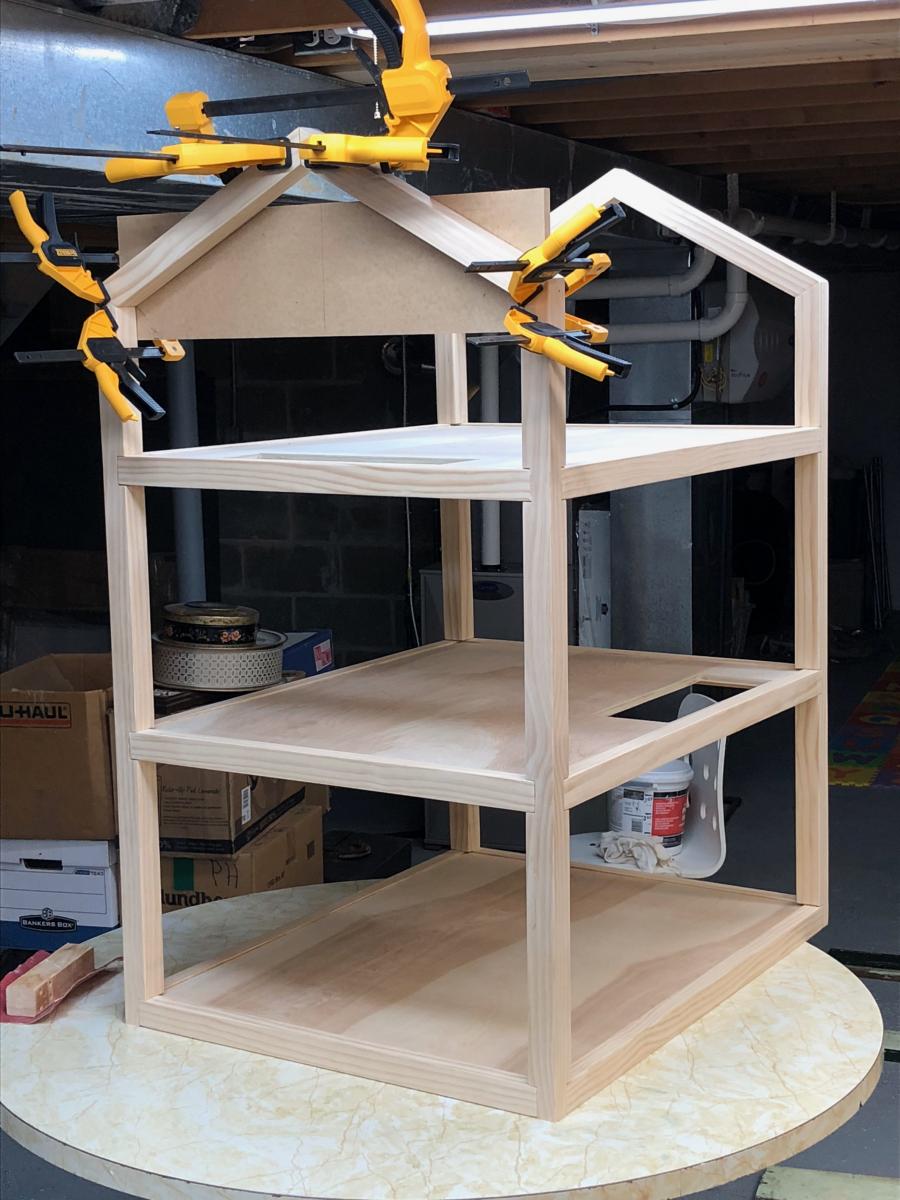
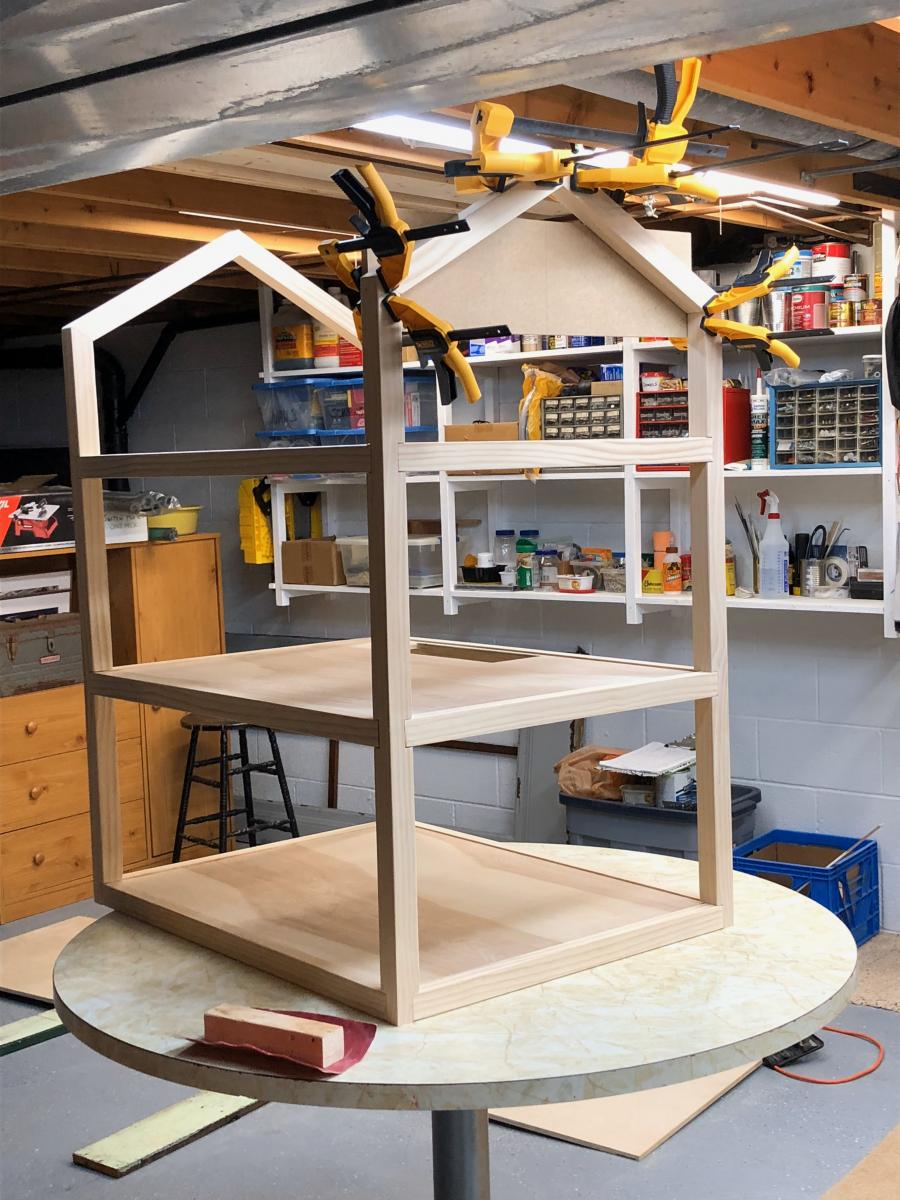
Fri, 10/23/2020 - 13:32
I am sure your granddaughter will cherish this for her lifetime!
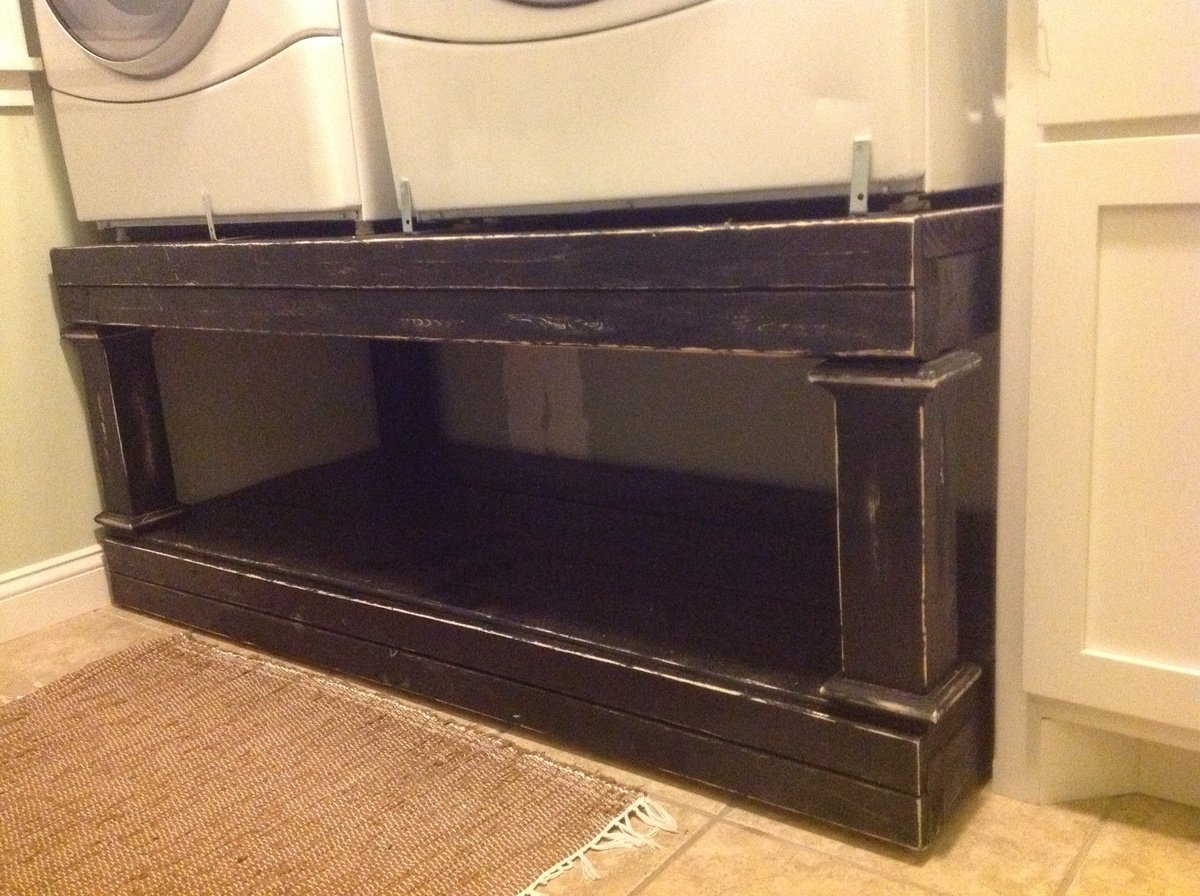
My wife has been dropping hints about this pedestal for a while so I decided to use my Christmas break to build it. Before making this, I measured the area I was using and decided 28"x58" was what I needed, the 60" would've been too big. I was also tempted to bring the width to 24" due to the ease in buying precut plywood at those measurements. But, the 28" is better for the width of the machines. I used 3 2"x10"s on the top because they were cheaper than buying 2 big sheets of plywood. I could either buy a 2' x 4' sheet or a huge one, and I would've needed 2 big ones for the dimensions of this pedestal. They made the pedestal very sturdy, and heavy. The boards also fit just perfectly with the width of 28". The trim on the front is from 2 1"x 3"s. I glued and used a nailer to tack them. Instead of the recommended 11" for the legs, I went 14" just to bring the washer/dryer to a more desireable height. I had some regrets while I was trying to heave the washer up there. But with 6 boards and a kitchen chair, I was able to get it up there. After I was completed, I realized the thing was a little wobbly because I failed to square it up while I was building the frame. I went to the local hardware store and bought some "feet" that screw into the bottom, kind of like anchor screws for a wall, and are adjustable. They were only a few bucks. In order too distress the front of the pedestal I used 80 grit sandpaper by hand. I thought I would want white underneath, but it turns out i like how the wood peeking through looks. I did read that if you want a different color underneath, you should paint it, then put candlewax on the spots that you want to peek through, then paint it with the next color. As a precaution, I screwed a few angle brackets in front of the machines. One thing that i didn't anticipate was the dryer vent. It was initially coming straight out of the wall into the dryer. When I had the dryer raised up, the pedestal was pressed up against the wall, and blocked the vent. So, I had to cut the drywall and add a tube to raise the vent up. Since we will be painting our laundry room soon, this wasn't too big of a problem.
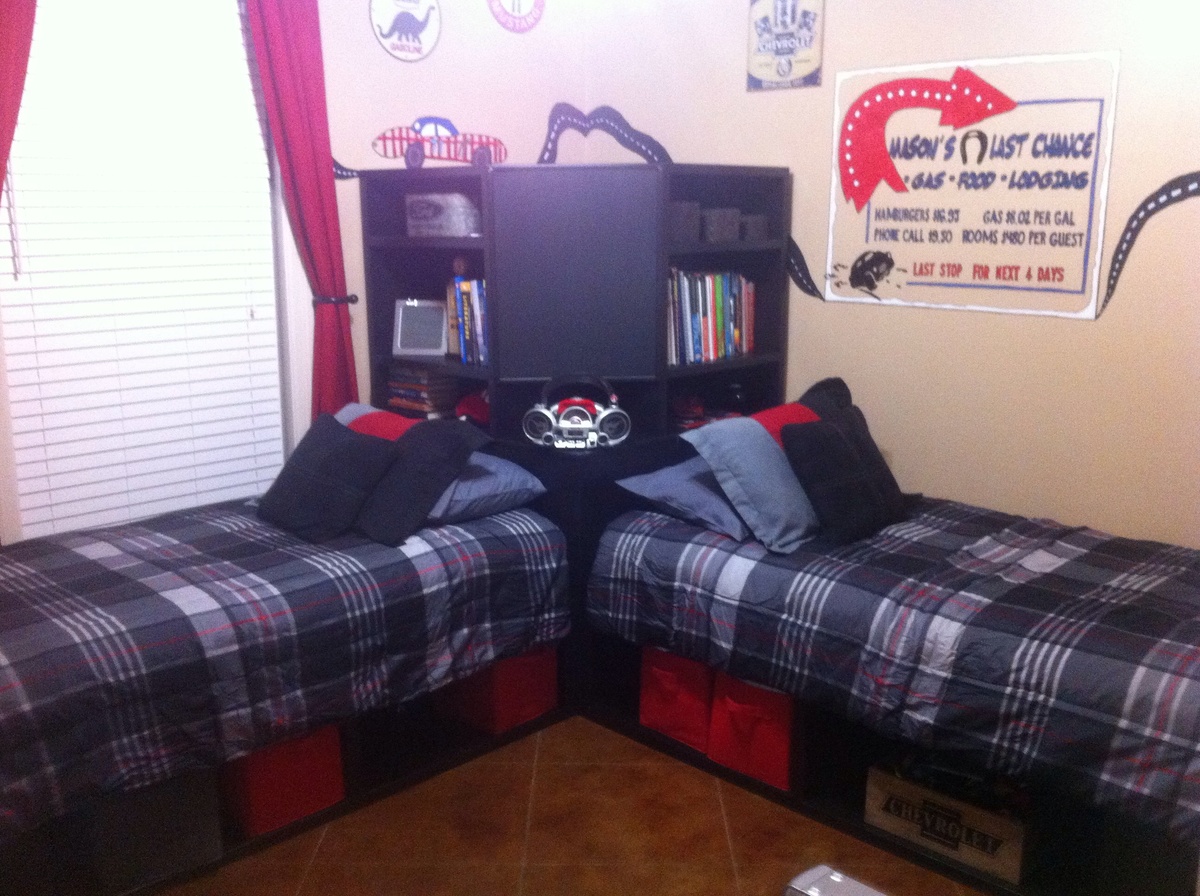
Second build for oldest son's room.
Sat, 11/21/2015 - 10:02
Where can i find the drawings for this bed? [email protected] thank you
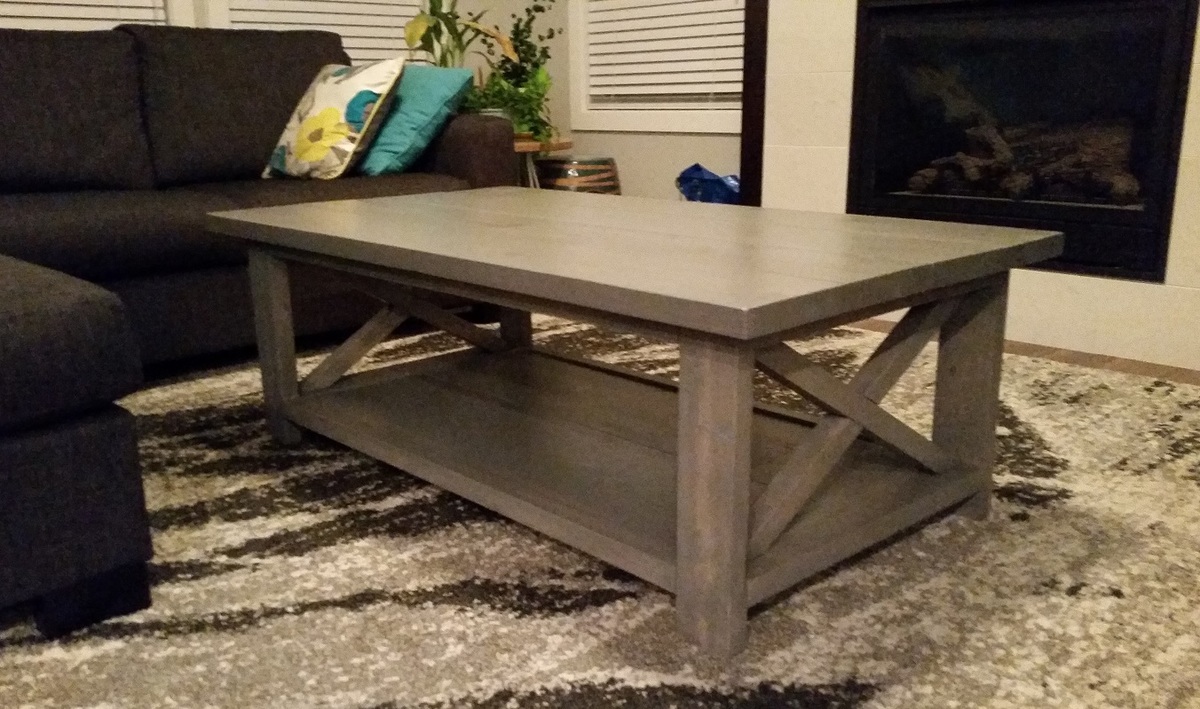
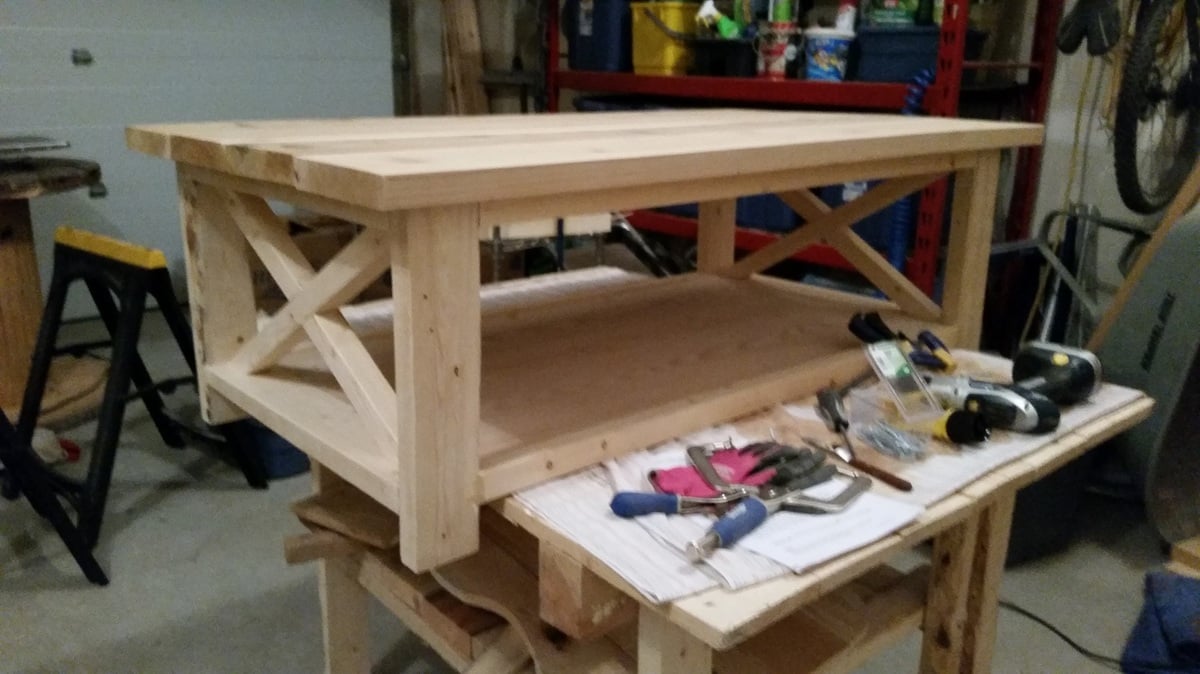
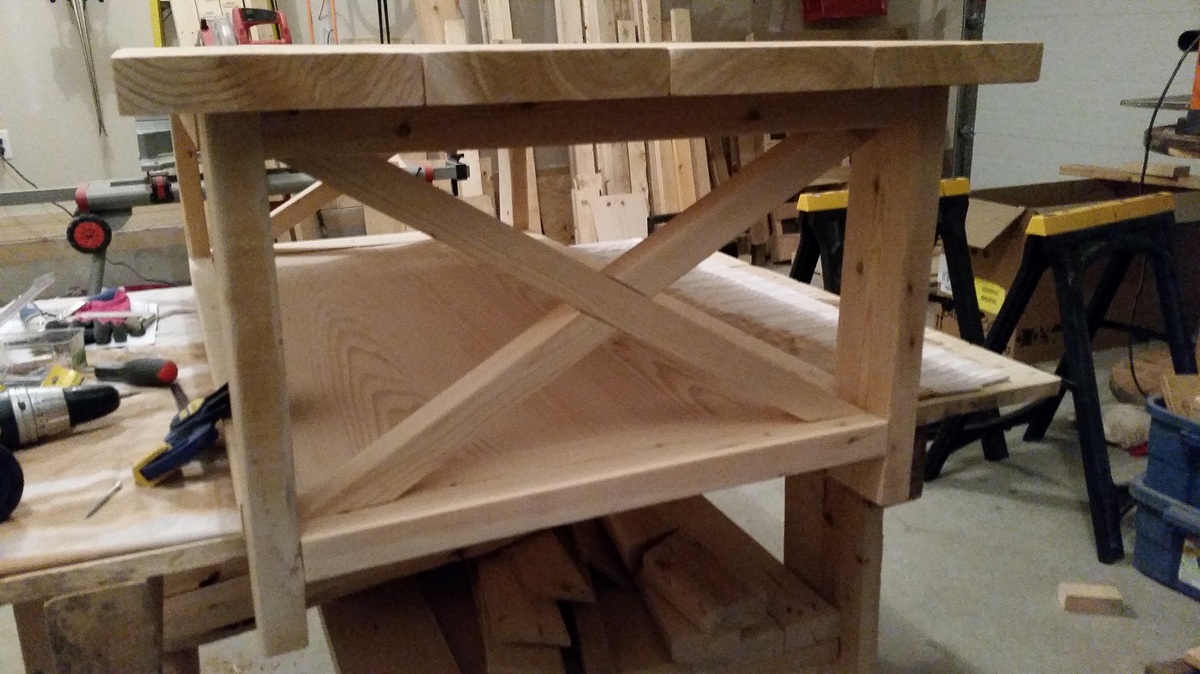
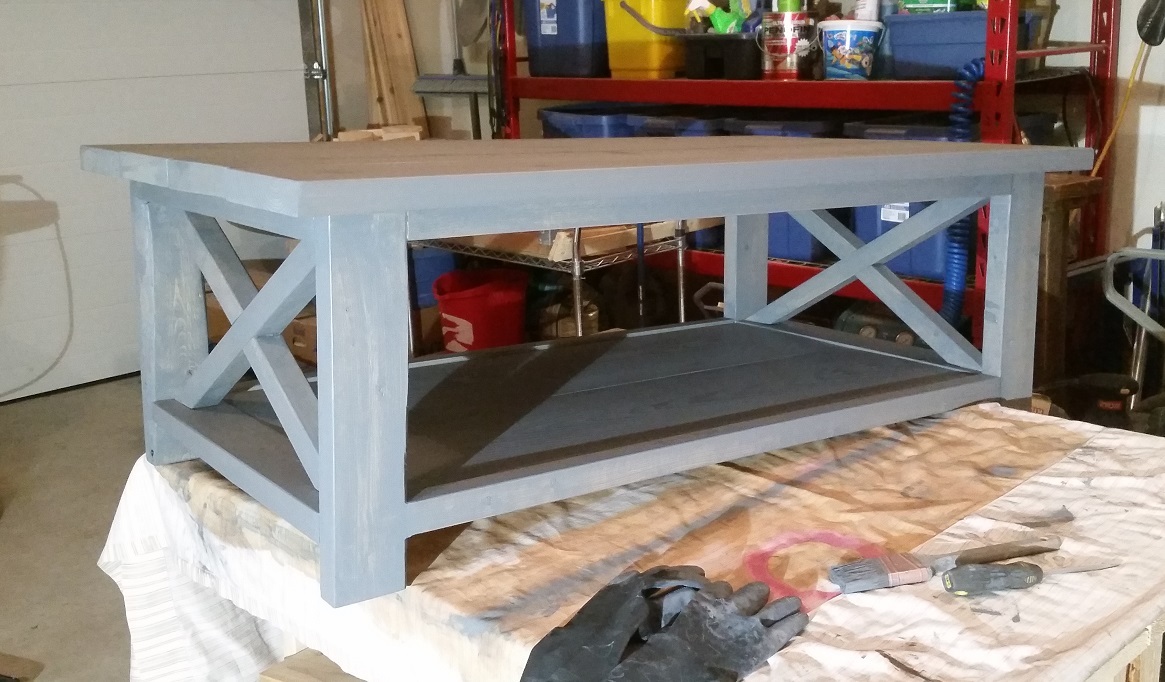
This was my FIRST DIY piece of furniture and I am thrilled with the outcome!
Since I am not really one to go for the rustic cottage look I wanted this DIY coffee table to have a bit more of a modern feel. I chose a grey gel stain to do the job. It gave the table a thicker stain but I am still able to see some of the wood grain beneath it.
I also have two young boys that play on this table so I gave it three coats of Poly on it for some protection. But the best part of this table is that it can get all dinged up and it just makes it look better!
Ana White has the best tutorials & free plans to get a crafter to switch to the dark side and become a DIYer!
I did a full blog post on my progress throughout with a lot more pictures.
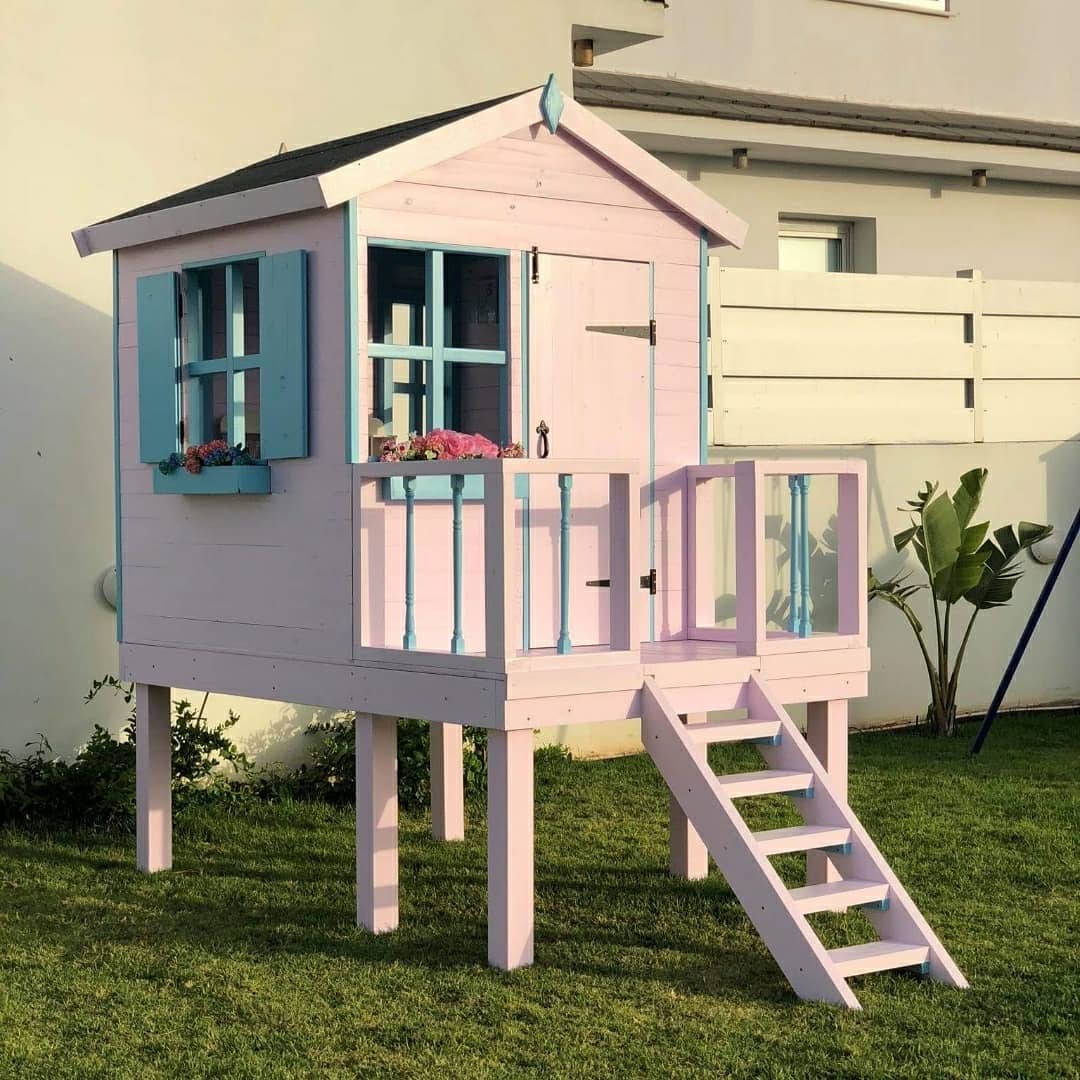
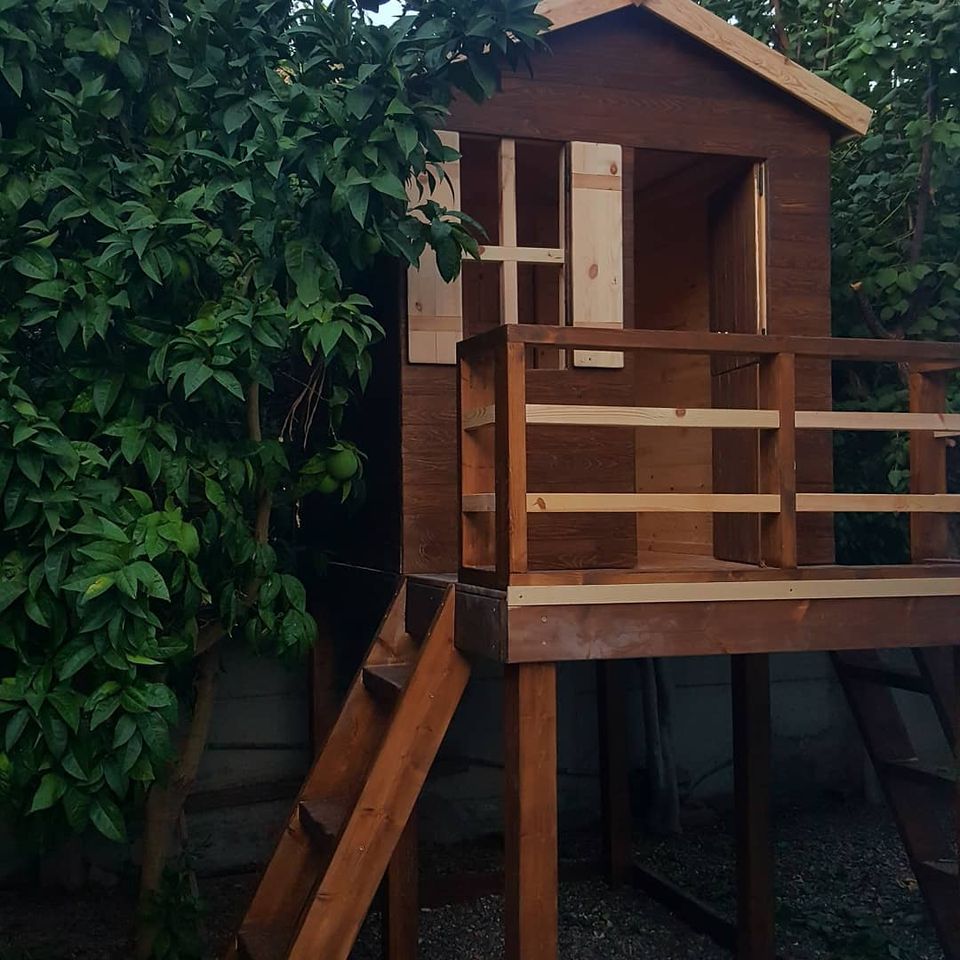
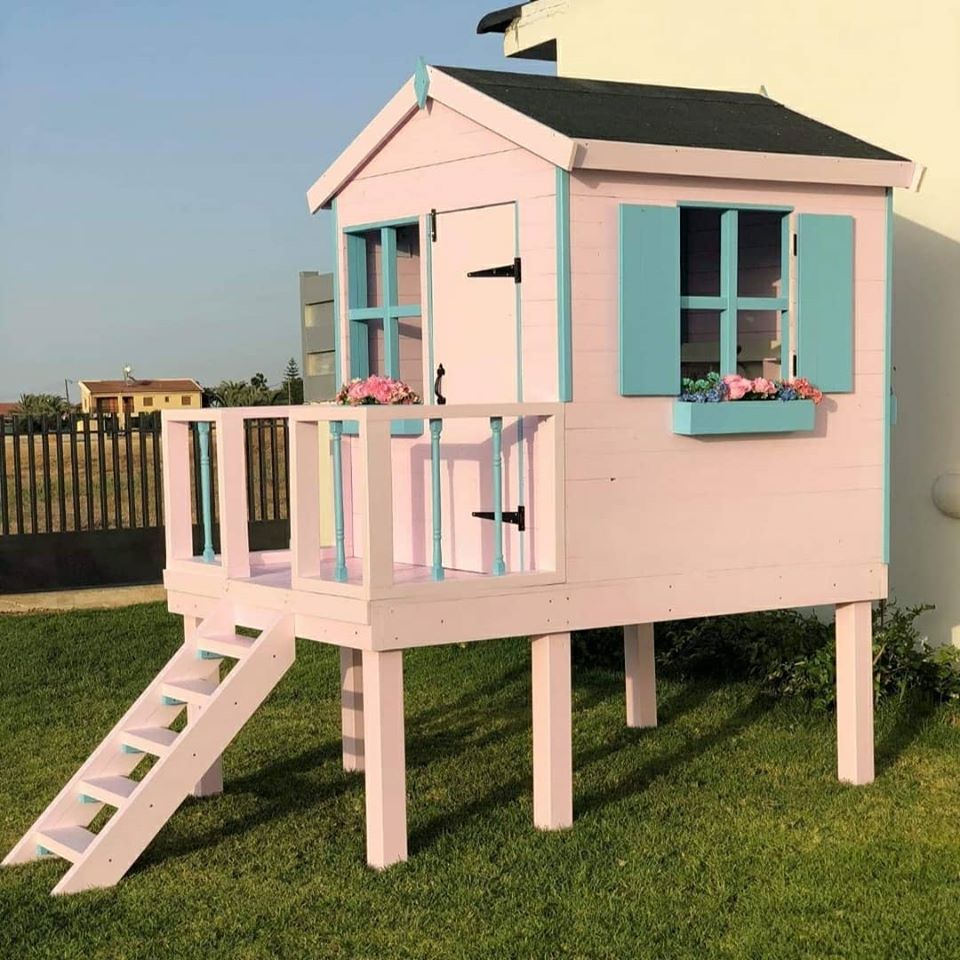
A few years back I decided to build a playhouse for my daughters birthday, the ones available locally were plastic garbage. Since then people started coming forward asking me to build ones for their kids, which is great as it's kept me busy and sane after being forced into early retirement. I've stuck mainly to the more traditional looking on ground house but, soon requests came in for treehouse-style ones; taking Ana's playhouse deck plans and adapting them slightly I now starting my fifth order for a platform house. Being in Cyprus all our timber is imported and very limited, I've more chance of seeing a Unicorn than a piece of Cedar which has meant a little more work involved to make sure they withstand up to the elements, we only get around 20 days of rain a year but, the summer heat is like the surface of the sun. Fortunately, with this not being a new problem there are plenty of options available for preservation/protection, the 'colours of Greece' range by Kraft paints perfect, its sprays beautifully and the colours spot-on for kids.
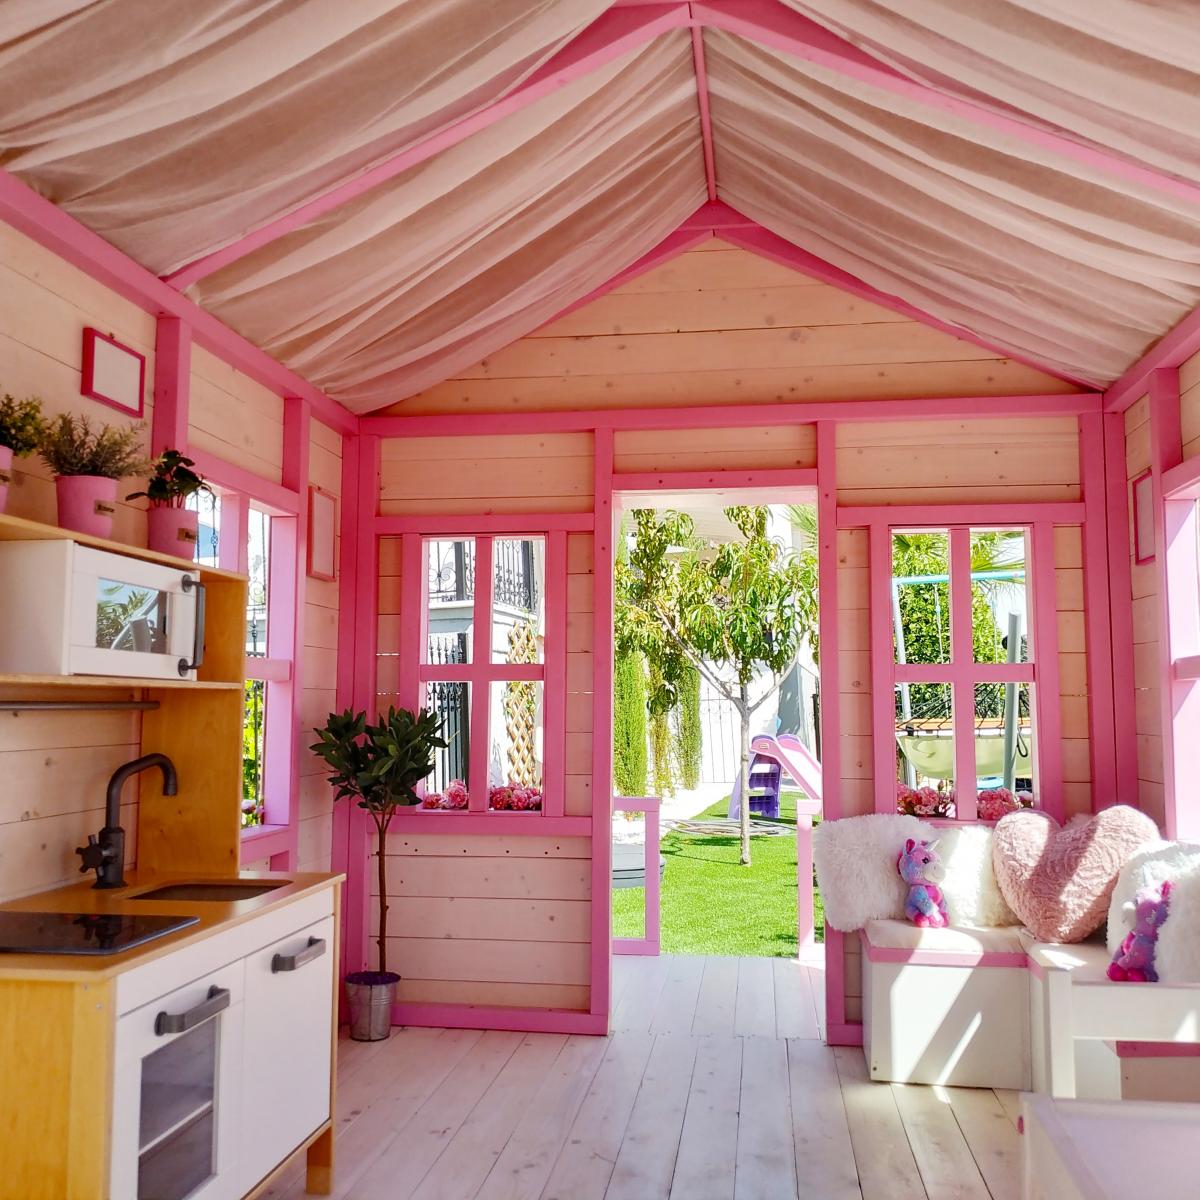
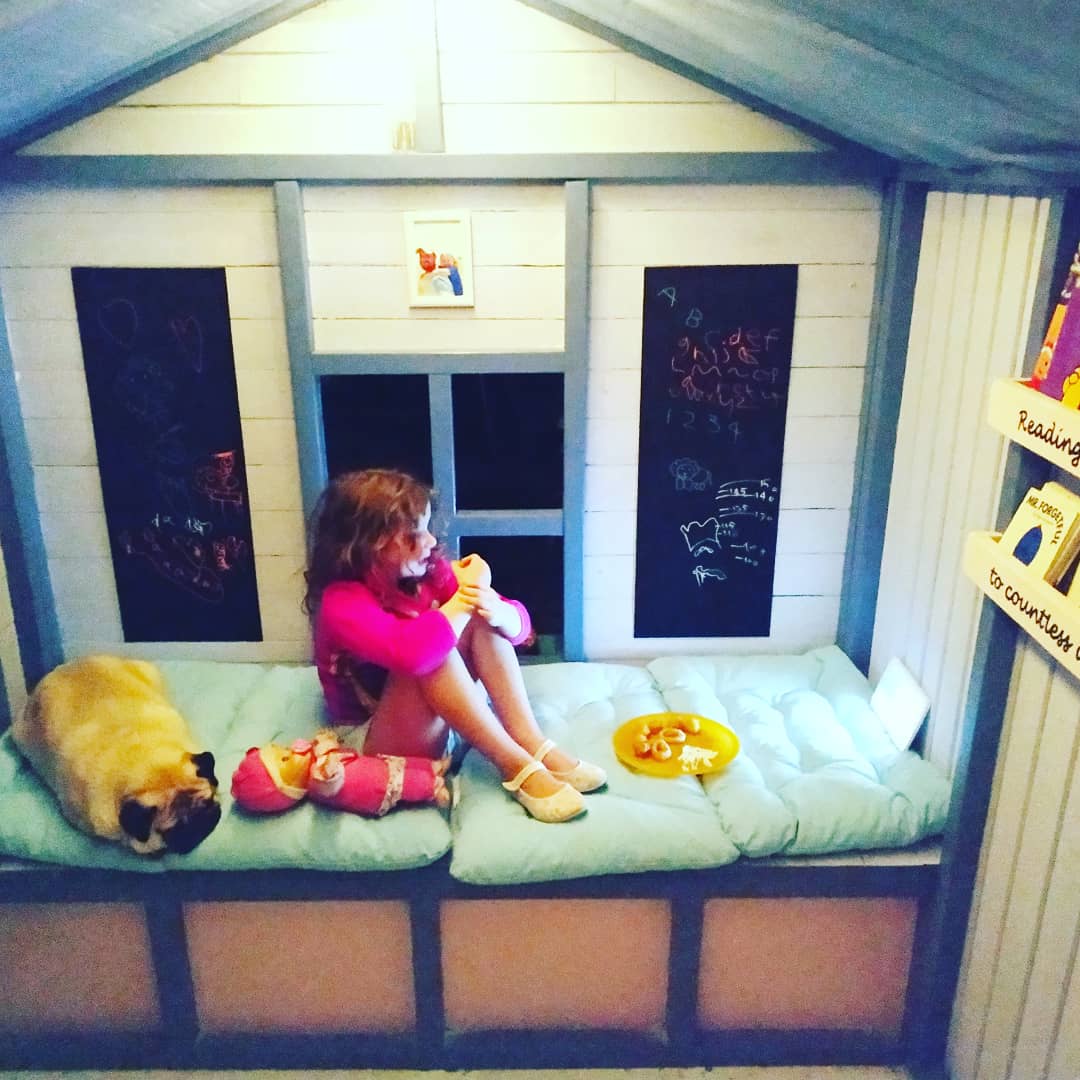
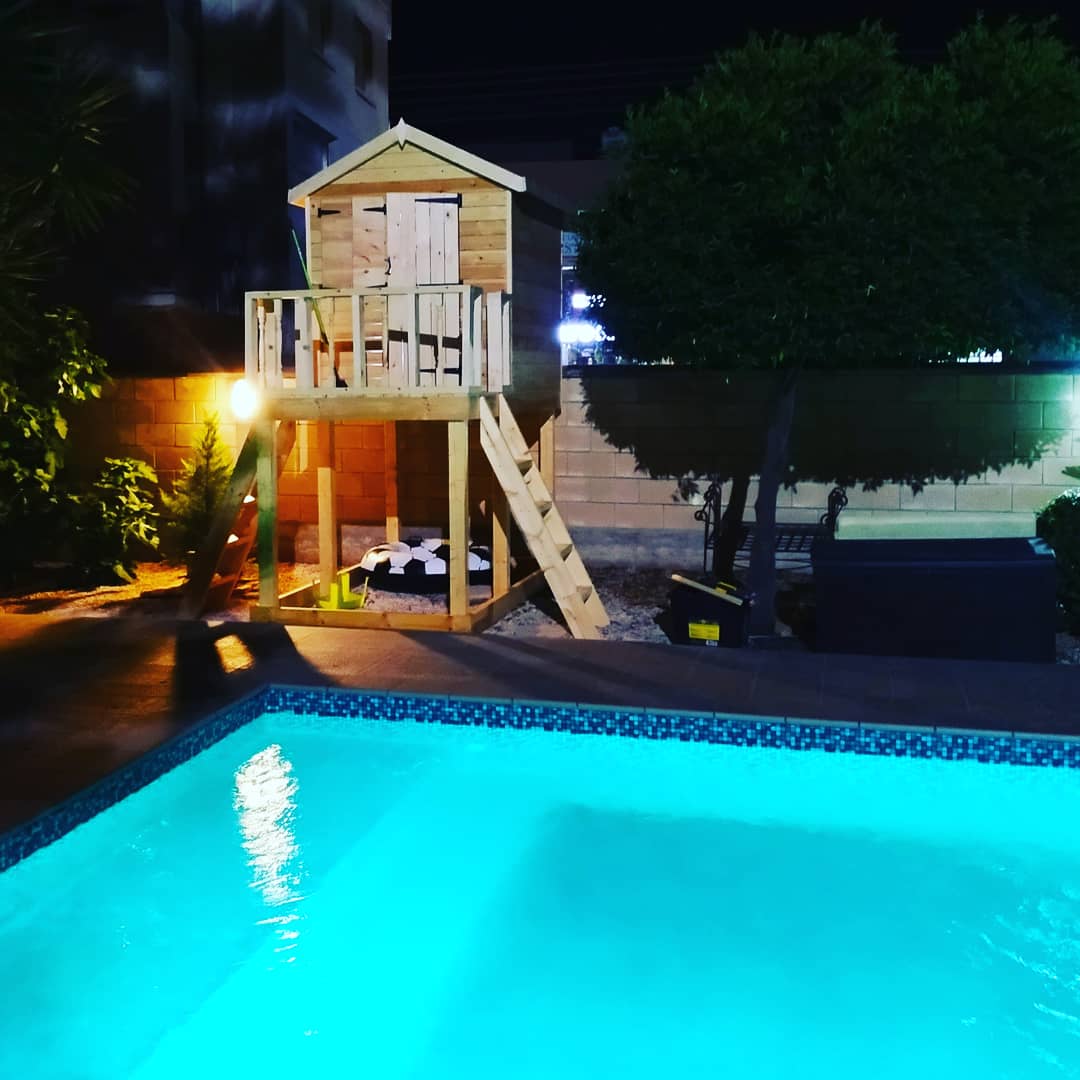
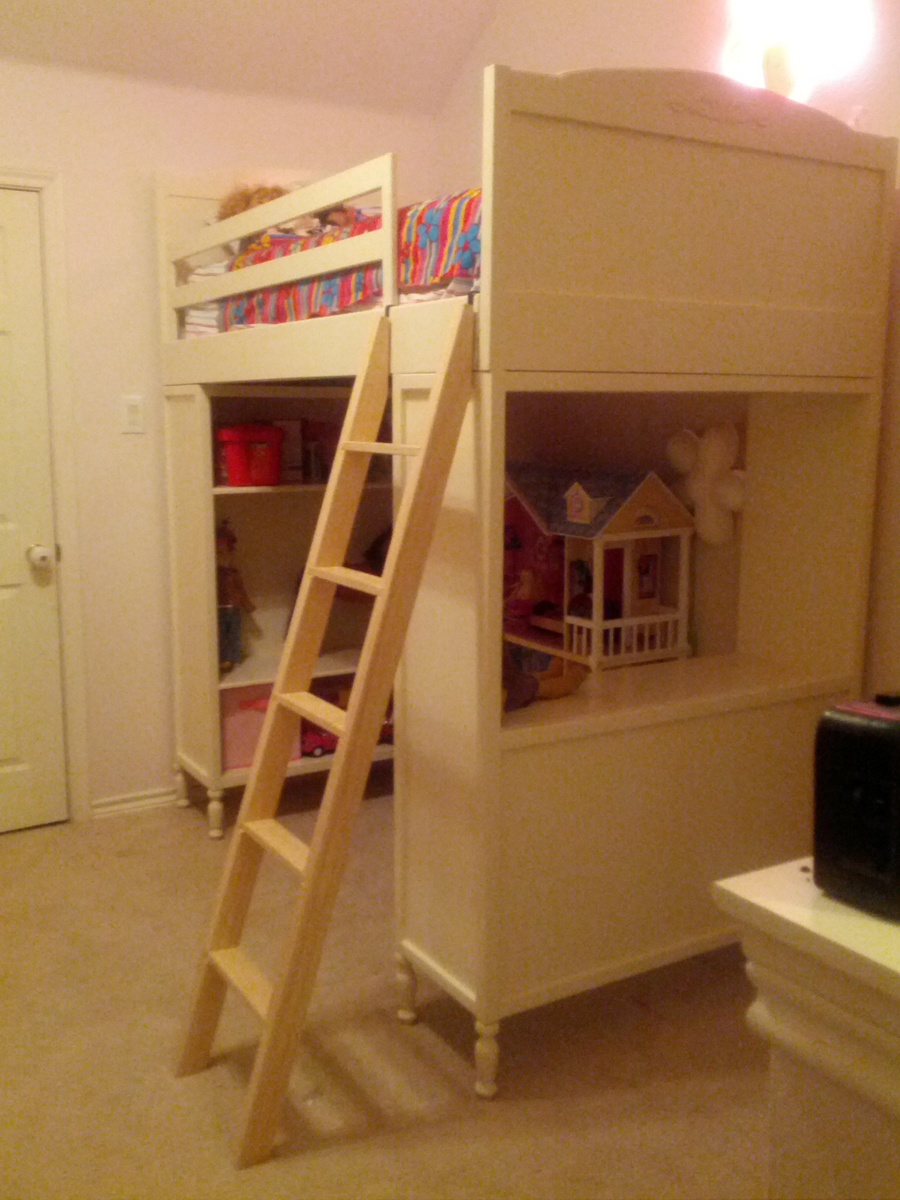
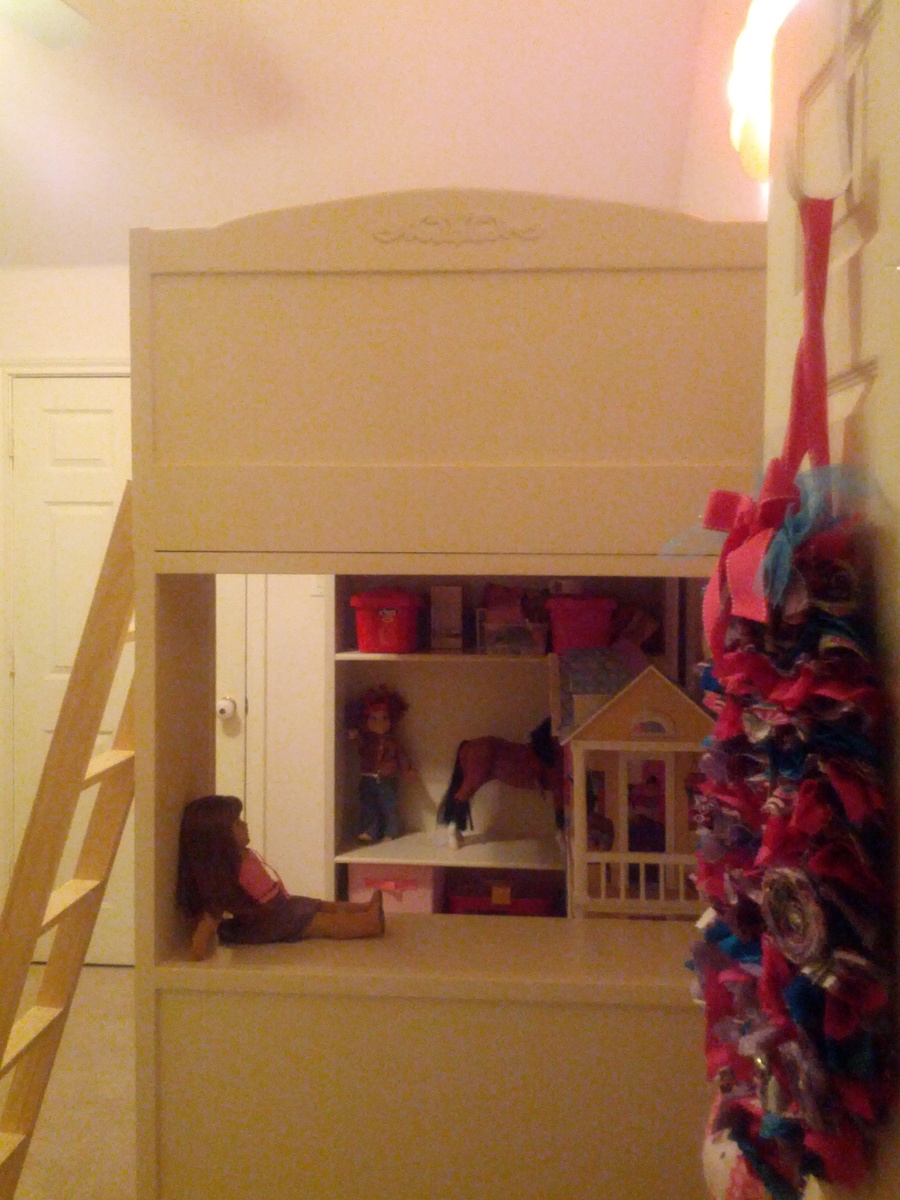
I built this for my daughter's room, to give her a little more play space. I did end up altering the plans slightly for stability. I added backs to the bookshelf and to the desk. If I had to do it again, I would not use the turned feet, it is a weak point in the design. Instead I would have continued the 2x2's to the floor. It got cold on me, and I am waiting for warmer weather to paint her ladder.
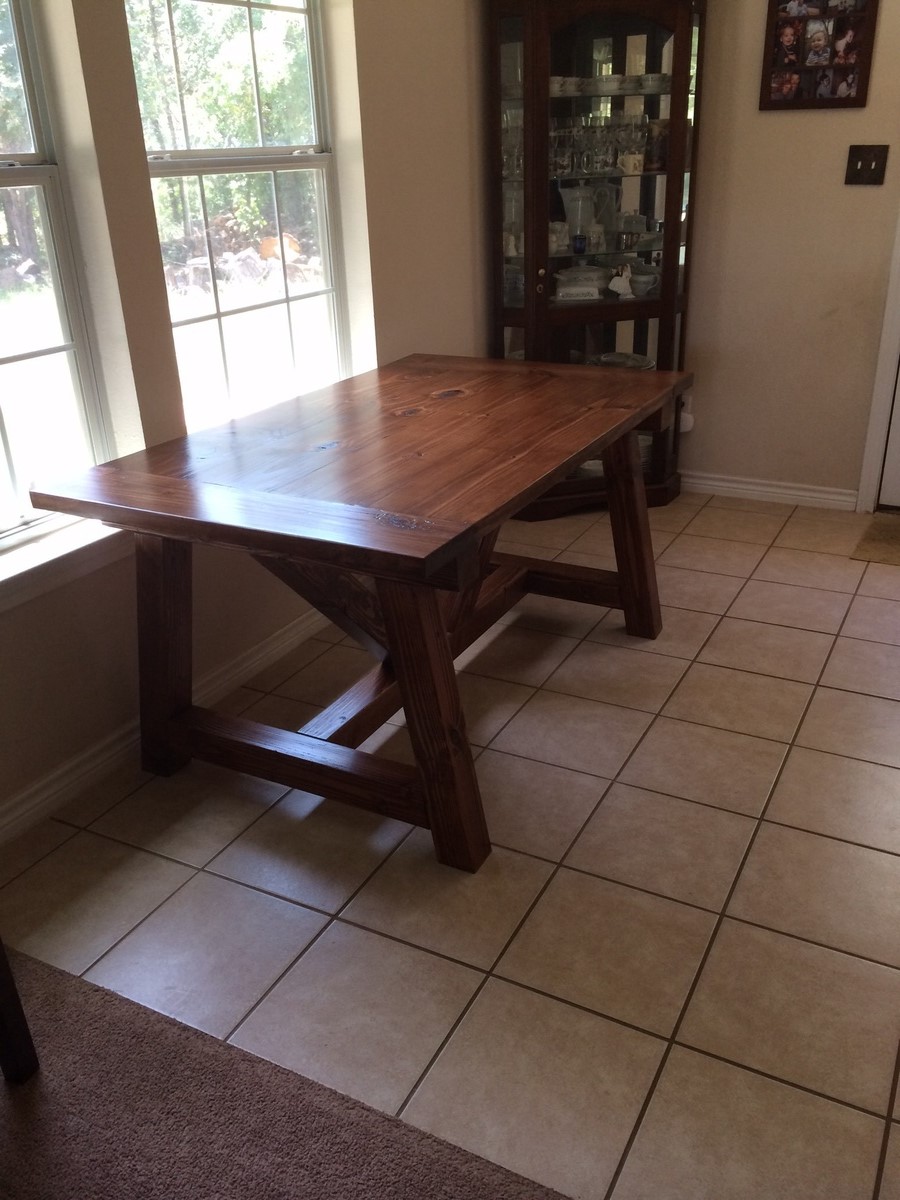
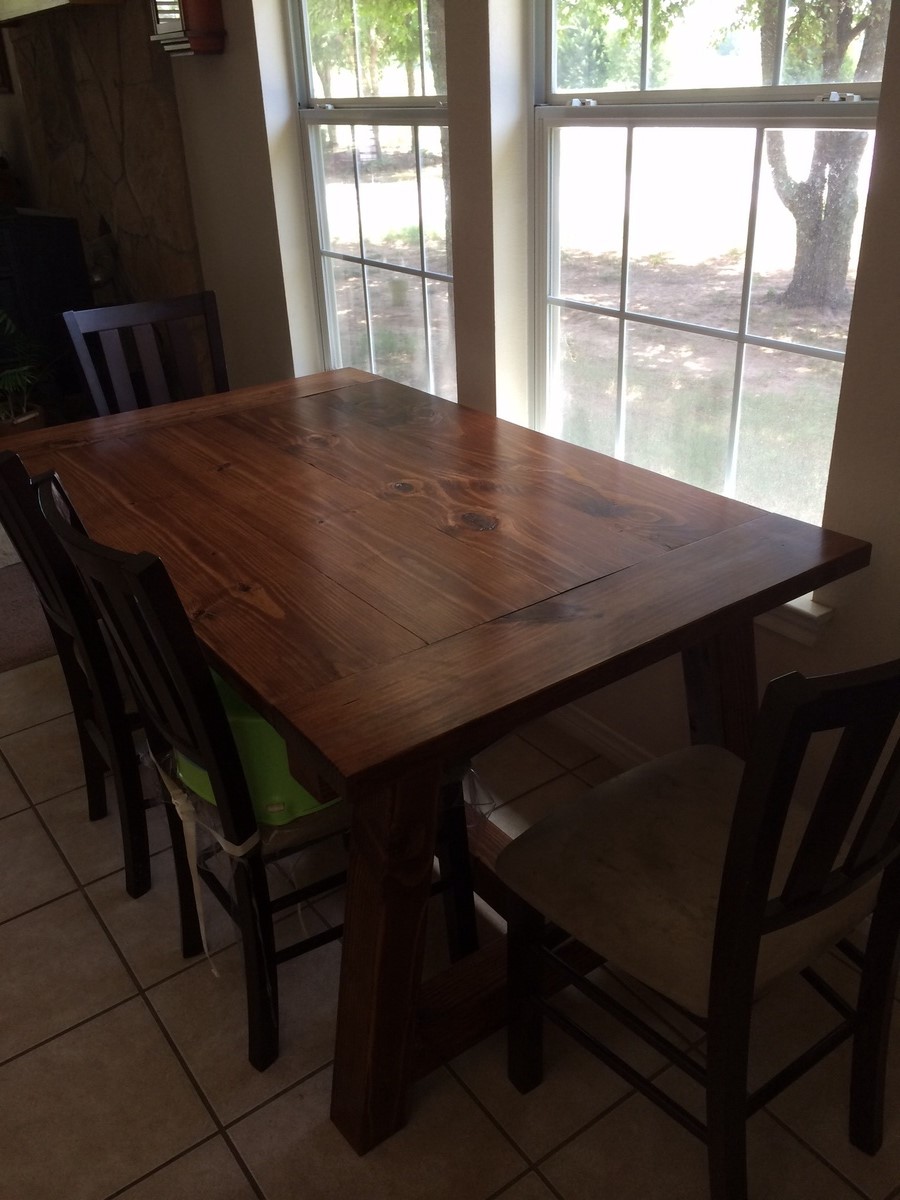
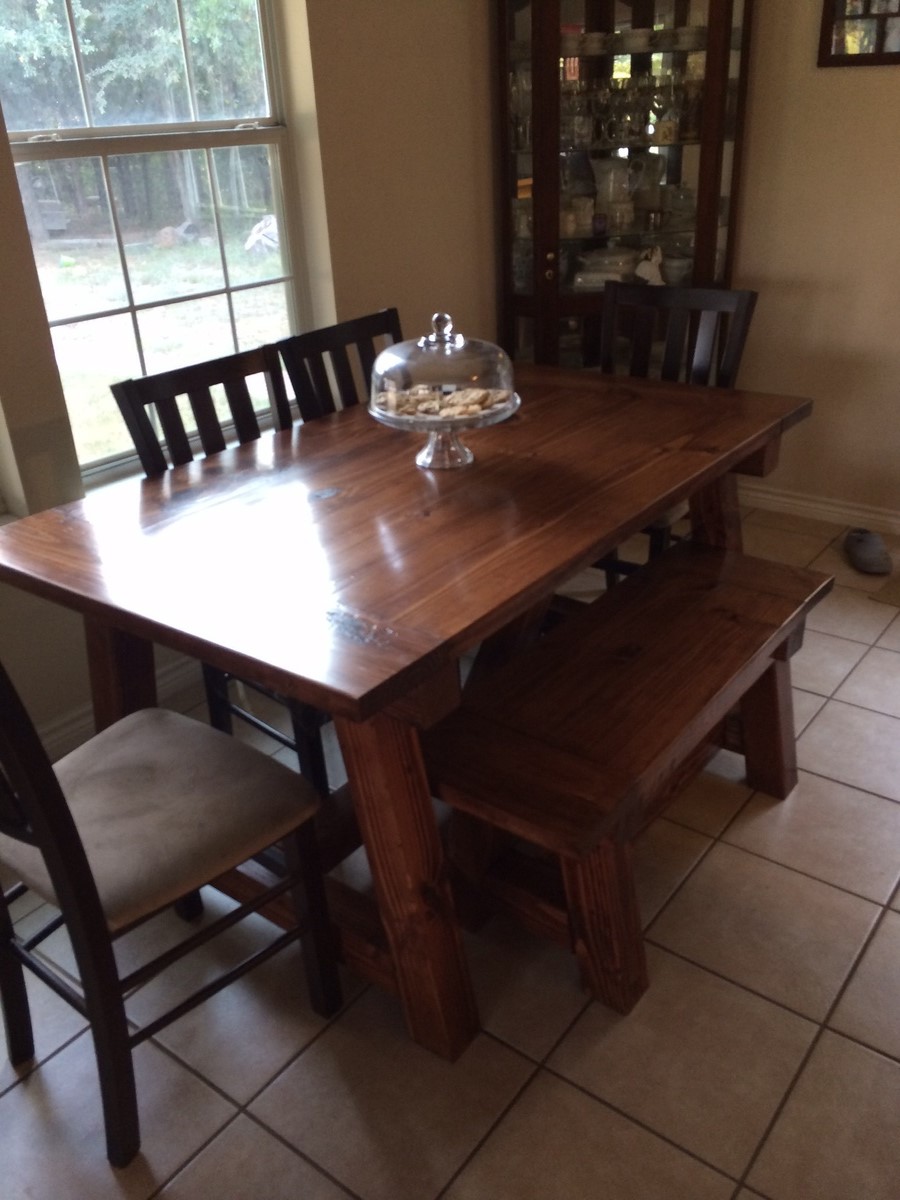
This table was so much fun to make. I couldn't use an 8 foot table so this is 5 ft. My table top has some blemishes that I could have tried to fix but at the time I just wanted to see it done. I think using better than big box store wood would have been a great start. The table is so sturdy. The bench was harder though because it had a wobble that just wouldn't be fixed.
I used pine for the top and Douglas fir for the legs. I used minwax wood conditioner, minwax early american stain, then minwax red oak stain for a couple of minutes then wiped off. Then topped with 4 coats of poly.
