Community Brag Posts

For daddy's little girl

Submitted by pasjdad on Mon, 06/14/2021 - 12:50

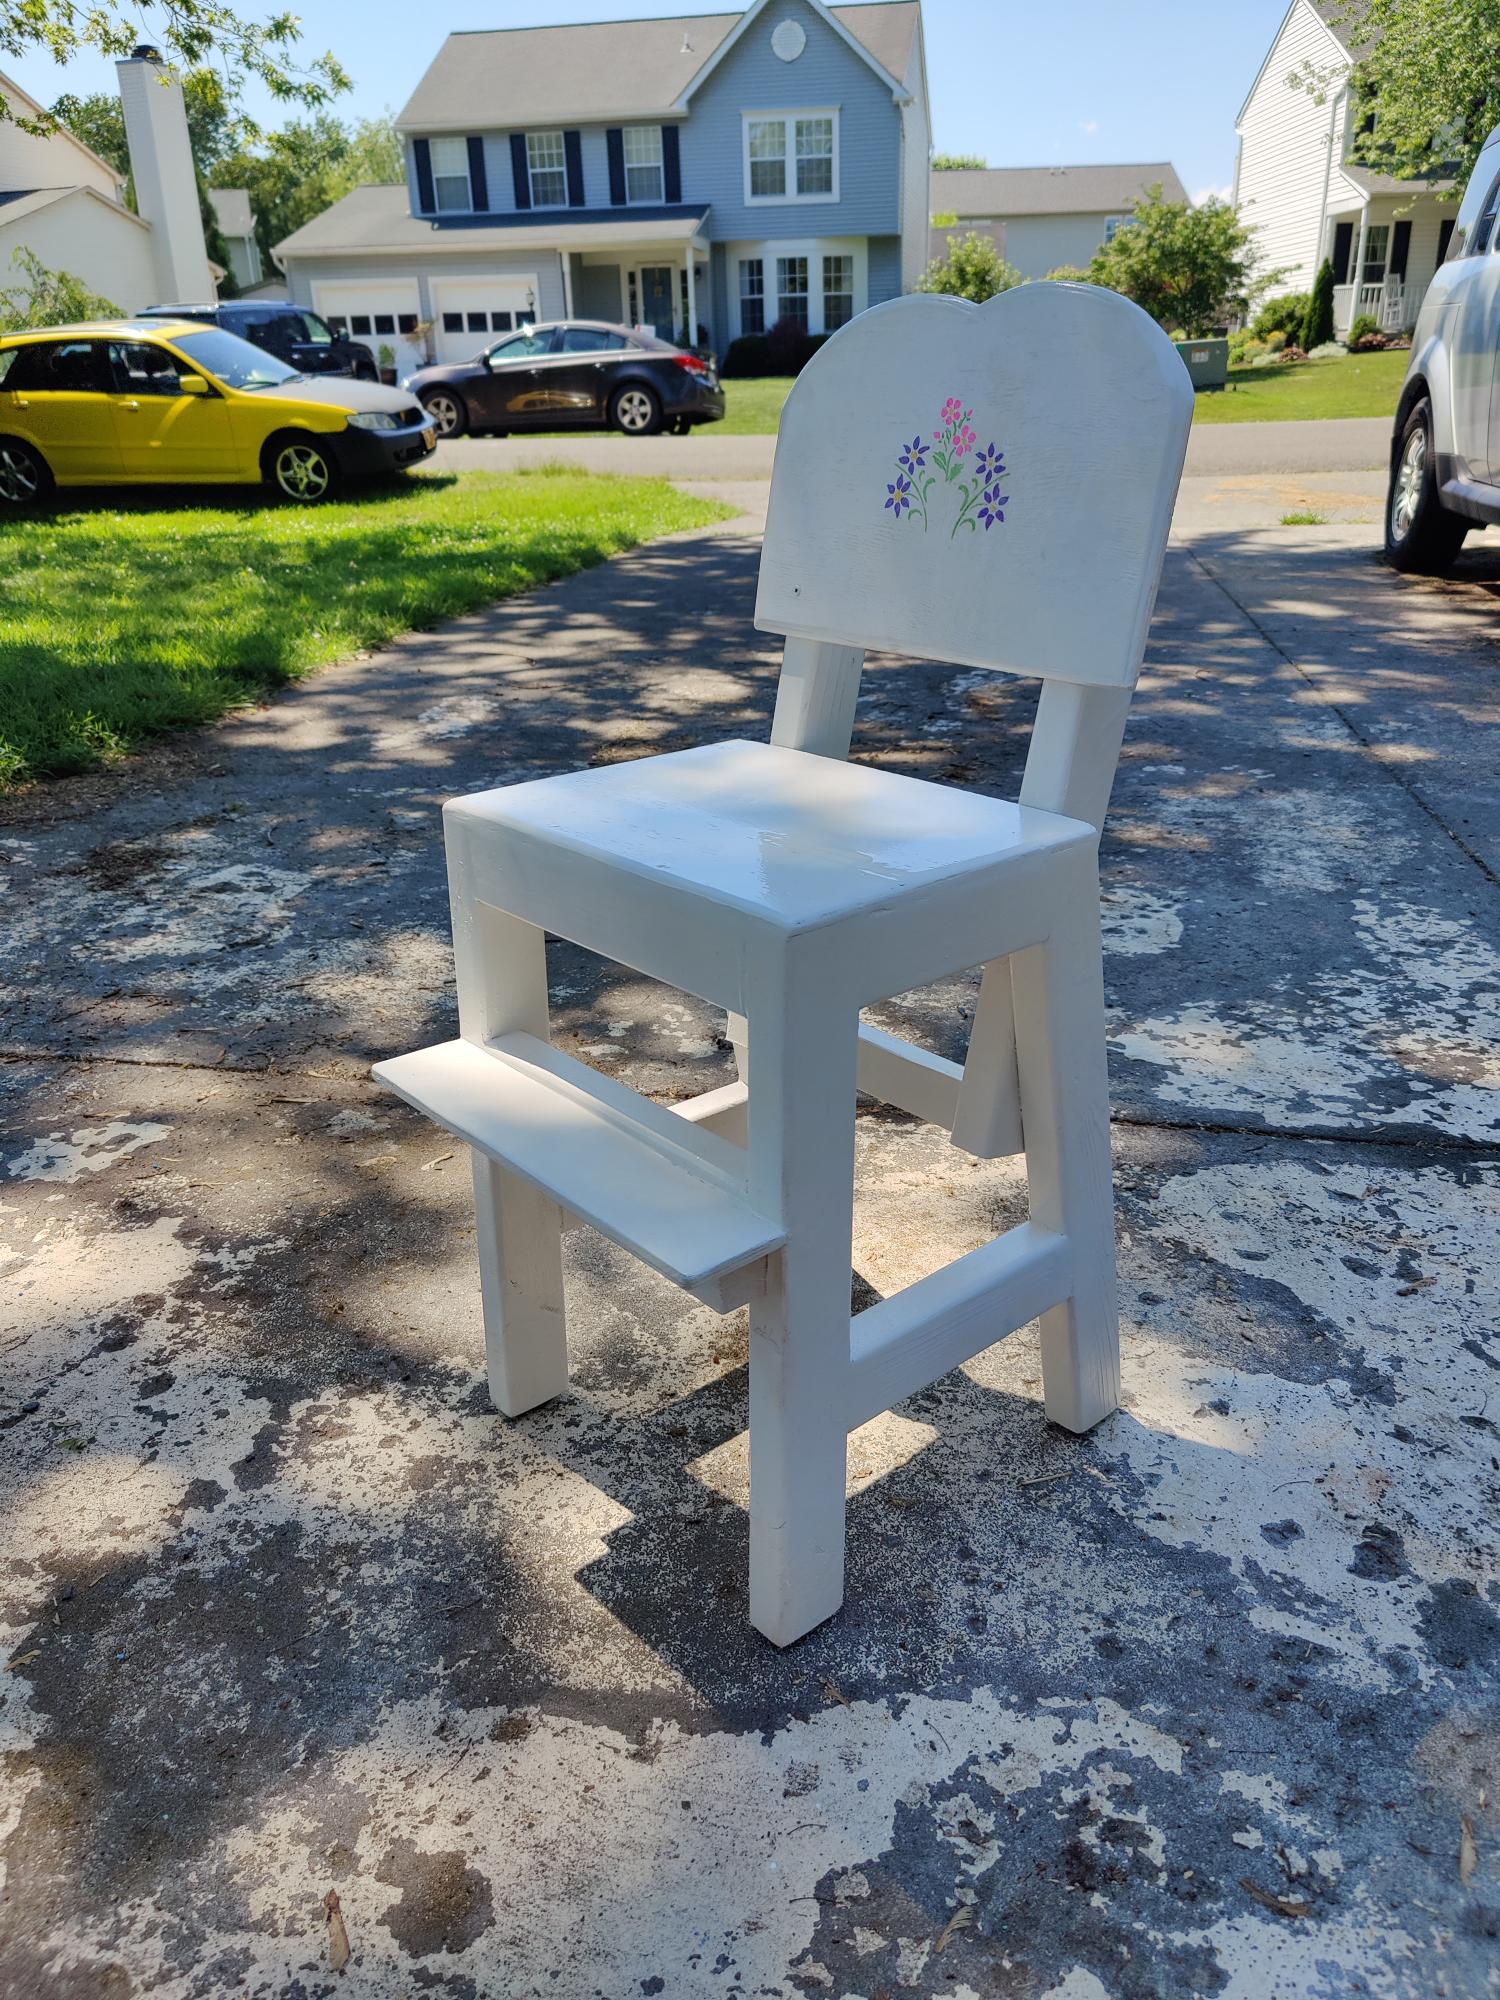
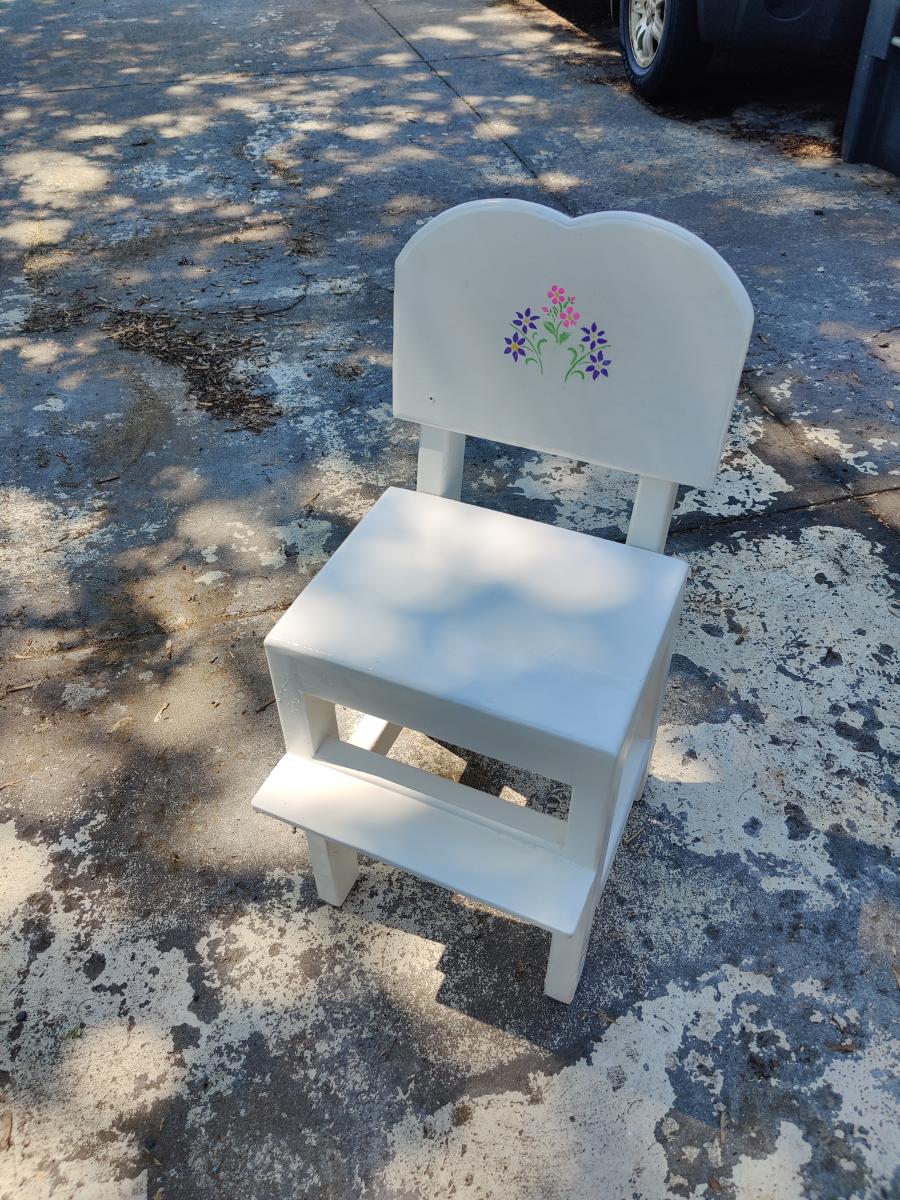
This is Harriet's higher chair, rejiggered with 2x3s because lumber is expensive and that's what I could find in straight lengths. Seat and back are made with plywood from a project panel. Tried to fill all my gaps and hide all my screws that would be visible from the outside and added a foot rest. Finish started out okay, but as I tried to tweak it and re-cover some things, I became less and less happy with how it came out. Note to self, "stenciling is hard". Next time we will most likely transfer pre-done graphics from the printer.

Most of the time in this is in the finish. Some of the dry times were 24 hours others were 15 minutes.

Edit: Roundover bit for trim router used on edge of seat and around the edge of the back. I found this a necessary addition, but it would have come out better on edge laminated 1x4s instead of the plywood I used.

As an aside, Ana's page was instrumental in my buying decision of an incredible lineup of Ryobi tools (2 drills, impact driver, circular saws, oscillating multi-tool, powered caulking gun, inflator, trim router, Evercharge hand vac, And a EZ-Clean... But there are more I want/need... :-D ), and a Kreg K4. They are worth every penny. A lot of Milwaukee tech is getting integrated into some of the latest Ryobi tools. Even more worth it is upgrading the clamp on the K4 to an auto adjuster. ;) Makes life so easy. Thanks for the inspiration, Ana!

For any beginners wondering: Glue AND screw things together. Screws hold better than nails, but are not enough especially when building something that is supposed to take weight, and kids like to wiggle in chairs. Modern wood glue makes a bond that is stronger than most wood. if you try to pry apart a glued joint, you will notice that the wood will split and break before the glue gives way. I'm 275 lbs and this chair I made for my toddler doesn't groan or squeak when *I* sit on it.

Built from Plan(s)
Estimated Cost
More than I want to admit
Estimated Time Investment
Weekend Project (10-20 Hours)
Finish Used
Spray paint. Glossy clear coat, followed by clear lacquer in high rub areas.
Recommended Skill Level
Beginner

Comments

The Firetruck, Modernized.

Submitted by burnstyle on Sat, 04/13/2013 - 15:44

I am a single father, and a firefighter/medic. I noticed that every time I took my son to the station with me all he wanted to do was play on the trucks. So I decided it was time he had his own.

I found the plans for the firetruck bed and though.... this would be cool, but it's a bit too simple for my tastes.

I took the original plans and made the bed two foot longer, and incorporated a pump panel on the side.

The pump panel is full of old pump dials and switches taken off of a salvaged truck Each one of them works (well... they show a reading at least) and light up when you throw one of the switches. The second switch on the pump panel controls the red lights on the top of the bed.

Inside of the bed I set up a 20 inch monitor hooked to a pc hidden in the upper storage, the PC has no keyboard or mouse, it is controlled remotely from my phone or computer via VNC, or remote desktop. It streams any and all of his favorite shows and movies from our network and allows him to interact with his mother via Skype.
We built a dash and installed a steering wheel.... (because how else would you drive the truck?) and a CB.
The CB was gutted and a county scanner was installed, so whenever he turns the CB on he can here the county dispatch
There is a pressure regulator valve on the dash (which he pretends raises and lowers the bucket) the valve has a switch underneath that turns on his flashing bubble light up top (which was also taken from an old firetruck) and starts a siren sound that I took out of an old firetruck toy that he had broken.
The ignition switch was taken off of a little tykes car that he had outgrown.

I posted this bed to reddit and the response was overwhelming! Check out some of the articles people have written about it!

http://www.huffingtonpost.com/2013/02/19/diy-firetruck-bed_n_2716538.ht…

http://now.msn.com/fire-truck-bed-photos-dad-makes-son-cool-bedroom

Estimated Cost
$300
Estimated Time Investment
Week Long Project (20 Hours or More)
Finish Used
High Gloss latex
Recommended Skill Level
Intermediate

Comments

Growth Chart Ruler

Submitted by pde00311 on Mon, 03/02/2015 - 07:40

I followed the instructions at 517 creations to make this: http://517creations.blogspot.com/2011/04/ruler-growth-chart-pottery-bar…. It was relatively quick and easy project that I made to chart my daughter's growth on her second birthday (and our little ones' future birthdays). I printed the numbers off my computer, made an indent with ball point-pen and then traced with a paint marker. It took a little patience and concentration, but I drew the lines and numbers without barely making a smudge.  

Built from Plan(s)
Estimated Cost
$20
Estimated Time Investment
Afternoon Project (3-6 Hours)
Finish Used
Minwax Ipswich Pine with Minwax Polyurethane
Recommended Skill Level
Beginner

Comments

Rustic X Coffee Table

Submitted by Anonymous (not verified) on Mon, 05/29/2017 - 20:15

I was looking to purchase a new coffe table when I found your tutuorial to build this Rustic X Coffee Table. I feel that I have a much nicer table than I could've purchased at a store. Or if I did find this table at a store, I'd imange it would cost around $400. So, thanks for taking the time to create and share these with us. I think it turned out nice. Also, this is the first time I've ever used a pocket jig, and I'm in love. 

Estimated Cost
$120
Estimated Time Investment
Week Long Project (20 Hours or More)
Finish Used
Steel Wool / Vinegar, Used Wax to seal it, but I don't think wax does a good enough job protecting it. I'll prob throw some poly on it.
Recommended Skill Level
Beginner

Cedar Laddet Planter

Submitted by Steven W. on Sun, 06/20/2021 - 21:38

This year for Valentines Day, I wanted to do something special for my wife...
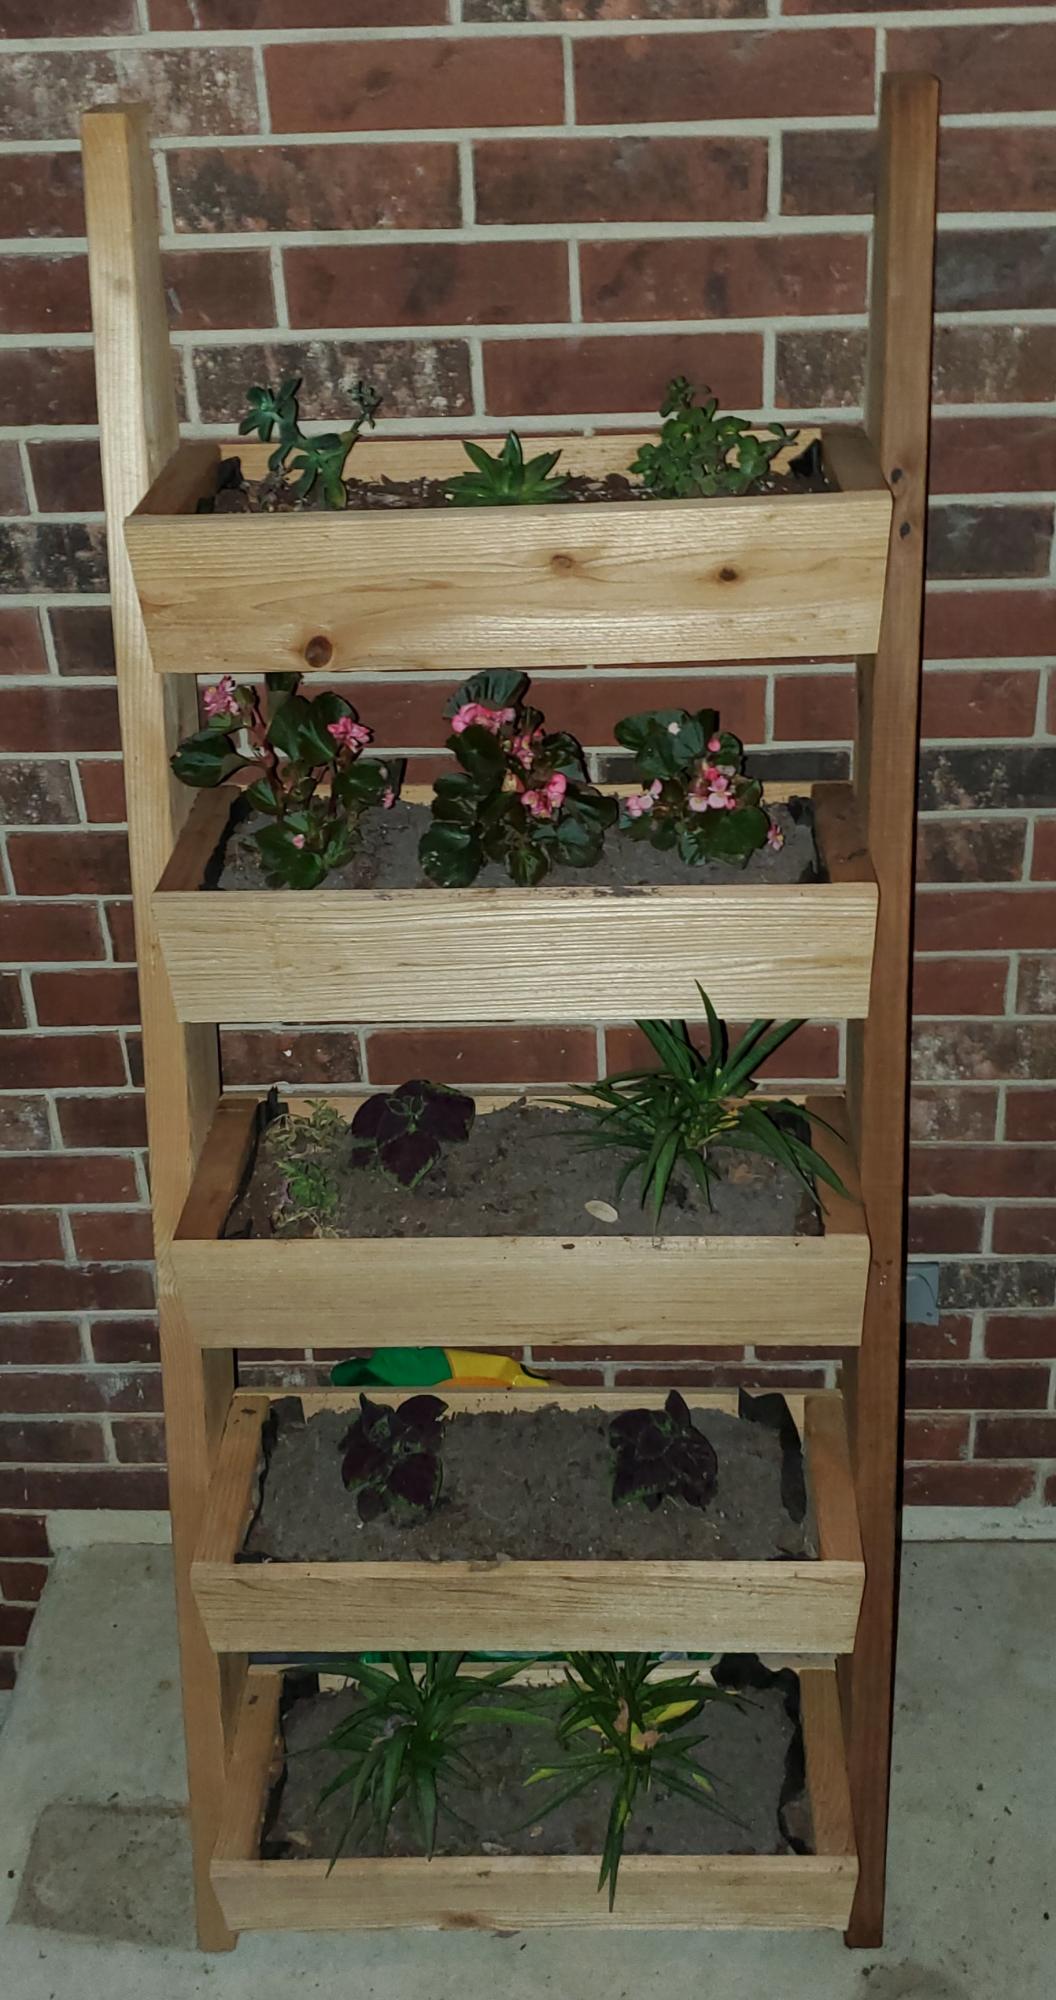
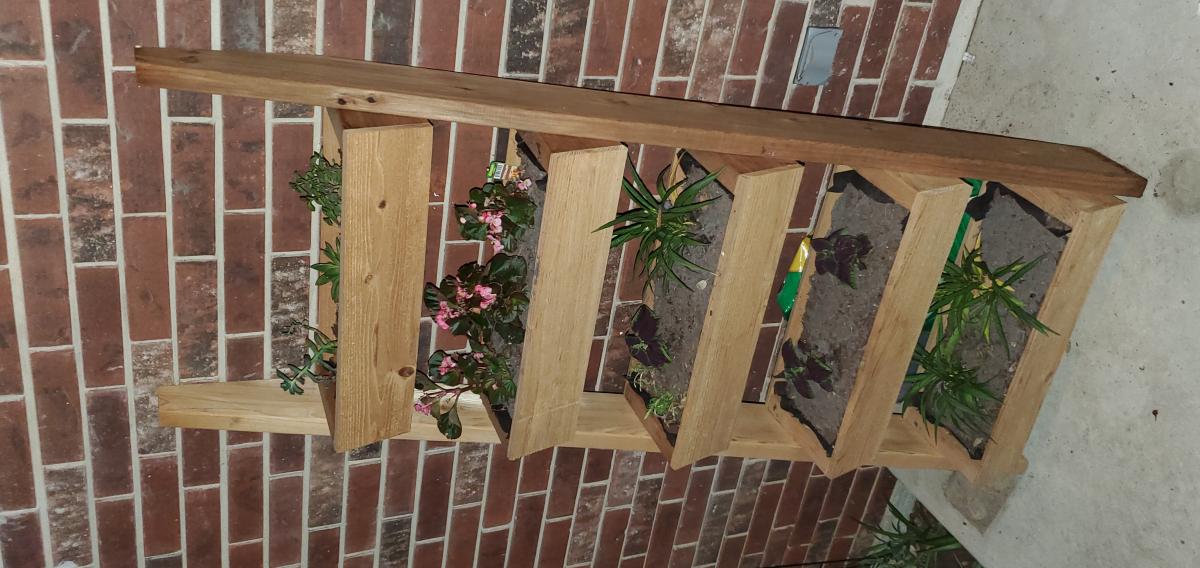
Rather than buying some THING, I decided to build a cedar ladder planter for her. I've built a few things now from Ana's collection of plans (a farmhouse bed for my daughter, a potting bench that I use for an outside cooking surface at our remote property in the woods, and outdoor chair and sofa from 2x4s)
I followed Ana's plan to the T and it came out beautifully! (Just like the other projects)
Obviously with the whole COVID craziness and subsequent wood prices lunacy it cost more than $20, but it was still EXTREMELY reasonable. A family friend said they'd seen similar ones (to not nearly as pretty) costing WAY MORE than what I paid for materials.
I've been meaning to put pics up here for a long time but, life, army, COVID craziness...
For the gift, I filled out with raised bed type potting soil and put "chocolate roses" and a gift card for the local nursery to buy whatever plants or flowers she wanted...
I think she was a little irritated with me the days leading up to it because I was spending all my time outside in my shed and not letting her come in... but the end result blew her away (and made her feel a tad guilty for thinking I was just trying to not spend time with her hehehe)!

Estimated Cost
$65
Estimated Time Investment
Afternoon Project (3-6 Hours)
Finish Used
Linseed oil
Recommended Skill Level
Beginner

Comments

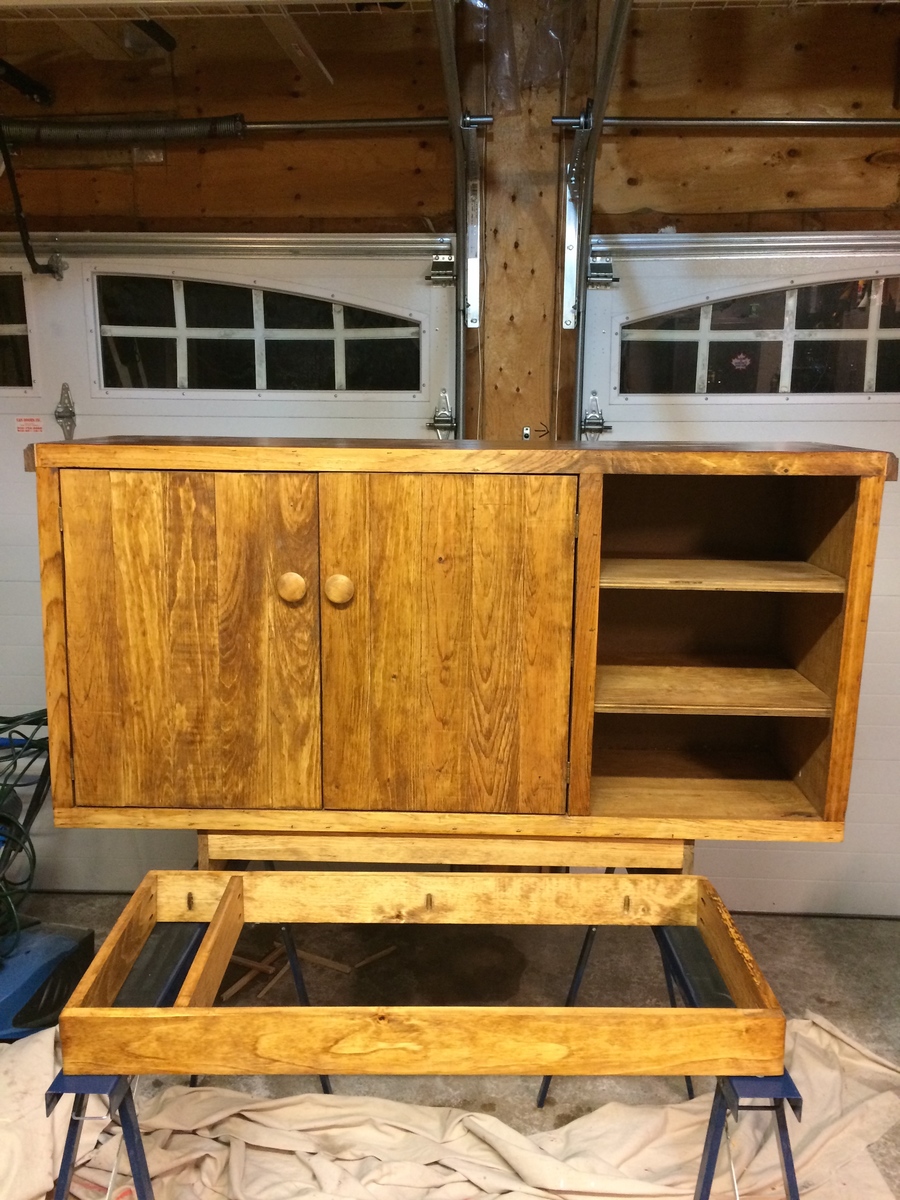
Classic Storage Extra Wide Media Unit

Submitted by hoffer5353 on Sun, 04/14/2013 - 18:32

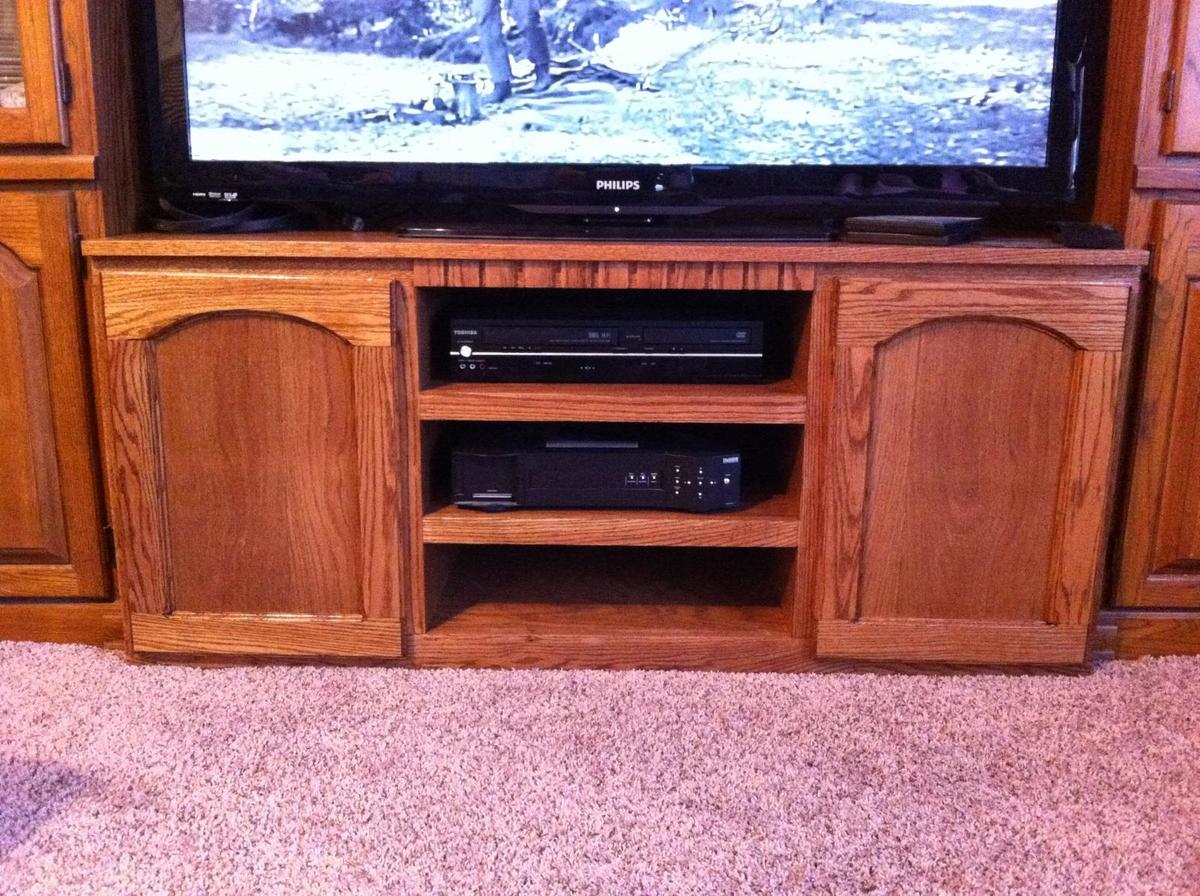
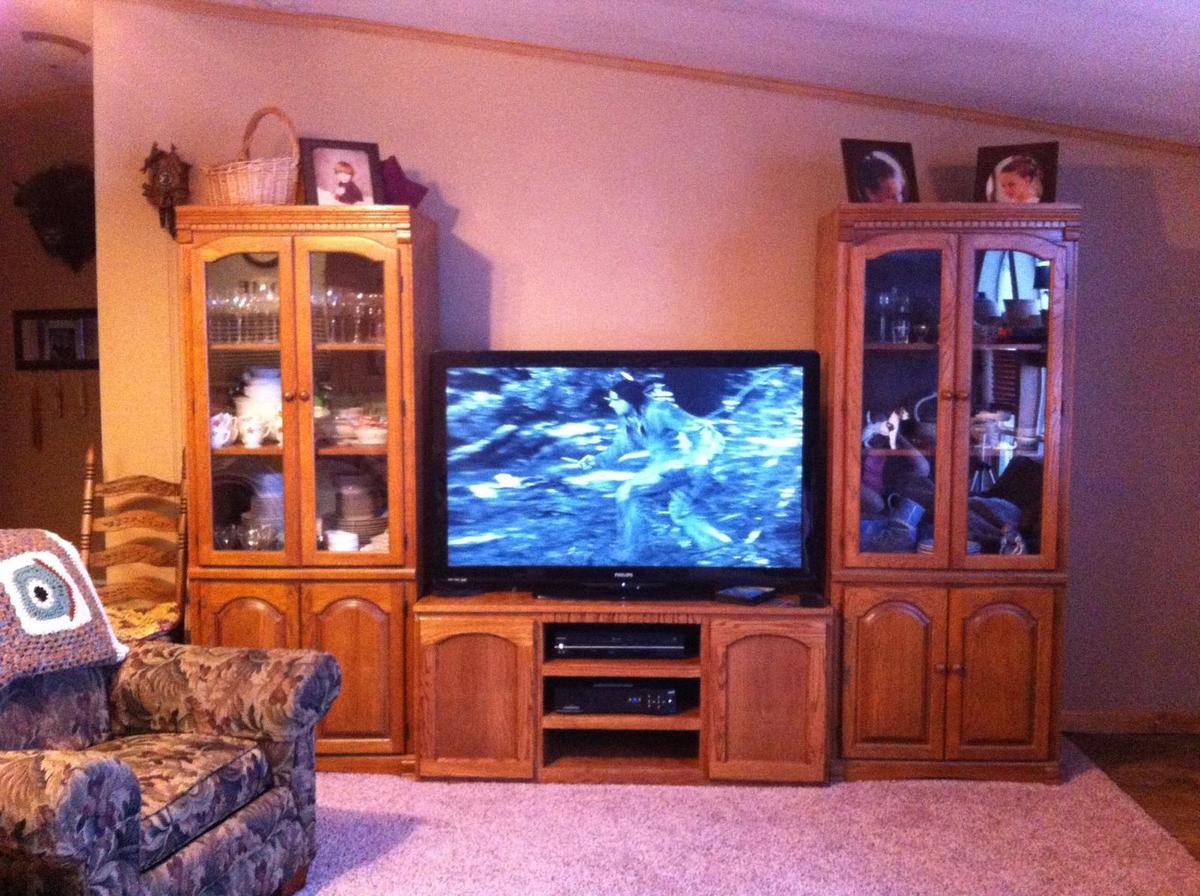
My in-laws were in need of a place for their new tv. They choose the plan and I got to work.
I really wanted it to look similar to the furniture that They already had so I used oak and provincial stain.
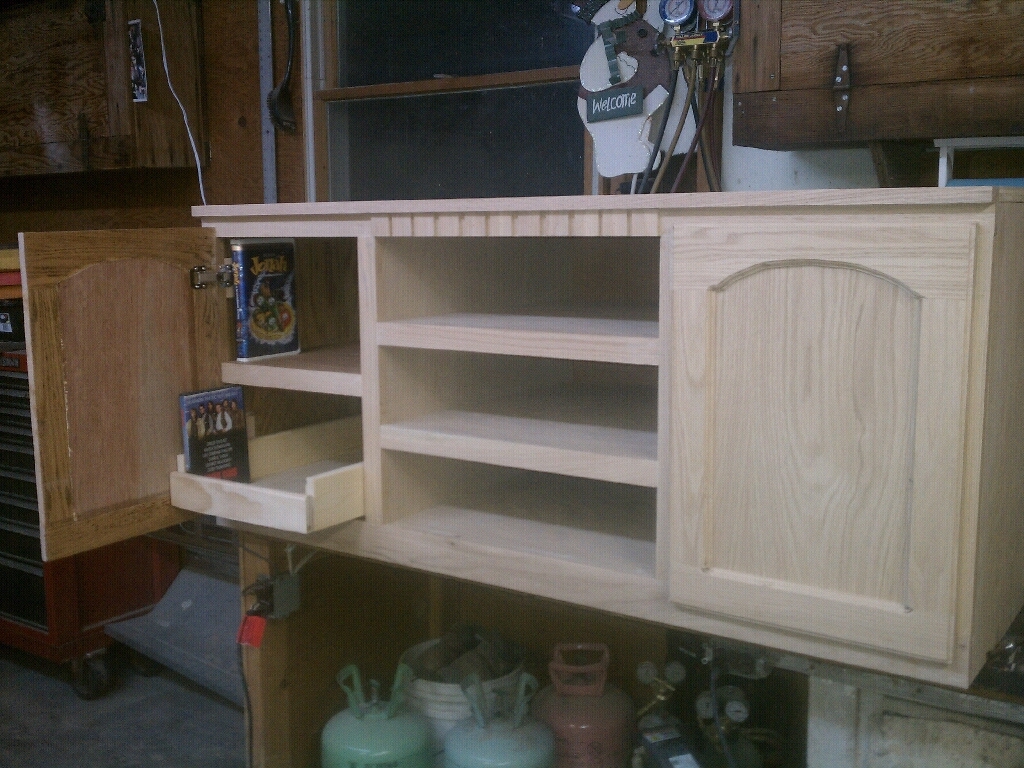
I surprised them by adding one pull out drawer to each side for easier location of the movie collection.
I was happy with the results!

Estimated Cost
$240
Estimated Time Investment
Weekend Project (10-20 Hours)
Finish Used
Provincial stain, semi-gloss poly
Recommended Skill Level
Intermediate

Comments

Joni

Sun, 04/14/2013 - 19:25

Wow -- you did an unbelievable job of coming up with something that looks like it should have been there all along. The stain matching looks flawless. Really nice job.

Btl

Thu, 07/07/2016 - 08:54

Did you make the top and shelves out of oak plywood with edge banding?

Is that commercially available trim at the top, or did you make that?

Firetruck bedbunk ! Special thanks to Ana white and Jeff.

Submitted by Will-I-am on Tue, 03/03/2015 - 13:29

This Firetruck bed was made from the plans from Ana white !
We did some little modifications to it.
All sizes where changes to cm instead of inches (we live in the Netherlands, so no American sizes will do here, since all sizes are different.)

Al the electric is 12 volt, and everything works with the key.
Put away the key, and there will be no electricity... :)

it was a hard work (about 1,5 week) but its worth it.

The bed is made out of MDF. The structur inside is pine (so it can keep a big time of weigh)


Built from Plan(s)
Finish Used
Paint,
Recommended Skill Level
Intermediate

Comments

Farmhouse Nightstand

Submitted by Anonymous (not verified) on Fri, 06/02/2017 - 04:52

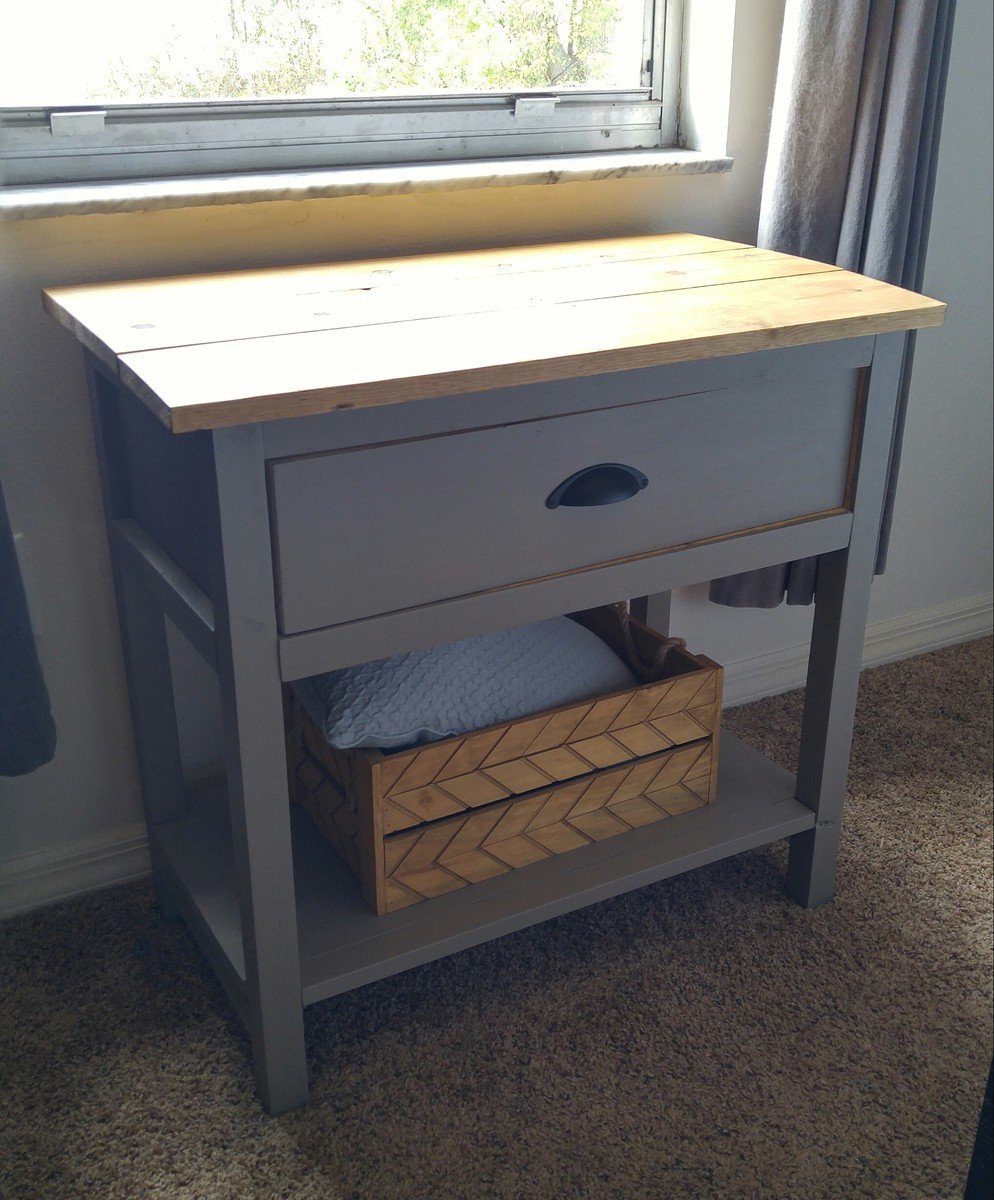
My first build. Wanted something to put in front of my window for my cats to sit and look out on.

Built from Plan(s)
Estimated Cost
$40
Estimated Time Investment
Weekend Project (10-20 Hours)
Finish Used
Artminds Trellis chalk paint, weathered oak and provincial stain
Recommended Skill Level
Beginner

Relax at Moose Manor

Submitted by jendon on Tue, 07/06/2021 - 08:04

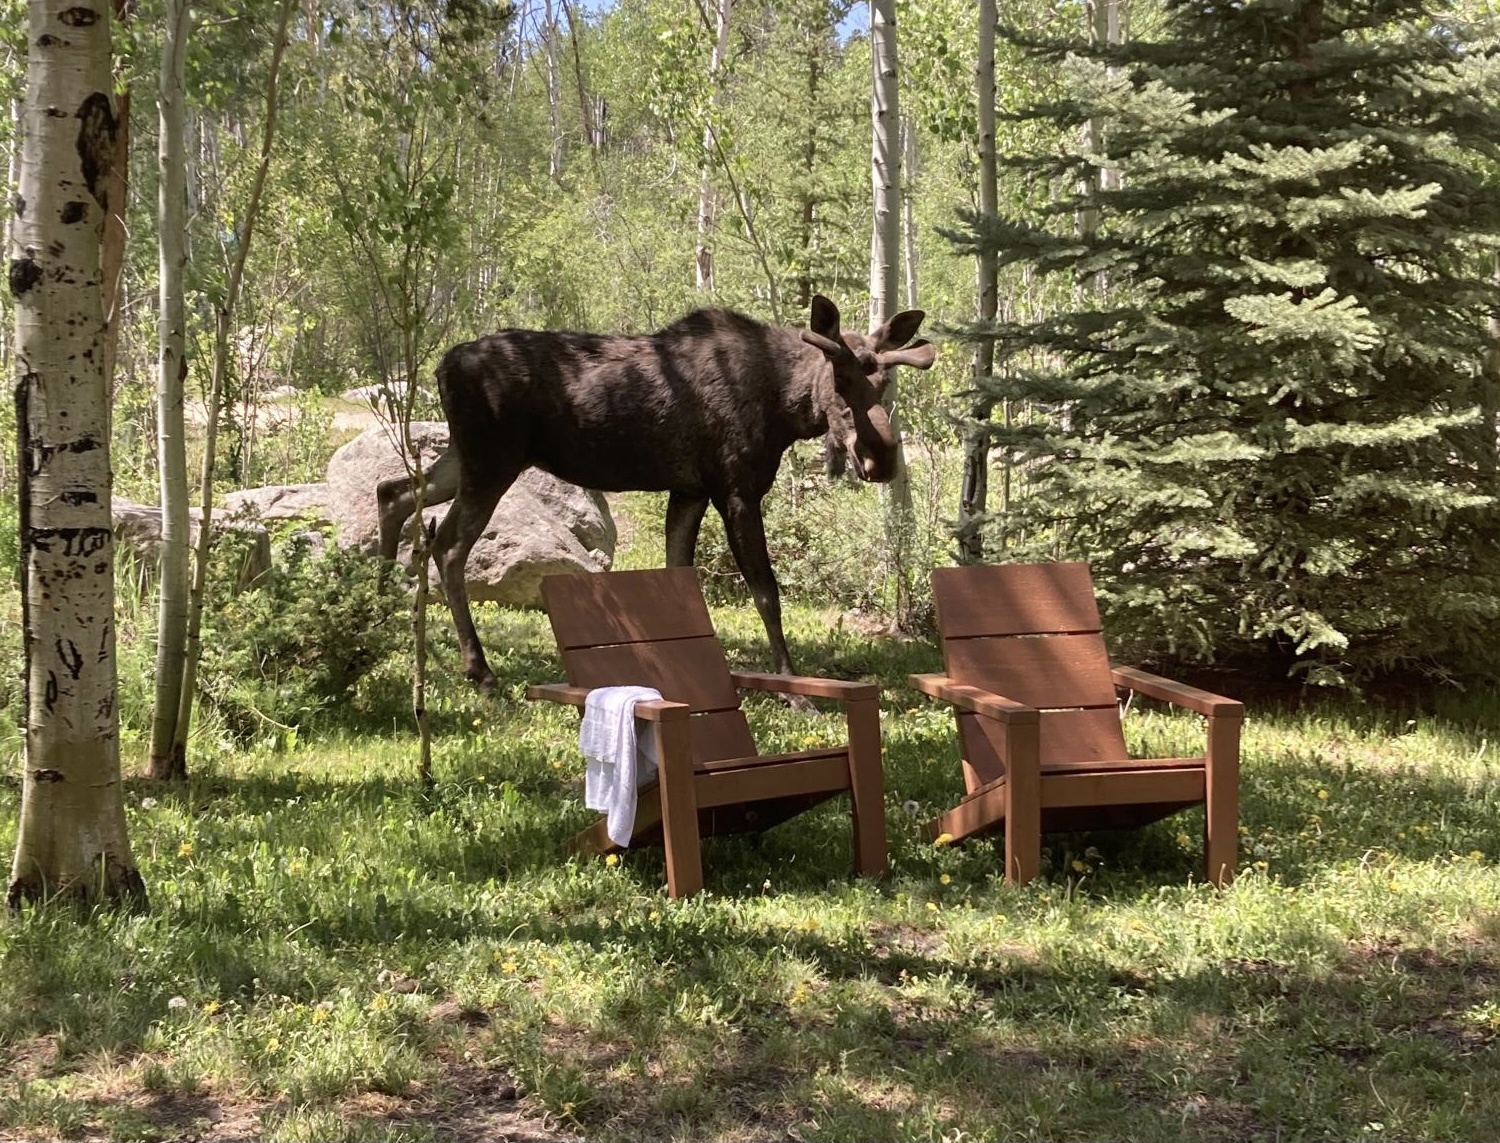
We have a wonderful rental cabin in Grand Lake, CO. I wanted to add some special seating outside. These chairs are perfect, comfortable, and even the moose came by to see them. They agree too that Ana’s design is wonderful. My daughter and I worked on these together, from beginning to end. We cut, sanded, stained, and finally put it all together. These are so comfortable, even my husband agrees!! Thank you Ana for the plans and video. I will be adding the table to go with them too. Jennifer

Estimated Time Investment
Day Project (6-9 Hours)
Finish Used
Semi transparent deck stain that lasts 8 years outside. This stain is hard to work with. Lines and color variances. Next time I will just use an oil based stain with outdoor poly with several coats. Much easier with the time I put into this stain process.
Recommended Skill Level
Intermediate

Comments

Toddler Stools

Submitted by sraper2 on Tue, 04/16/2013 - 20:16

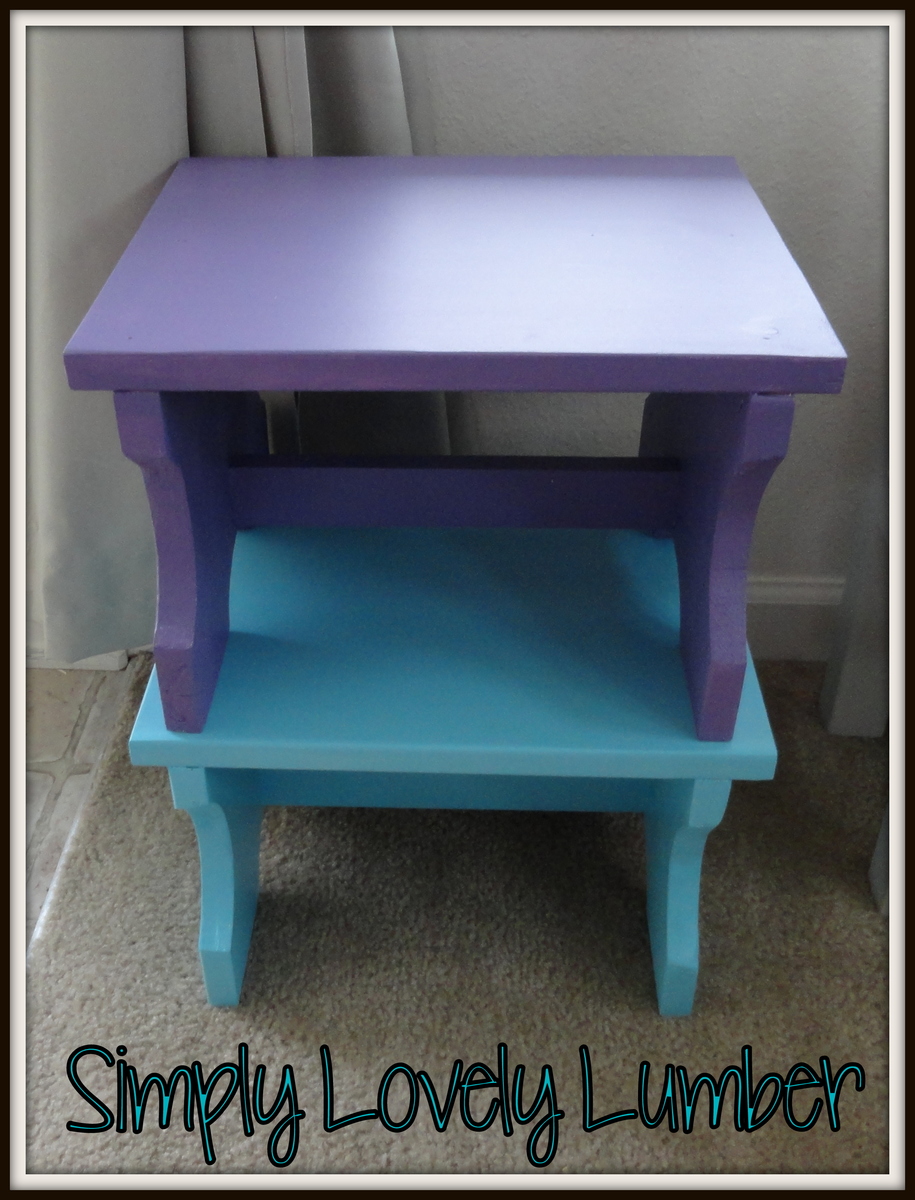
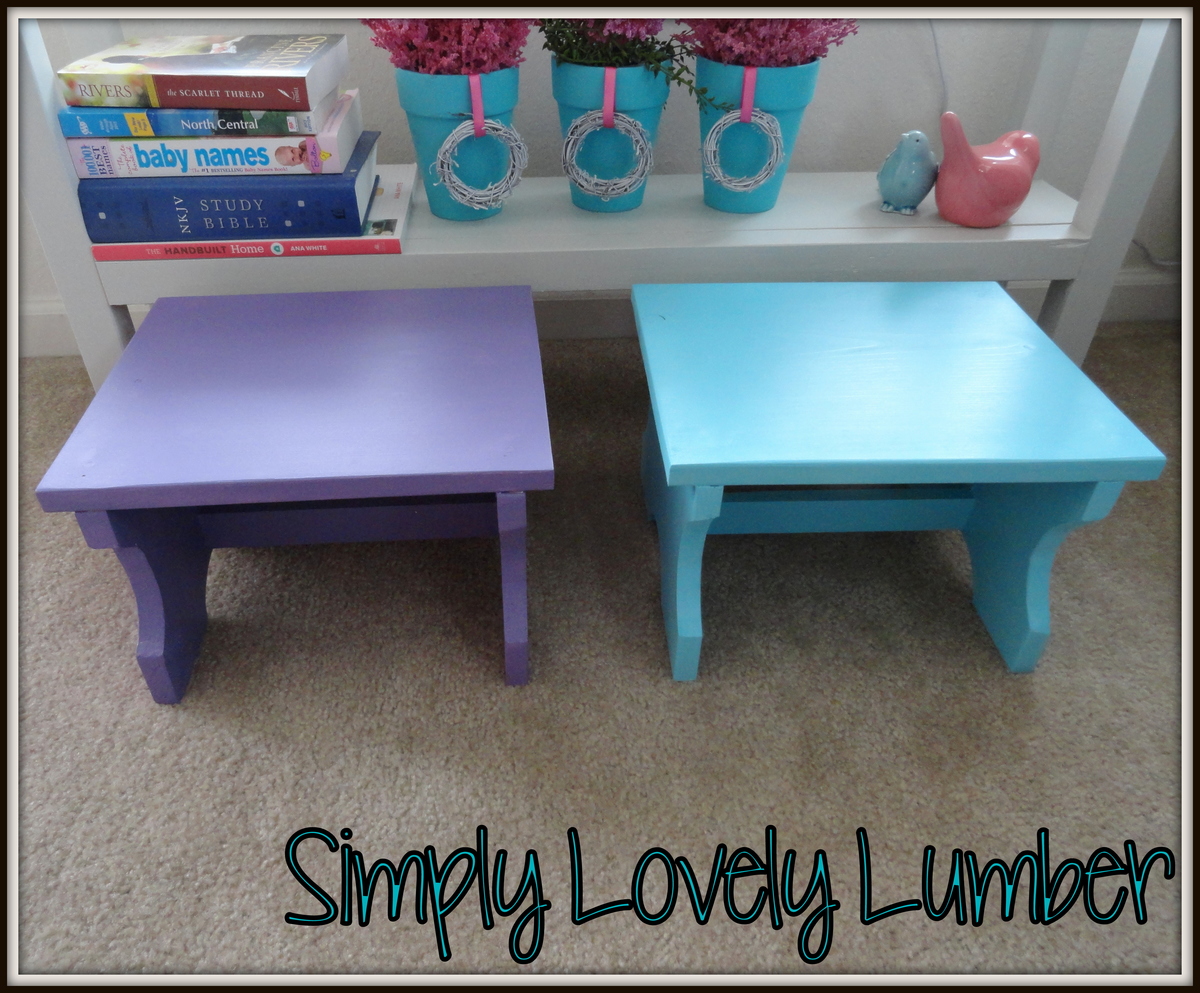
I thought you had a plan for these but I'm looking through and the closest I can find is the Vintage Step Stool. Either way it is because of your site that I have learned and become comfortable with building so I thought I would share these stools here. I made a little toddler chair to go with them to that you can see on my blog. Thanks for helping to make things like this possible!!

Built from Plan(s)
Estimated Time Investment
An Hour or Two (0-2 Hours)
Recommended Skill Level
Beginner

Comments

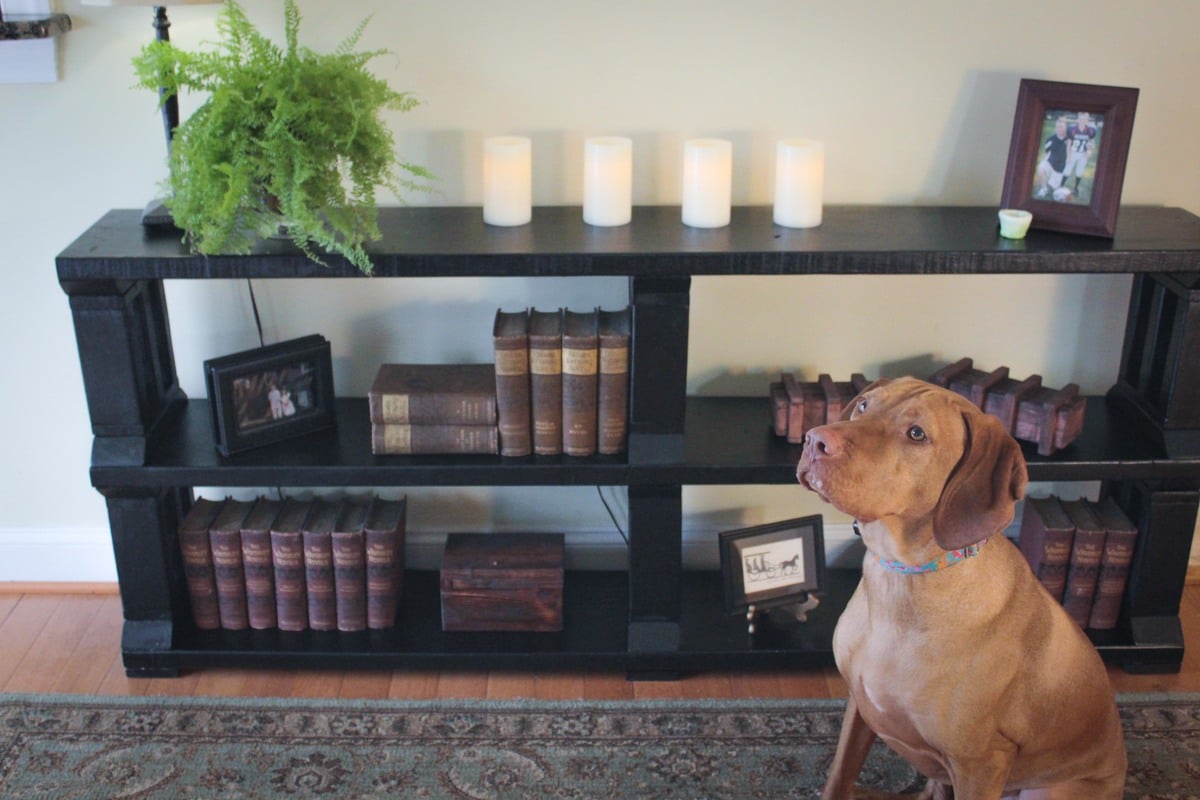
Rustic Book Shelf

Submitted by mtairymd on Sat, 03/07/2015 - 13:52

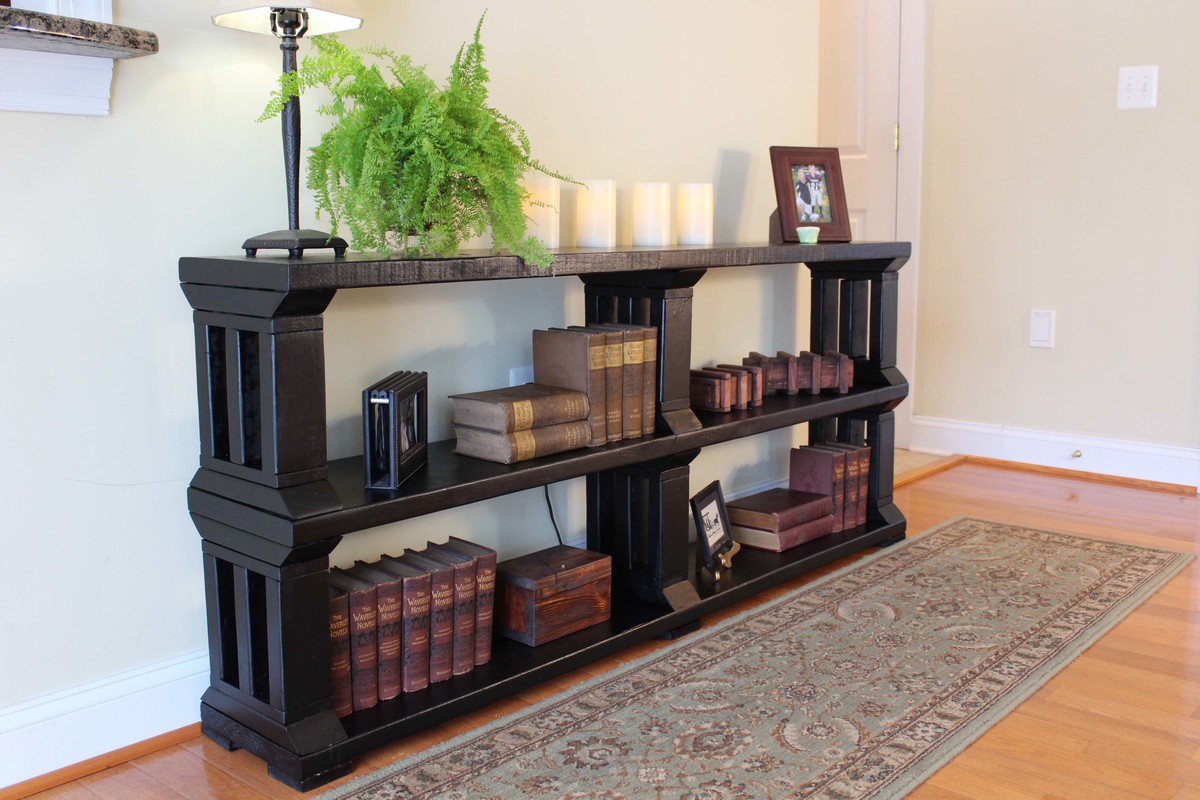
This is a matching book shelf to the 55-fancy-x-desk.

Build Instructions:

http://www.instructables.com/id/Rustic-Book-Shelf-or-TV-stand/

Estimated Cost
$50
Estimated Time Investment
Weekend Project (10-20 Hours)
Finish Used
PolyShades Classic Black Satin Stain and Polyurethane from Minwax
Recommended Skill Level
Beginner

Comments

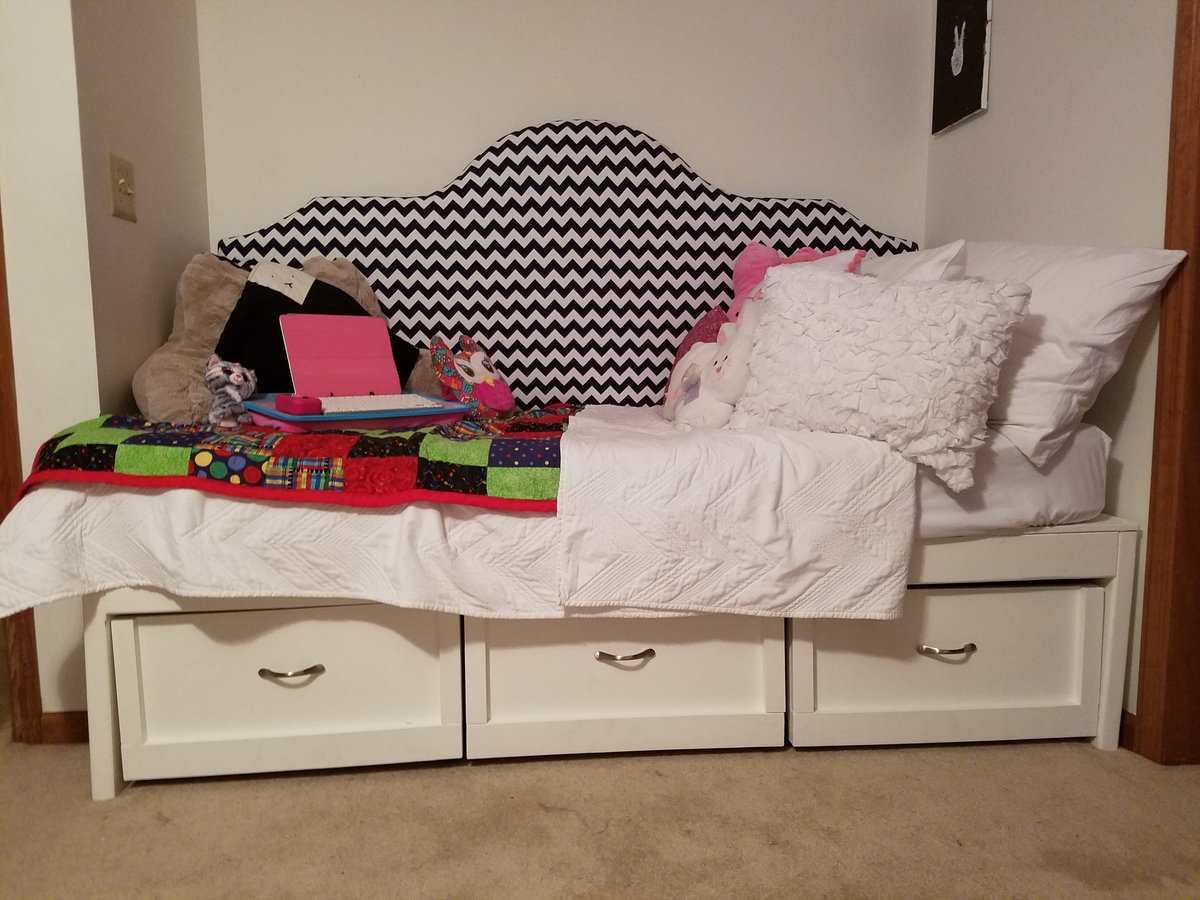
Day bed with headboard

Submitted by Anonymous (not verified) on Mon, 06/05/2017 - 12:02

We needed a custom bed to fit a niche. We used the Daybed with storage drawers, but shorted the length by 1.5 inches to fit our space. Our daughter is very happy with her new bed.

Estimated Time Investment
Weekend Project (10-20 Hours)
Finish Used
Paint
Recommended Skill Level
Beginner

Custom Dog Bath

Submitted by dananicb on Thu, 07/22/2021 - 07:21

Tego needed a raised dog bath. No, I needed a raised dog bath. Specifically, my knees needed a raised dog bath for Tego. So, after looking at Pinterest and Ana's plans, I decided what I really wanted to do was customize something to fit my needs (and knees) and build it myself. Overly ambitious for a first-time woodworking project, but hey, raise the bar.

I started by reading and rereading Ana's beginner's woodworking guide (very informative). I also learned so many other things along the way. There's a reason, besides looks, you need flat boards (they need to screw together tightly). Unfinished basement floors are so not level (especially near the walls). Screw lengths matter (need shorter ones for thinner boards). The big-box store doesn't make precise cuts (but they can make a lot). Planning for the finishes will save you time (know your basket sizes). Just to name a few.

It's going in an unfinished basement, so I wasn't going to tile and add glass doors. I wanted to keep it relatively simple, basic.

The stairs were the hardest to measure and build (math matters) - and I might re-do. I made the steps smaller, dog-sized, but she finds them awkward. I'd stick with typical riser heights, but it depends on the size of your dog.

Plumbing to link the tub drain to the utility sink drain was the most expensive. Probably I could have done it myself, but I decided not to learn both plumbing and woodworking for one project.

Overall, I'm pleased with the result - and Tego is learning to love it.

Estimated Cost
$250 in supplies (plus plumbing)
Estimated Time Investment
Week Long Project (20 Hours or More)
Finish Used
Exterior paint in semi gloss
Recommended Skill Level
Beginner

Comments

Emerson Change Table

Submitted by Craig McC on Tue, 03/10/2015 - 12:07

This is my first wood project. Thanks Ana for the plan. My wife and I will enjoy the dresser.

Estimated Time Investment
Weekend Project (10-20 Hours)
Recommended Skill Level
Beginner

Comments

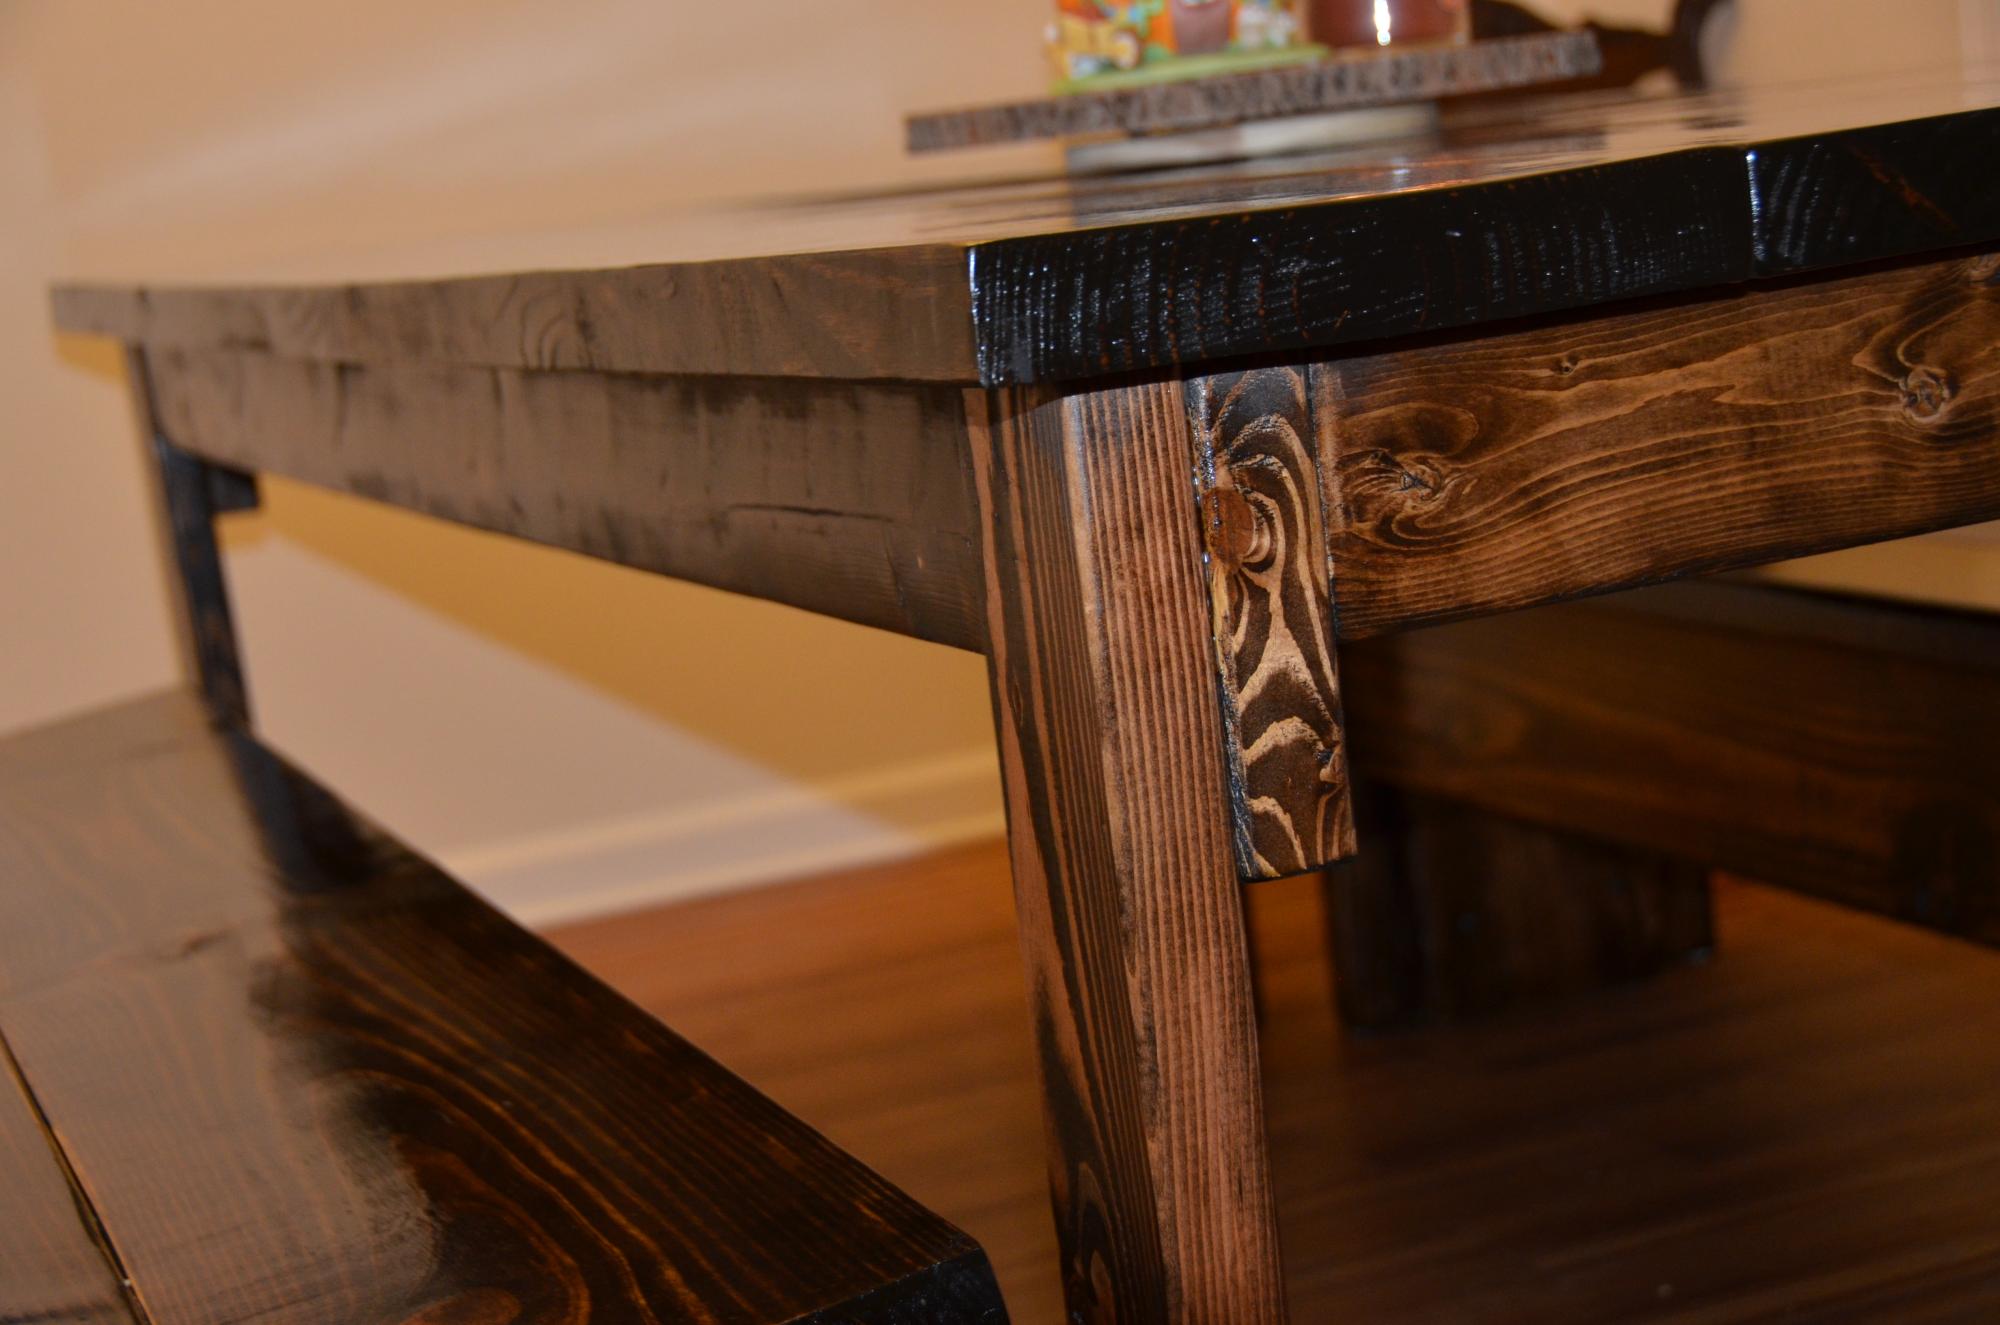
Farmhouse Dinner Table - Seats 8

All pine 2x4, 2x6, and 2x10 seating for 8 in espresso stain and semigloss top coat

Estimated Cost
$100.00
Estimated Time Investment
Day Project (6-9 Hours)
Finish Used
Espresso Stain and Semi-gloss
Recommended Skill Level
Starter Project

Comments

My Shirley Console Table

Submitted by NewHome86 on Mon, 04/22/2013 - 09:08

I saw the Shirley table post and was inspired to build this for our entryway in our new home. Maybe not the best first project to pick in the new home, but man was it worth it! Turned out great. Used some leftover paint from an old painting project and it works really well with our new living room set. I listed it as a weekend project because if you're not super experienced or don't start this early in the morning you will probably need to take your time and finish this over two days.

Built from Plan(s)
Estimated Cost
$200
Estimated Time Investment
Weekend Project (10-20 Hours)
Finish Used
Home interior paint from Sherwin Williams.
Recommended Skill Level
Intermediate

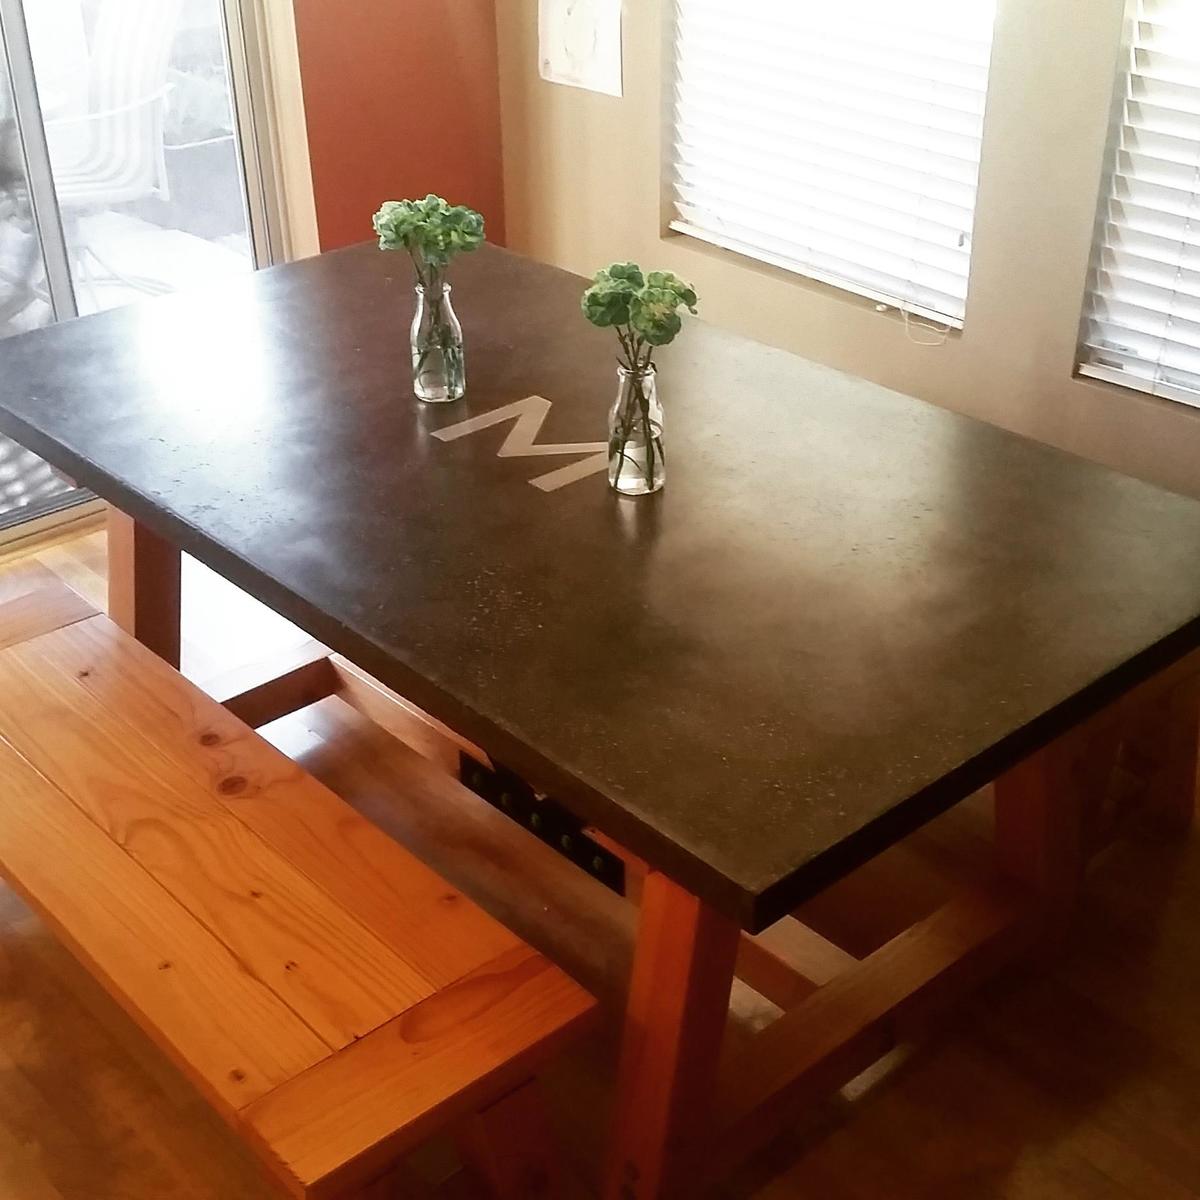
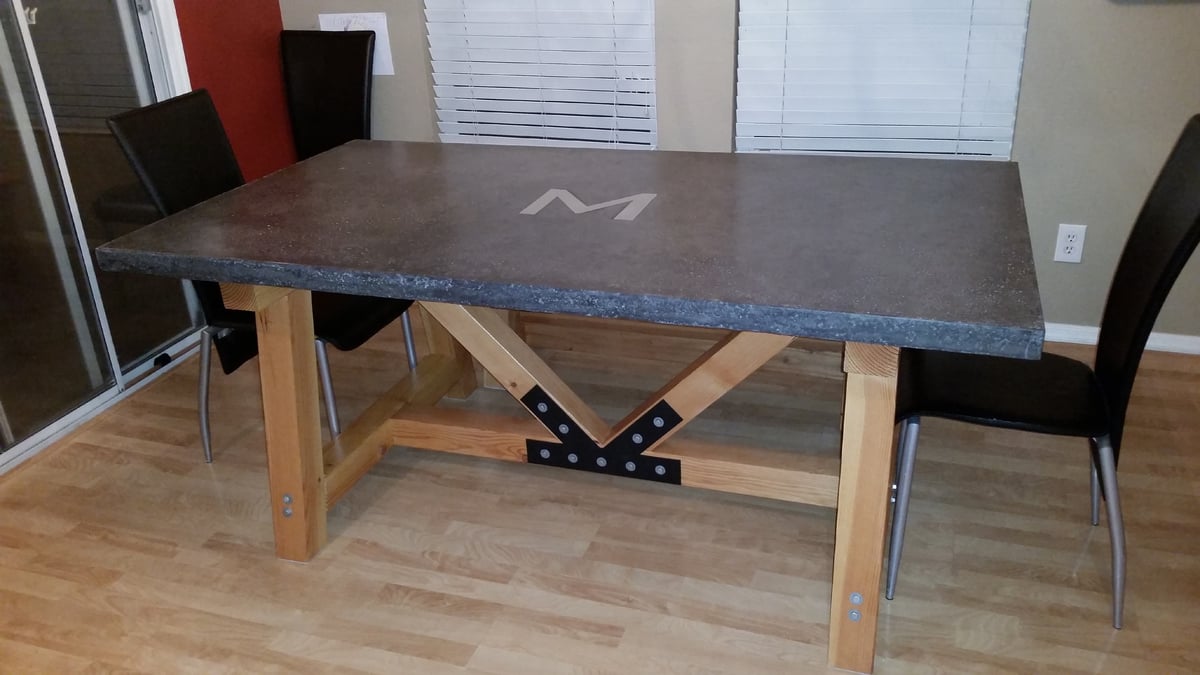
4x4 truss beam table concrete top with benches

Submitted by upnarms on Sat, 03/14/2015 - 12:20

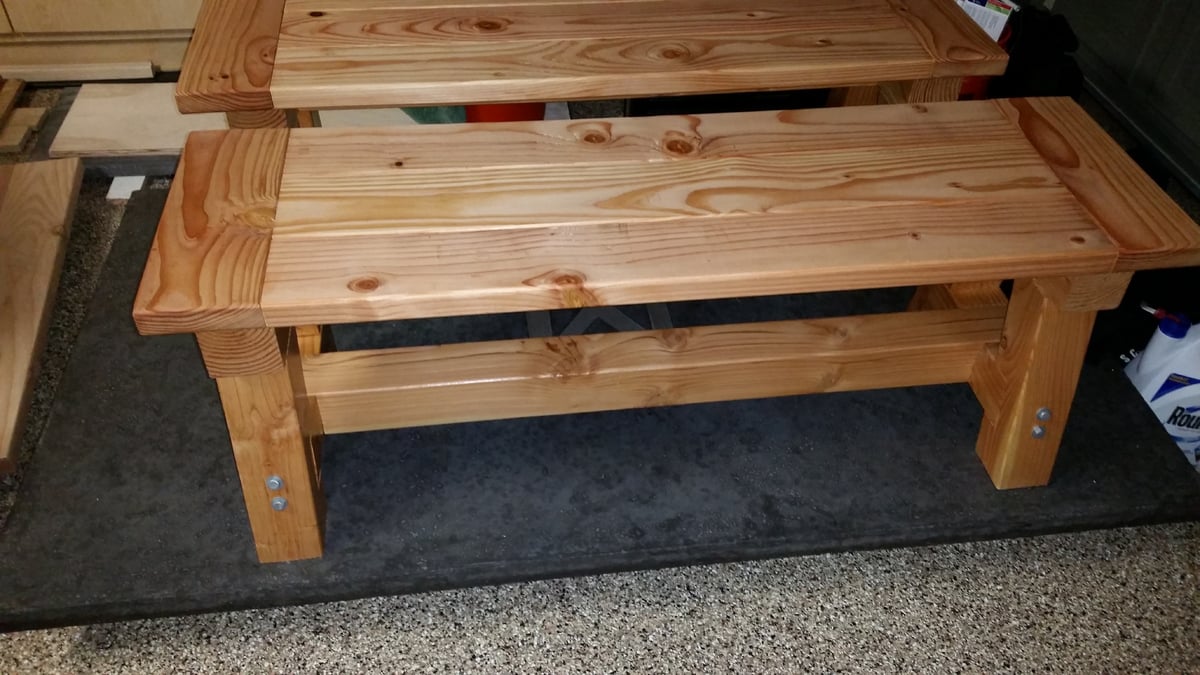
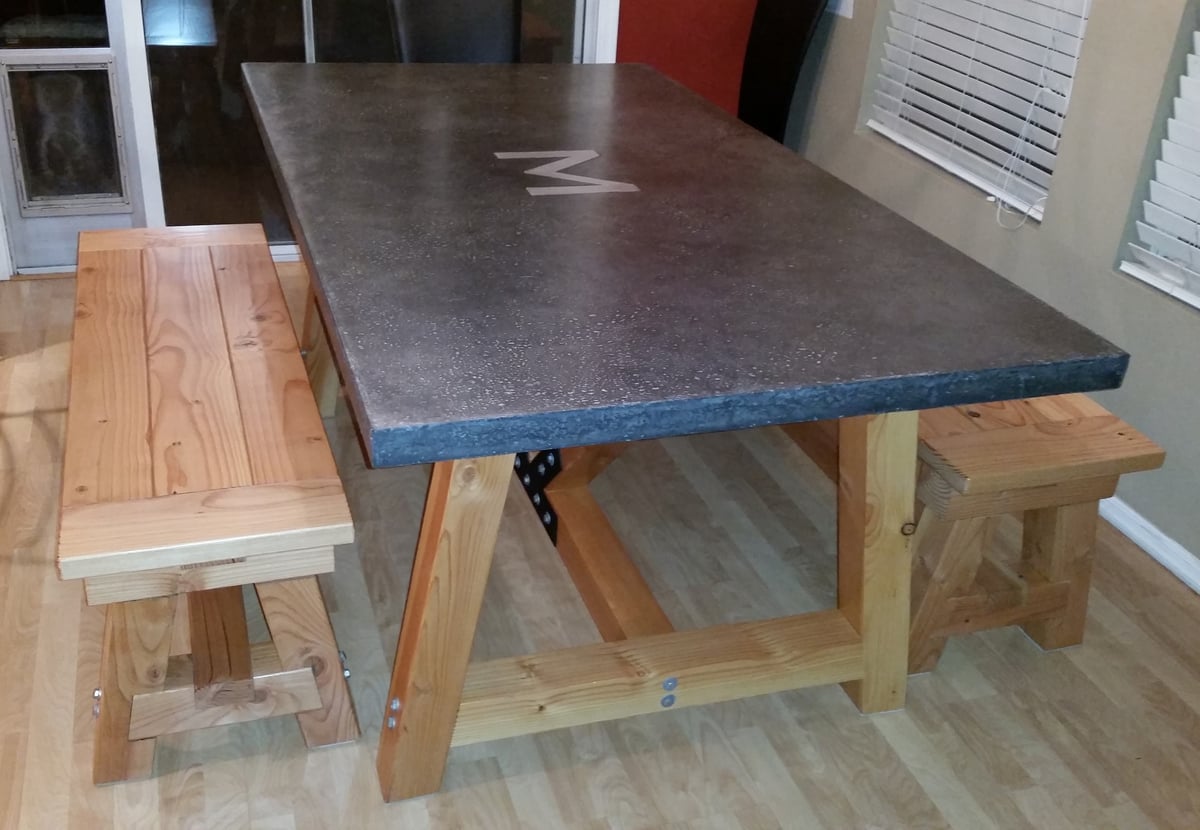
Douglas Fir 4x4 truss beam table, made from the listed plans (modified for a 72" table top and concrete used for the top).  Also, added steal gusset plates with lag bolts to replicate appearance of exposed truss beams.  Used pocket screws in conjunction with lag bolts.  Benches were altered with half-lap joints for strength (very time consuming).  Concrete table top made with Quikrete countertop mix (charcoal powder pigment added), an aluminum "M" inlay, and slurry coated with a lighter gray grout to fill in bugholes/ voids.


Table was fairly easy- hard part was finding straight wood (mostly green DF is sold near me, so some beams would warp beyond suitability as they dried).  I had to purchase a few extras to get the pieces correct.  If KD is available, go with that.  I was able to find KD DF at another hardware store for the benches.


Concrete was a PITA.  I never worked with concrete before. Watched a million youtube videos, read countless blogs, etc.  So much good info out there and I probably over-researched it.  I despise concrete, now (the mixing/ pouring/ screeding/ and weight) but I LOVE the result.


The project was my secret excuse to buy tools Ive always wanted.


If I wouldve been able to work straight through, I think I couldve completed this in a month.  The table and benches were a couple of weekends worth.  The concrete took most of my time with making melamine molds, special ordering the bags, renting the mixer, waiting it to cure, polishing and filling the top, etc.  A wood top wouldve cut down on the overall time considerably.


If you do a wood top (as I did for my benches), either use some type of joiner to get the board edges perfectly squared against one another with no gaps, OR leave gaps big enough between boards to let crumbs fall through, OR (this is what I did for my benches) I used a super clear (Lexel) caulk for the seams of the boards and then went over it after it dried with the satin polycrylic to take away any gloss.  Now all those crumbs dont get wedged between the boards.  They wipe away with ease.


Finally, I used heavy duty felt (4x6") from the local HD at $2.50 a pair.  Cut them to size and used the self-adhesive WITH gel superglue to put on bottom of bench and table legs.  A must.

Estimated Cost
Materials-

DF beams for table- $70
DF wood for benches- $100
Concrete, pigment, grout, melamine form molds- $250
Misc hardware- $50
Stain and clear finish- $20

Custom steel gusset plates and aluminum inlay letter- $150
Concrete Mixer rental- $40

I purchased several tools for this, as I did not own them before. I know I will use them for several projects in the future, so to me it was well worth the investment. I was able to make the table and benches with tools for under $1200. Not bad, considering the table without benches is sold at a retailer for $3000. I obtained a better finished product, customized, with some nice new tools for less than half. Plus I got to learn A TON!

I bought the following tools:
Kreg HD jig
Sliding compound miter saw (12")
orbital polisher/ sander (7")
random orbit handheld sander (5")

The concrete added the extra expense of diamond polishing pads as well.
Estimated Time Investment
Week Long Project (20 Hours or More)
Finish Used
Minwax natural stain, Minwax Polycrylic satin. I used one coat of natural stain. I wanted it to be light, but finished. I love the way the natural finish came out. I wasn't going to put any clear on it, as I did not want any sheen. However, I have children and the wood wouldve been dirty by the second day. The Polycrylic satin was amazing. Not as shiny as I was afraid of. Much more forgiving than semi gloss or gloss. Three coats applied with foam brushes. Lay it on, dont brush it on to avoid bubbles. Go slow and smooth. Dries nice. I did 2 coats, then a very light sanding with 220, just to get rid of the roughness. One coat after that and done.
Recommended Skill Level
Intermediate
Comments

upnarms

Mon, 03/16/2015 - 10:57

The top was made from nearly 4 bags of counter top mix. I did create a lip by placing an insert in the mold, taking out a bit of weight, while giving it a 2" profile edge. It's about 300lbs still! I had 3 people help me lift it into place.

petesveen

Tue, 03/17/2015 - 07:26

Nice job on the concrete top! Turned out great and coordinates well with the base. Cheers! - DIY Pete

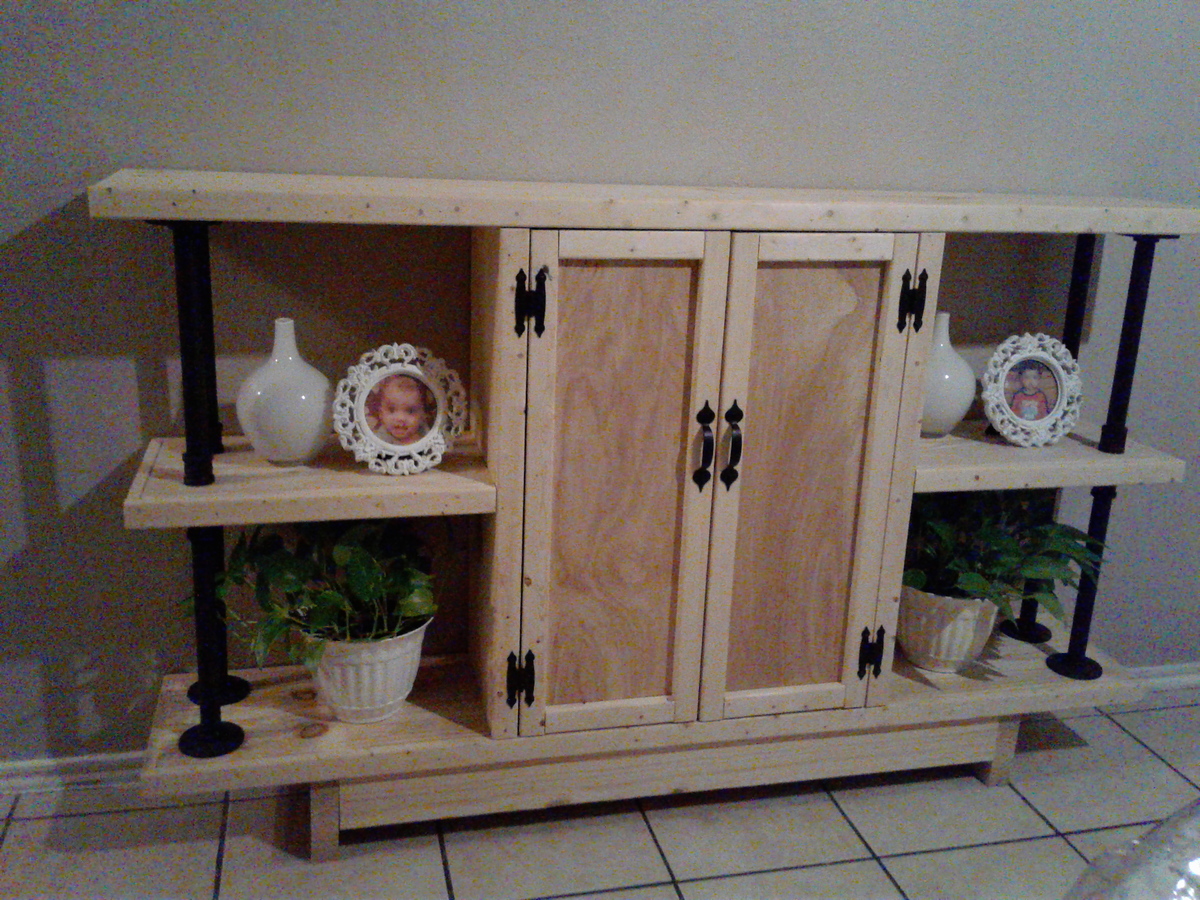
Emmerson Buffet or Console

Submitted by Anonymous (not verified) on Sun, 06/11/2017 - 22:12

I had a console (or three tiered shelf) that I made with 2x10 and black pipe. At first I was happy with that but when I saw this console and another one on the blog of "Shades of Blue's", I decided to change the designe of my three tiered consol to Emmerson console. I love the console. In new console, I did not use any side pieces. I didn't want to throw away the black pipes because it cost money. So I ended up with this designe. I haven't put any stain or paint. I am not sure what paint or stain to put. So I leave it as it is.

Estimated Time Investment
Weekend Project (10-20 Hours)
Finish Used
Unfinished
Recommended Skill Level
Intermediate

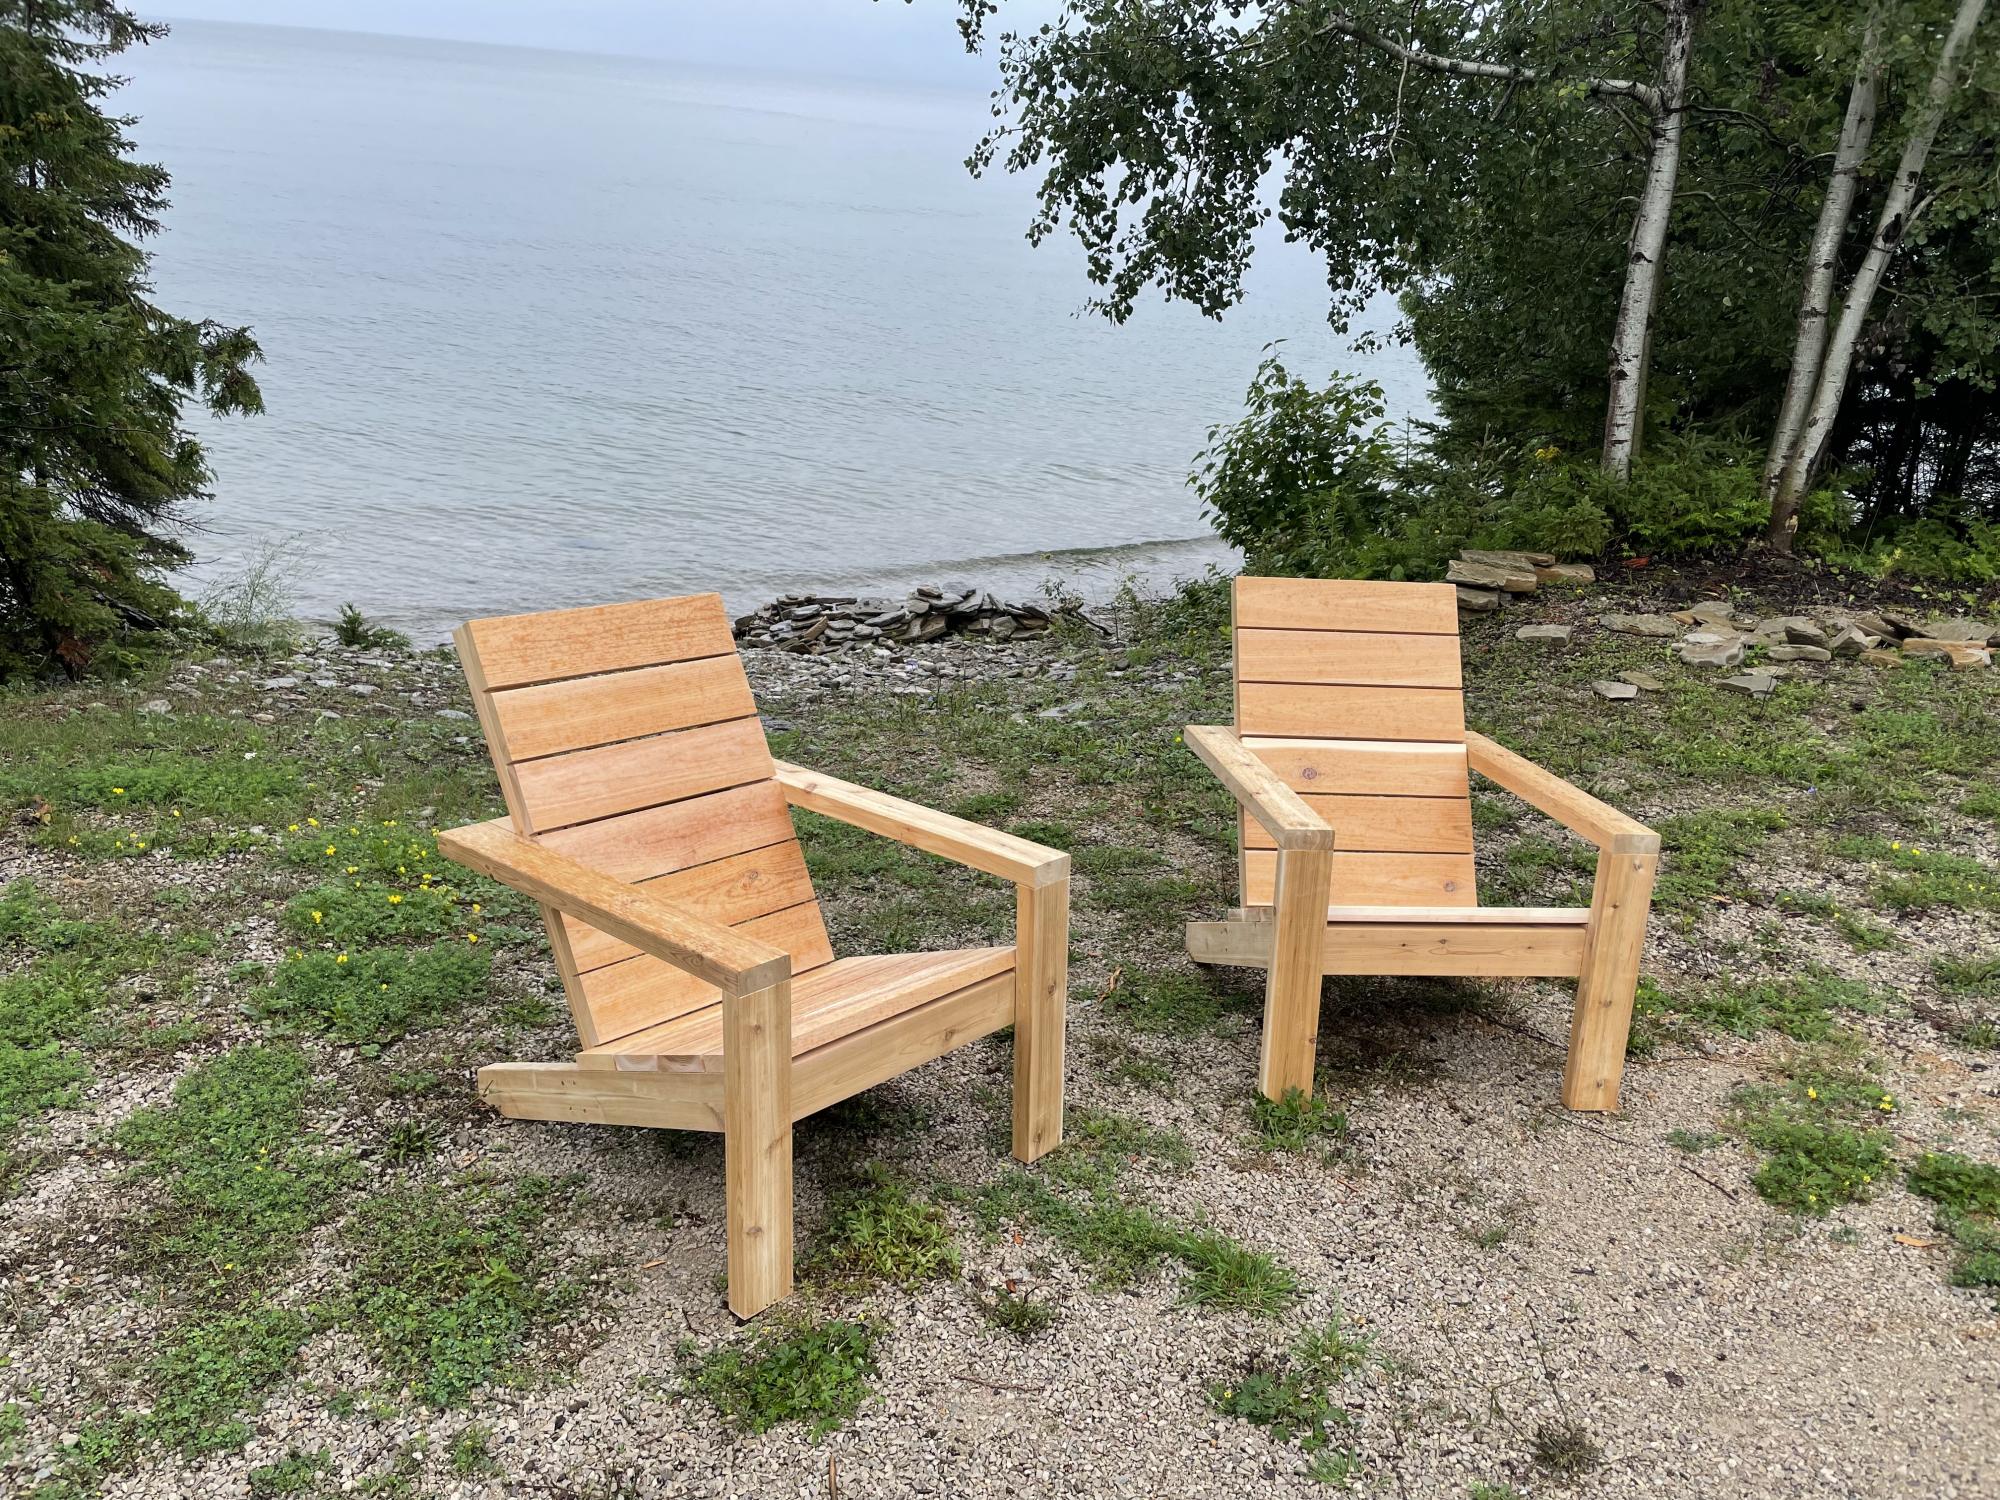
Modern Adirondack Chairs

Submitted by Anonymous (not verified) on Sun, 08/08/2021 - 17:40

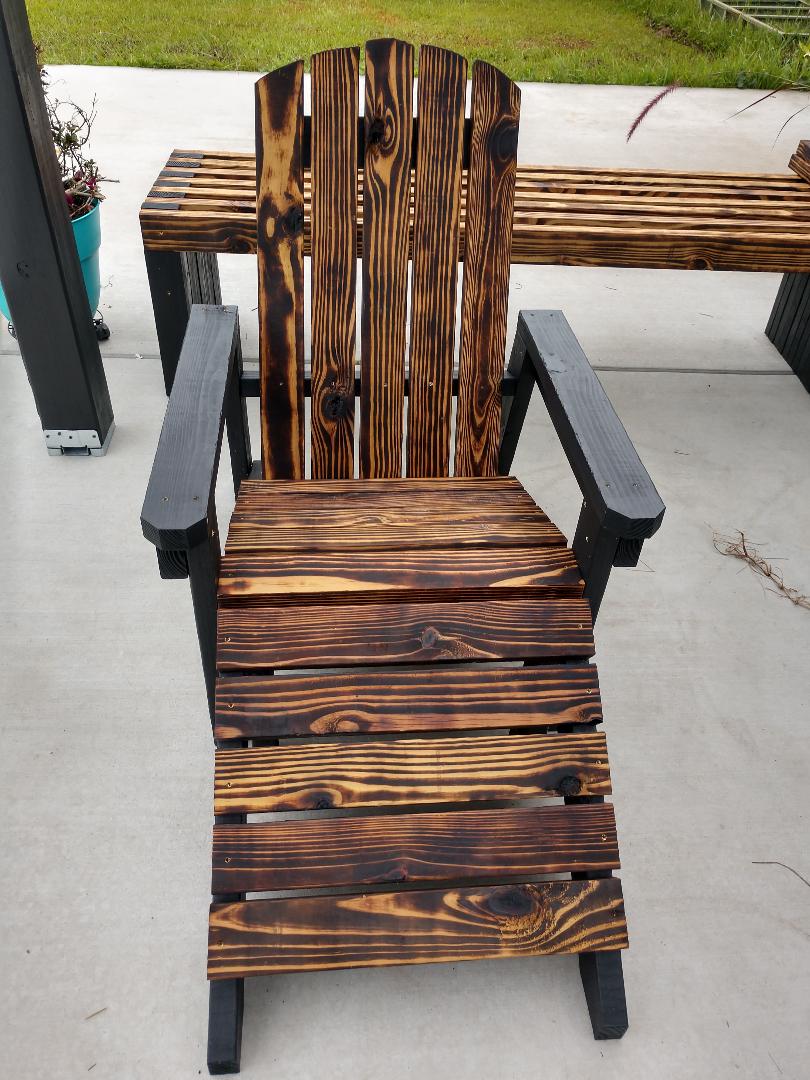
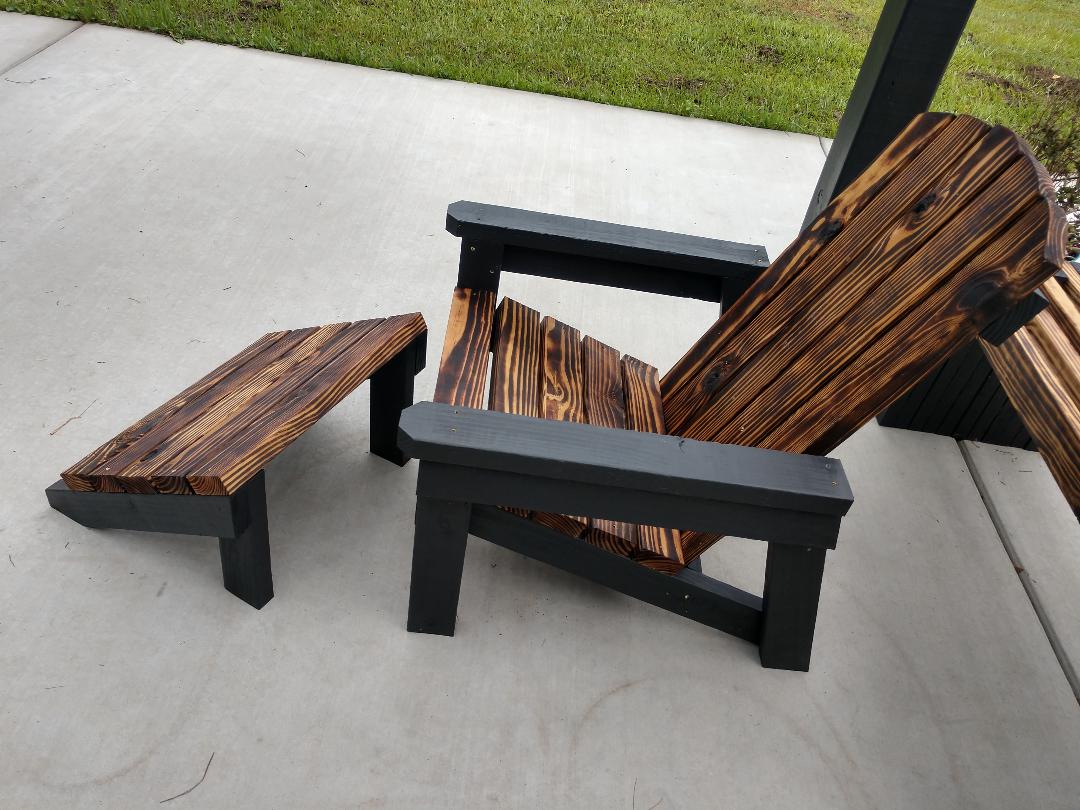
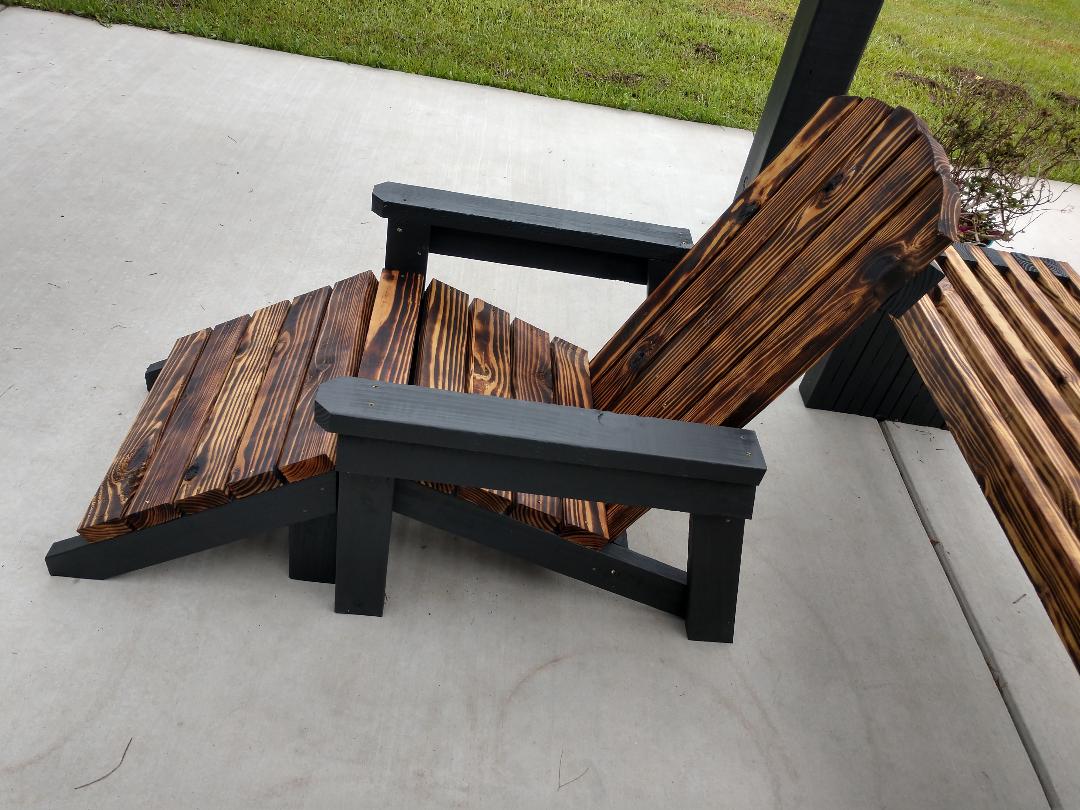
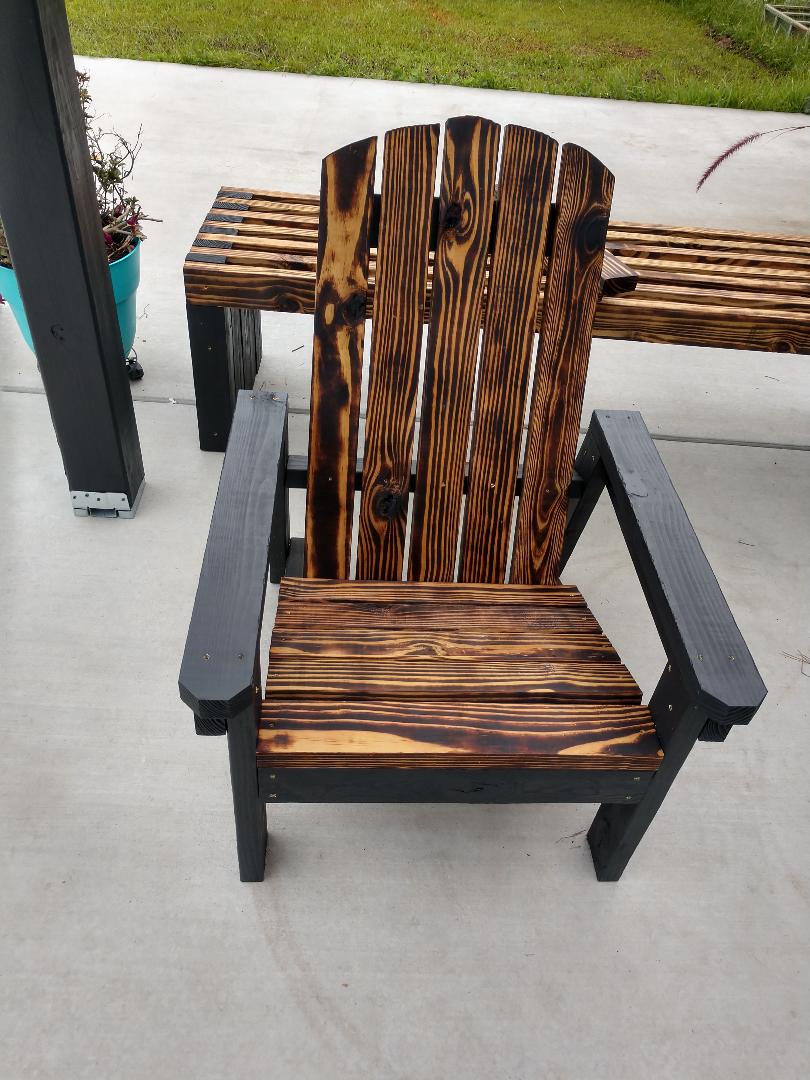
Have been wanting to build these chairs since the video came out for them. Finally found an occasion to build them for a friend of mine. I couldn’t find 1x10’s in cedar, so I used 5/4”x6” cedar deck boards ripped down to 4 1/2”. I also pocket-holed the seat boards in from the inside of the stringers and drilled the back boards in from behind for a clean look on the seat. Overall, it was a really enjoyable build and I’m really happy with how they turned out.

Estimated Cost
$100/chair
Estimated Time Investment
Day Project (6-9 Hours)
Recommended Skill Level
Beginner

Comments

Farmhouse Table

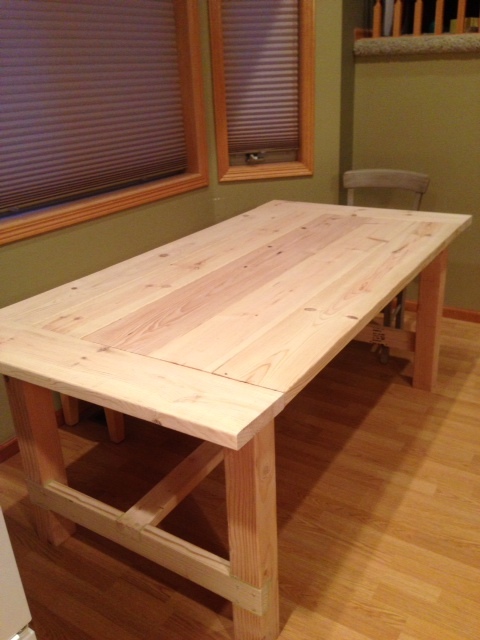
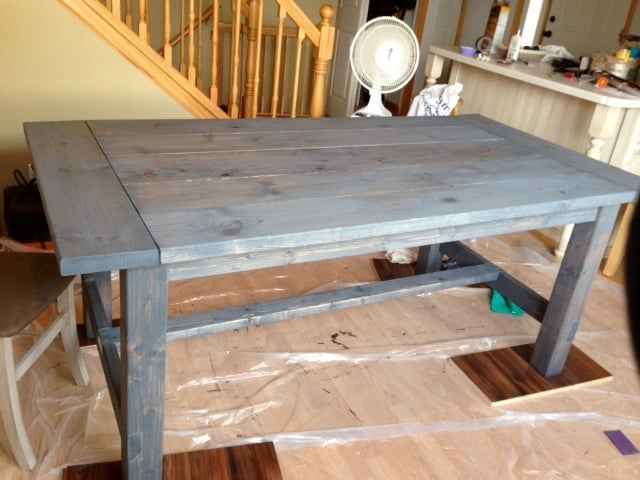
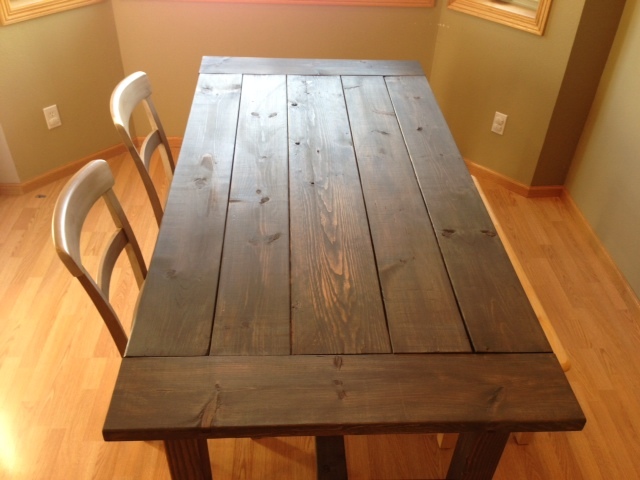
I've been wanting a farmhouse table for the past year or so ever since we updated our kitchen cabinets. The thought of spending lots of money on a dining table was not something I wanted to do with two little boys who tend to get a little rambunctious at times! I found the plan for the farmhouse table, sent my husband a text with the link and asked if he thought we could build it. We've been on a roll recently building closet systems, and laundry organizers so I thought I would nab him while he was in building mode. He agreed to give it a try, and we built it this past weekend, with the help of a 2 and 4 year old.
The plans were very straight forward and easy to follow. We moved it inside to build after all the cuts were made (other than the bread board ends) as we knew it would be too large to carry in the house. We also cut 10 inches off the length as we did not have a big enough dining area for an 85" table.
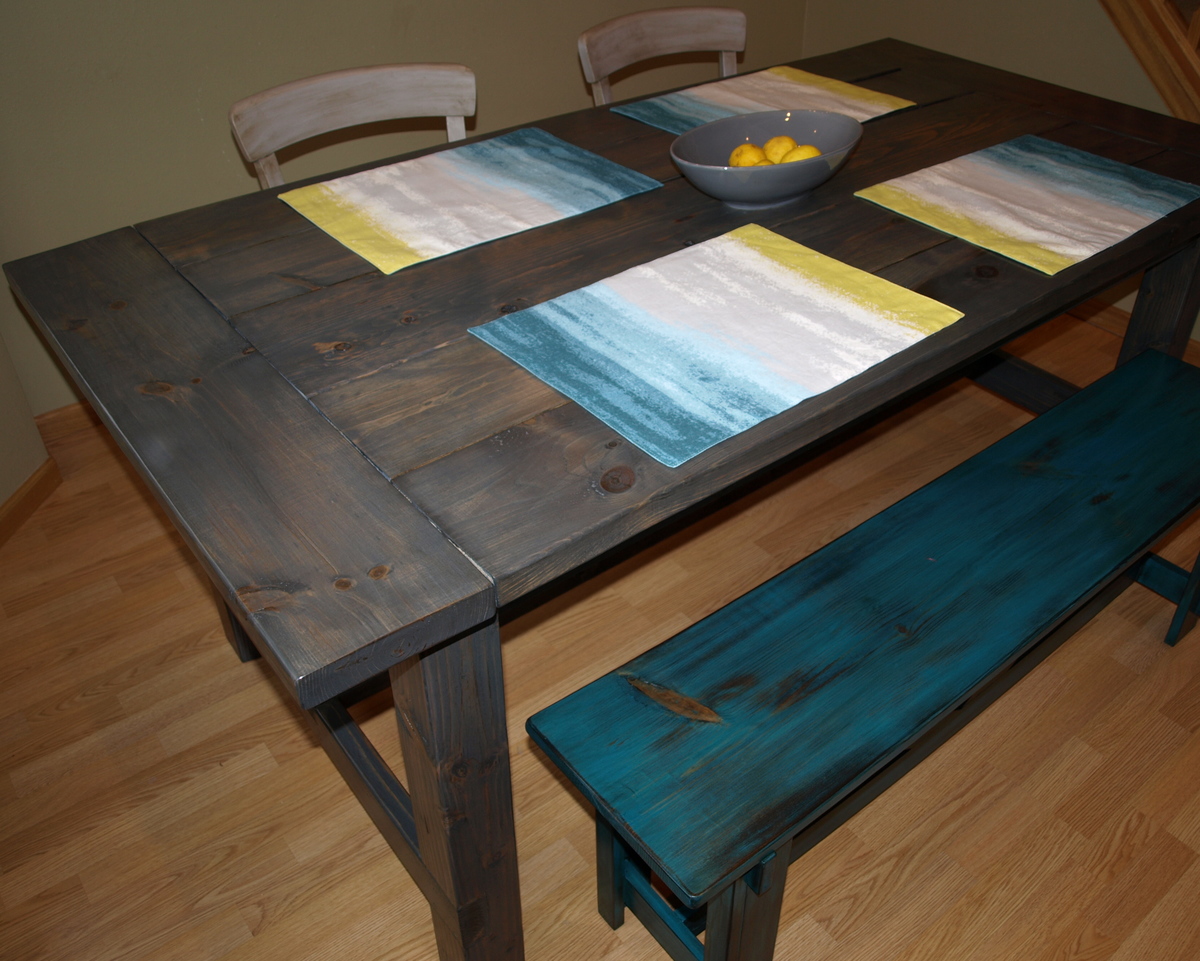
Then we made the large rustic x bench for seating!

Estimated Cost
Lumber/supplies: $100 Finish: $15
Estimated Time Investment
Weekend Project (10-20 Hours)
Finish Used
Table: Varathane weathered gray to start, the end result had a very strong blue tint which we did not like. We then put minwax dark walnut over the top, did not let it sit more than 1 minute and wiped. Finished with 3 coats of polyurethane. The end result turned out to be the look I was envisioning, talk about good luck!
Bench: Spray painted with Rustoleum Satin Lagoon, sanded, stained with dark walnut, and finished with polyurethane.
Recommended Skill Level
Beginner

Comments