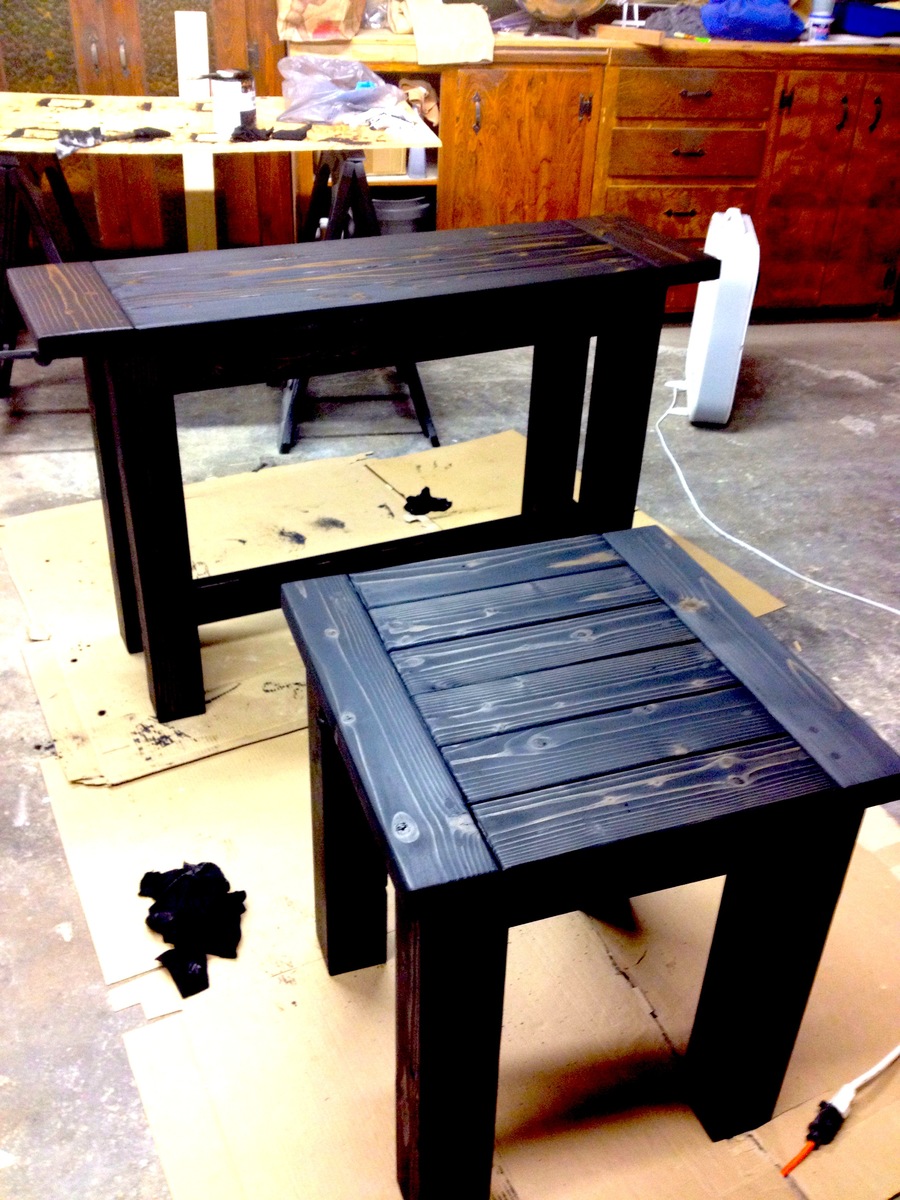
Tryde Coffee & Sofa Tables
Easy to build! Some woodworking experience is definitely a plus when completing it over the weekend.
Rust-Oleum Polyurethane (interior, matte)

Easy to build! Some woodworking experience is definitely a plus when completing it over the weekend.

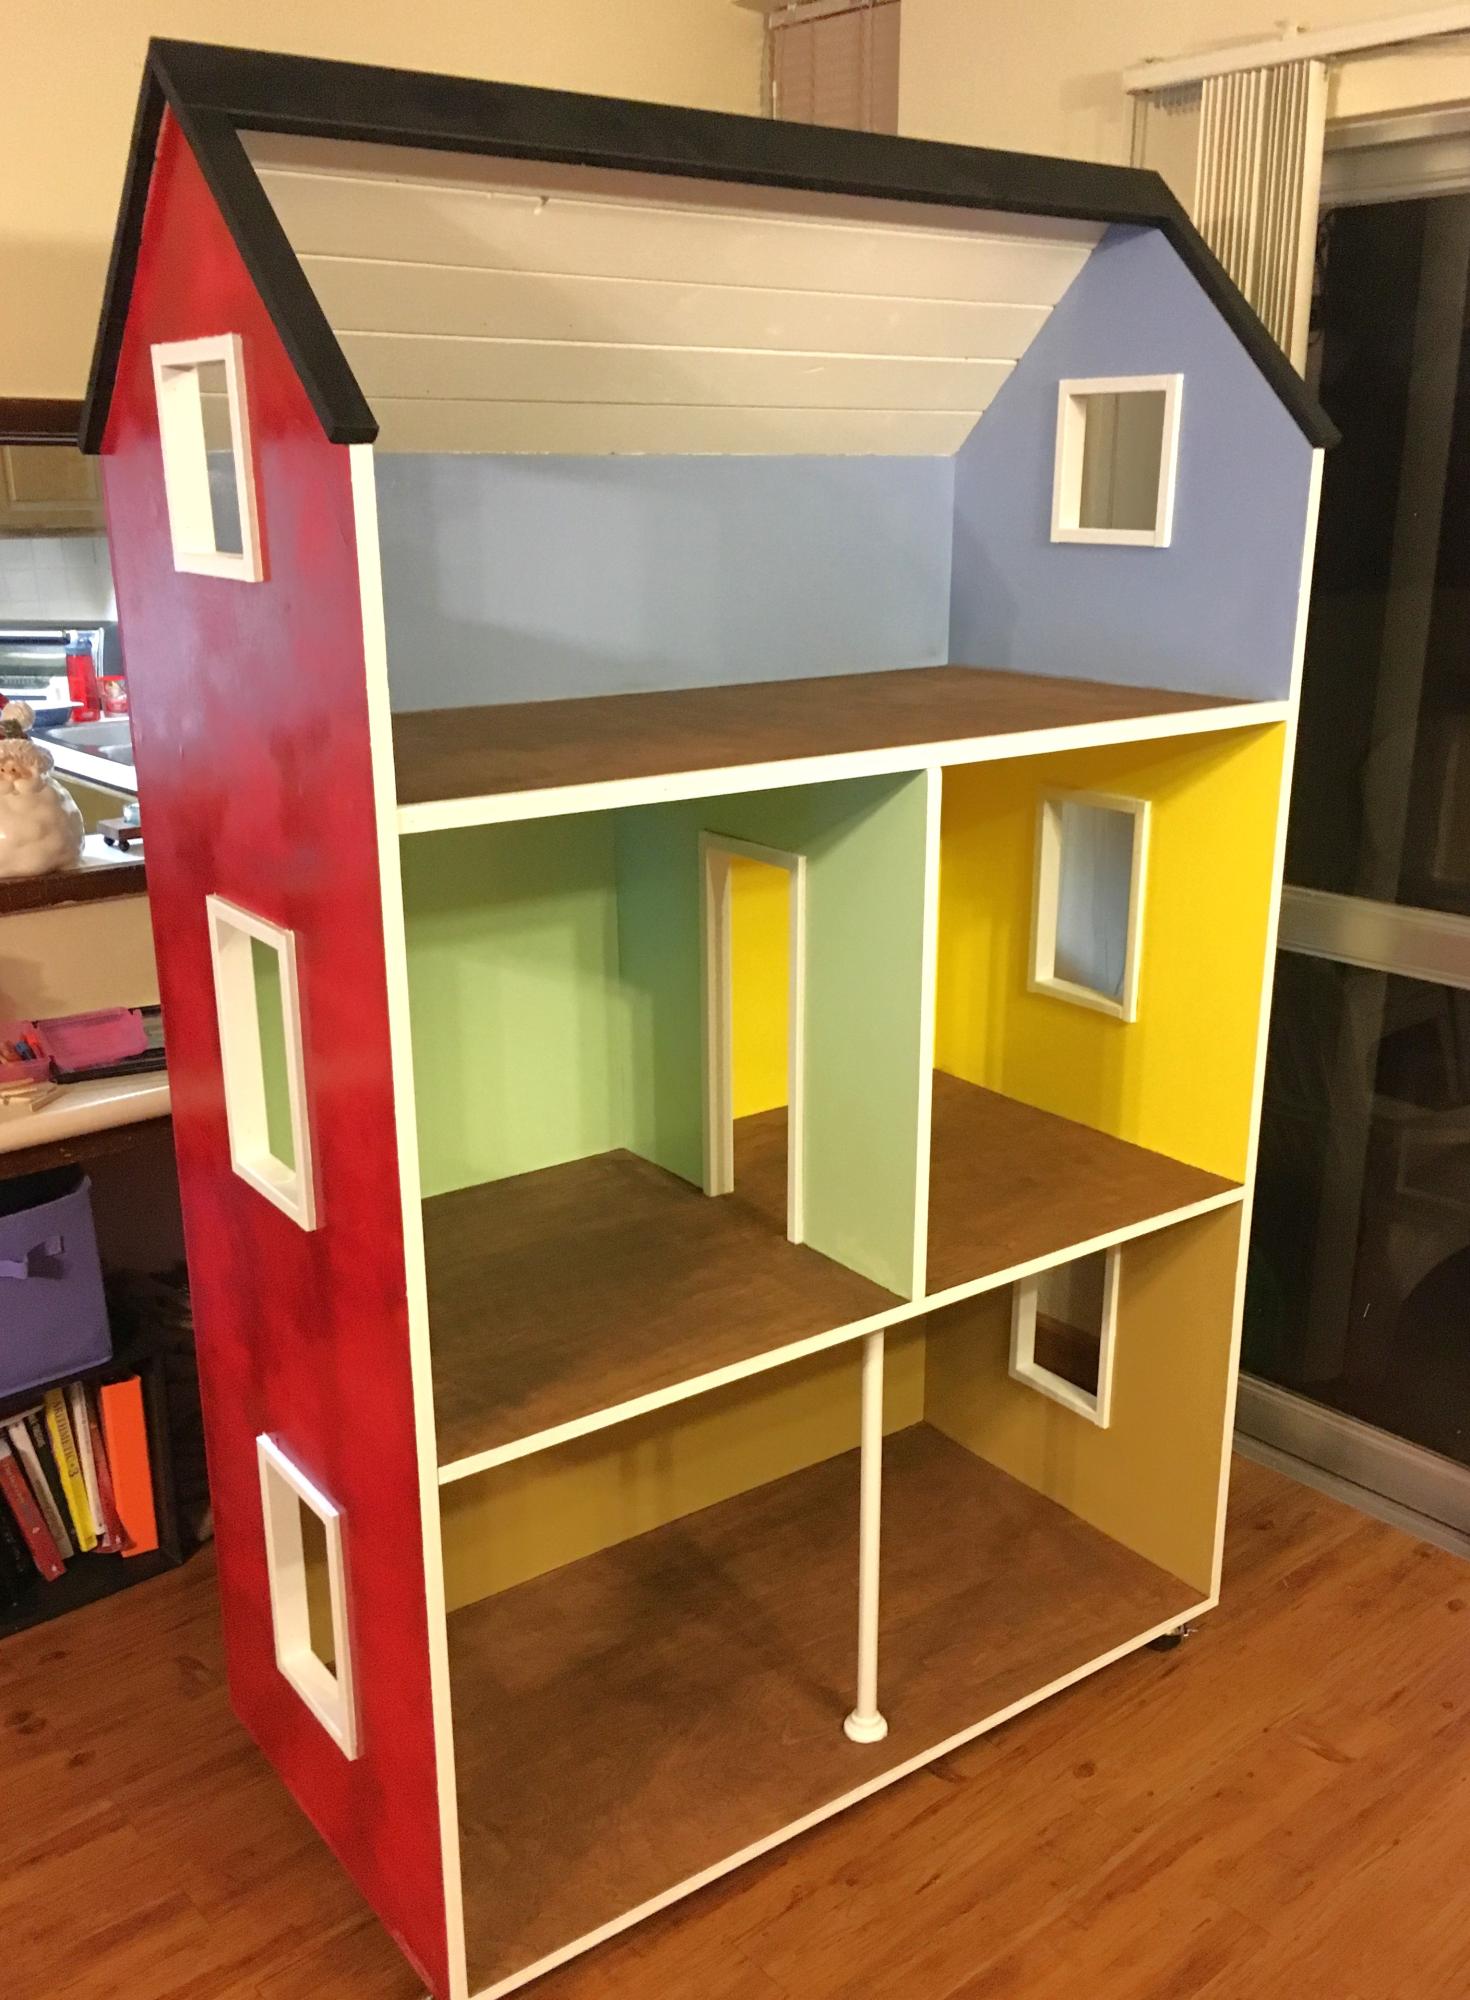
Thanks for the plans! This dollhouse is great, my daughter loves it. I changed the plans slightly to make an 'open floor plan on the bottom and added a column in the front for support.
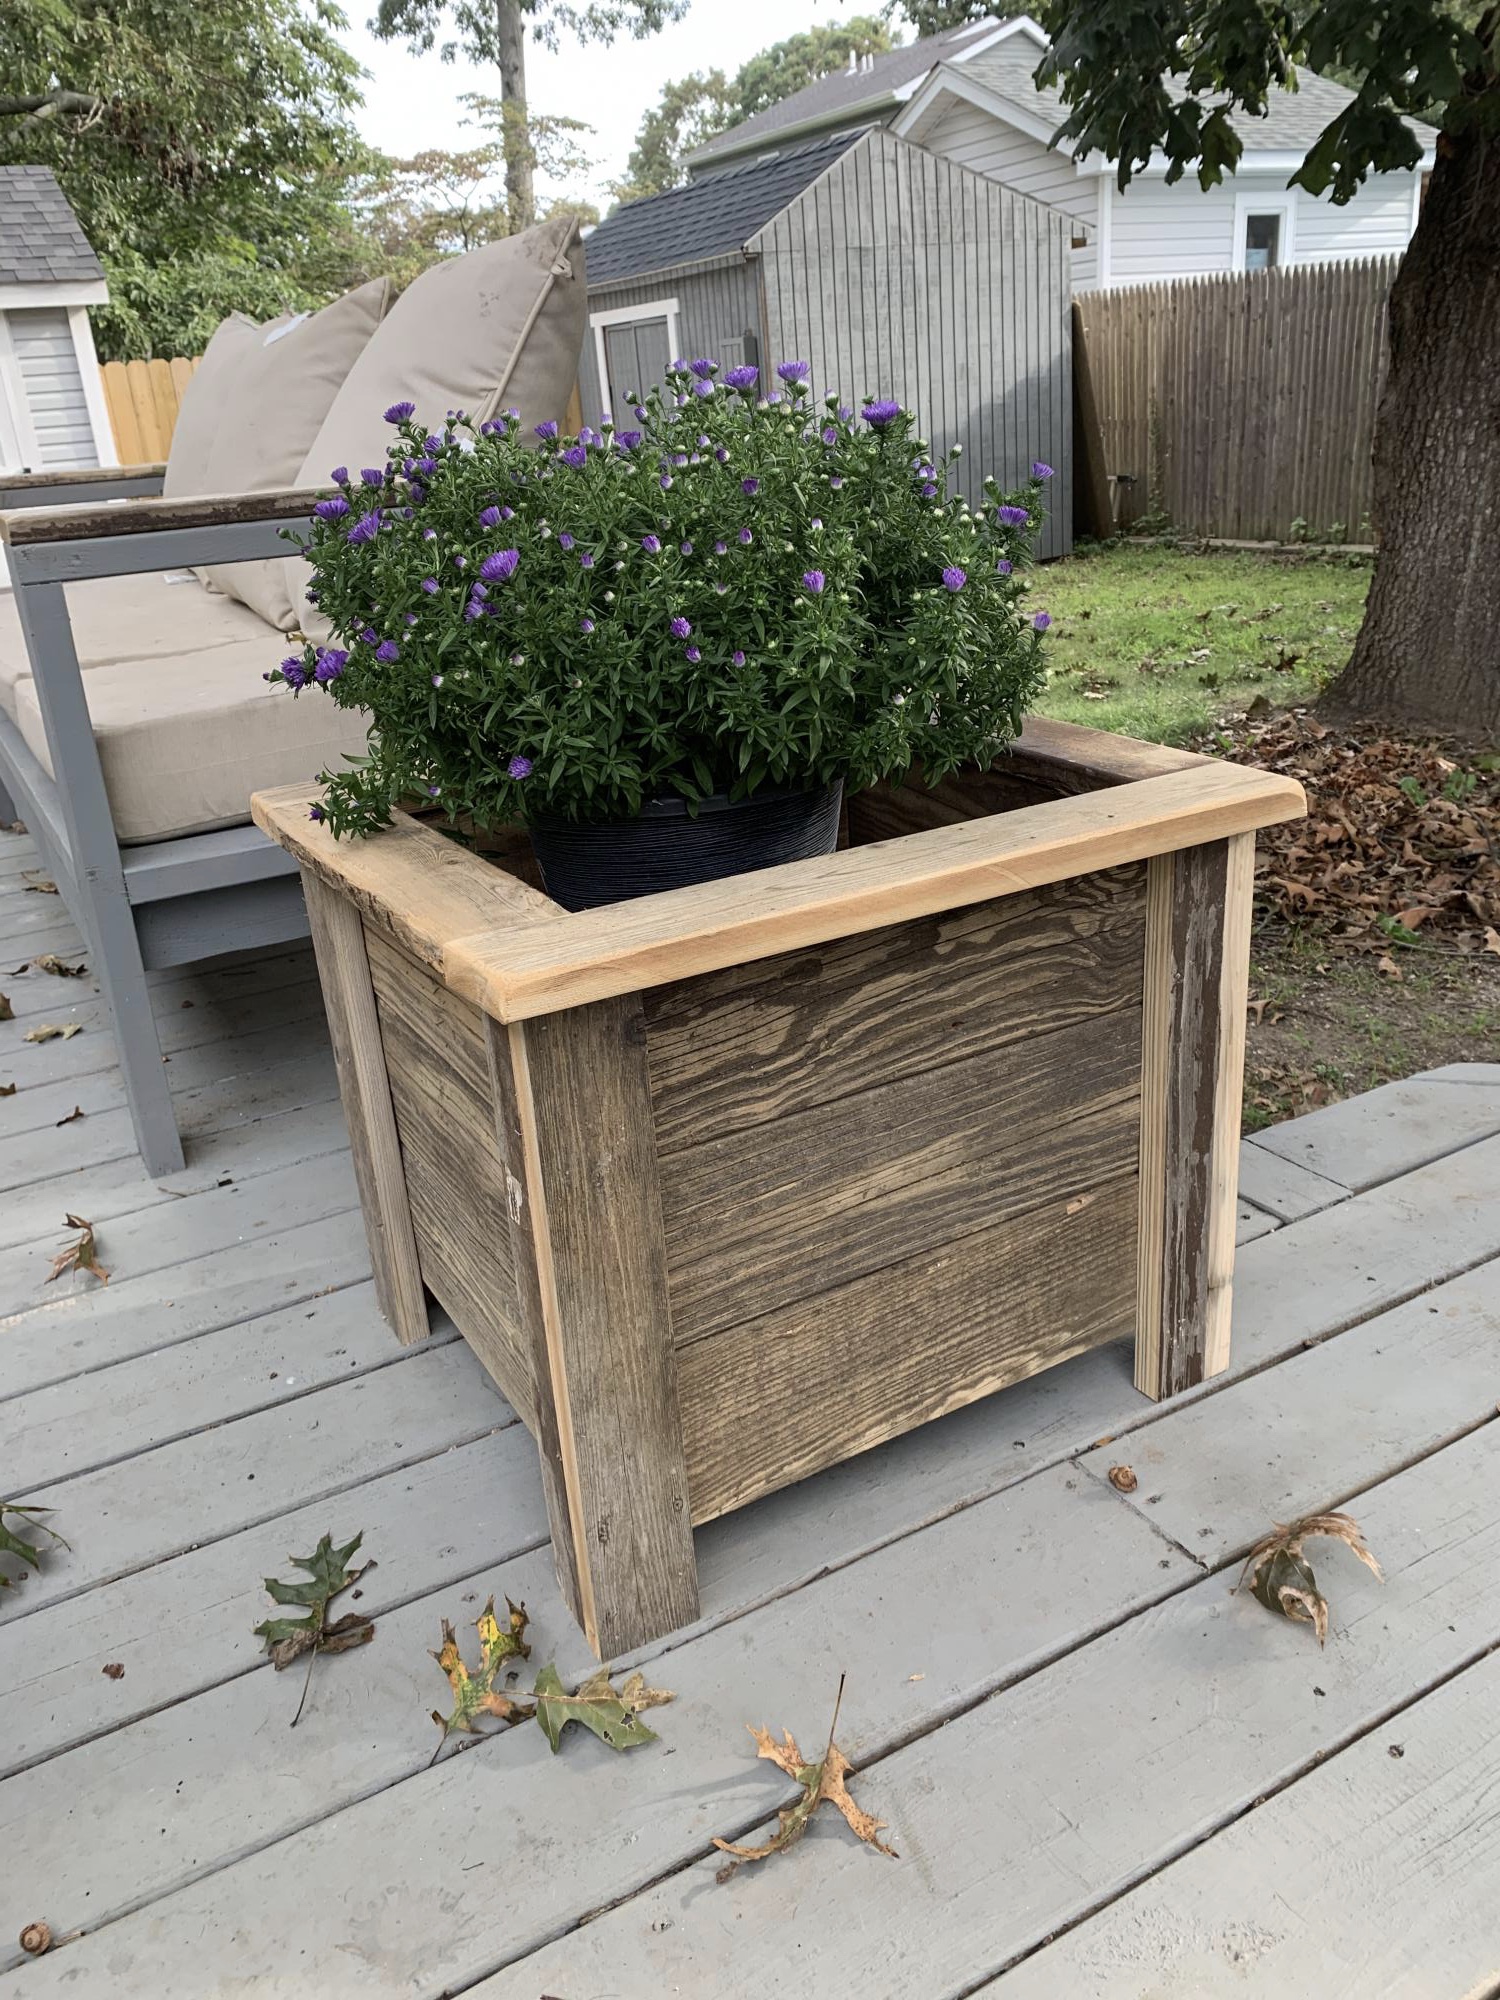
Like Anna's white planter she made with cedar, these repurposed from my old deck
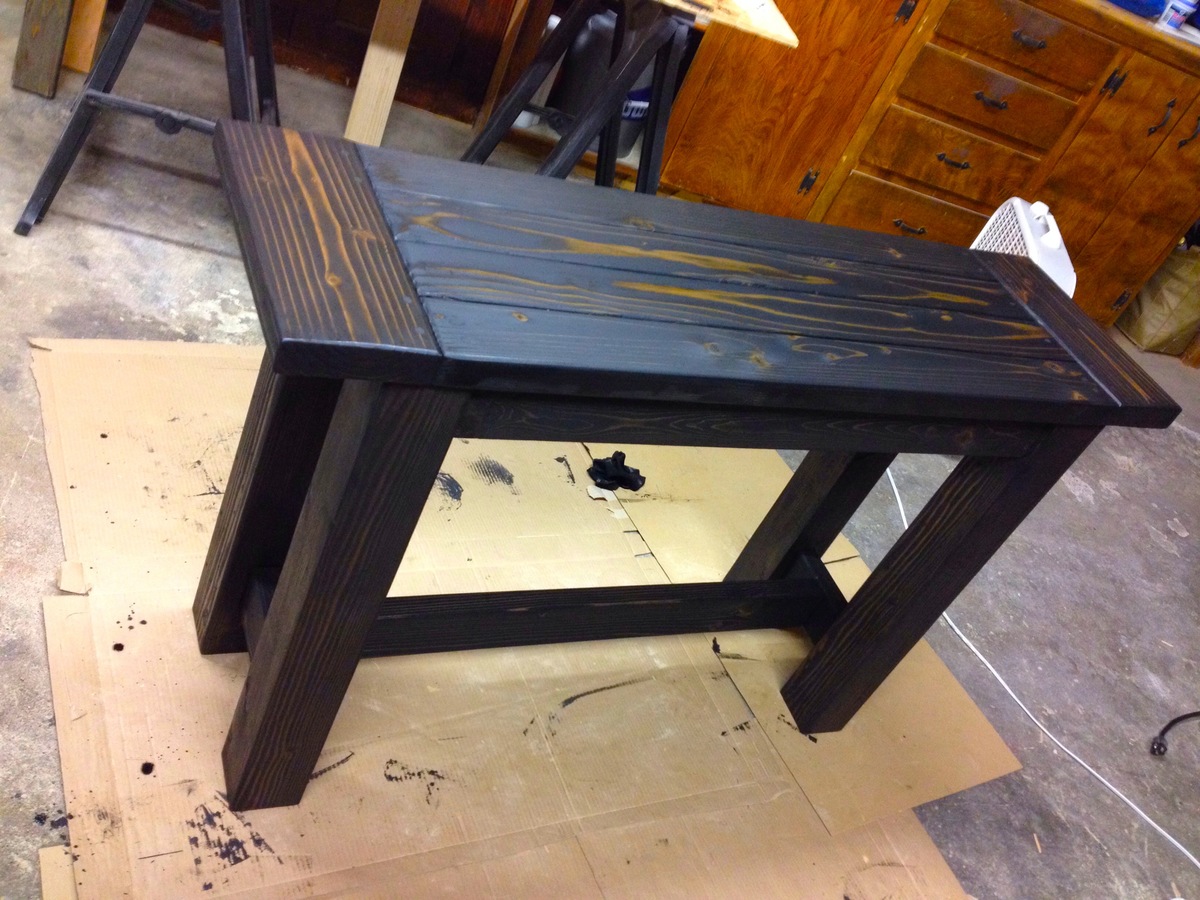
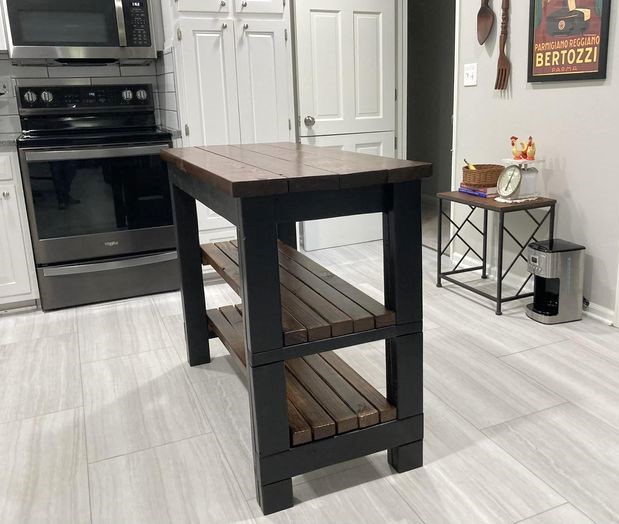
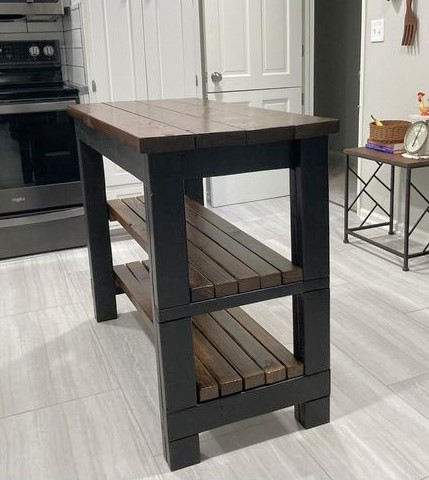
I wanted a side table that was not too wide to fit under a window and the Tryde Console Table really fit the bill. I built it exactly to the plan dimensions but I altered the process a little.
1. First I built the leg assemblies including the side apron, top leg support, and the bottom stretcher. I used PH screws for the side apron and bottom stretch.
2. Then I attached the two leg assemblies together with the front and back aprons and the bottom stretcher.
3. Separately I constructed the top including the breadboards using PH screws. The tabletop boards are connected to the breadboards with eight PH screws each. The table boards are held together with PH screws.
4. Once the initial sanding and staining was completed I attached the top to the bottom assembly using eight screws through the tabletop supports from the bottom and then eight screws through the top into the top leg supports. Note I did not attach the breadboards directly to the legs as instructed as they are secured to the top with the PH screws. I can always add the screws later if necessary.
Instead of countersinking the screws to the top leg supports I used black (3 1/2 ") PH screws and let the screws remain visible on the top of the table. I think it looks nice and sort of industrial.
5. Then final staining, rubdowns, and touch-ups.
Note: I did not glue the top to the base just so repairs will be easy to make should over time the boards warp or crack. Just remove the eight top screws and lift the top off, make the fix, and screw it back on..
It took a couple of days but it is worthwhile spending the time for accurate measurements, squaring, and finishing. The results are first-class.


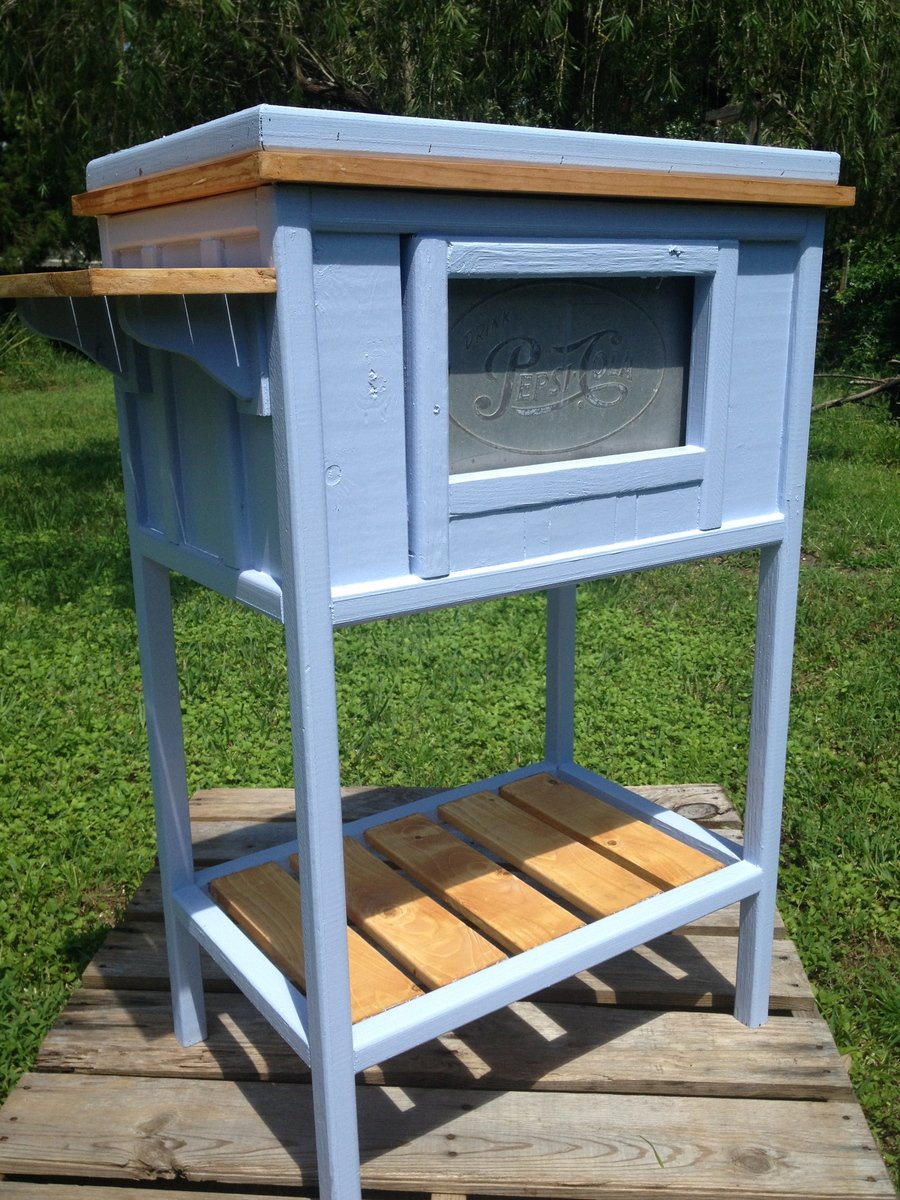
I had an old aluminum Pepsi cooler that had been sitting around collecting dust for years on the back porch, after seeing these cooler plans I was inspired to create a cooler stand the would show off the cooler and make it useful again. I built the whole thing using scrap lumber I had. Took two days to complete, Thanks for the post!
Mon, 09/08/2014 - 22:23
This is beautiful. I like the color with the contrasting trim and shelf, but most of all, I really like how you left the inset to show off the old Pepsi logo and aluminum side. Well done!
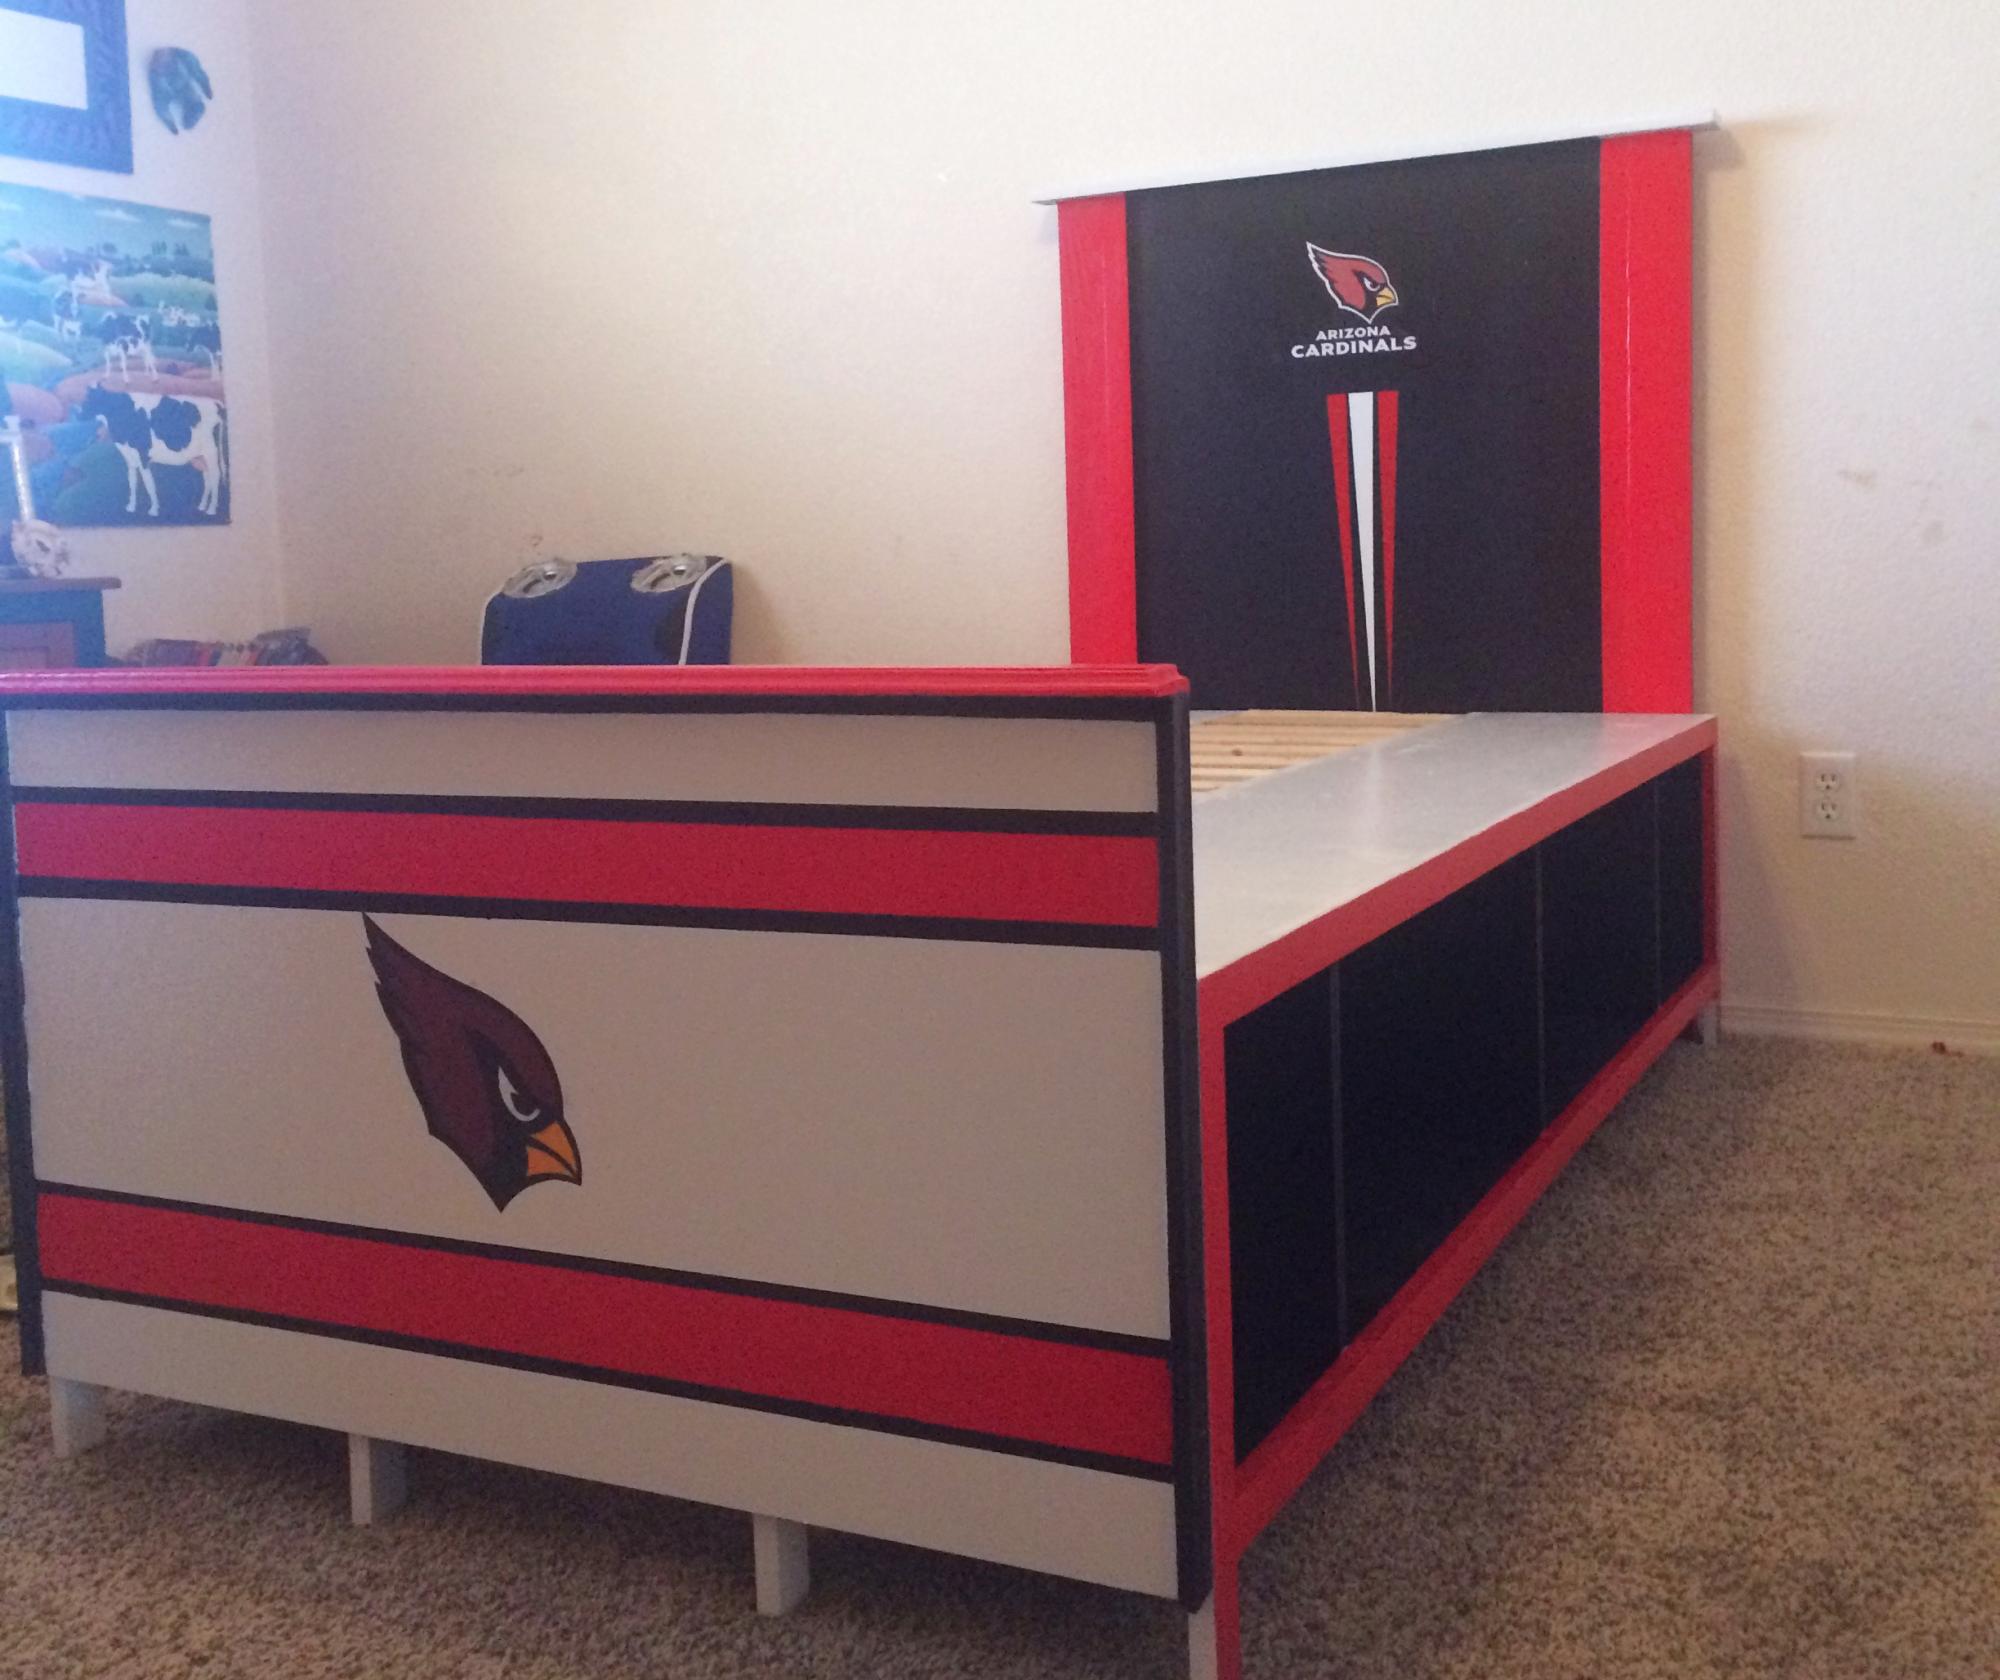
Made this for my daughter. Took two days to make and four days to paint. Great weekend project.
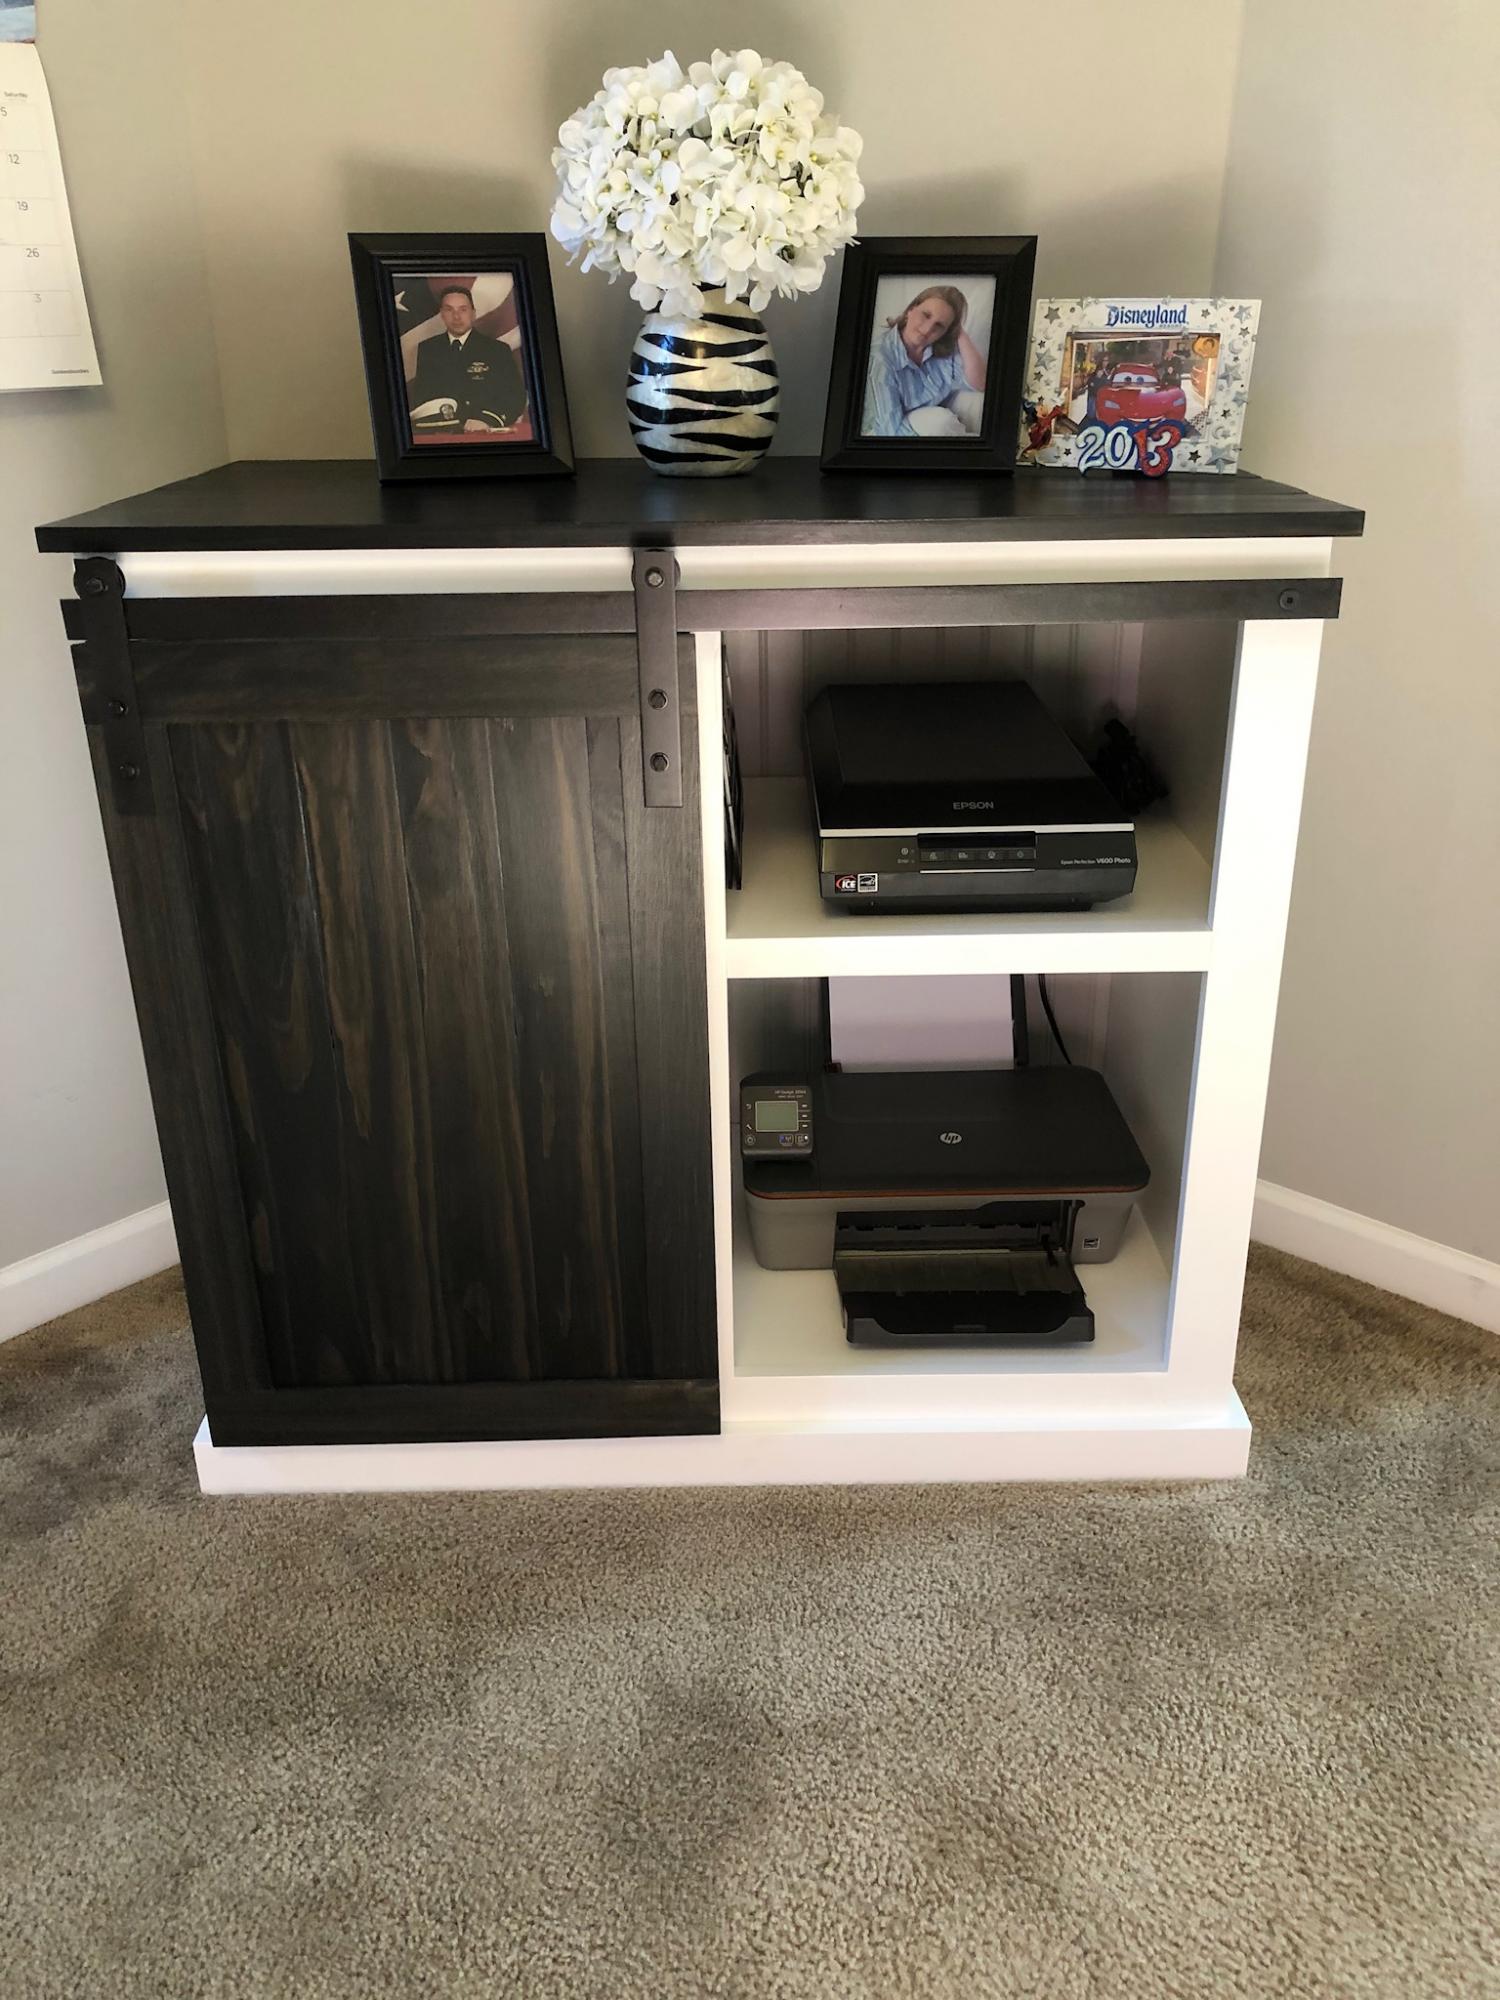
My husband and I built this credenza using Ana’s Barn Door microwave cabinet as inspiration. Thanks for all your awesome ideas and for sharing the plans!
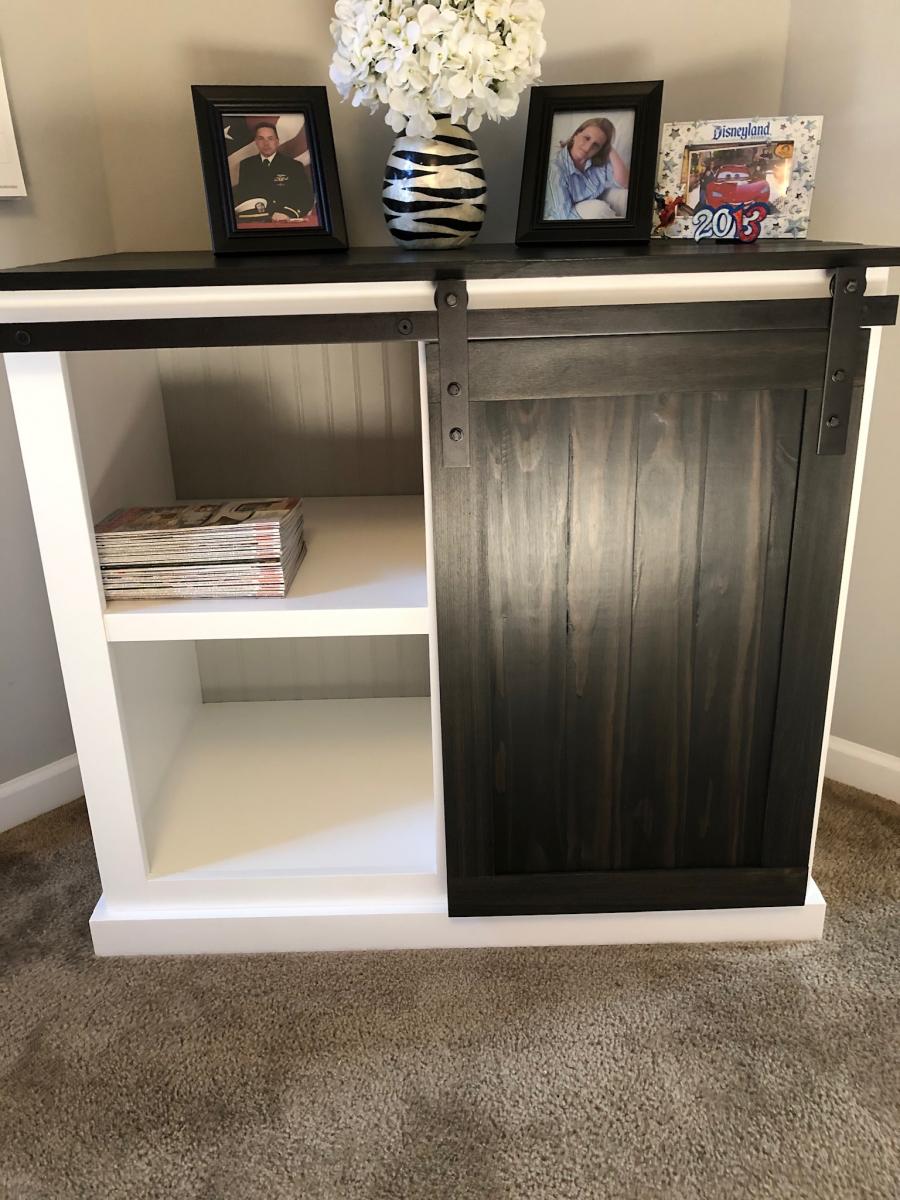
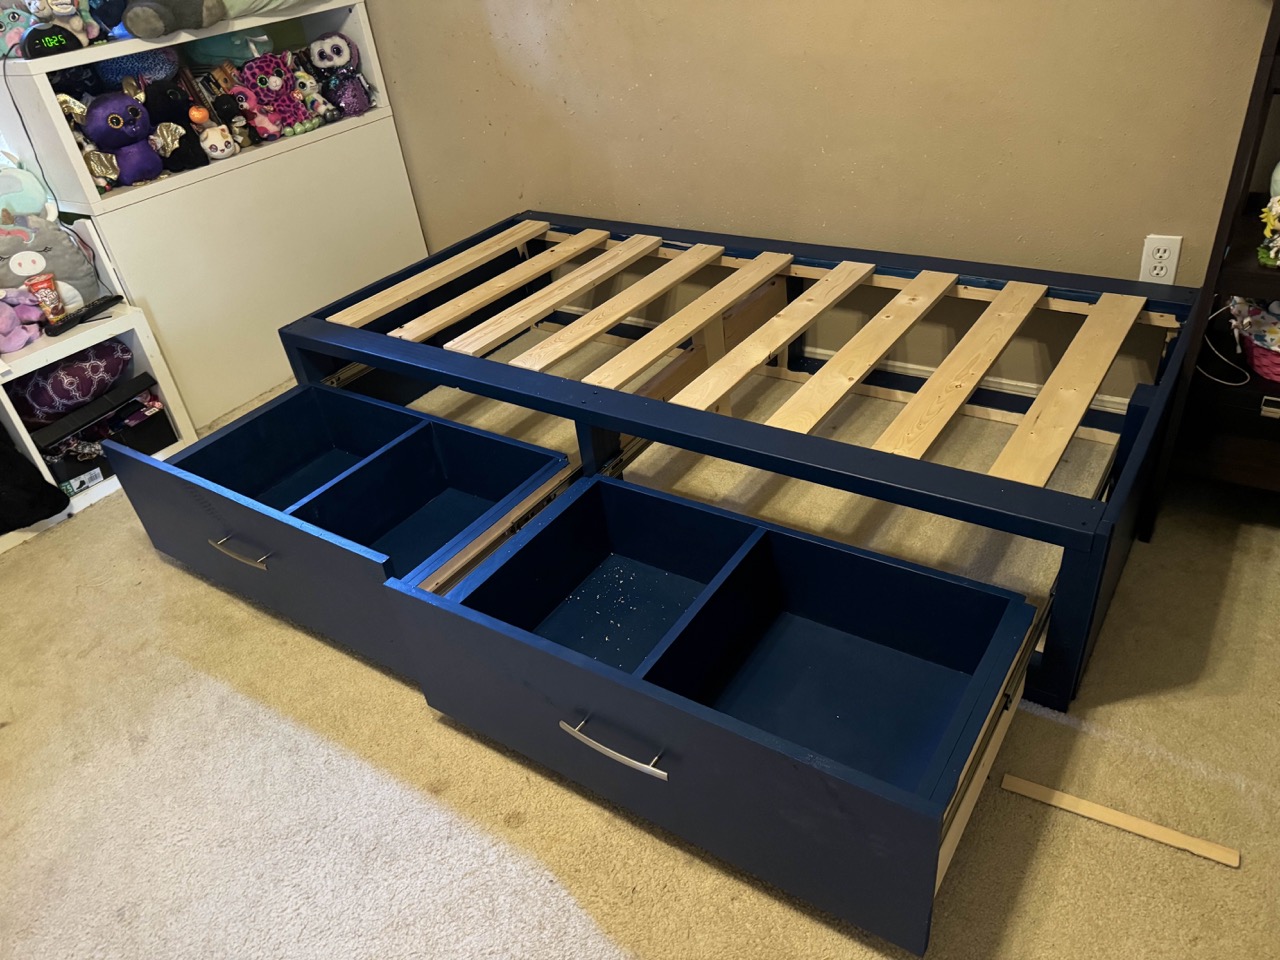
Built by Chris W
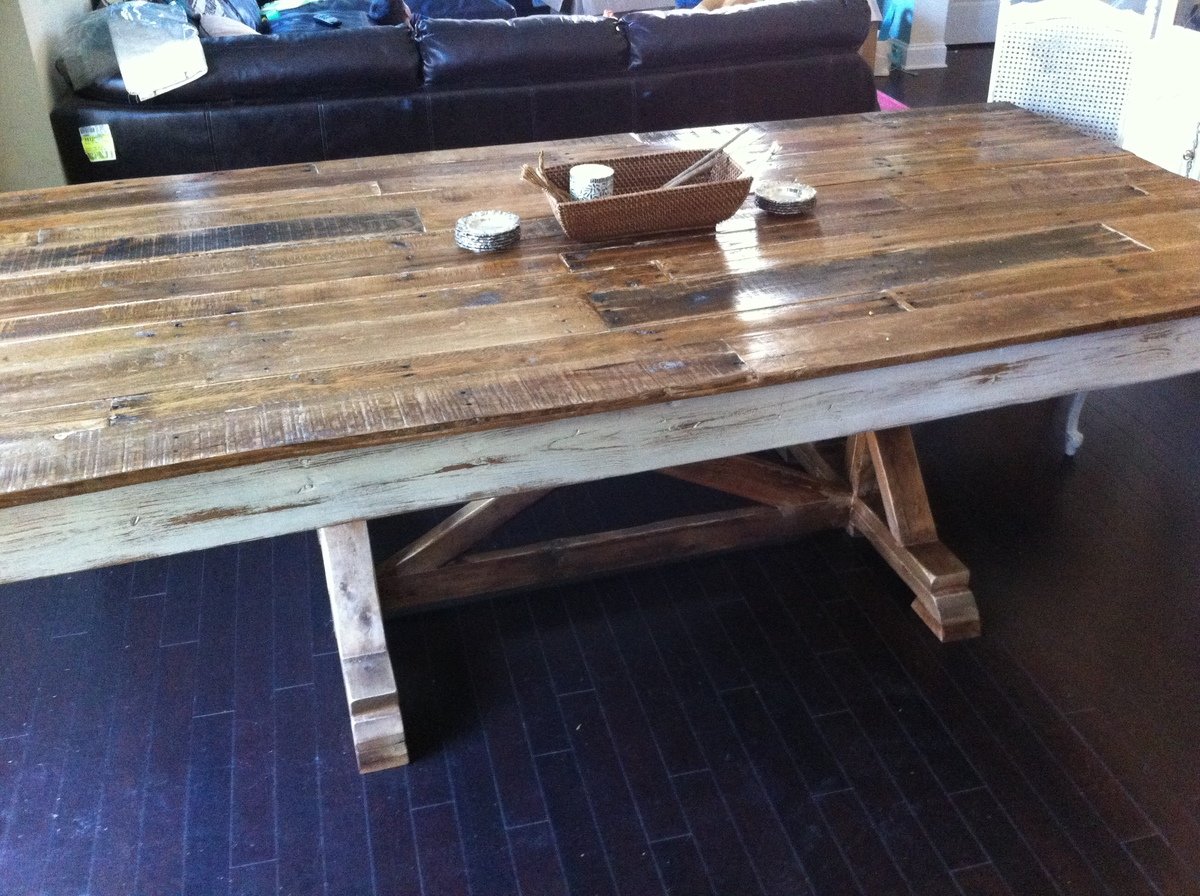
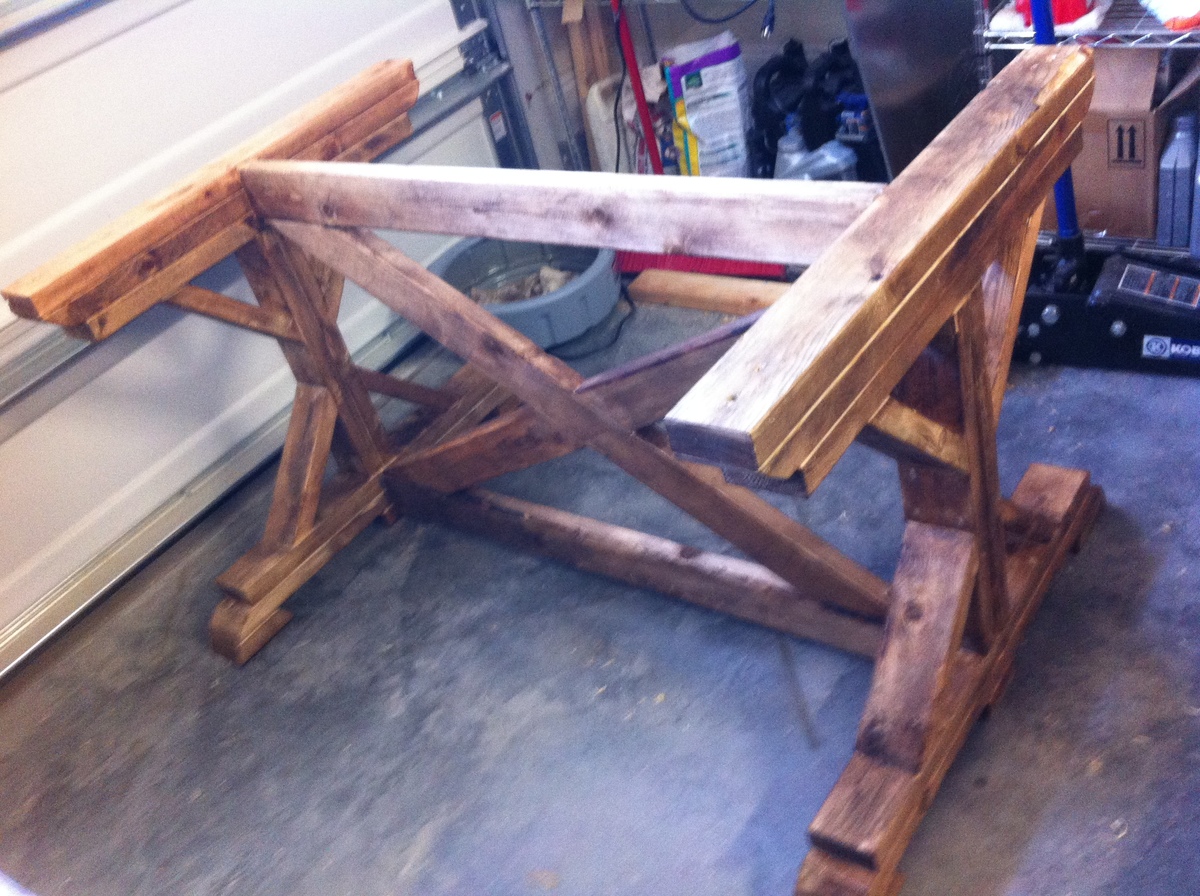
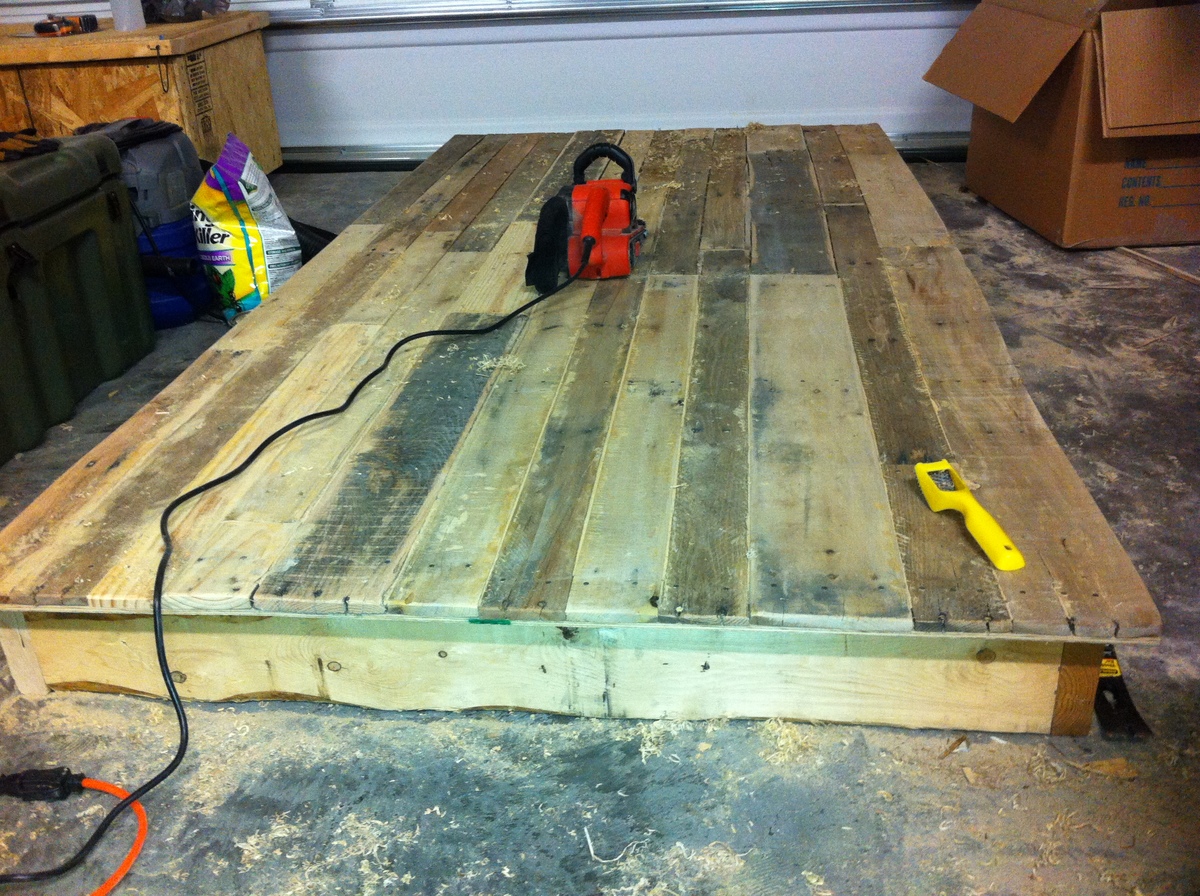
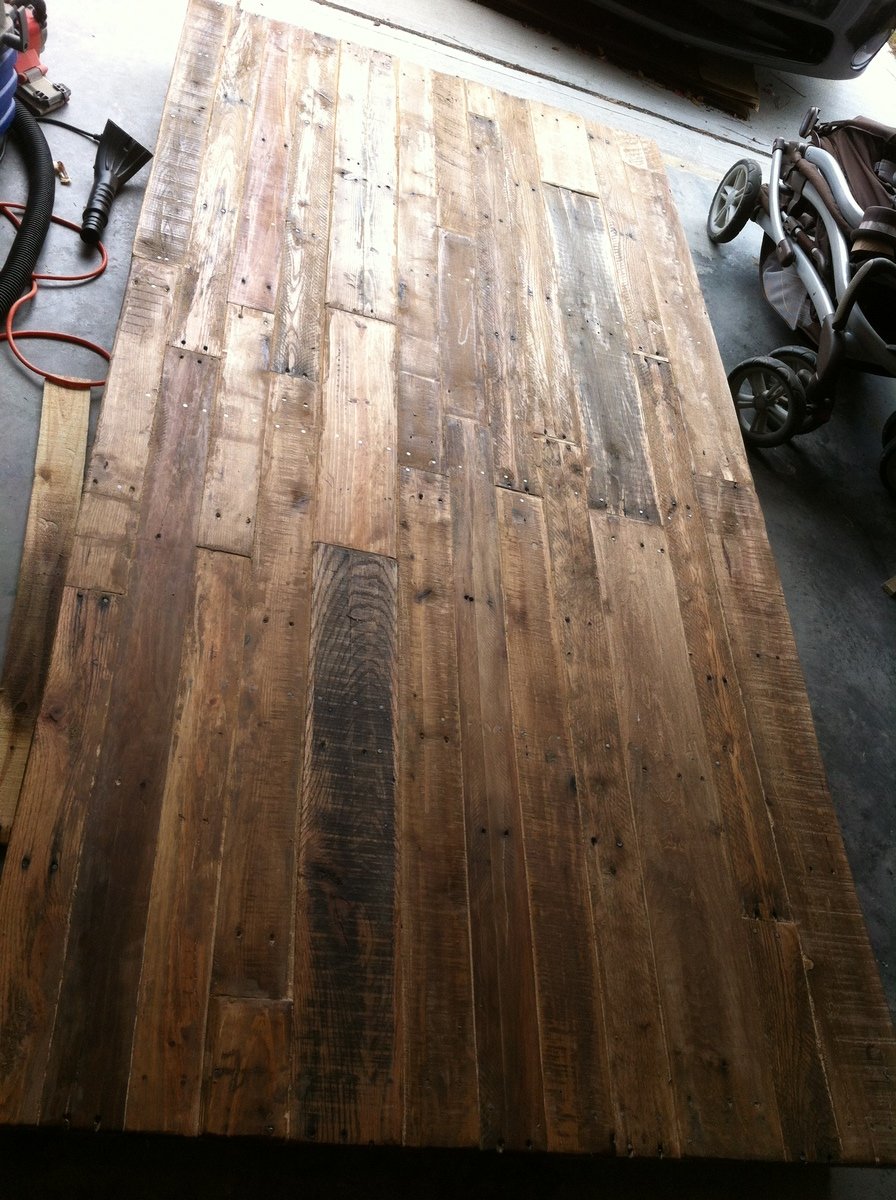
After seeing the Fancy X Farmhouse Table on pinterest we wanted to try and build one ourselves, but using the pallets we gathered from the new construction next door and the scrap lumber they were throwing away. The only thing we had to purchase was a sheet of 11/32 plywood to attach the pallet strips to for more stabilization, Screws, Nails, Wood Putty, Stain, and Polyurethane. I filled in all of the cracks to child proof food messes. We used Minwax Provincial Stain on the top with two coats of poly and a distressed antique white paint around the egdes to give it a more french look. The base was one coat of privincial stain with a good rasp/sanding of the edges to age the piece. Our goal was to build something that looked over 100 years old to match all of the china that will be sitting on it when we entertain! I think it looks very stately! This was our first project! :D
Wed, 11/28/2012 - 11:03
This table is extraordinary! I love the pallet top!
Mon, 04/21/2014 - 10:32
hi there - This is so so cool and I went out first thing this morning and collected a bunch of pallets from all over to start! I was wondering how you got your pallets apart without destroying them? I am finding that very difficult!

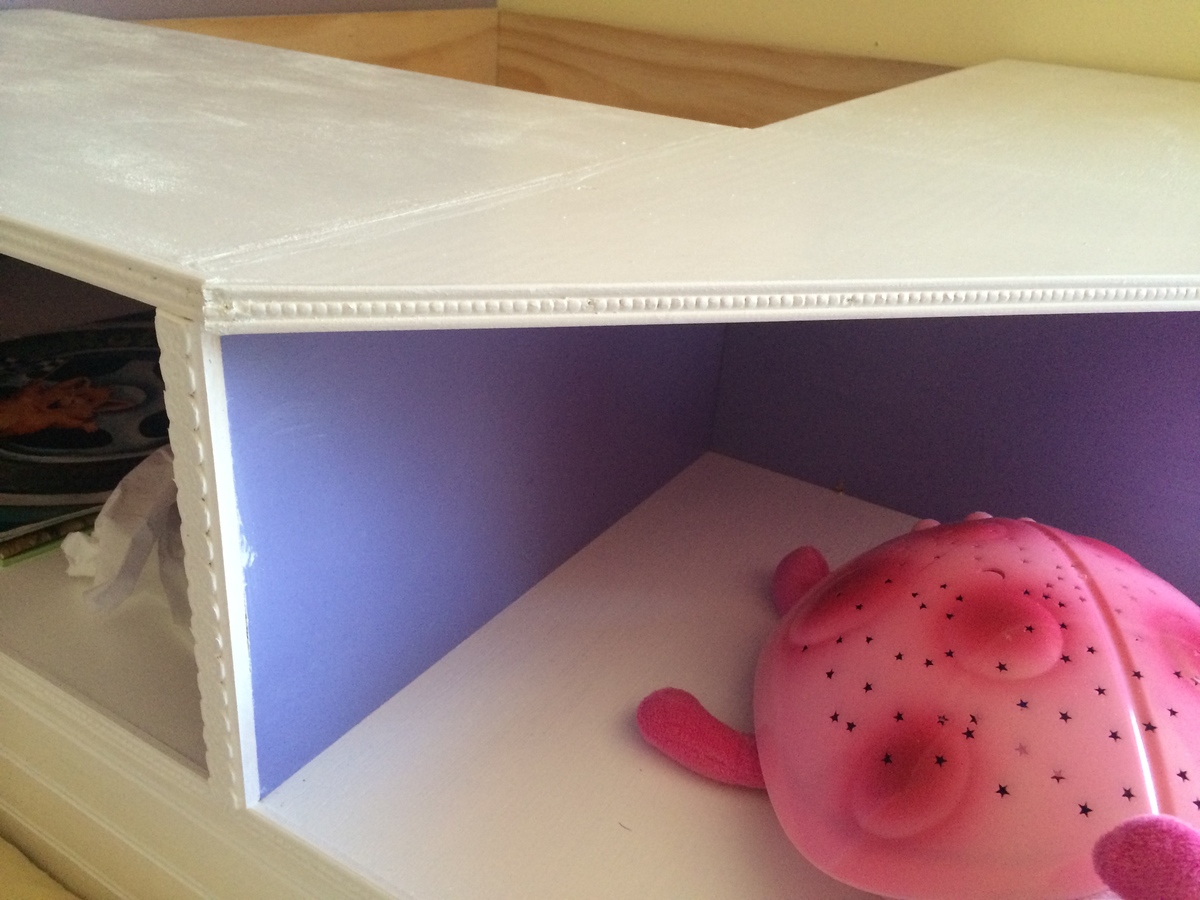
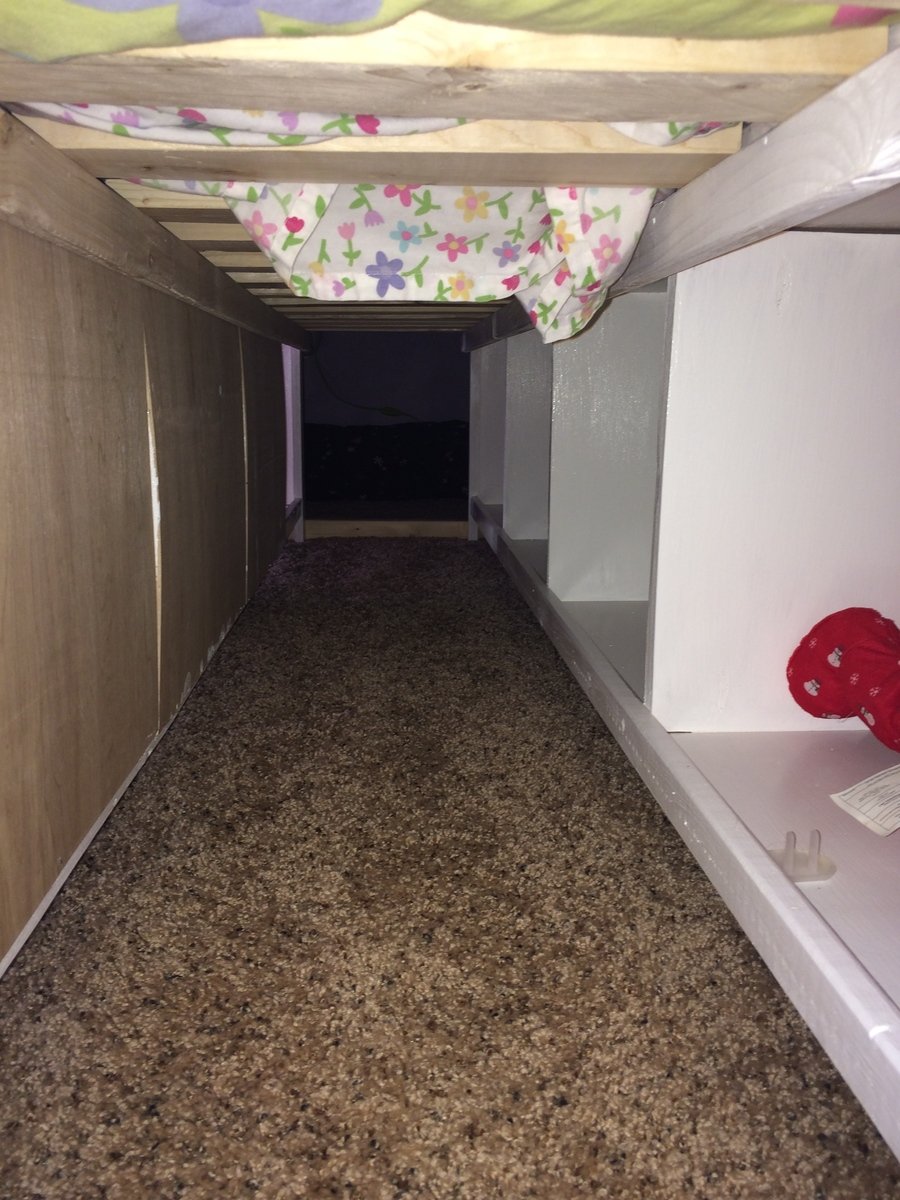
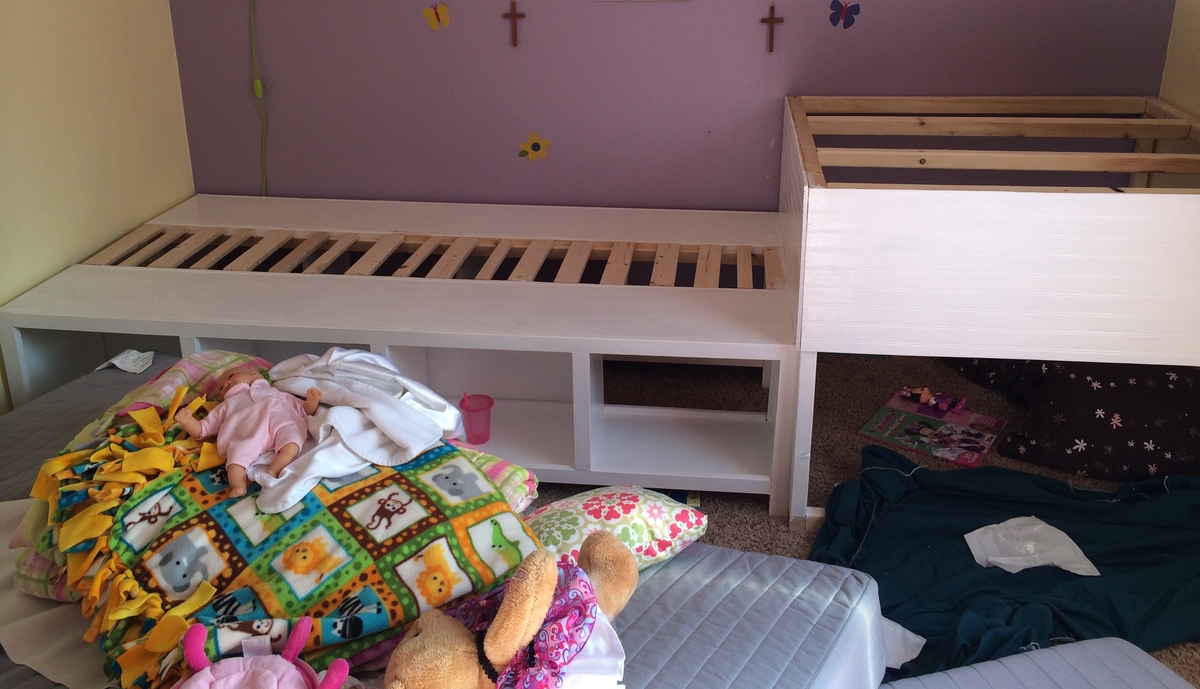
This is my biggest build yet! I combined plans from this site and then modified them slightly to create two twin storage beds, a corner headboard unit with cubbies, and a secret hideout underneath!
The beds are two benches - I left off the headboard and footboards to allow for a secret passageway for my girls to access the space under the headboard unit. I also left the backing off of the benches on the wall side of each bed so that they can be used for storage. (I also left the backing off of one of the cubbies on the room-side bench to allow additional access/exit points for the hideout.)
For the hideout, I followed the Corner Unit plans, except I stopped the headboard pieces at the level of the beds rather than making them go all the way to the floor.
I added trim on the edges of the headboard unit - partly to cover imperfections, but I love the look of it!
Now the girls have a secret hideout (complete with a light and pillows for lounging and reading), the space under the headboard unit is not wasted, and MOM did it all! :) I'm so proud of this project and I love the example it sets for my girls that powertools are for everyone!
Thu, 11/20/2014 - 20:46
Hi!
Your beds arefabulous! Where did you find the benches? ??
Thanks!
Holly
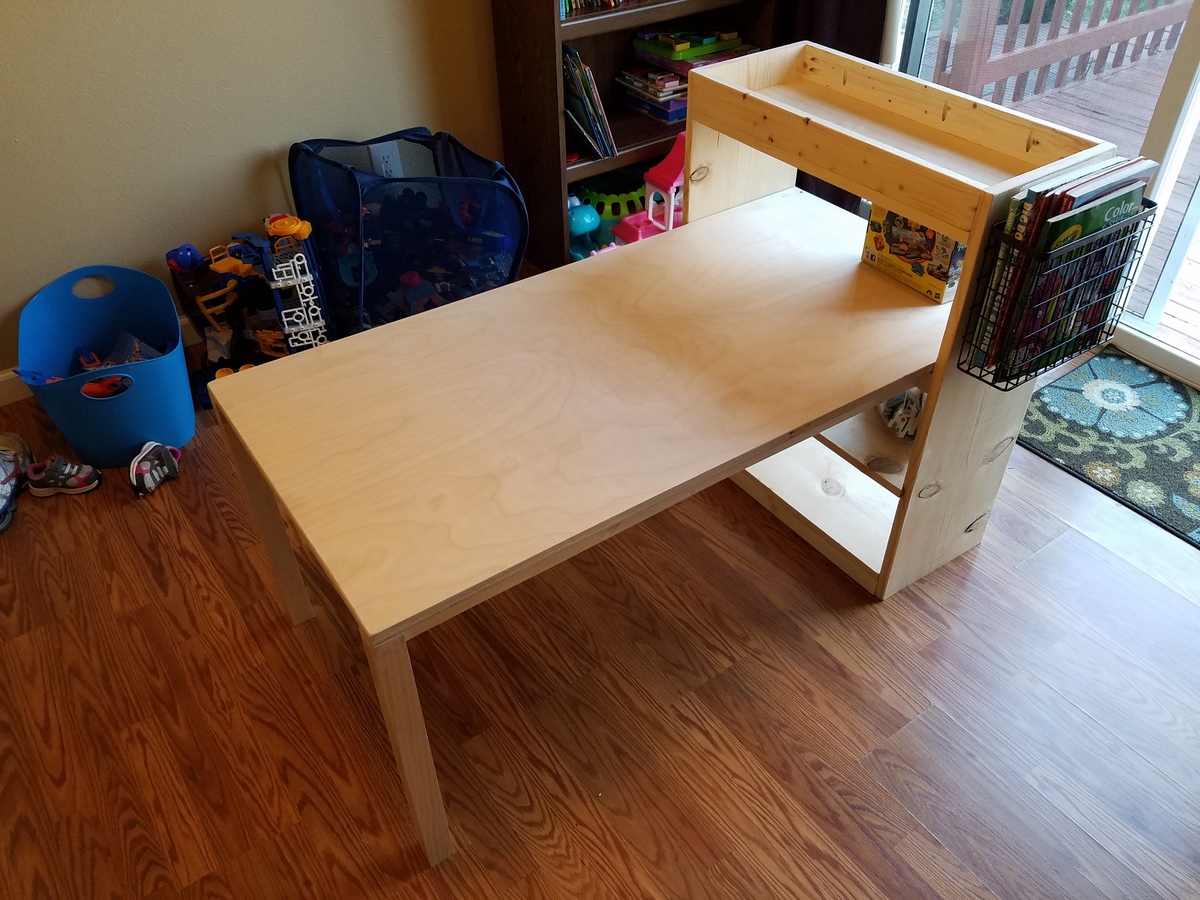
This kids art center went together very well! The kids haven't stopped playing on it.
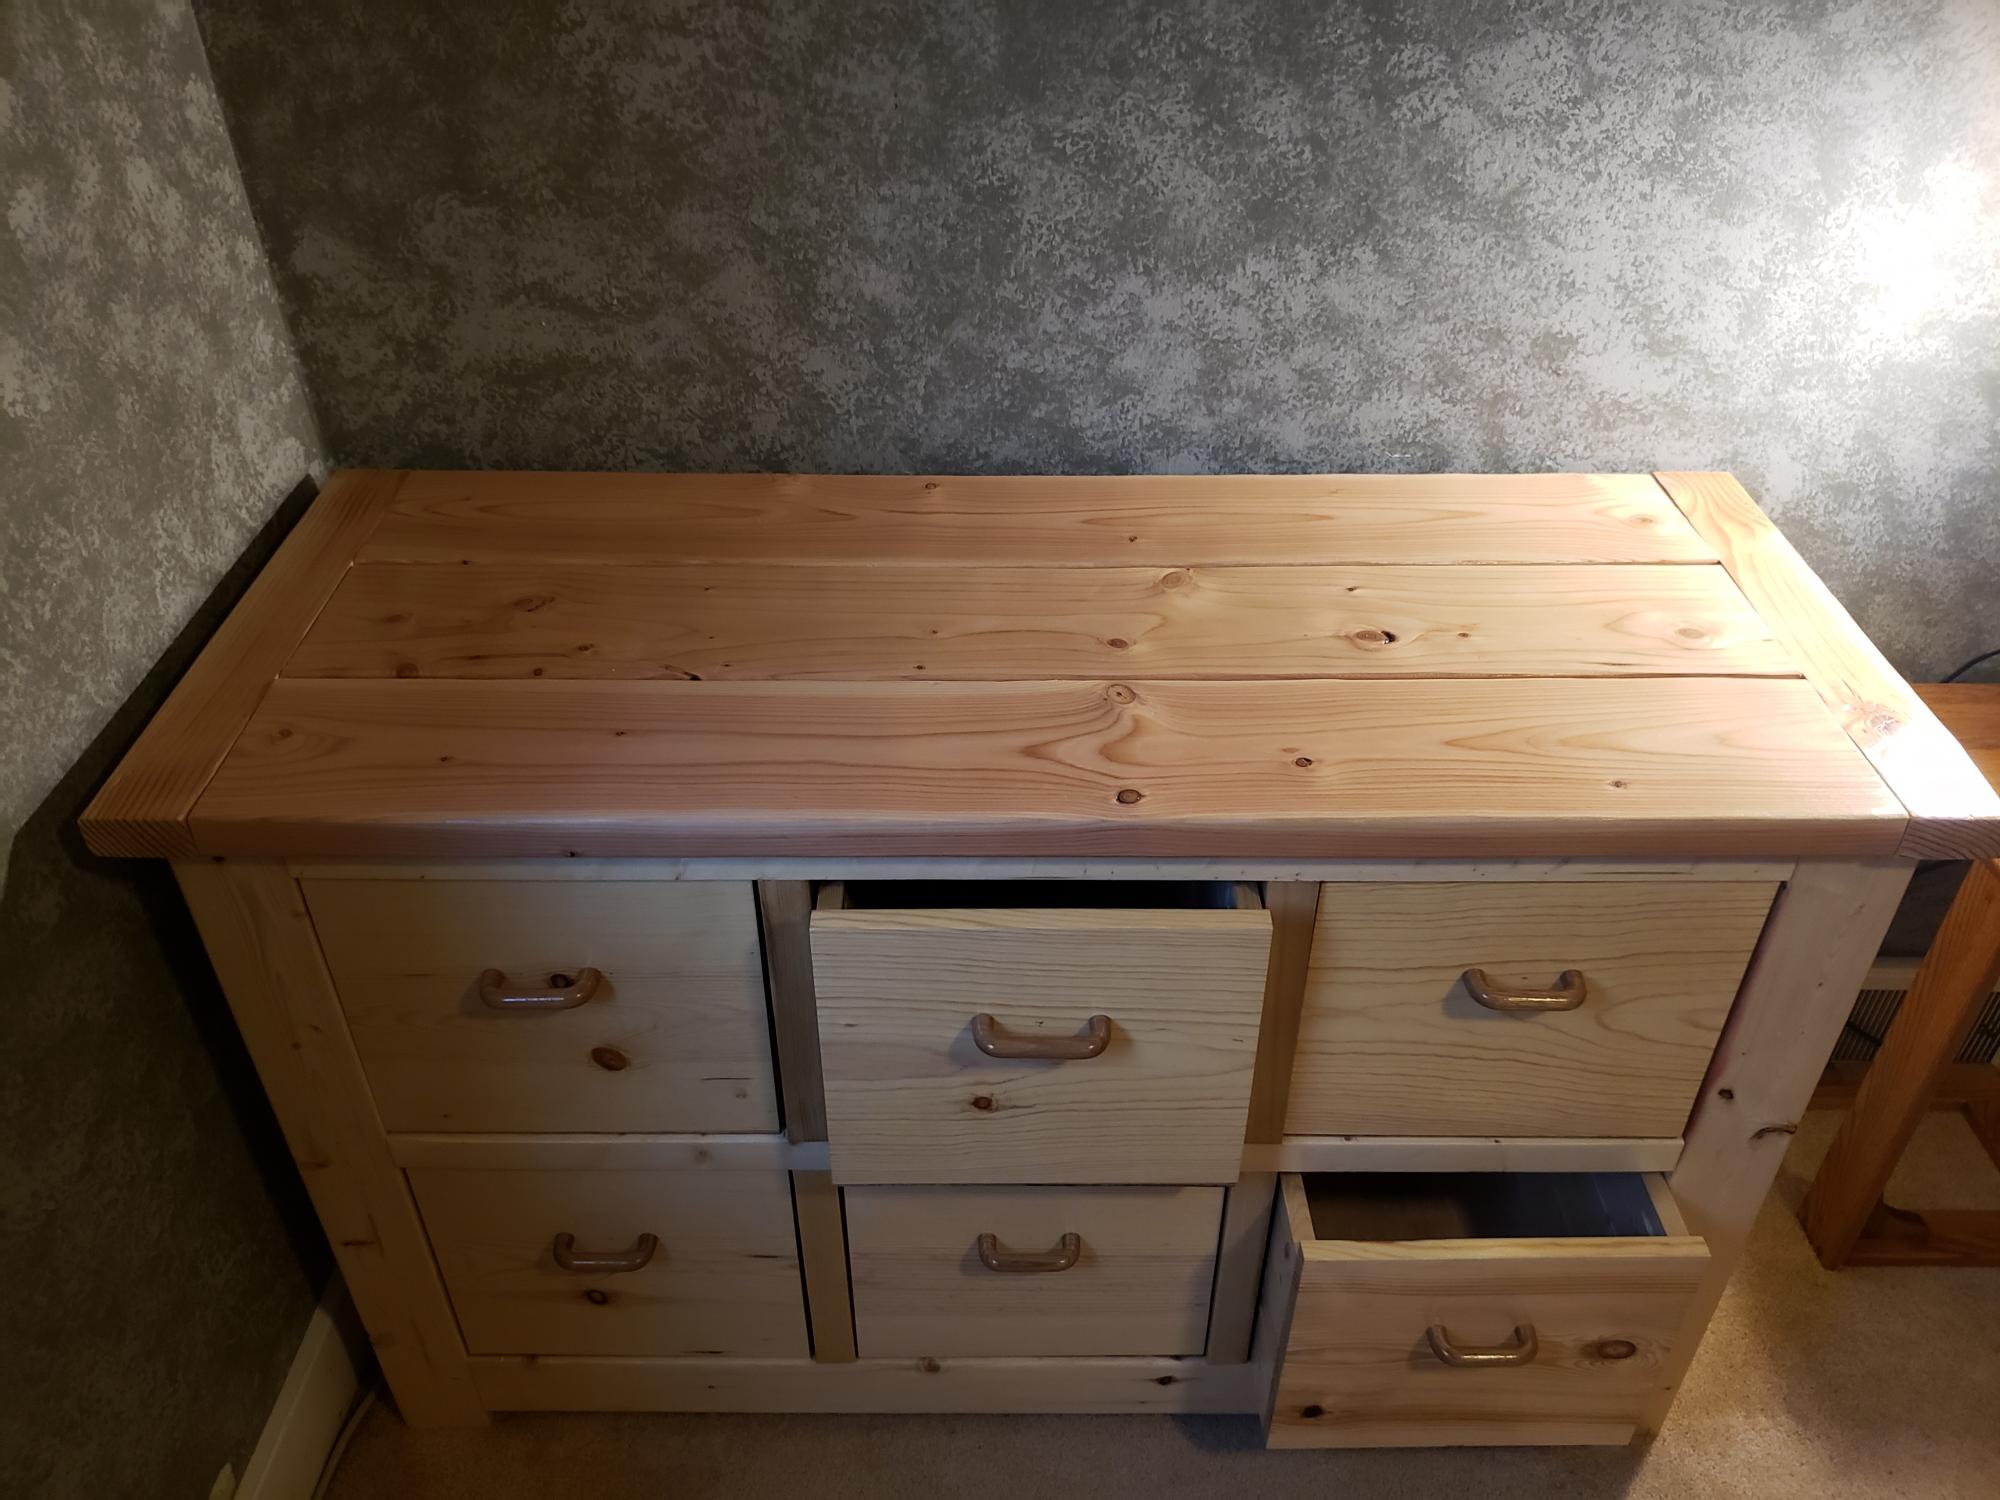
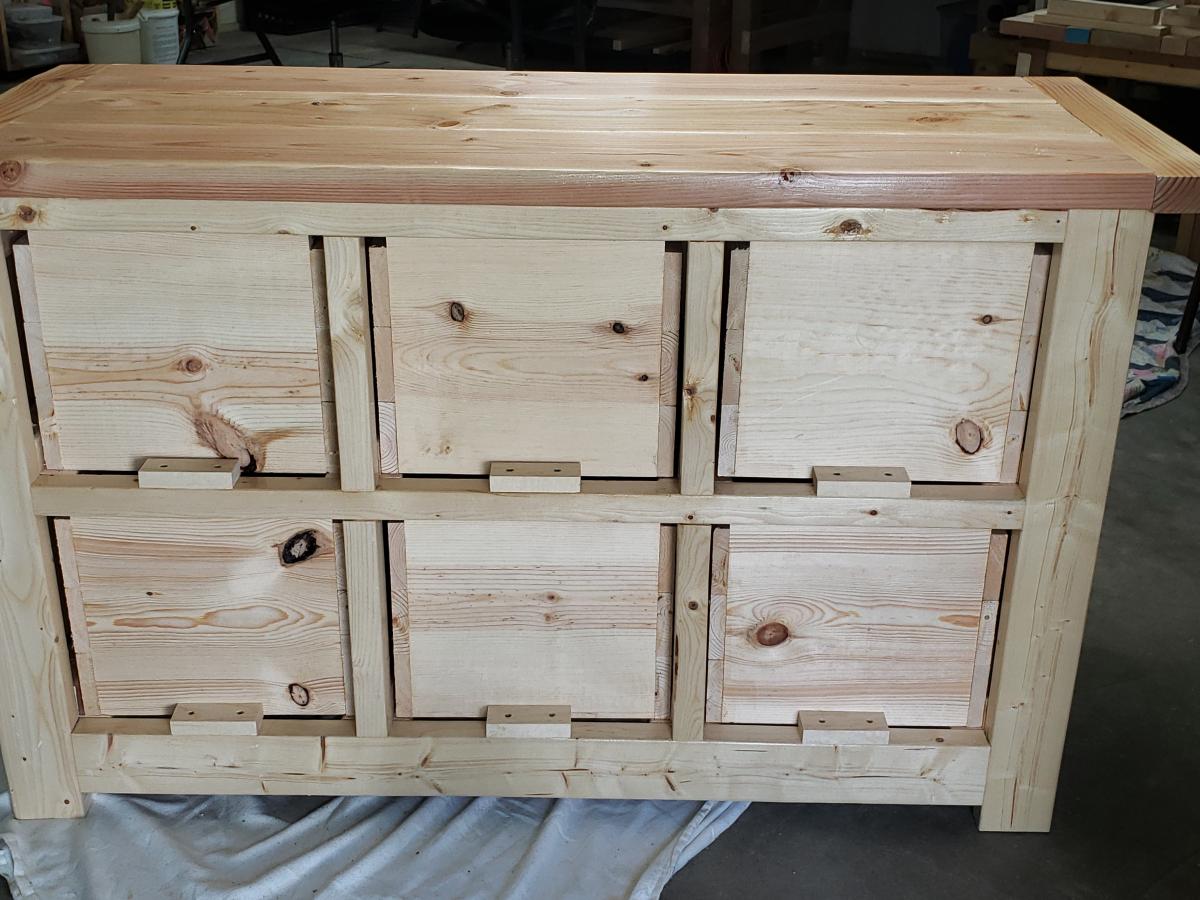
I had fun building this dresser I'm building a second one. I built the second one already
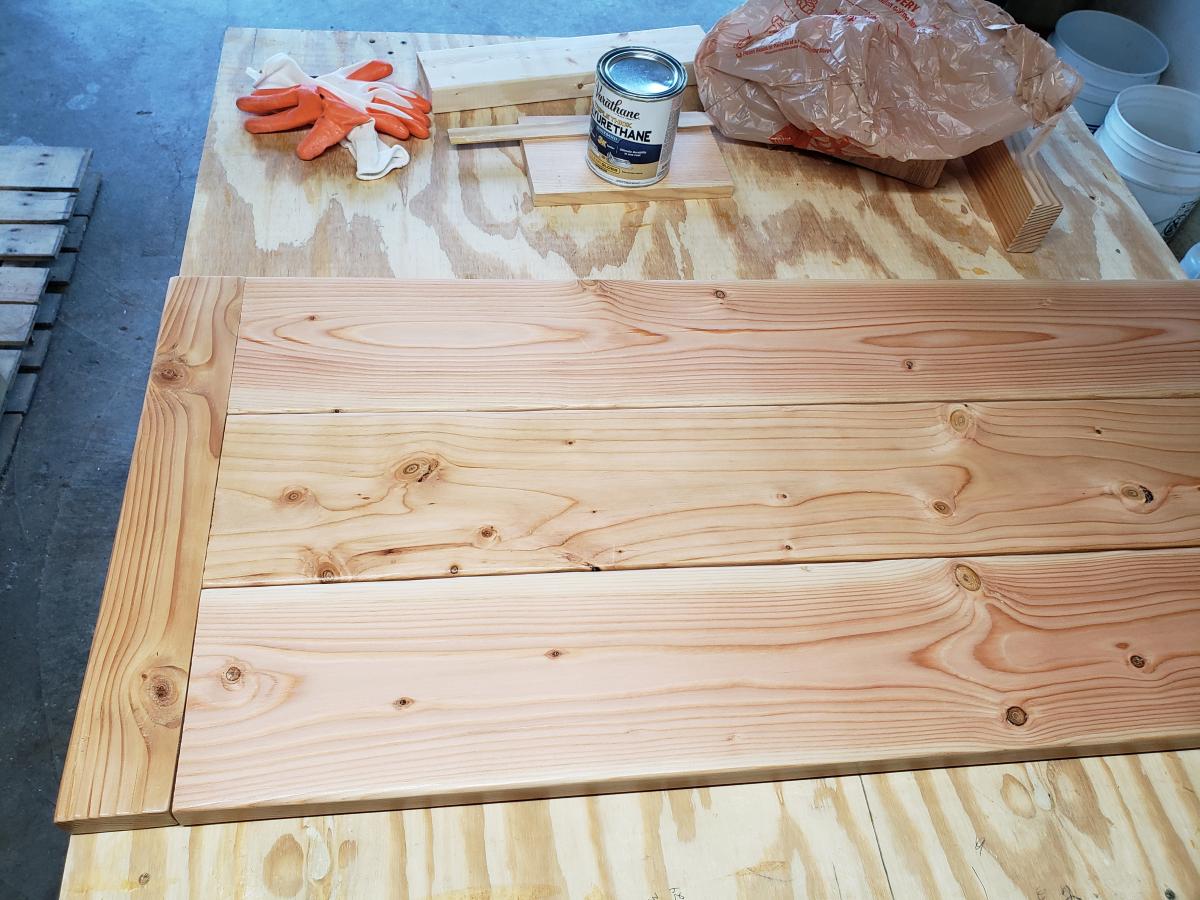
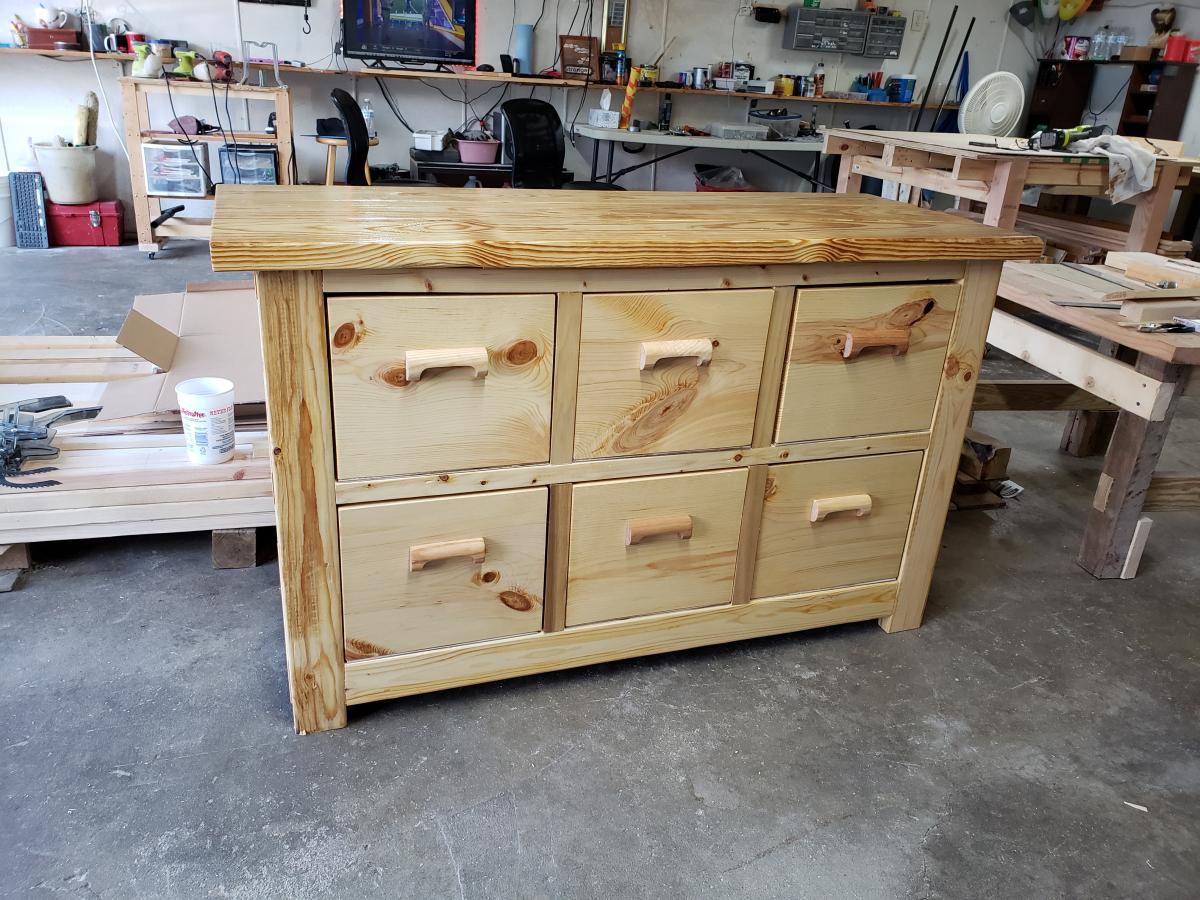
This is my second build from Ana's site. - Lisa Elaine on Facebook
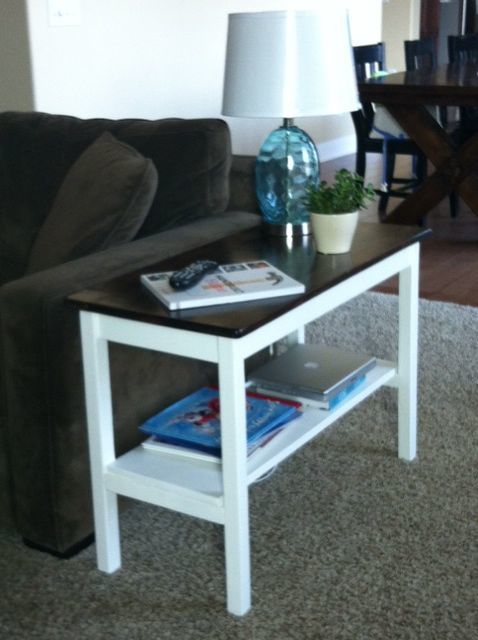
It took me longer than it would a normal because it was my first completed project. I couldn't decide if I wanted to build the top or use plywood or a project panel. I ended up building it using Aspen 1x3 for the apron and whitewood boards for the rest. I probably wouldn't buy the Aspen again. I would use whitewood for all or maybe pine. I do prefer the wider apron that the 1x3 provided.
Also, Jen from House of Wood suggested painting prior to putting the top on which was a great tip!! I stained my top after I put it on though, because I didn't want to accidentally scratch it trying to move it into place.
I glued everything and attached with pocket hole screws just for safety. One thing I learned is that wood glue does not stain, so I had to sand it down completely and sand off the glue that seeped for the final result I got.
Also, having paintable caulk is a good tip. I got a board for my lower shelf that was slightly bowed and the caulk was great to hide my beginner imperfections.
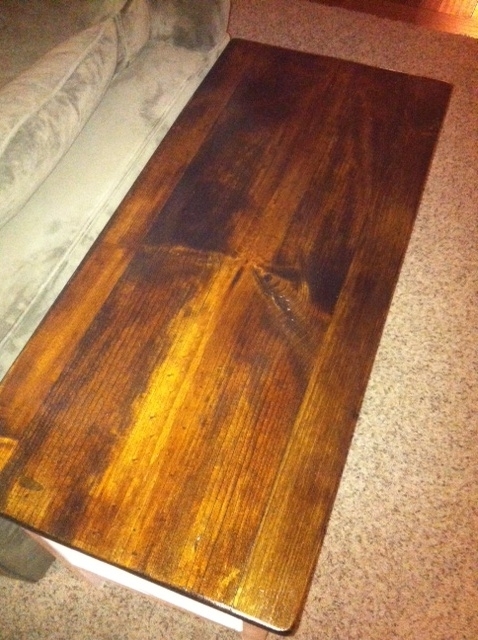
It was really easy build (keeping things square was the hardest part, but the carpet hides the small wobble I had on the cement). It looks great in our living room.
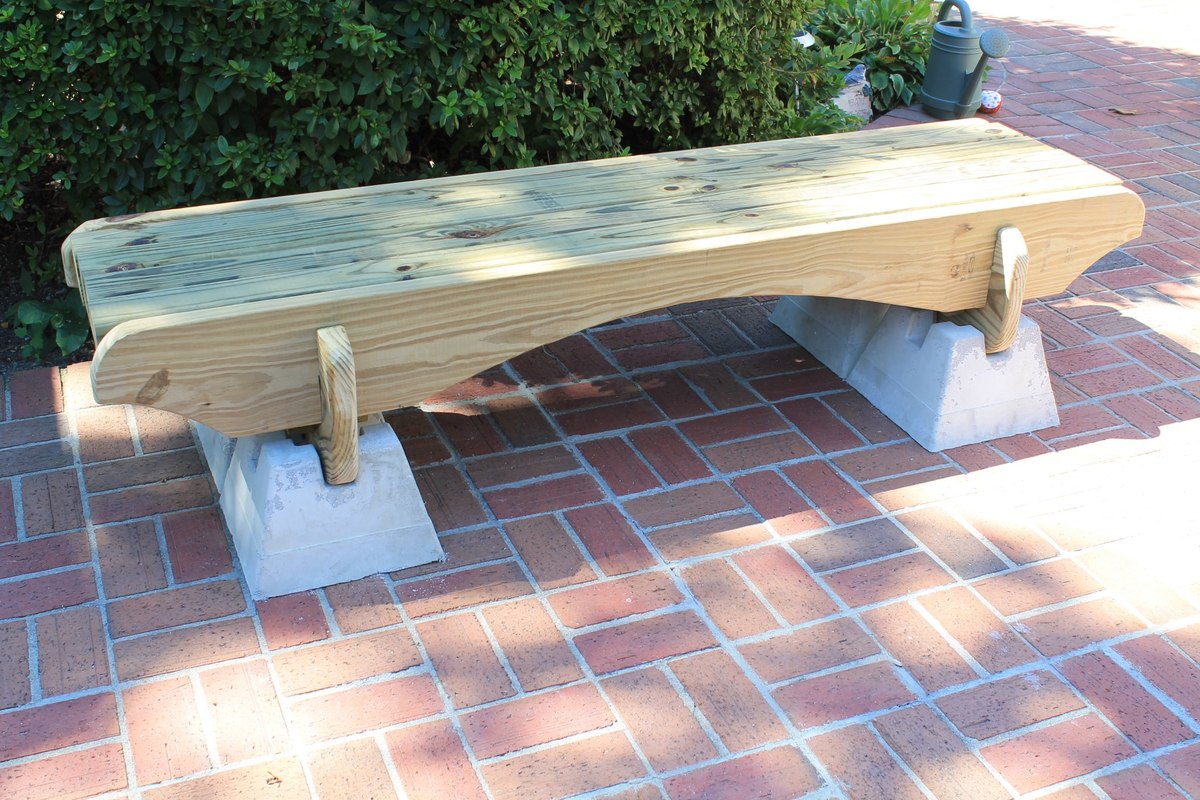
This is made by using treated lumber and concrete deck piers. The genius of this bench is that there are no screws. It fits together like a puzzle and sits on concrete deck piers. I left it untreated for a bit and decided to let the piers stay gray. The original plans called for the piers to be stained black and a stain to be applied to the wood. I wanted to post this as inspiration but will add the link to the template for the wood pieces at a later time.
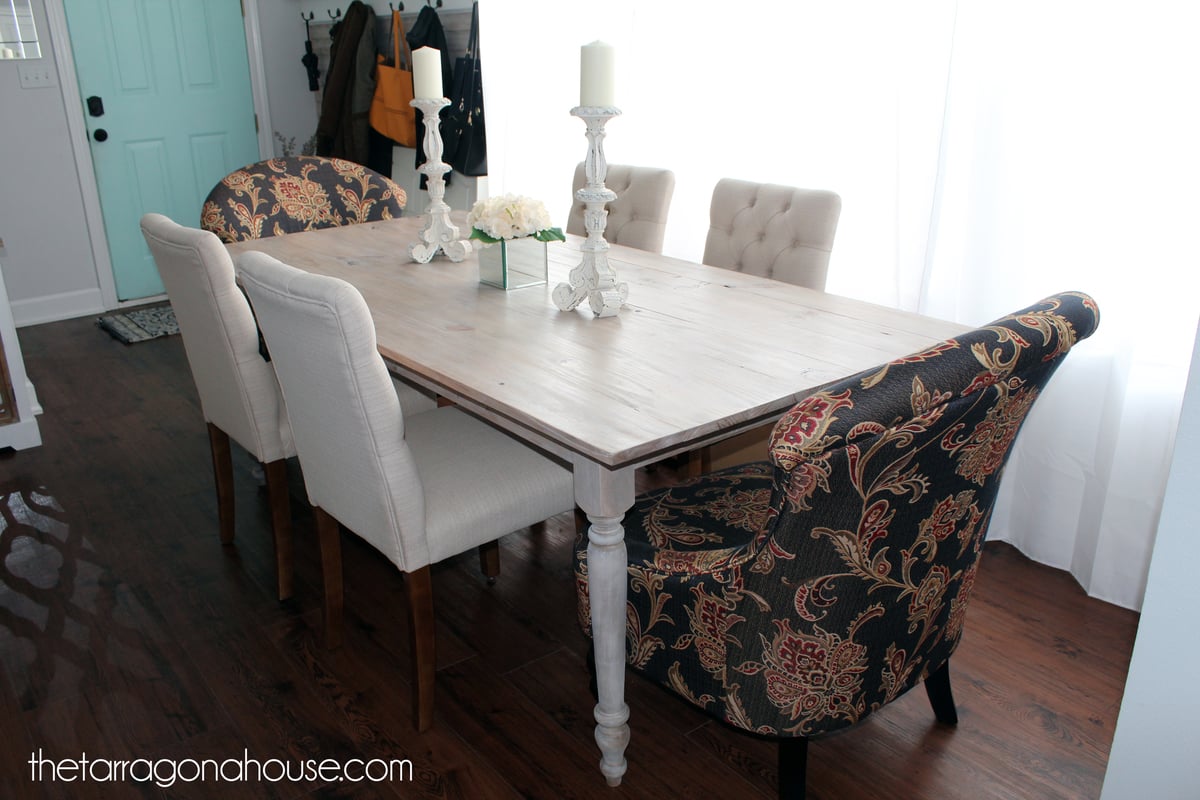
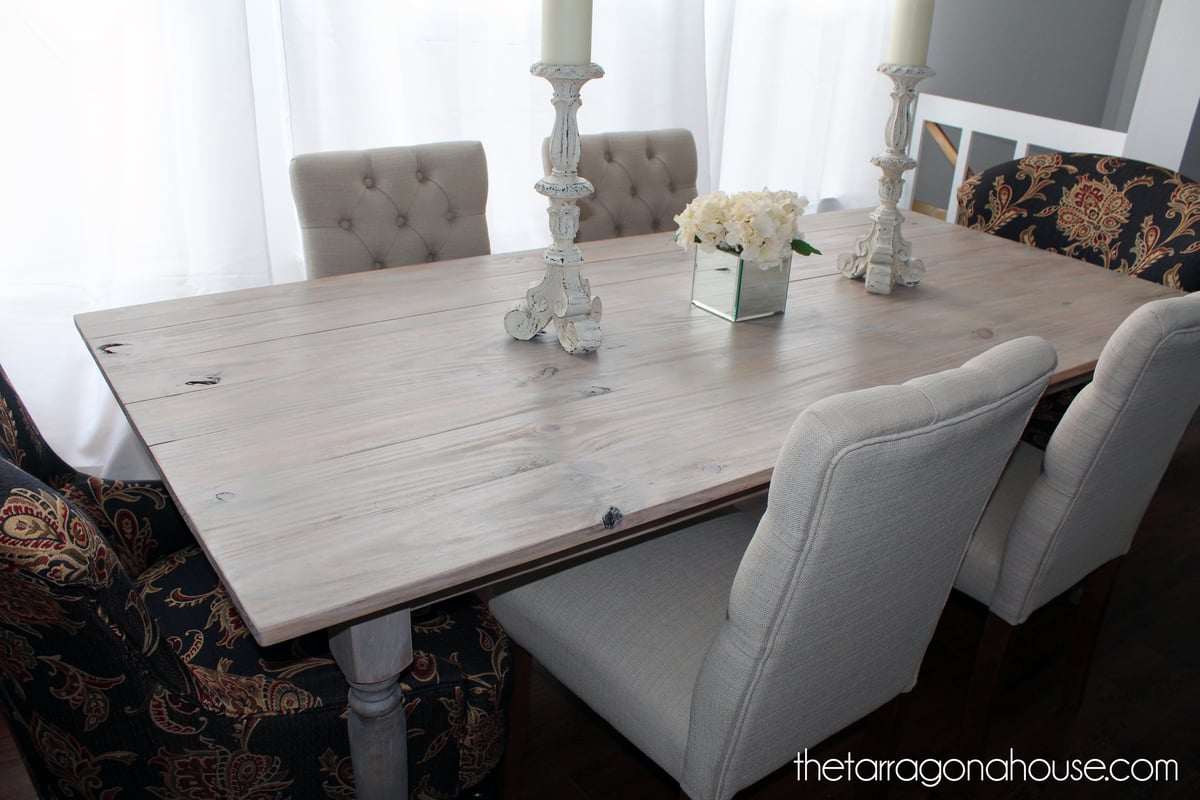
I used these plans to build our lovely new dining table. For more details, please see my post: http://thetarragonahouse.com/2016/12/31/our-new-whitewashed-farmhouse-t… .


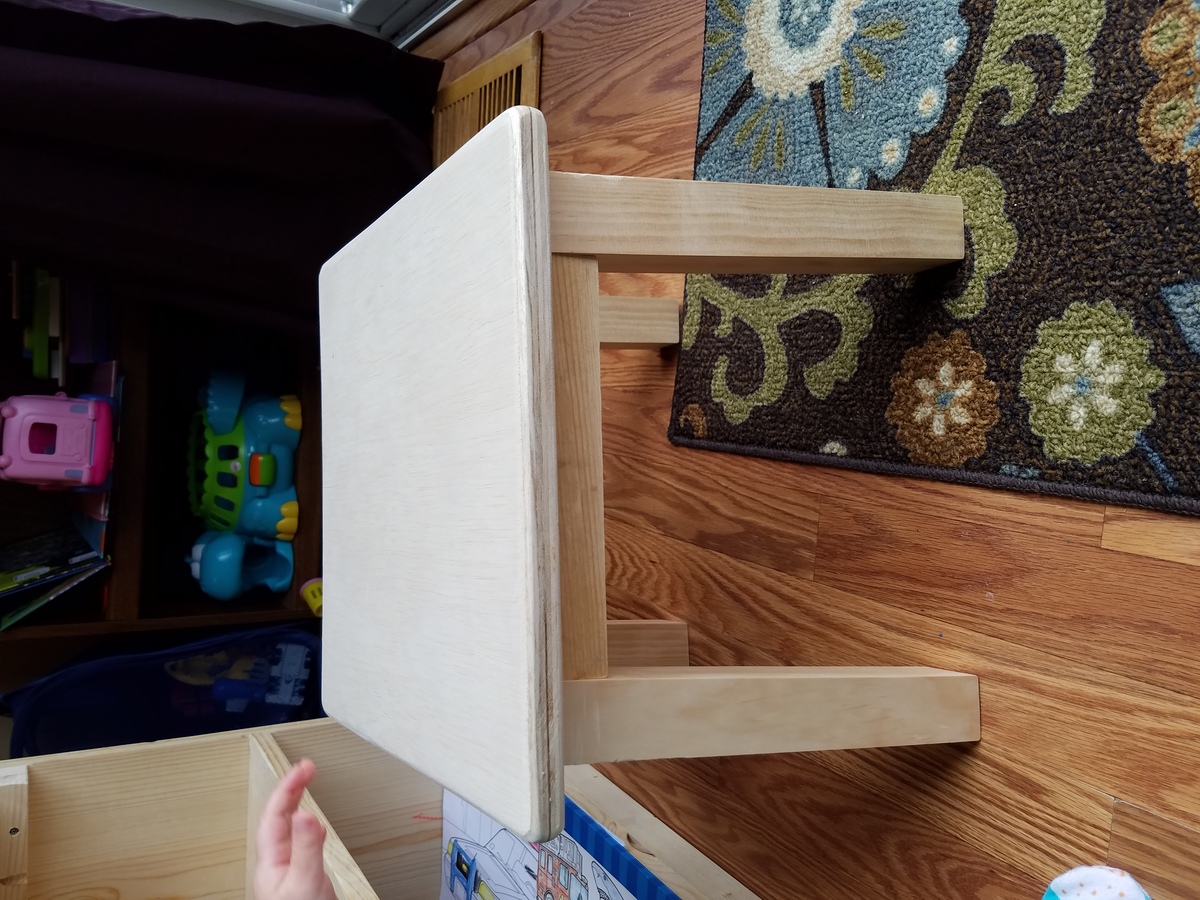
Used the plans of the play stool, then used the kreg jig to attach three 2x6 boards to make a thicker stool top. Jig sawed around the edges after tracing a design and used a Dremel to create the animal design border Turned out super cute and goddaughter loved it!

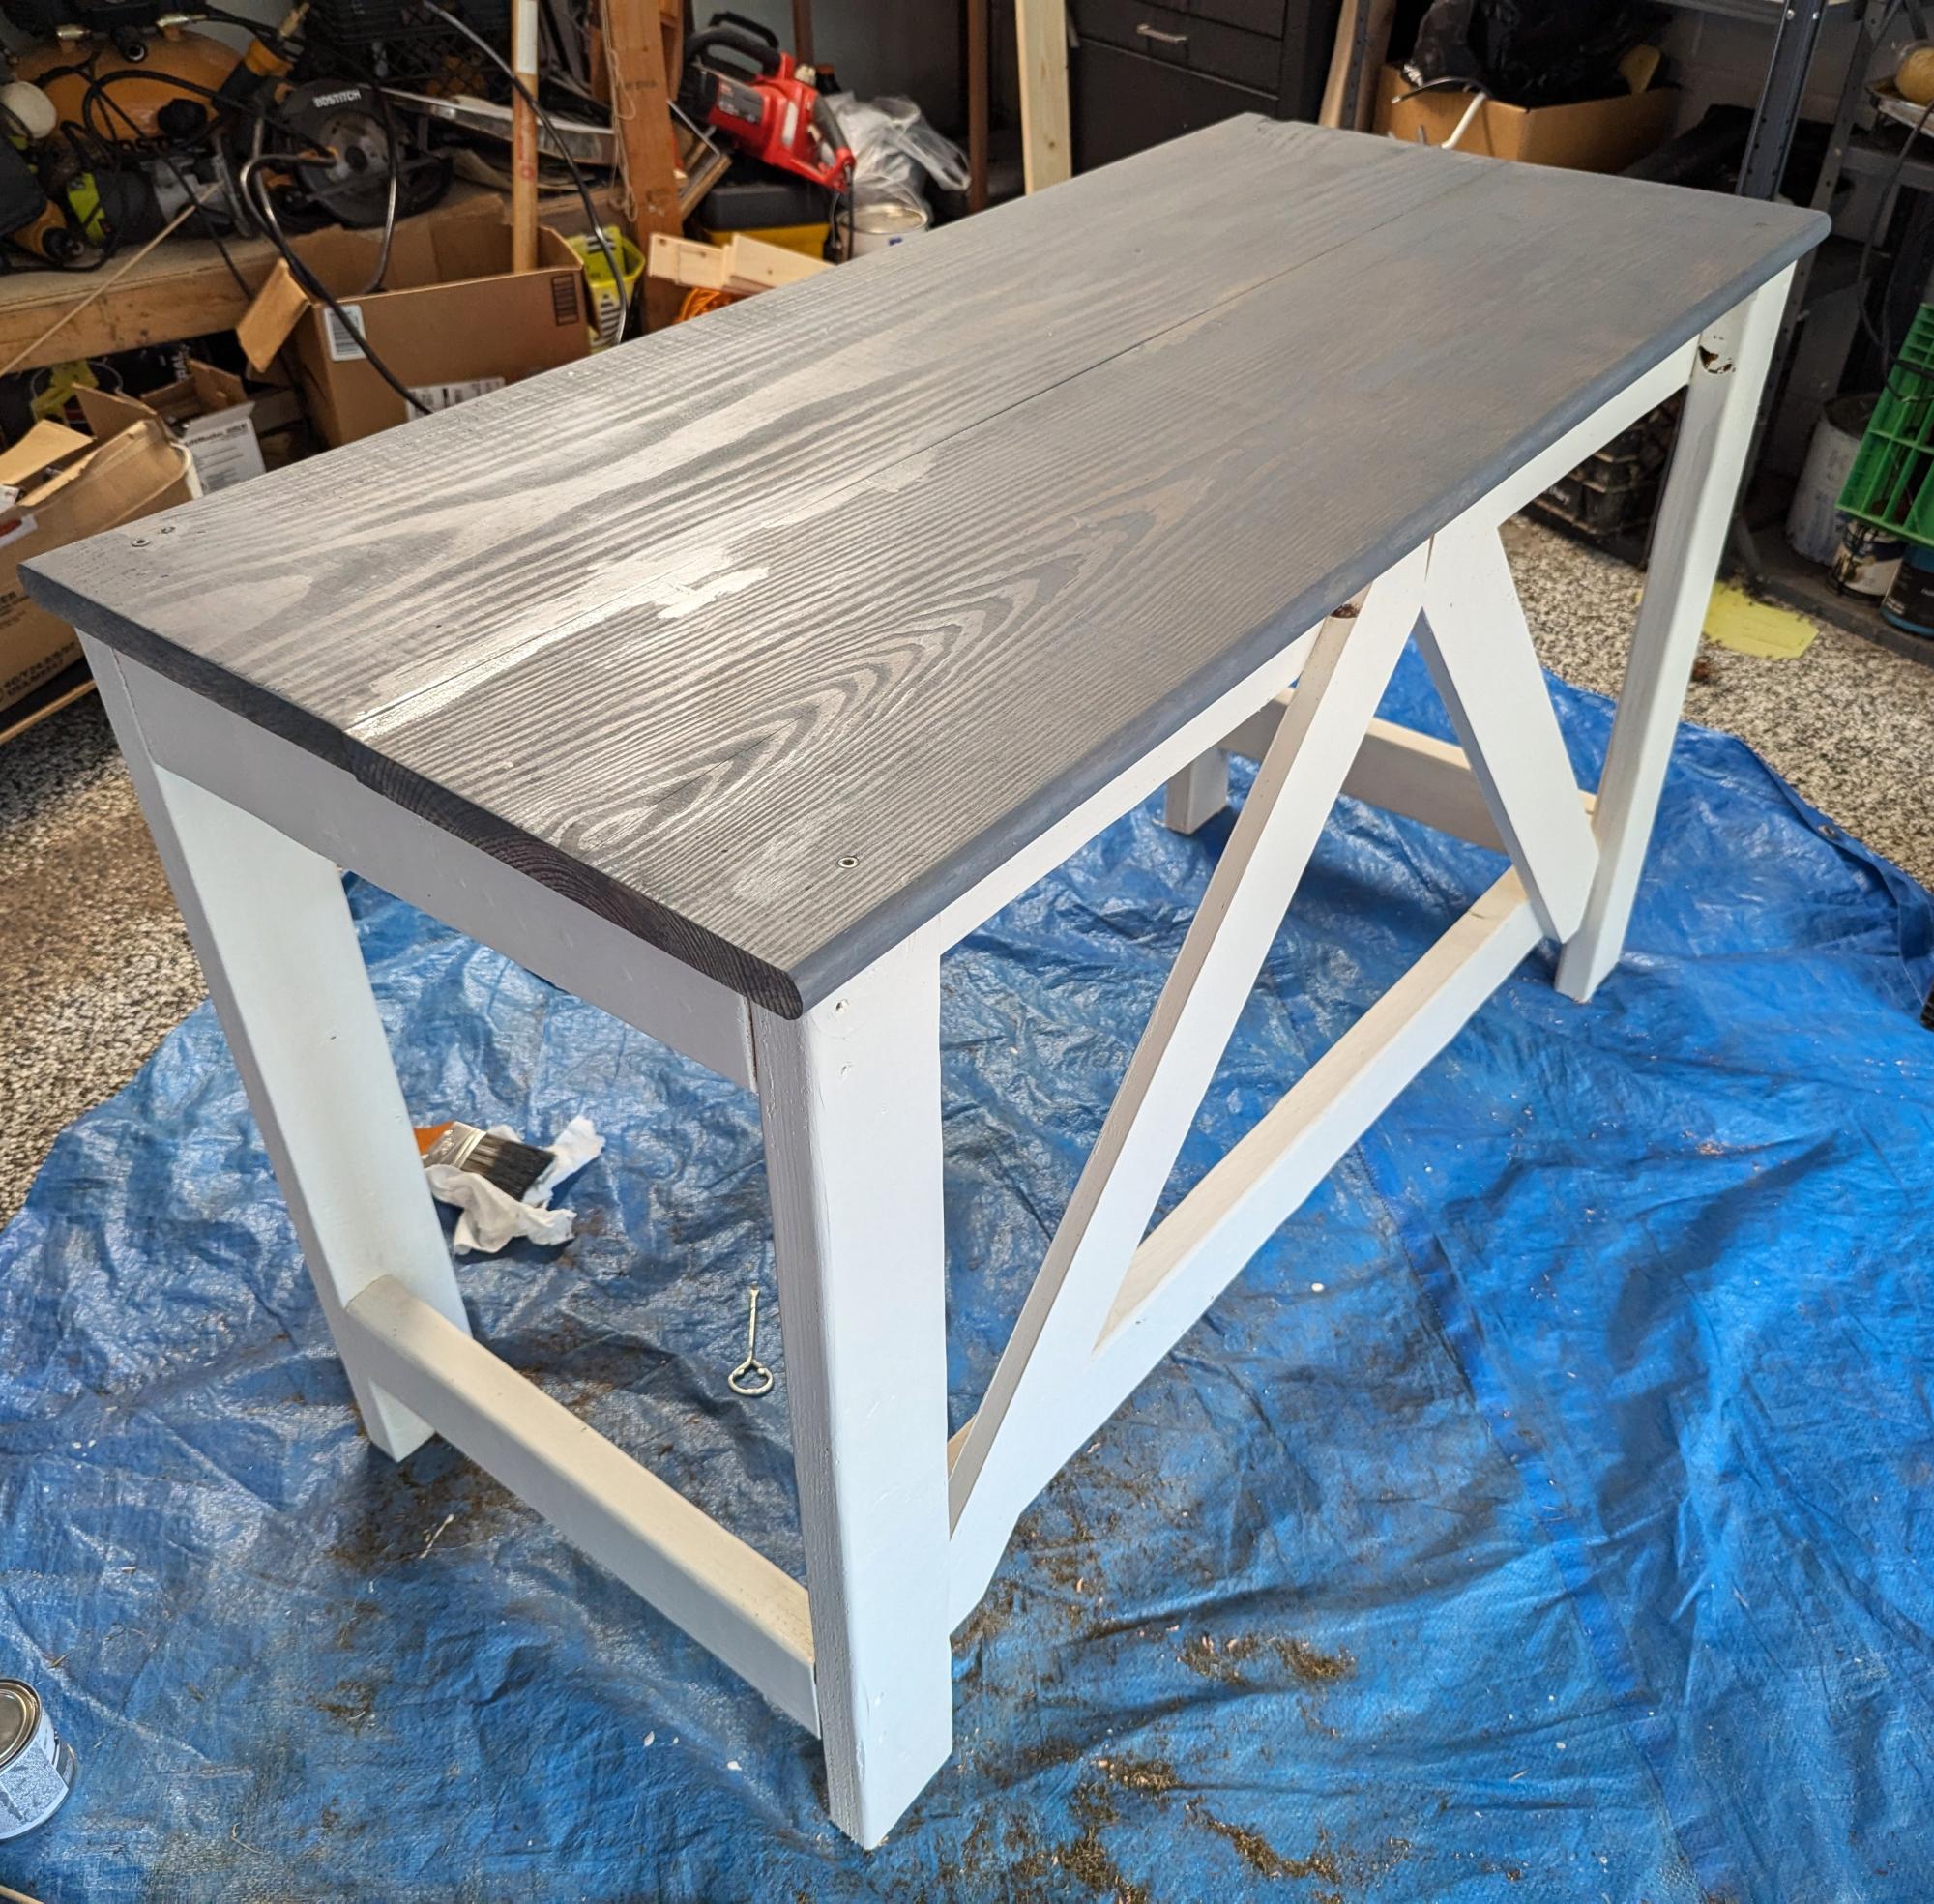
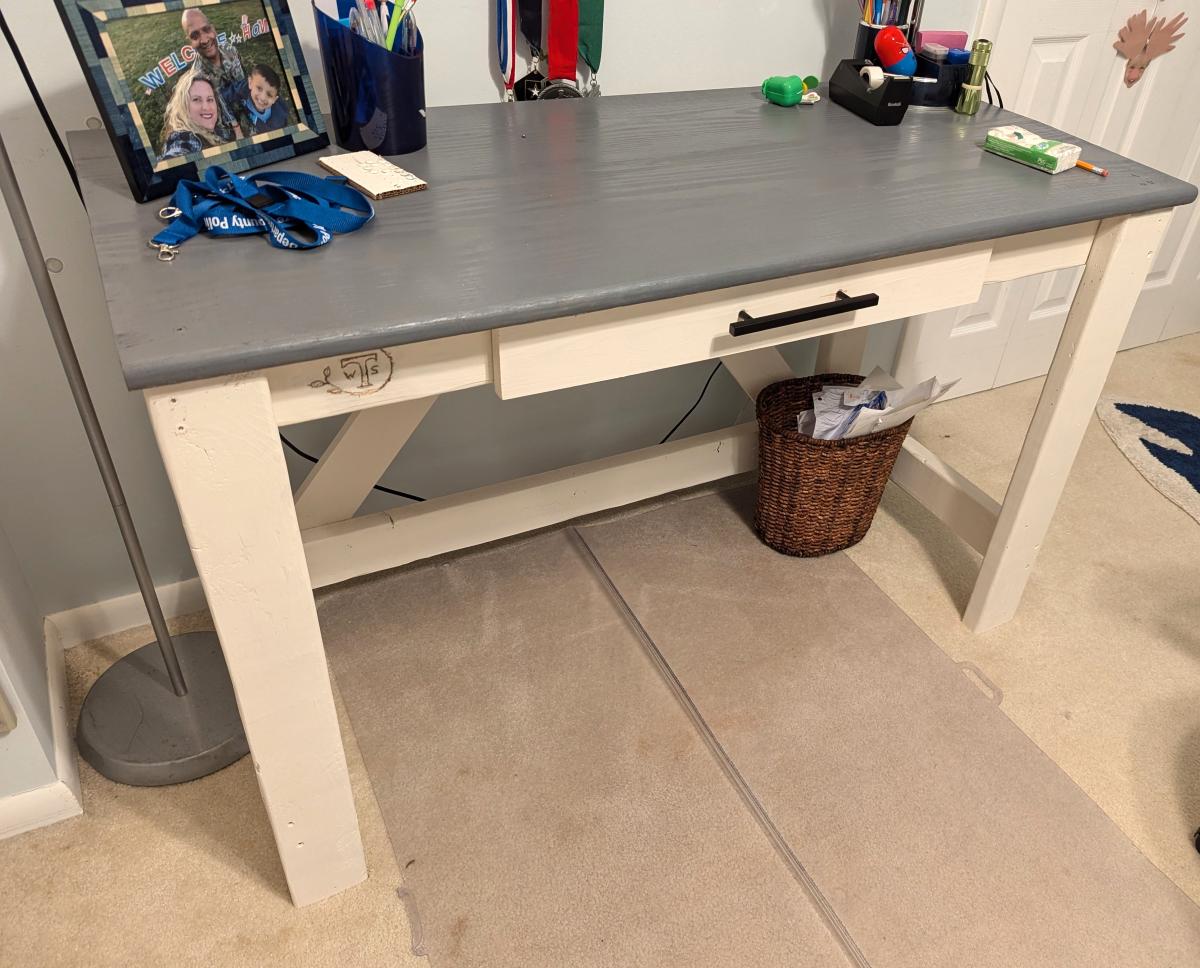
Built a desk for my son. Total costs about $90. Took a weekend just with painting
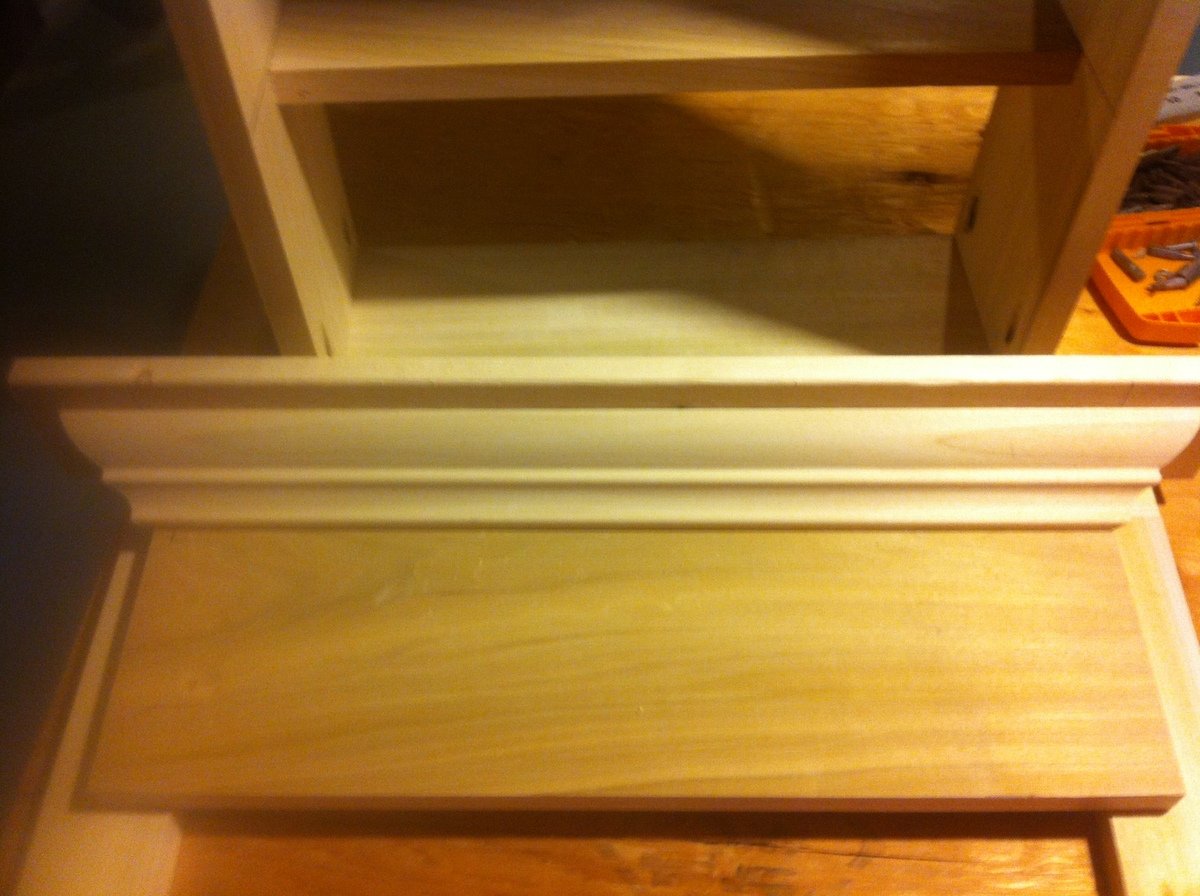
crown ledge shelf in poplar scraps - i used a scrap 1x6 for the backside to hang my hooks off of.
I built this at the Home Depot "Do it Herself" class last month. I have been trying to figure out something for a large ironing board (for yardage of fabric for quilting) for quite some time now. I decided this was PERFECT! I removed the top tray, and added a 2' X 4' craft board on top, covered it with insulbright and canvas and it's a perfect Ironging station!! I keep the ironing supplies underneath, and I have tons of extra storage space, it's WONDERFUL!
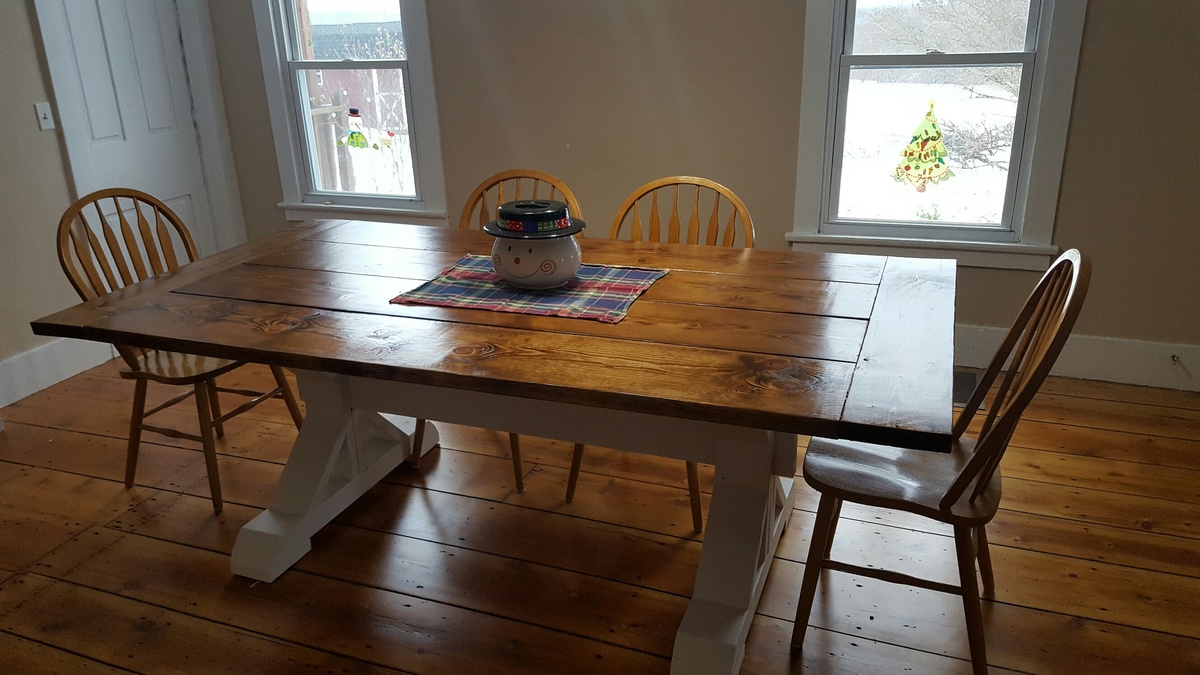
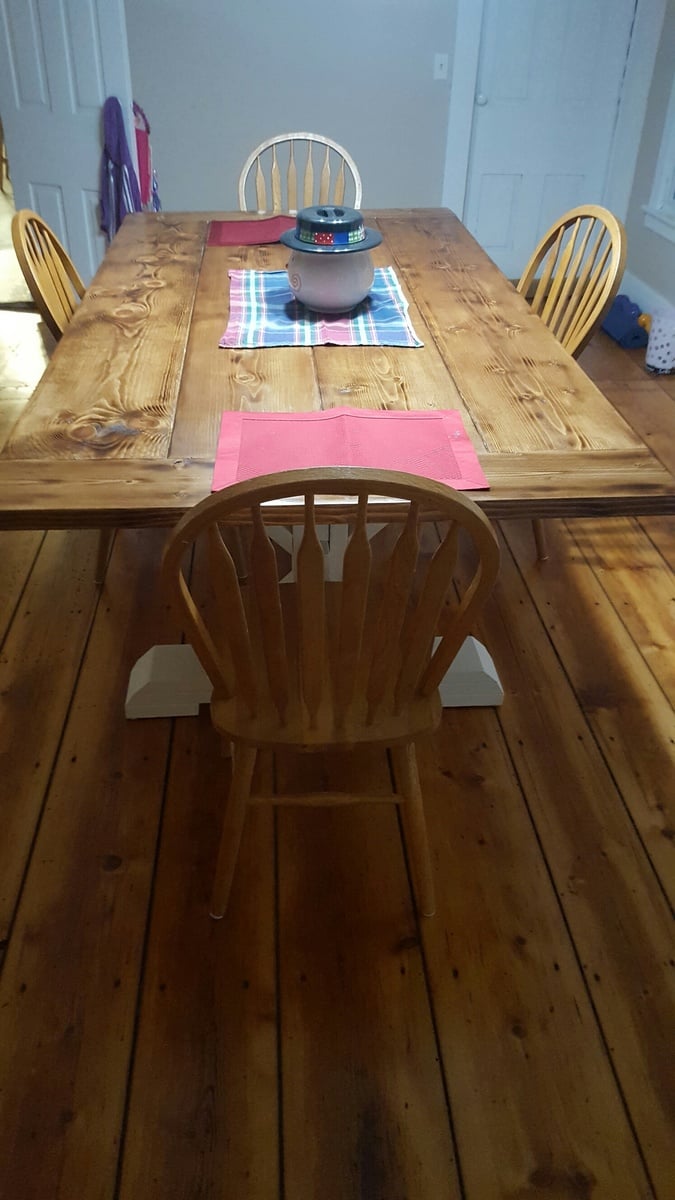
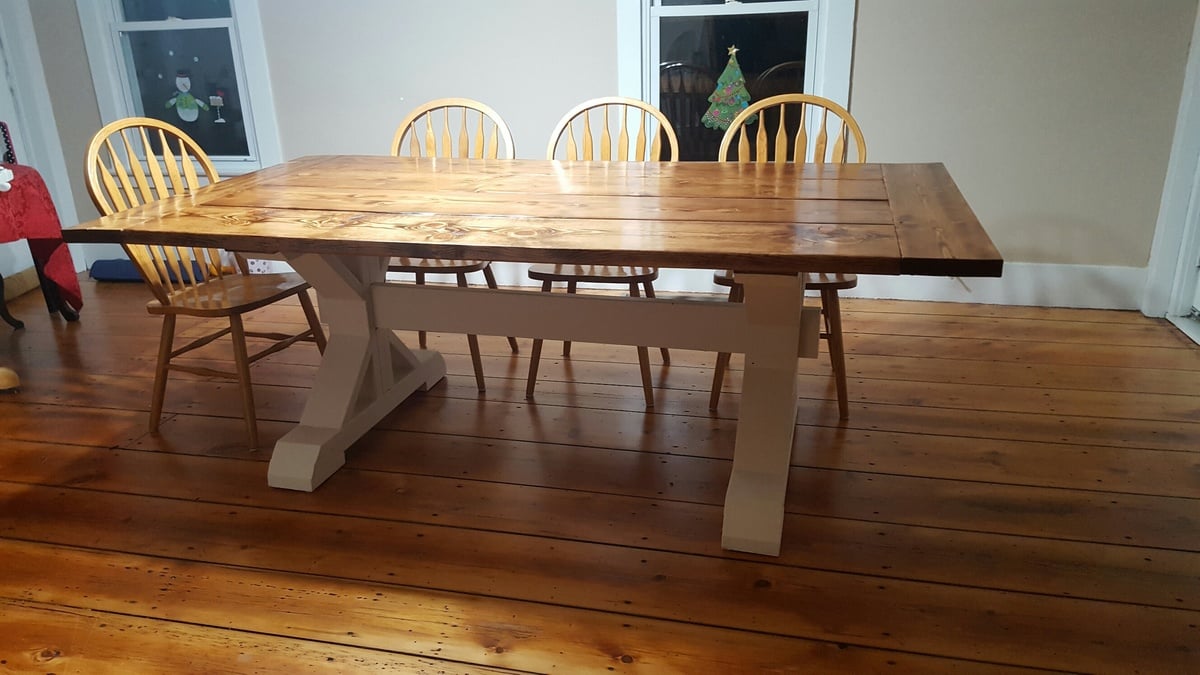
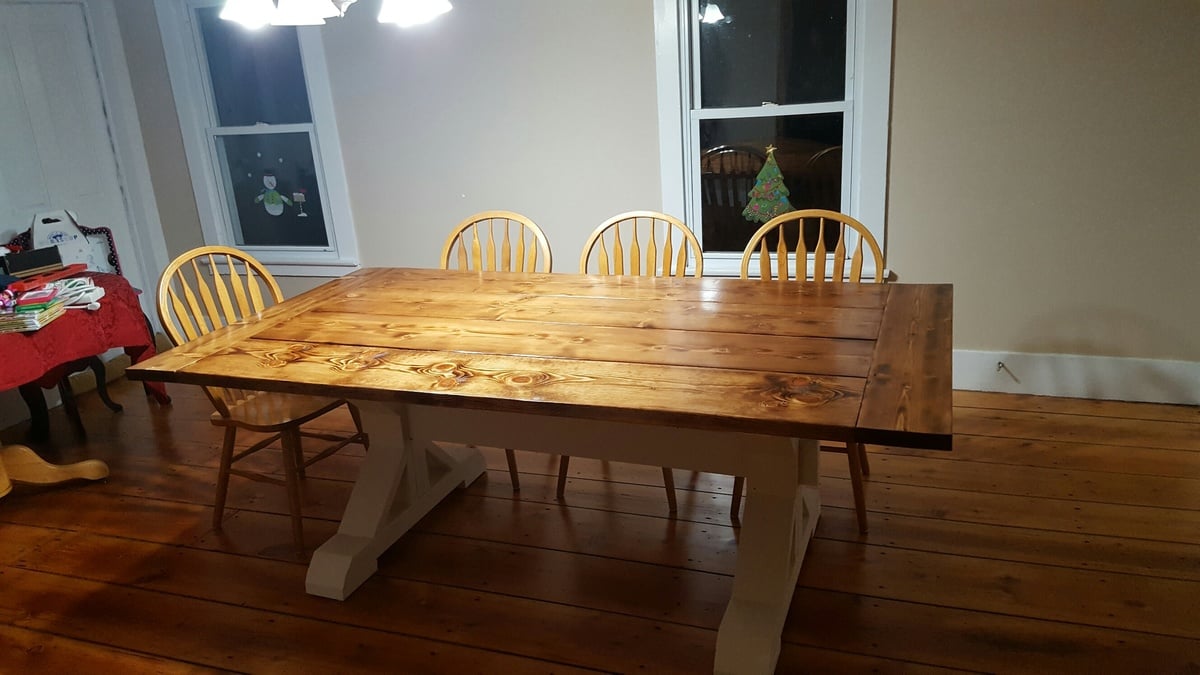
Built my wife a farmhouse table. We kind of took 3 different plans and made 1 table. We used the table top from one set of plans, the legs from another, and the X design from a 3rd. We built it on our week off for Christmas. Building wise it took 10-20 hours, but there was a lot of drying time with all the stain and poly. Two coats of Early American stain and 3 coats of poly on the table top. It's about 7' long, and the only problem now is we don't have enough chairs.
