Our Pacific Northwest Privy
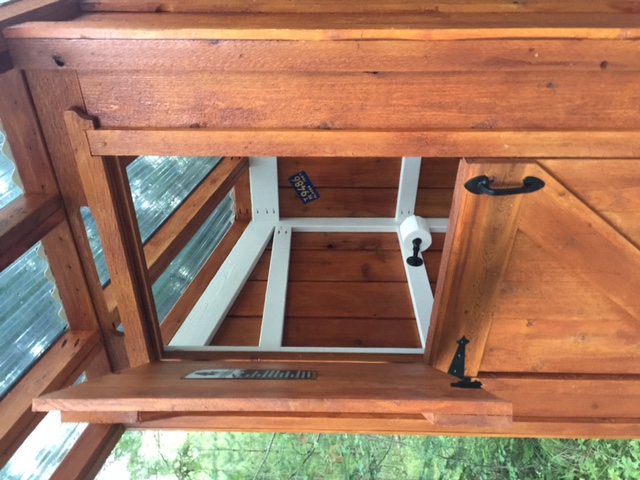
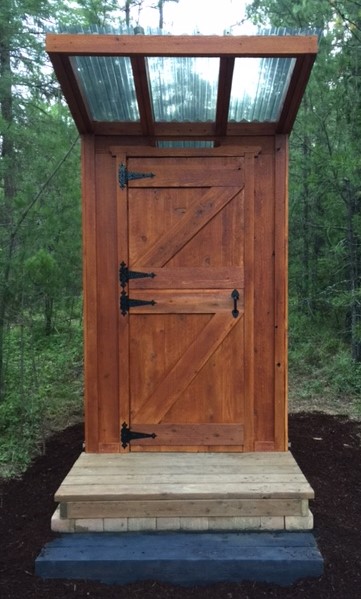
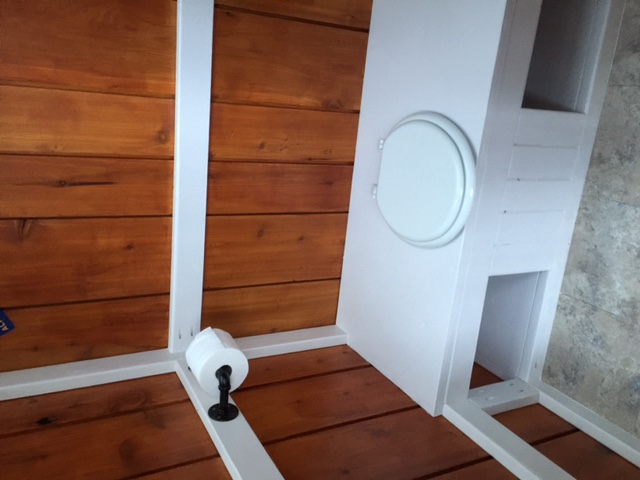
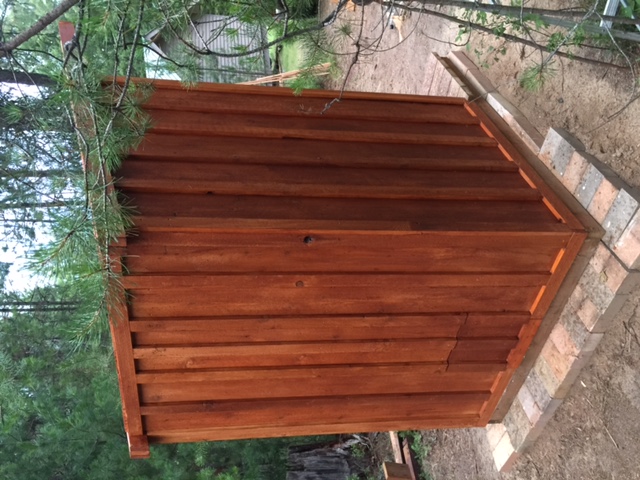
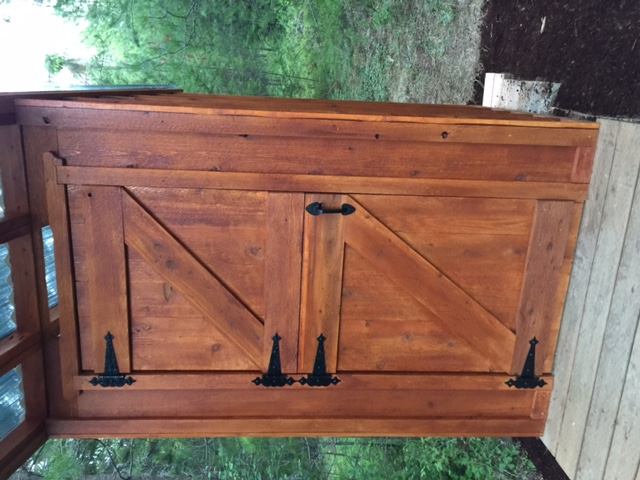
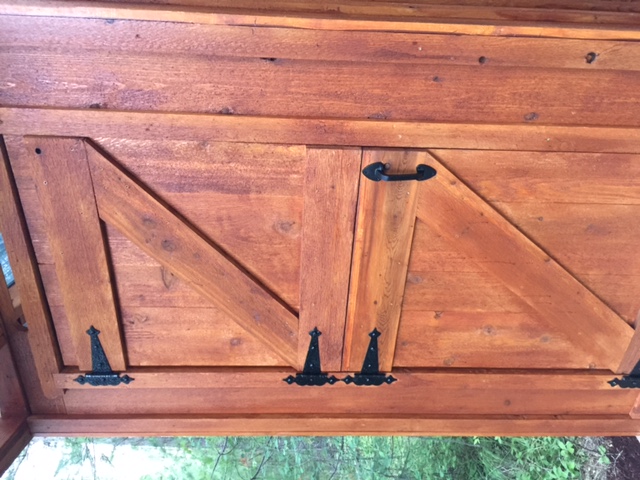
We have a small rustic cabin that needed a clean, functional outhouse. We followed Ana's plans, but with a few modifications to include a Solar gray polycarbonate roof to let in light. We also decided on cedar board & batten for the siding. We look forward to many years of use.
Built from Plan(s)
Estimated Cost
$800
Estimated Time Investment
Week Long Project (20 Hours or More)
Finish Used
Behr - Cedar naturaltone Weatherproofing. All boards were cut to size and then stained with 3 coats.
Recommended Skill Level
Advanced