Community Brag Posts

Rustic X coffee table
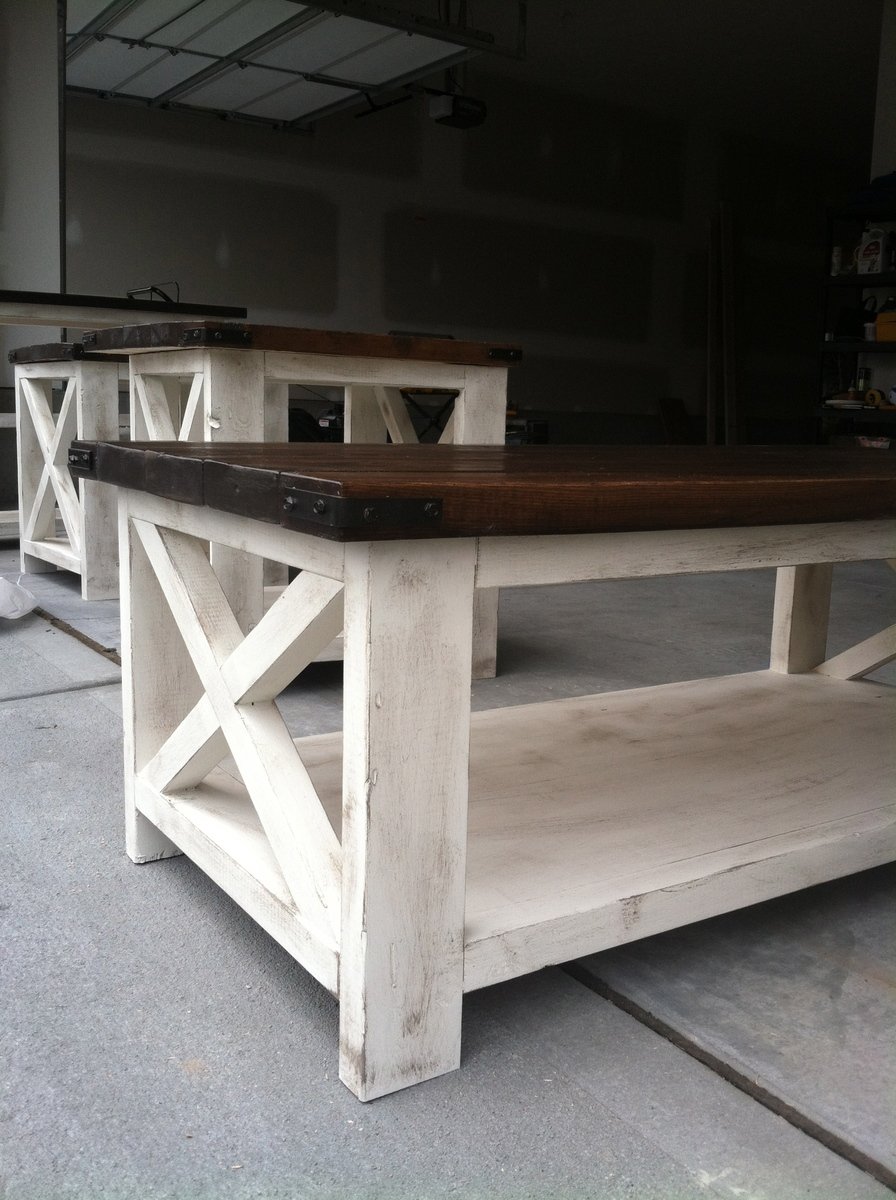
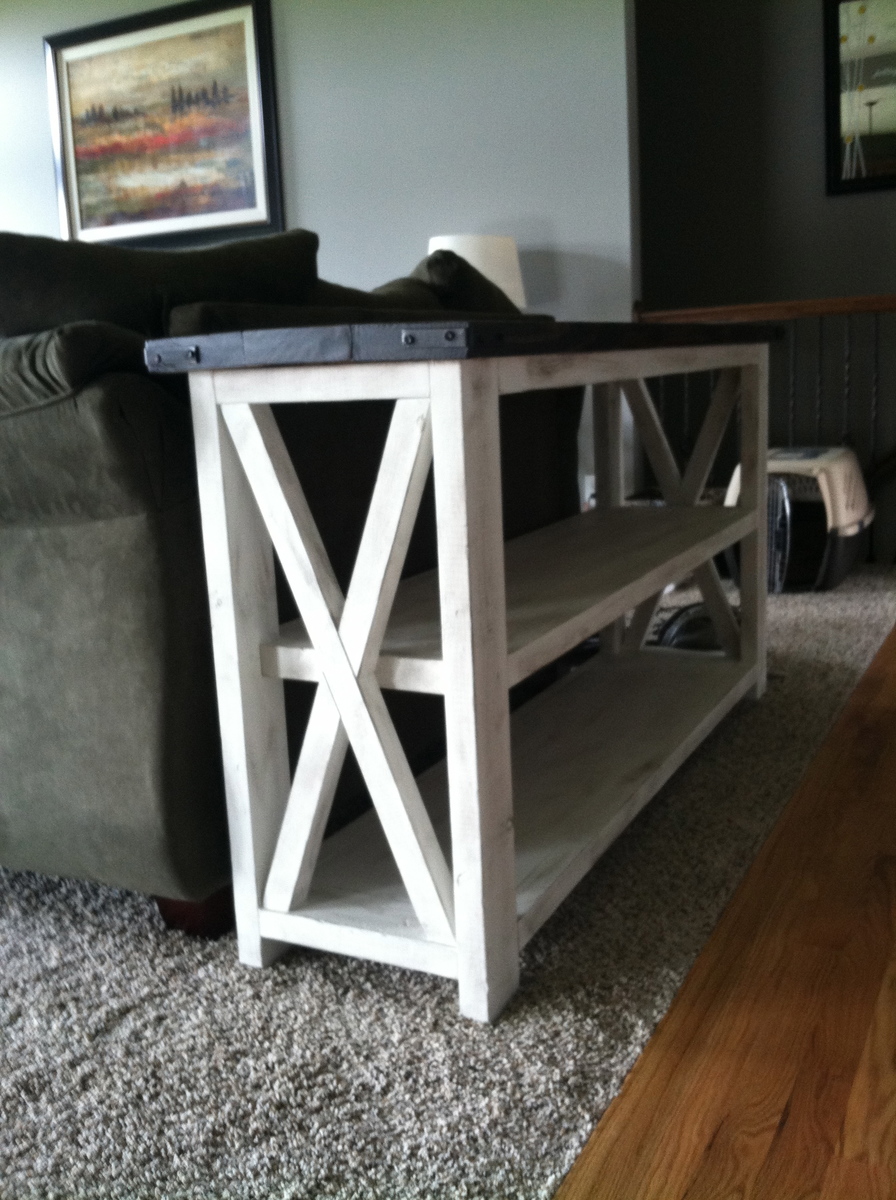
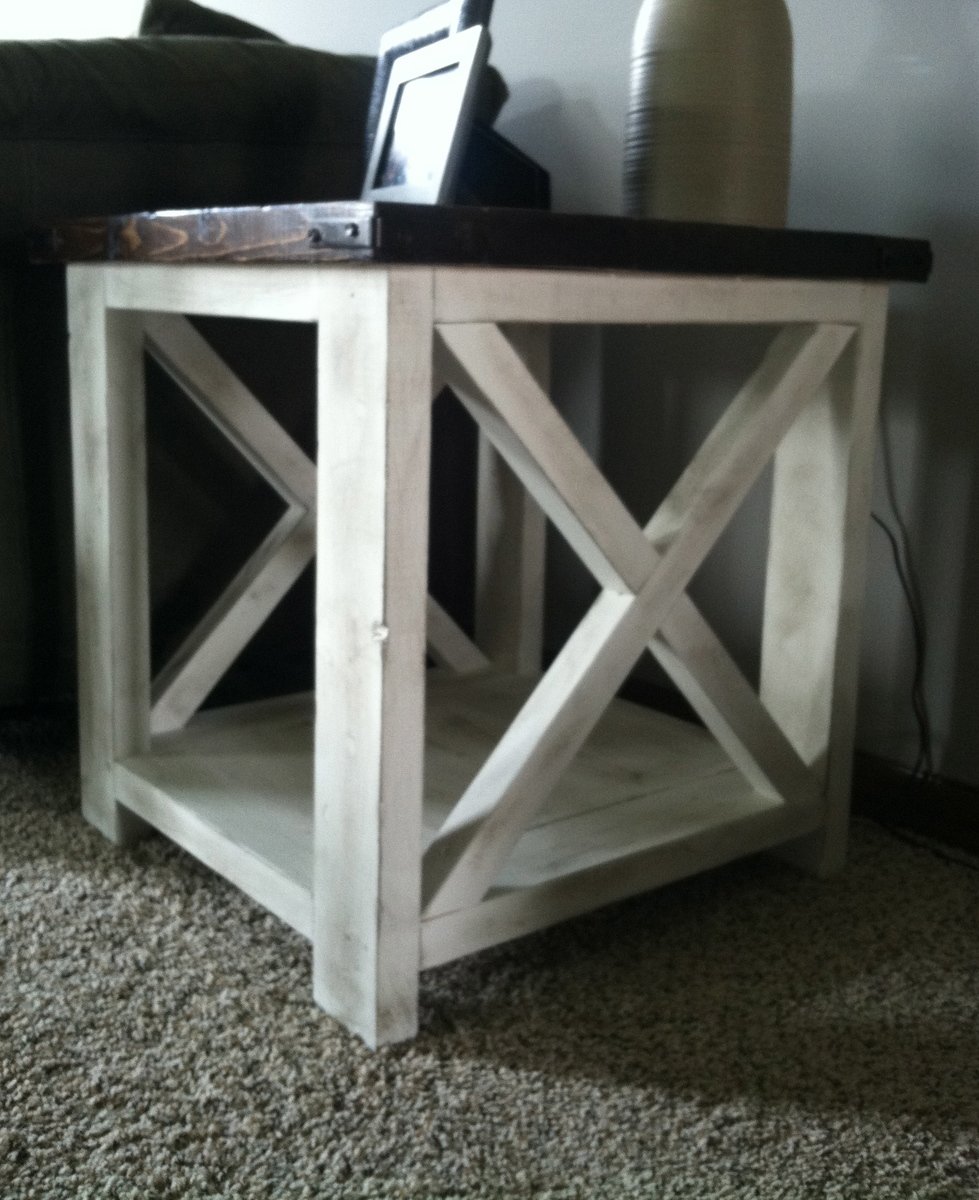
This was a weekend project with my husband, dad, and mom. My dad builds custom homes so we were able to knock all 4 projects out in approximately 10 hours with his expertise. We adjusted the measurements for each of the tables according to our space and couch height. Every piece of the Rustic X collection is gorgeous and I couldn't be happier as to how they turned out.
Estimated Cost
$220
Estimated Time Investment
Weekend Project (10-20 Hours)
Finish Used
Stain: Dark Oak (Sherwin Williams)

Before adding the table tops to the structure we applied one coat of stain. Then added 2 coats of Minwax water-based satin Polycrylic. Sanded very lightly and added one more coat of Minwax.

Paint: main color (Valspar: Shore) distressed color (Valspar: Mountain Smoke)

Applied Shore to the entire body prior to putting on the table tops.

Then added distress using Mountain Smoke. We dipped the paintbrush very lightly into the paint and then brushed out most of it onto cardboard until there was hardly any paint left on the brush, then applied it very lightly all over the body. This really brought out the imperfections in the wood, which is exactly what we wanted.

Note: We used a hammer to create extra dents and imperfections to the wood.
Recommended Skill Level
Advanced

Comments

faux raised panel door

Submitted by brittanyj on Thu, 06/04/2015 - 10:43

Can I be real with you here? This projects was a pain. I love the way it turned out, but getting there was a horrendous process. Blisters, cuts, sore muscles and exhaustion contributed to an overall very distasteful experience for me.
We have cheap hollow core doors throughout our house that are slathered in what turns out to be 12 layers of paint. Getting that paint off was torture. Paint stripper, painters tool, steel wool, wire brush, mineral spirits and a belt sander all did their part over 4 days to get this paint off. Afterwards, when I sanded the holey, splintered mess of a door, it actually looked like I could make something of it. I stained it, and cut strips of 1/8" ply, nailing them to each side. I ORB sprayed the knobs and hinges, moved the casing (breaking the casing, of course, and having to buy new casing) to fit the new width of the door, and installed it all in place.
As I said, I love the results, but boy was it a chore. The white door is a before door.

Estimated Cost
$30
Estimated Time Investment
Weekend Project (10-20 Hours)
Finish Used
steel wool and vinegar stain, black tea
Recommended Skill Level
Beginner

Comments

Pickle Washed X Table

Rustic X Console table. I extended the size to 96 inches to fill a wall in the kitchen.

Built from Plan(s)
Estimated Time Investment
Weekend Project (10-20 Hours)
Finish Used
Classic Grey Minwax Stain with White Pickling Stain
Recommended Skill Level
Beginner

Trestle table with a few modifications

Submitted by Anonymous (not verified) on Sun, 12/26/2021 - 14:13

I went with a butcher block table top, 48x120”. Rostered the edges with a chamfer bit. I didn’t use the 45 braces Otis plenty sturdy. It would come through the door assembled so it was assembled in place and weighs more than any other piece of furniture we have. It seats 8 adults comfortably.

Thanks, Ana White

Built from Plan(s)

Comments

Kid's Adirondack Chairs

Submitted by tlcbbp on Sun, 04/24/2011 - 16:43

The first one I built (the white one) was a terrible failure because I rushed through it and didn't read directions! Also, I used only scraps that I had on hand. The blue one went smoothly because I used the right materials and took my time.
Built from Plan(s)
Estimated Cost
12 - 15 dollars
Estimated Time Investment
Afternoon Project (3-6 Hours)
Finish Used
The blue paint is oops paint from Lowes & the white is spray paint
Recommended Skill Level
Beginner
Seasonal And Holiday

Farm House Table

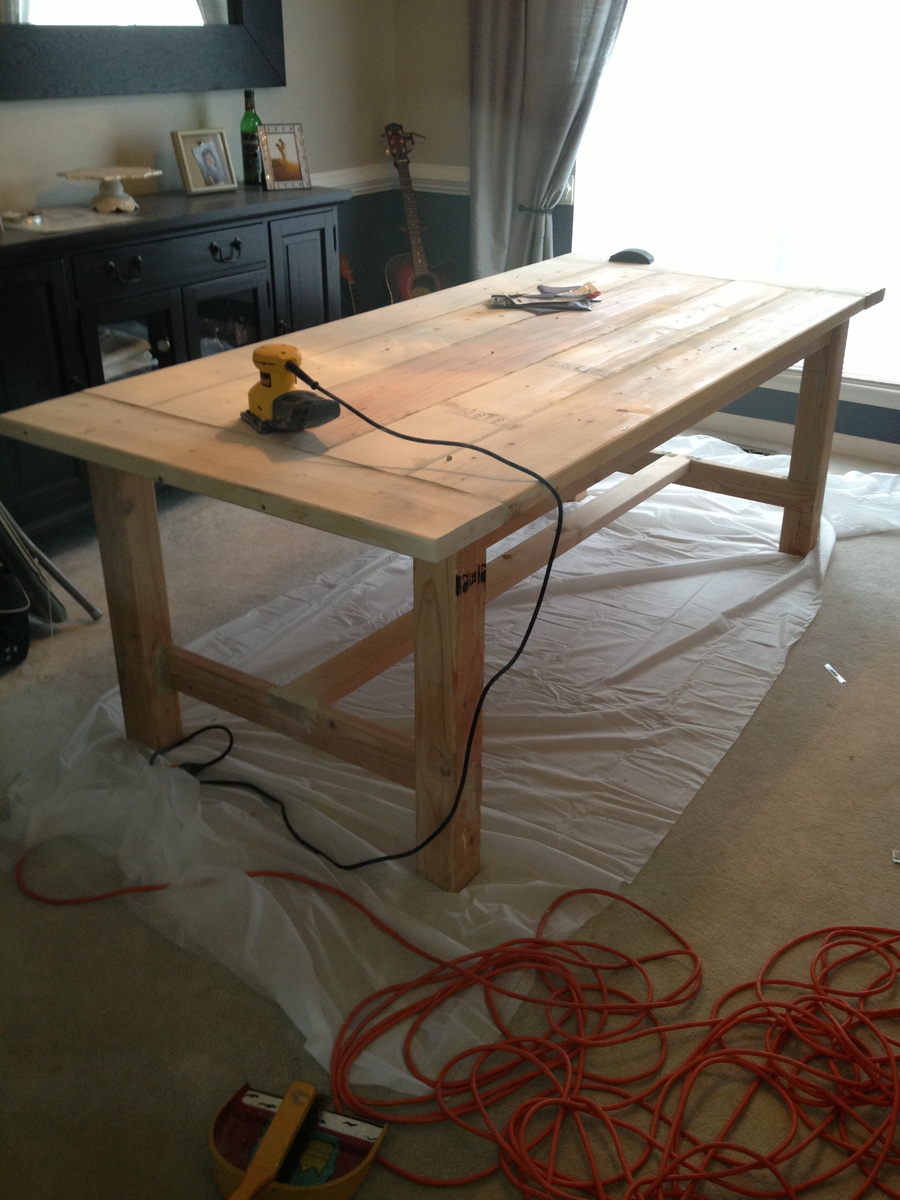
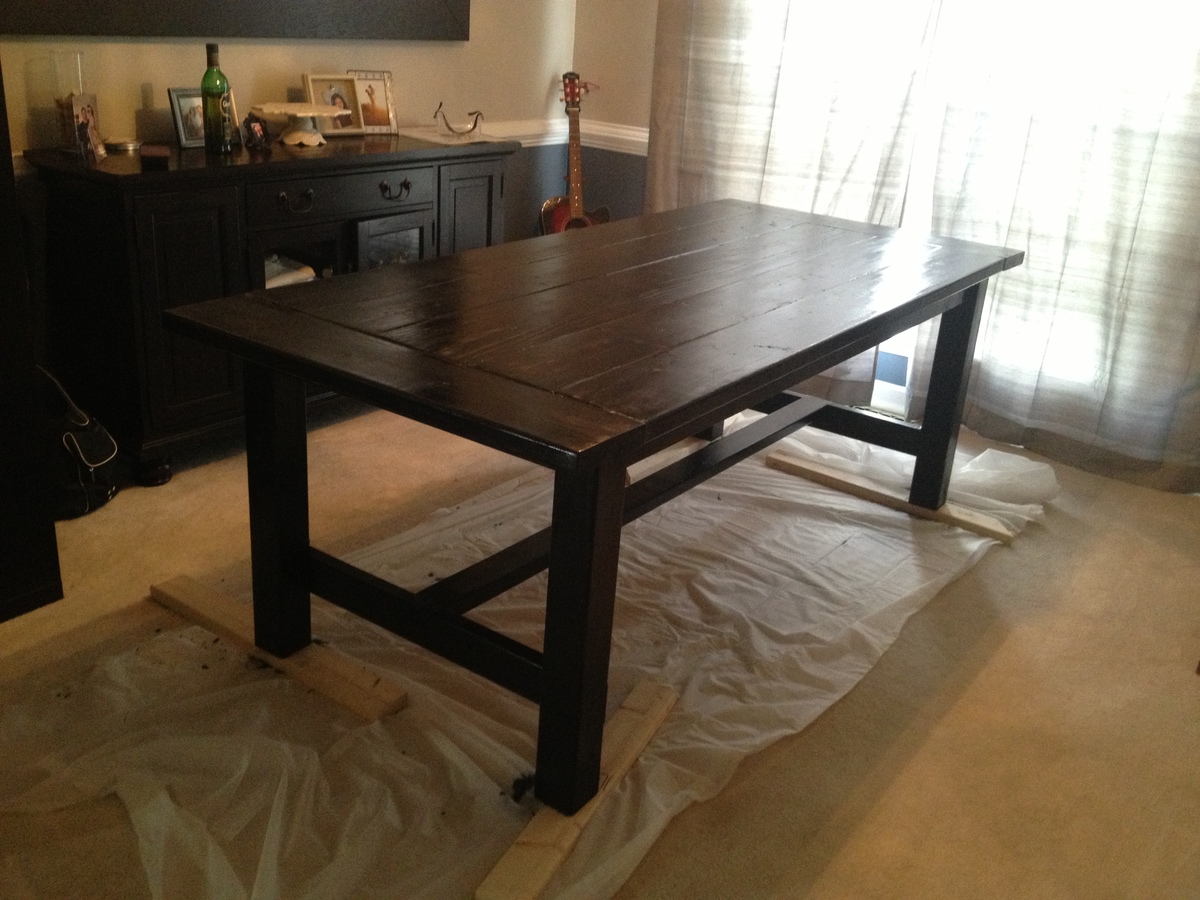
This was our second table from Ana's website. We flipped the bottom legs around to make the cross bar on the inside...just for a little additional leg room on the ends. Don't be discouraged if you have trouble finding good boards. We had to go to two stores and REALLY dig for them... and even then, we did a LOT of sanding to make the boards even when it was all built. We used the Kreg Jig (we initially bought the $20 one, and then went back for the "real deal" so if you're considering buying one - just go for it, the small one frustrated us). The Kreg Jig is AWESOME!!!. We are just finishing up building the farm house bench to go on one side of this table... then we're going to have to figure out where to get our other chairs. A few friends have seen our table so far and every one of them has asked to purchase it! Thanks Ana!!!

Estimated Time Investment
Weekend Project (10-20 Hours)
Finish Used
we used ebony from Rustoleum. I tried Ebony from Min wax and liked this better. I used a high gloss finish... we tried a matte finish first (I put one of those pictures up here so you can hopefully see the difference) but it was TOO matte... high gloss was definitely the way to go for us.
Recommended Skill Level
Intermediate

Cassidy Bed with Herrinbone Design

Submitted by koneill99 on Mon, 06/08/2015 - 11:45

I'm so excited to have finished my 1st woodworking project!! Not sure why I thought a King Bed would be a good start but I LOVE how it turned out. I used the Cassidy Bed plans and Jennajustfine's beautiful herringbone design as inspiration. The headboard and footboard insets are 1x3's that I stained using 2 different colors and varying coats. I am completely addicted to working with wood now!

Built from Plan(s)
Estimated Time Investment
Week Long Project (20 Hours or More)
Finish Used
Minwax Bombay Mahogany and American Chestnut
Recommended Skill Level
Beginner

Comments

BBQ for the Grands

Submitted by Anonymous (not verified) on Sun, 12/26/2021 - 15:17

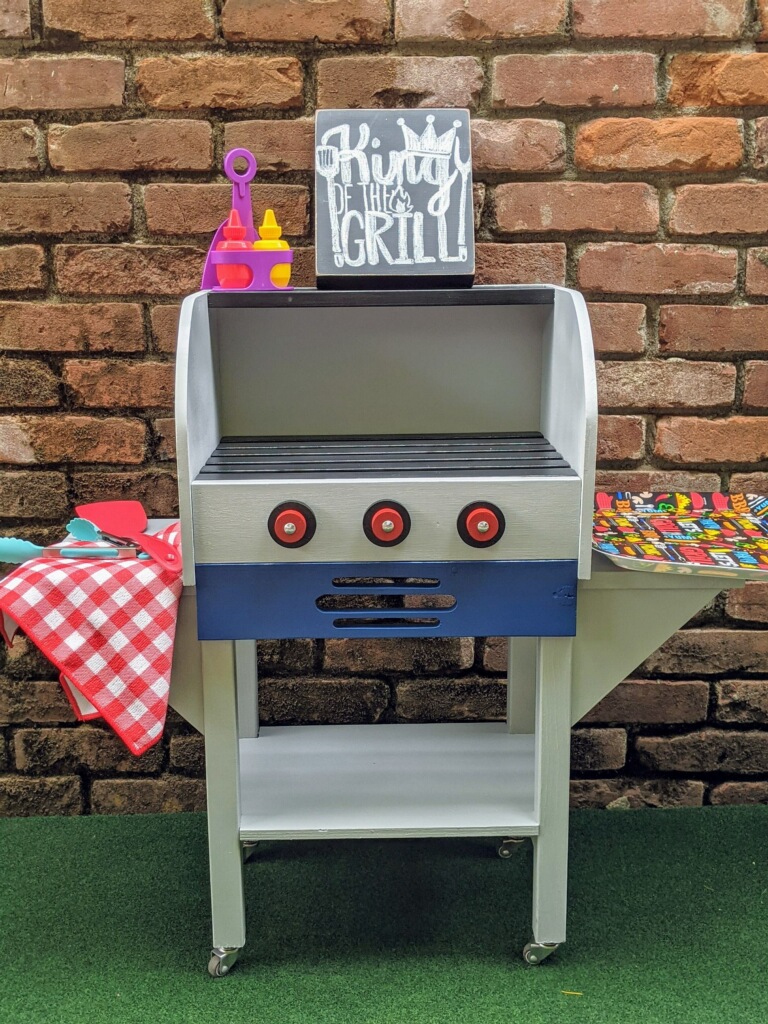
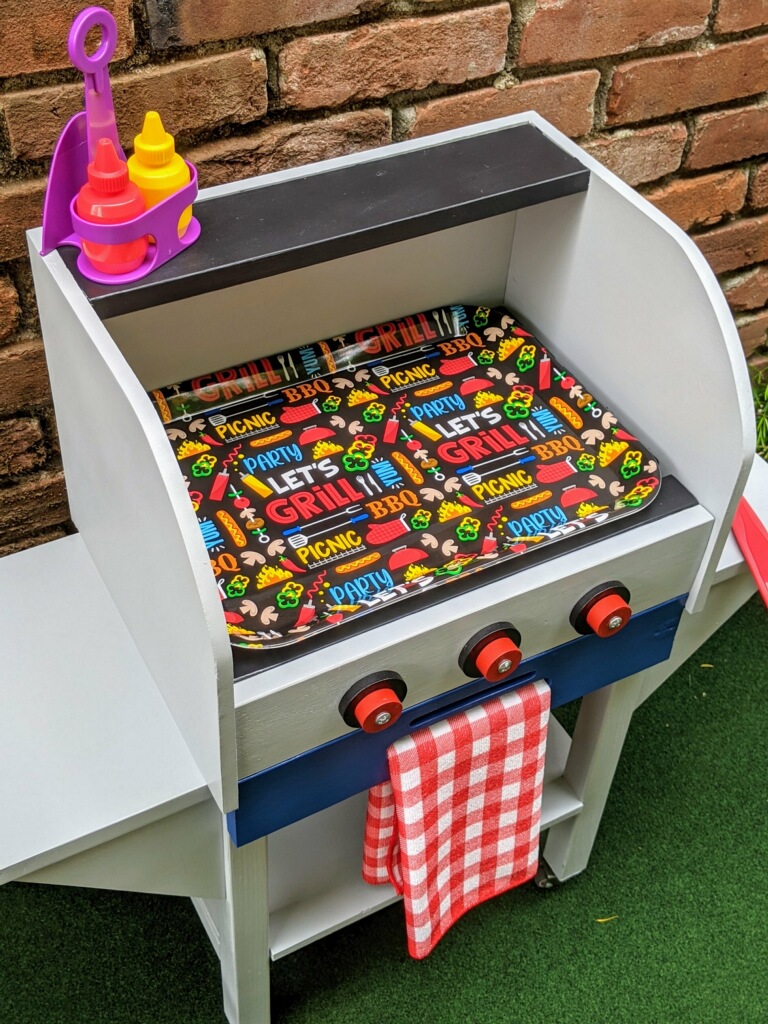
My husband and I actually made four of these little bbq’s for our grandchildren and also for our own backyard. They were super fun to do. Pattern was easy to follow. Thank you Anna!

Built from Plan(s)

Comments

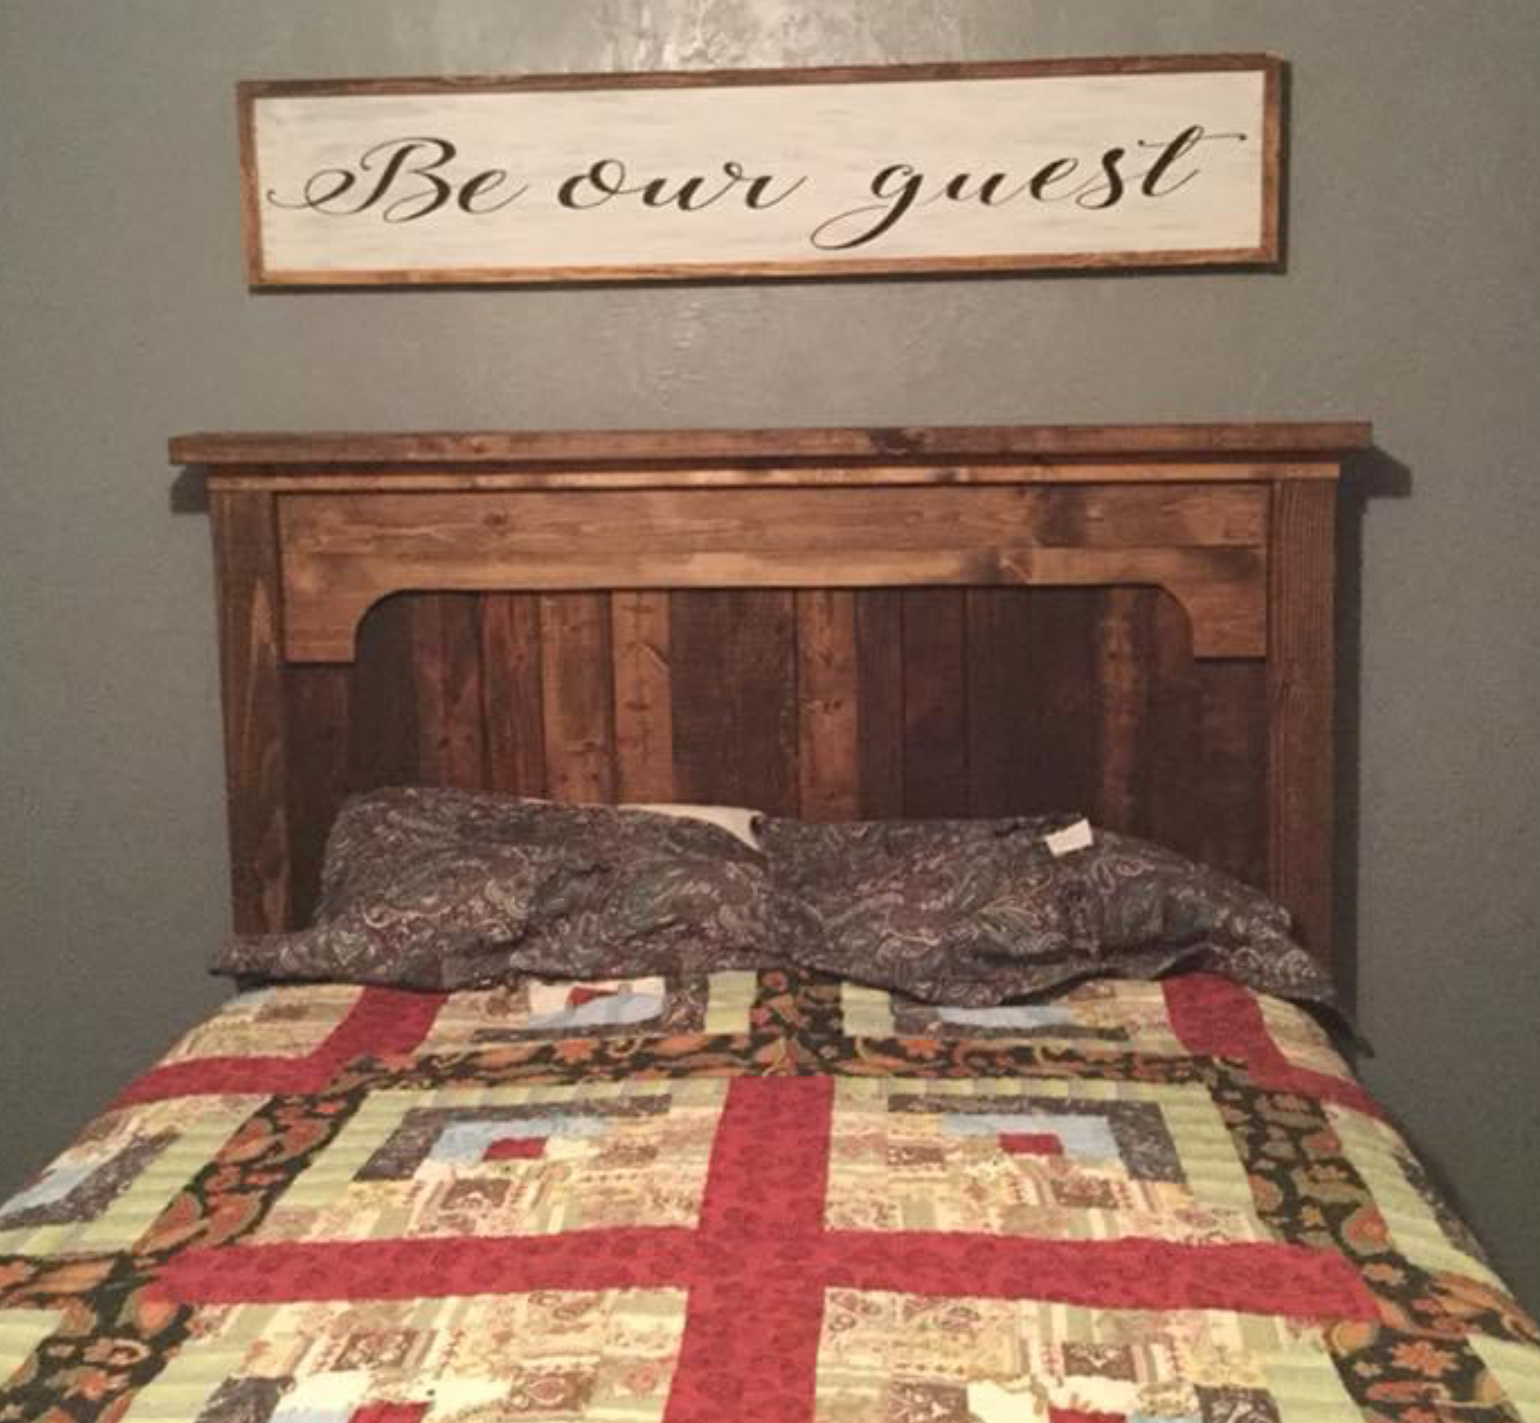
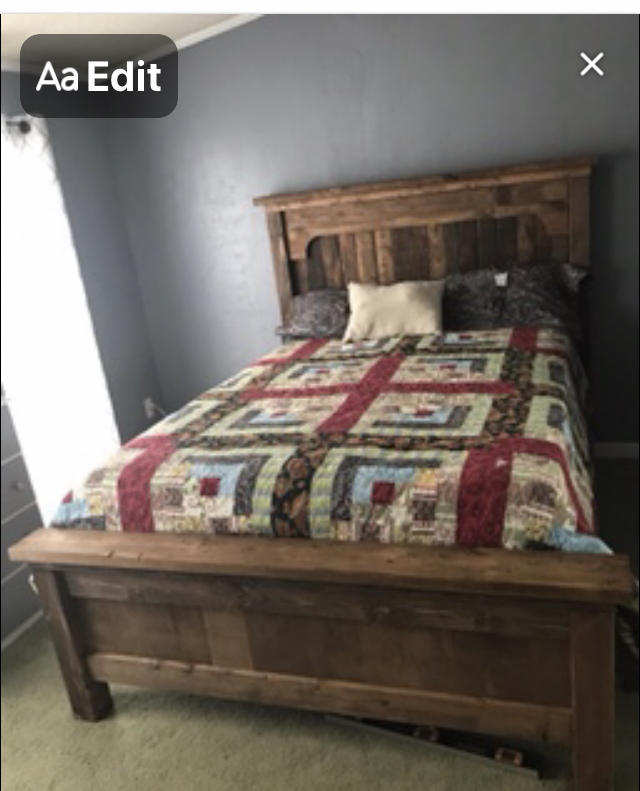
Reclaimed wood Farmhouse King bed

We removed the roof off an old chicken house in the heart of South Carolina. 100+ year old heart pine was the treasure we were able to use! Had to buy the 4x4's but we were able to use the old pine for the rest. Use natural oil stain on the heart pine and had Sherwin Williams do a custom stain to match the new 4x4 posts. Plus 2 coats of polyacrylic and sanded with extremely fine paper after stain and both coats for a wonderfully smooth finish.

And then attached our son's sidecar cosleeper back to the bed) that's what is over to the side.

Estimated Cost
$100
Estimated Time Investment
Week Long Project (20 Hours or More)
Finish Used
Natural oil stain + custom stain +2 coats of polyacrylic
Recommended Skill Level
Beginner

Patio conversation set

Submitted by nmendez78 on Wed, 06/26/2013 - 17:09

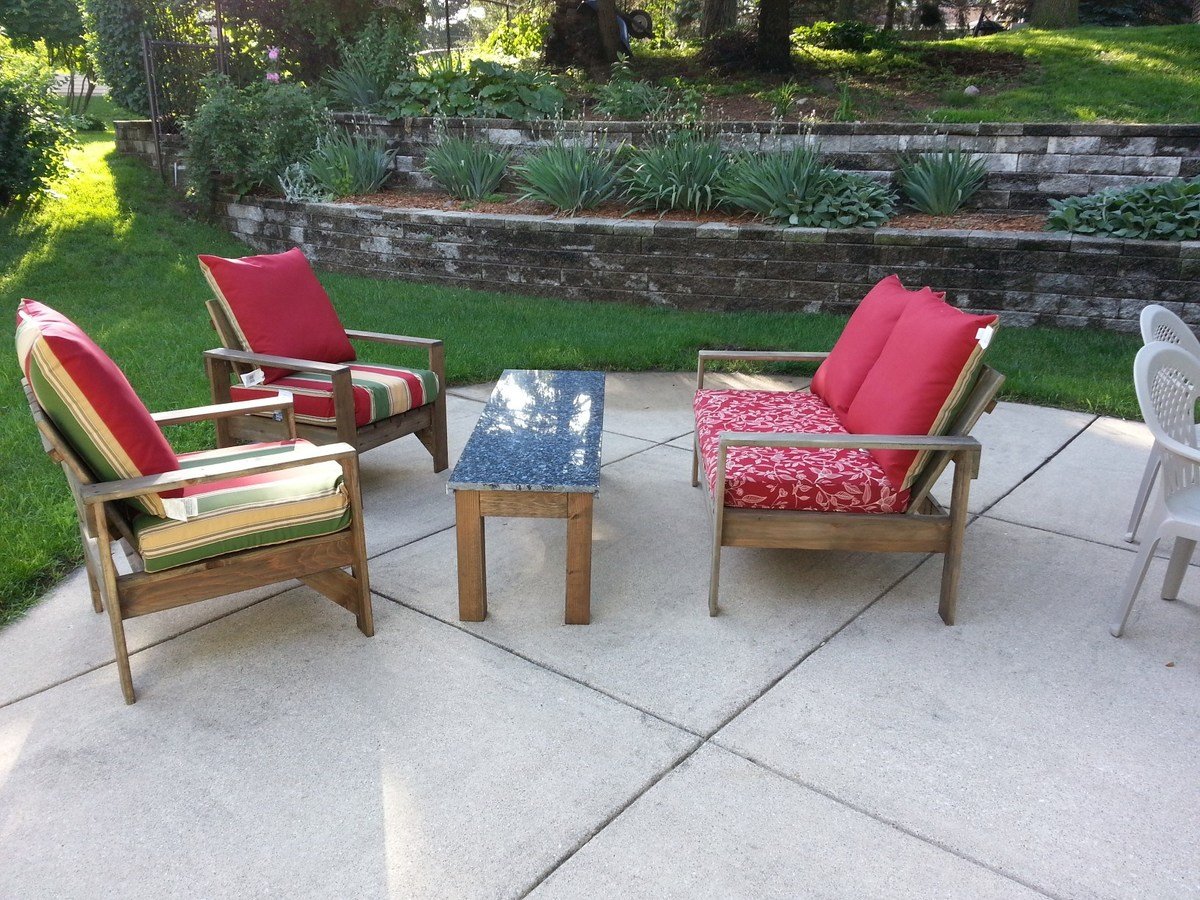
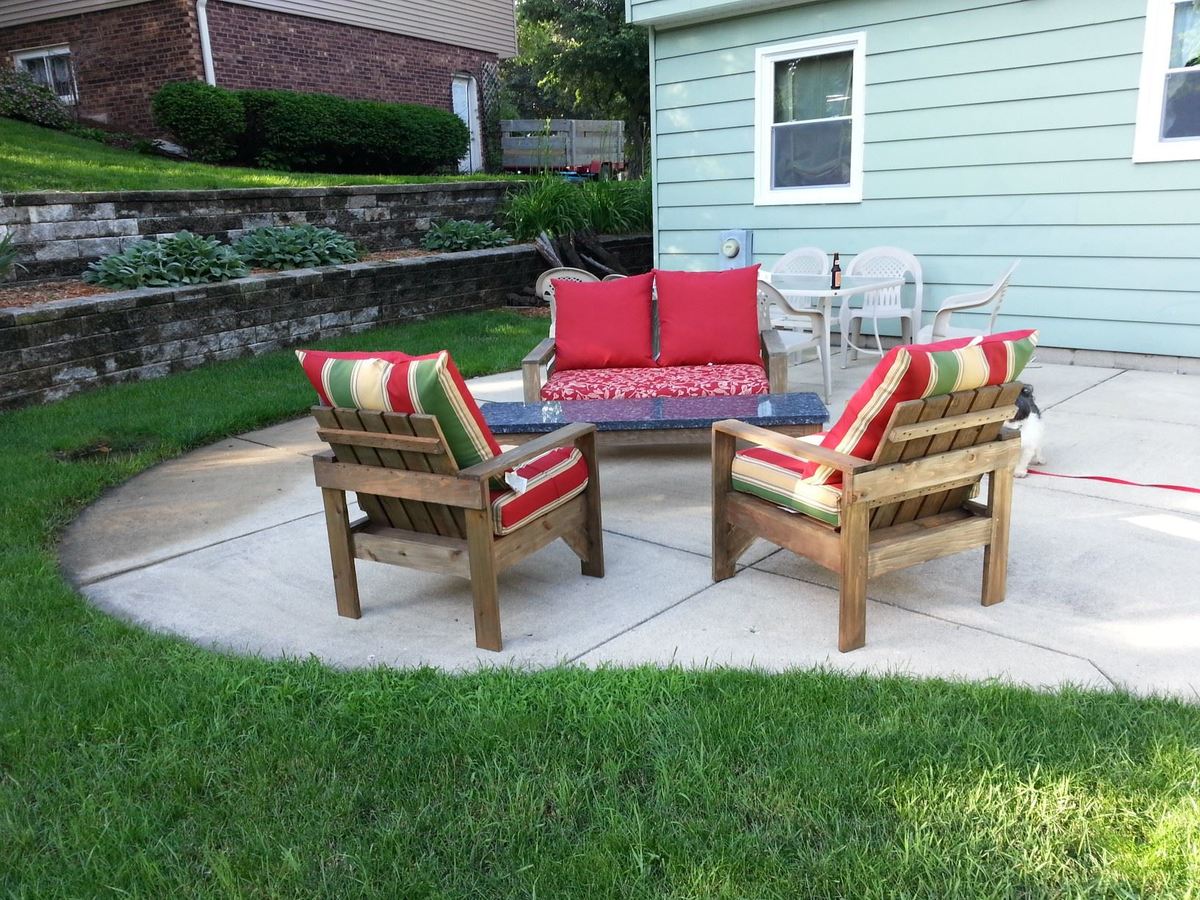
I made this set using the plans from the simple outdoor lounge chair. I used cedar wood, and adjusted the dimensions of the love seat to fit the cushions. Total cost (including cushions from walmart, not including granite slab for table) was about $250, and it took me about 20 hours to complete from start to finish.

Built from Plan(s)
Estimated Cost
$250
Estimated Time Investment
Weekend Project (10-20 Hours)
Finish Used
outdoor stain
Recommended Skill Level
Intermediate

Narrow Farmhouse Table for Home Office

I recently started a refinishing business and needed a work surface where I could use the computer, print, and write down inventory and have some storage for receipts, etc. I couldn't find anything affordable and big enough for my home office so I decided on building something myself. With help from my wonderful husband, I built the Narrow Farmhouse Table. I beat up the top with any tool I could find, then sanded, gel stained the top (java) 2x, and I painted the legs a sagey green with homemade chalk paint. Its big and beautiful and perfect for my home-based business.

Built from Plan(s)
Estimated Cost
$100
Estimated Time Investment
Afternoon Project (3-6 Hours)
Finish Used
I gave the tabletop boards a good beating before putting them on the table with pliers, hammer, file, etc. and gave the corners, sides, and ends a really good sanding to round the edges. I then wiped them down with alcohol, allowed them to dry and then rubbed on general finishes java gel stain on both sides. I allowed to dry for a couple of hours and then added another coat. I sanded again to bring out the wood grain and then put the table together. After I was finished I took a small can of "oops" sage green satin latex paint, I picked up for $2.50, and added a mixture of 1/2 plaster of paris and 1/2 water (mixed thoroughly before adding it to the paint) in a formula of 1/3 plaster of paris and water to 2/3 paint. I lightly sanded and wiped down before applying the paint to the legs. The chalk paint covered well and is very resistant to chipping. No wax or poly needed.
Recommended Skill Level
Beginner

Comments

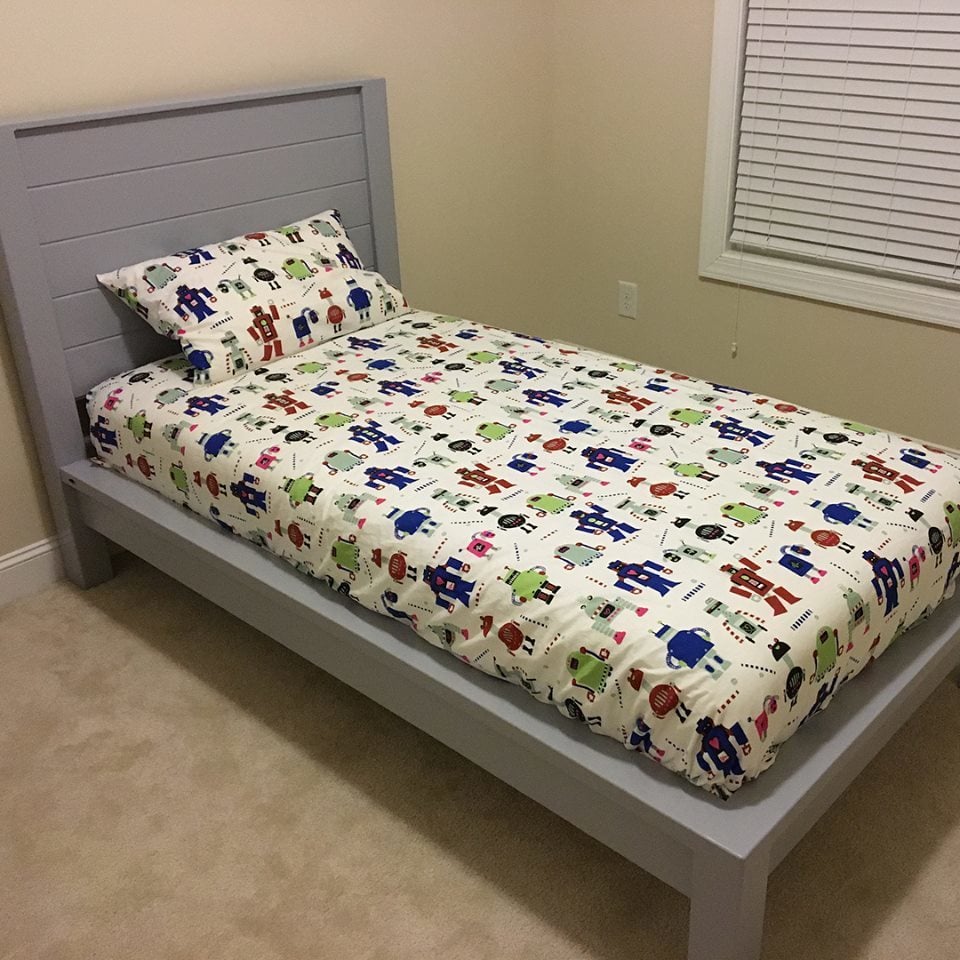
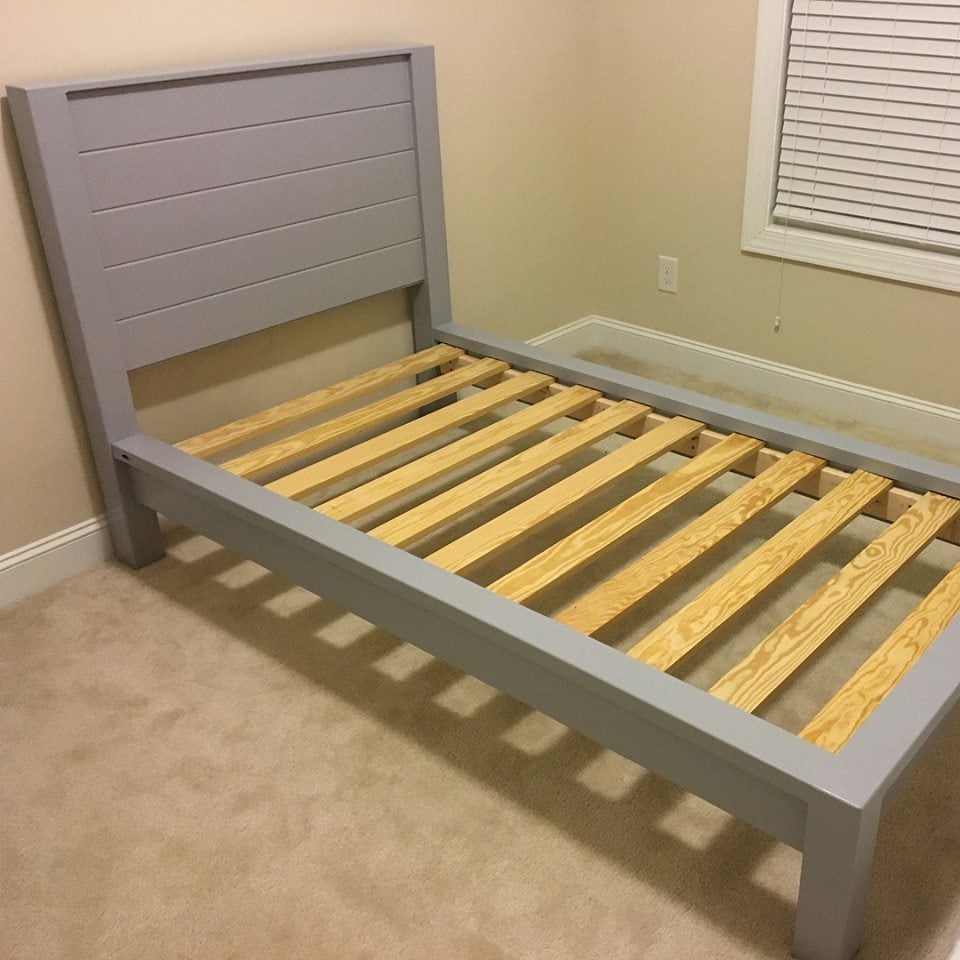
Modern Farmhouse Bed

Submitted by laaushop on Wed, 01/03/2018 - 19:10

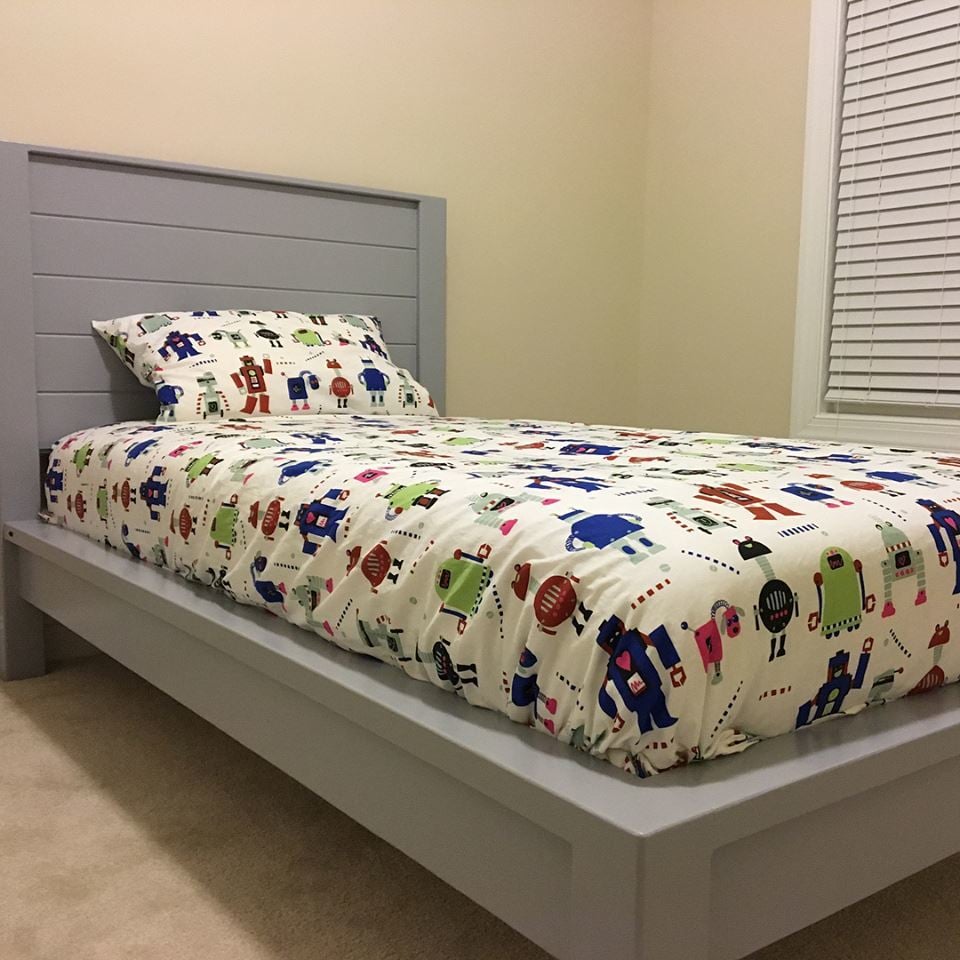
My version of Modern Farmhouse Bed. Let me know if you have any questions.

Built from Plan(s)
Estimated Cost
$150
Estimated Time Investment
Day Project (6-9 Hours)
Finish Used
Alkyd paint
Recommended Skill Level
Intermediate

Farmhouse bed

Submitted by Anonymous (not verified) on Sun, 12/26/2021 - 18:27

I made this farnhouse bed from the plans I found on Ana’s site.

Built from Plan(s)

Comments

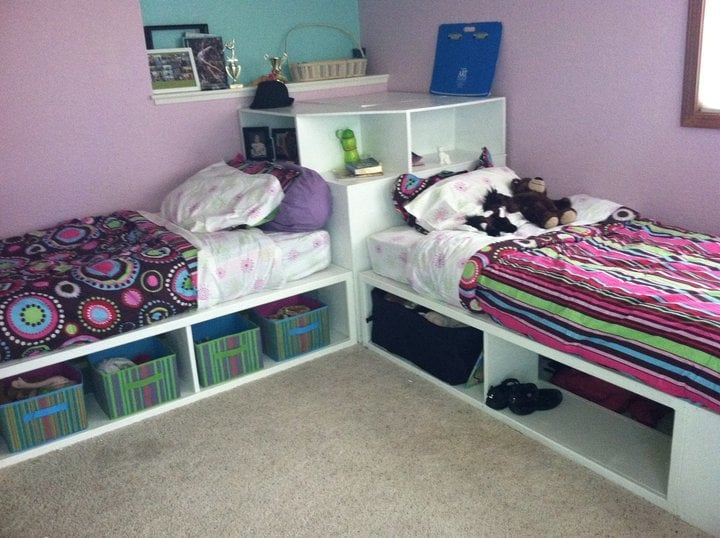
Storage beds (twin) with Corner unit

Submitted by Dinabu on Tue, 05/03/2011 - 08:48

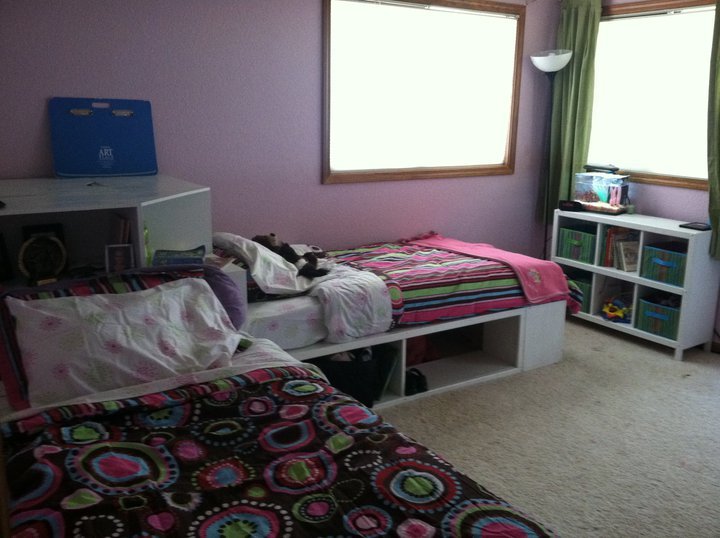
We made these beds for my daughters, who were ready to pass on the bunkbeds to their little sisters. We have 4 girls in one room, so use of space is crucial! I originally wanted the hutch as well, but as you can see in the picture, we had to work around a wall cut out, so we modified the corner unit to have a larger shelf area to fit the space. We also left the sides open to be able to slide containers in to store out of season clothes and blankets, though the ends have a backing.

Estimated Cost
$250-$300.
Estimated Time Investment
Weekend Project (10-20 Hours)
Finish Used
Gloss white paint.
Recommended Skill Level
Beginner

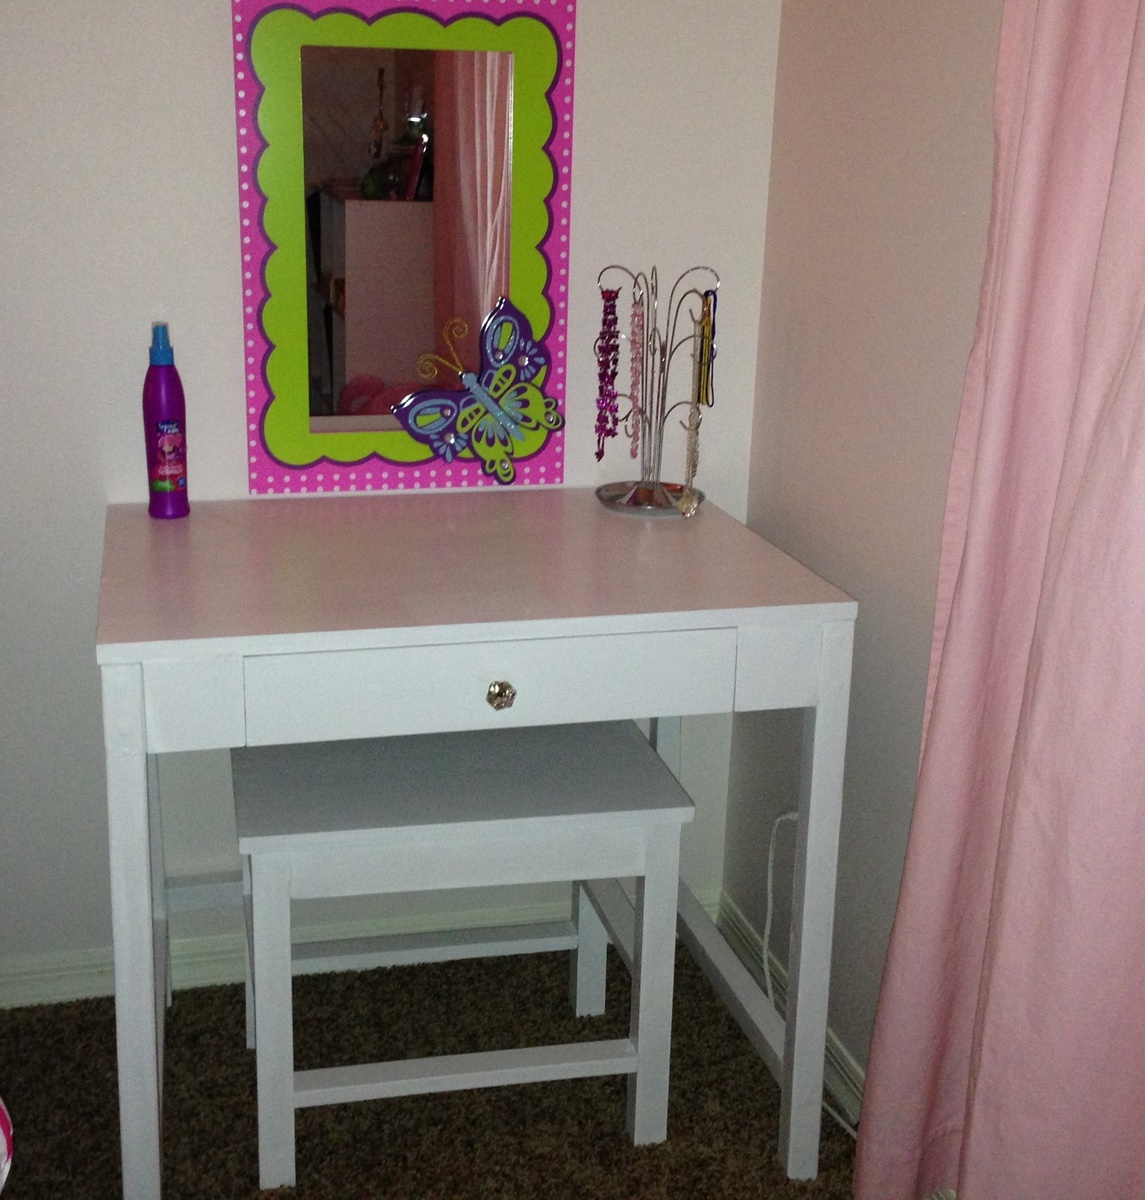
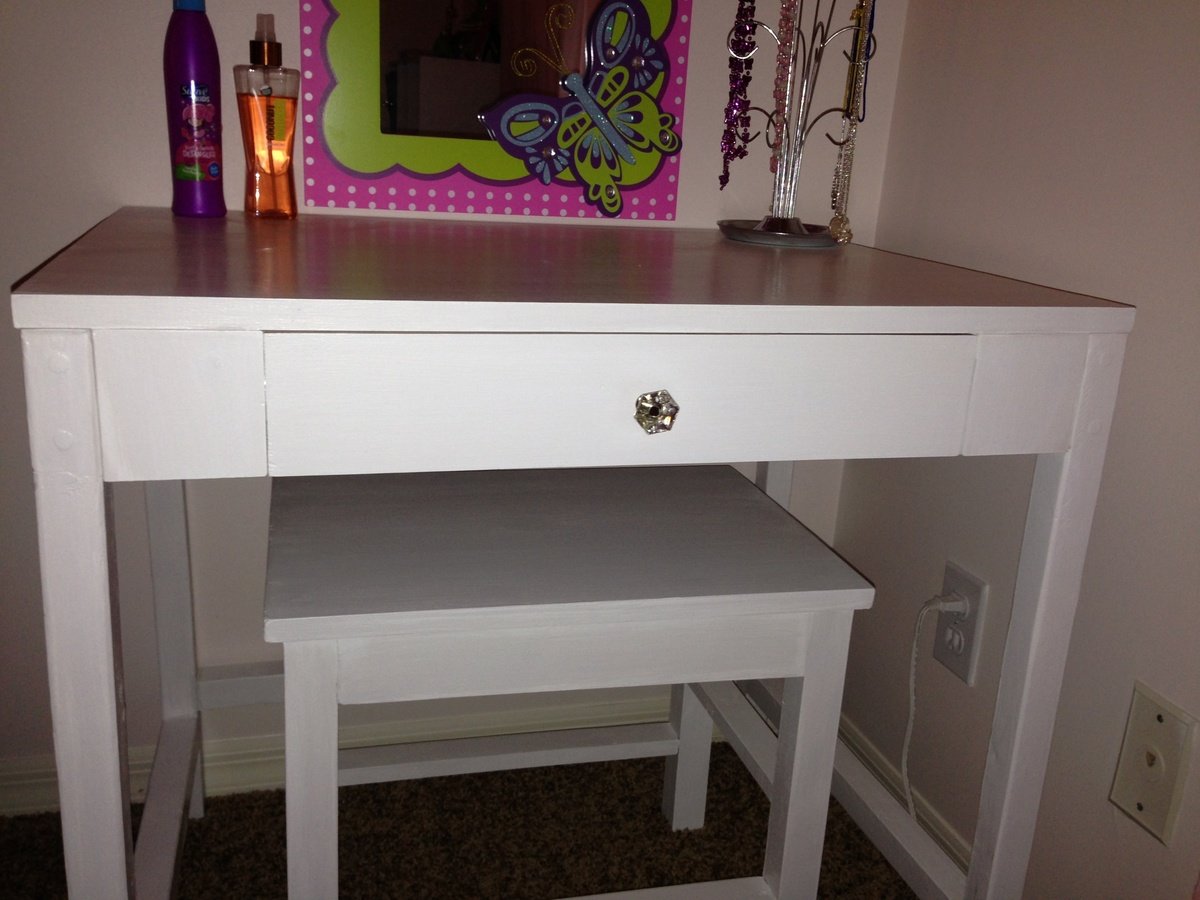
Cubby desk turned kid's vanity

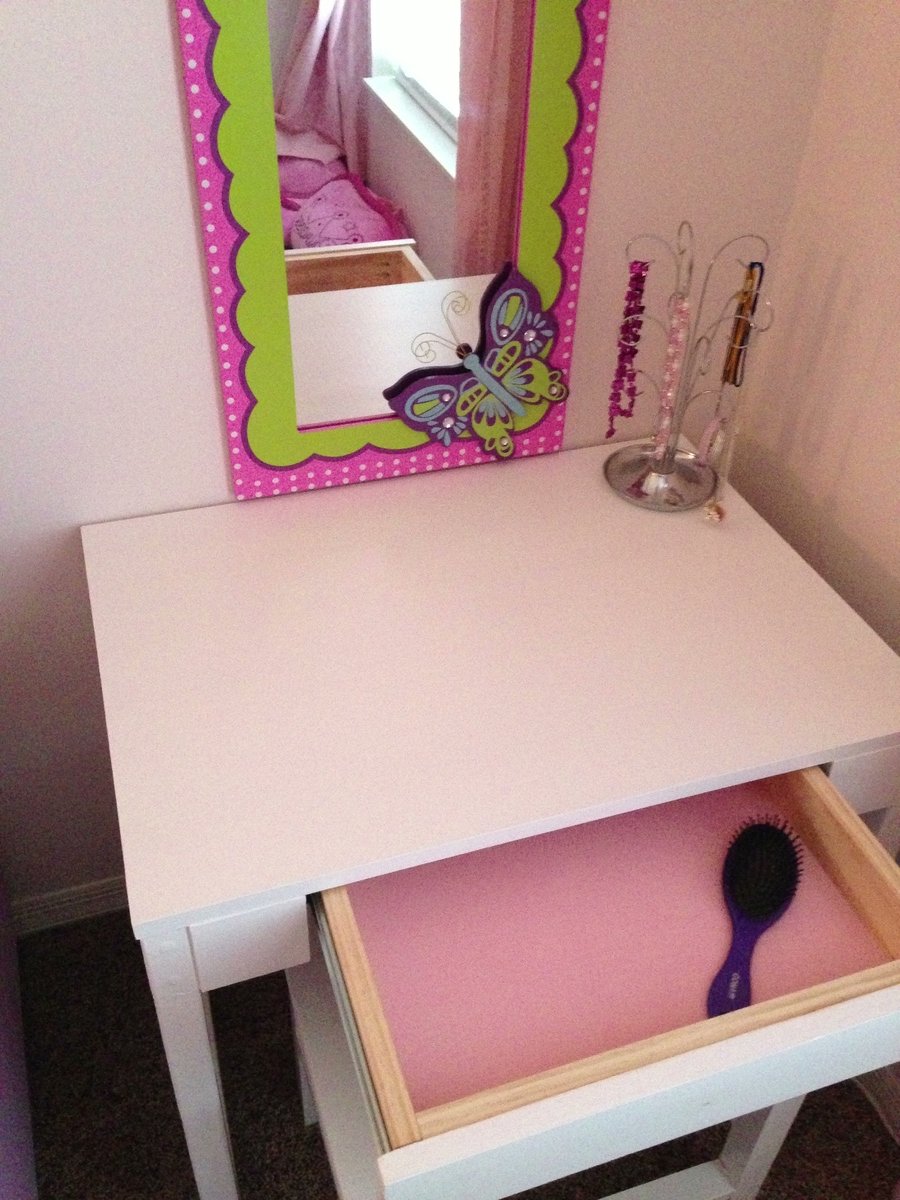
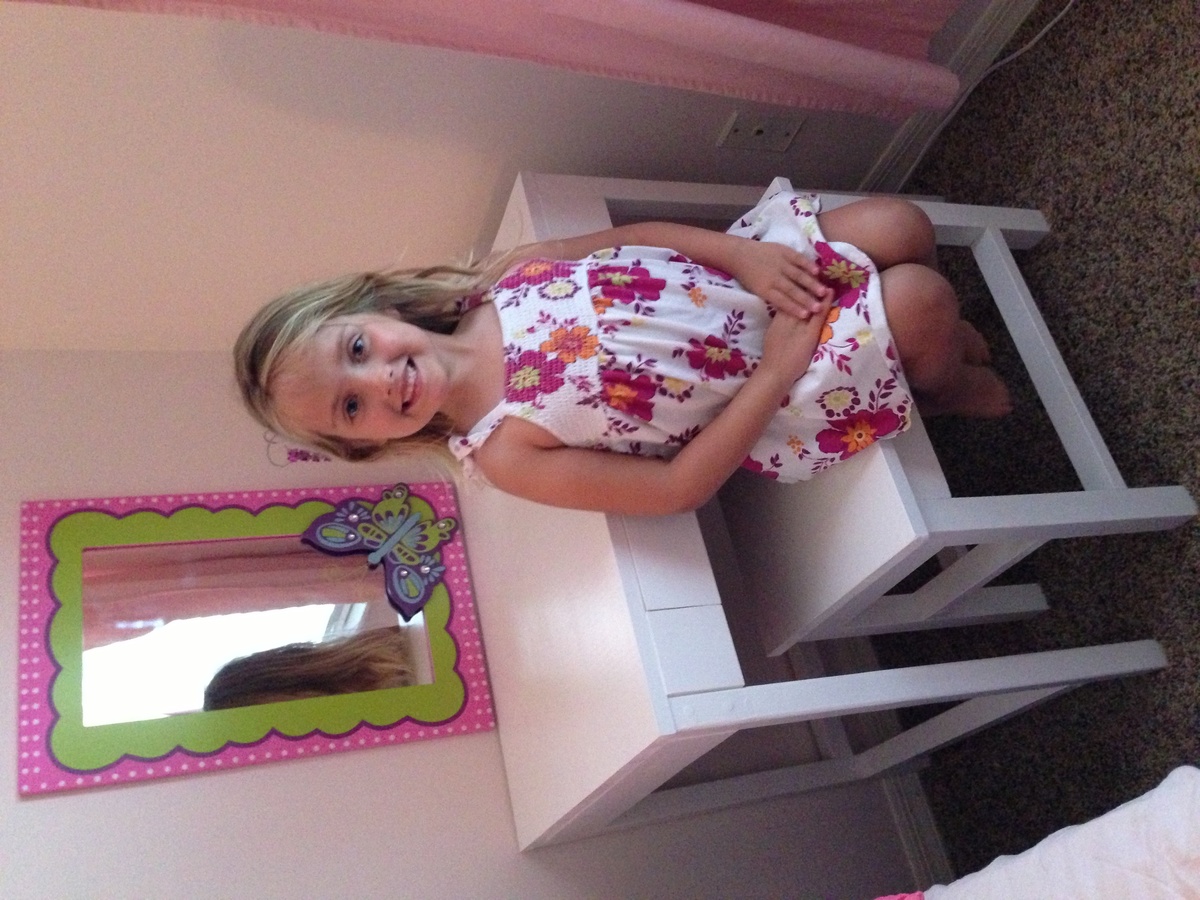
This was my first "by myself" build! I decided to make my daughter a pre-K graduation gift. She helped me fill the screw holes and painted the inside of the drawer with me. We called it "peek-a-boo pink" because she pulled it out and said it's a surprise. My only complaint was a lot of the pieces in the plans said they were 1x4's when they were in fact 2x4's, so I ended up building the desk top twice before I got it right. Live and learn right? I love, love, love this site and am so excited looking through plans deciding what to build next. Thank you Ana!!

Estimated Cost
$85
Estimated Time Investment
Week Long Project (20 Hours or More)
Finish Used
Glidden Gripper primer and valspar interior semi-gloss latex paint.
Recommended Skill Level
Intermediate

Outdoor Bench

Submitted by mcnessa on Thu, 06/18/2015 - 09:11

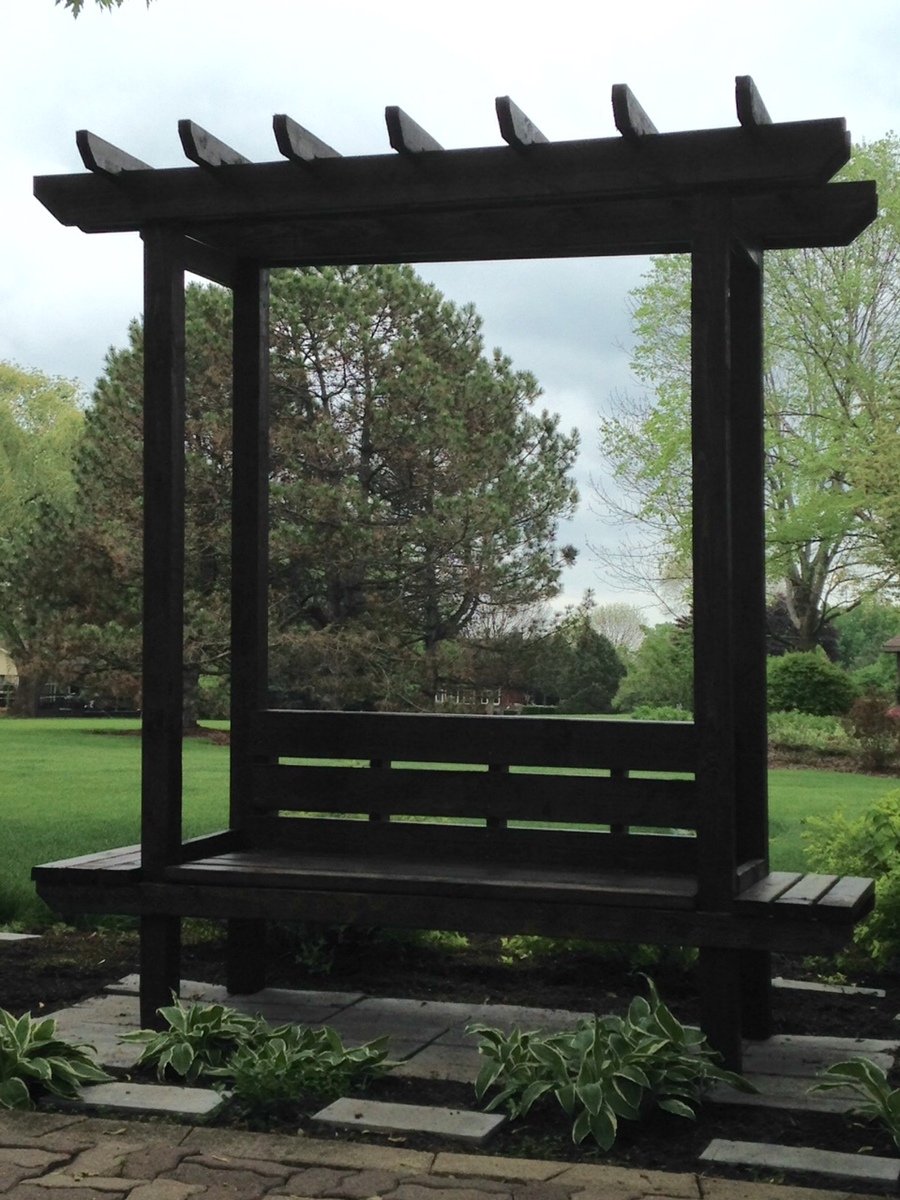
This plan was pretty easy to follow. Apart from having to make some minor adjustments to the notches for the rafters across the top, and needing a couple more seat support boards than the cut list called for, everything went as planned.

I used green treated lumber and stained it with Minwax Walnut. I also sealed the entire piece with Spar Urethane.

I didn't use lattice work on the sides, but went with some horizontal lattice work on the back (a mix of stained and unstained 2x1 and 3x1 boards). I may install a couple of 2x4 for arm rests on each side.

The morning glory vine I planted behind the bench has almost reached the top of the lattice work. All in all, I'm very pleased with how this project turned out.

Thanks Ana!

Built from Plan(s)
Estimated Time Investment
Weekend Project (10-20 Hours)
Finish Used
Minwax Walnut
Spar Urethane
Recommended Skill Level
Intermediate

Comments

Home made bar

Submitted by Anonymous (not verified) on Mon, 12/27/2021 - 06:34

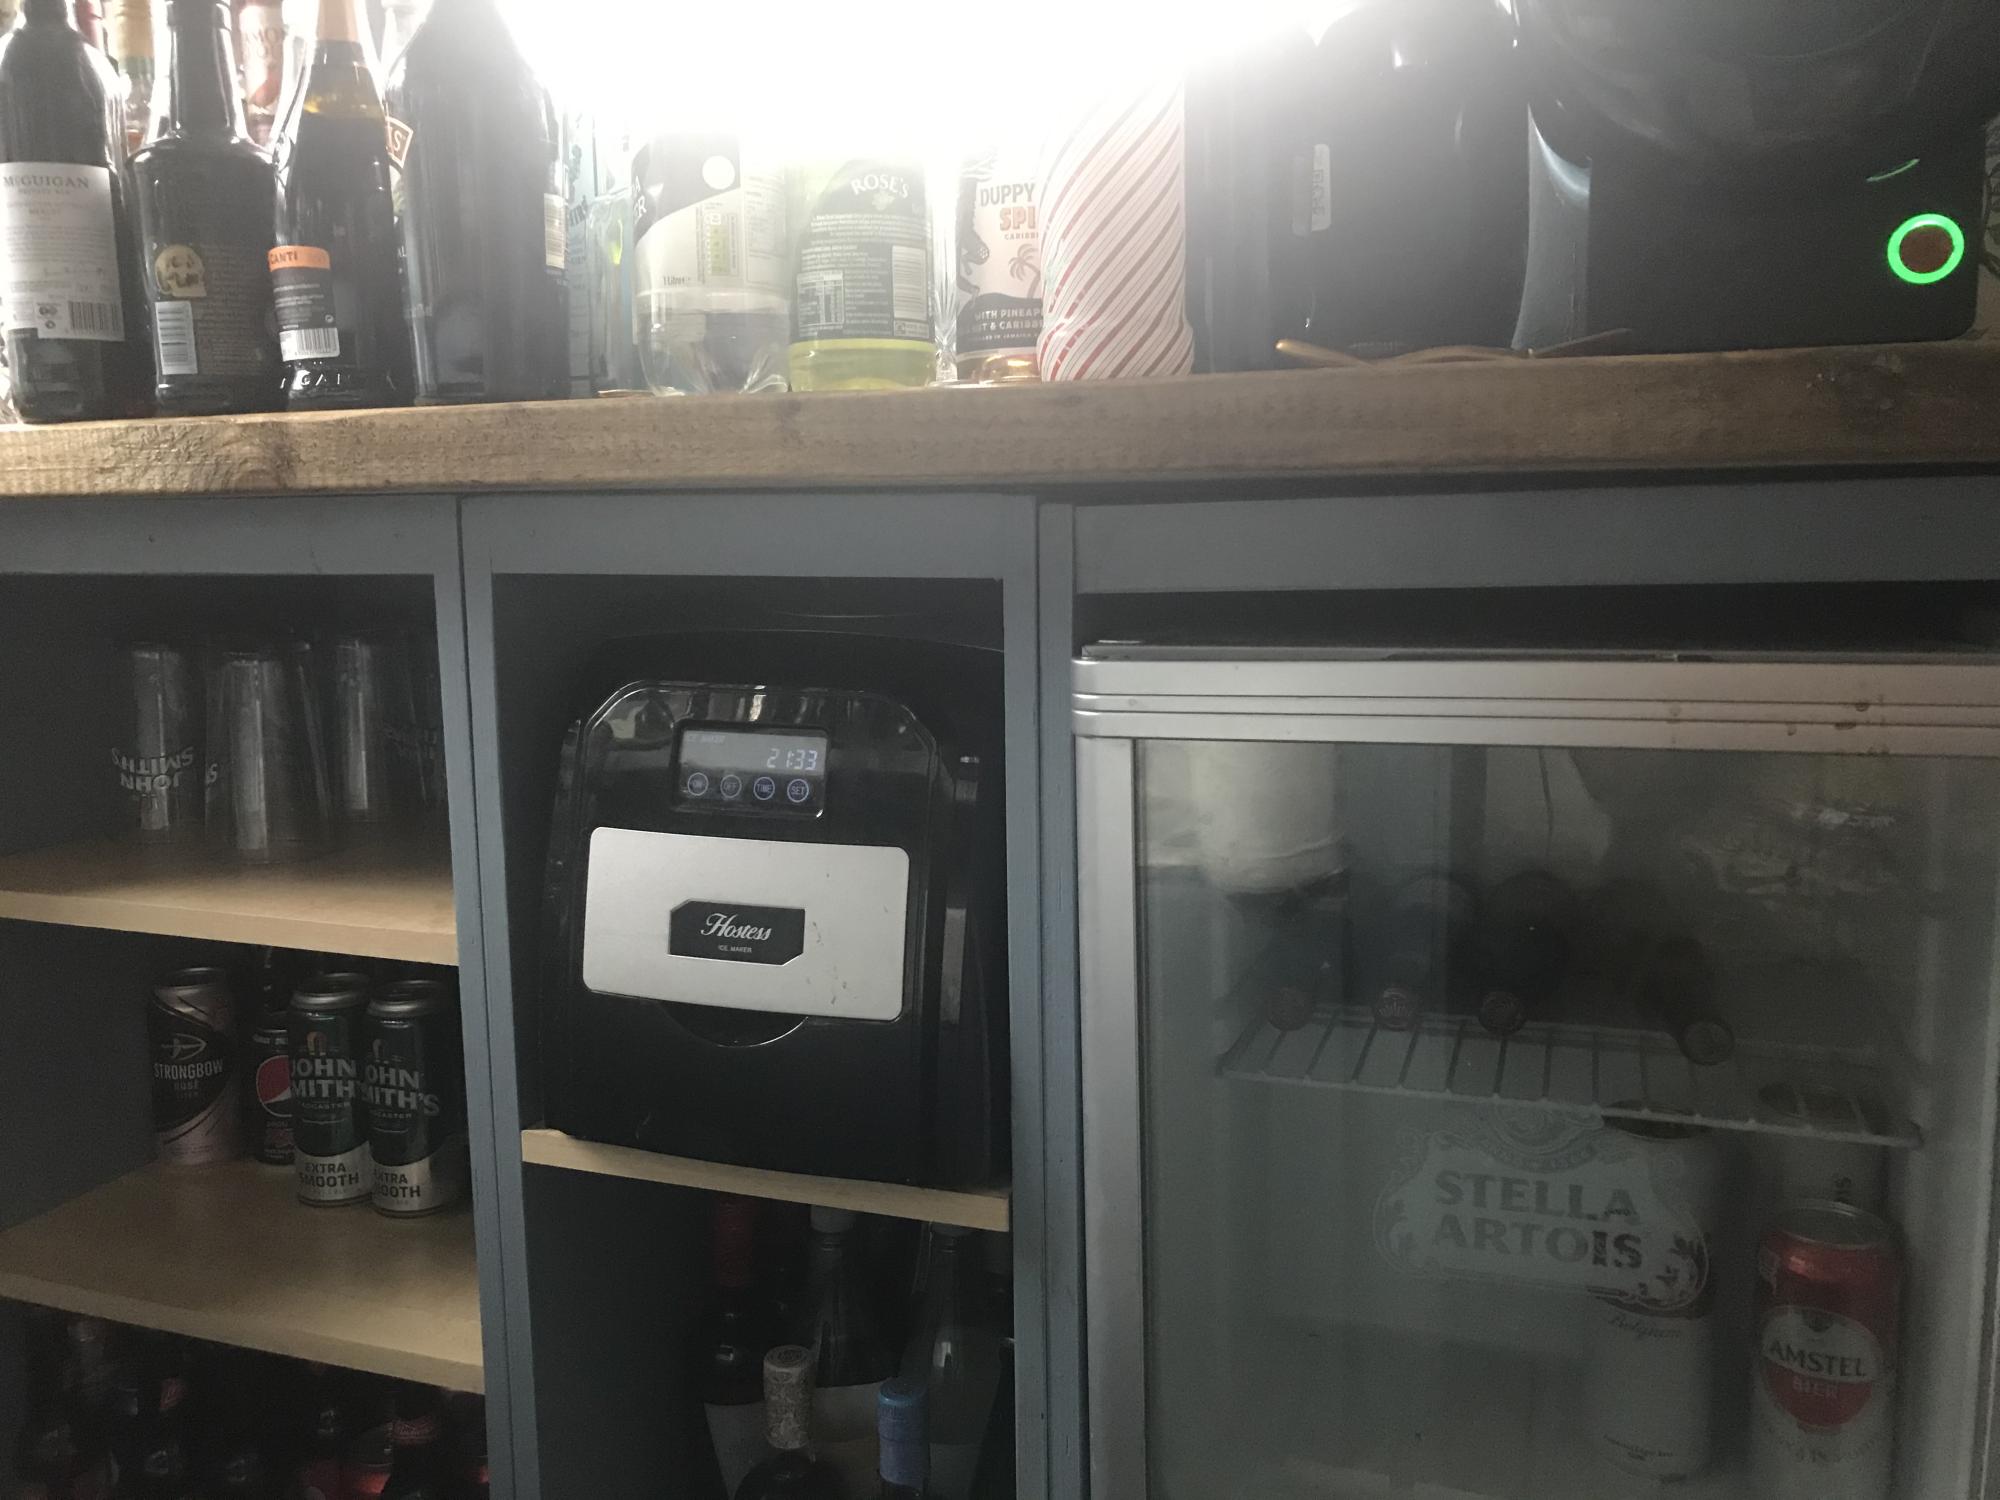
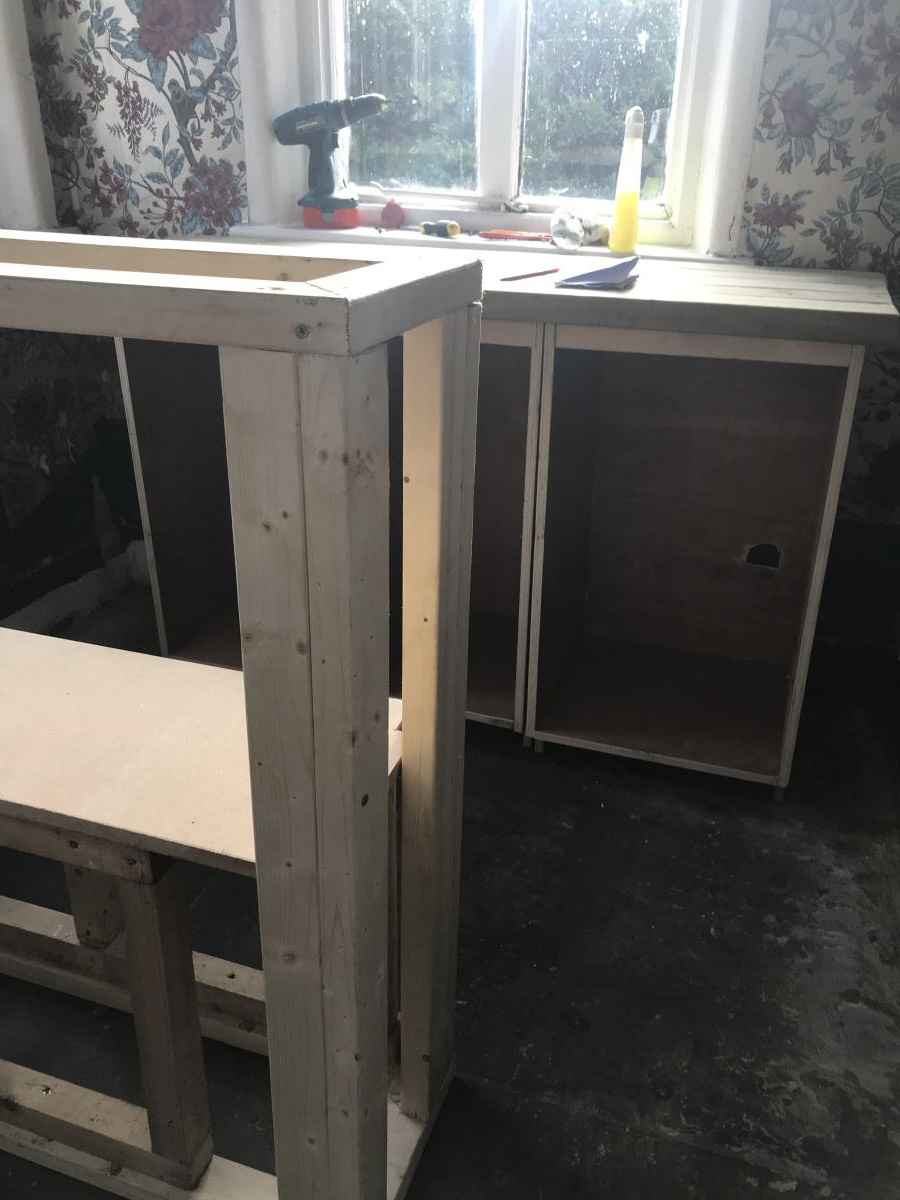
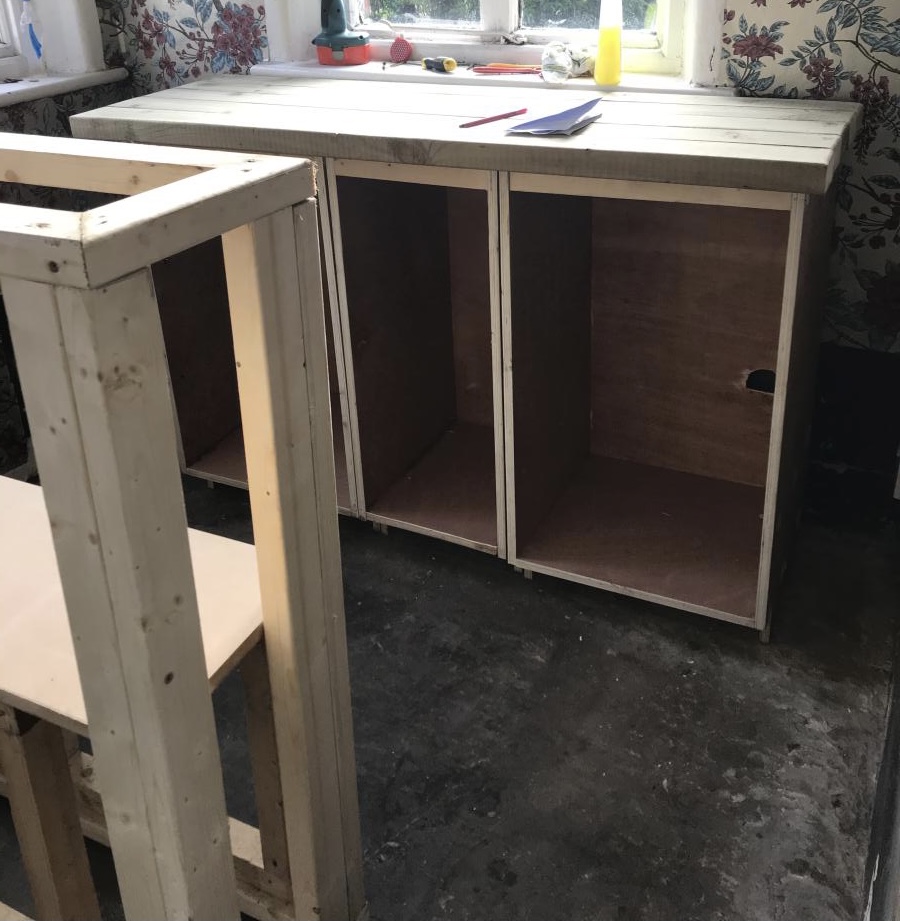
Based bar cupboard on kitchen carcass plans and then made the bar front as I went . The kitchen cupboard plans were easy to follow and I was really pleased with the results. This was a real hit at Christmas a really good base for mixing and even better folks brought bottles with them !!

Comments

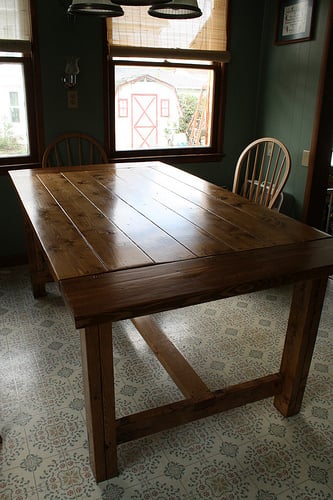
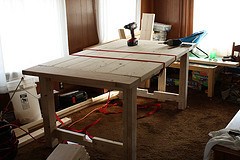
Farmhouse Table

Submitted by Becbud on Thu, 05/05/2011 - 11:47

We shortened the length of the table to 5 1/2 feet. Took me bits and pieces of 3 weeks to build working around rain days and napping children.
Around $80 in materials, not counting the new orbital sander (which I wanted for a while).
Looking forward to building 2 benches next month. A sturdy table for my family of 7. (Including 3 boys!!!)
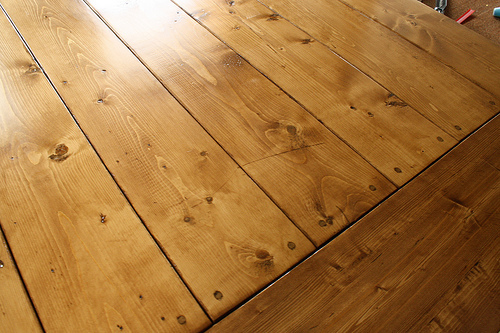
This was my first project. I see the flaws, but overall, I'm very happy. I built mostly myself, but hubby had to help with the hauling indoors/outdoors, kids held wood while I used the saw, stood on boards while I attached. It was fun for all of us and we are thrilled with the results. Even the scratch in the tabletop photo below was done by my 2 yr old and I call that his little touch!

Estimated Cost
$80
Estimated Time Investment
Week Long Project (20 Hours or More)
Finish Used
Formby's light walnut stain (found in my basement)
applied, wait 5 min, and wiped off
Minwax Fast Drying Polyurethane in semi-gloss
(2 coats on base, 4 on table top)
Recommended Skill Level
Beginner

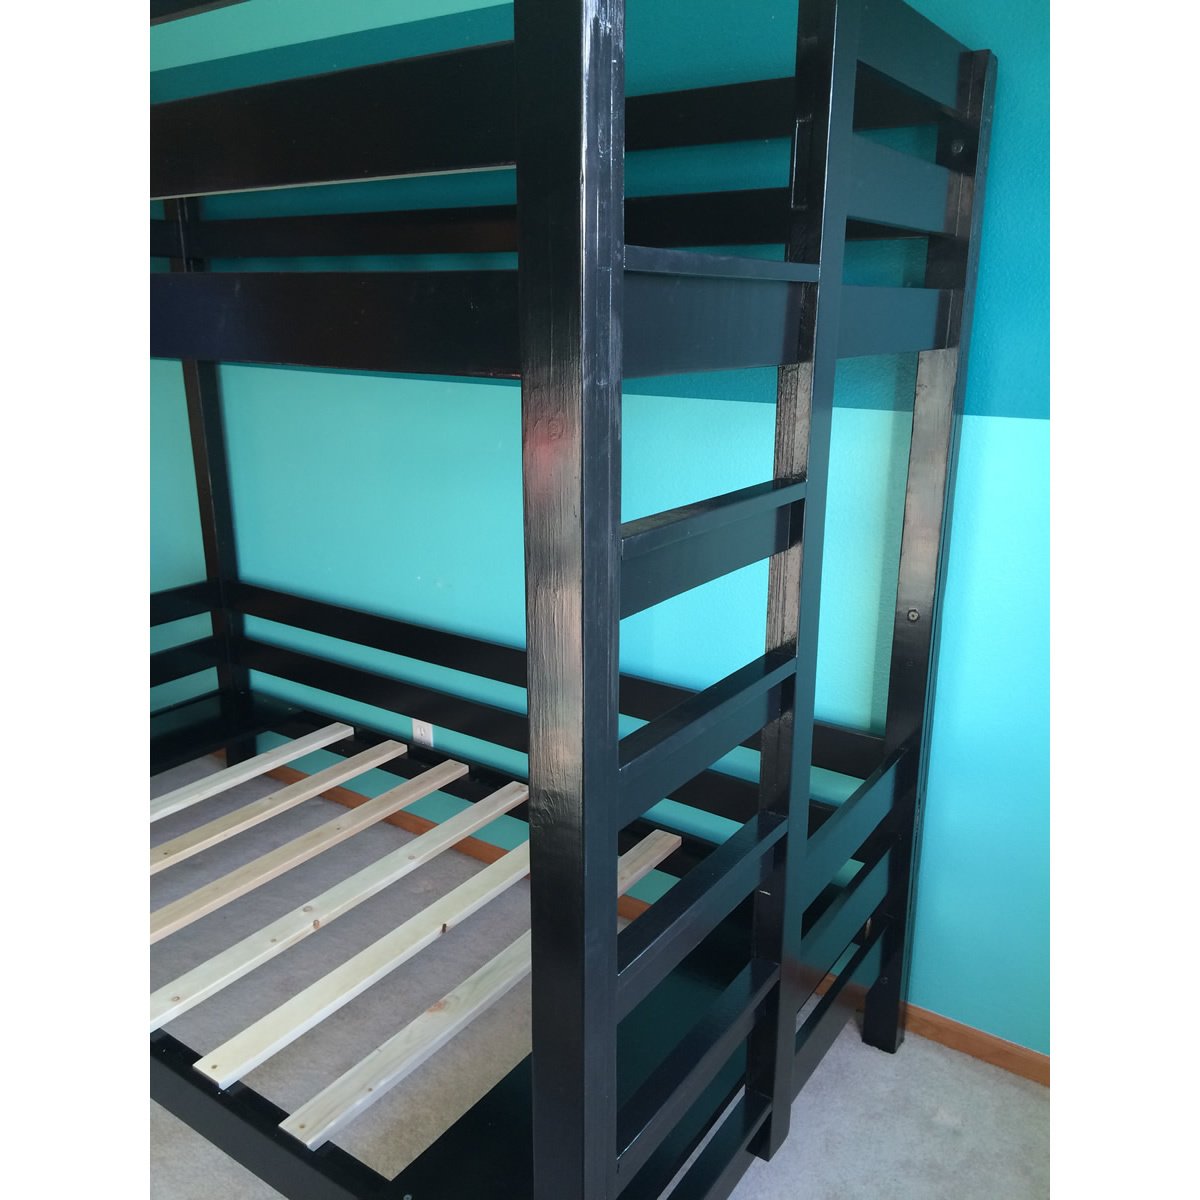
Convertible Classic Bunk Bed

Submitted by sharonw on Mon, 06/22/2015 - 22:24

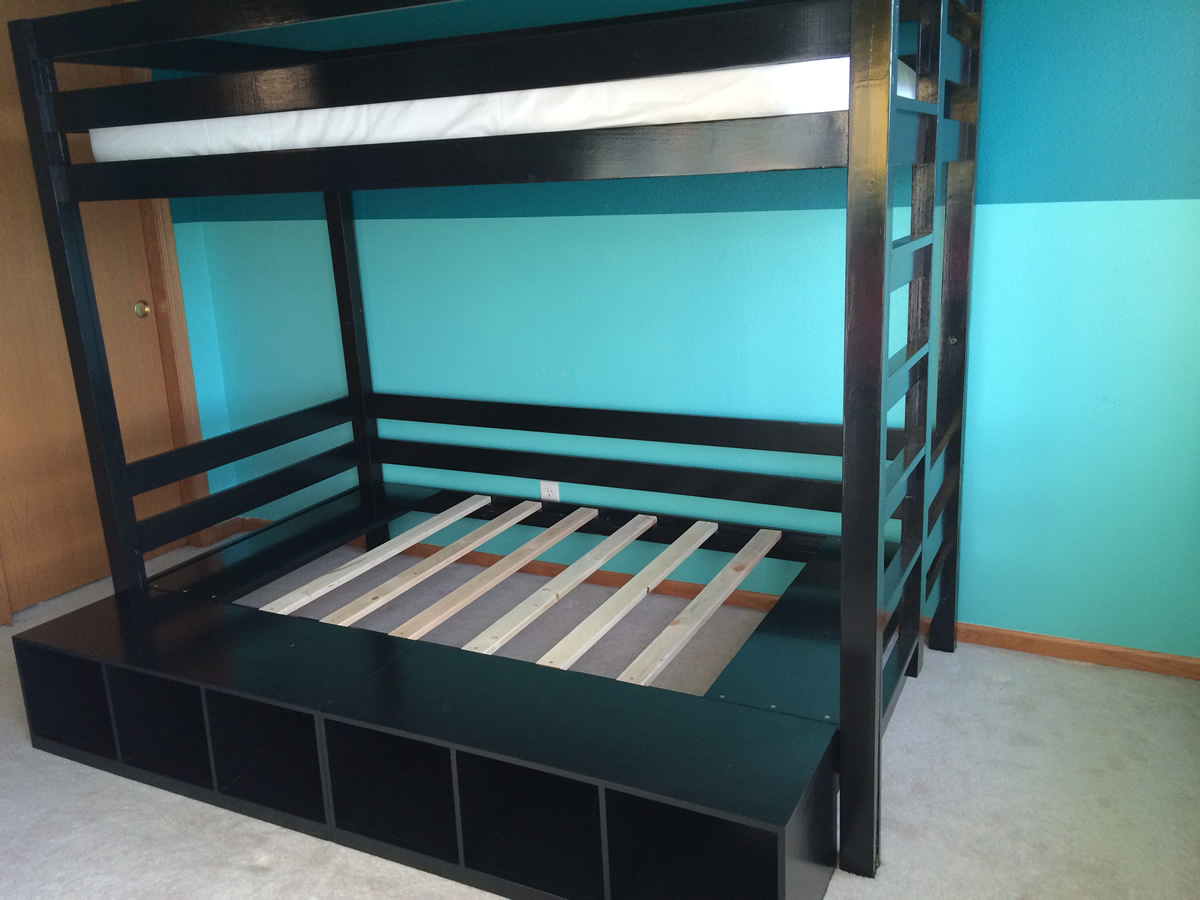
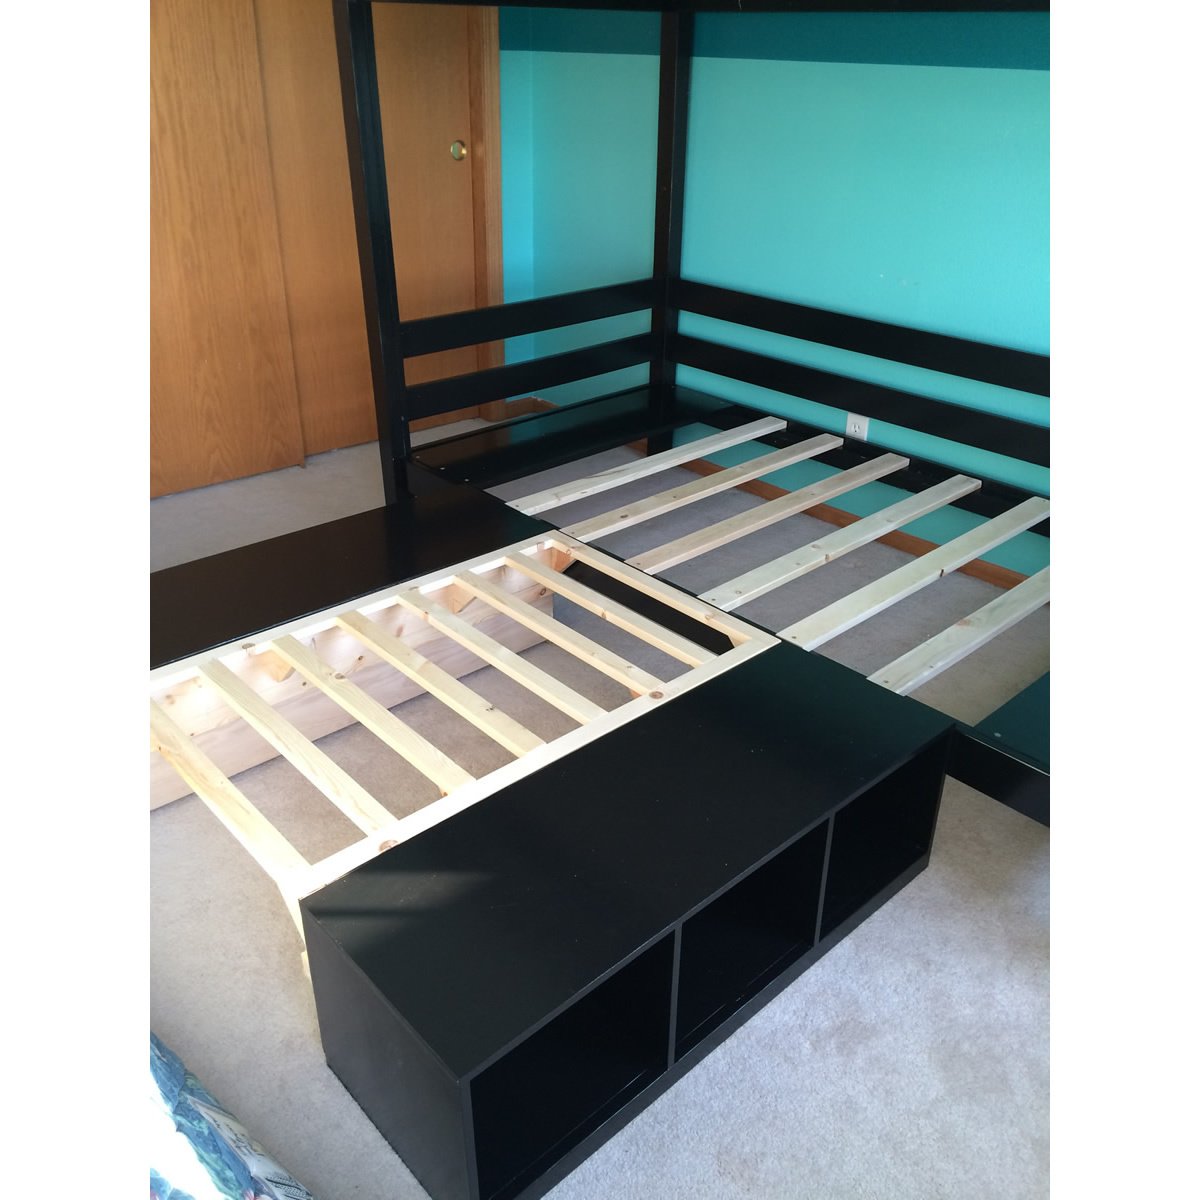
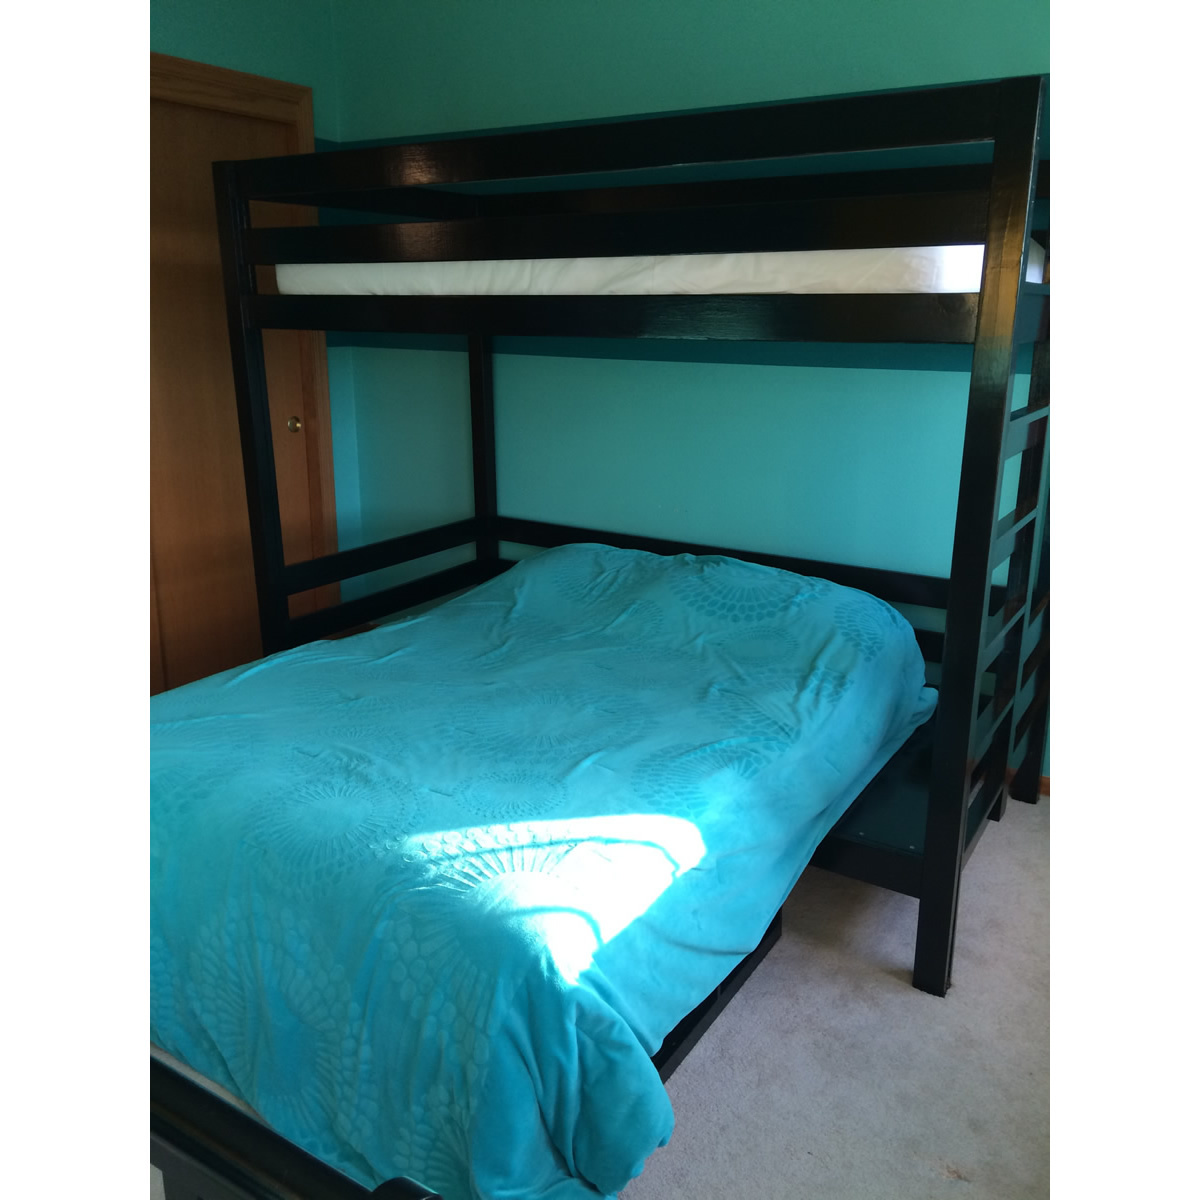
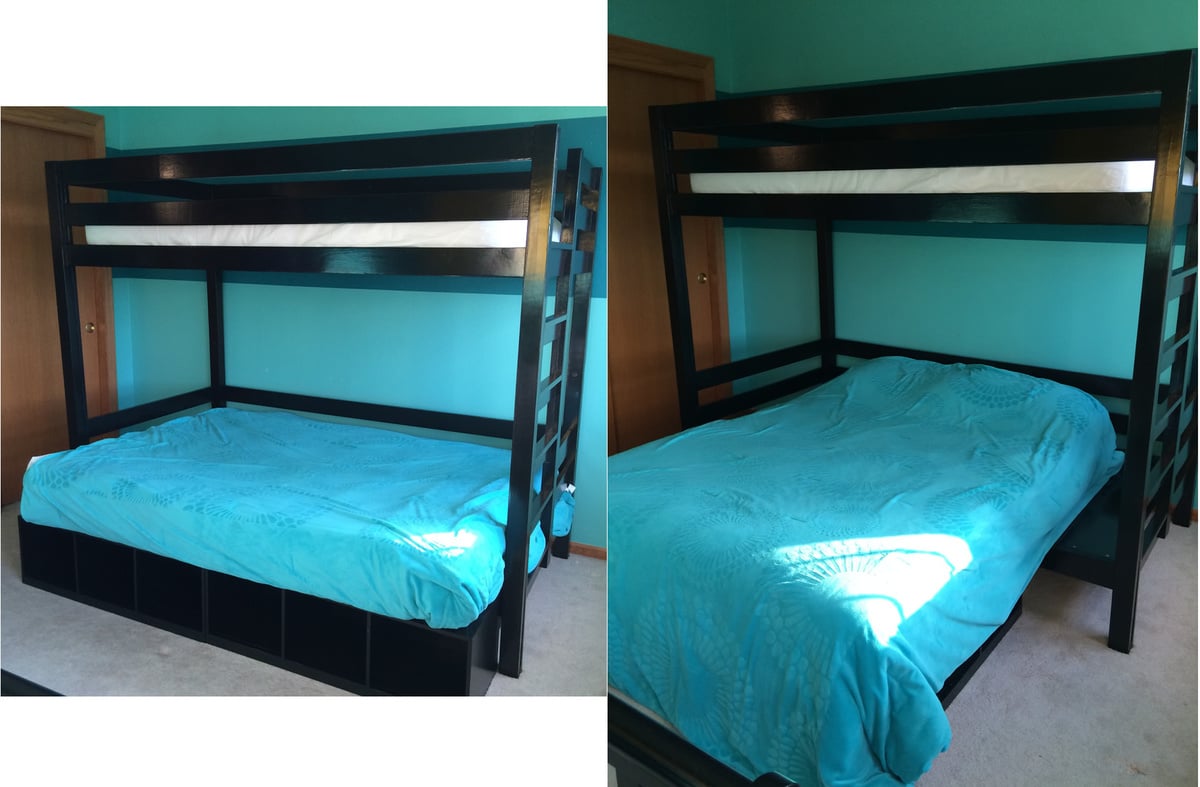
I modifed the Classic Bunk Bed and Cubby designs to create a convertible twin over full bunk bed. The bottom full-sized bunk can be rotated to be parallel to the wall (when my son sleeps there) or perpendicular to the wall (for when we have guests so they don't have to climb over one another). Changes I made were:

- I moved the ladder to the end of the bed to make room for the full-sized mattress.
- I added 1x2 treads to the ladder to make it easier on the feet.
- I raised the height of the top bunk. Finished height of the bed is 68" to add head room on the bottom bunk for taller people.
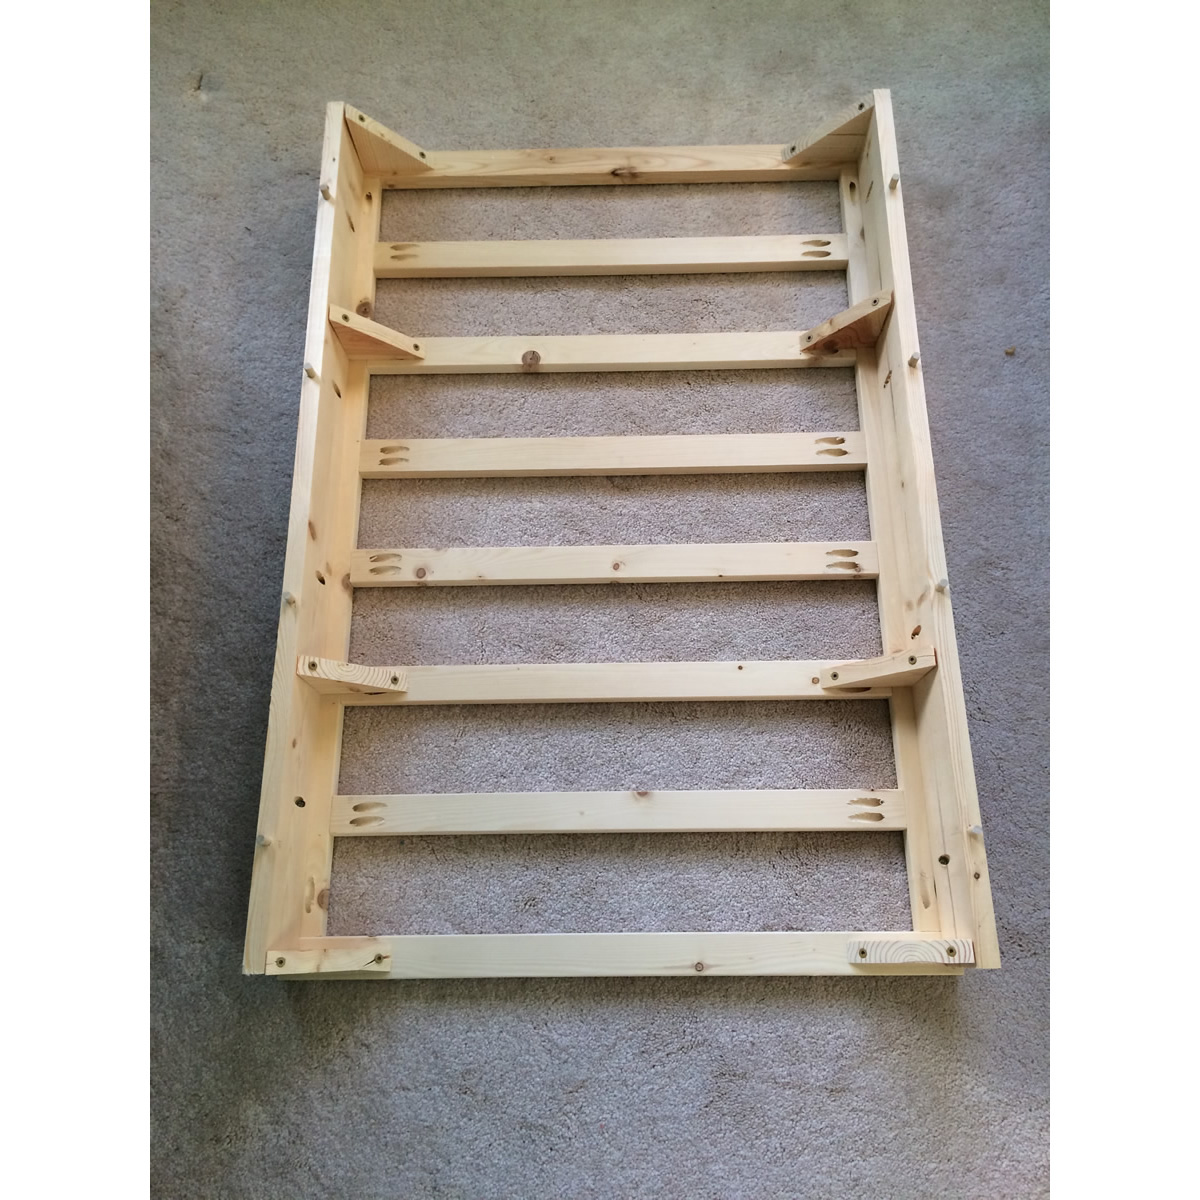
- I built 2 custom cubbies (full dimensions of each 37.5" x ~13.5" x 11.5") to support the added width of the full-sized bottom bunk. These cubbies can also be rotated to support the mattress in the perpendicular position for use as a guest bed (see pictures).
- I built an additional support that fits onto the back of each of the cubbies when they are turned to support the perpendicular guest bed (see pictures).
- I changed the end support rails for the bottom bunk to 1x12s that I painted to match the bed to be used as night stands when the bed is rotated to be a guest bed (see pictures).
- I used wood thread inserts and 1/4"-20 connector bolts (from Fastenal) to assemble the bed, so it would be easy to disassemble and reassemble.

Funny story - When we went to move it to the second story bedroom from the garage where I had finished it, the long sides wouldn't fit up our stairs!!! Our stairs have a tight 90 degree turn partway up. After all the hours I put in building and finishing it, I almost cried! Fortunately after using a straight edge blade to carefully cut through the paint, we unscrewed the upper most rail and were able to just barely get it up our stairs. I was so thankful I hadn't glued those boards on!

Estimated Cost
$200
Estimated Time Investment
Week Long Project (20 Hours or More)
Finish Used
1 coat primer, 2 coats Olympic ONE in their standard Black (satin), 2 coats Minwax polycrylic (satin - although I thought it looked shinier than I expected). All applied with a Purdy 3" angled brush.
Recommended Skill Level
Intermediate

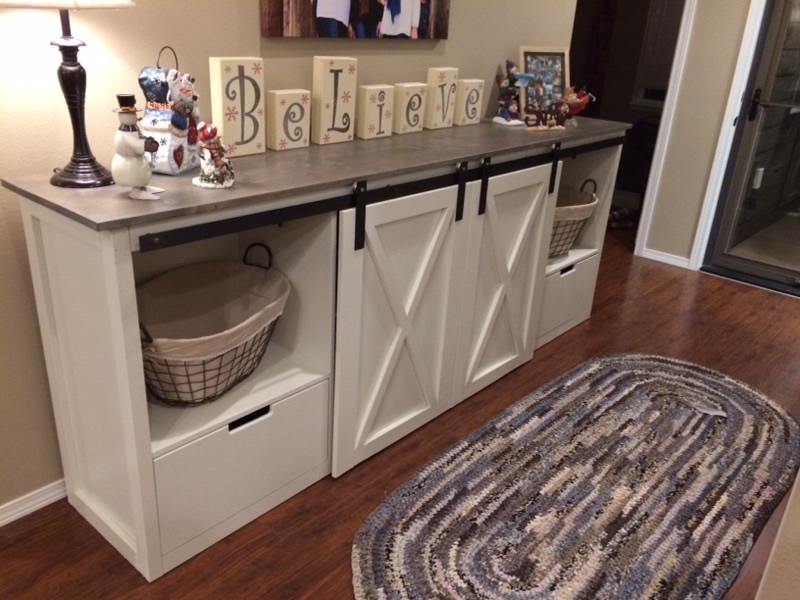
Sliding door console

Submitted by WhiteStag on Tue, 01/09/2018 - 14:47

Project completed!

Estimated Cost
$300
Estimated Time Investment
Weekend Project (10-20 Hours)
Finish Used
Sherwin Williams Natural Choice paint, homemade stain, Helmsman Spar topcoat
Recommended Skill Level
Intermediate