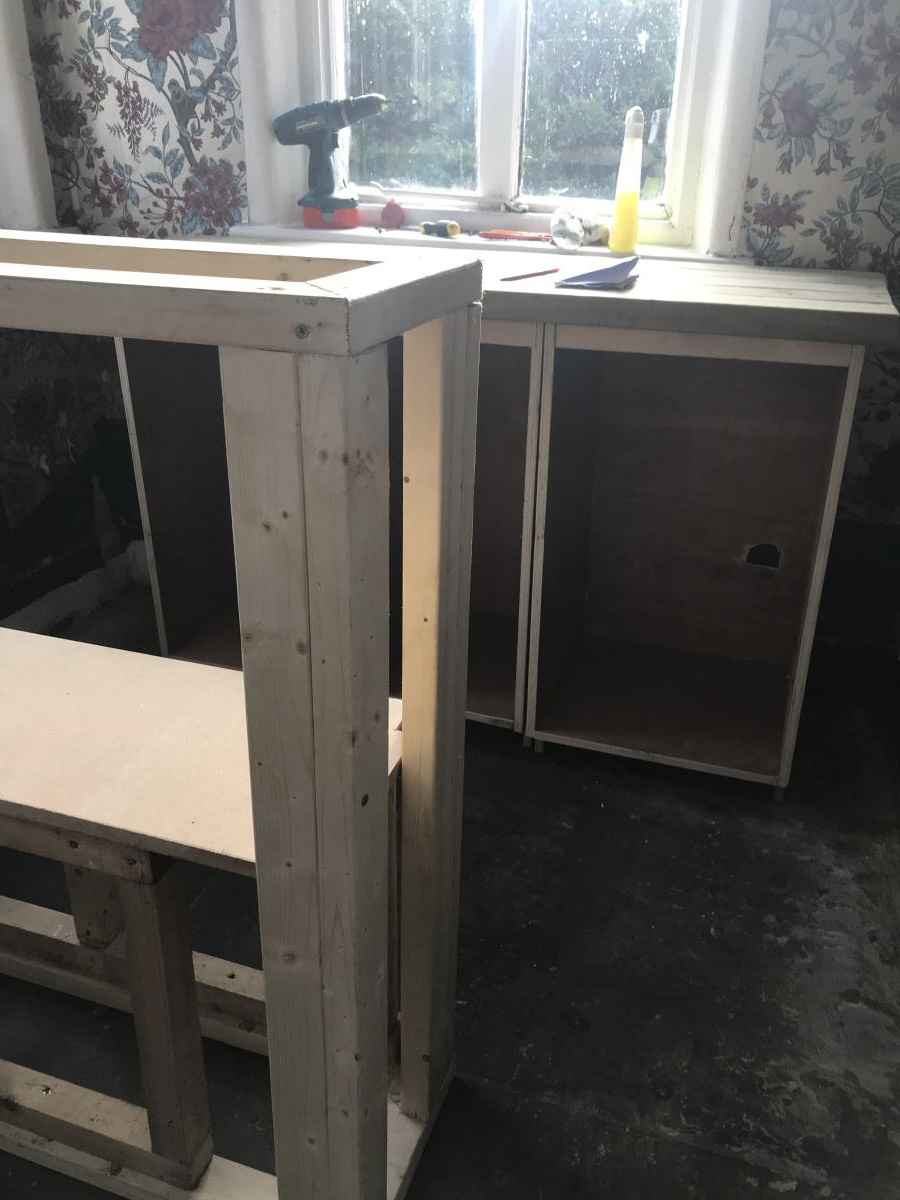
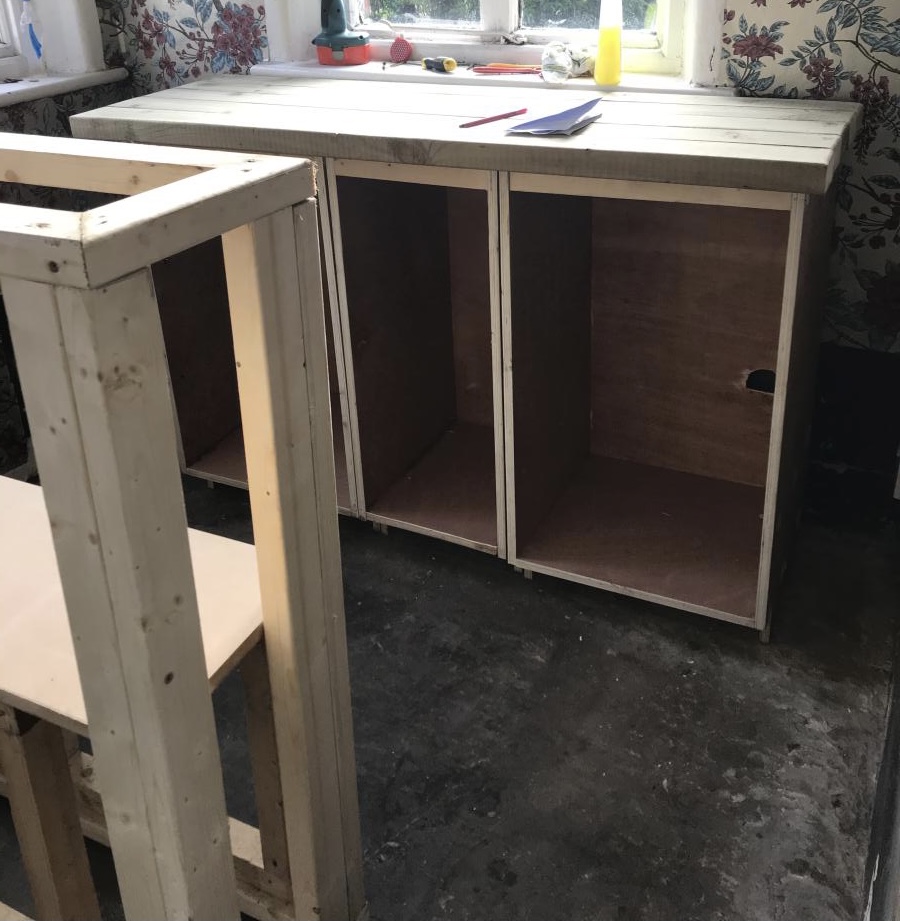
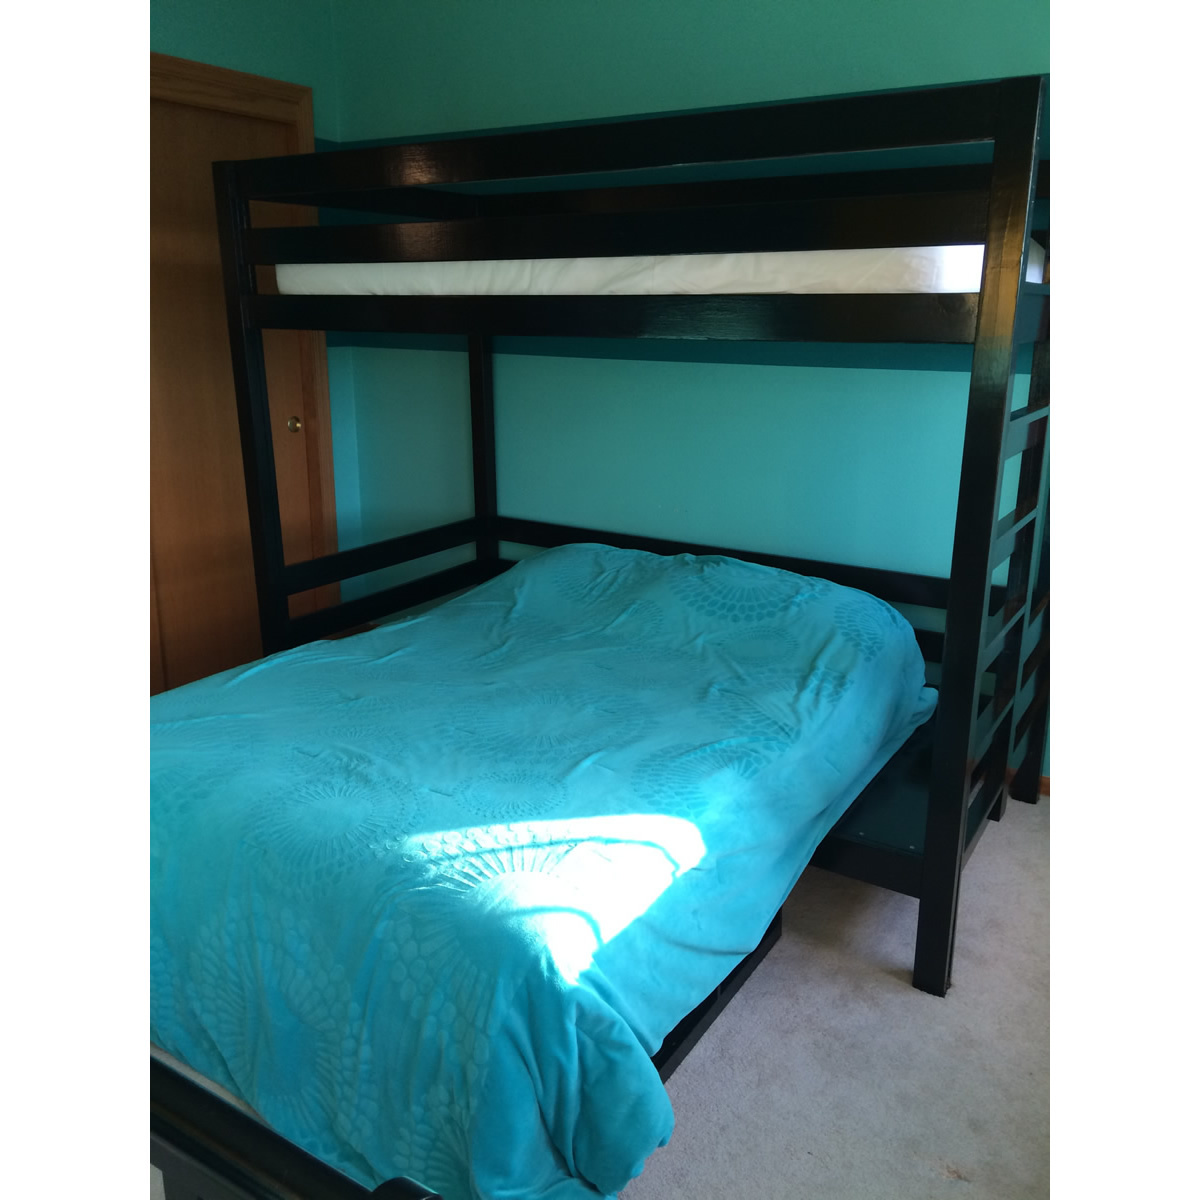
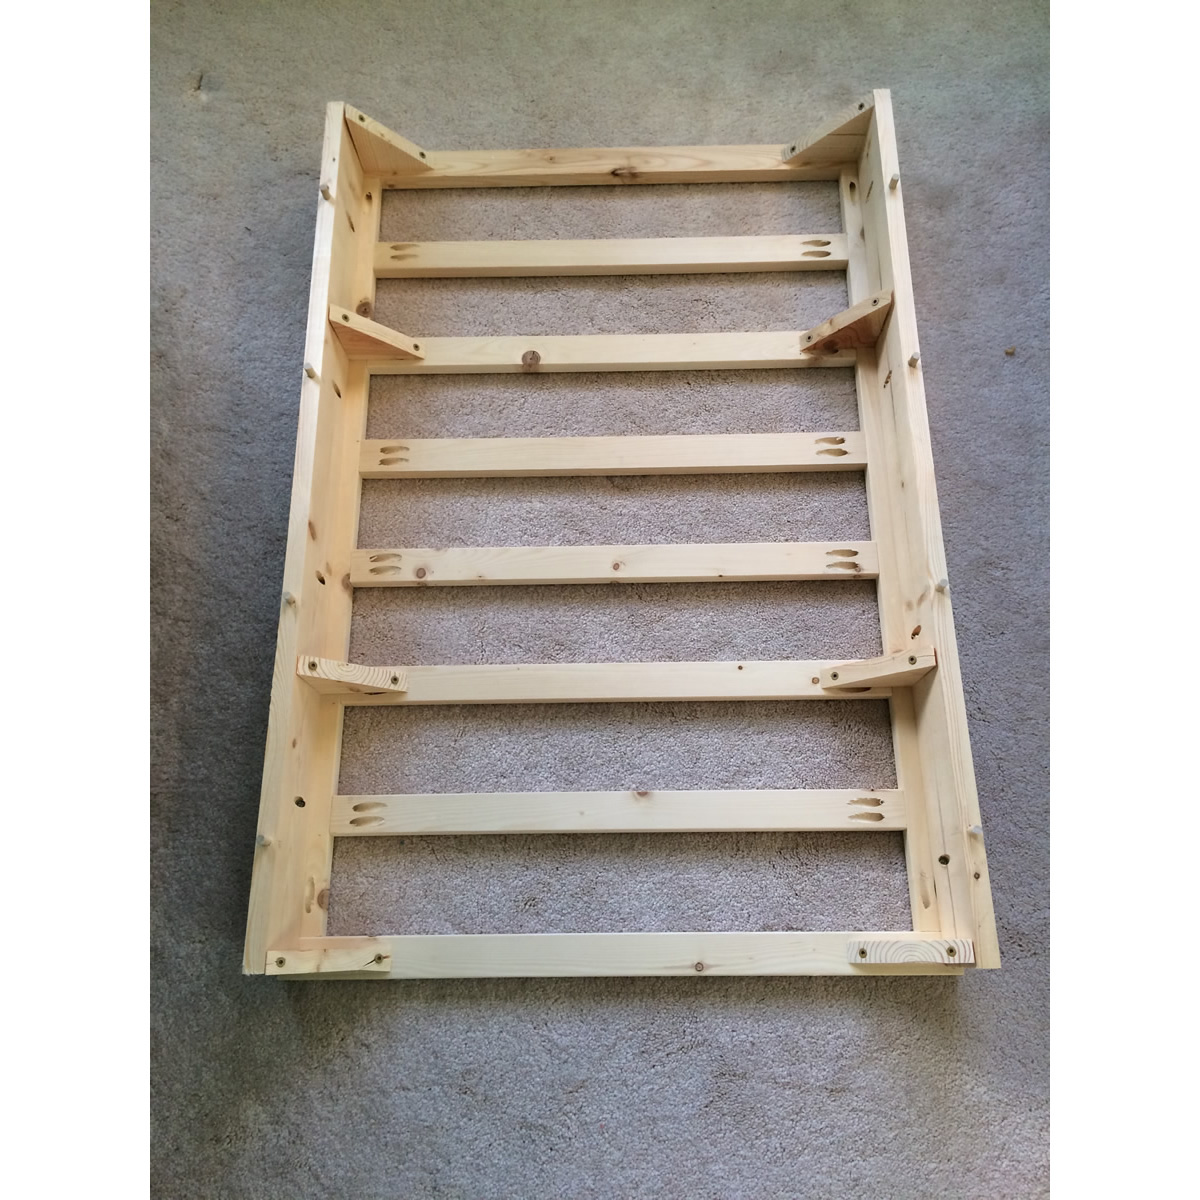
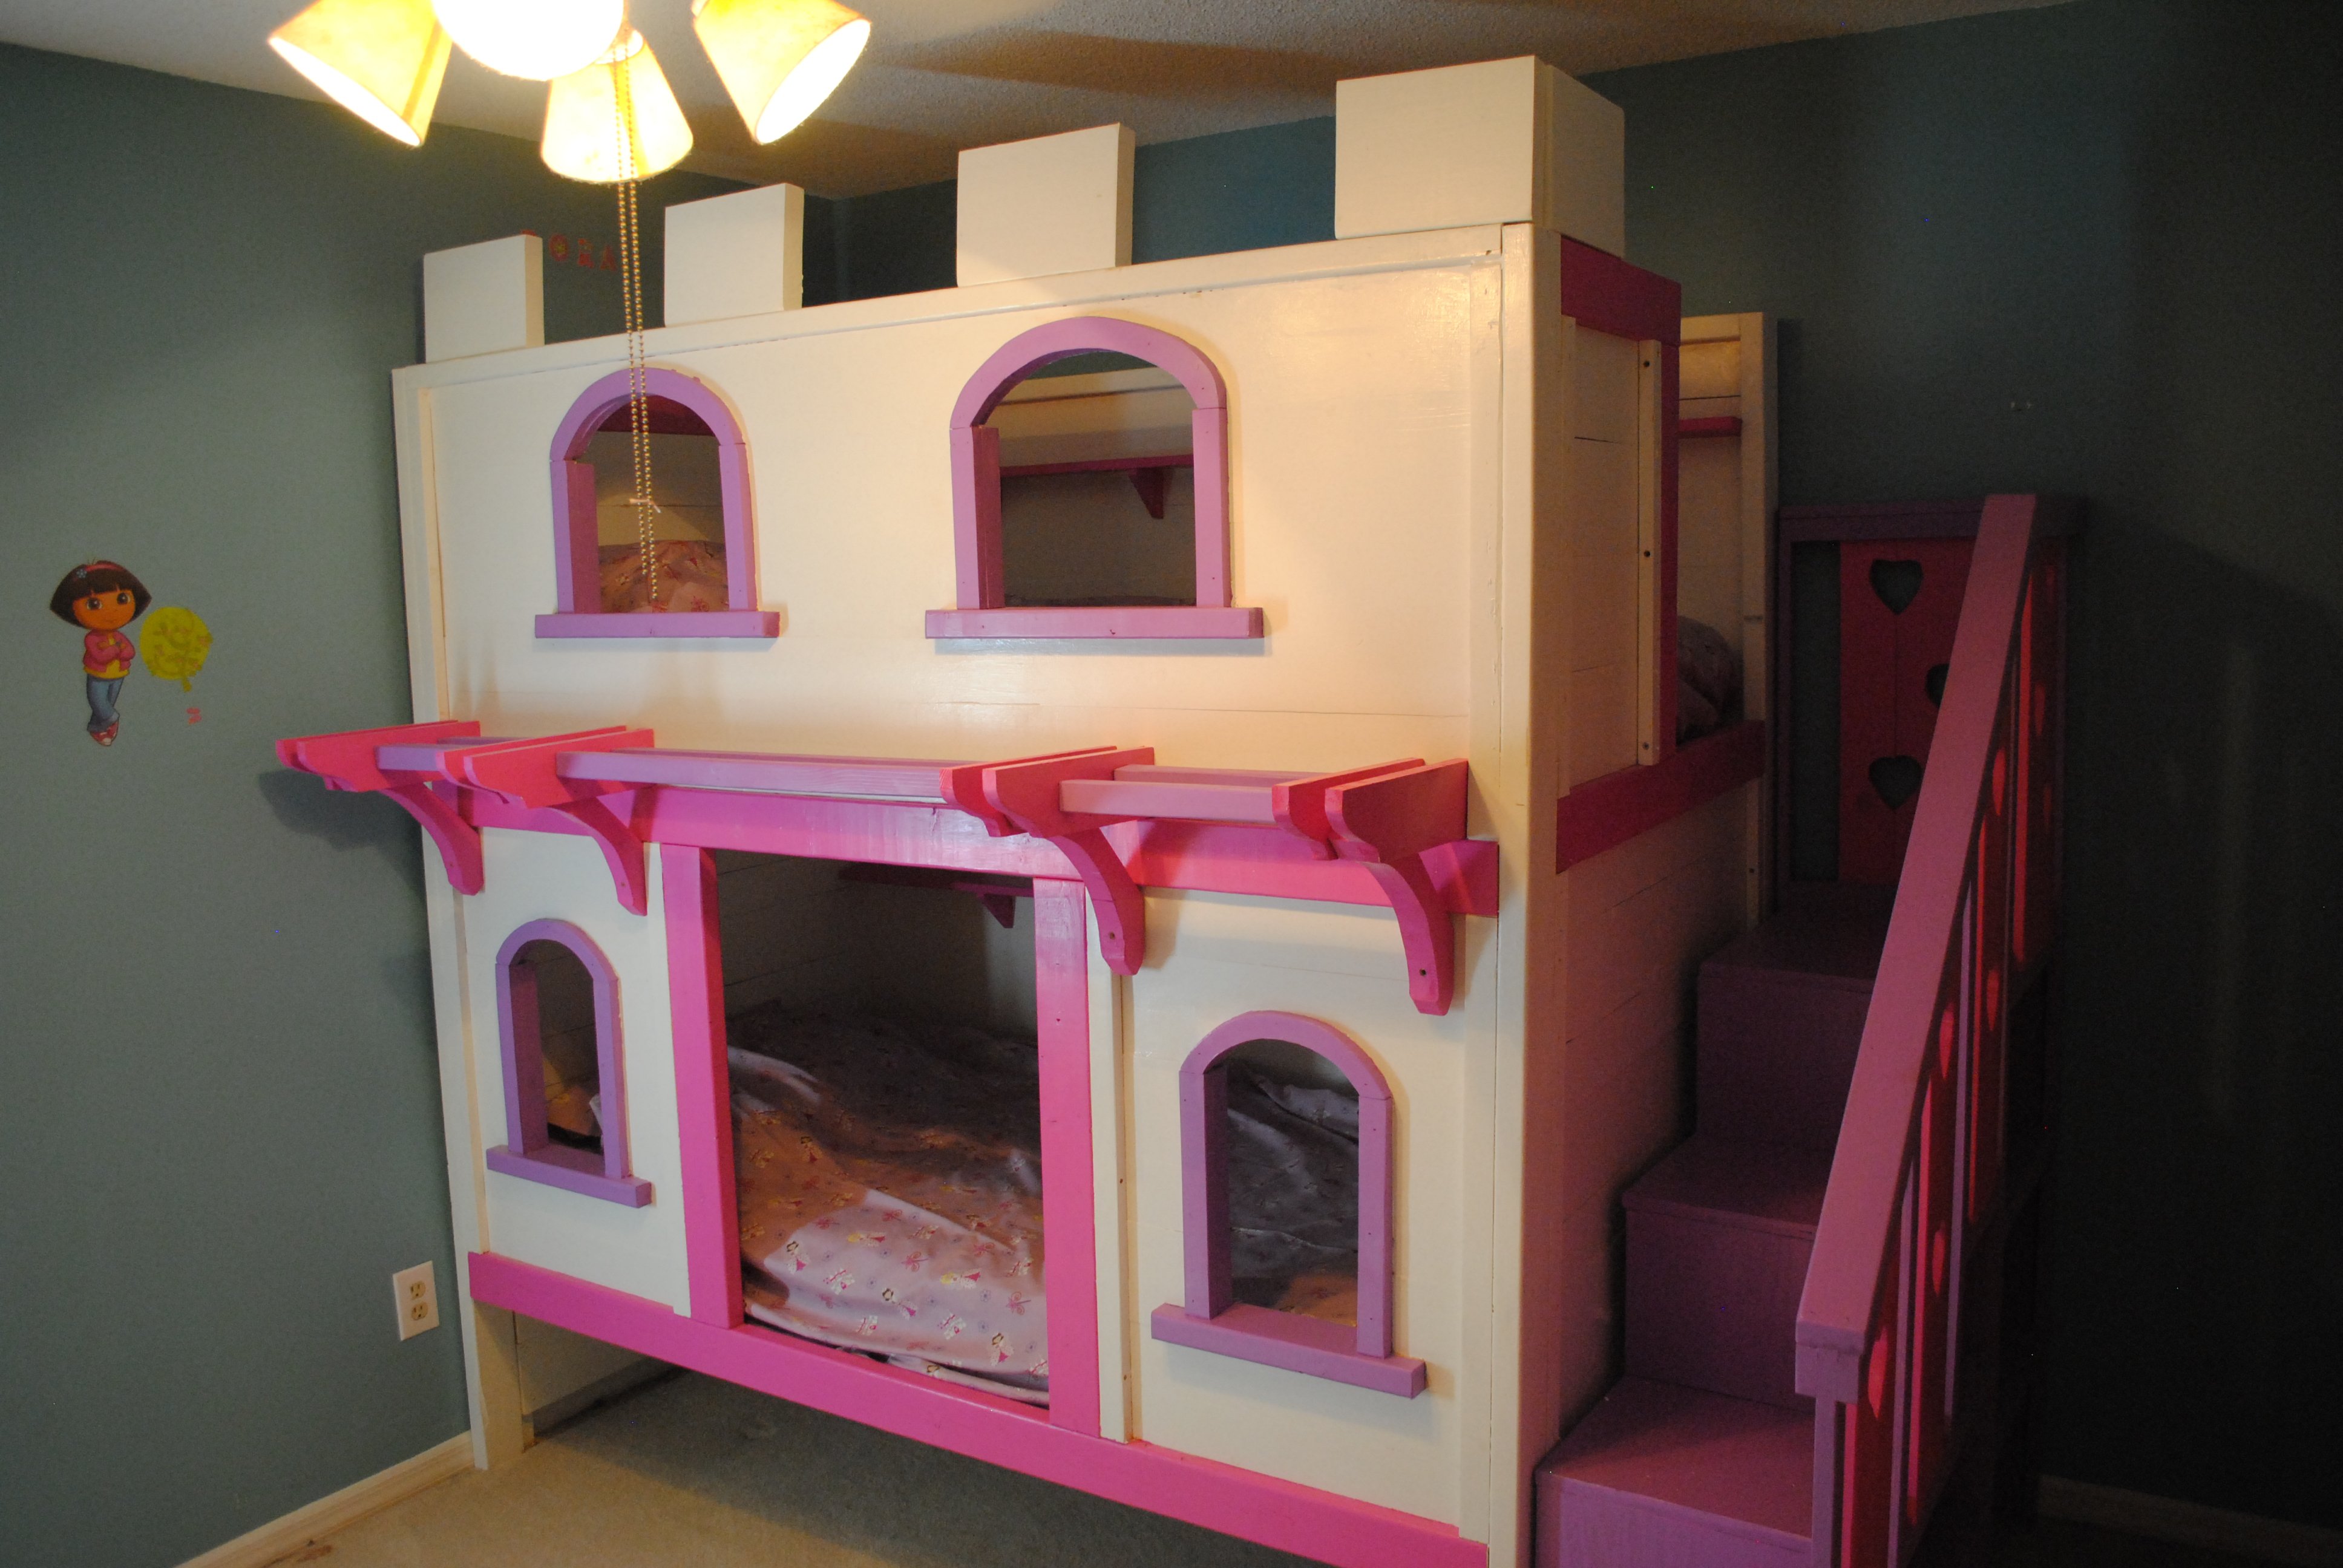
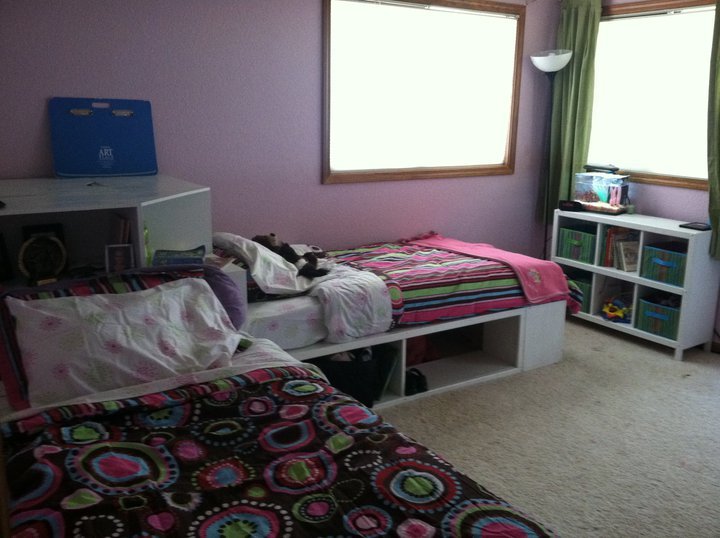
Storage beds (twin) with Corner unit
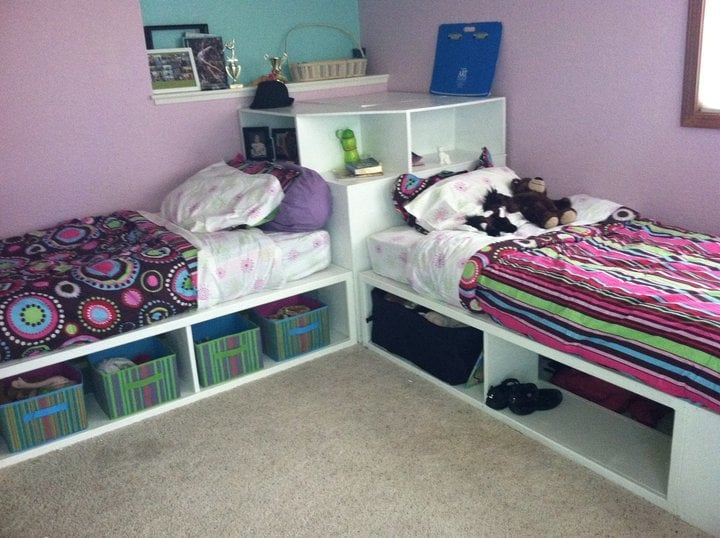
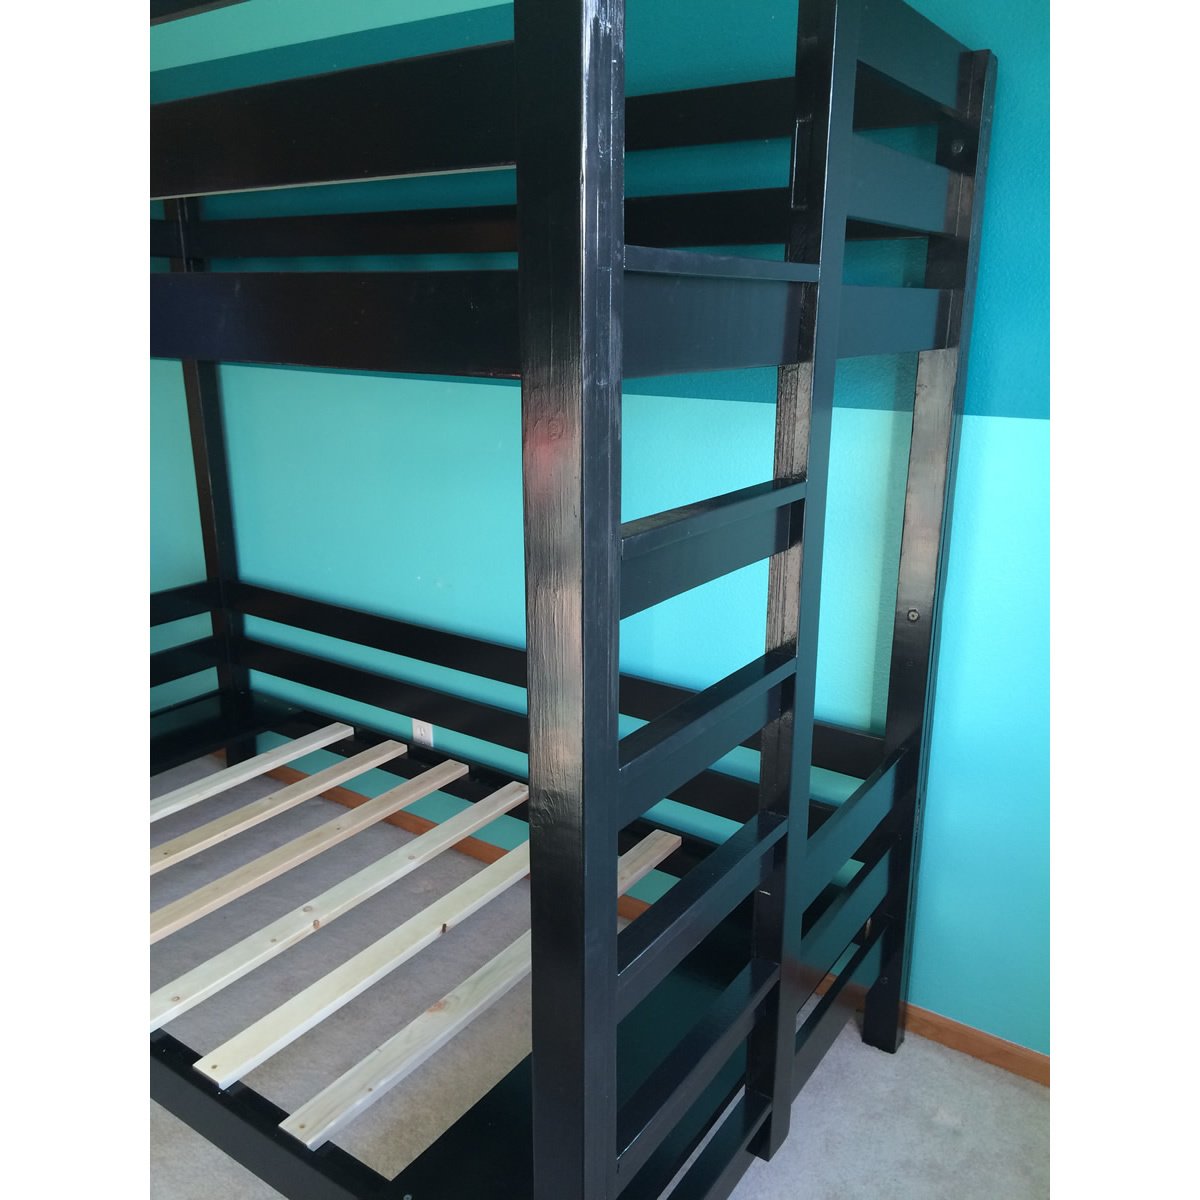
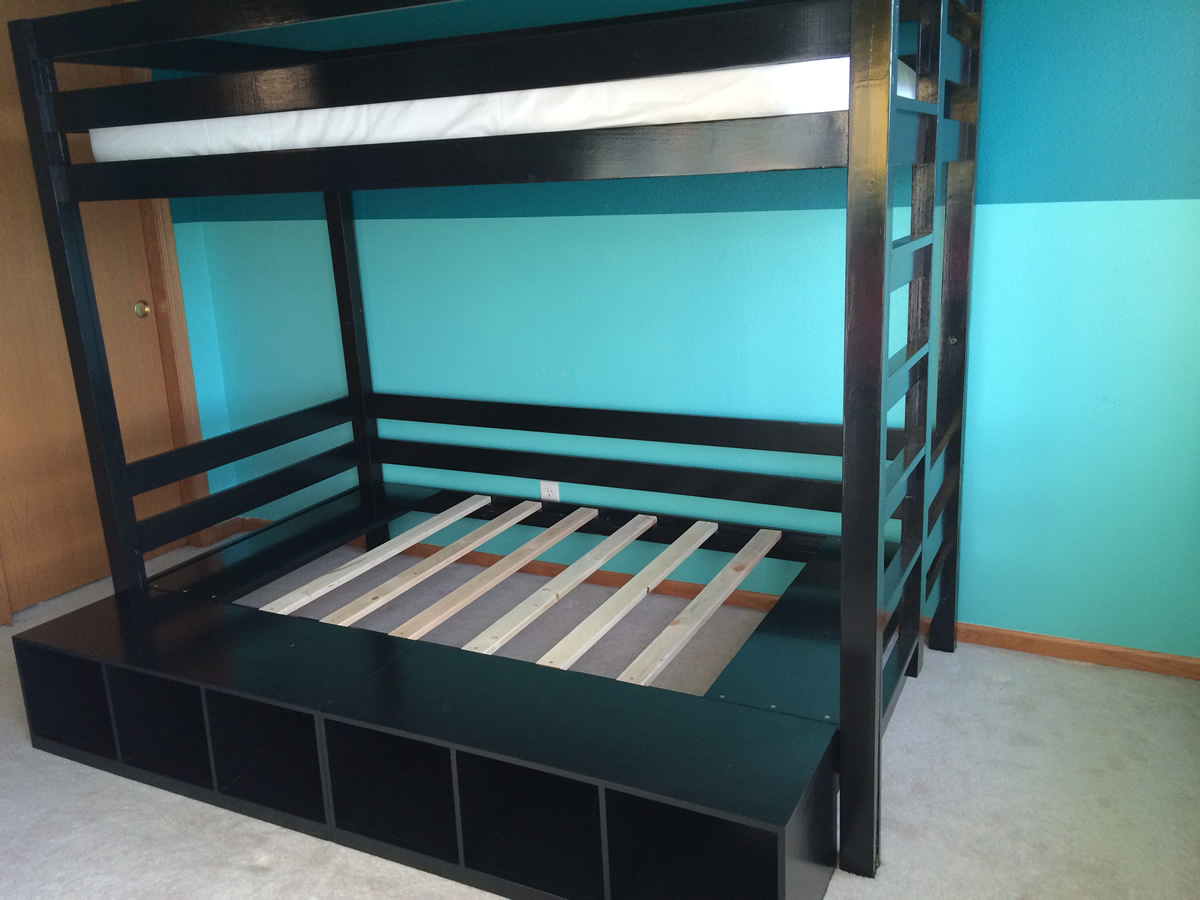
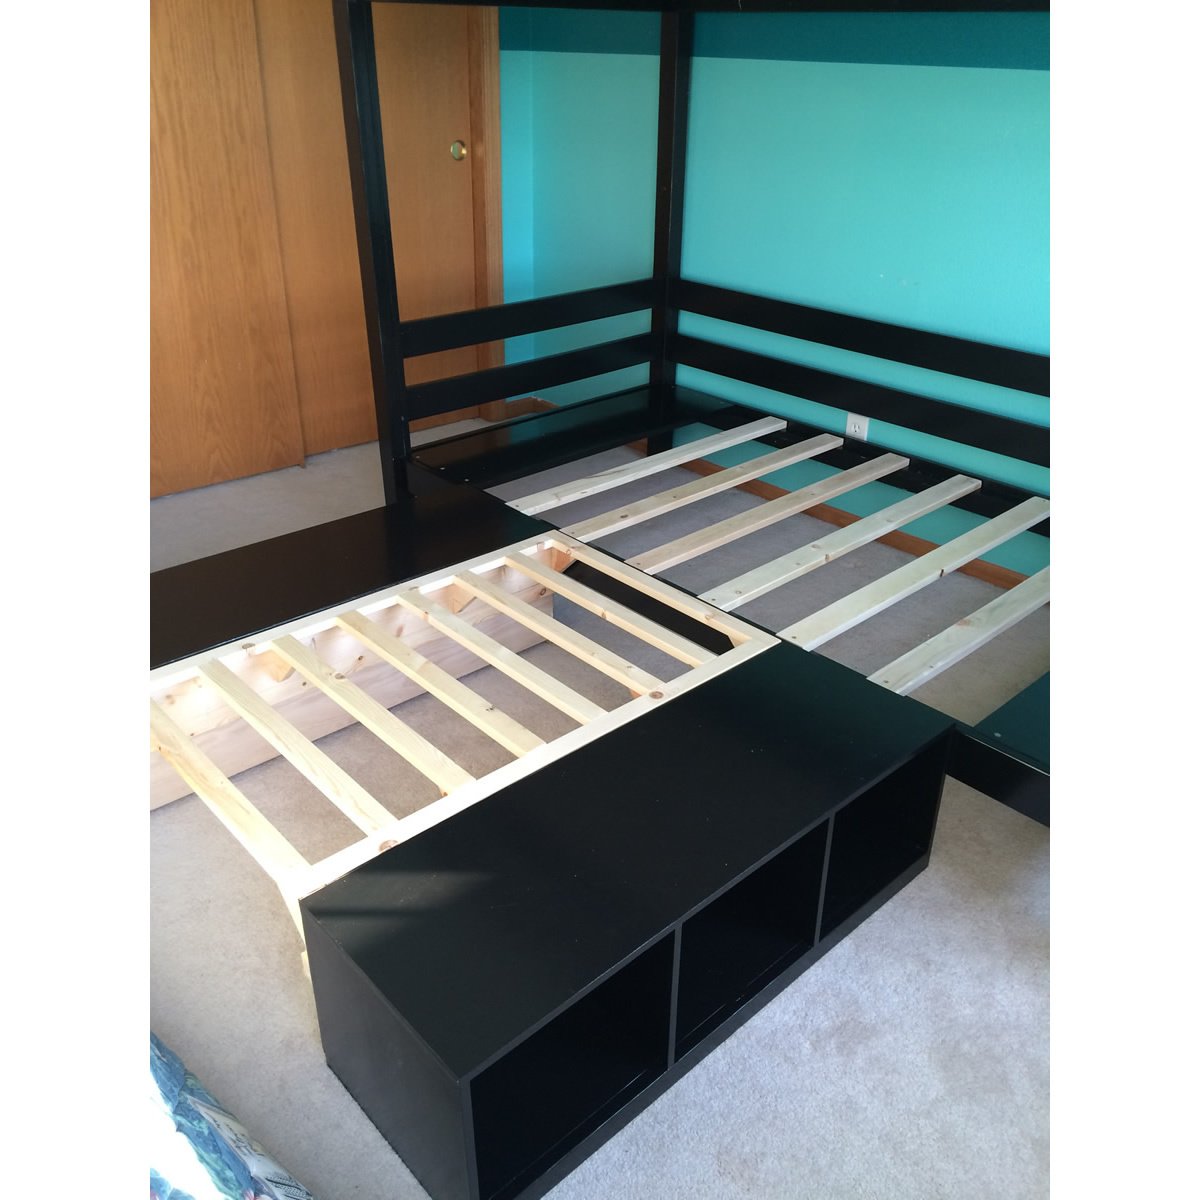
We made these beds for my daughters, who were ready to pass on the bunkbeds to their little sisters. We have 4 girls in one room, so use of space is crucial! I originally wanted the hutch as well, but as you can see in the picture, we had to work around a wall cut out, so we modified the corner unit to have a larger shelf area to fit the space. We also left the sides open to be able to slide containers in to store out of season clothes and blankets, though the ends have a backing.
Built from Plan(s)
Estimated Cost
$250-$300.
Estimated Time Investment
Weekend Project (10-20 Hours)
Finish Used
Gloss white paint.
Recommended Skill Level
Beginner