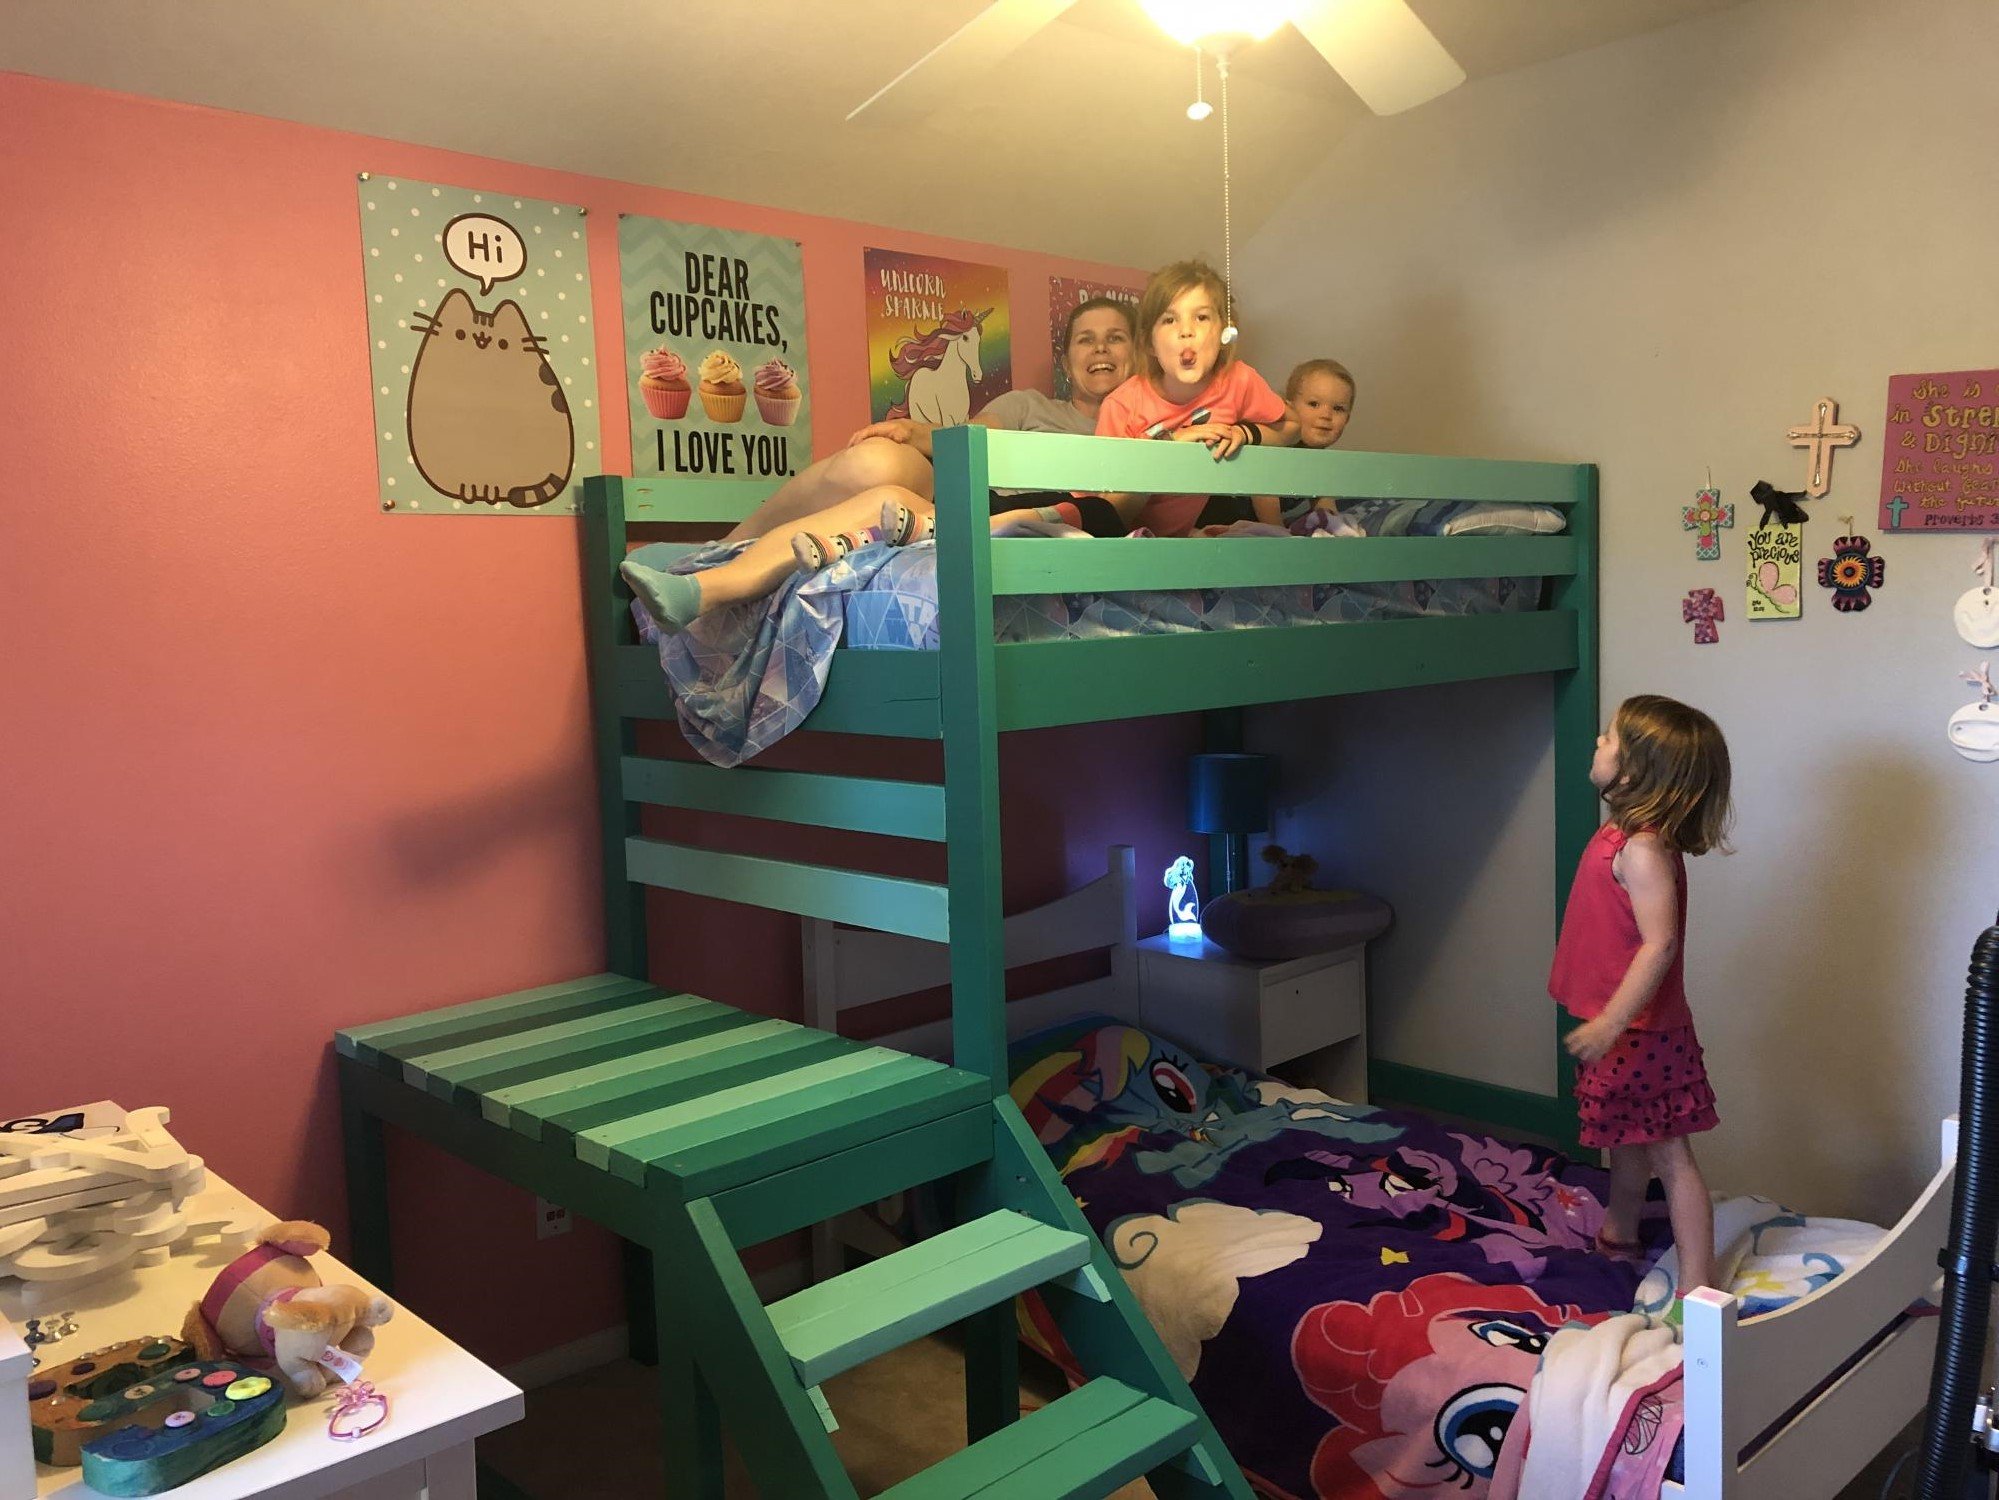
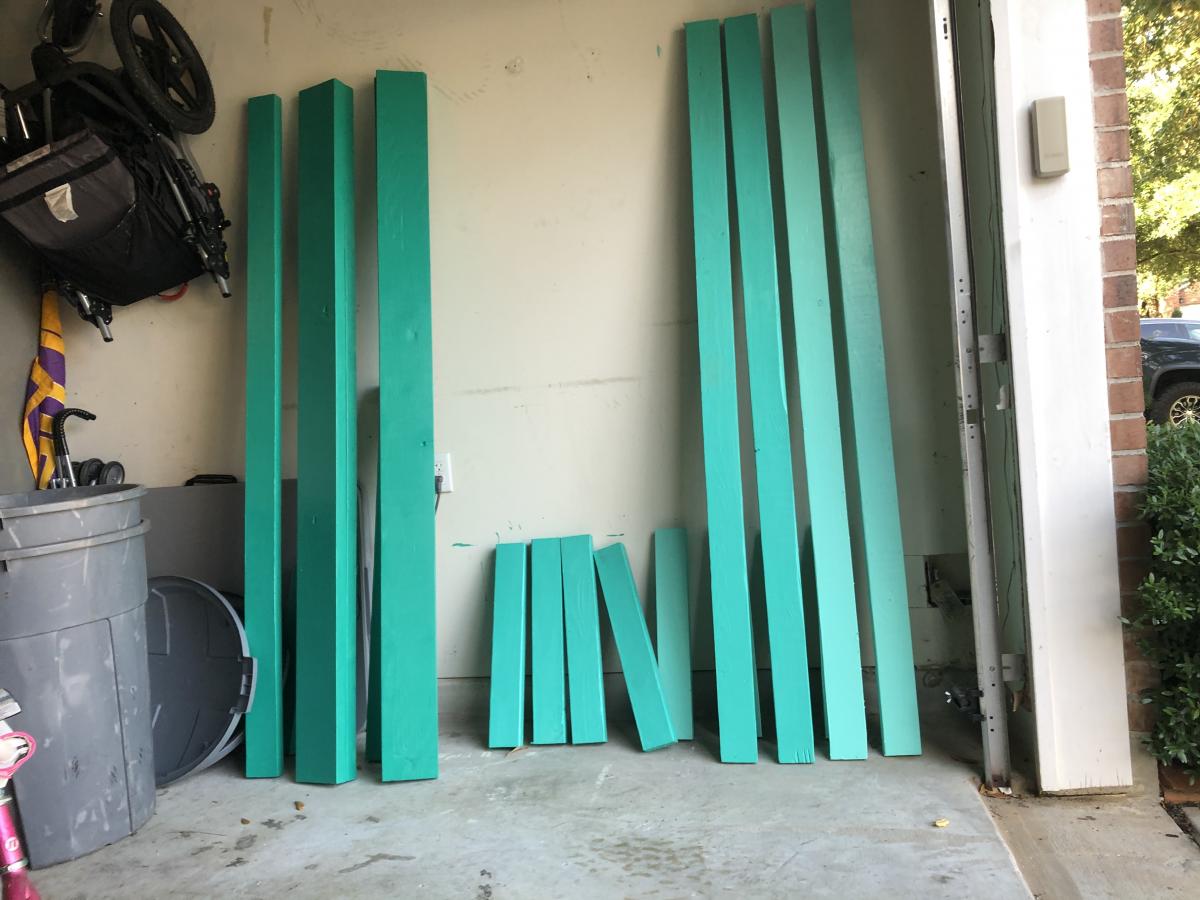
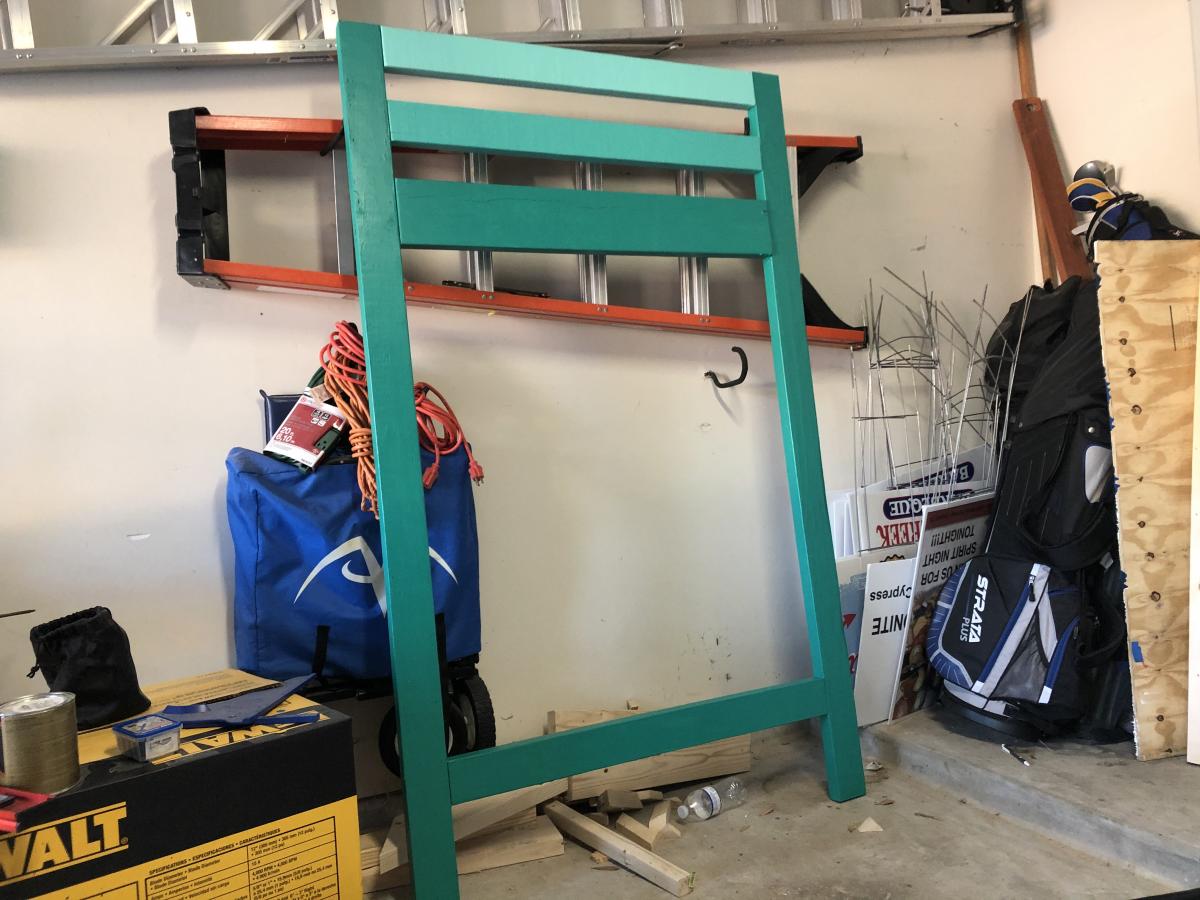
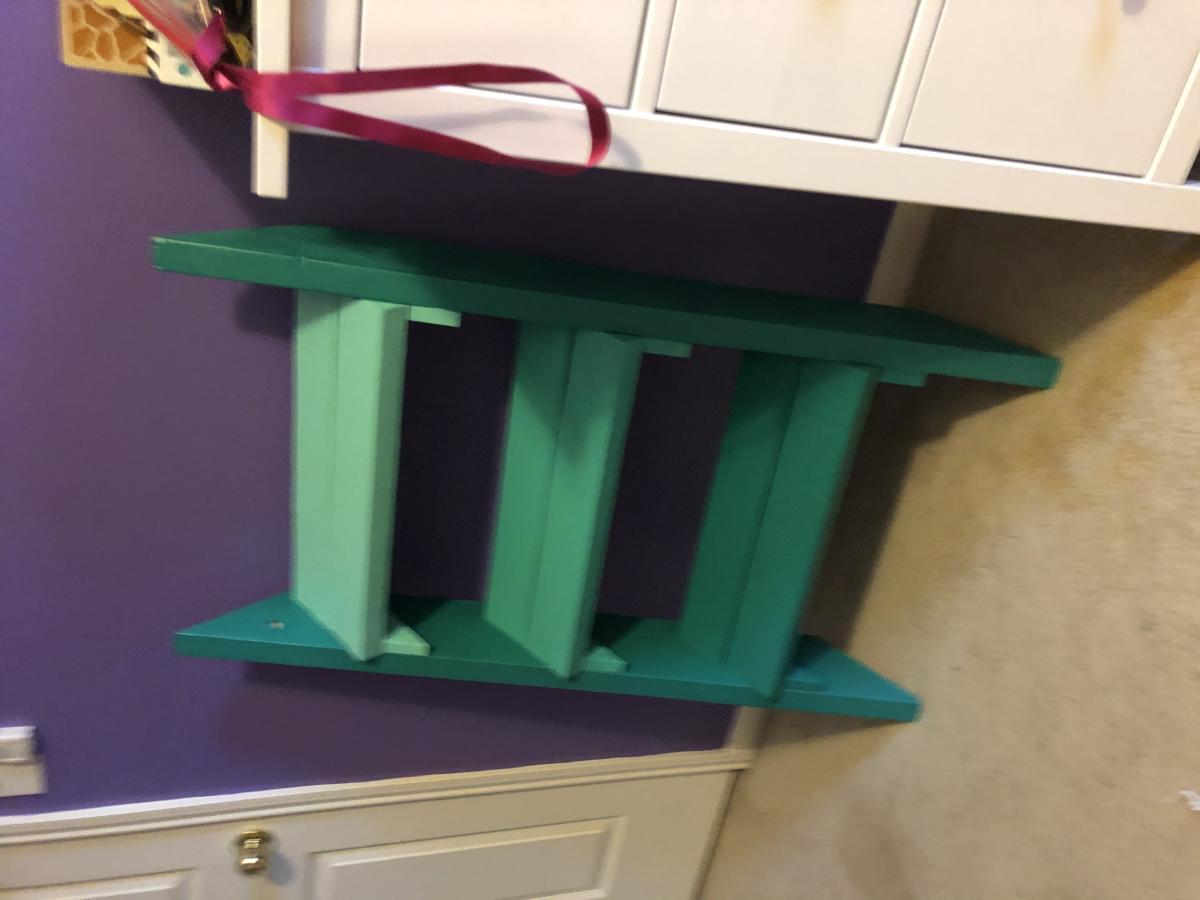
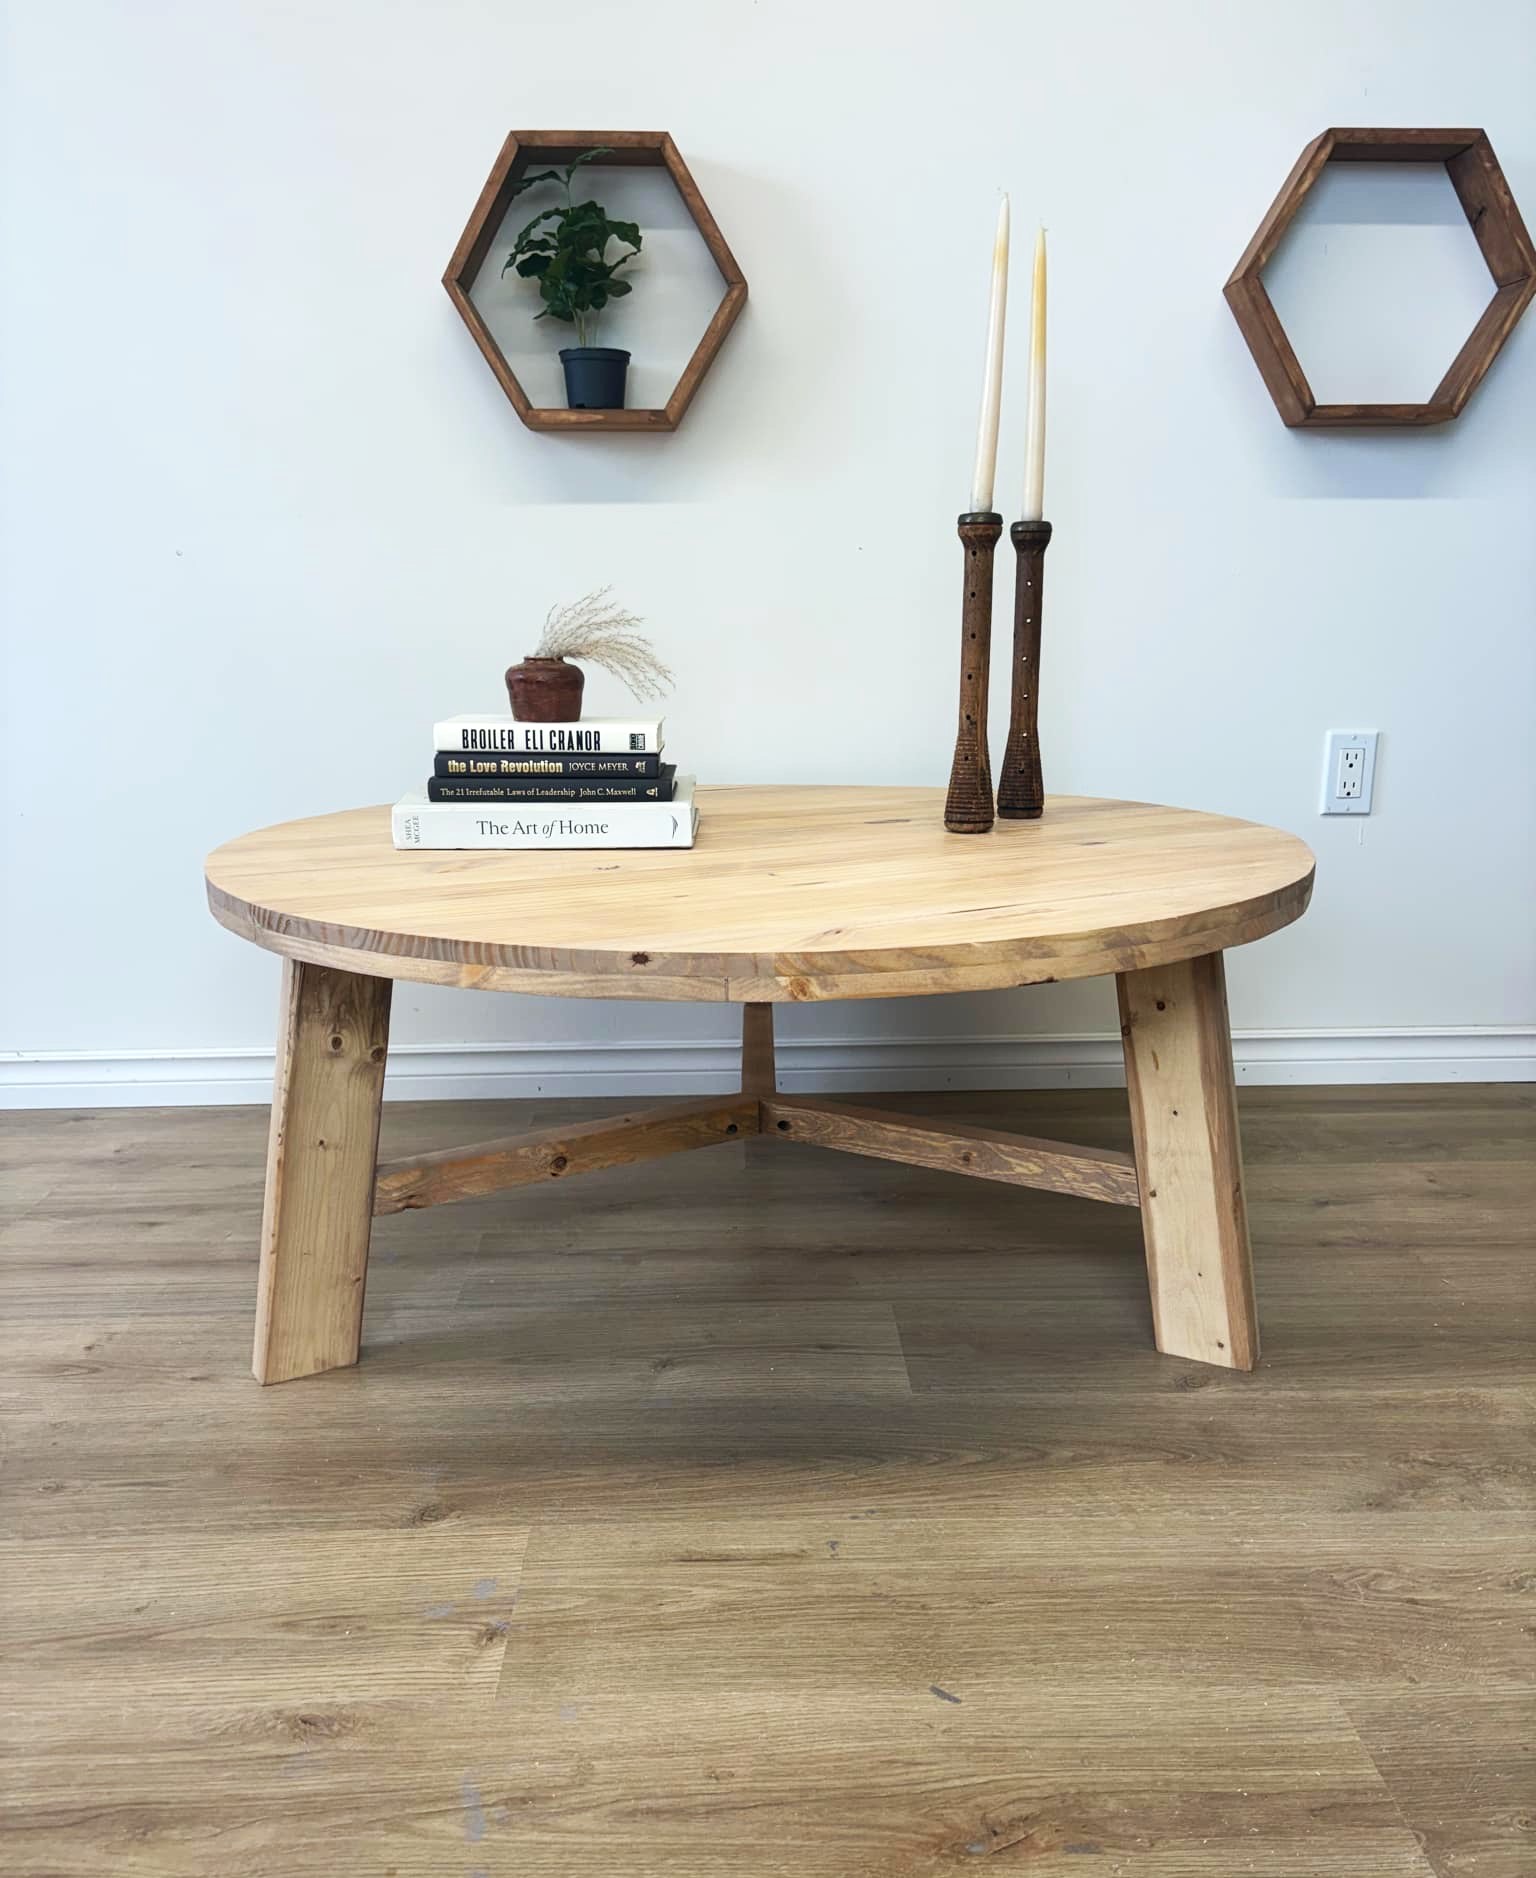
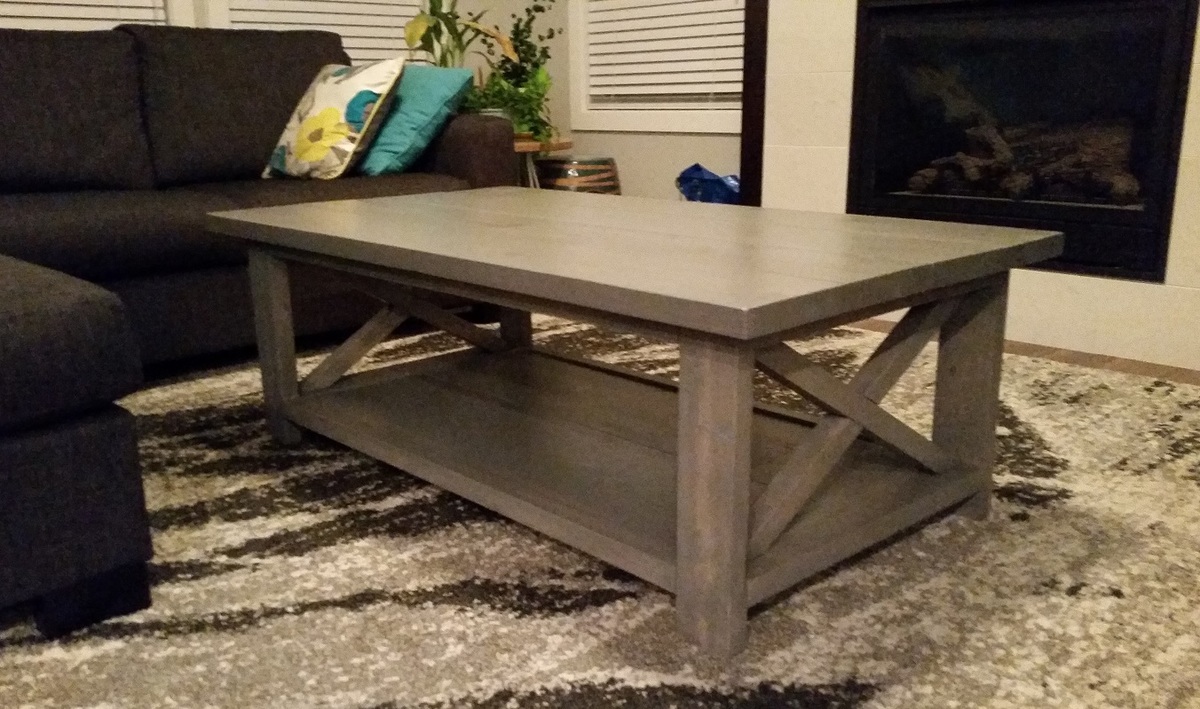
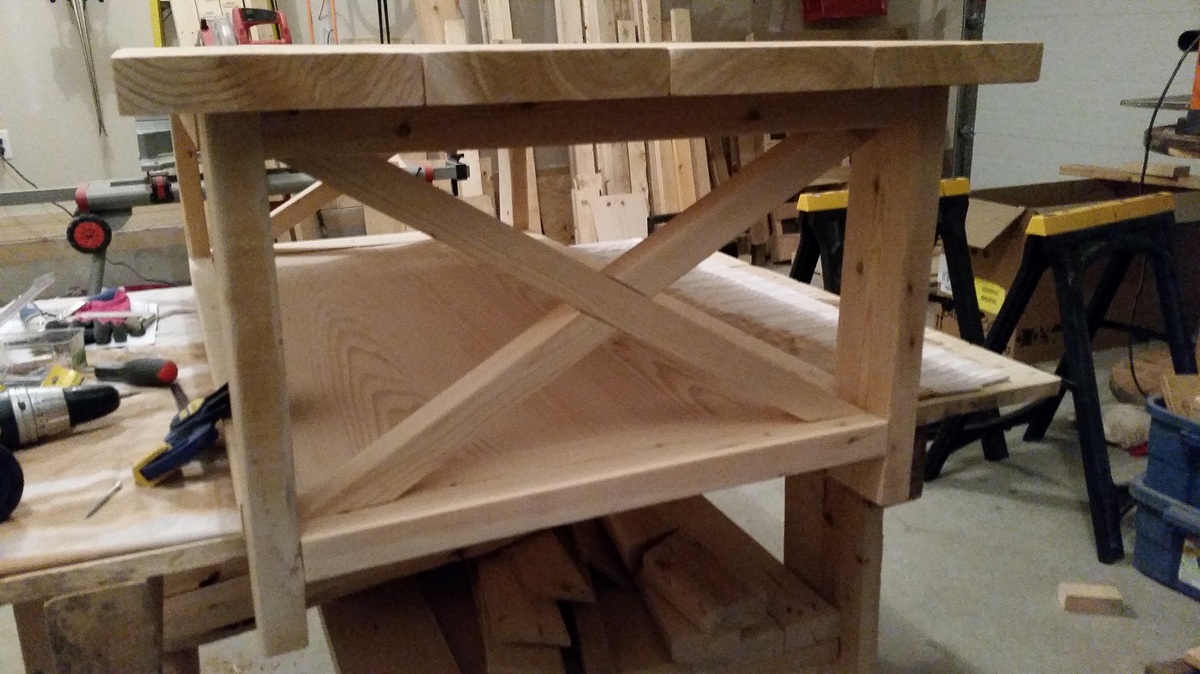
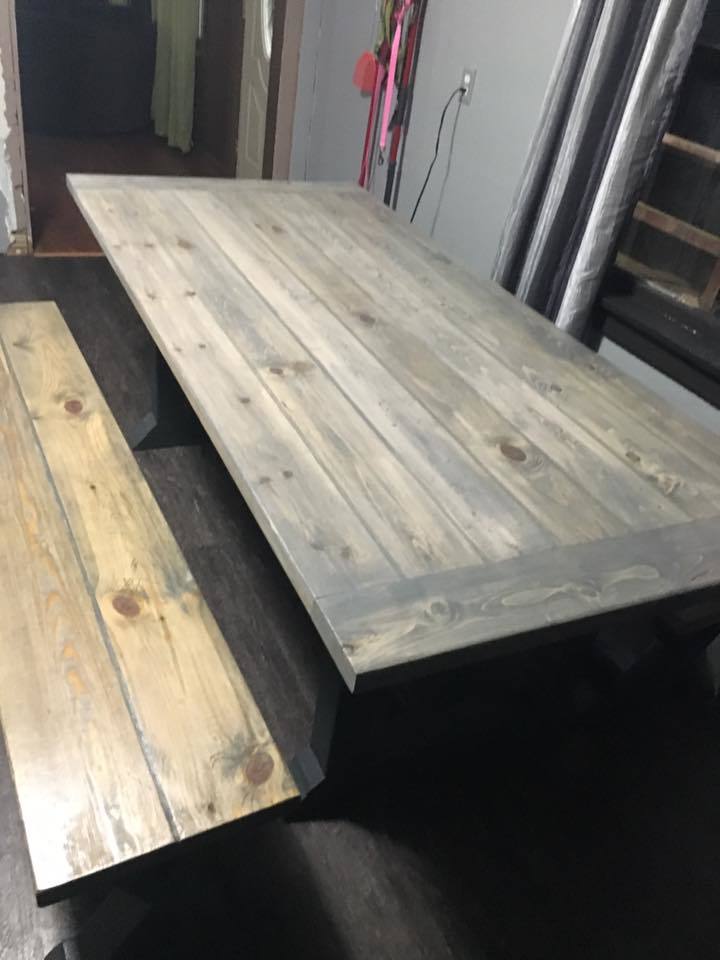
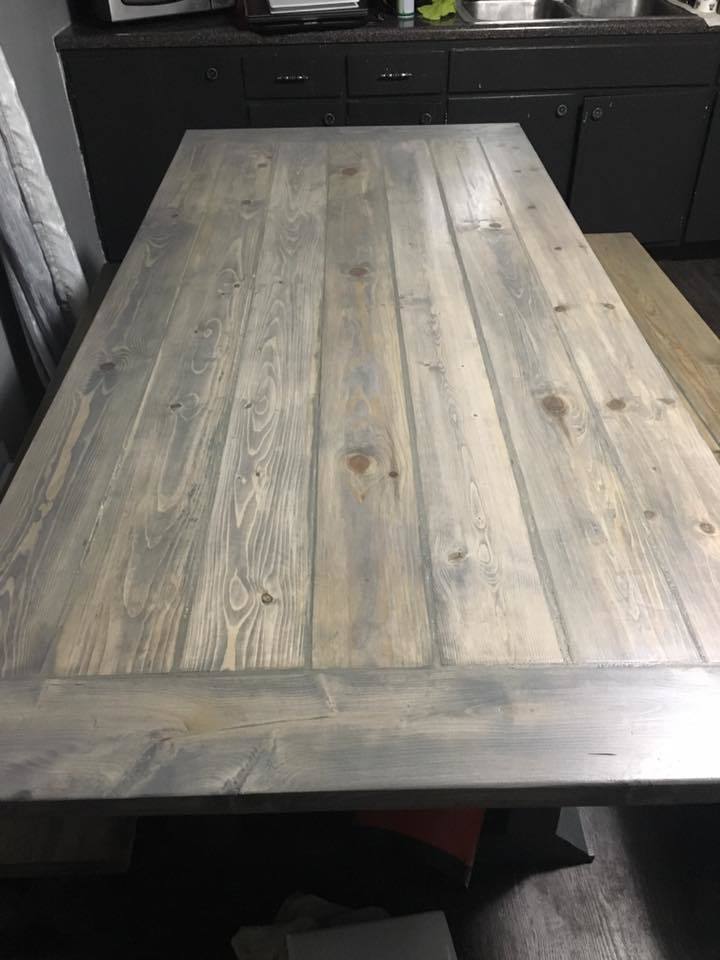
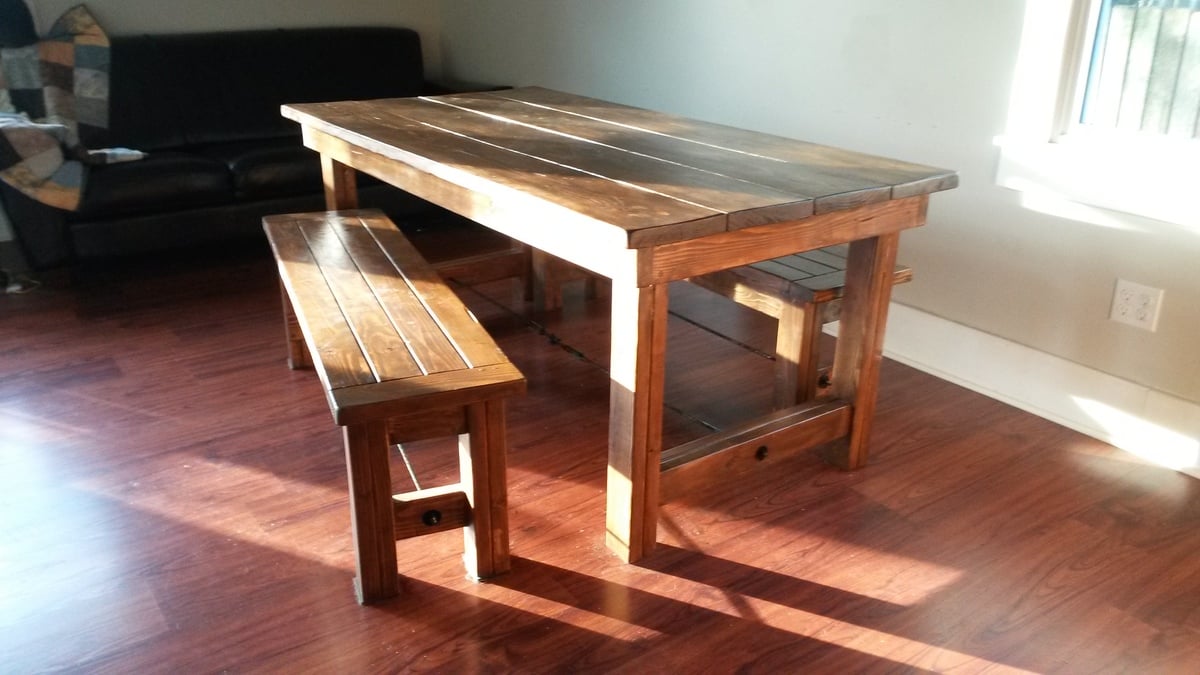
Coffee Table with X

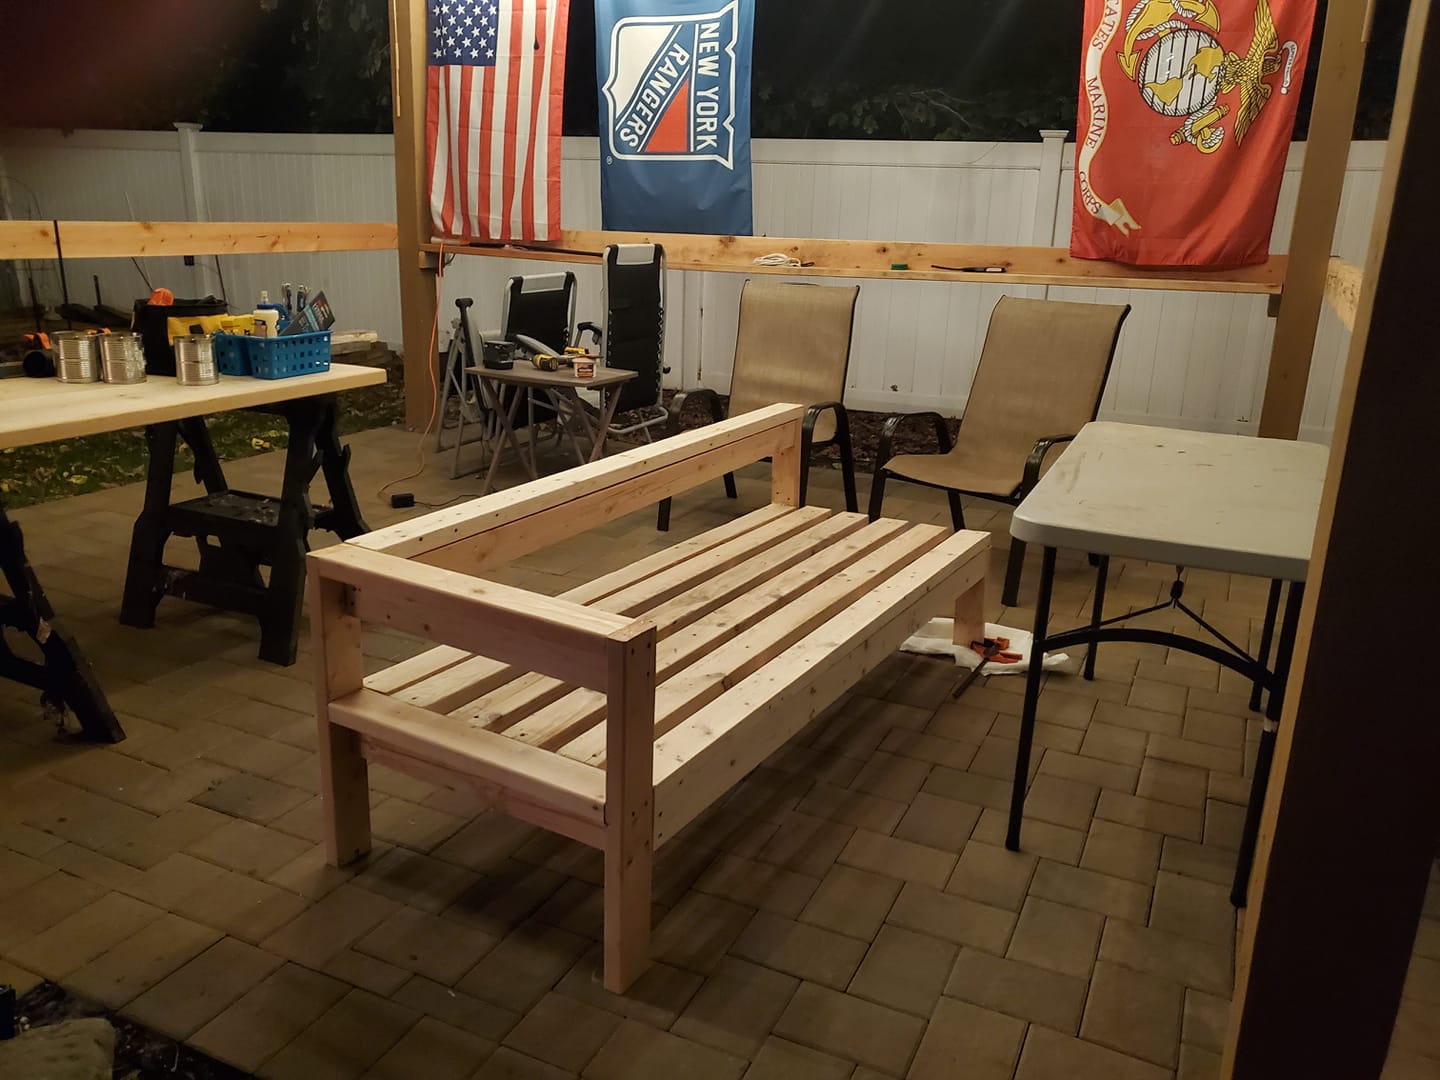
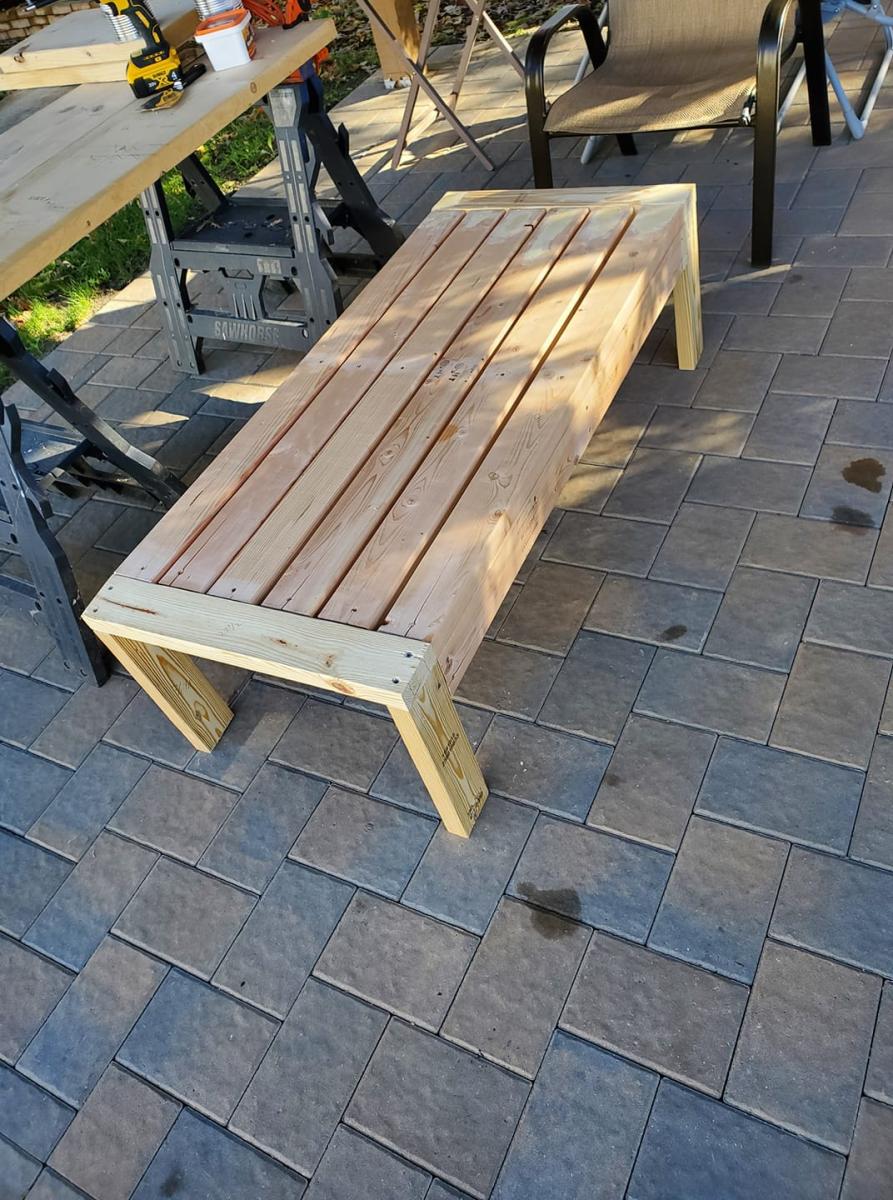
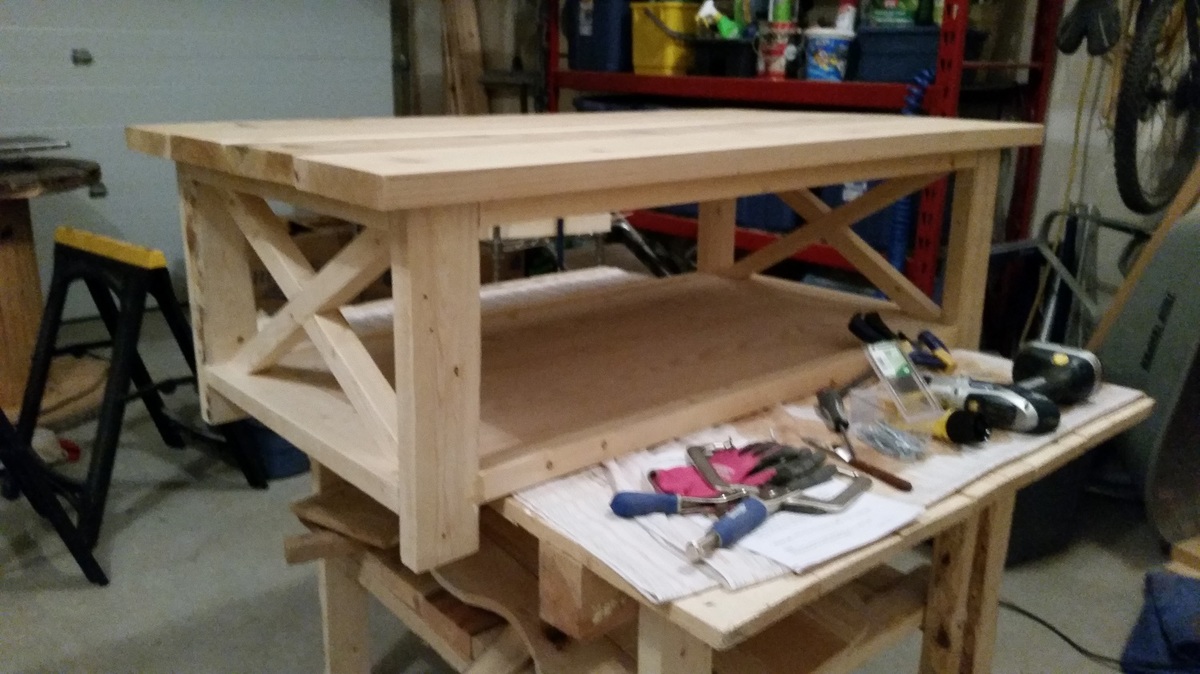
This was my FIRST DIY piece of furniture and I am thrilled with the outcome!
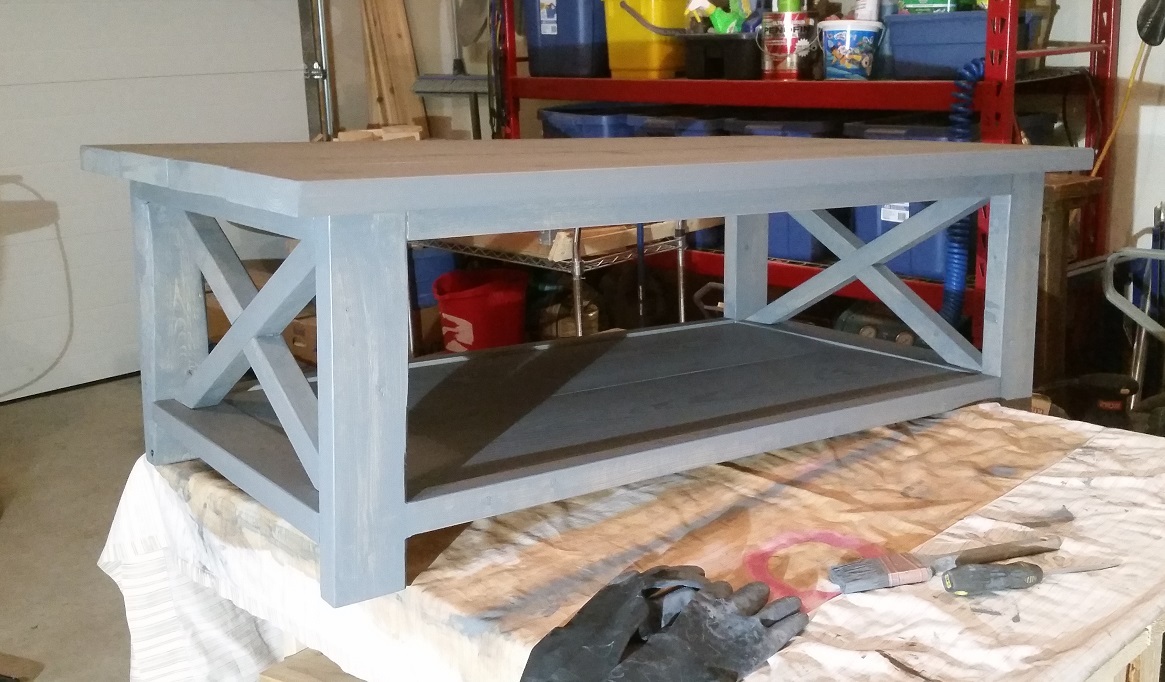
Since I am not really one to go for the rustic cottage look I wanted this DIY coffee table to have a bit more of a modern feel. I chose a grey gel stain to do the job. It gave the table a thicker stain but I am still able to see some of the wood grain beneath it.
Ana White has the best tutorials & free plans to get a crafter to switch to the dark side and become a DIYer!
I did a full blog post on my progress throughout with a lot more pictures.
Built from Plan(s)
Estimated Cost
$50
For Materials I didn’t want to spend too much on a first attempt build. Thankfully we had some extra fence boards for the top enough 2×4’s hanging out in the garage so I only had to buy 2×2’s, the bottom board for the table, Screws, Stain & Polyurethane.
For Materials I didn’t want to spend too much on a first attempt build. Thankfully we had some extra fence boards for the top enough 2×4’s hanging out in the garage so I only had to buy 2×2’s, the bottom board for the table, Screws, Stain & Polyurethane.
Estimated Time Investment
Weekend Project (10-20 Hours)
Finish Used
Varathane Gel Stain in Weathered Grey
Non Yellowing Poly, three coats as I have two boys that are eager to play on this thing!
Non Yellowing Poly, three coats as I have two boys that are eager to play on this thing!
Recommended Skill Level
Beginner