Community Brag Posts


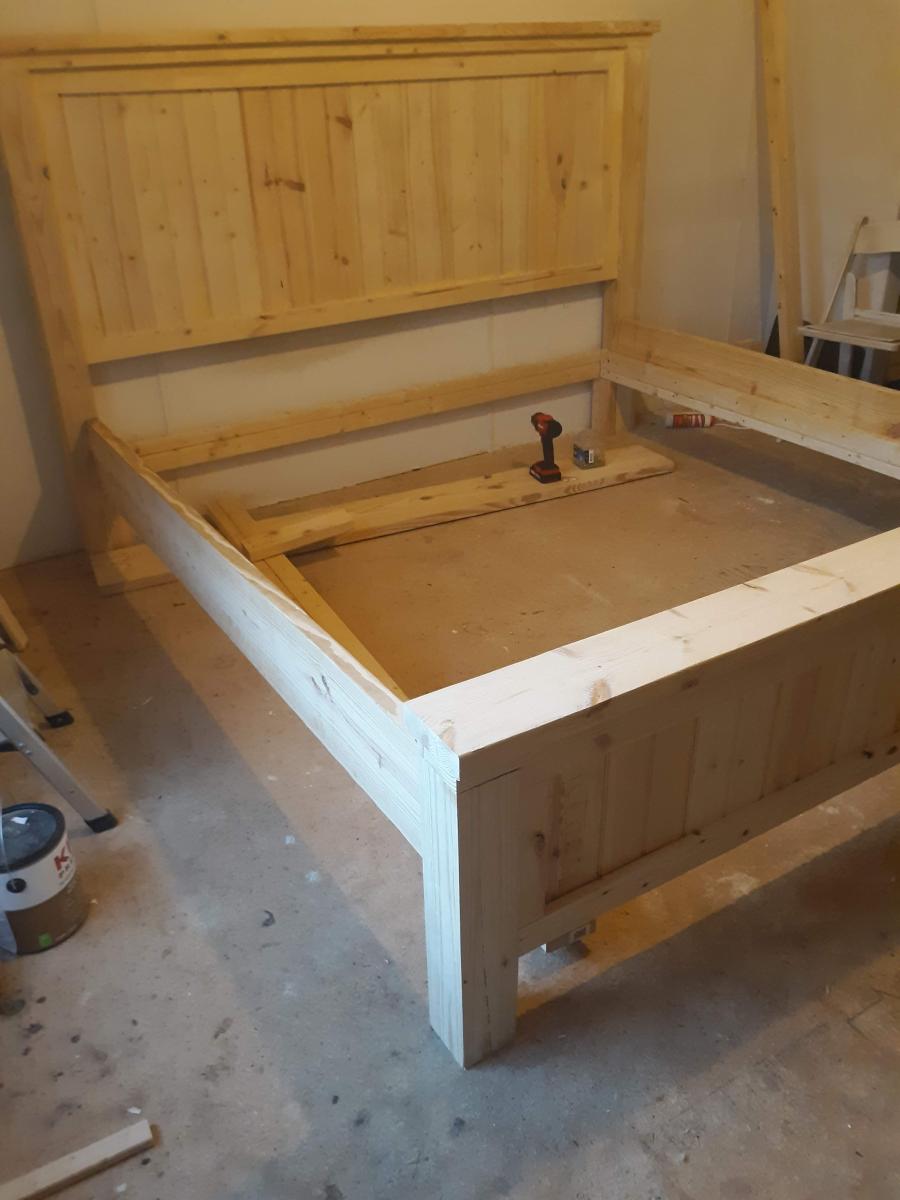
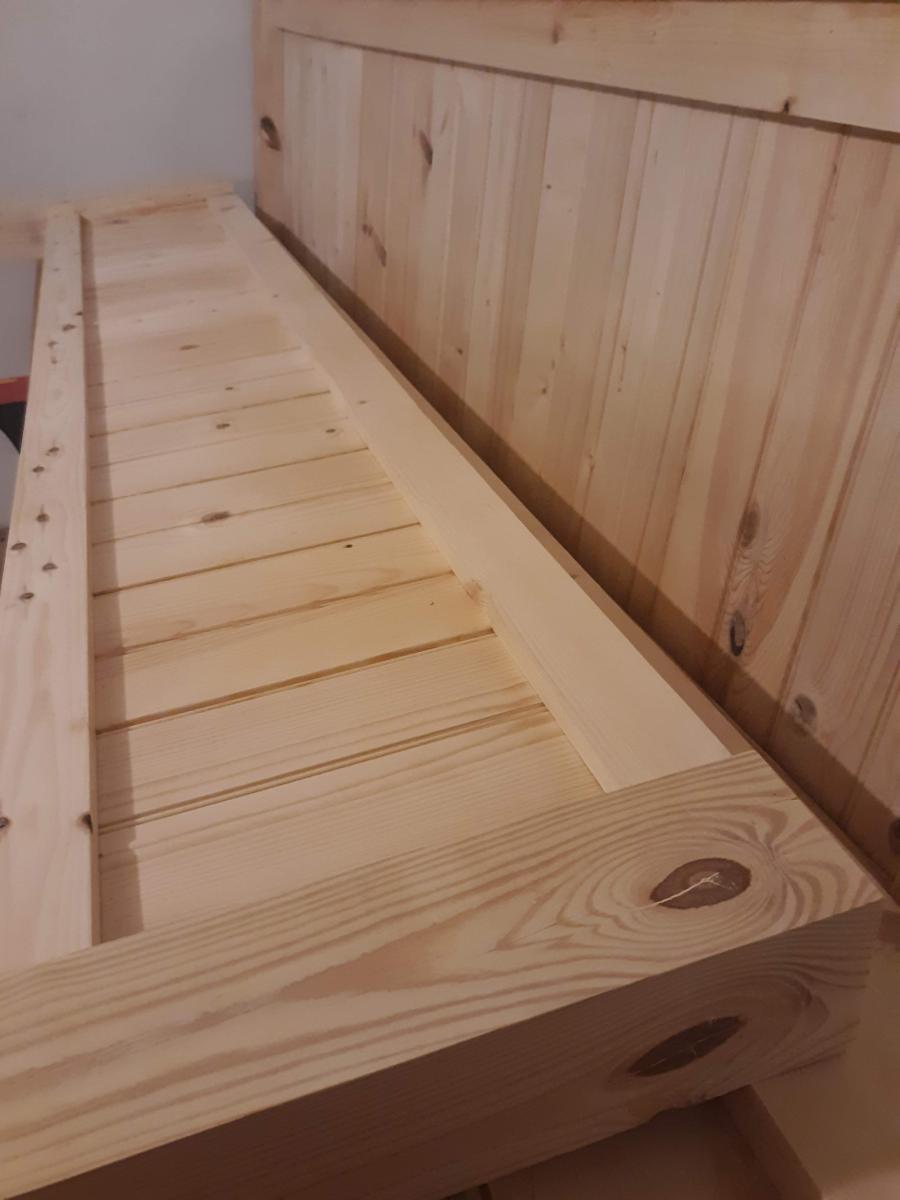
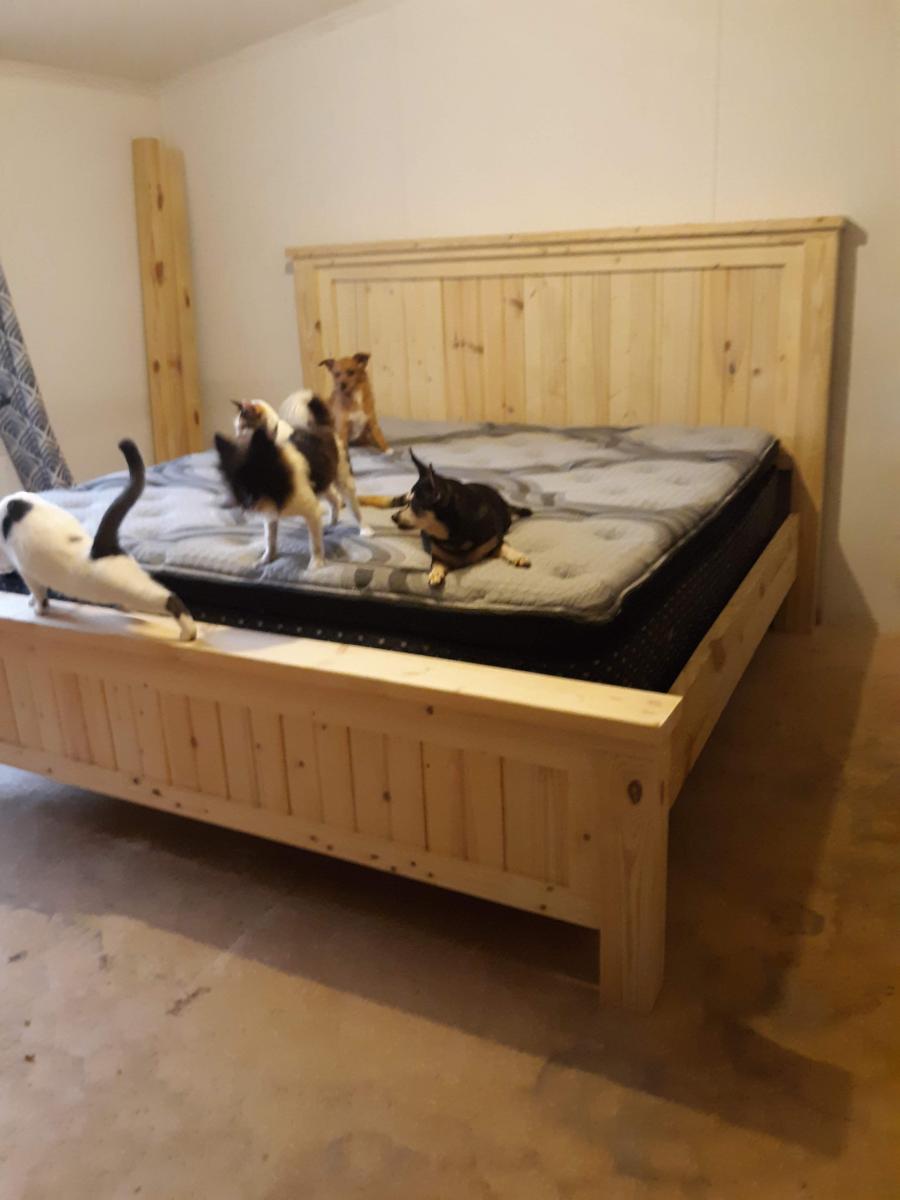
King farmhouse bed
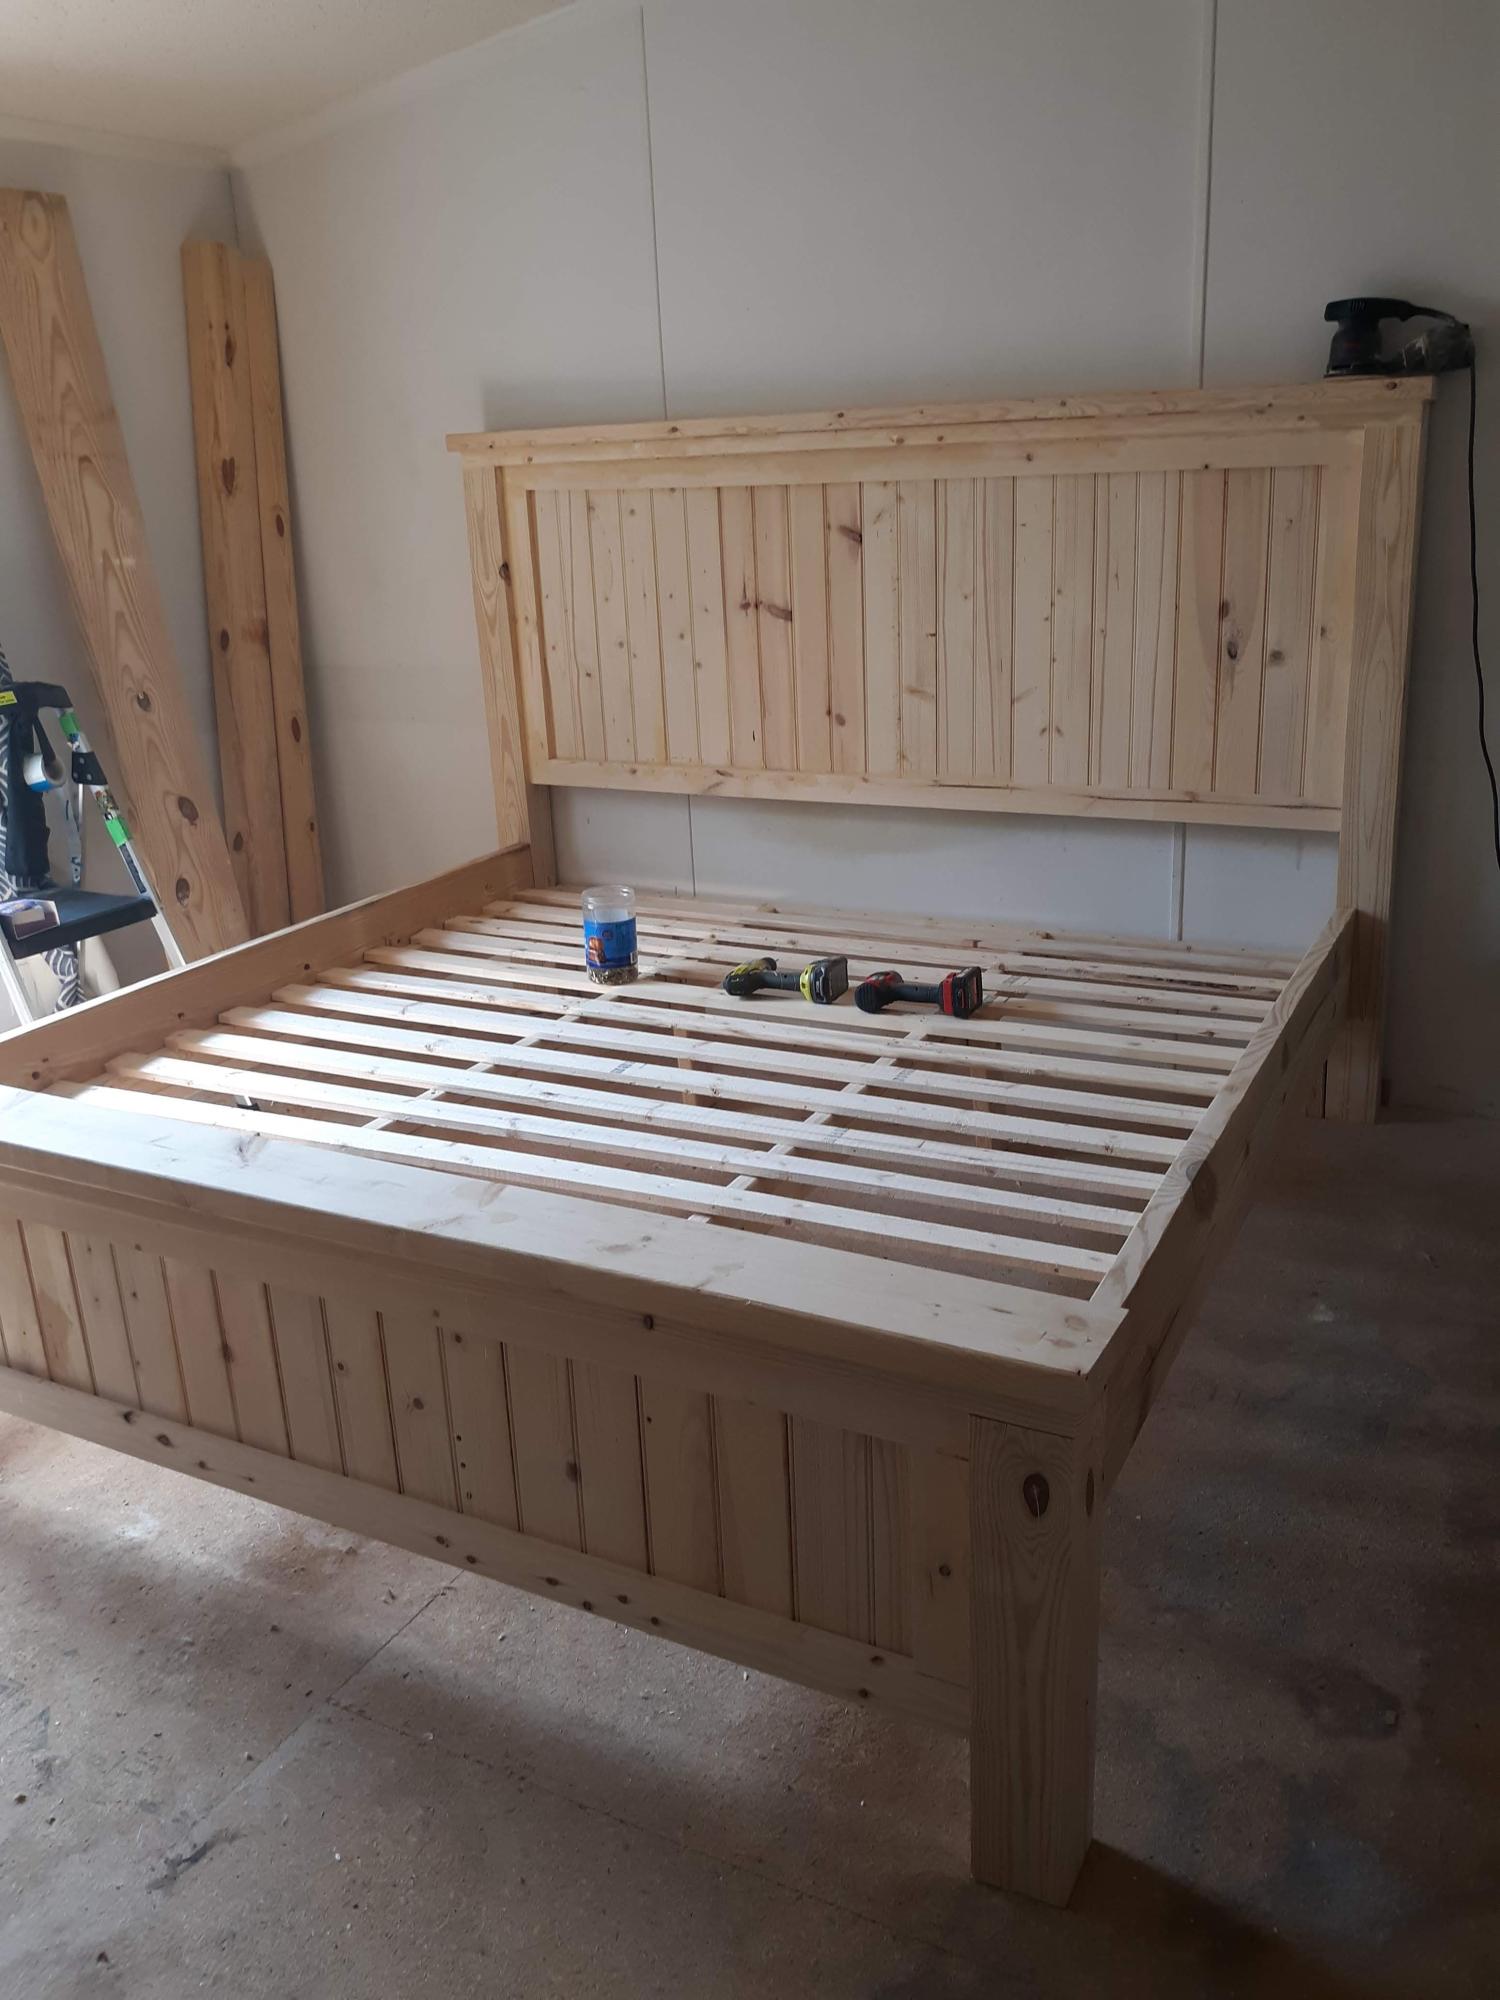
Always wanted to build my own bed frame and this was it. Let me start out by thanking Ana, for her great plans. I also wanted to say that even with lumber prices at high prices, does not mean quality lumber! The big box stuff took a lot of prep to become workable. I purchased the 4x4 posts from a local guy with a small saw mill. They were actual 4x4 inch, so some measurements needed to be adjusted.
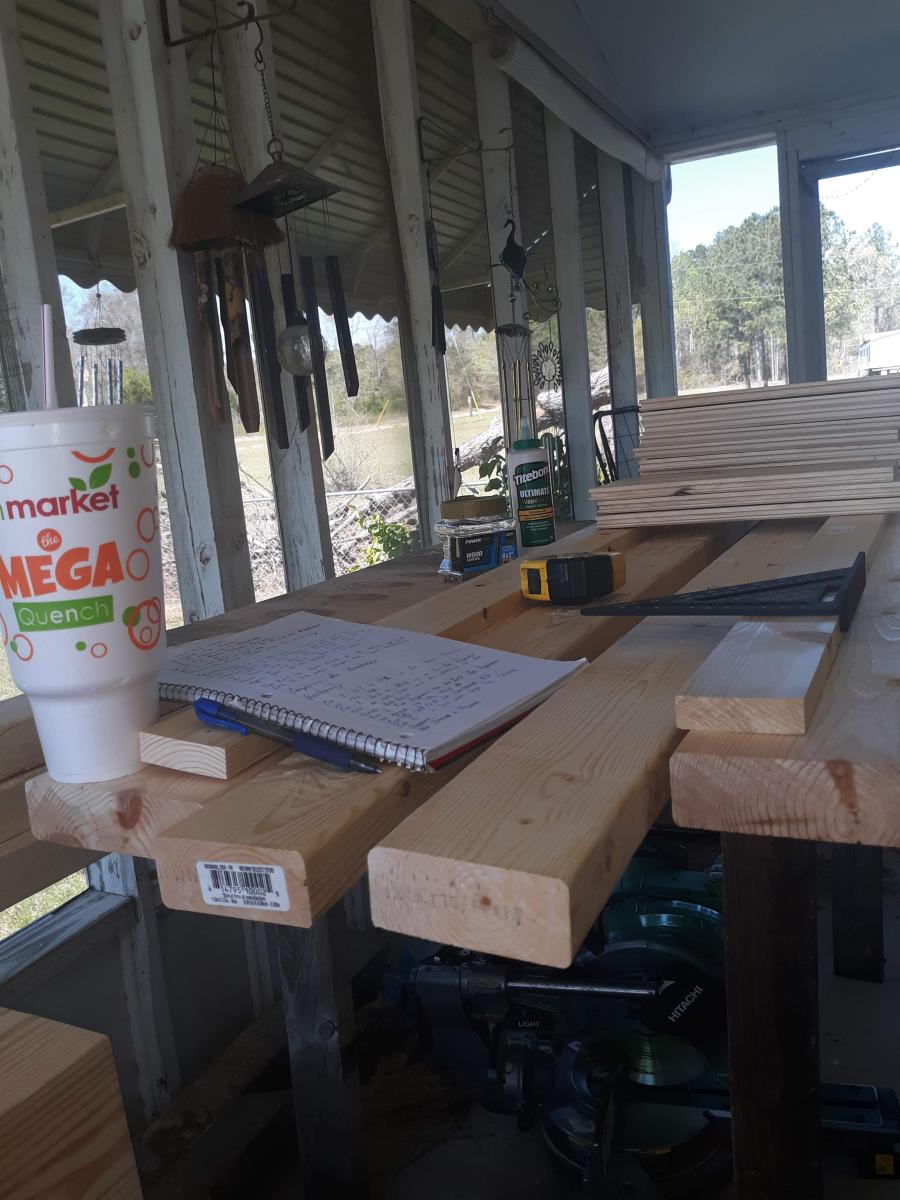
Very satisfied with the outcome as visible by the inspectors in the last picture! Our plan is to finish it in a flat whitewash finish topped with a matte poly. This piece of furniture is stout and will last generations.

Built from Plan(s)
Comments
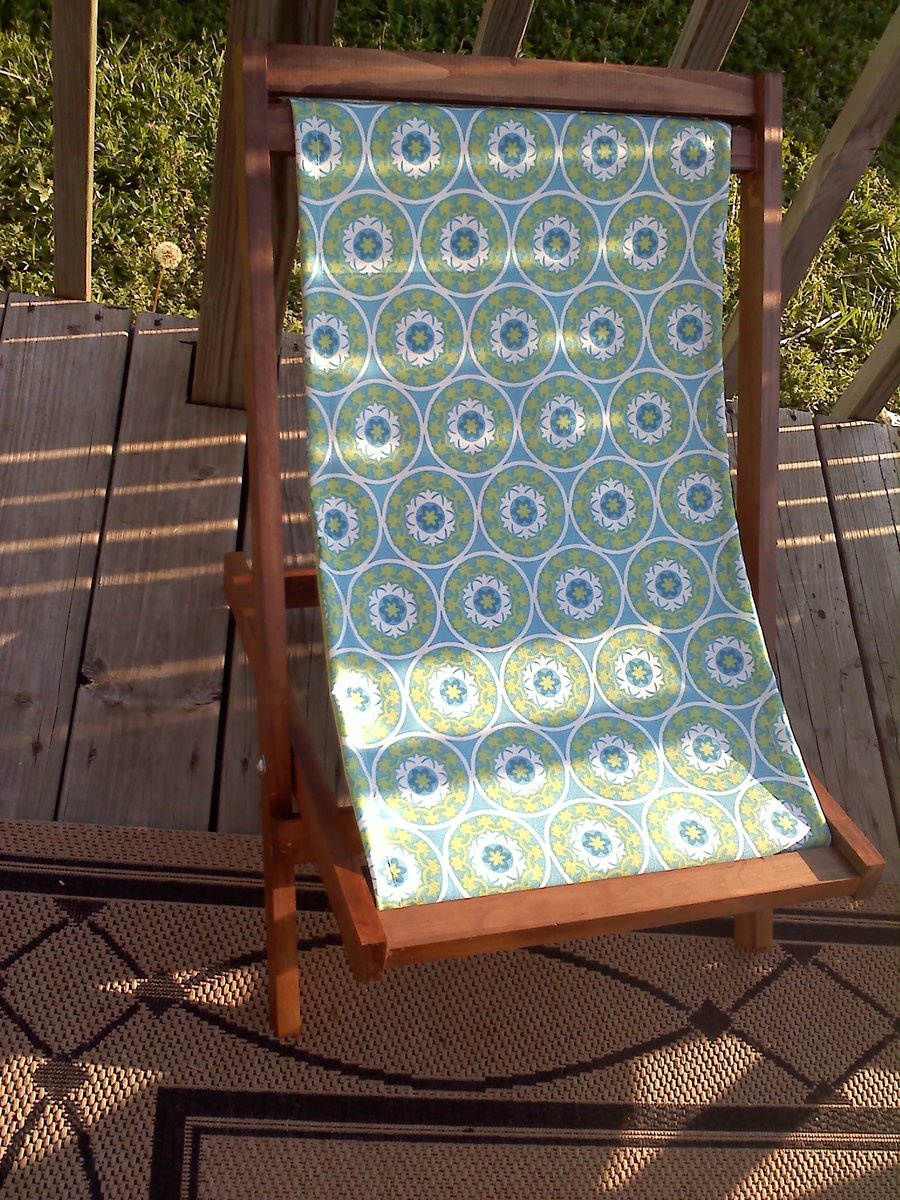
Child-Sized Deck chairs
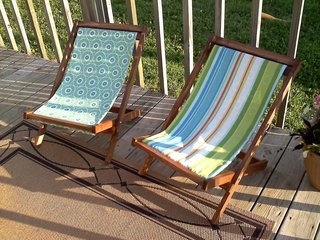
We decided to make 2 of these chairs, and like others have said, we needed one more 1x2@ 8ft to get all of the cuts. Other than that small hiccup, there were no issues and we really enjoyed making these. We used pine wood for the frames and stained them in Mirimax's "English Walnut". The fabric is from Joanns which cost me $11.99/yd (40% off). I wasn't planning on spending that much but after all of the supplies these chairs actually cost us close to $20 a chair. If I would have shopped around for better prices, I could have likely found them, but wanted to get them done soon! These would make a great gift!

Estimated Cost
$20/chair
Estimated Time Investment
Afternoon Project (3-6 Hours)
Finish Used
Mirimax English Walnut
Recommended Skill Level
Beginner
Comments

Tue, 06/07/2011 - 14:08
These turned out adorable!
These turned out adorable! The fabric is charming! Love!
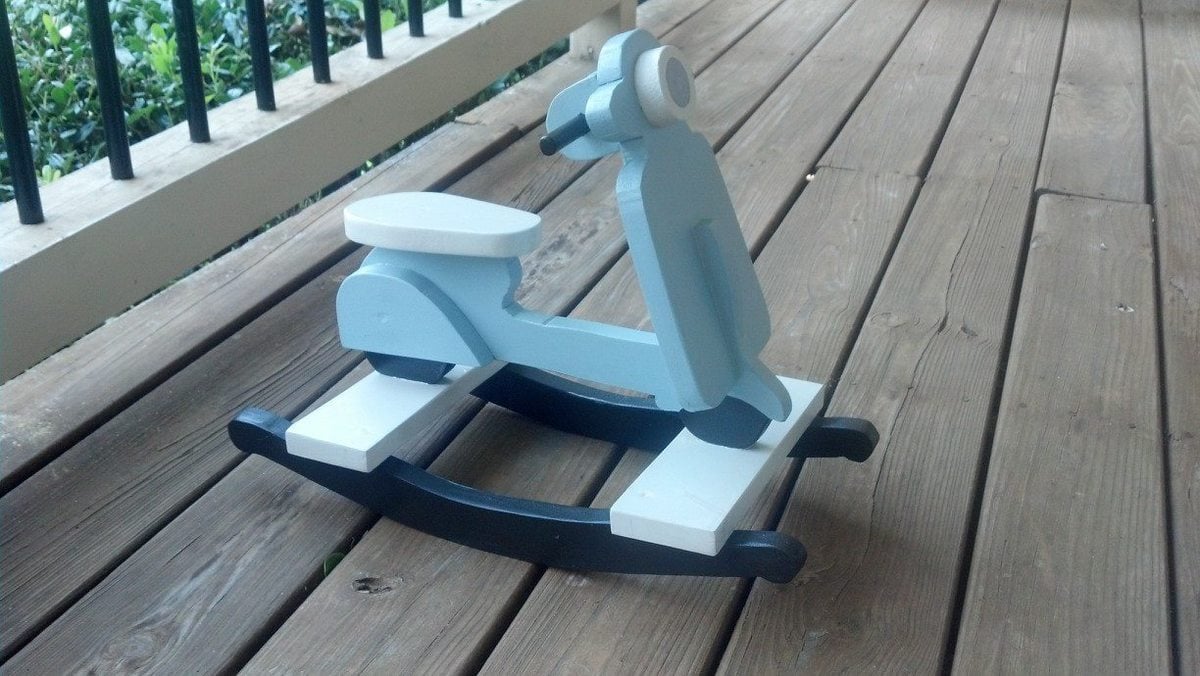
Gabe's 1st Birthday Scooter!
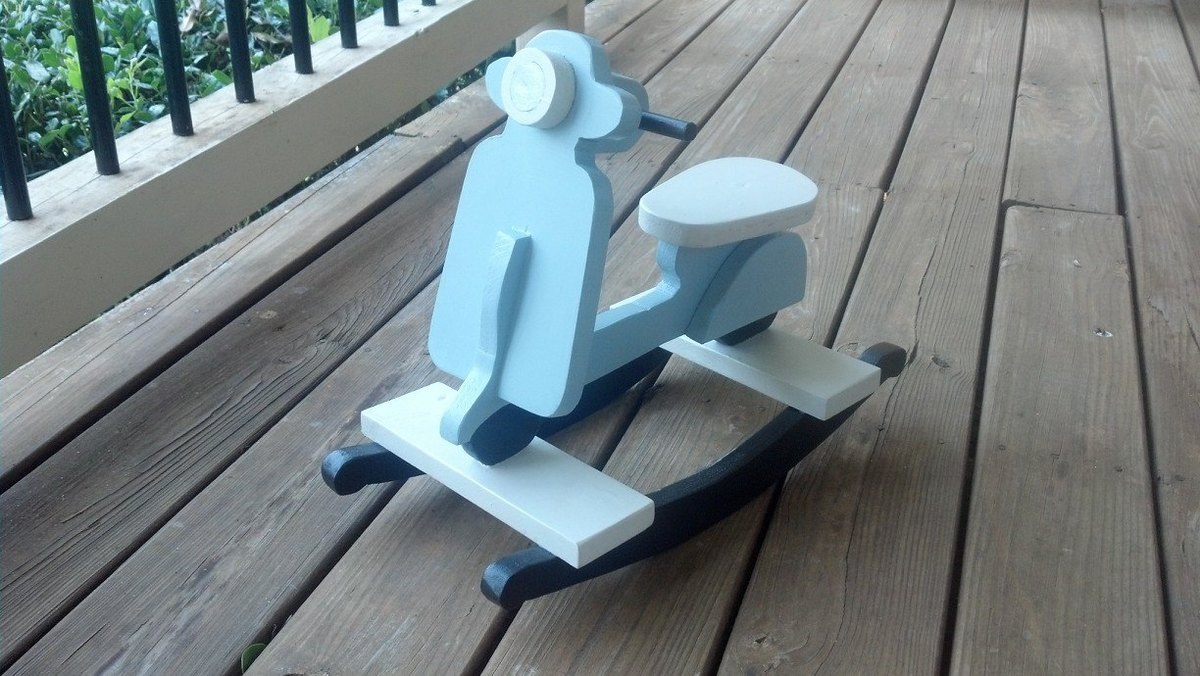
I made this for my nephew's 1st birthday! I followed others advice and pre-drilled and it worked pretty well :)
Built from Plan(s)
Estimated Time Investment
Day Project (6-9 Hours)
Recommended Skill Level
Beginner
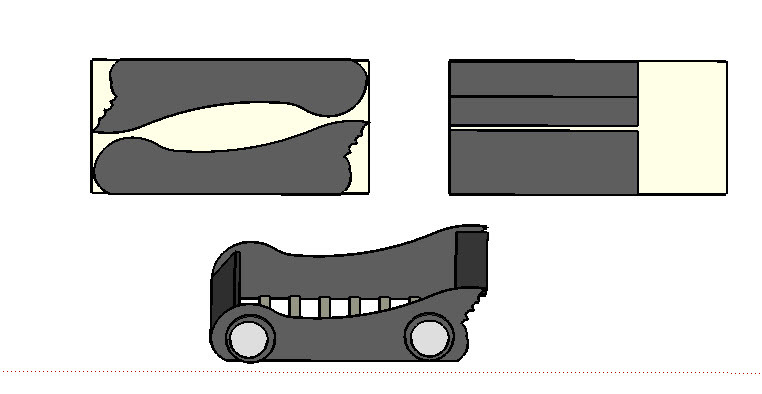
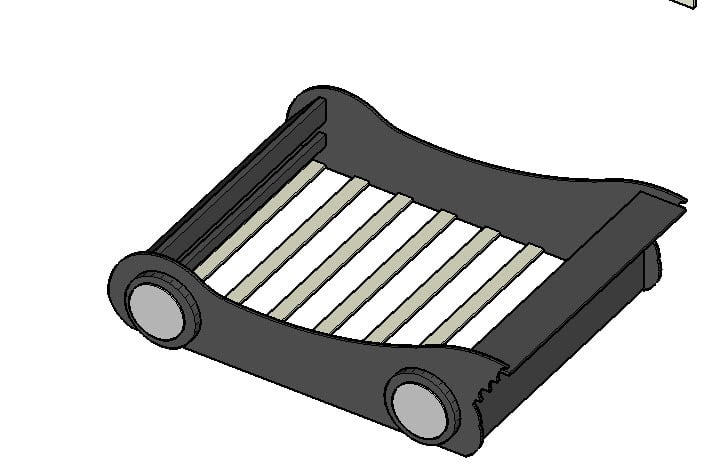
Batmobile full Bed
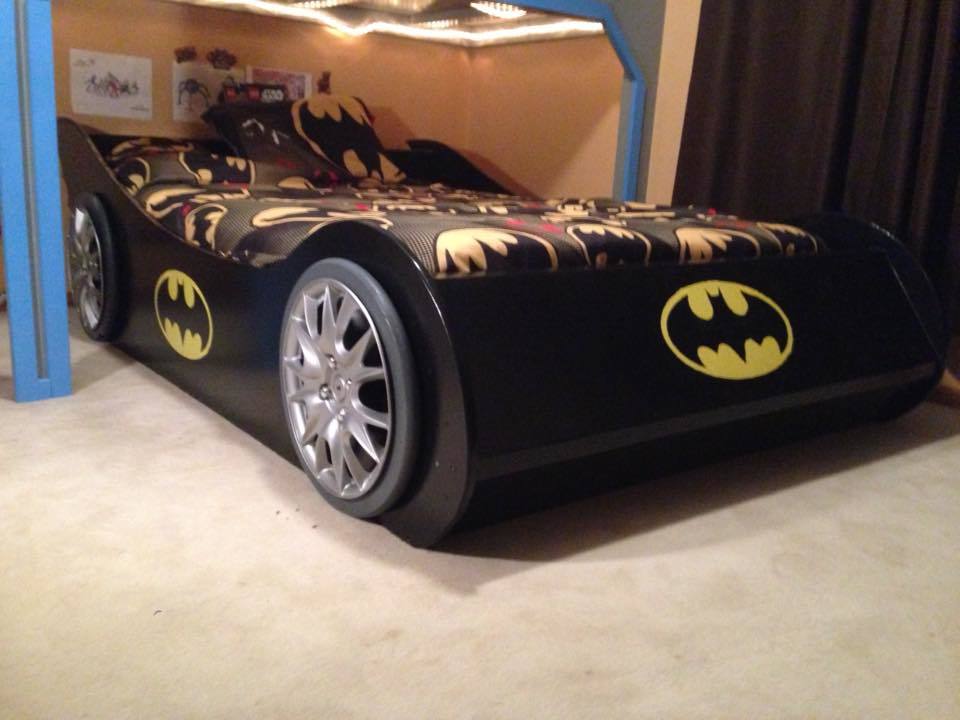
My son had a 'lightning Mcqueen' toddler bed- but we needed to get him into a little bigger bed. We had a spare full bed, and Batman is his current favorite... Since there aren't Batman full race car beds- time to start planning and building from sketchup! Took me about 2 weeks of evenings (after the kids go to bed) and about $110 in materials. The model is available in the sketchup warehouse at:
https://3dwarehouse.sketchup.com/model.html?id=u6b750a53-37a4-4d52-9d31…
For the wheel covers I ordered online at Amazon for $25 for a set of 4.
For the Wheels both HD and Menards make a 18" wood table top for ~$7 that I just cut the middle out with my router to fit the wheel covers.
The slats to hold the bed (made to fit both box spring and mattress) were just 1x4 pine boards from menards.
The body was made from 3/4 MDF, though you could of course use plywood.
I used a projector to project the image from sketchup onto the board to get it transferred- else it would have been 50+ pages if printing..
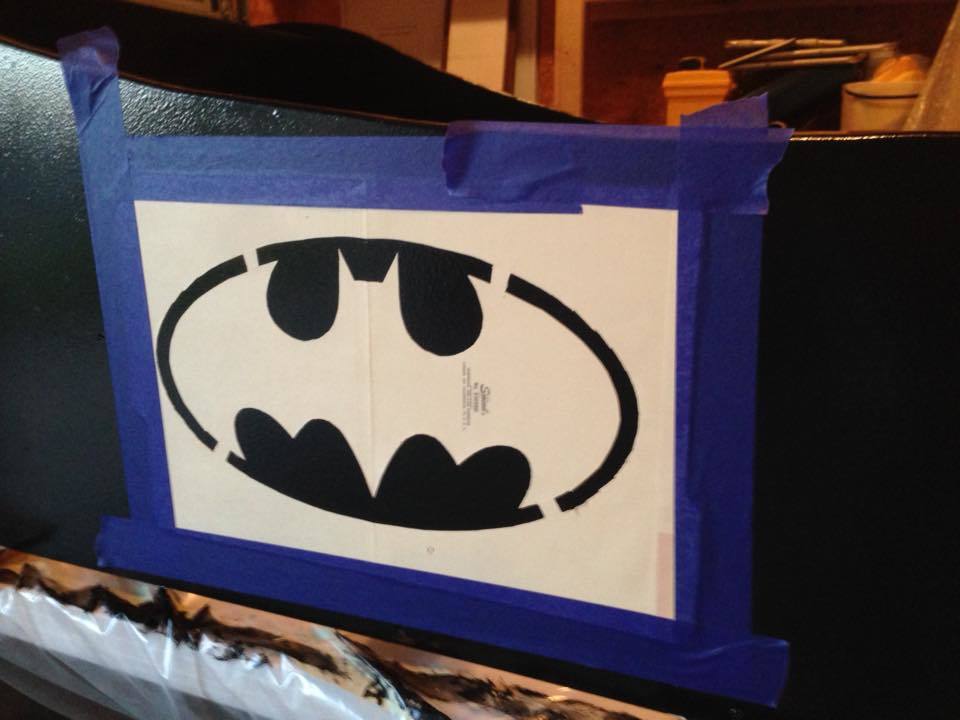
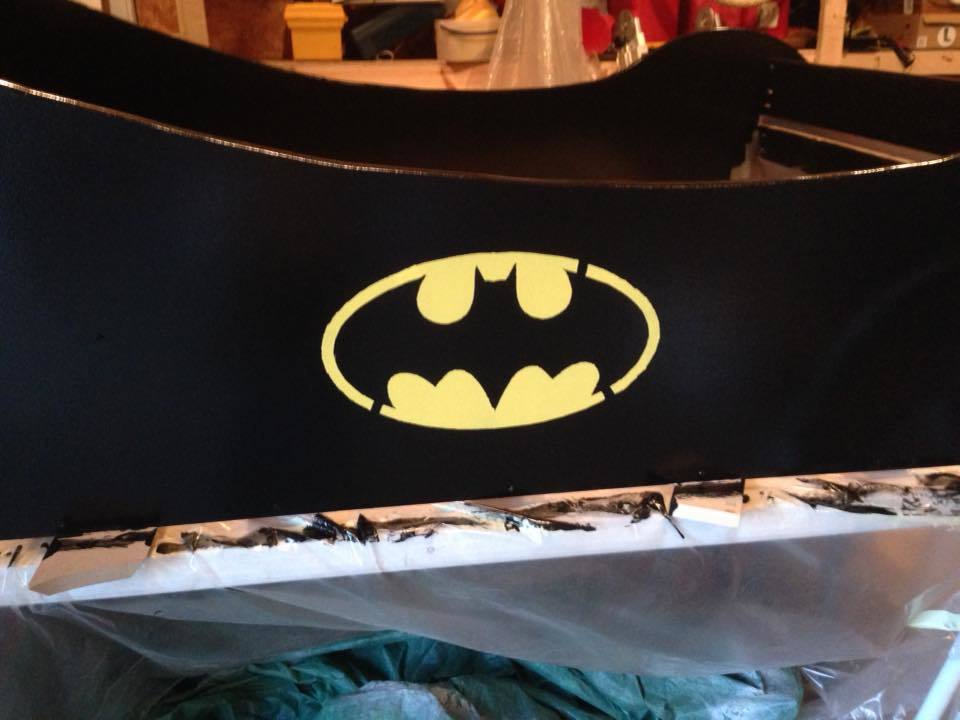
For the logos I just used a minila folder as my stencil and cut out the logo. Needed to touch up the 'tabs' to hold the logo in the circle after pulling off the stencil.

Estimated Cost
$115
Estimated Time Investment
Week Long Project (20 Hours or More)
Finish Used
High gloss Latex paint.
Recommended Skill Level
Intermediate
Comments
In reply to So cute! by Ana White Admin
Fri, 01/29/2016 - 21:18
Thanks Ana
I give you credit when people ask how I got started in woodworking because until I found your site and my first project (library cart) then 2 helper stands for my kids and other friends kids and it just went on from there. The skils taken from this site and learning Sketchup have brought a lot of nice furniture to our home as well as a sense of confidence to me!! Thank you!
Sat, 09/12/2015 - 19:10
Looks great!
My son really wants this and I promised him that I would make it. Do you have a PDF or anything of the outline of the batmobile? Thanks!
In reply to Looks great! by MoxieMan13
Fri, 01/29/2016 - 21:10
Thanks- will skp file work?
Thanks - sorry I took so long to respond. The plans are in the sketch up warehouse - search for "Batmobile full race car bed" otherwise et me know and I can try to get you a off of the dimensions.
In reply to Thanks- will skp file work? by bbcarey
Sat, 01/30/2016 - 10:59
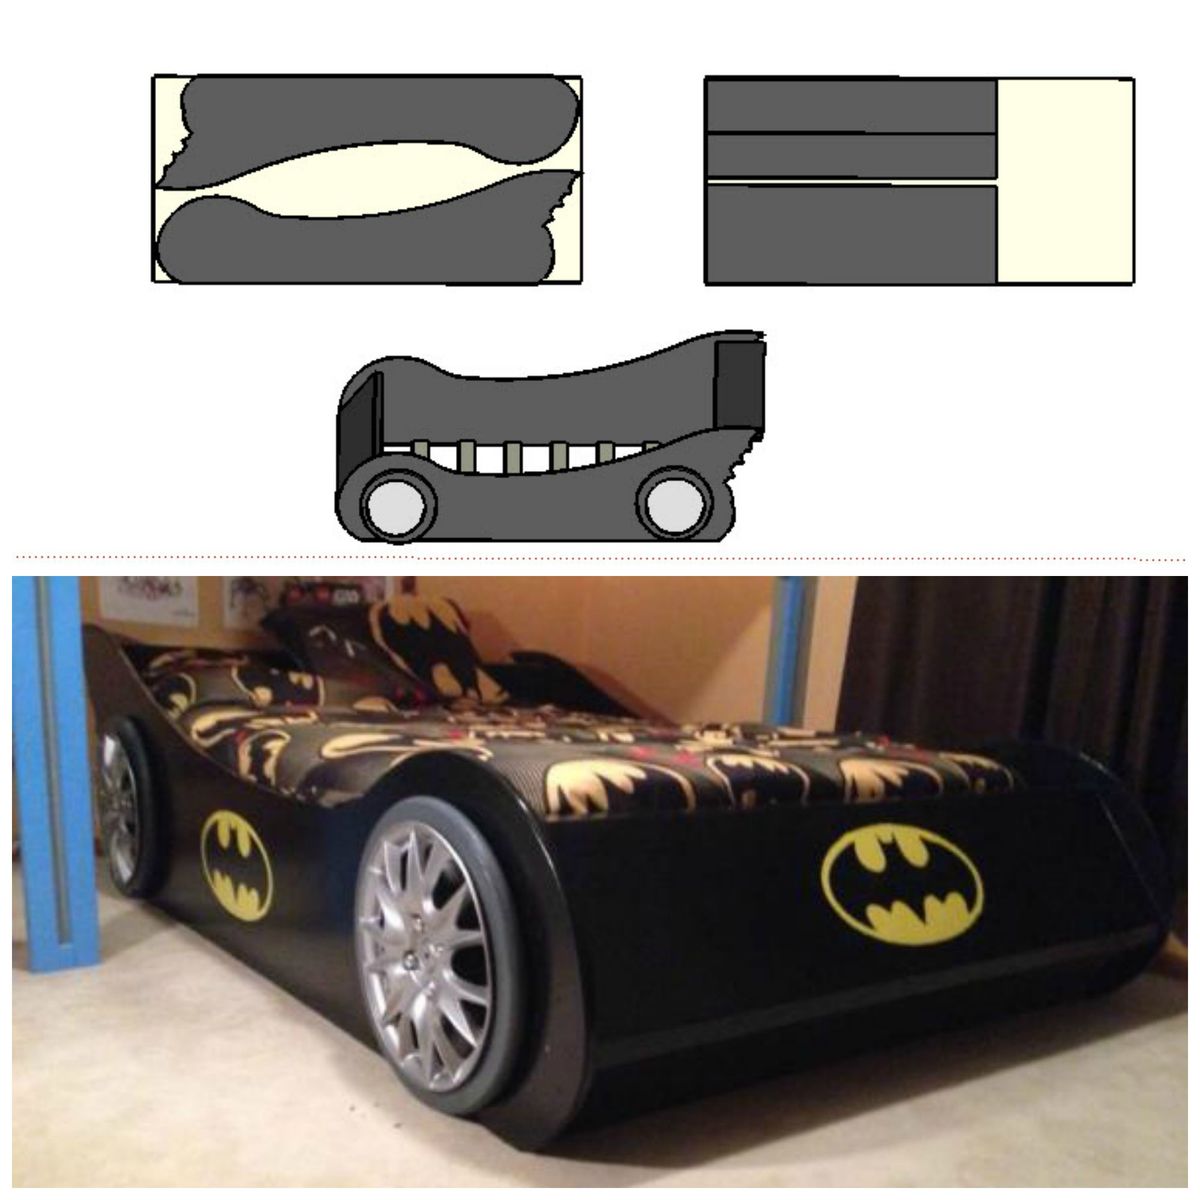
Here is the screen shot as well.

I used a 49x97 sheet of MDF... thush the 4'1"x8'1" dimensions.
Sun, 02/21/2016 - 14:29
Help!
Thank you so much for the greatest idea ever! We stumbled on this and believe it will be the perfect next bed for our son, however, we cannot download any of the files. Do you have a PDF of the measurements or any other form you can upload so we can make this bed? Thanks in advance! Great work!
Tue, 12/06/2016 - 07:23
Batmobile Bed Question
I apologize if I am just missing this, but... do you have step by step instructions on building this bed? I see the pictures of each part and its corresponding dimensions, but I cannot located instructions on assembling the bed.
Thanks!
Lockers
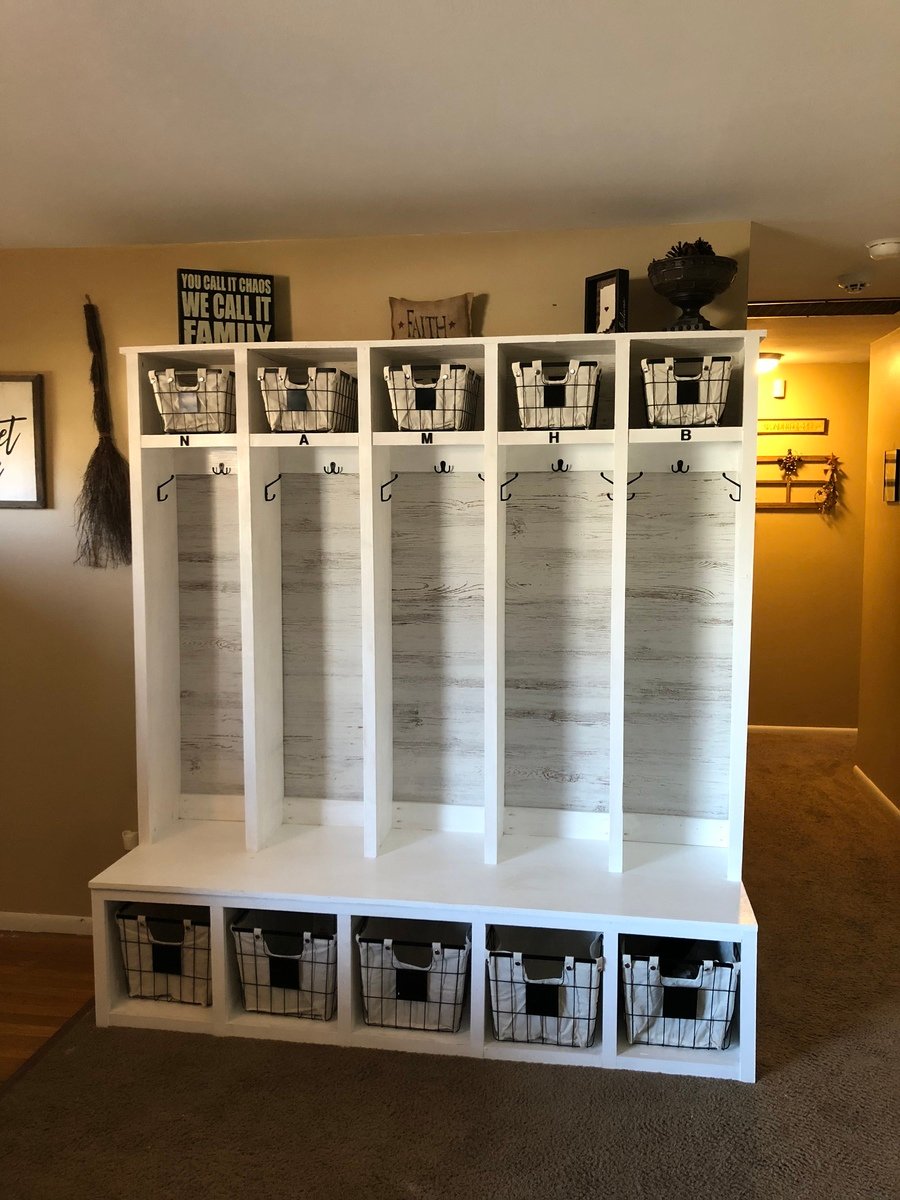
Lockers for the whole family
Built from Plan(s)
Estimated Cost
$250
Estimated Time Investment
Day Project (6-9 Hours)
Finish Used
Gloss paint
Recommended Skill Level
Intermediate
Comments
Mon, 01/25/2021 - 14:54
Wrong link
The plans linked is for a piece that is nothing like the picture here. I’ve noticed lately your website has incorrect links, the pdf print option doesn’t work, and the focus seems to be less on the plans and more about selling your pre-cut stuff. Very disappointing.
Ana white seesaw
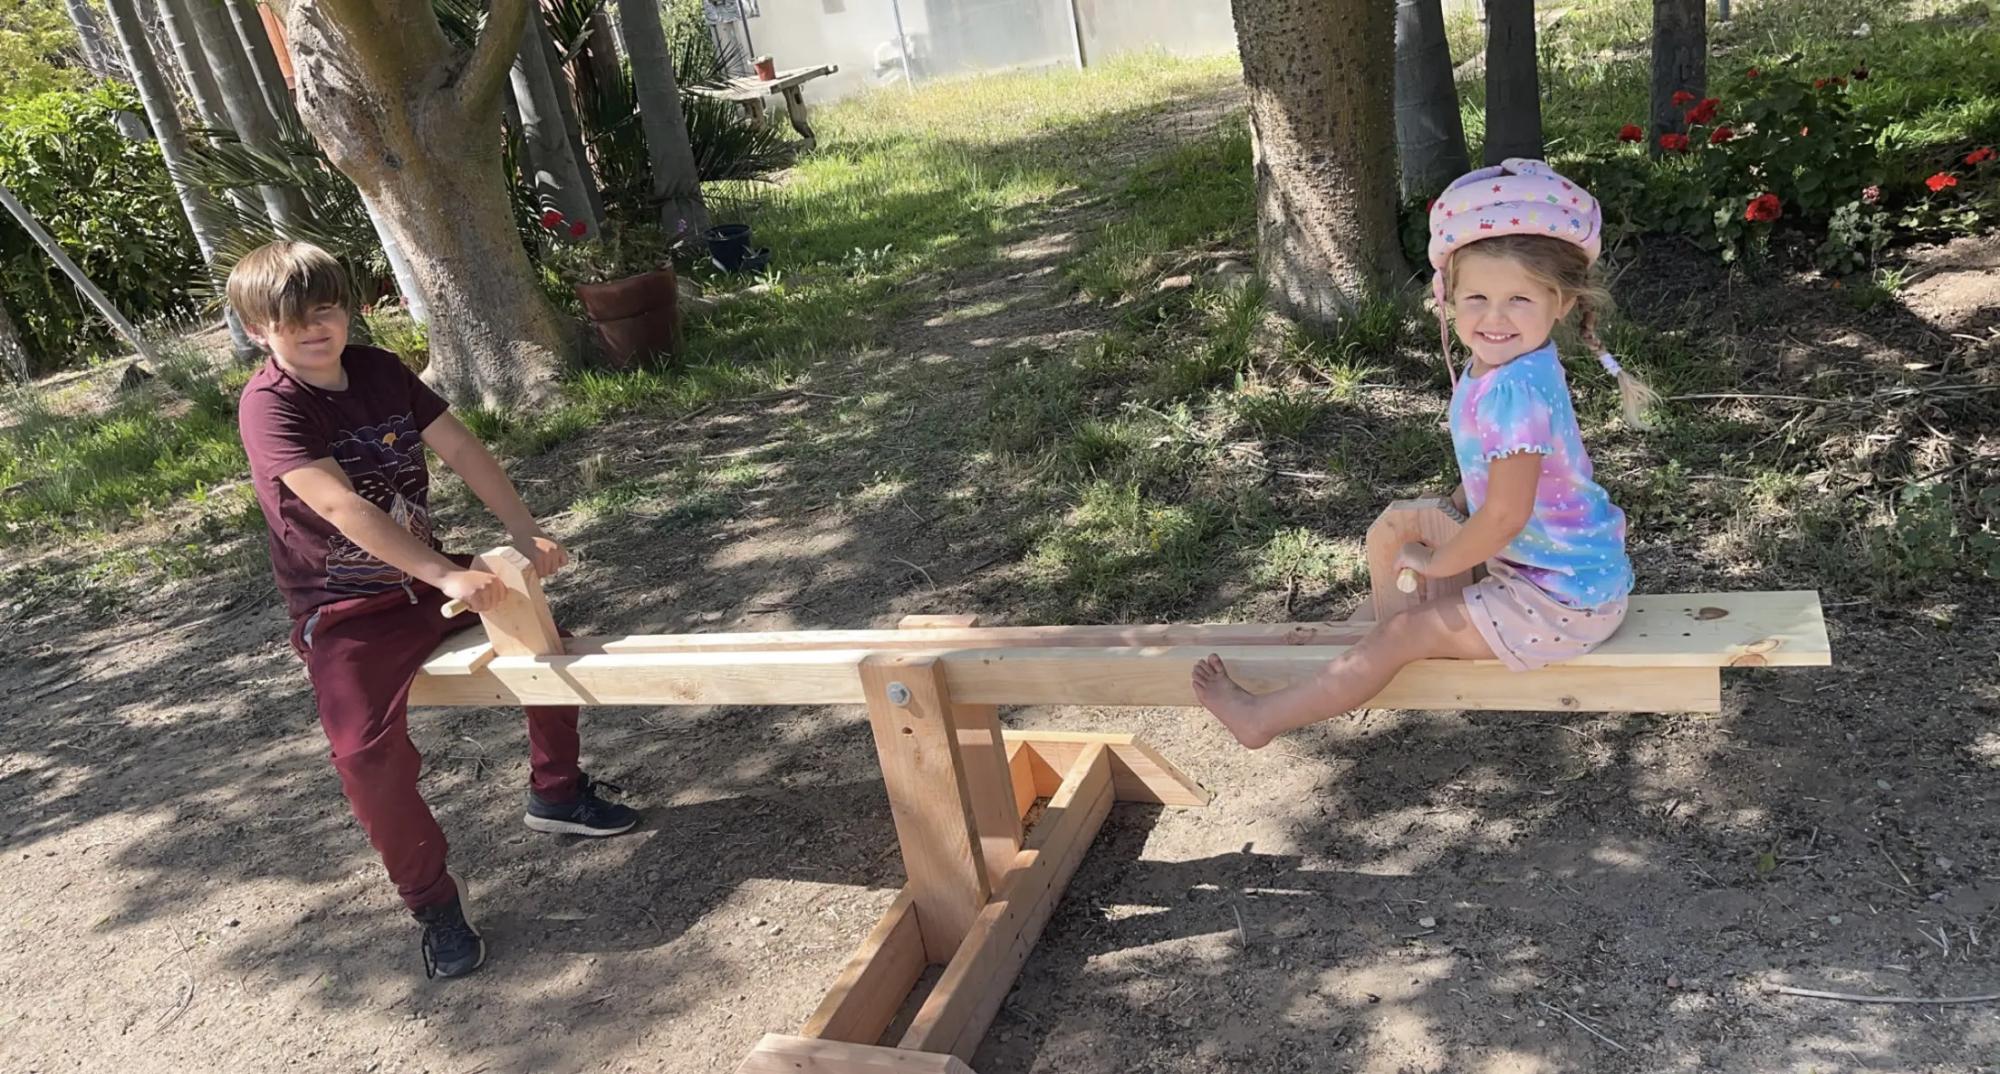
My 11 year old followed the plan and directions by you Ana!!!! We just helped him a little bit and we are so proud of the end project. The kids love it !!!!
Thank you Ana
Built from Plan(s)
Comments
Thu, 04/21/2022 - 15:11
Amazing work young man!
He has a bright future, and look at that smile, that just made my day! Thank you for sharing:)
A $15 One-Day Pirate Table
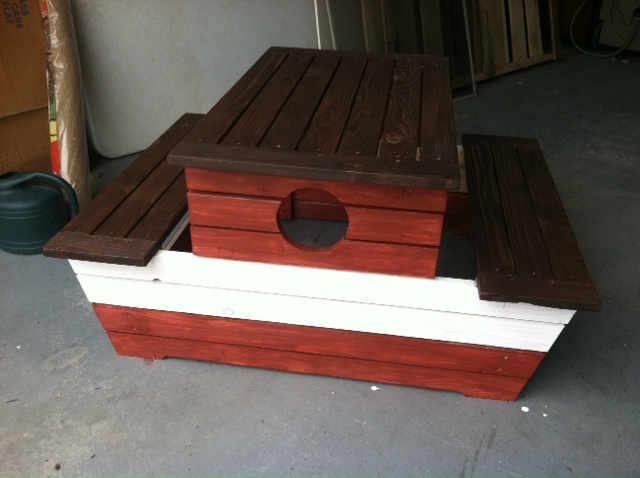
This was my second wood project. I loved working on it. The measurements and instructions were great. It is definitely for toddlers which works well for us. I used stain we had from/for other projects. Thanks.
Built from Plan(s)
Estimated Cost
App. $15
Estimated Time Investment
Afternoon Project (3-6 Hours)
Finish Used
Stain
Recommended Skill Level
Beginner
Comments
Sat, 06/11/2011 - 10:28
That is so cool!
I love it.. it turned out great! Good job! That looks so fun for the kids!

Sat, 06/11/2011 - 13:32
i am in LOVE
I have been eyeing this for a while...but I ended up doing the preschool bench. SO CUTE!!!!
Sun, 06/12/2011 - 10:40
Picnic Table
Marisol, I was choosing between the two as well... but since I have boys the choice was a bit easier :-)
Sat, 06/14/2014 - 12:12
Dumb question
Are the seats and table top supposed to be 1x2 instead of 1x3? I am confused bc the sides would be too short.
Reclaimed TV stand

I needed a new TV stand, why buy when you can make. I am about halfway done and this is what i have so far. This has been built with all reclaimed wood. I took wood from a table, a hutch and a cabinet to make this. so much fun.
Stay tuned for the finish product!!


Estimated Time Investment
Weekend Project (10-20 Hours)
Recommended Skill Level
Intermediate
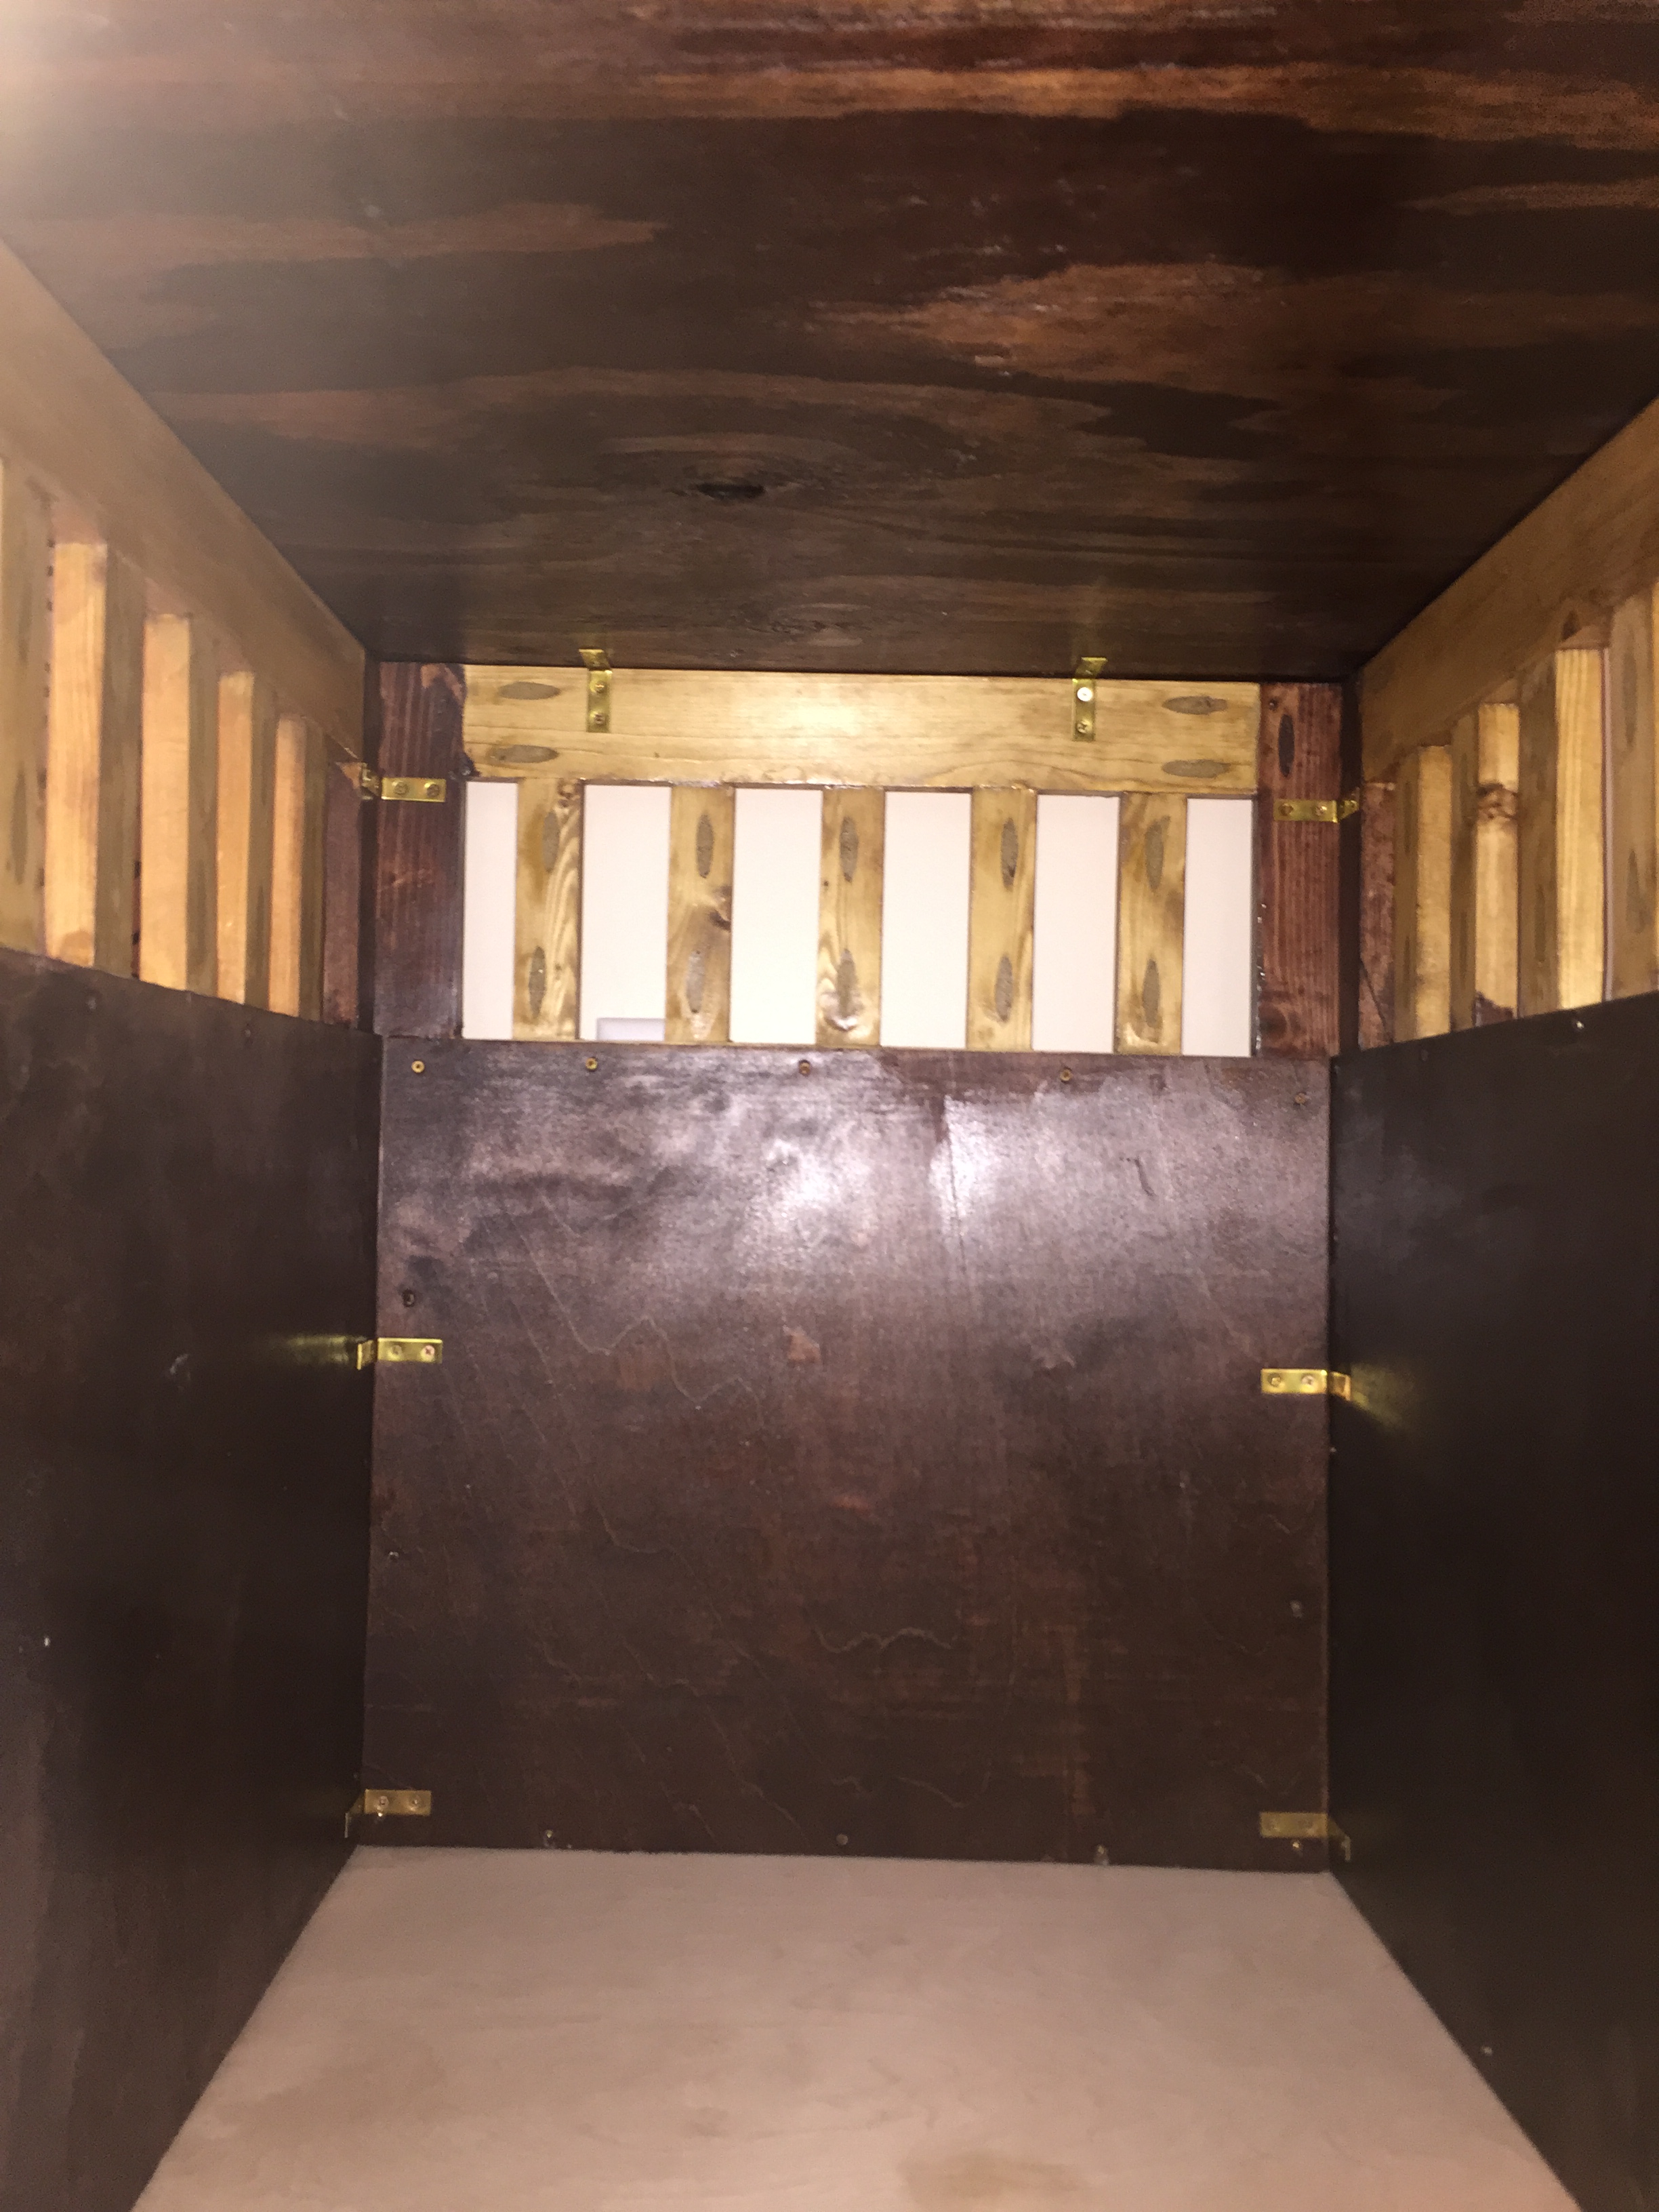
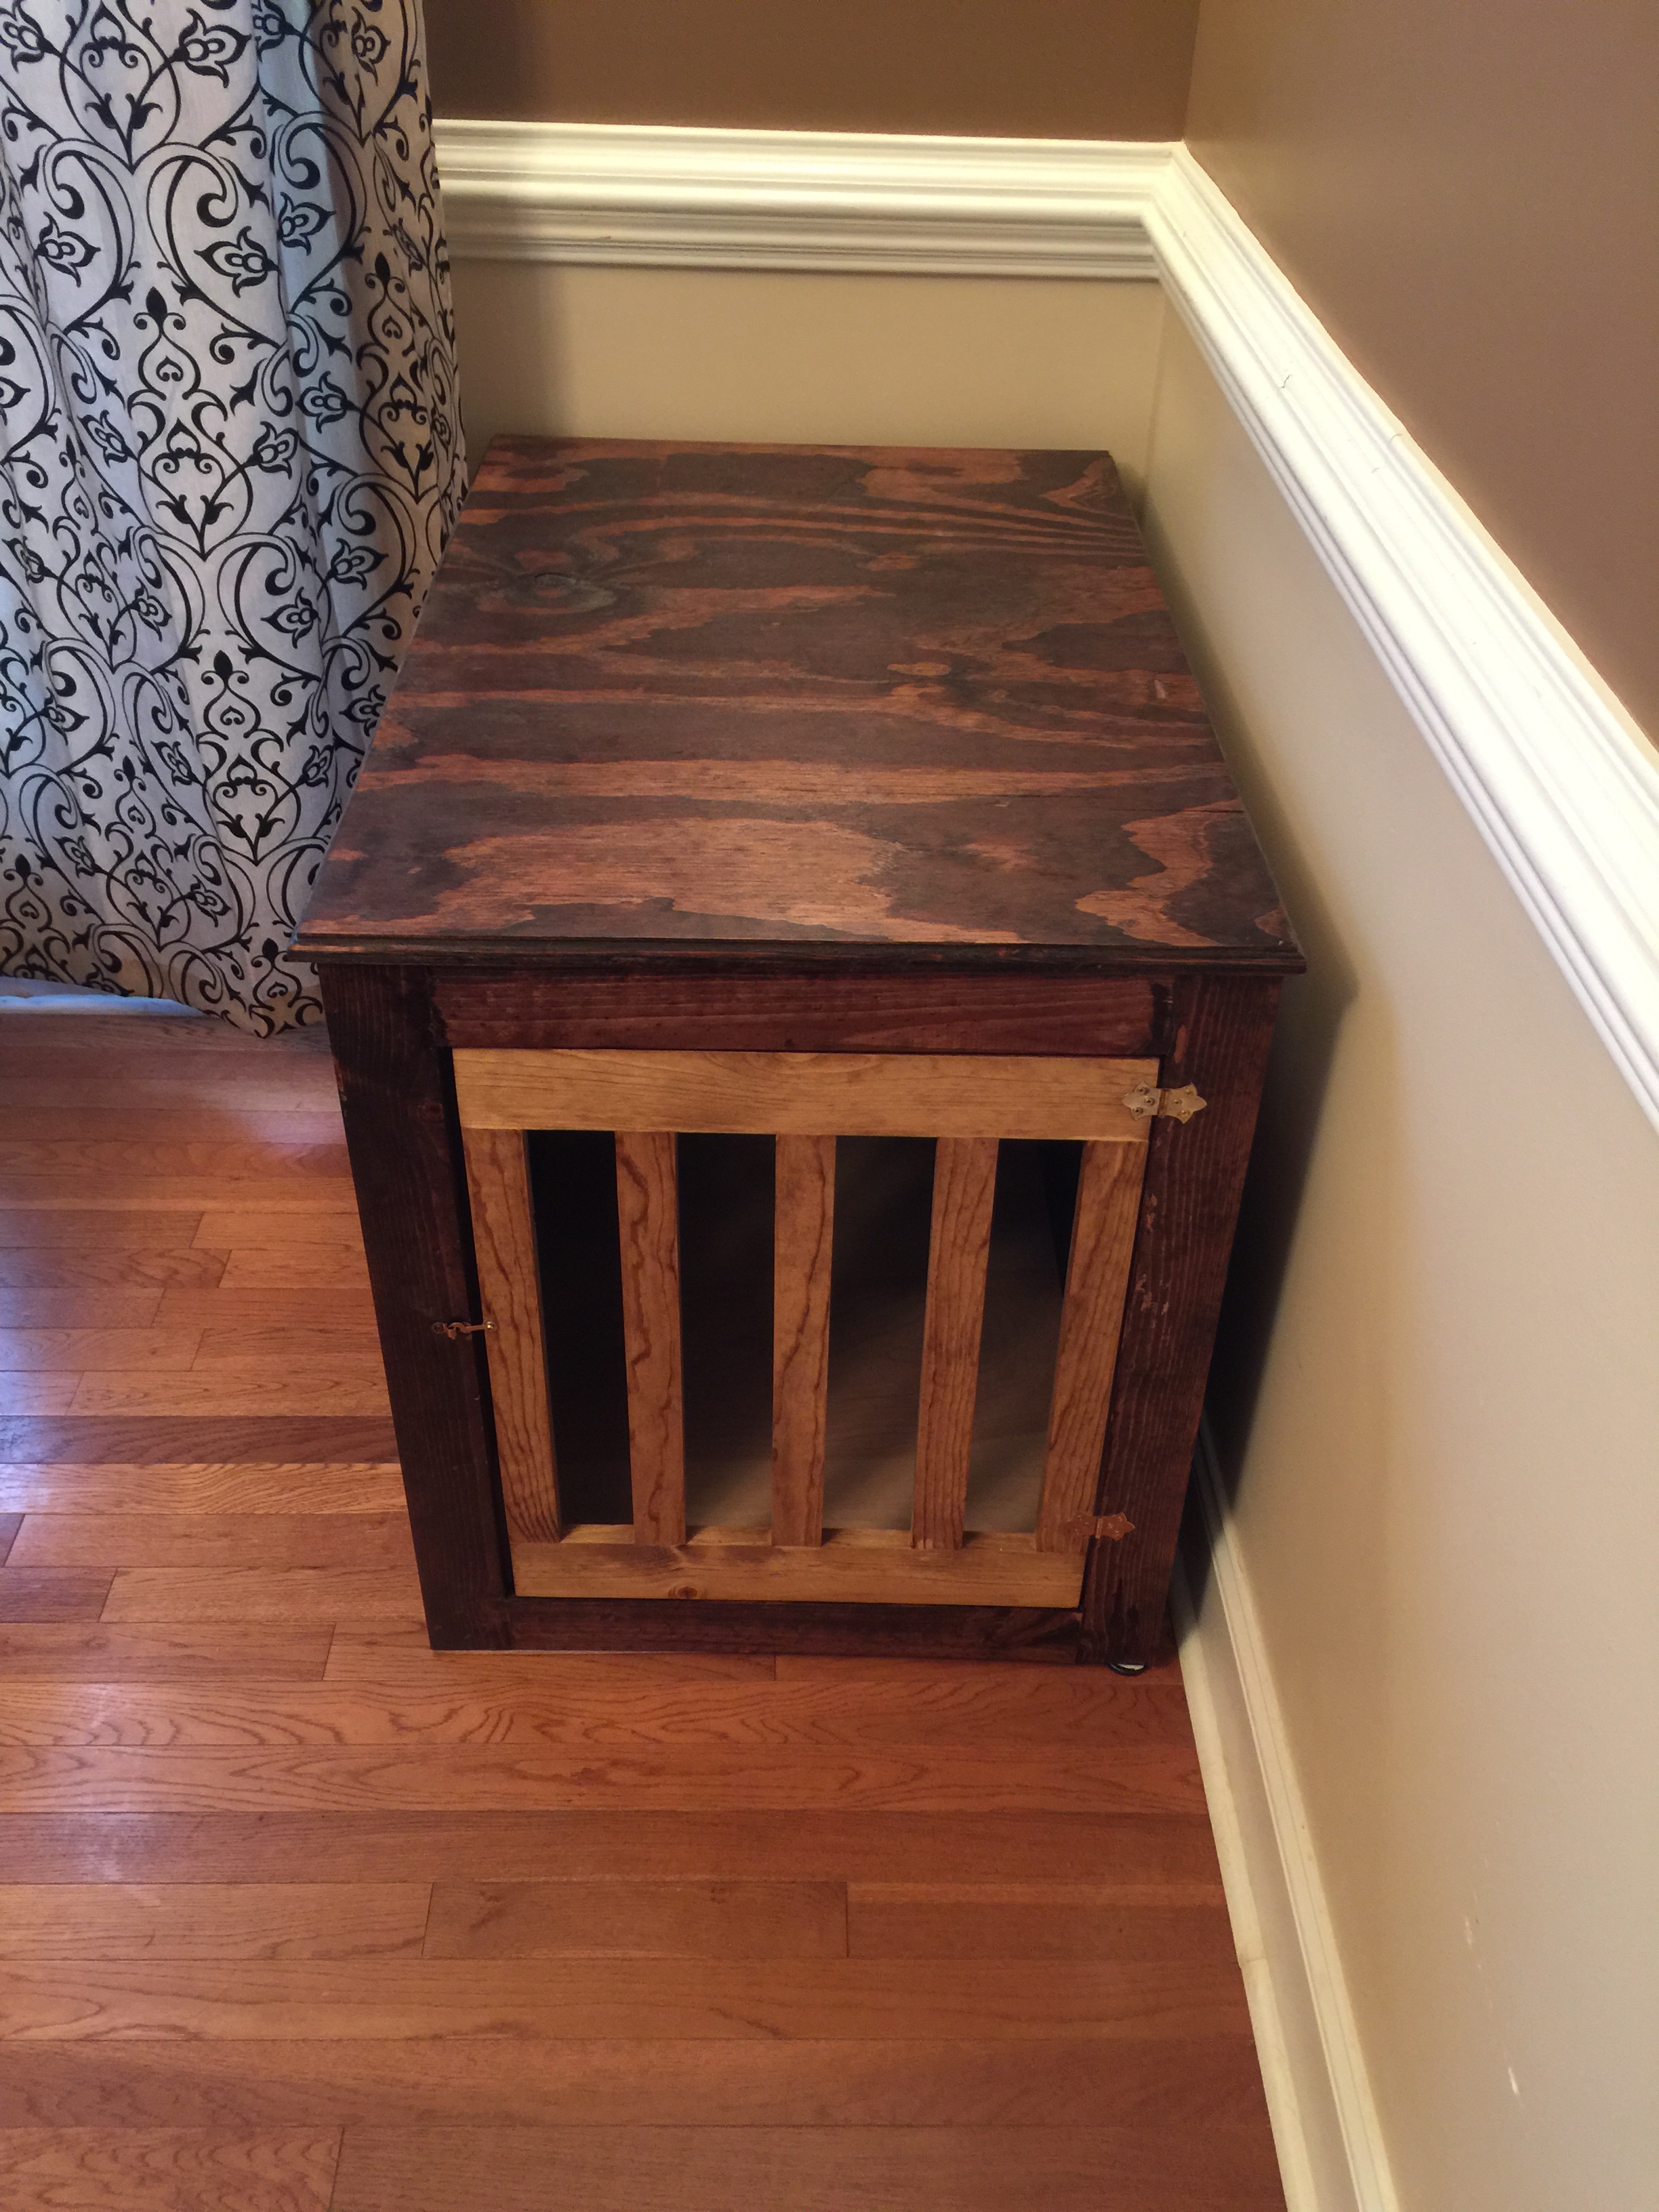
Large Dog Crate
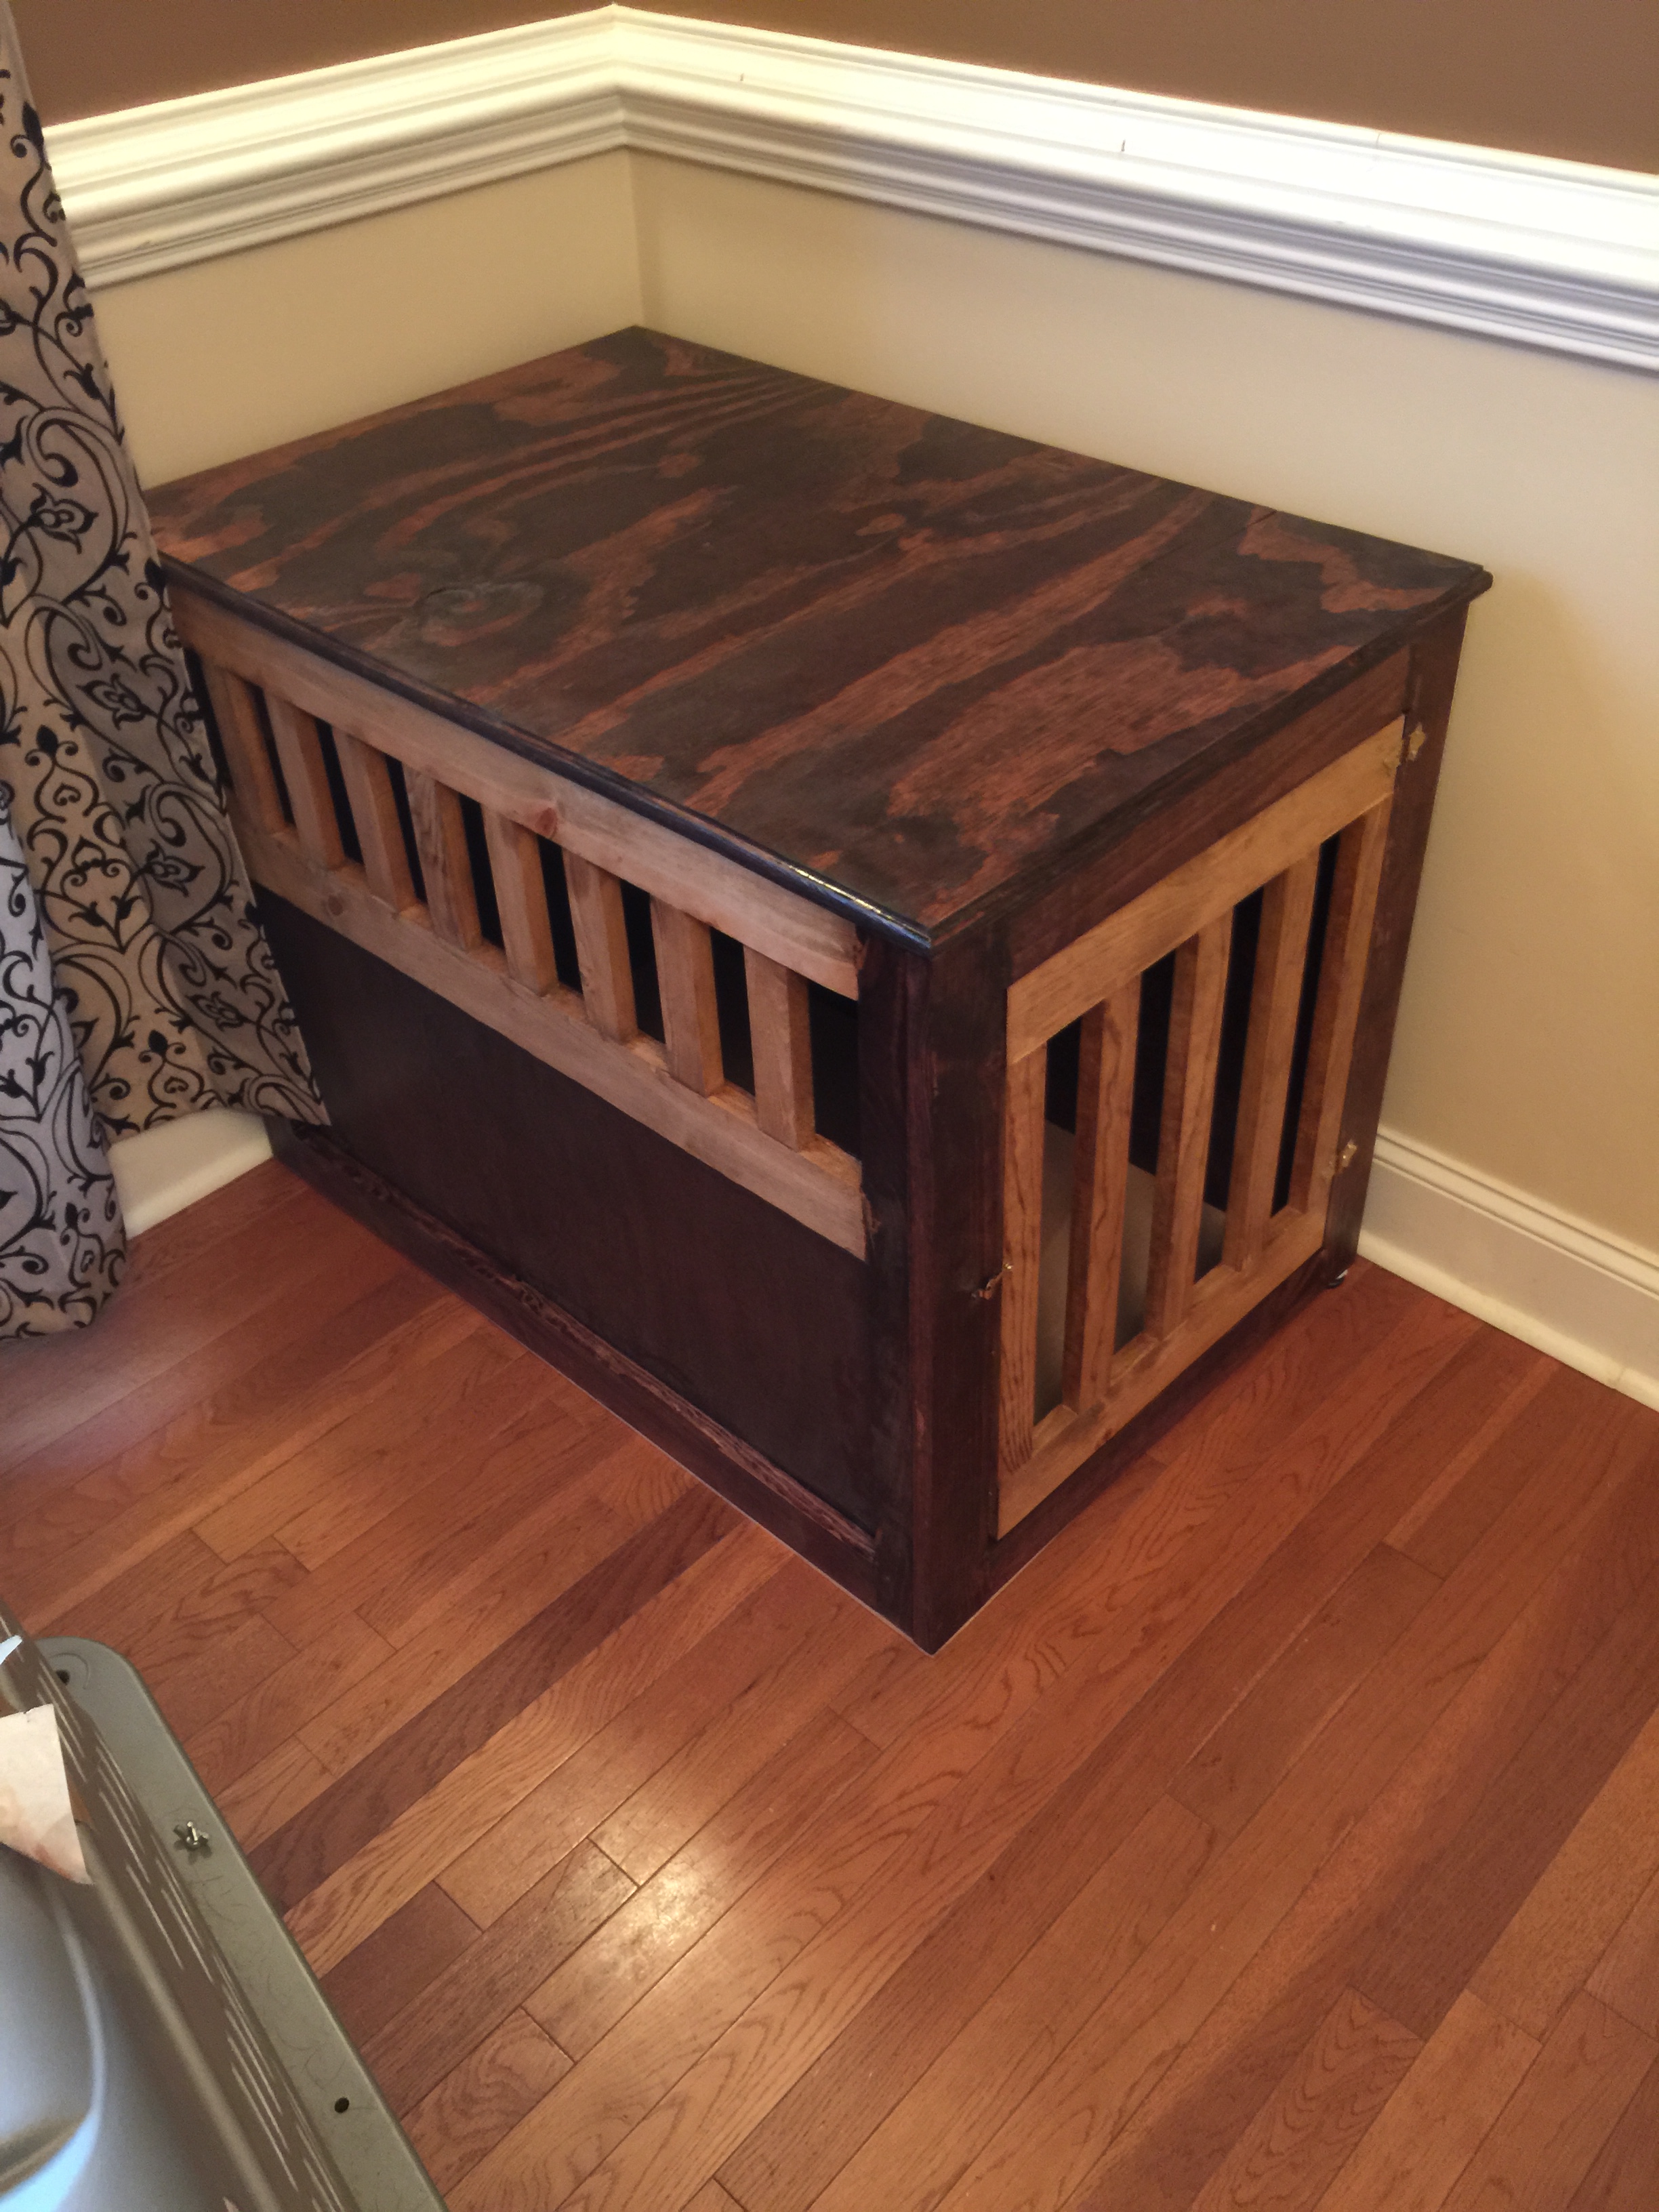
I built this crate in about a week (a few hours at a time). It is big enough for my Lab but too small for my Rottie. It needs to be about 6 inches wider and three inches taller. Inside dimensions on this one were 23" Wide x 35" long. I will post pics of the next one when complete. Thanks Ana!
Estimated Time Investment
Weekend Project (10-20 Hours)
Finish Used
Stain, Polyurethane
Recommended Skill Level
Beginner
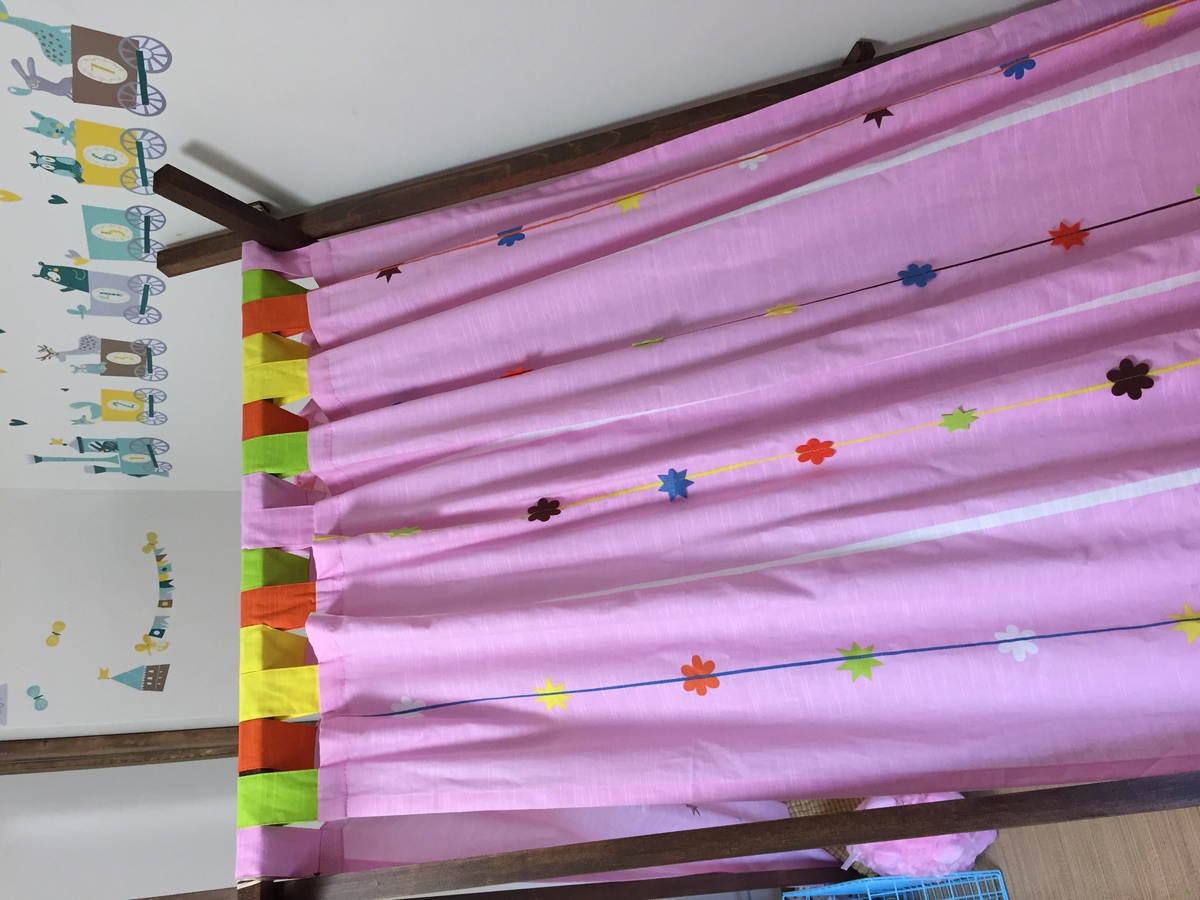
Tent fixed to wall
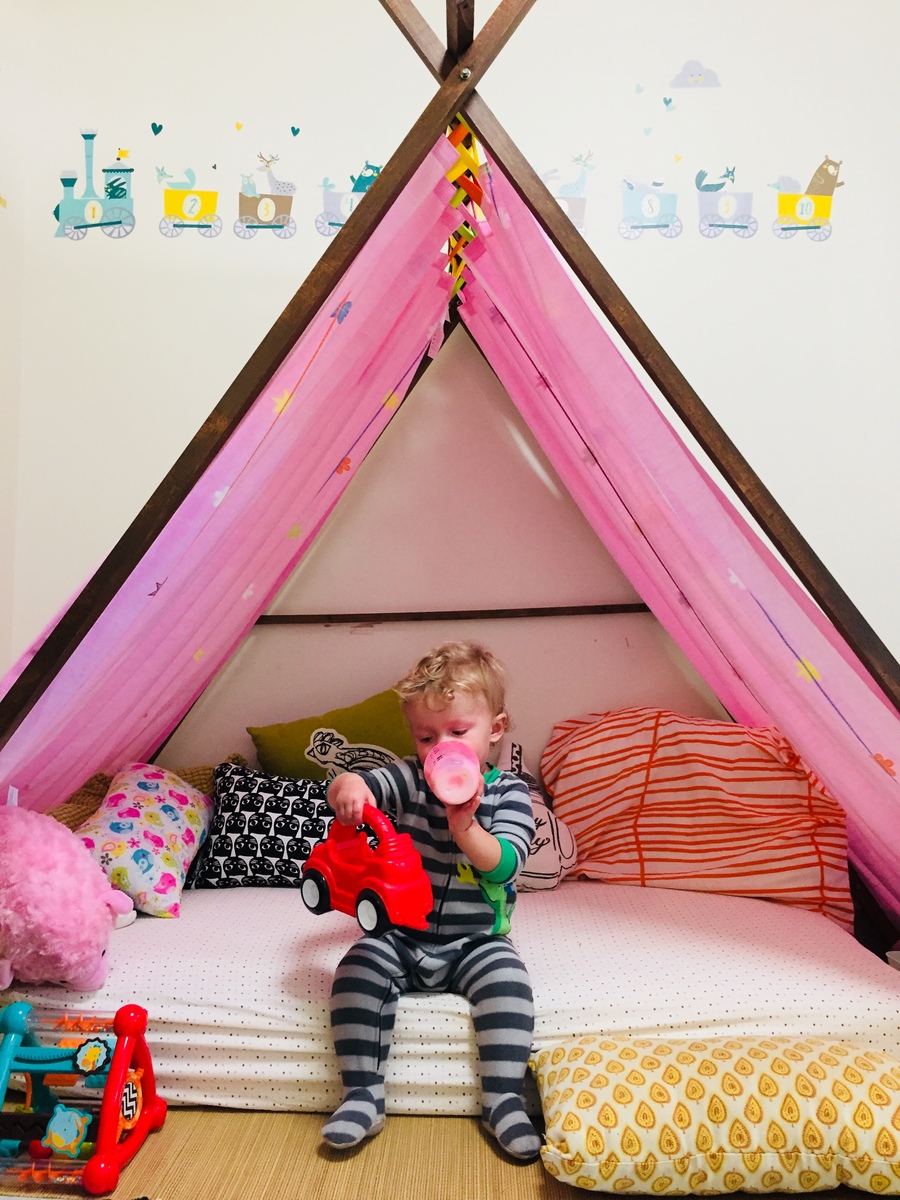
I wanted this to be more permanent and stable so I used two screws each in all the bottom attachments,added a brace in back and secured it to the wall. I used a square piece for the top rail and made the whole shebang equilateral so it’s little more squat and stable.
Built from Plan(s)
Estimated Cost
60
Estimated Time Investment
Afternoon Project (3-6 Hours)
Finish Used
Minwax Chestnut, wipe on.
Recommended Skill Level
Beginner
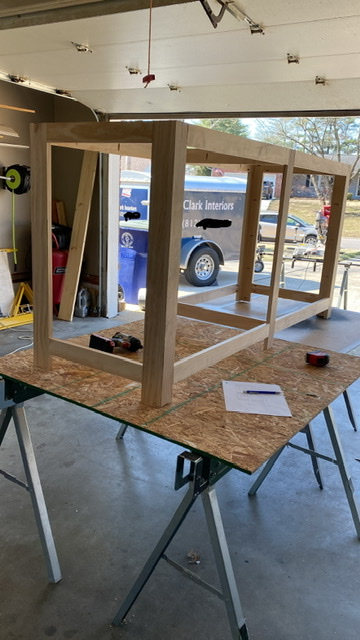
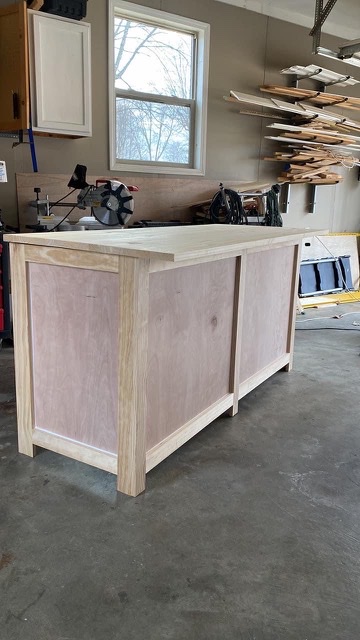
Bar cabinet
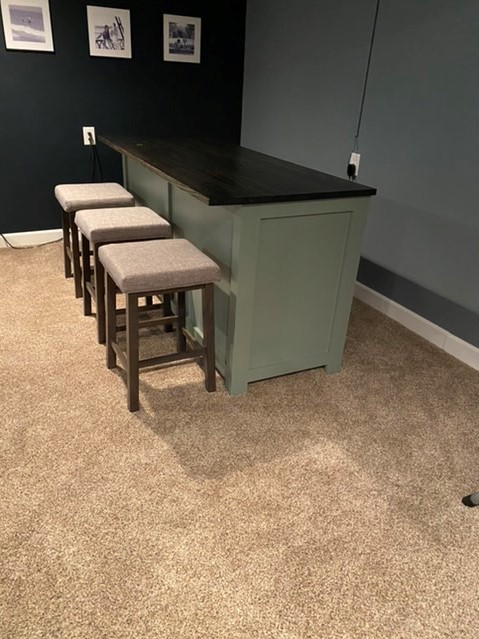
My wife wanted a eat at bar/cabinet for the basement family room. So after several design ideas this is what we come up with. It was a pretty simply build, built the frame using Kreg pocket holes to attach everything together. Love the Kreg pocket hole. Then cut the1/4” panels and attached them to the inside with brad nails. The top is a 1 x 24 glue board from Menards. Then some paint, stain and poly , attach the top and its ready to go. I used a water base poly for the top, it is great if you want to apply several layers quickly. Sand the poly after a couple layers with an 800 grit, then apply a couple more then repeat until you are happy with the finish.


Comments
Farm Dining Table
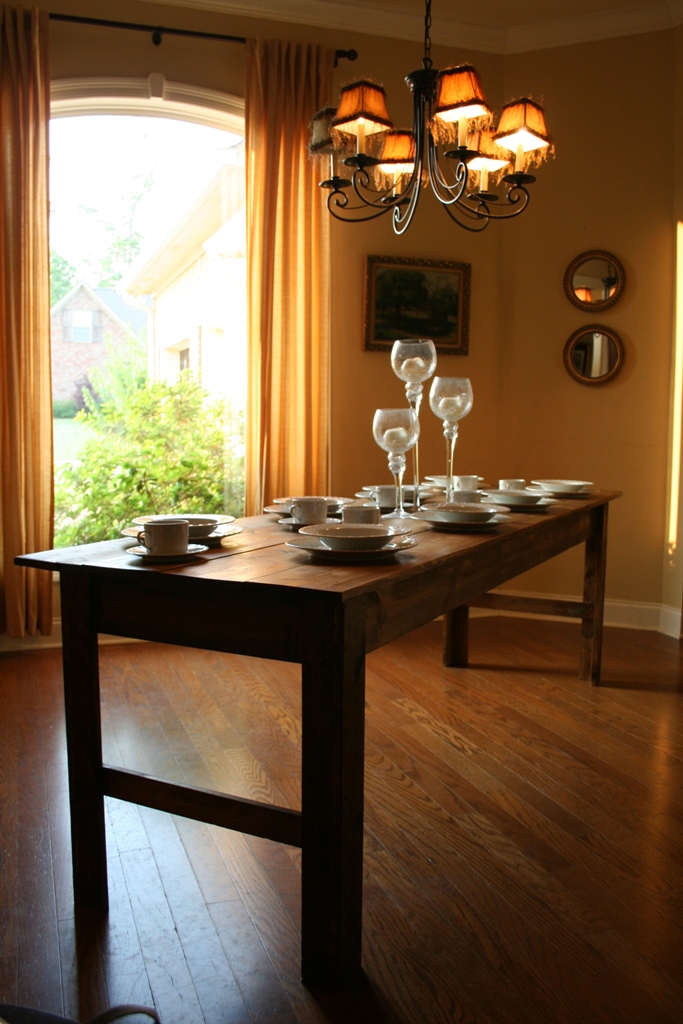
This project was much easier than it looks and turned out beautifully! I even impressed myself!
Built from Plan(s)
Estimated Cost
$80
Estimated Time Investment
Afternoon Project (3-6 Hours)
Finish Used
Provincal
Recommended Skill Level
Beginner
Comments
The Shipping Pallet Dining Table
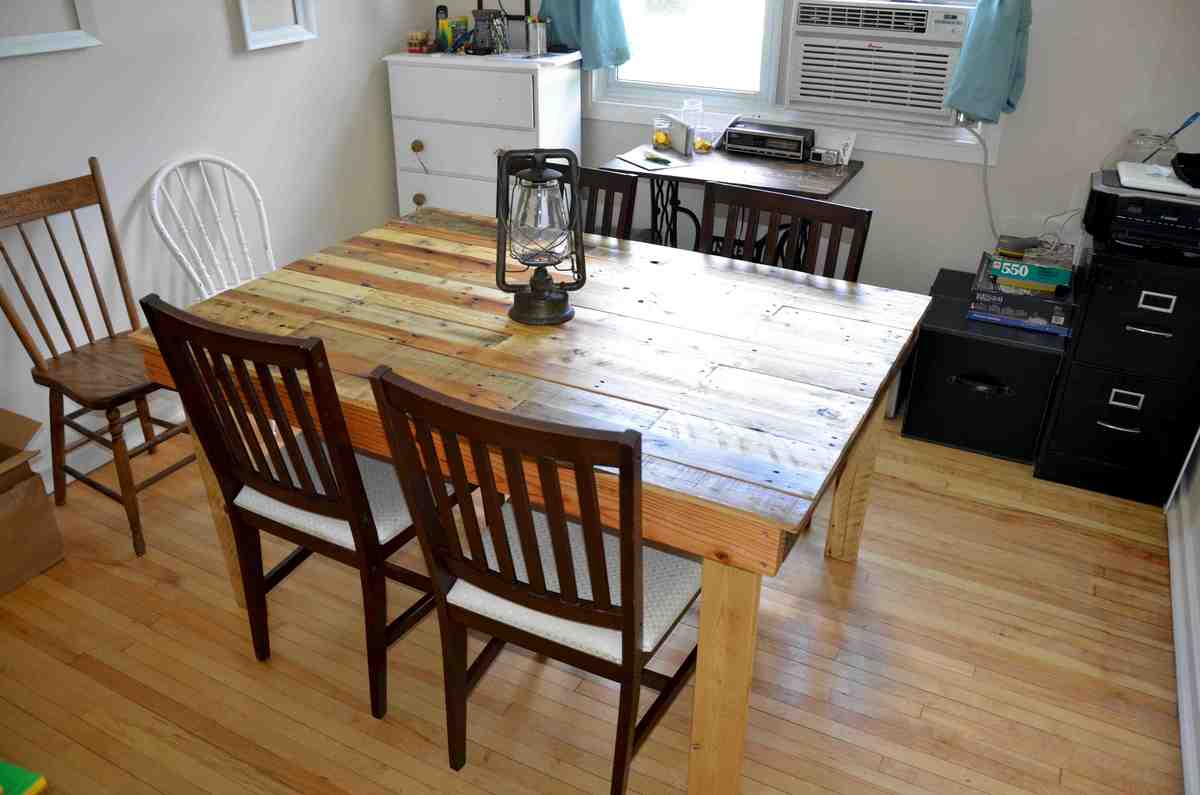
Table measures * 41" wide x 57 1/4" long x 30" tall.
We kept the measurement at 26" from floor to bottom of table.
Here is a list of what we used:
2 1/2" decking screws
2" finishing nails
8 pallets
Table Saw
Corded drill
Reciprocating saw
Bar clamps
1/2" plywood scraps
I wish I was thinking about taking some pictures along the way but here is a brief explanation.
We started with building the frame for the top.
2 - 2x4 @ 55"
2 - 2x4 @ 37 1/2"
3 - 2x3 @ 37 1/2" (we ripped the 2x3's on table saw from other lumber lying around)
Instructions are simple for the frame. Attach the 55" 2x4's to the 37 1/2" 2x4 and note the 37 1/2" ones go in between the long ones not on the end of them.
Next step is to run the 3 2x3 supports. 1 in the middle then the others go in the middle of the next gaps roughly.
*Note*
We did not do the pocket hole screws or try and hide the screws in any way. We screwed the entire frame together from the outside.
So now onto the more challenging step. So the top we have no guide for. We used
our reciprocating saw to get the boards off the skids. Then we had to de-nail the materials. Took approx 8 skids worth. Next was to run them all through the table saw to clean up the edges and remove any crowning or bowing? In a nutshell make all the board edges flush and straight.
After that long process we then started to do our dry fit so we would know which boards we wanted to use and how long we wanted each one to be. Then proceeded to cut them to the lengths and keep them in their respective groups as there were many varying widths as we wanted the top to be very different.
The next step was simple start laying them in place and attaching them to the frame.
During this process we had to bust out the clamps as we had a few troublesome boards that had to be pulled in flush. We used the 2" finishing nails to attach all the boards. After they are all attached this is the ideal time to sand the top.
*Note*
Decide what you want your overhang to be all around during the dry fit process. That will also be the time where you can play with ripping some thinner to make it unique.
So now we have all the boards attached it was time to counter sink ann the finishing nails. After we completed this we wanted to make secure everything just a bit more so we added 1/2" plywood to the bottom of the table in between the support sections.
After this was done it was simply time to cut the legs. We cut our legs @ 28"
We sanded these before attaching them.
*Note*
For the legs we had to assemble the legs in the room as the table is simply too large to bring through a door assembled. Keep this in mind if you decide to use a different design for the legs. We attached the legs with 4 - 2 1/2" screws which was perfect.
After that was done all that was left was to get it finished the way we like it. We used Minwax Antique Protective Oil Finish
If you used my notes to get by hopefully you have something beautiful in your dining room.
Thank you for visiting.
We would like to thank Ann from
http://littlepaths.wordpress.com/2012/08/26/the-shipping-pallet-dining-… for providing us with their design that inspired us.
Estimated Cost
$20
Estimated Time Investment
Weekend Project (10-20 Hours)
Finish Used
Minwax Antique Protective Oil Finish - We followed the directions on the can and applied 3 coats.
Recommended Skill Level
Intermediate
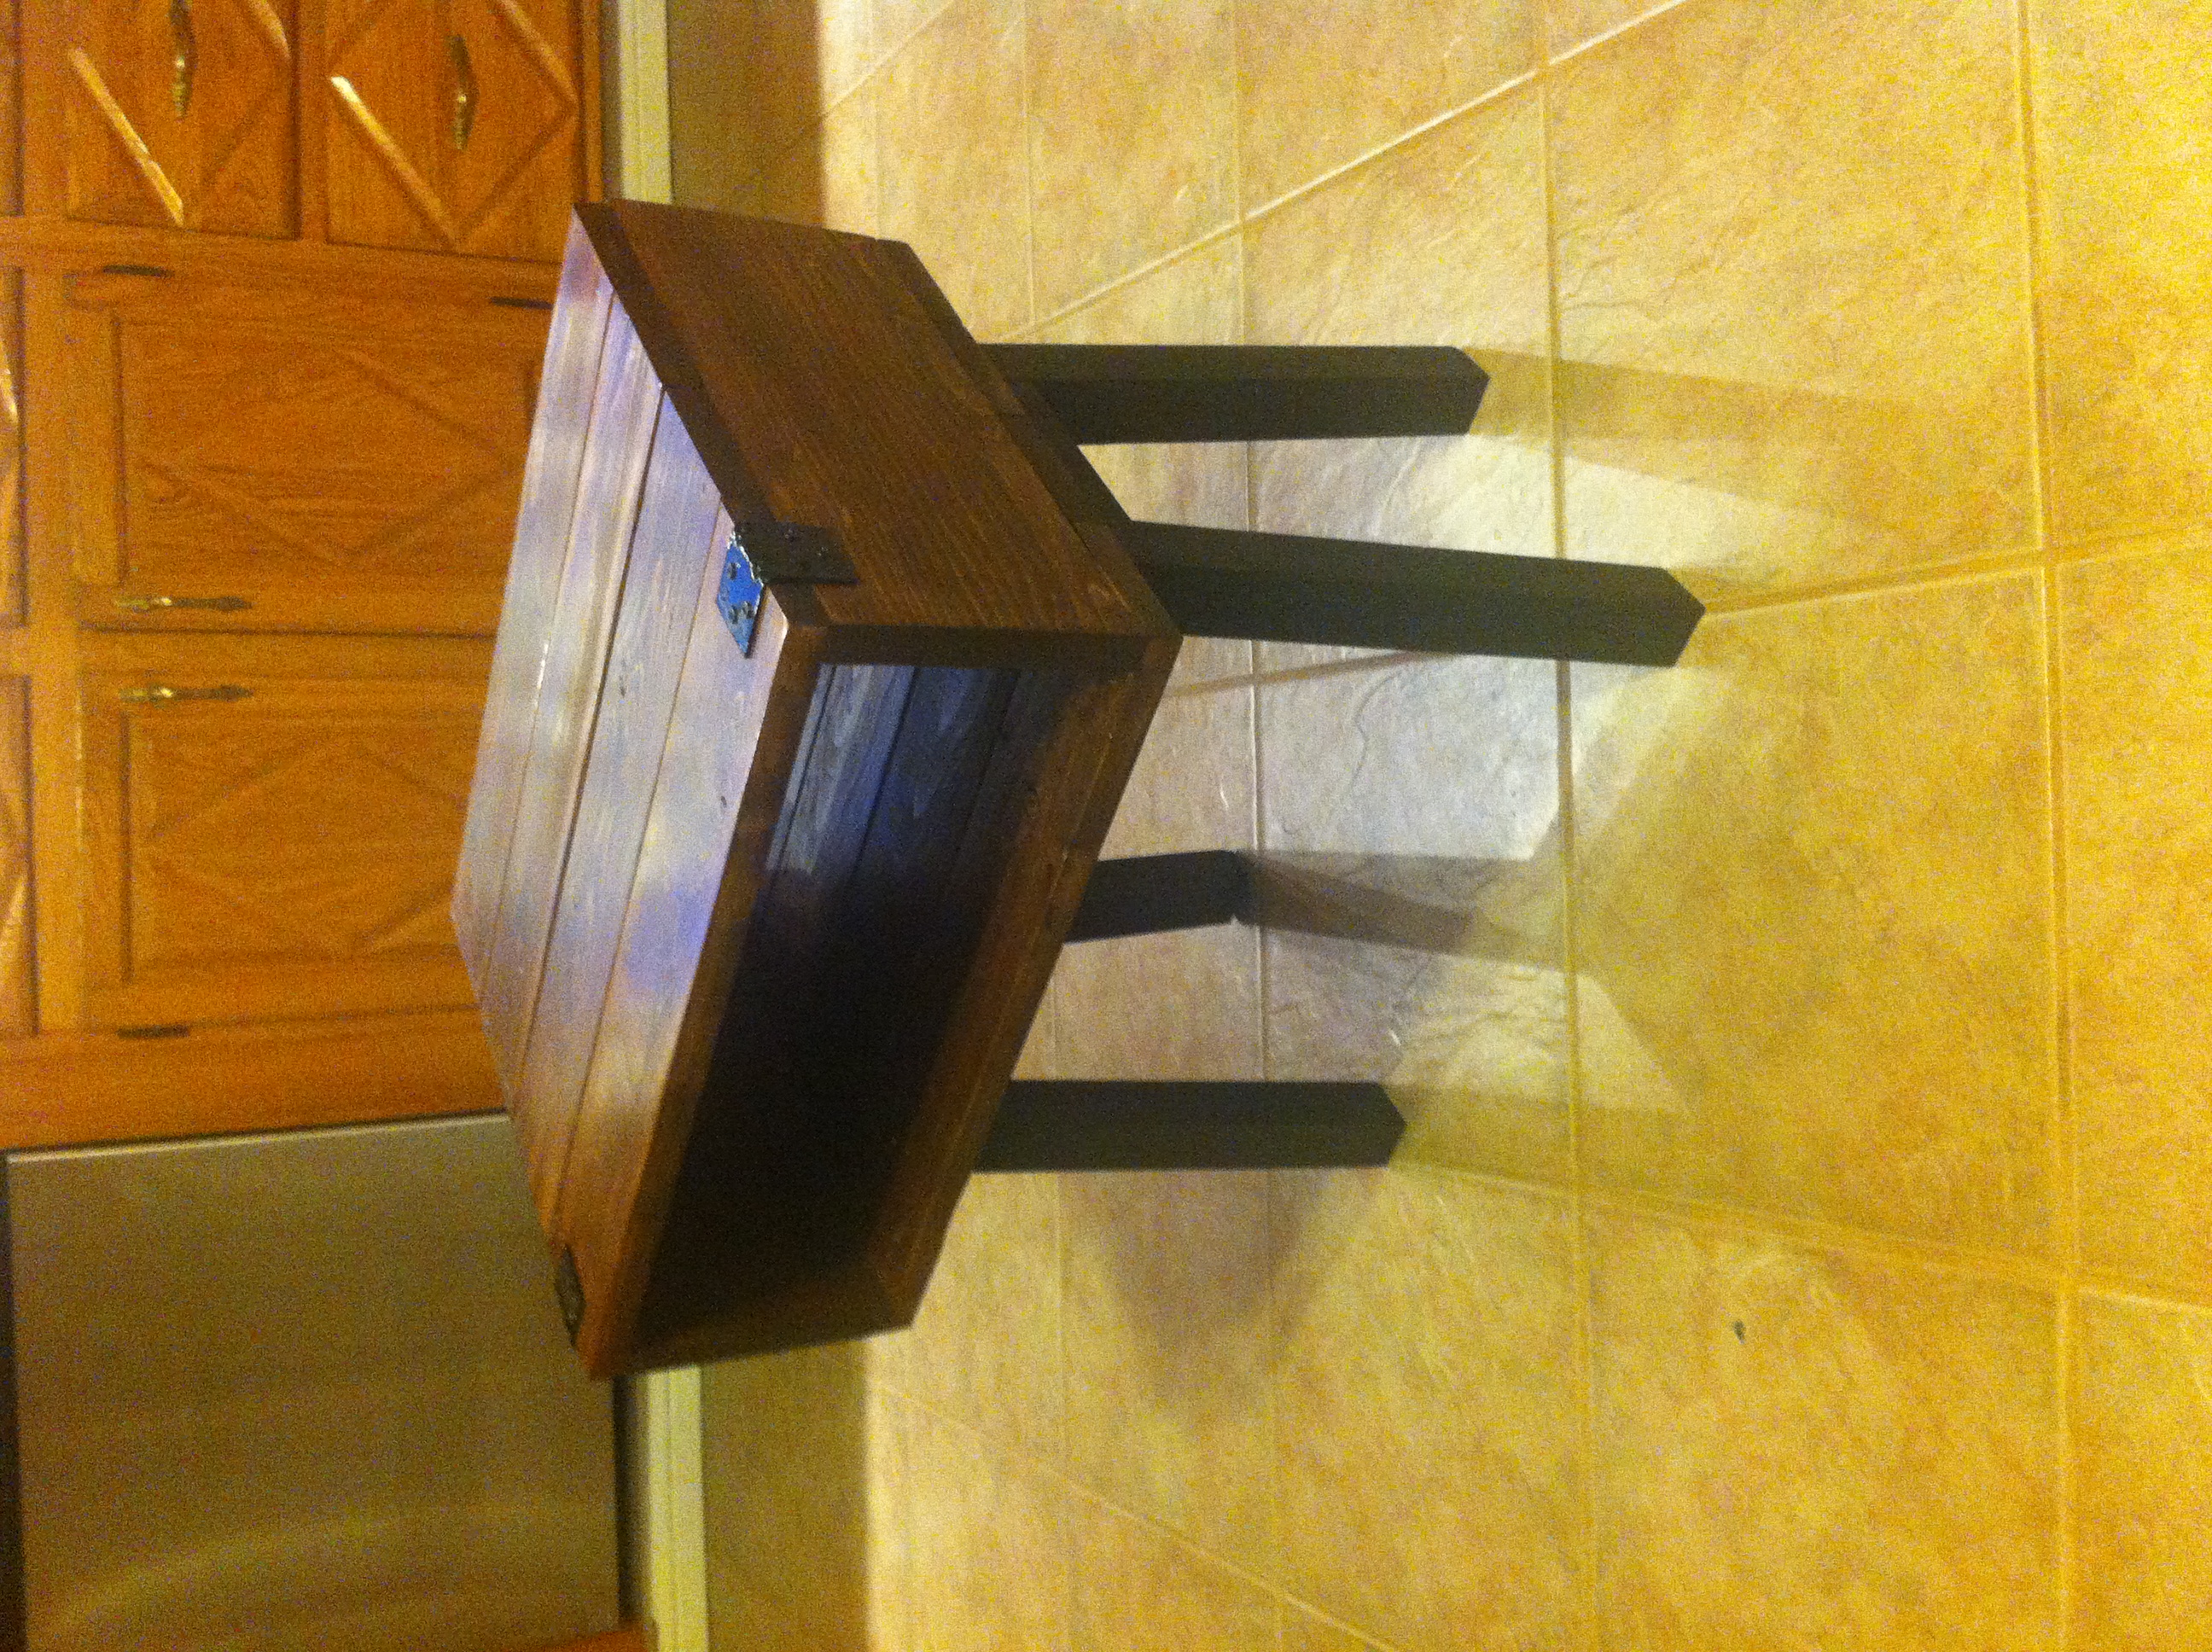
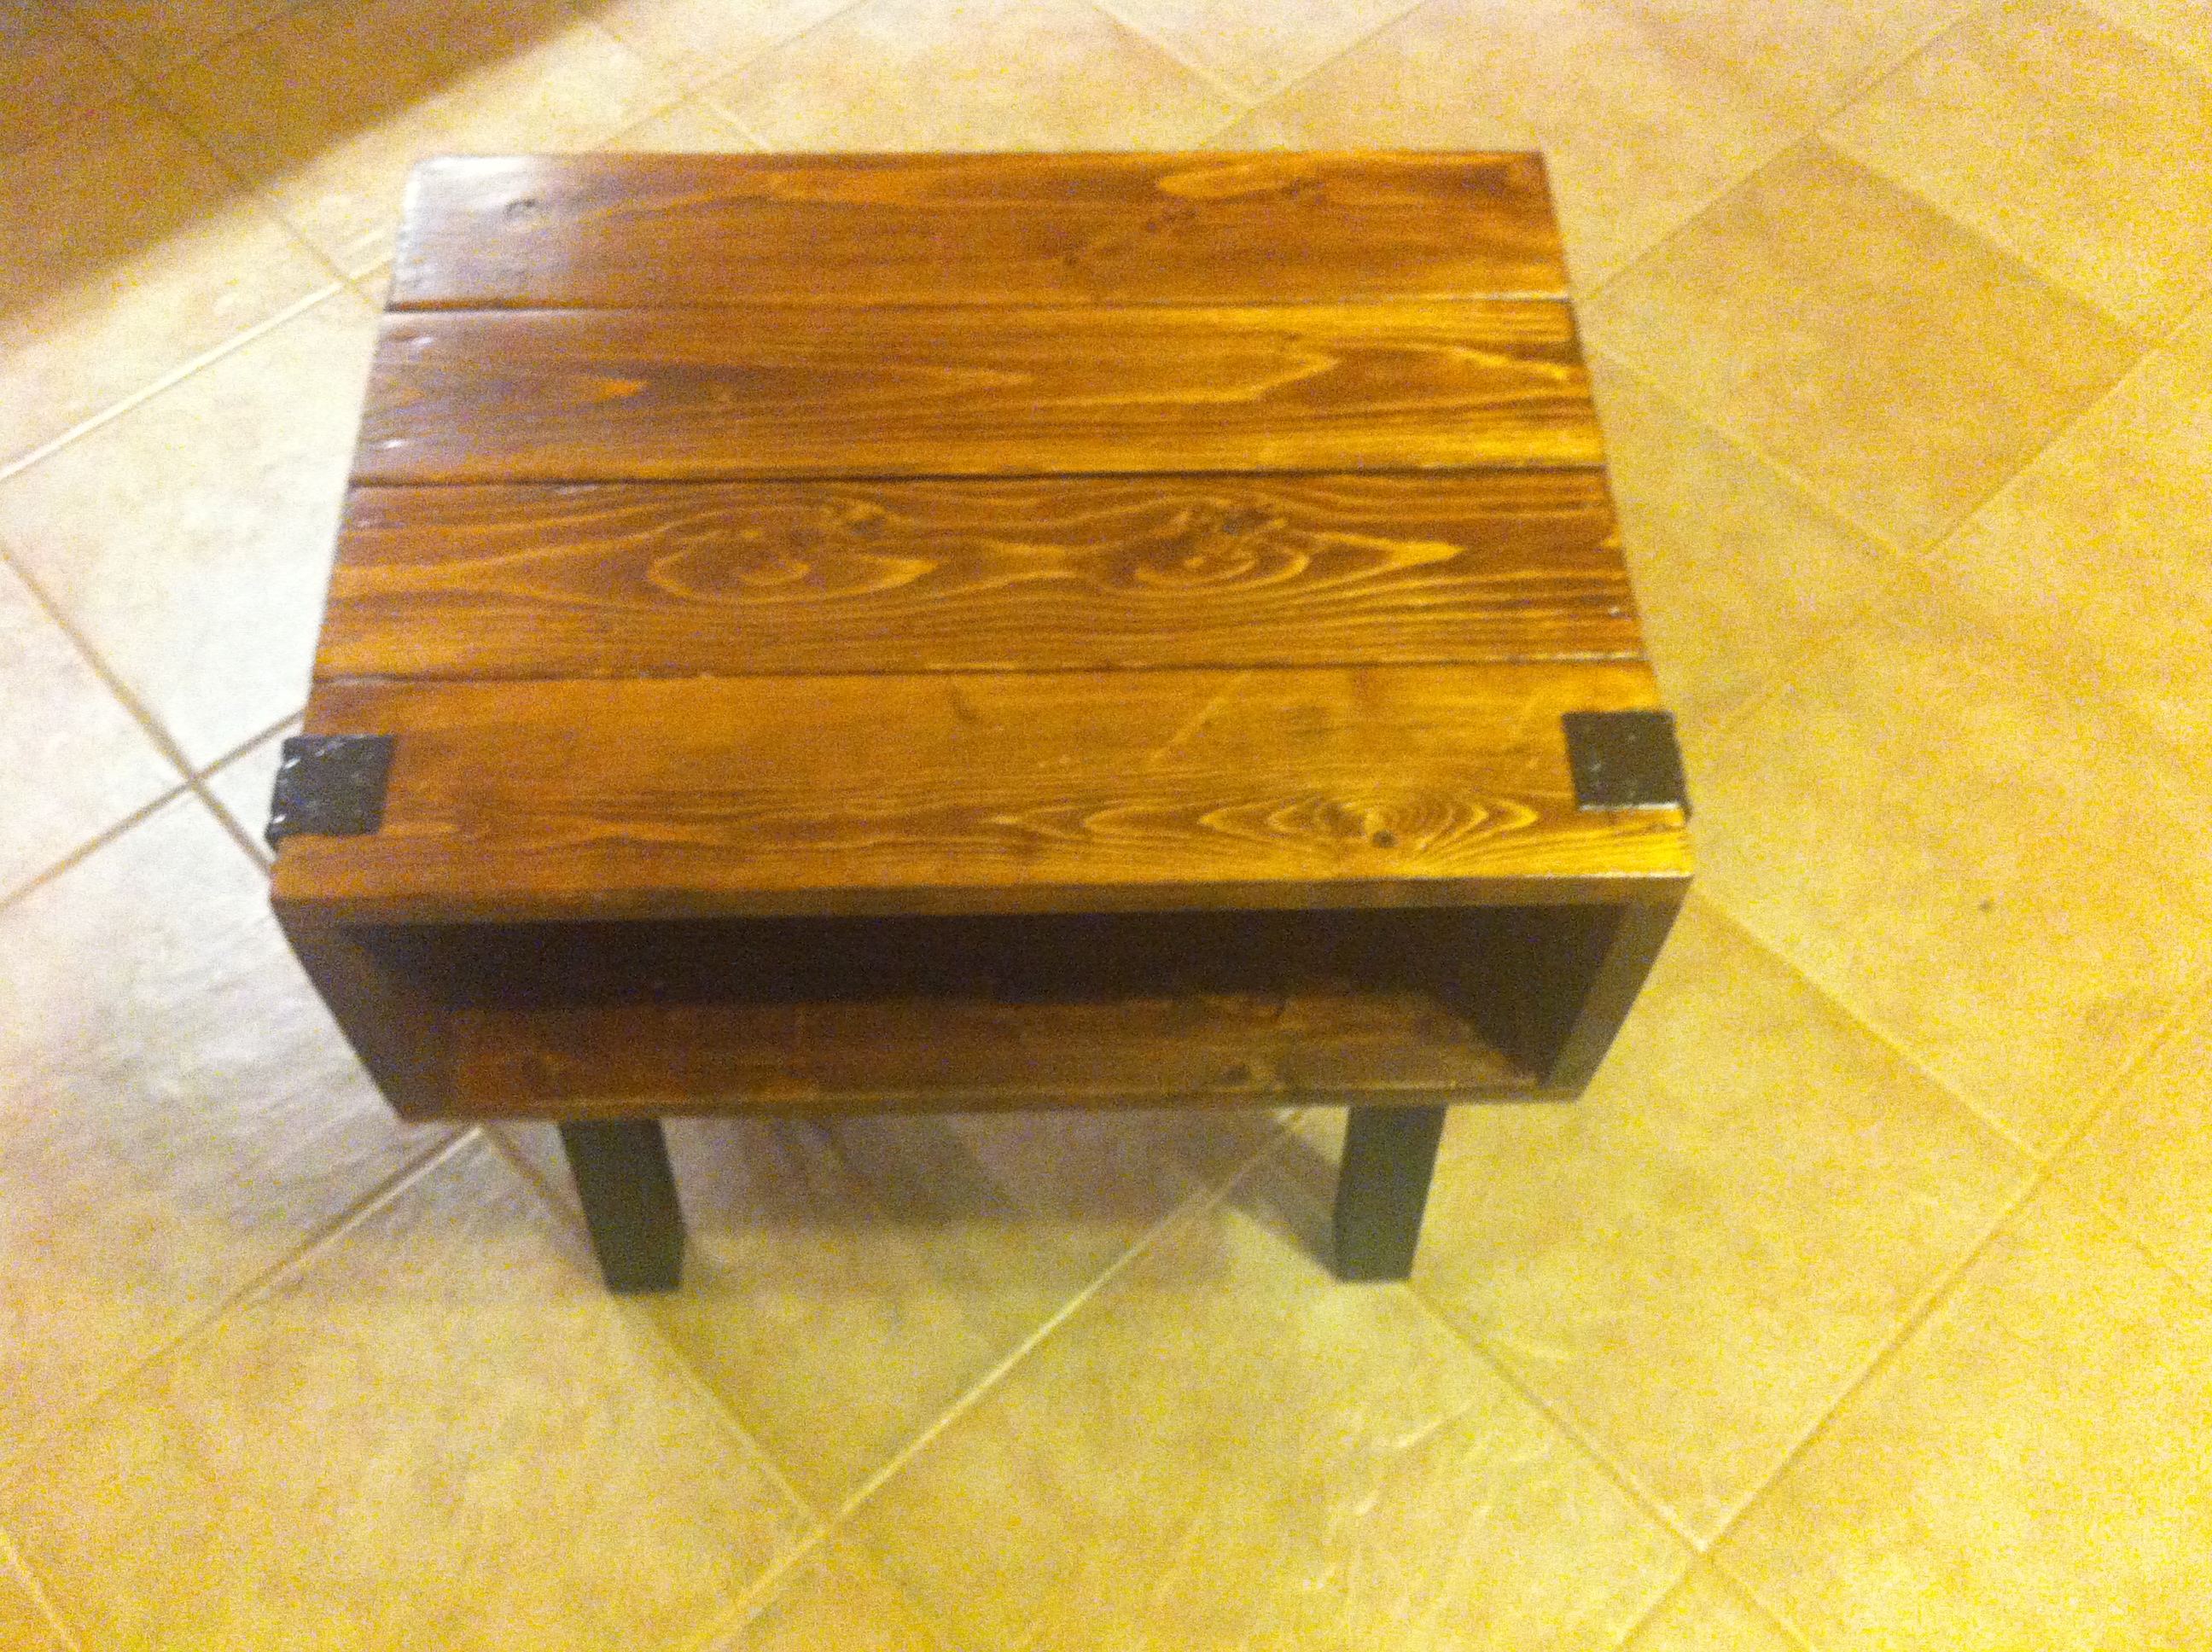
Nightstands with attitude!!
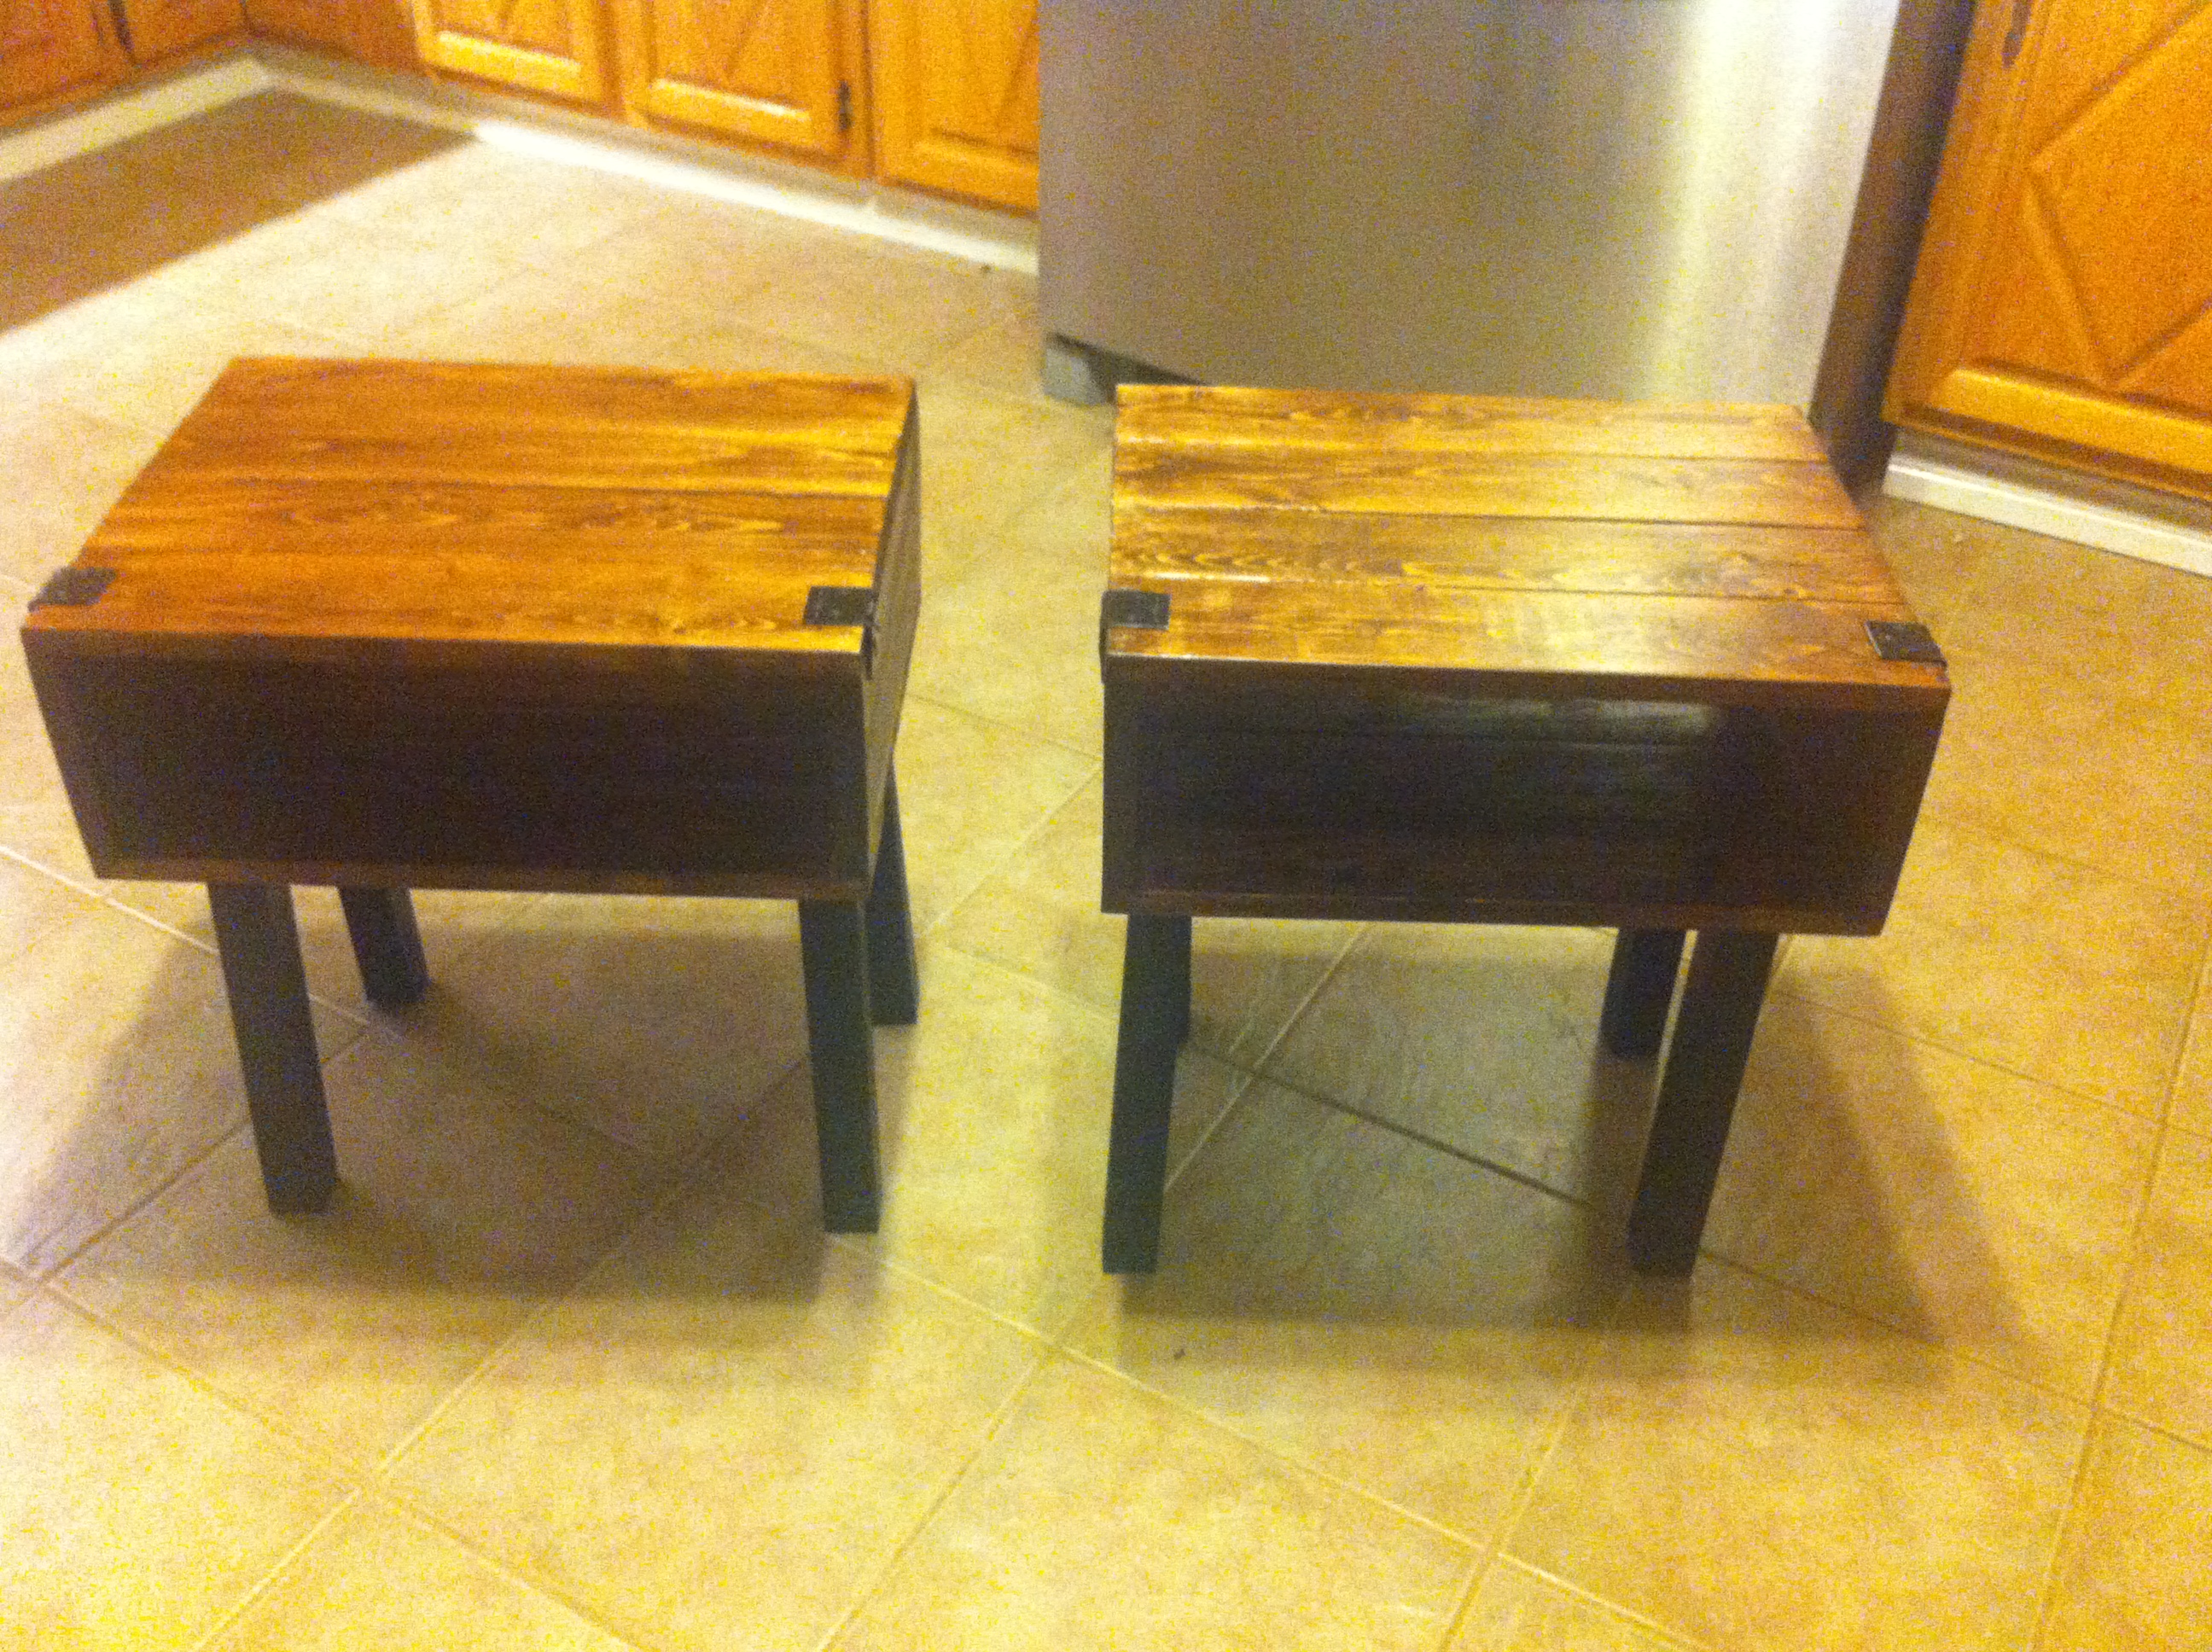
Now that I've completed several projects from the Ana White website, I've started accumulating scrap wood at various lengths. I have been in need of new nightstands for quite some time (seeing as I was using a Rubbermaid bin on one side of my bed ![]() ). I modified the plans to use my scraps; on the tops and bottoms are 1X4 cut to 18", and on the sides I had extra 1X8 that I ripped down to 1X6 because I wanted a sleek profile and rectangular finish. I also found them a little plain and added decorative 2 1/2" corner braces for look that I painted in black gloss.
). I modified the plans to use my scraps; on the tops and bottoms are 1X4 cut to 18", and on the sides I had extra 1X8 that I ripped down to 1X6 because I wanted a sleek profile and rectangular finish. I also found them a little plain and added decorative 2 1/2" corner braces for look that I painted in black gloss.
Thank you as always for the awesome plans and the inspiration!!
Estimated Cost
I used all scrap wood, therefore 0$. I would estimate it to be about 50$ Canadian to build the two nightstands plus stain/paint.
Estimated Time Investment
Day Project (6-9 Hours)
Finish Used
Minwax - Espresso (3 coats) and Poly Satin Finish (2 coats)
Recommended Skill Level
Starter Project
Leaning Wall Shelf
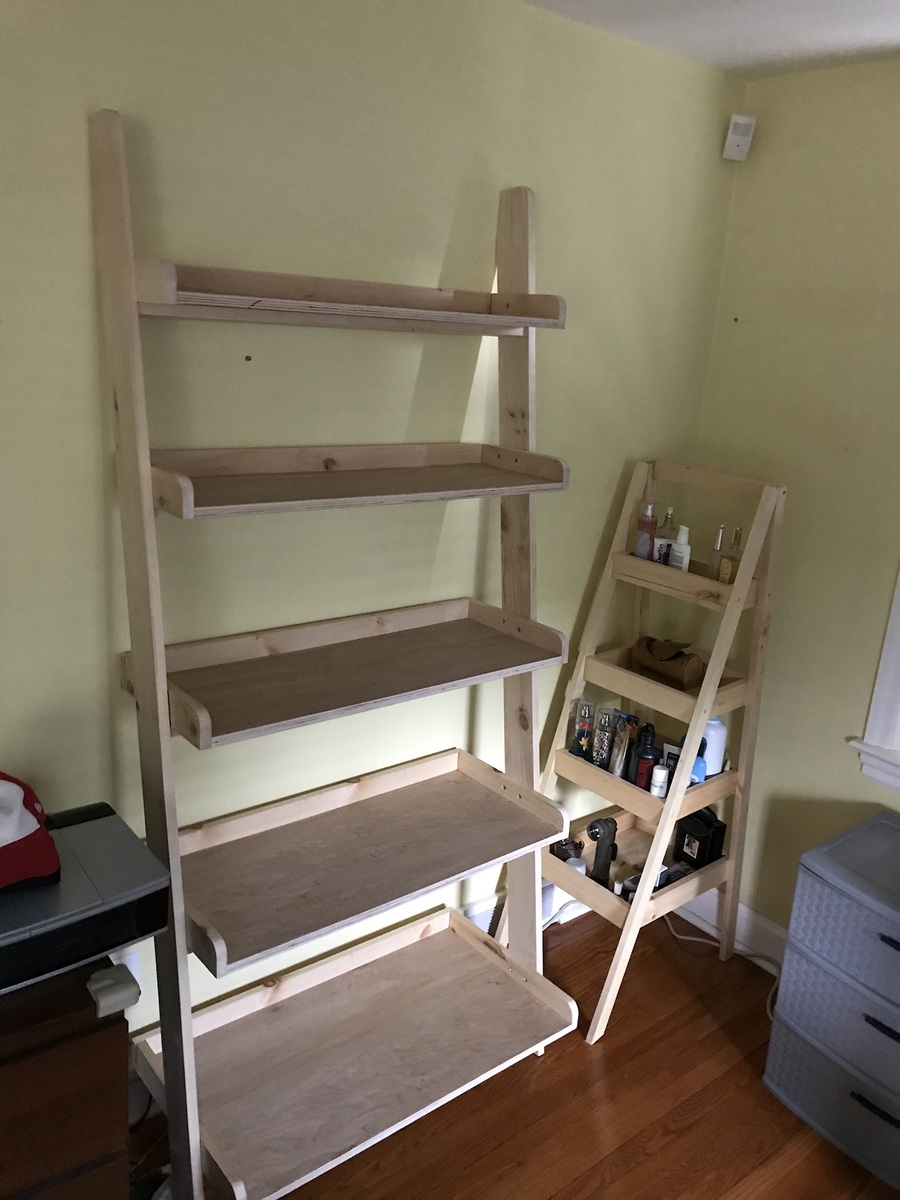
This is my version of the Leaning Wall Shelf by Anne White this project was fun. This shelf was to have a place to keep my Newborns son’s diapers wipes etc. I’m going to build another for my daughter in the near future. I learned a lot from this project, like how to find degrees with a framing square.
Estimated Time Investment
Day Project (6-9 Hours)
Finish Used
Varathane gloss
Recommended Skill Level
Intermediate
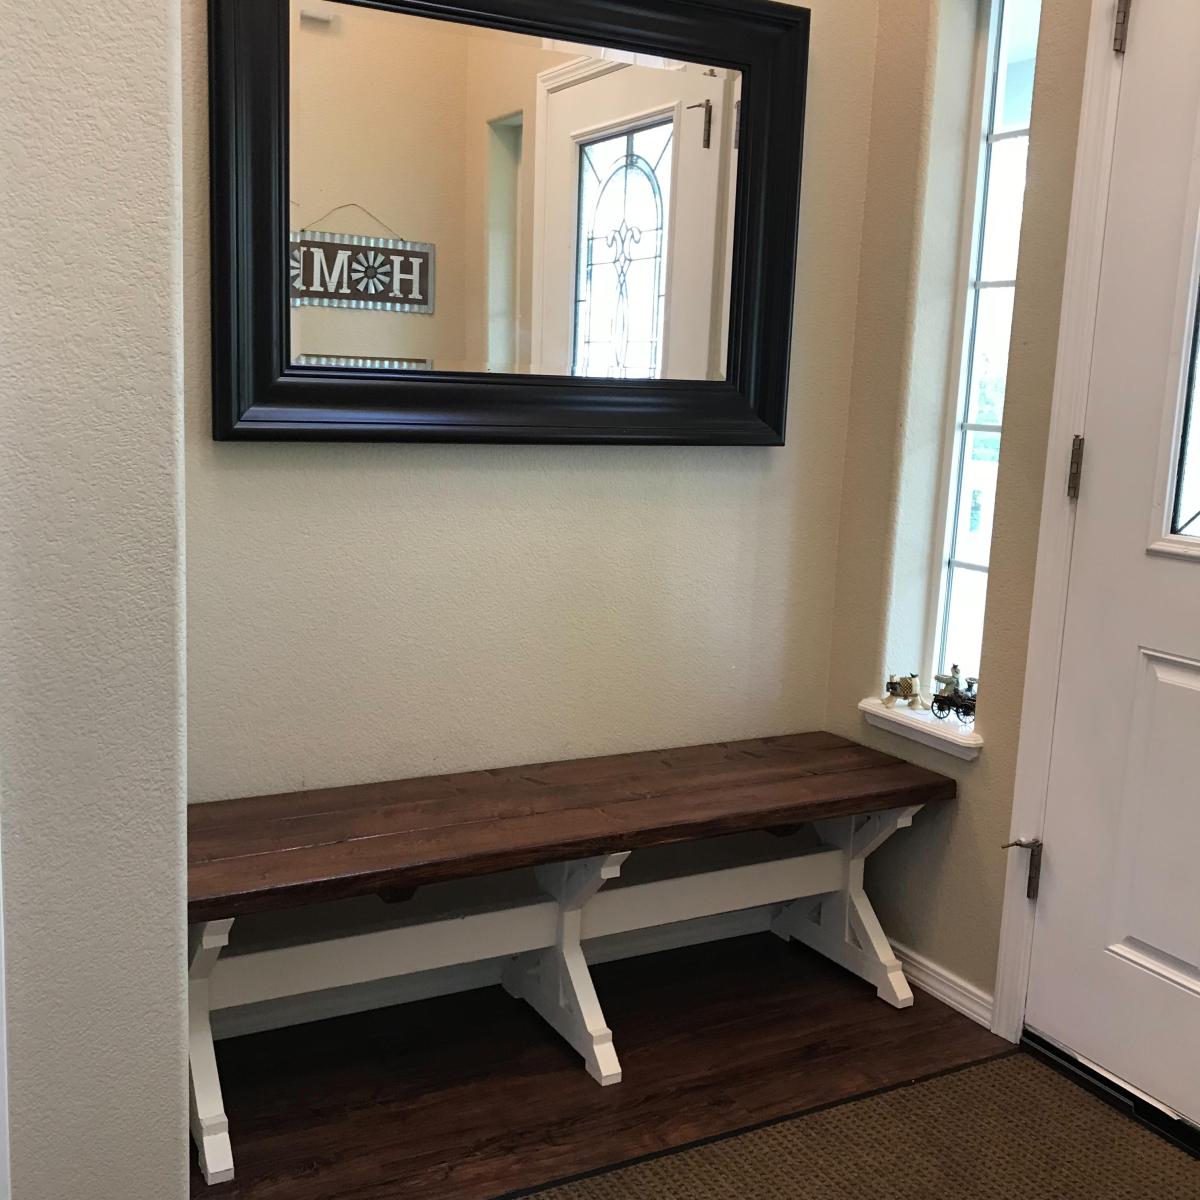
Farmhouse Bed, Console Table and Bench!
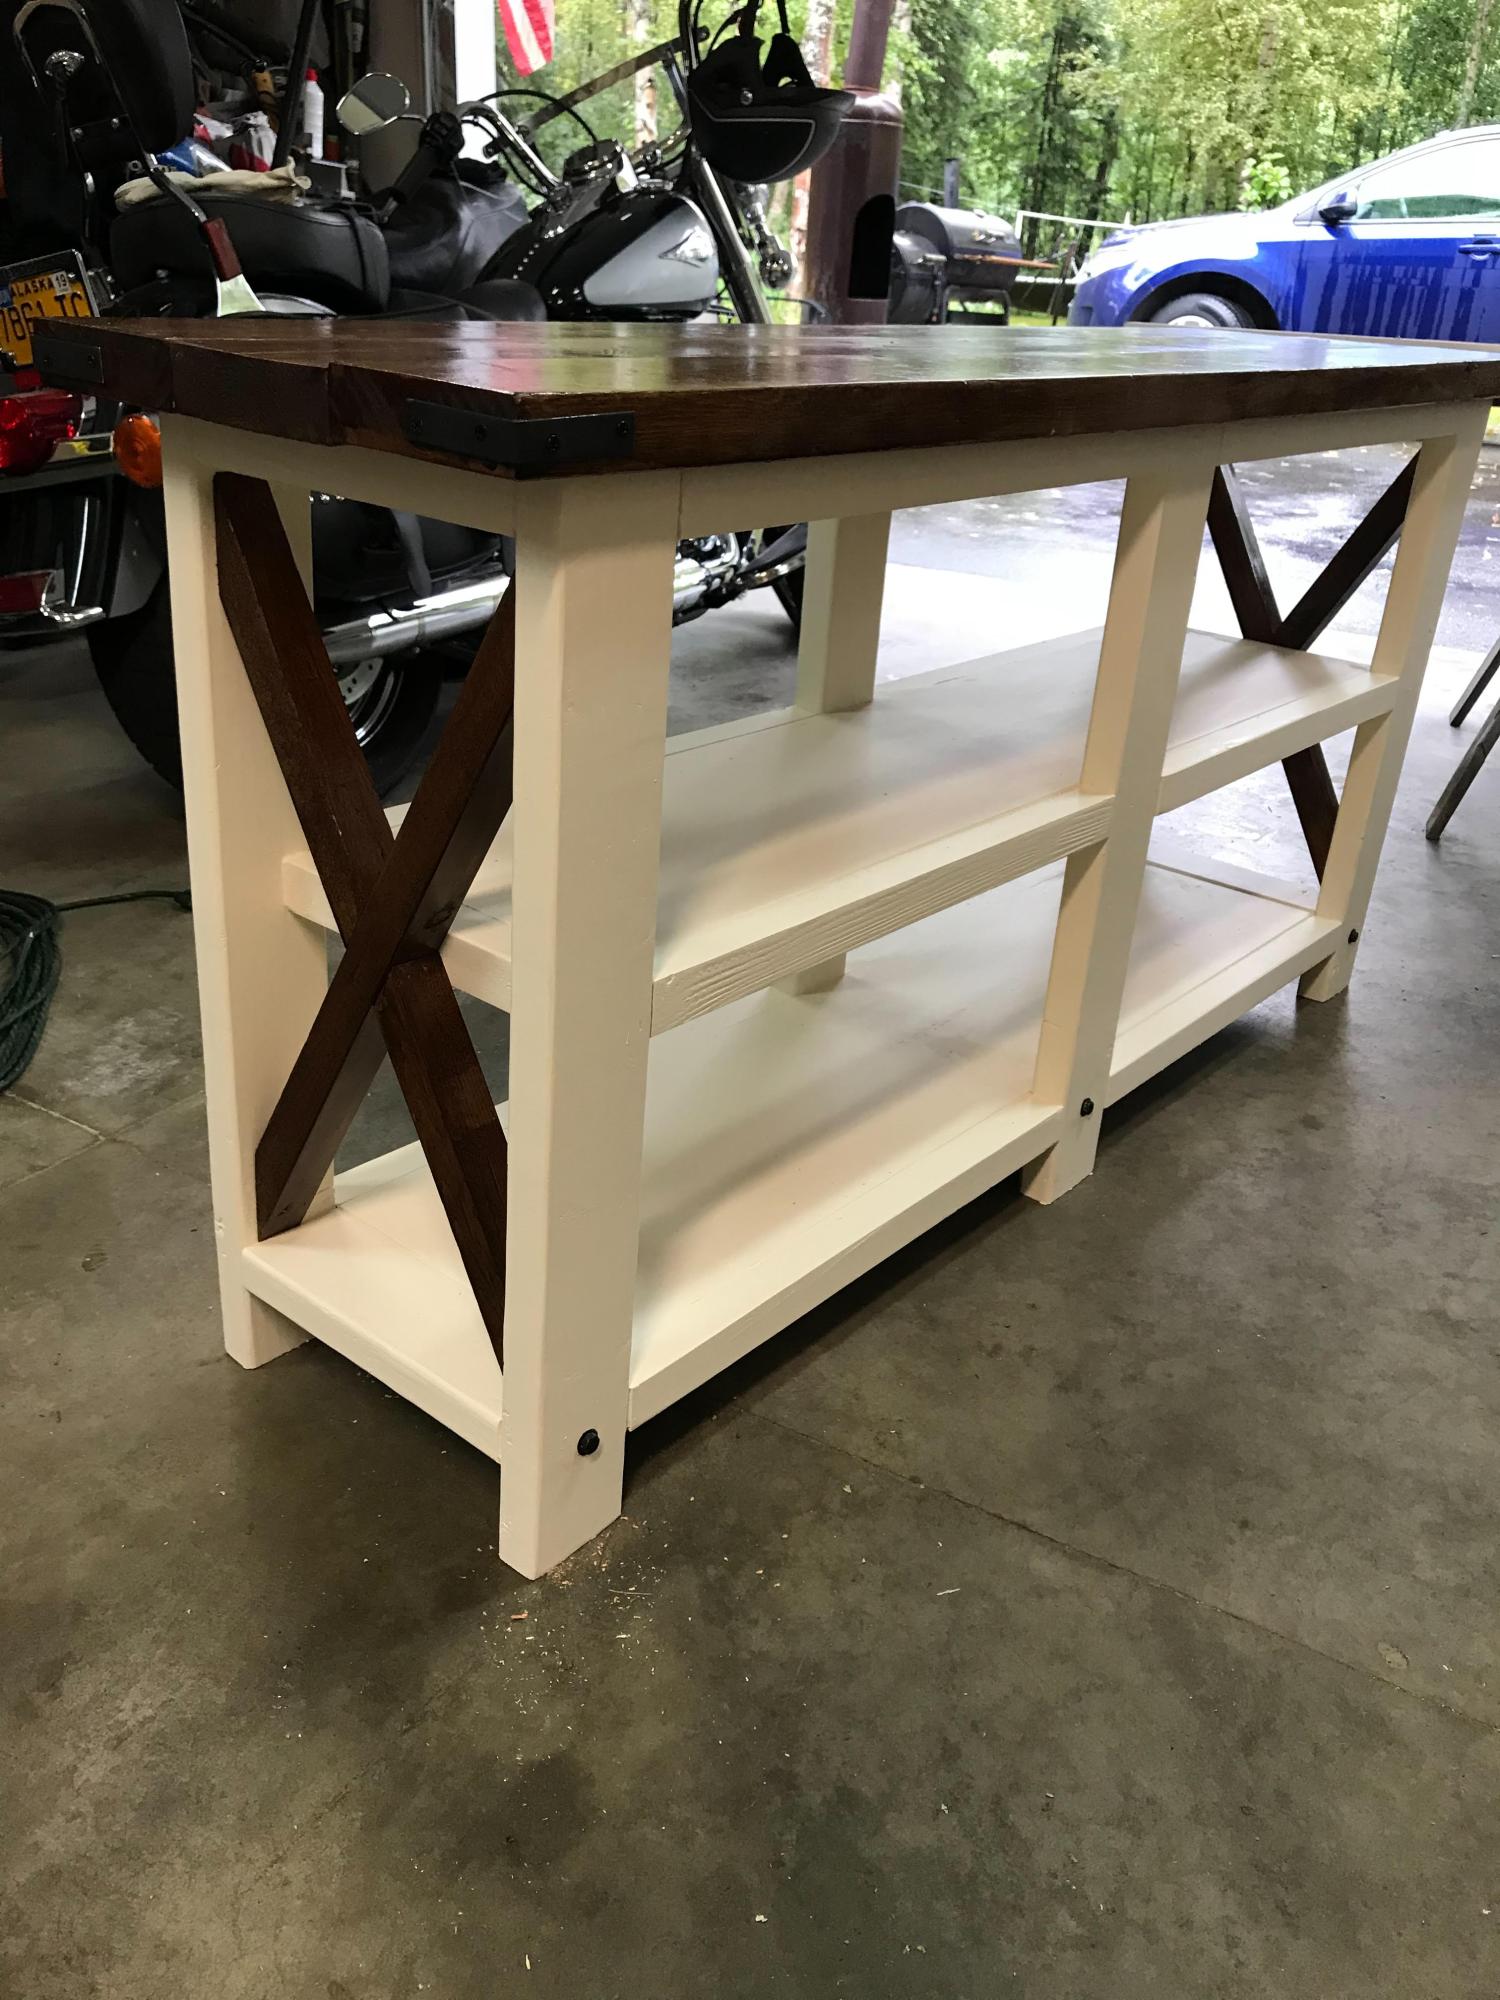
It’s been a couple years, but here a some projects that I made from your plans!
So much fun!
by Shawna

Built from Plan(s)
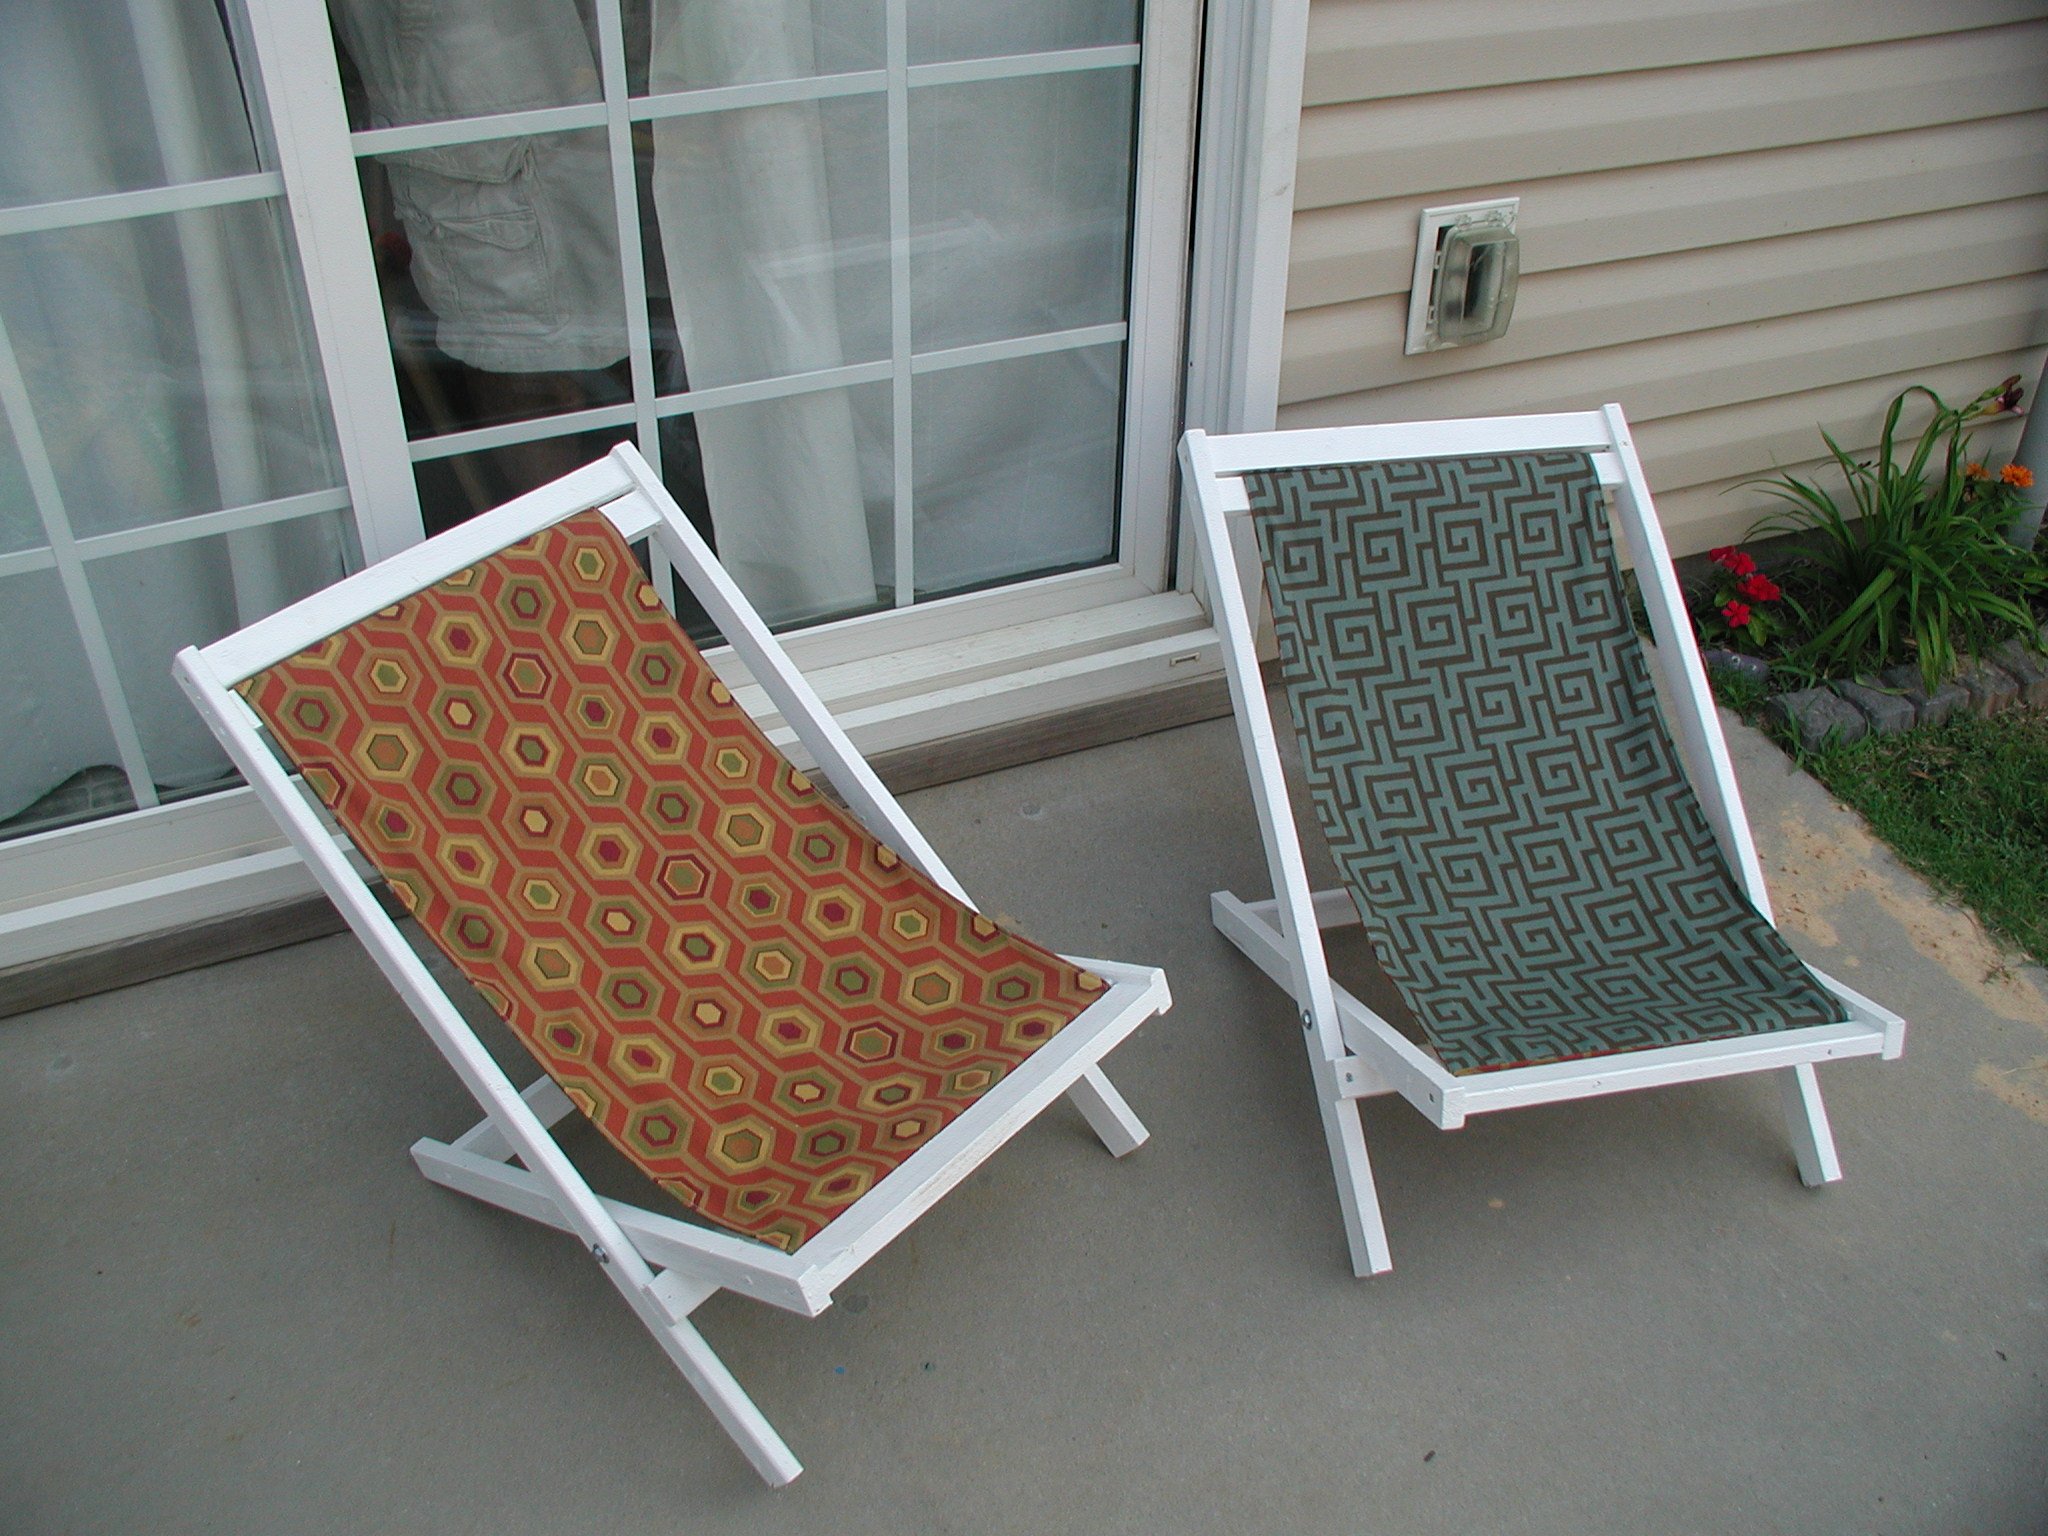
Boys' Sling Chairs
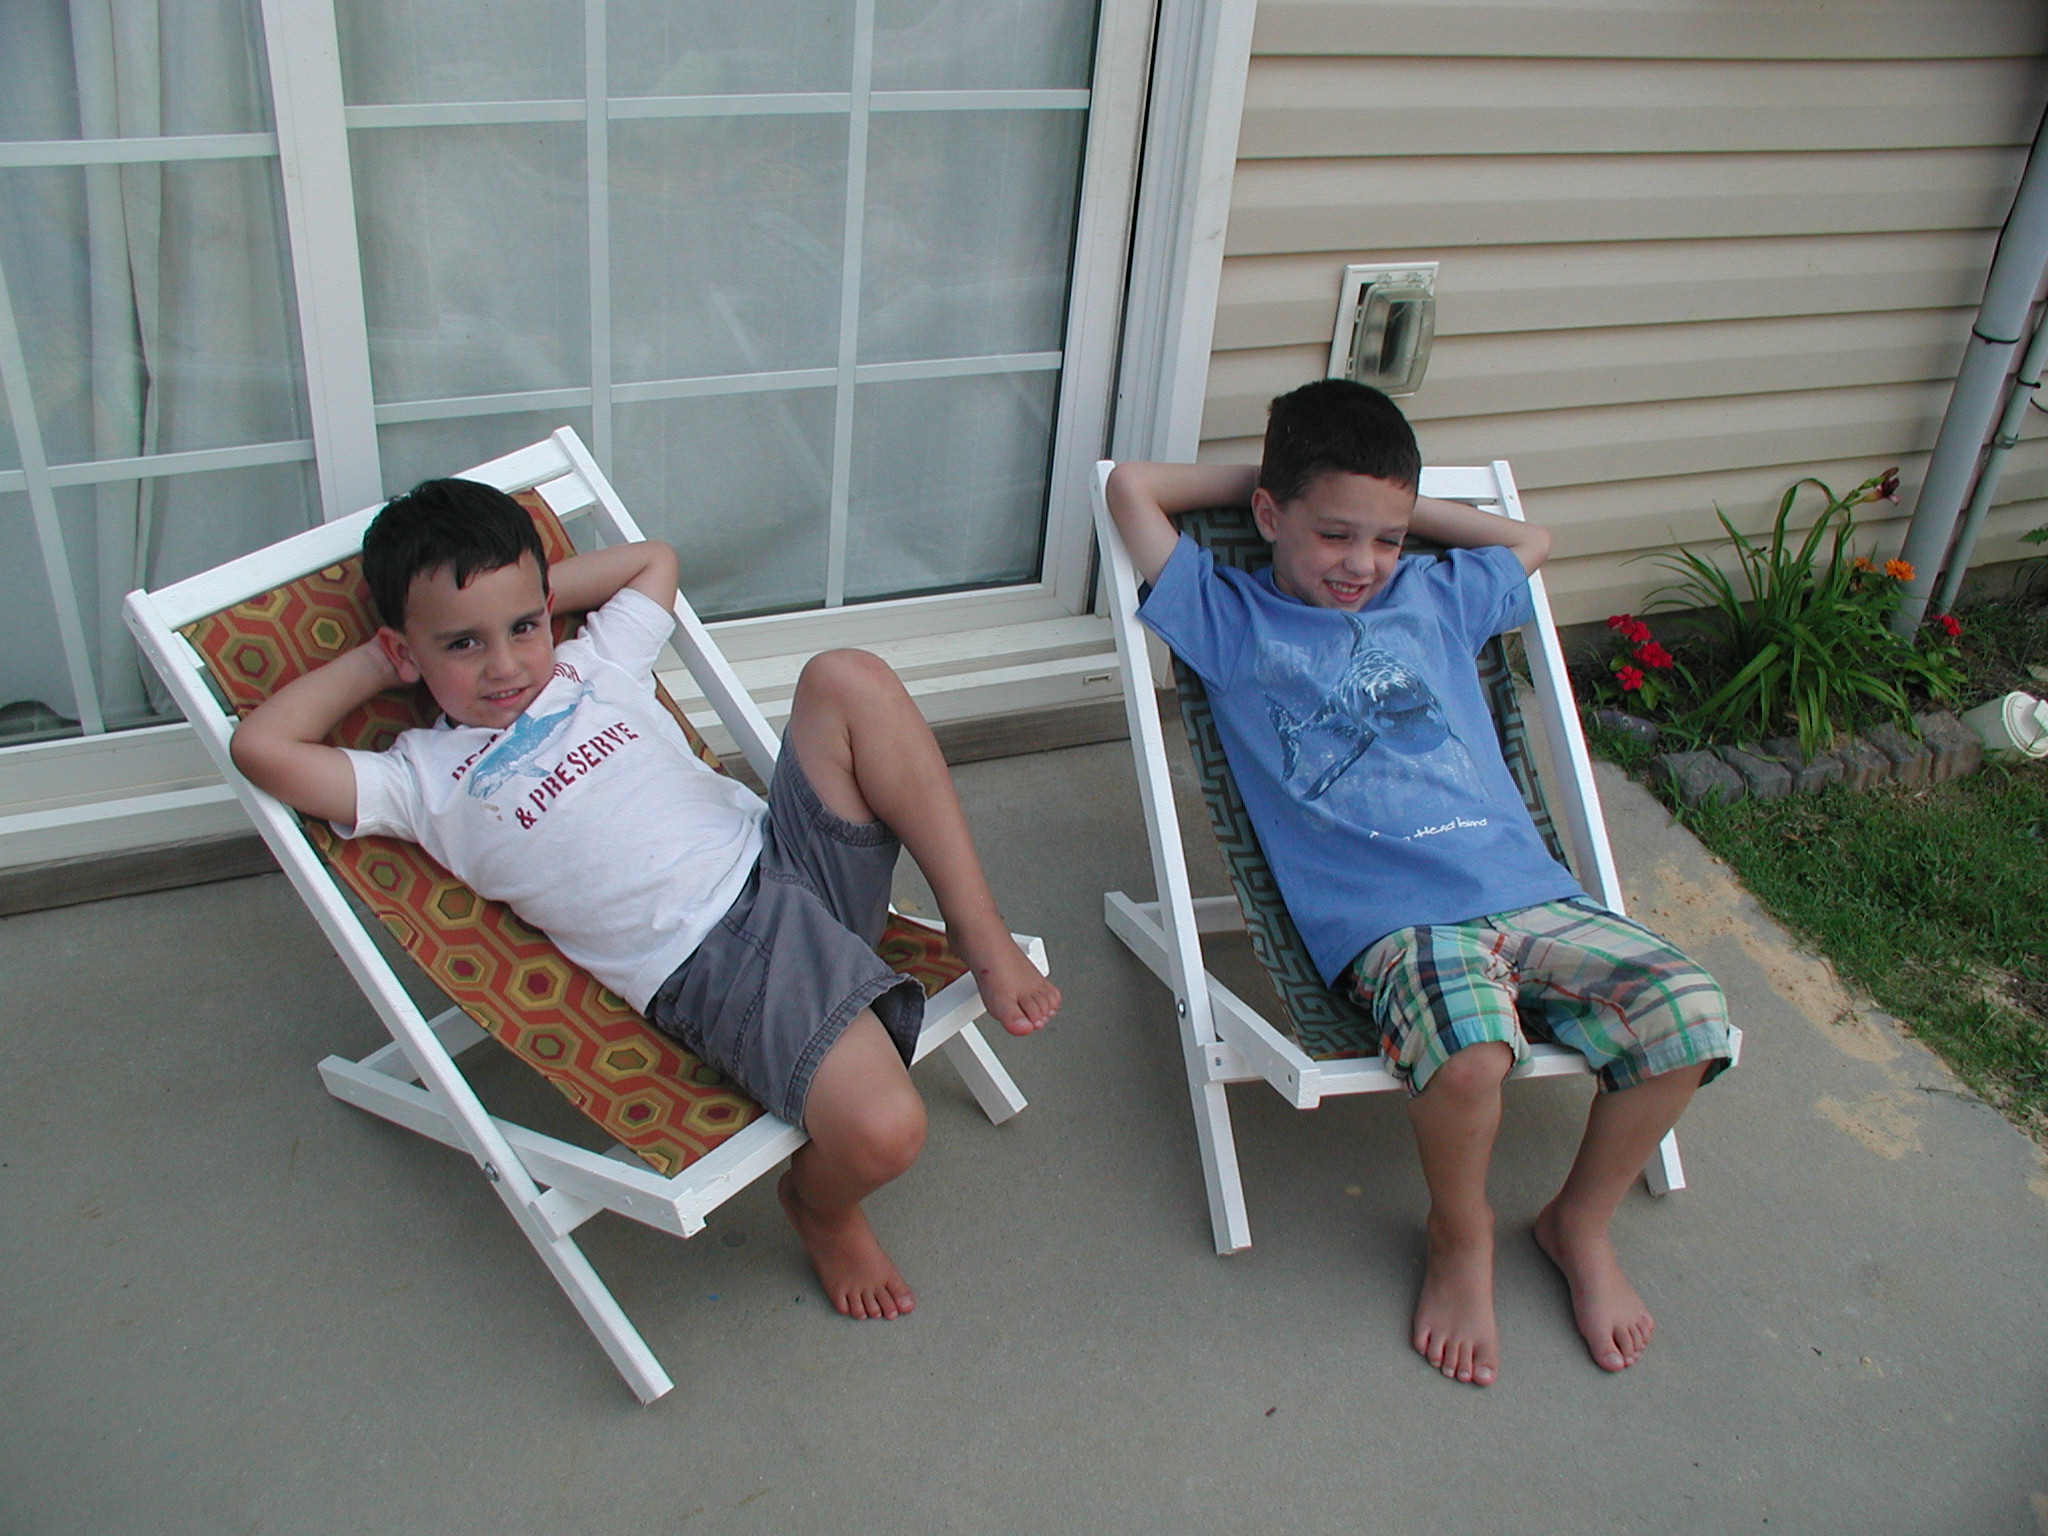
I have built a few beds from this site, but when I saw the chairs I knew this would be my next project! I don't have a nailer, so I used screws throughout. I found the outdoor fabric on the clearance rack at the fabric store. My boys helped me paint them with some extra white paint I had left over from a previous project (just Ultra bright white paint from Lowes). As you can see, my boys love to lounge in style! Thanks again Ana!!
Estimated Cost
under $25 FOR 2
Estimated Time Investment
An Hour or Two (0-2 Hours)
Finish Used
Ultra white paint
Recommended Skill Level
Beginner
$10 Dresser Made Over Using Only RECLAIM Beyond Paint!
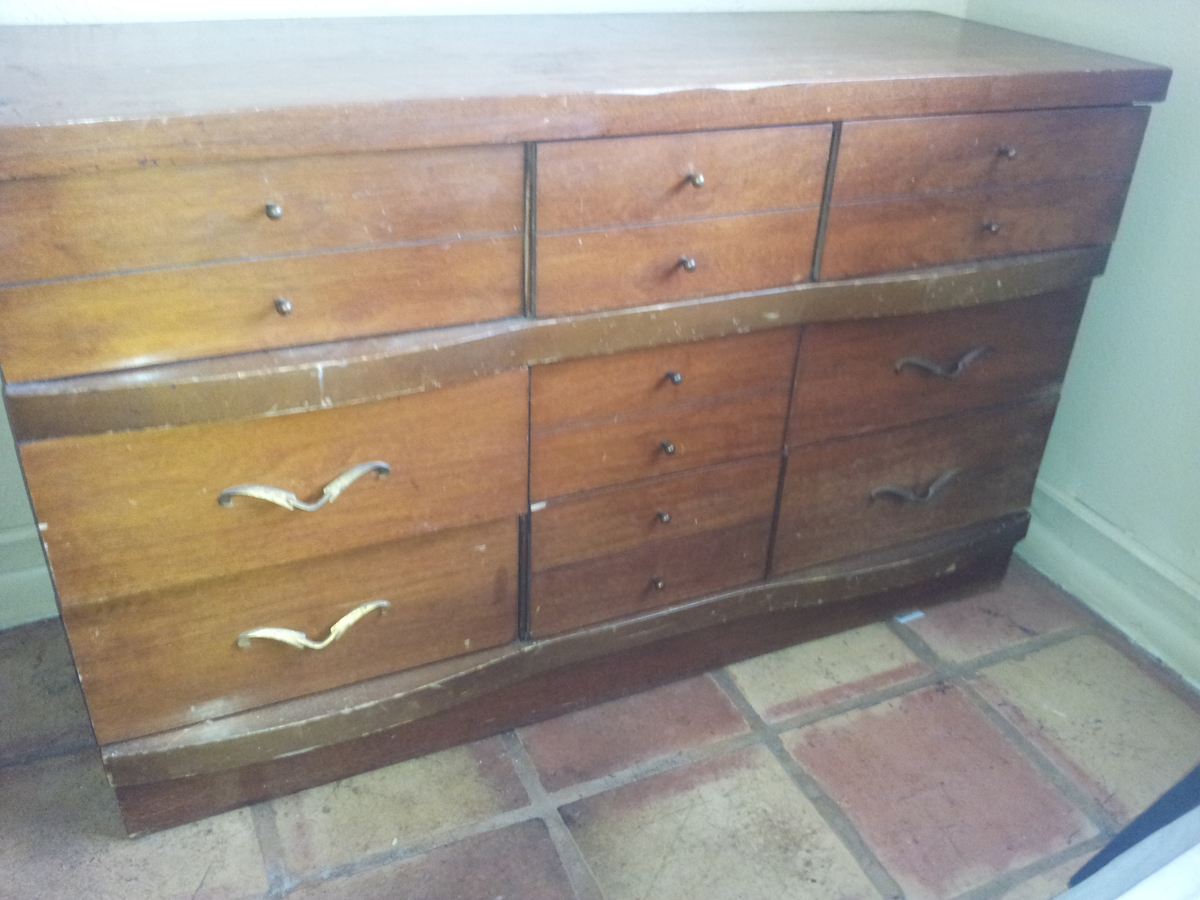
Bought a dresser for $10 from a garage sale by my house, and thought it would look great redone. As I was looking around for different methods online, I found a product called RECLAIM Beyond Paint while Googling DIY methods and products.
I picked up a small can from their Home Shopping Network page, and gave it a try.
The claims that there were no priming, sanding or prepping were pretty surprising. They do recommend cleaning, though.
The results pretty much speak for themselves. The project took a total of about an hour or so, including removing the hardware and spray painting it with a metal like paint I got from Home Depot, and then reattaching it.
I have to say the results were more than impressive. I had only used about an 1/8th of the can, so I'm going to try it on a few other items!
If you'd like to know more, I found it at www.reclaimbeyondpaint.com
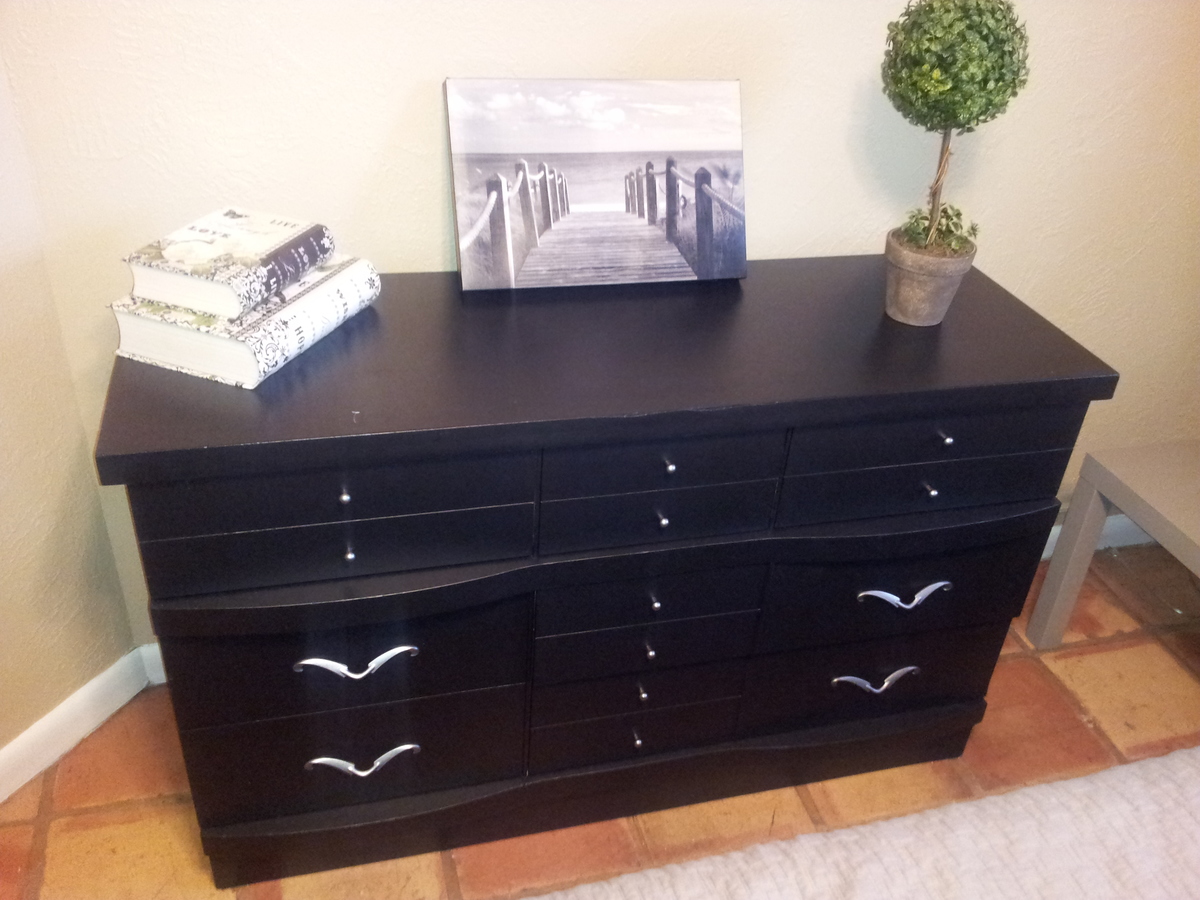
Estimated Time Investment
An Hour or Two (0-2 Hours)
Finish Used
Just used the RECLAIM as directed on the can. Very simple roll-on product.
Recommended Skill Level
Starter Project
Storage console designed by a 5 year old
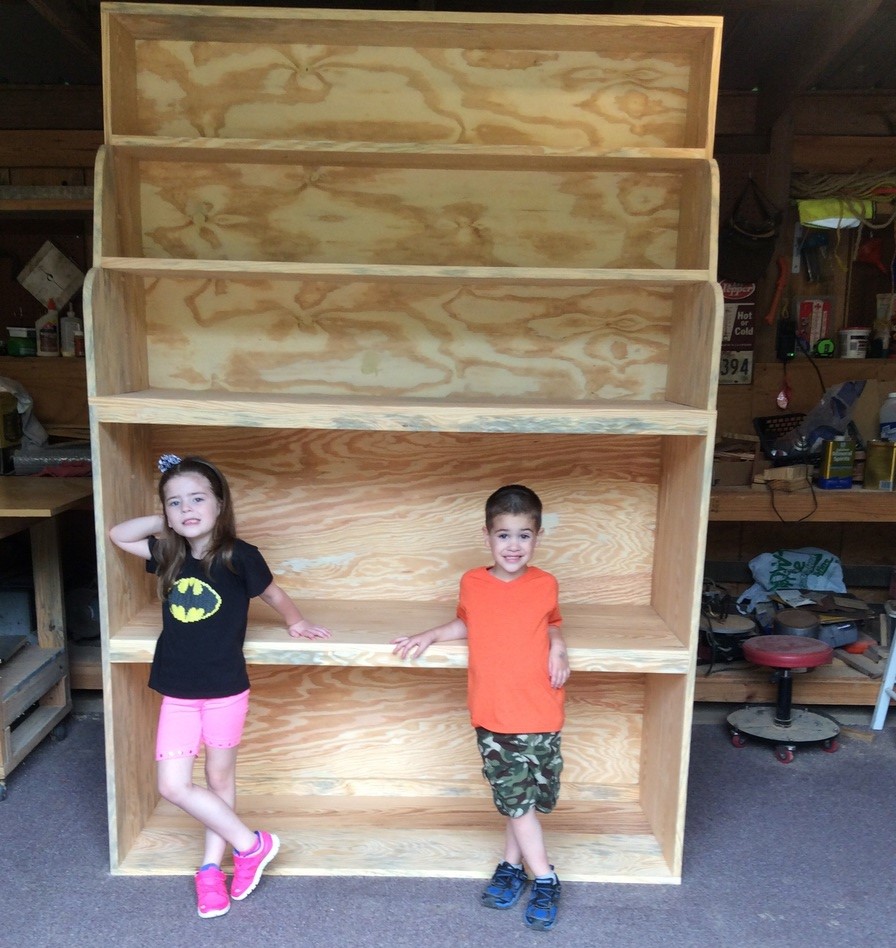
Last year I built a "Cara Storage Console" and matching bookcase for my 12 year old granddaughter. Her 5 year old sister decided she needed one too, but a little bigger so she could store all her "ponies" on it. She and her mother planned it all out over a period of a few weeks and what ended up being built was 5' wide and 7'3" tall. It is 20" deep. Anna's plan was scaled up a bit and then had to be broken down in to two sections, upper and lower, so it could be brought in to the house. The sides and shelves are all 1x12 pine boards put together with glue and Kreg screws. The back took most of 2 sheets of 1/4" plywood. 1x2's were added for support under the front and back of the shelves.
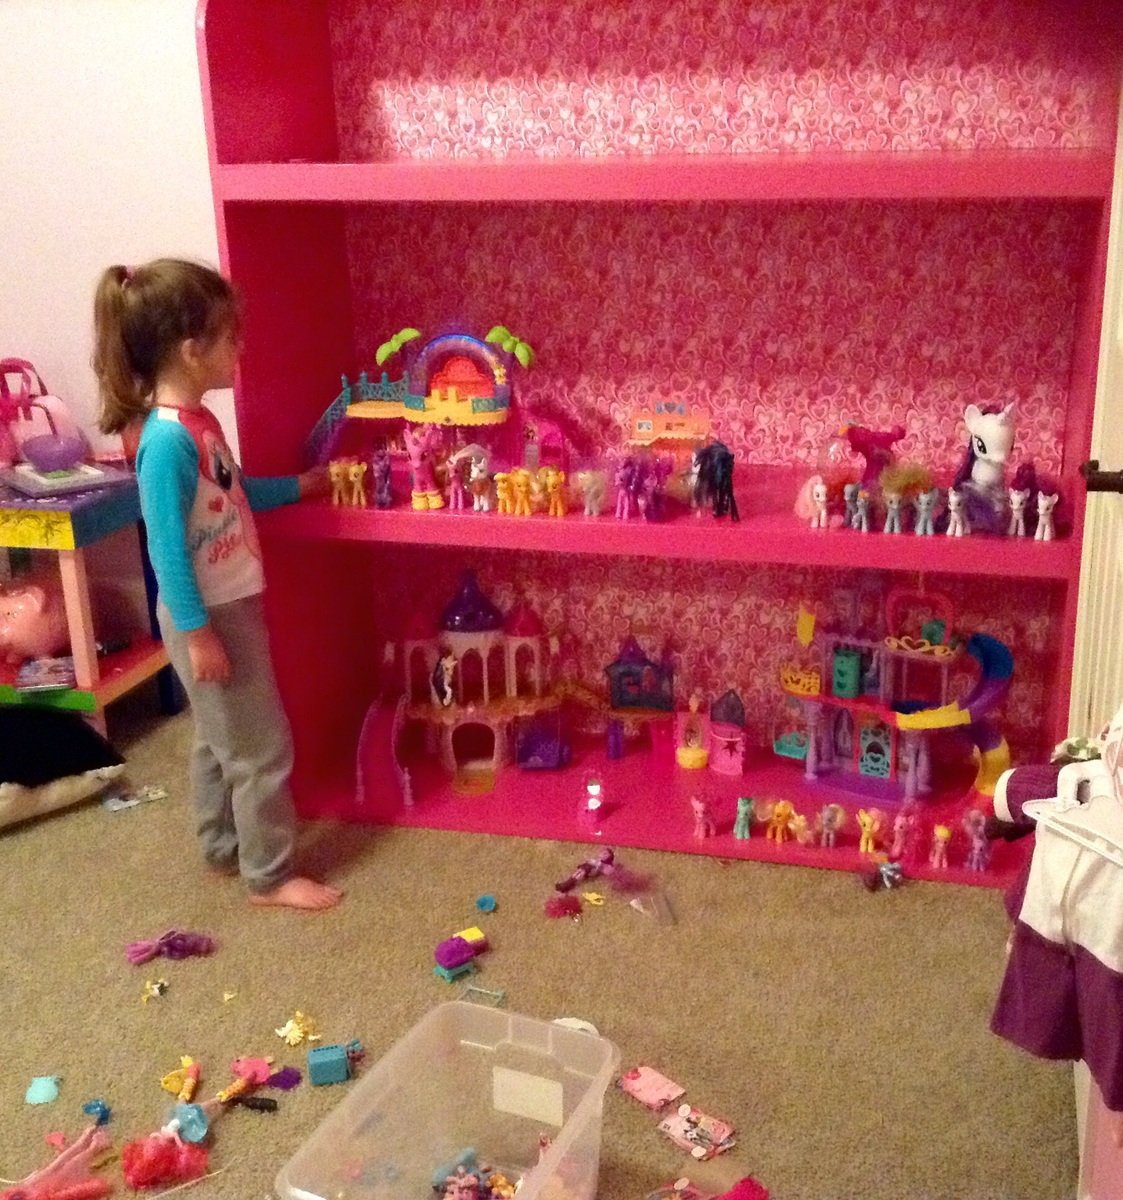
Fortunately her other grandmother is really good at painting, so it was given a couple coats of semigloss pink along with pink heart wall paper. The grandbaby and her little brother started loading it up before Granny could even finish the sides.
The good part is that all her toys will fit on these shelves. The bad part is she won't pick up all her toys and put them on these shelves.
Built from Plan(s)
Estimated Time Investment
Week Long Project (20 Hours or More)
Finish Used
Semigloss paint, pink. Pink heart wall paper.
Recommended Skill Level
Intermediate
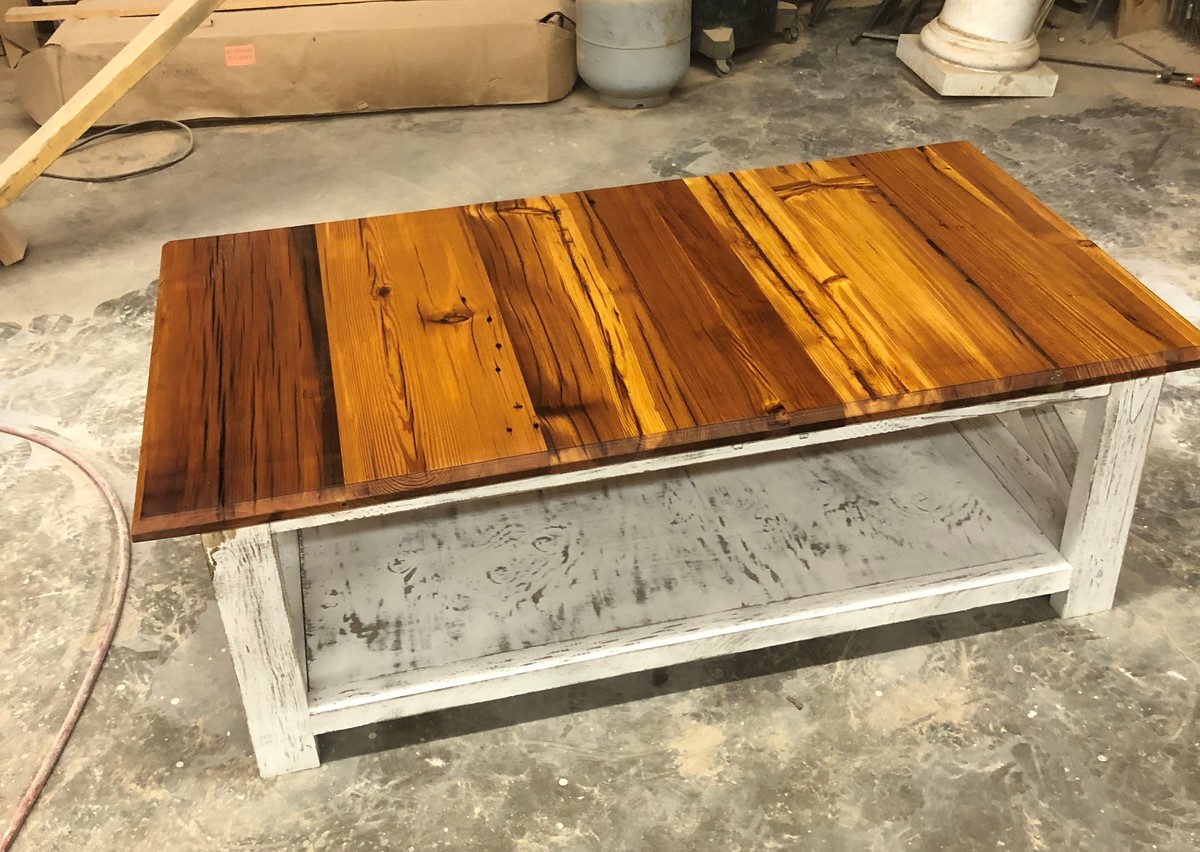
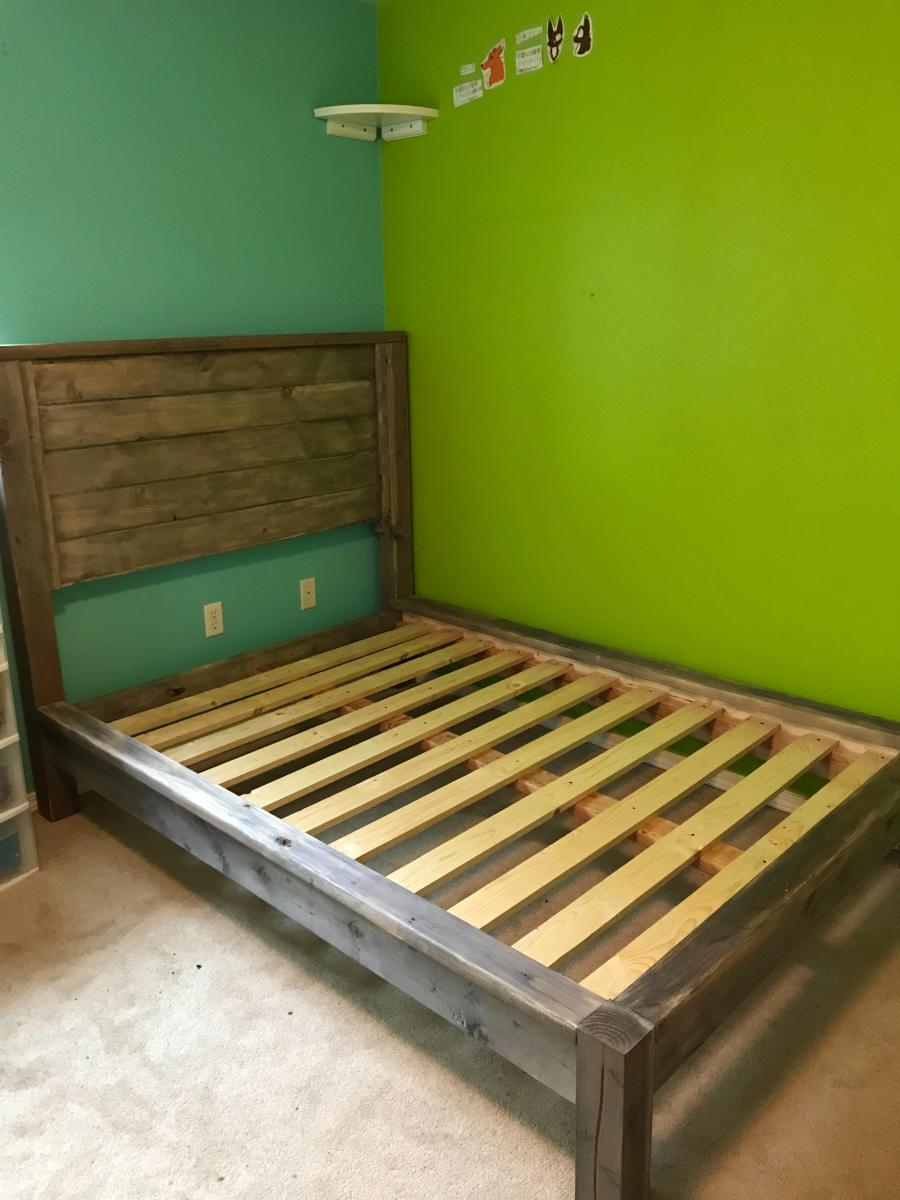
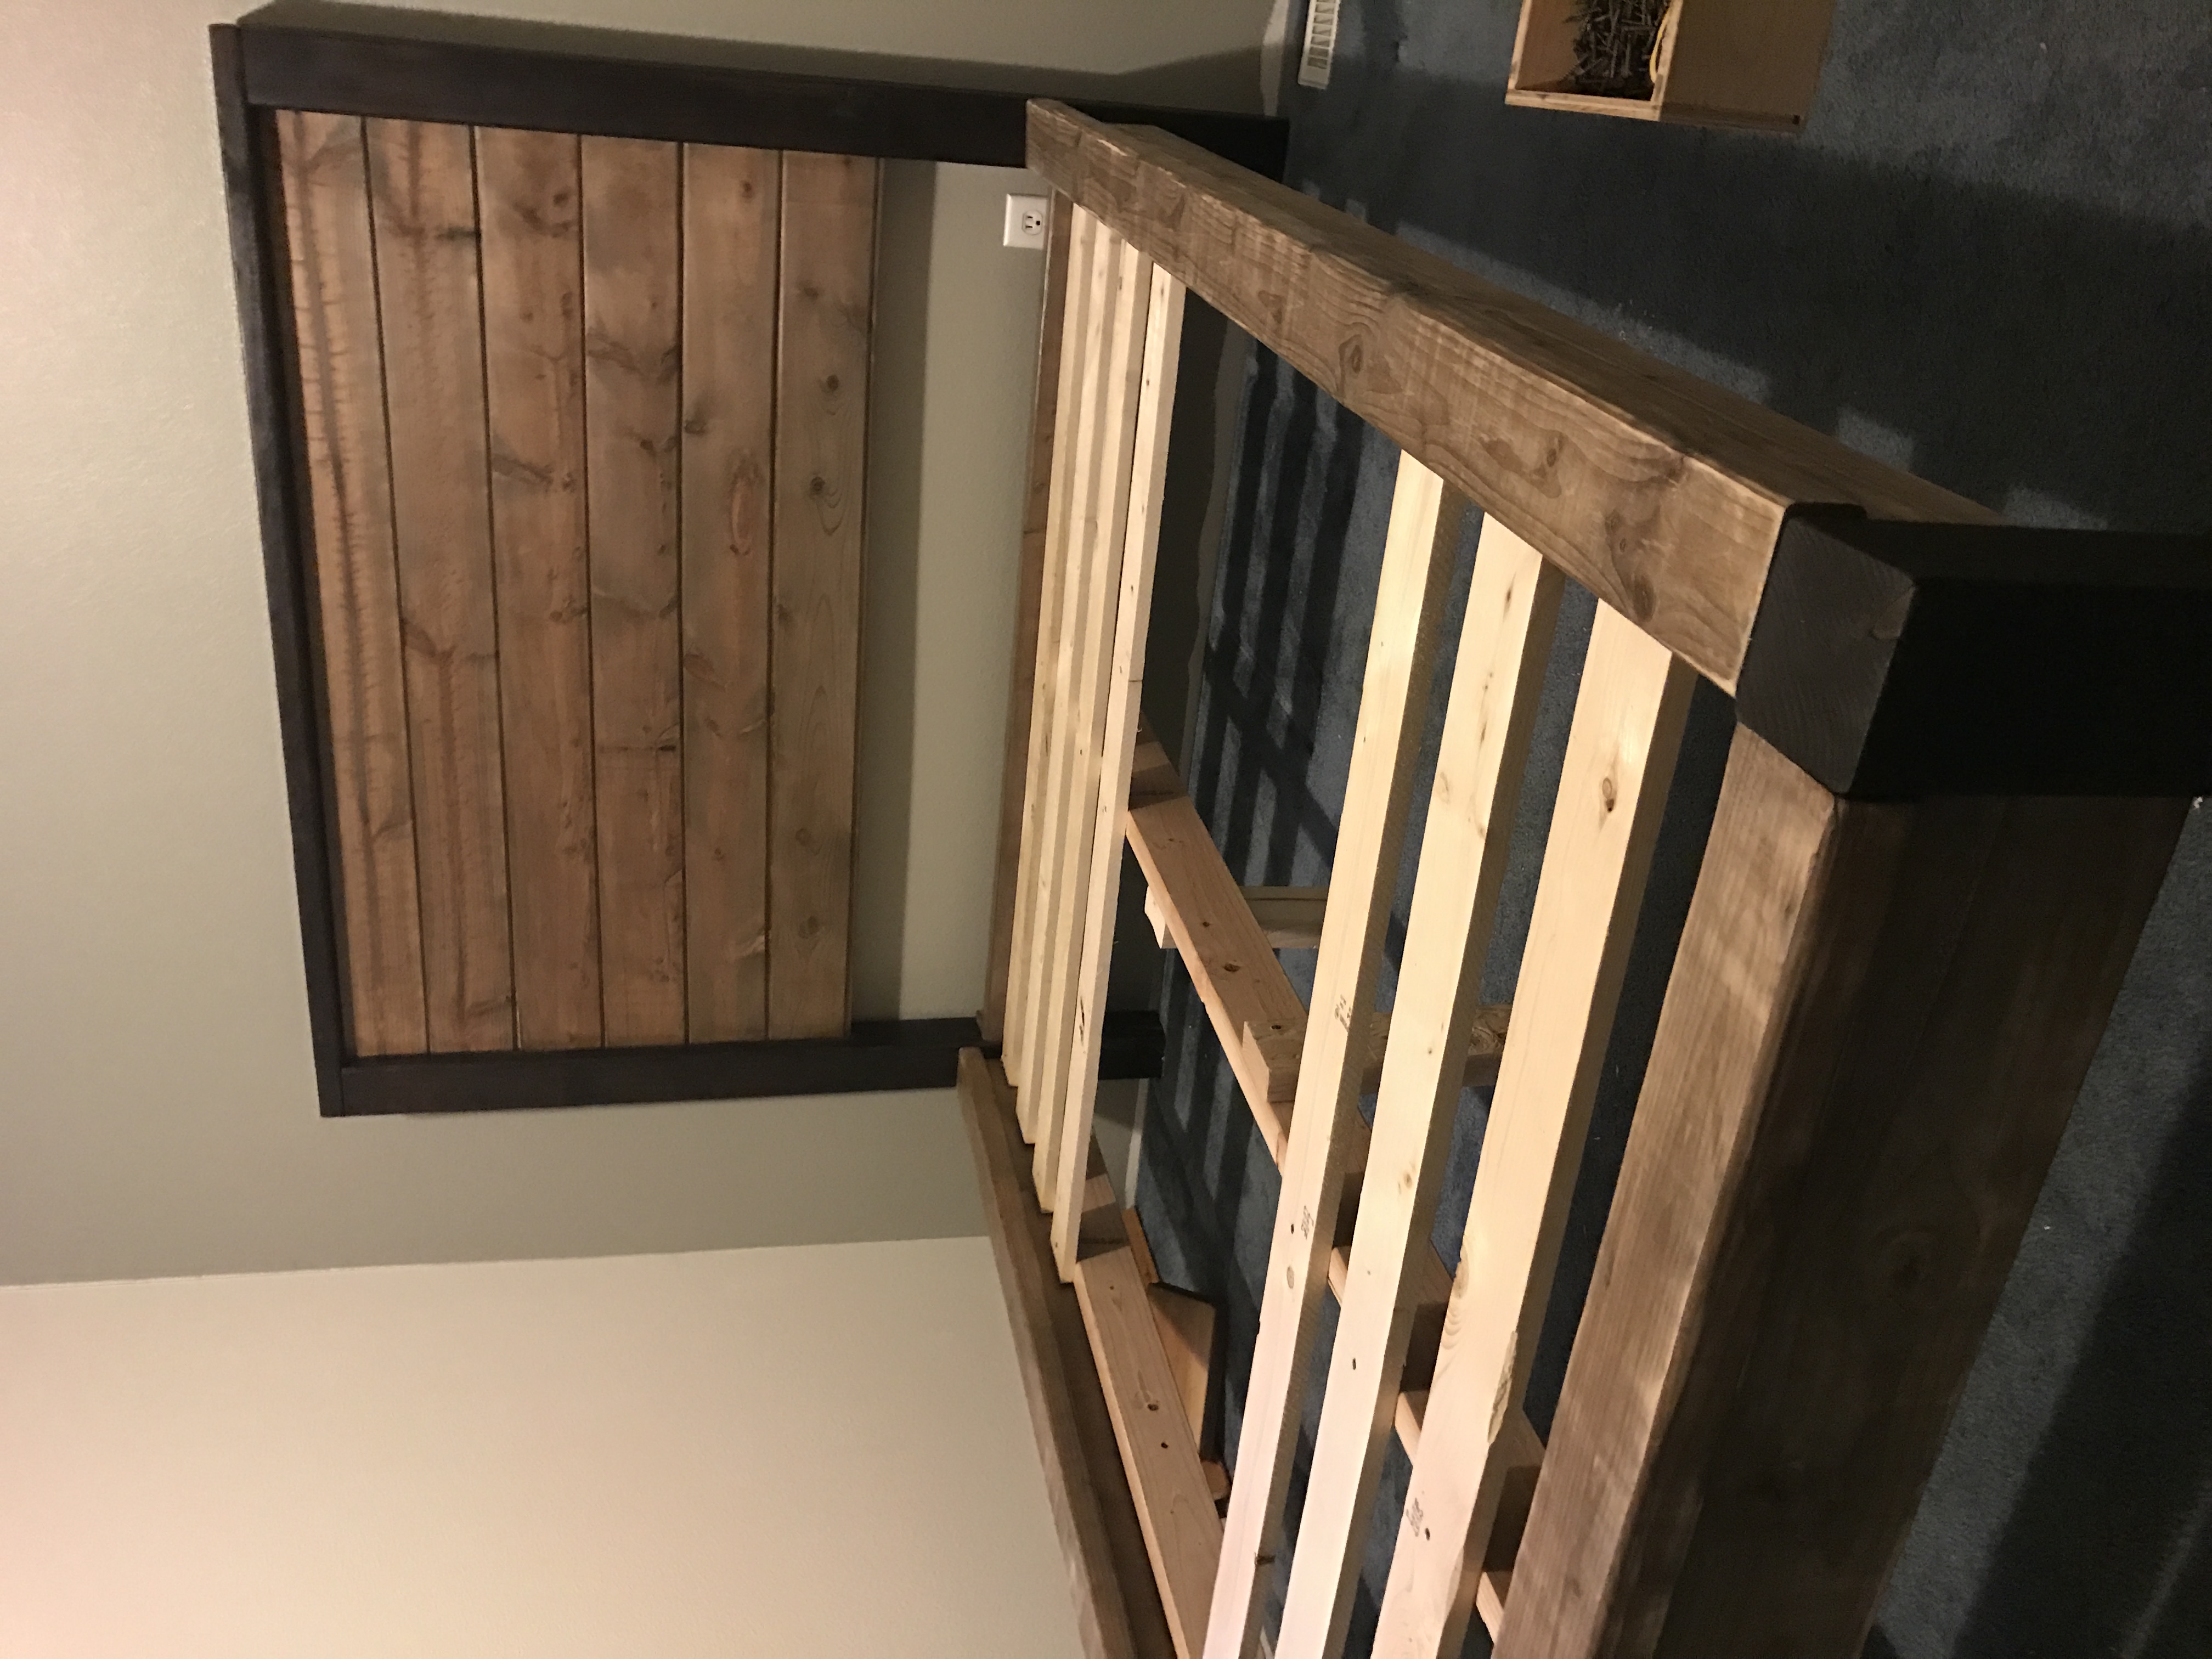
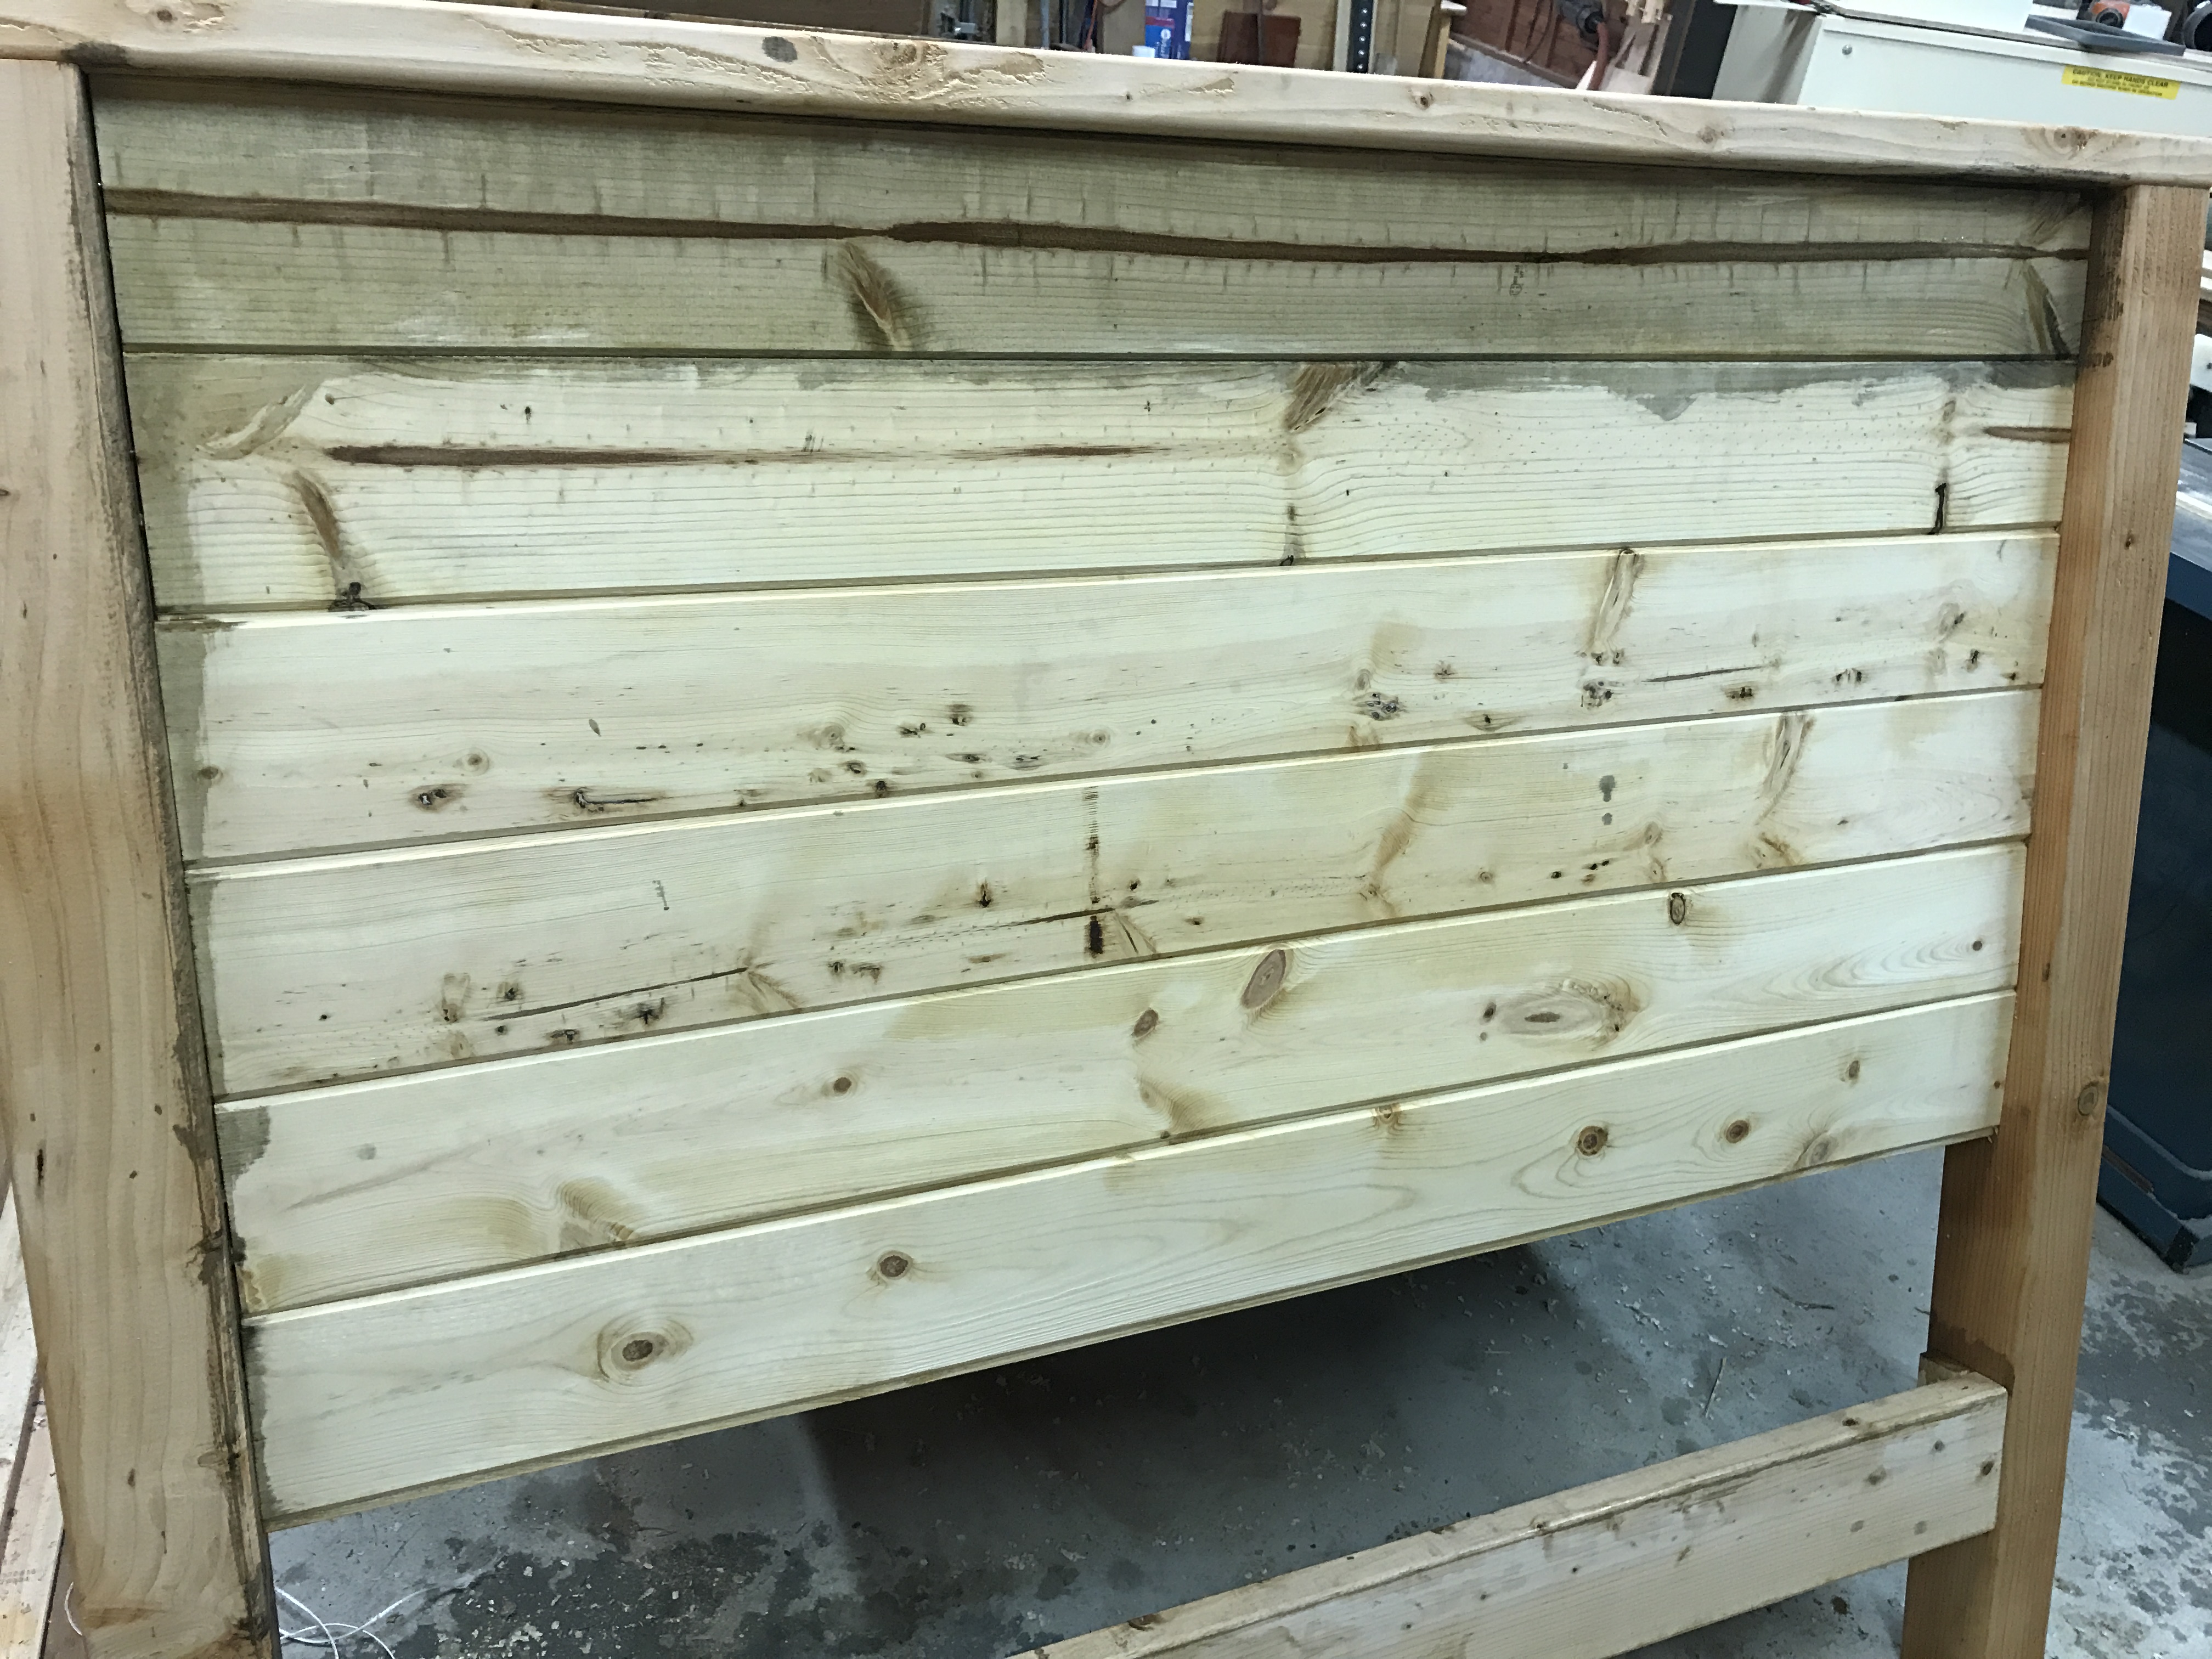
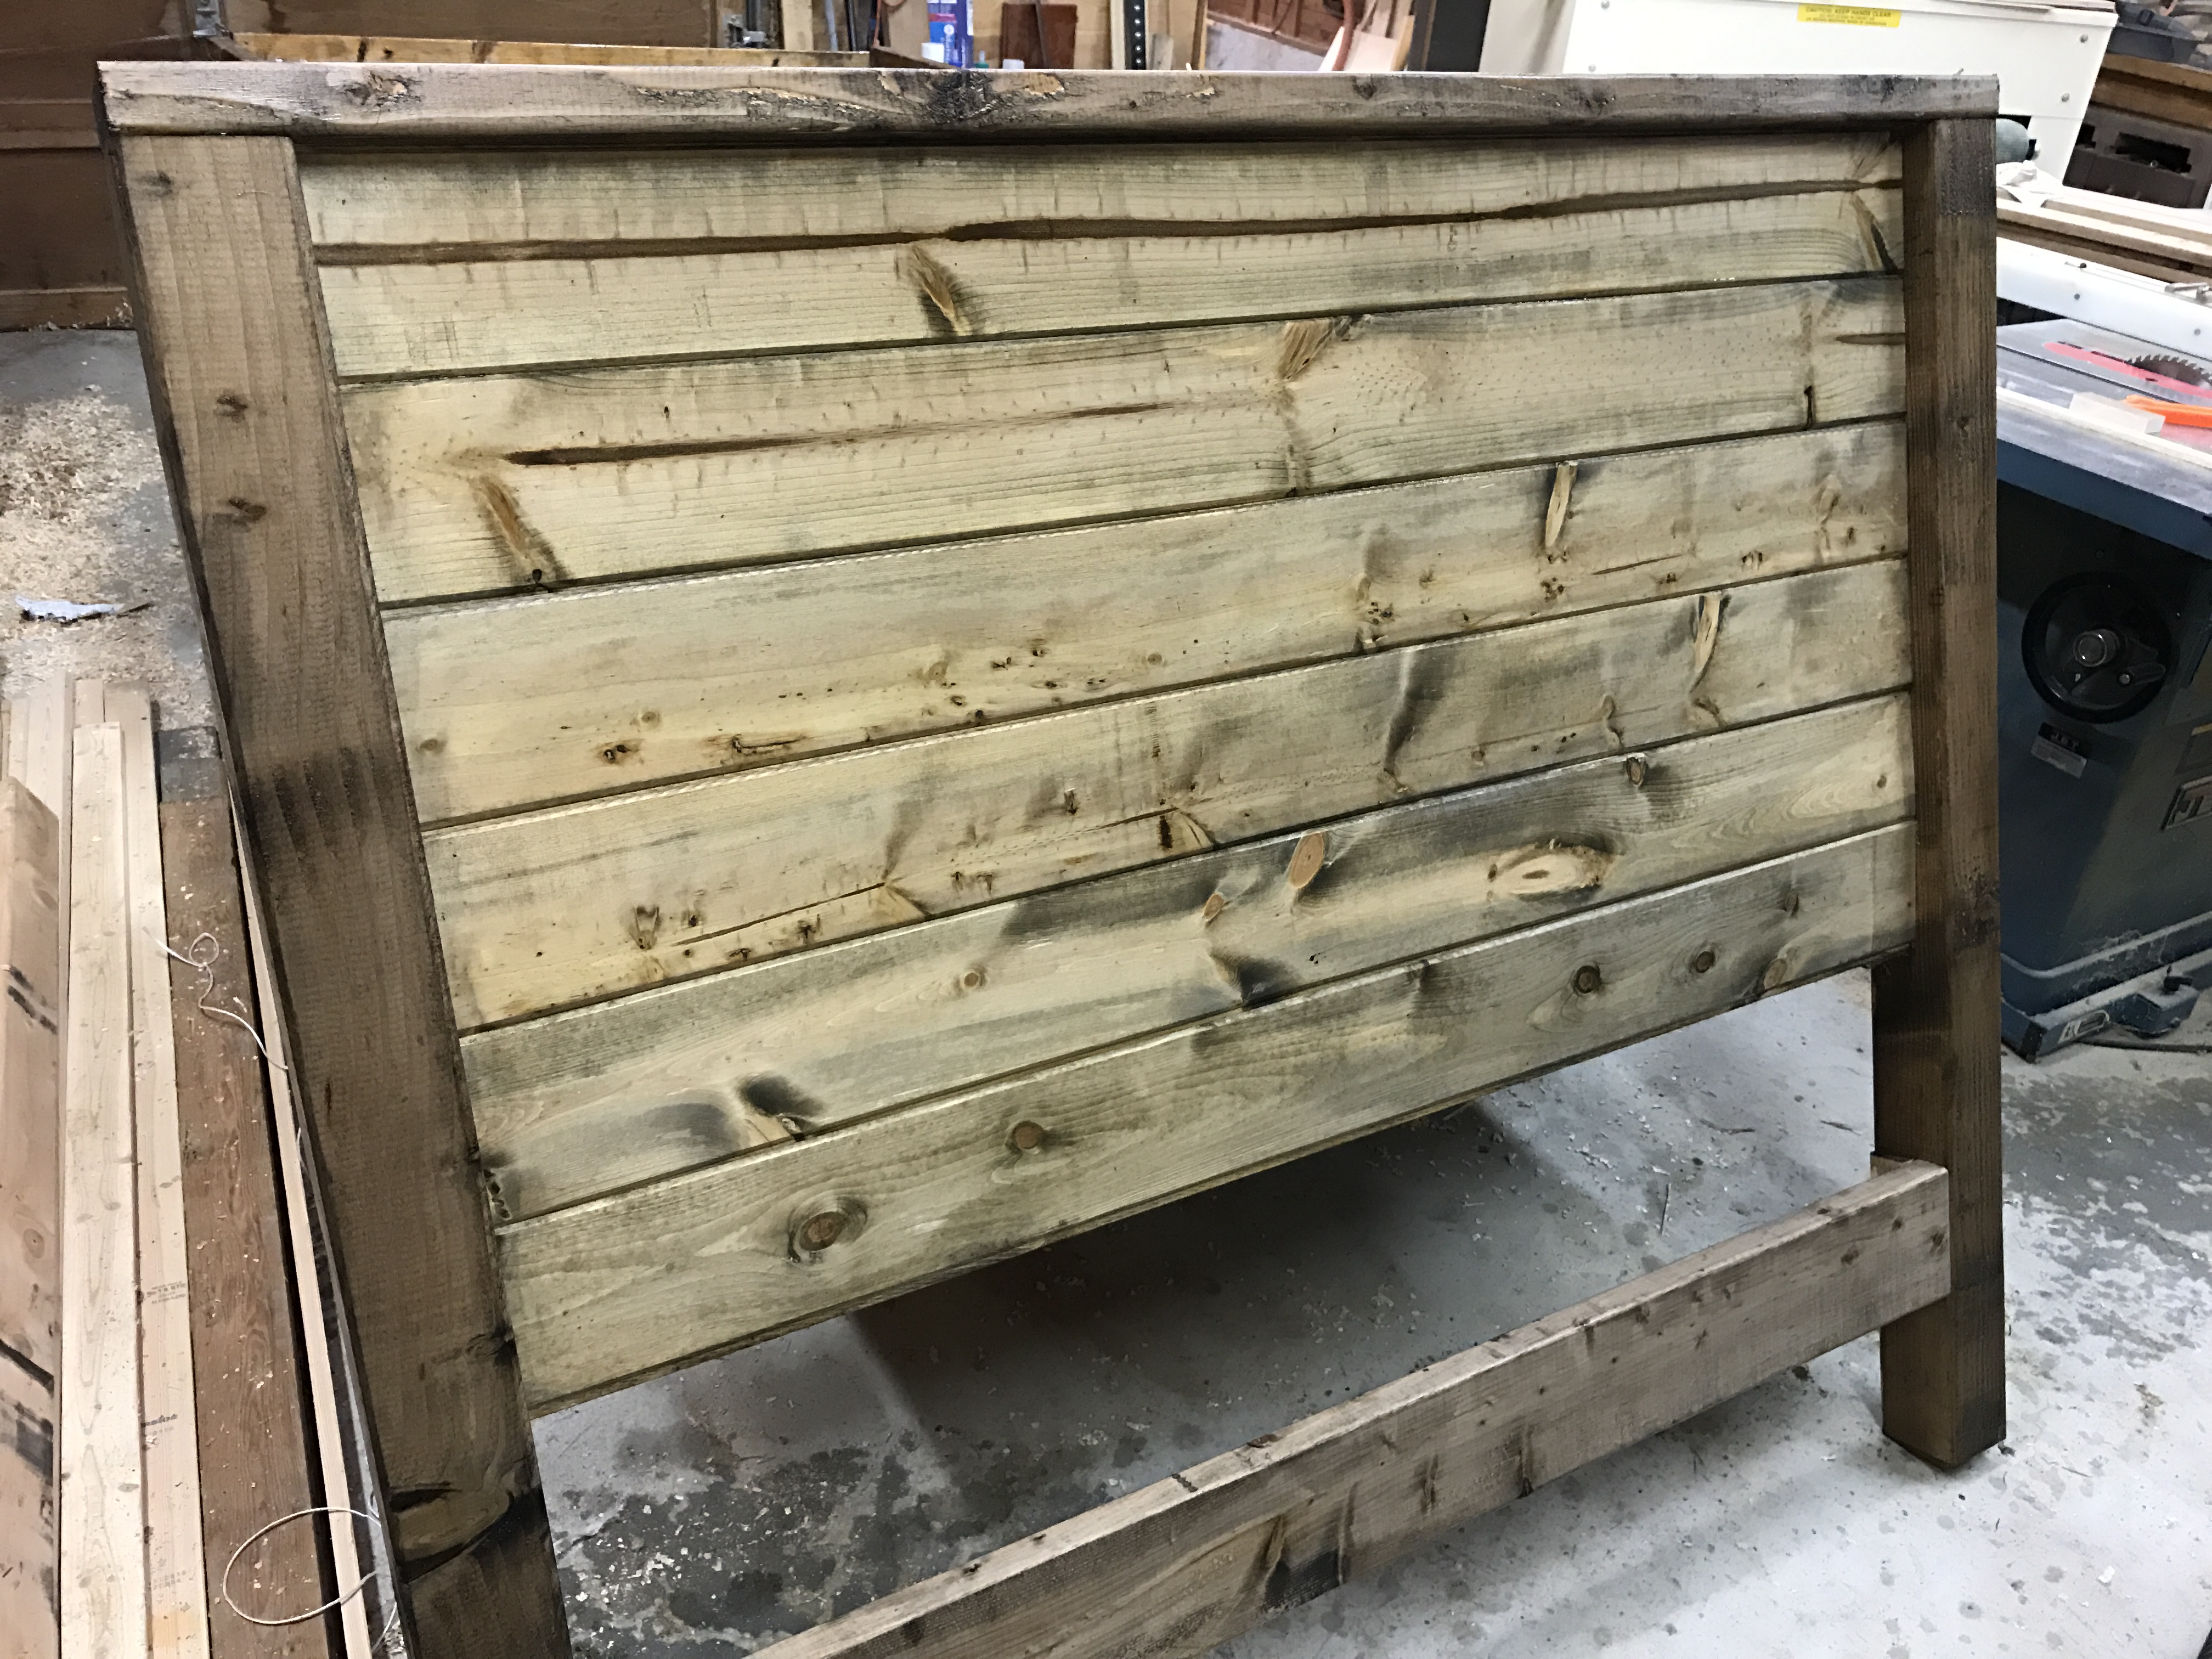
Modern Farmhouse Bed
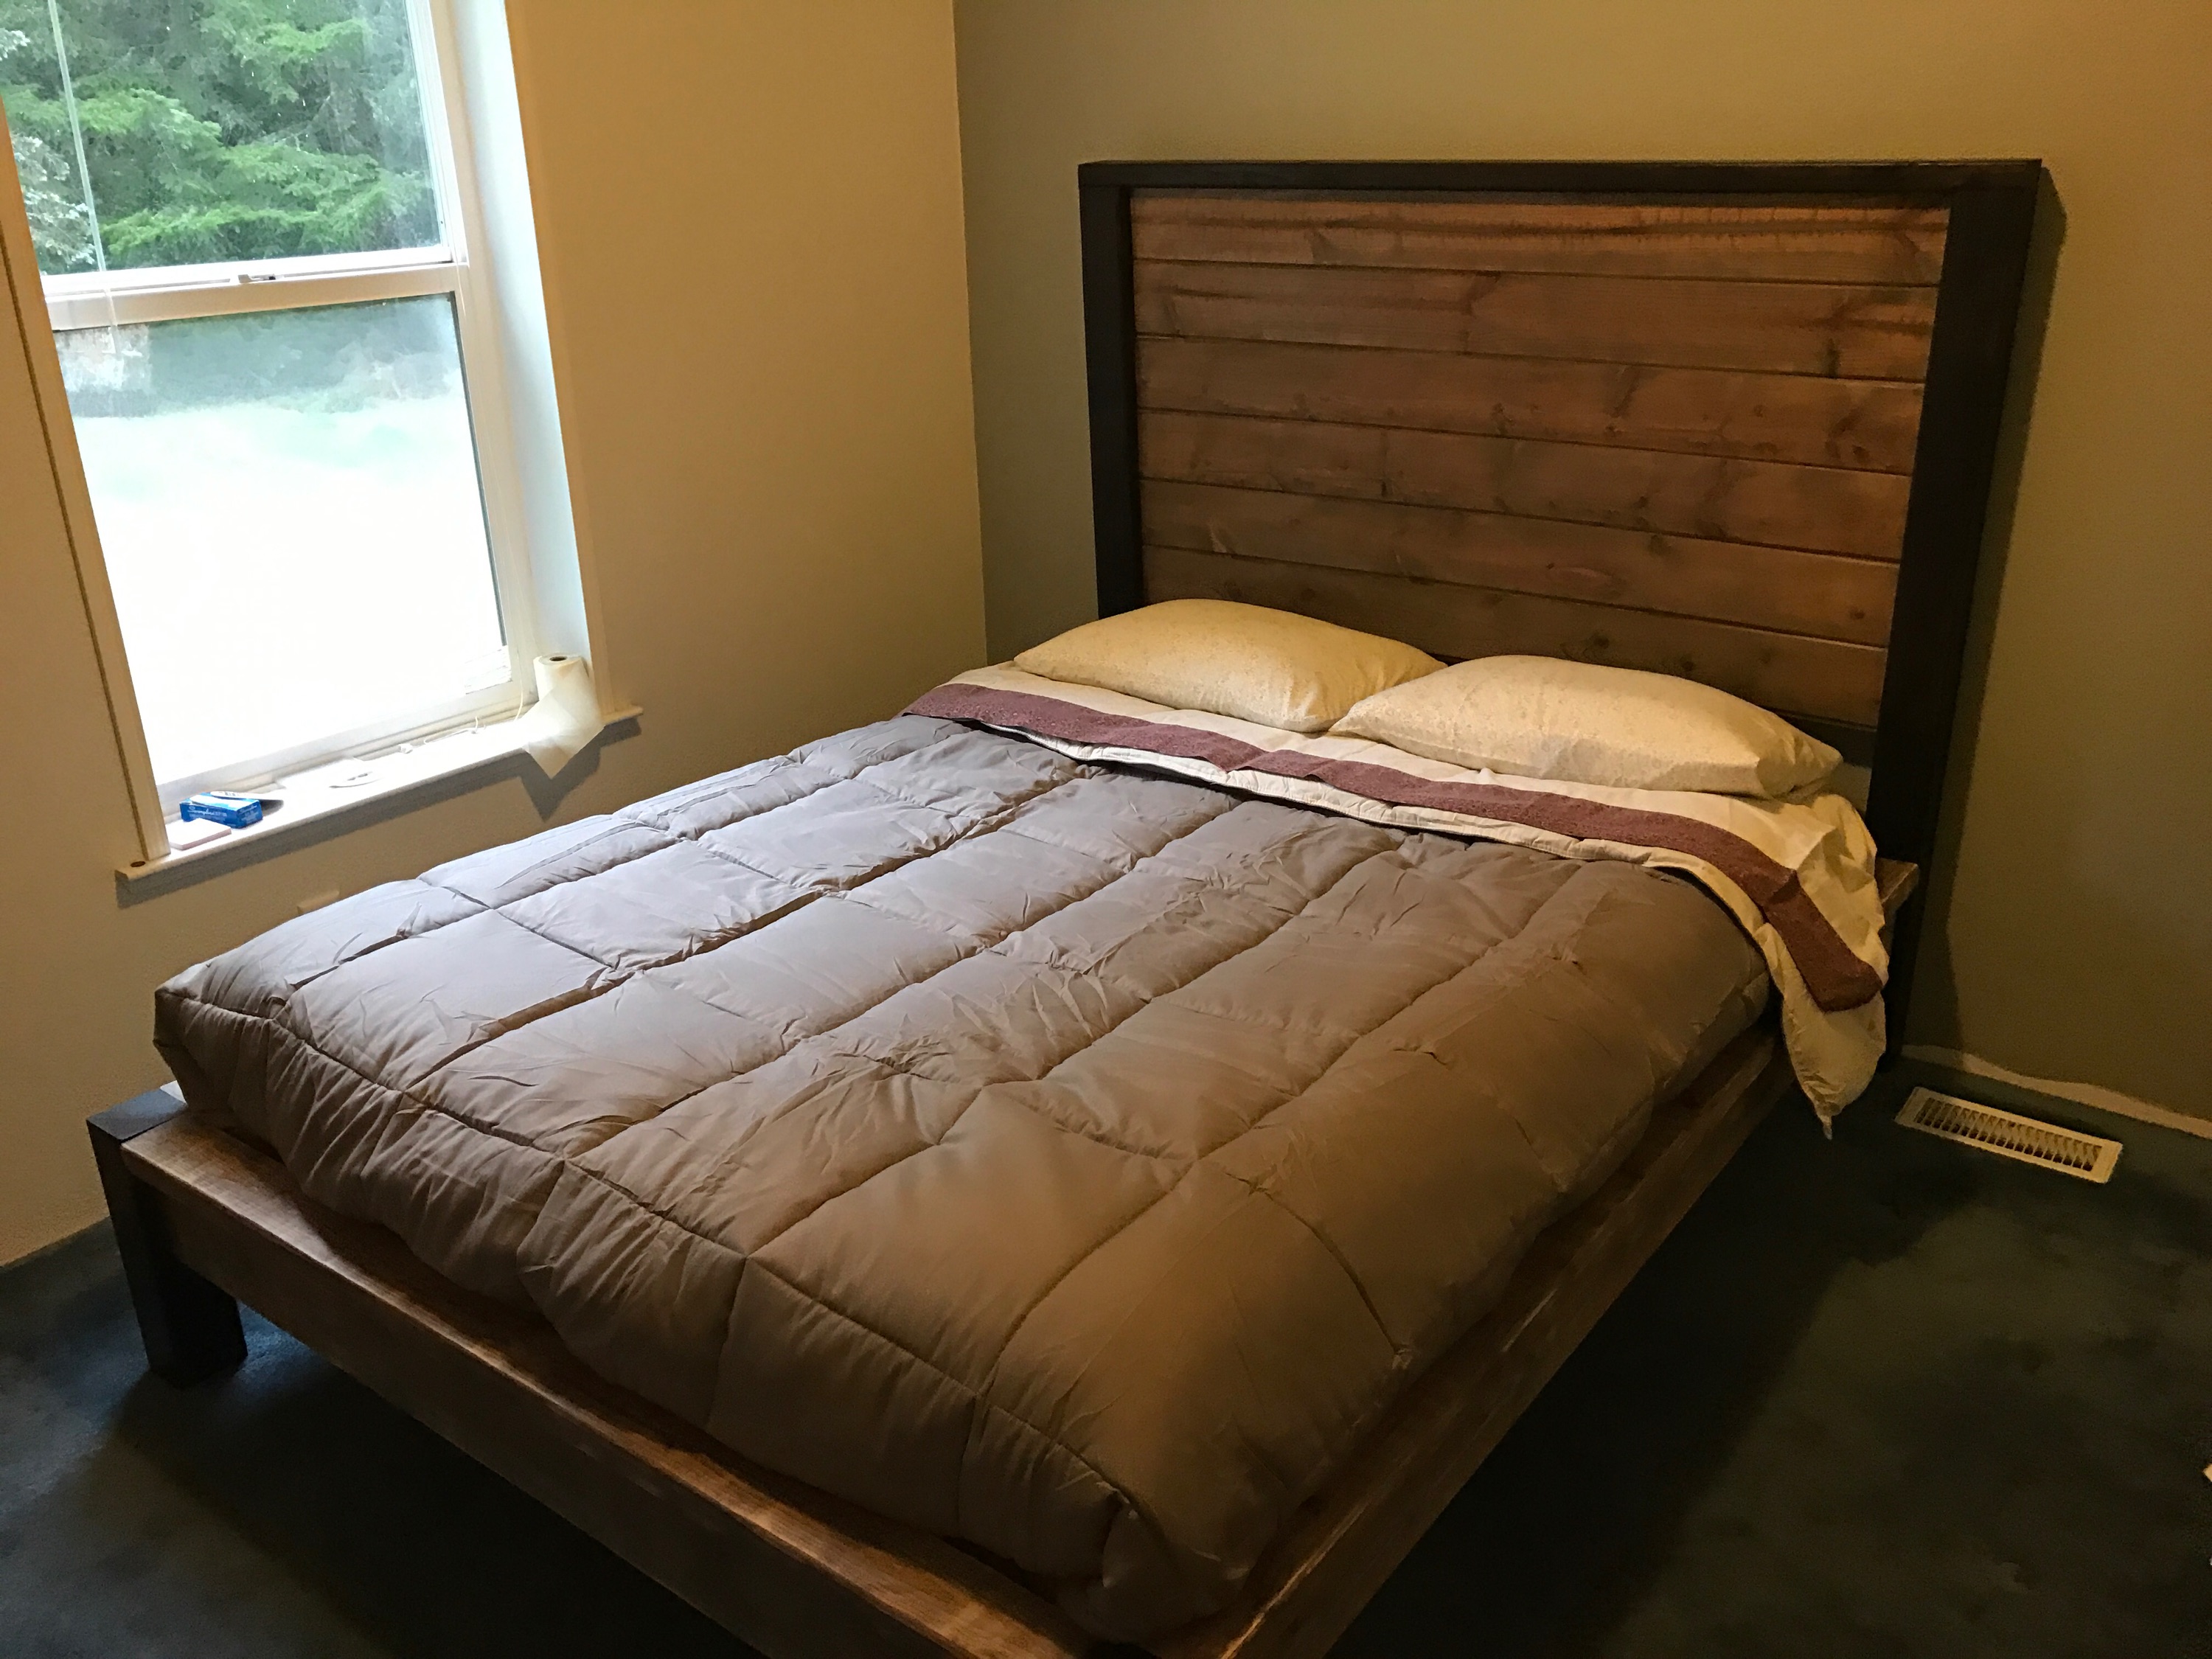
$200 build and approximately a weekend to complete with finishing the wood.
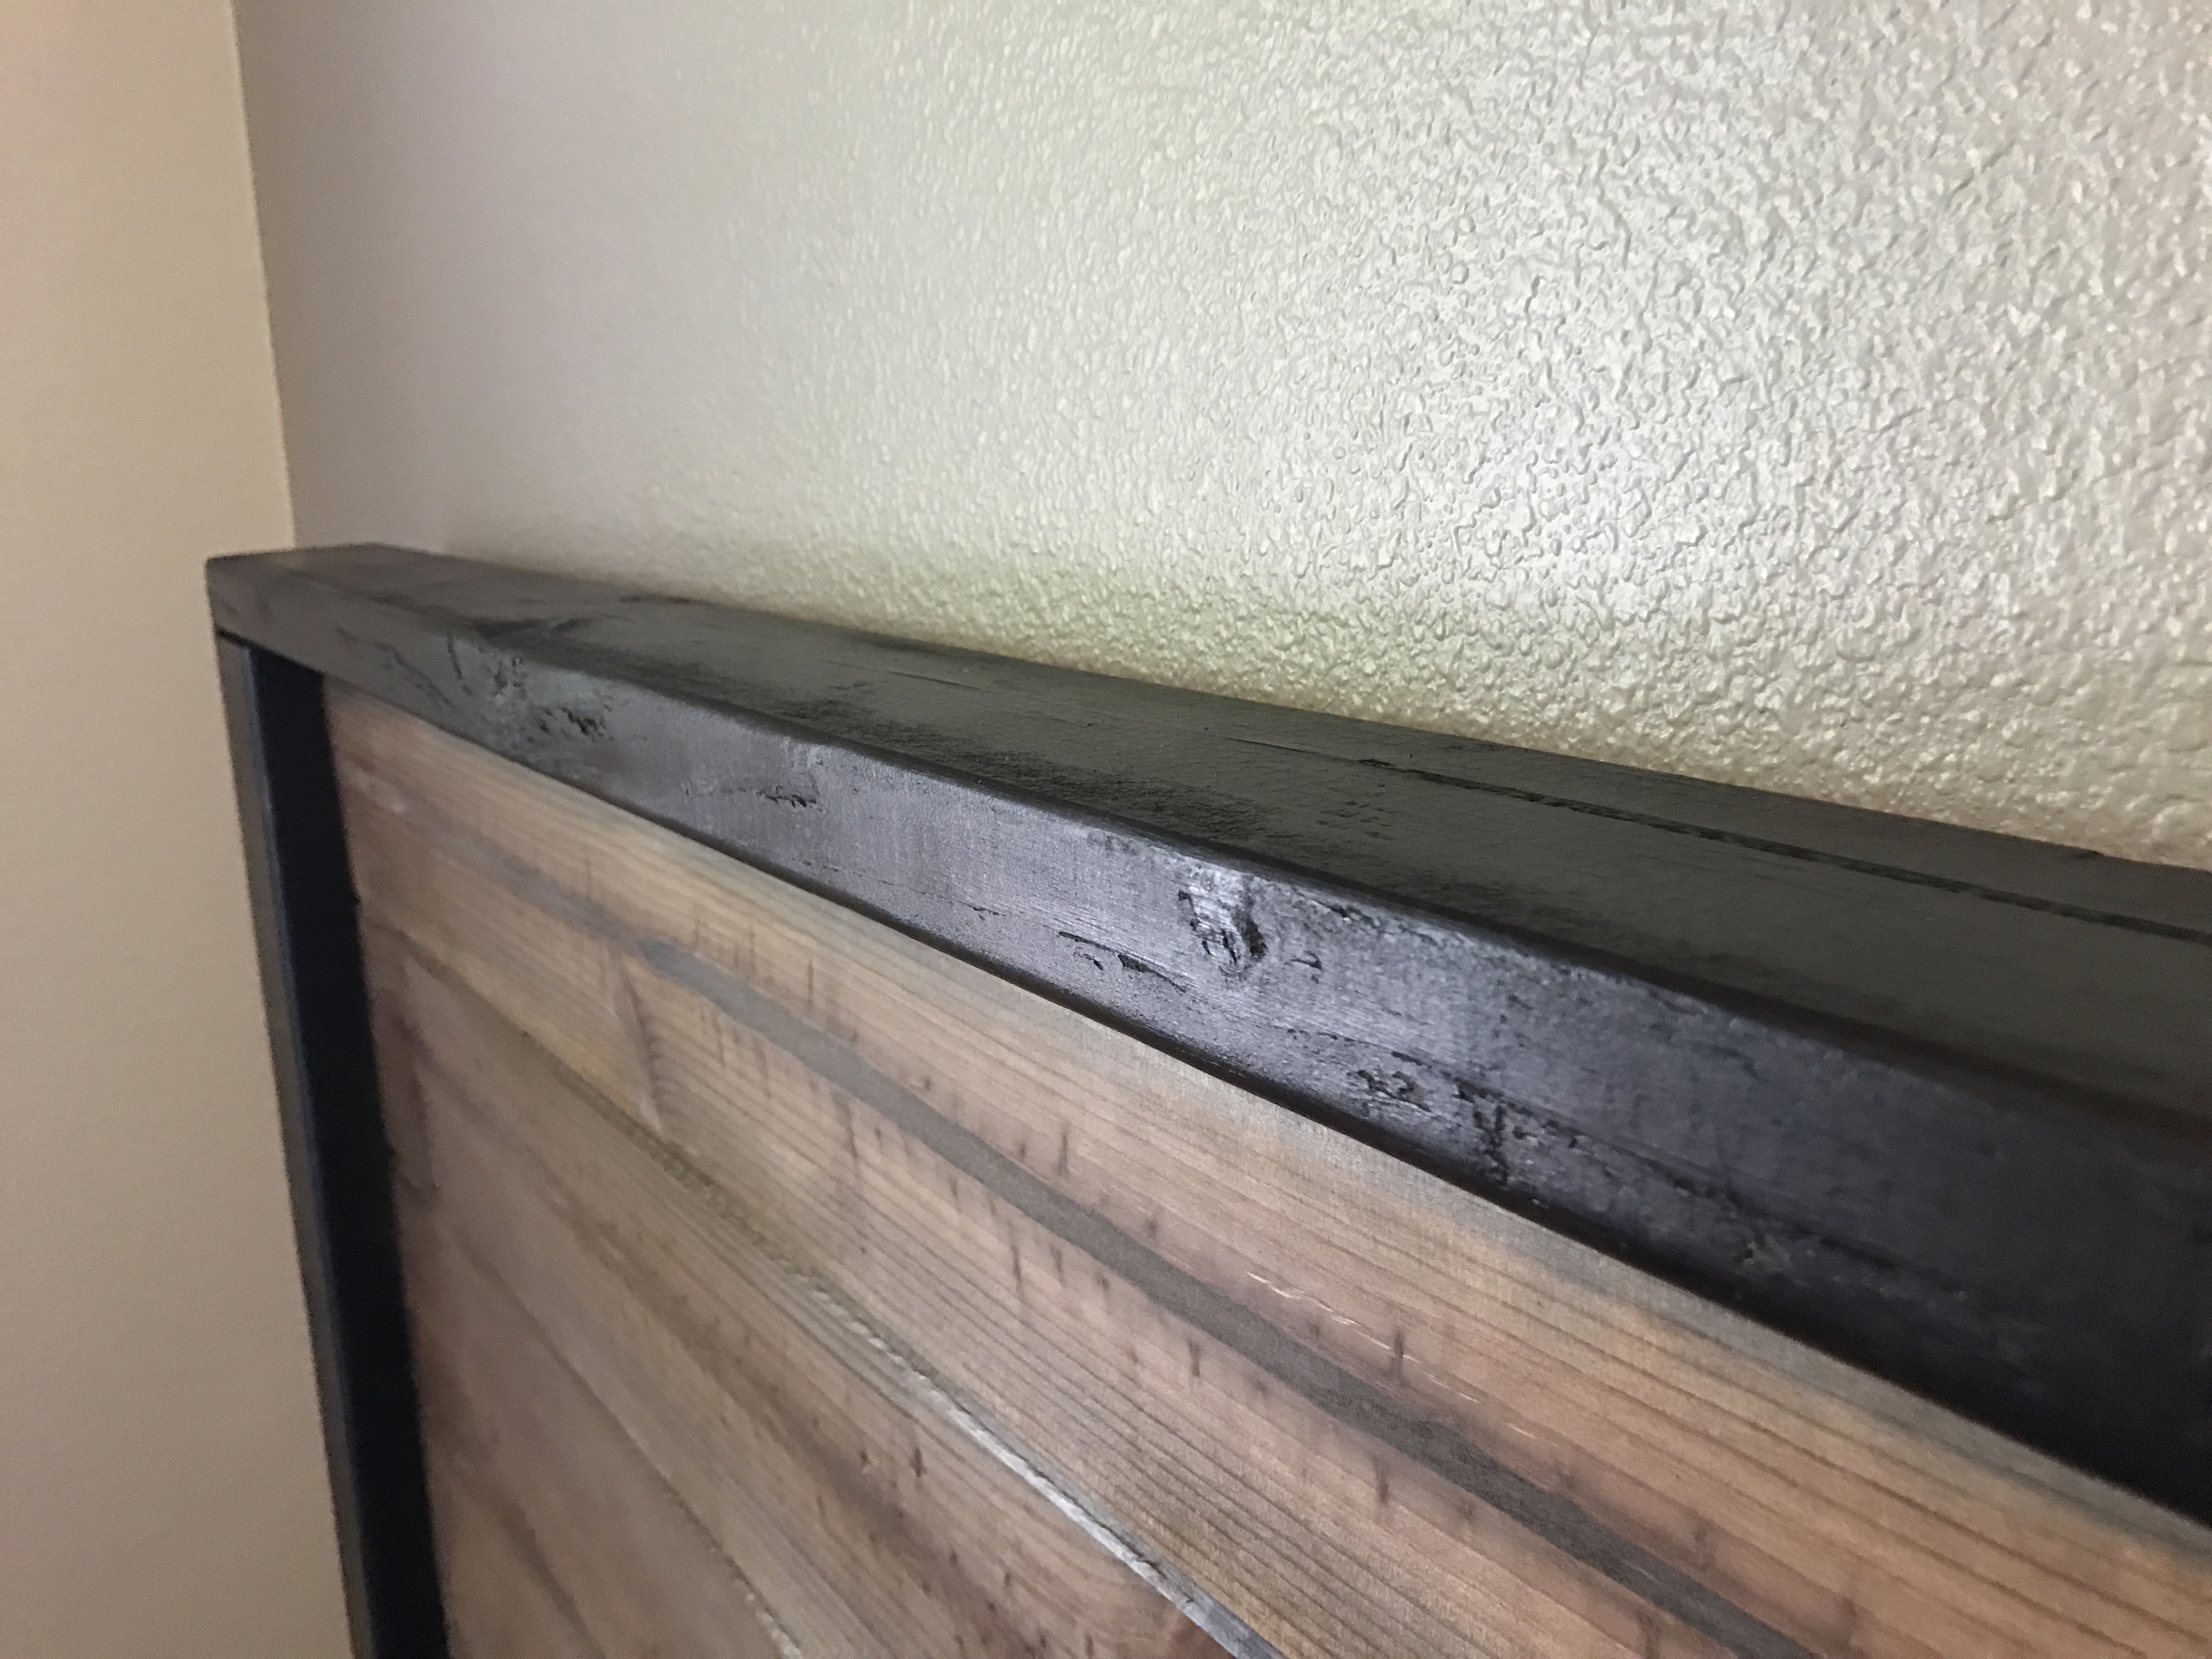
Added a tongue/groove plank (6x total)
Built from Plan(s)
Estimated Cost
$200
Estimated Time Investment
Weekend Project (10-20 Hours)
Finish Used
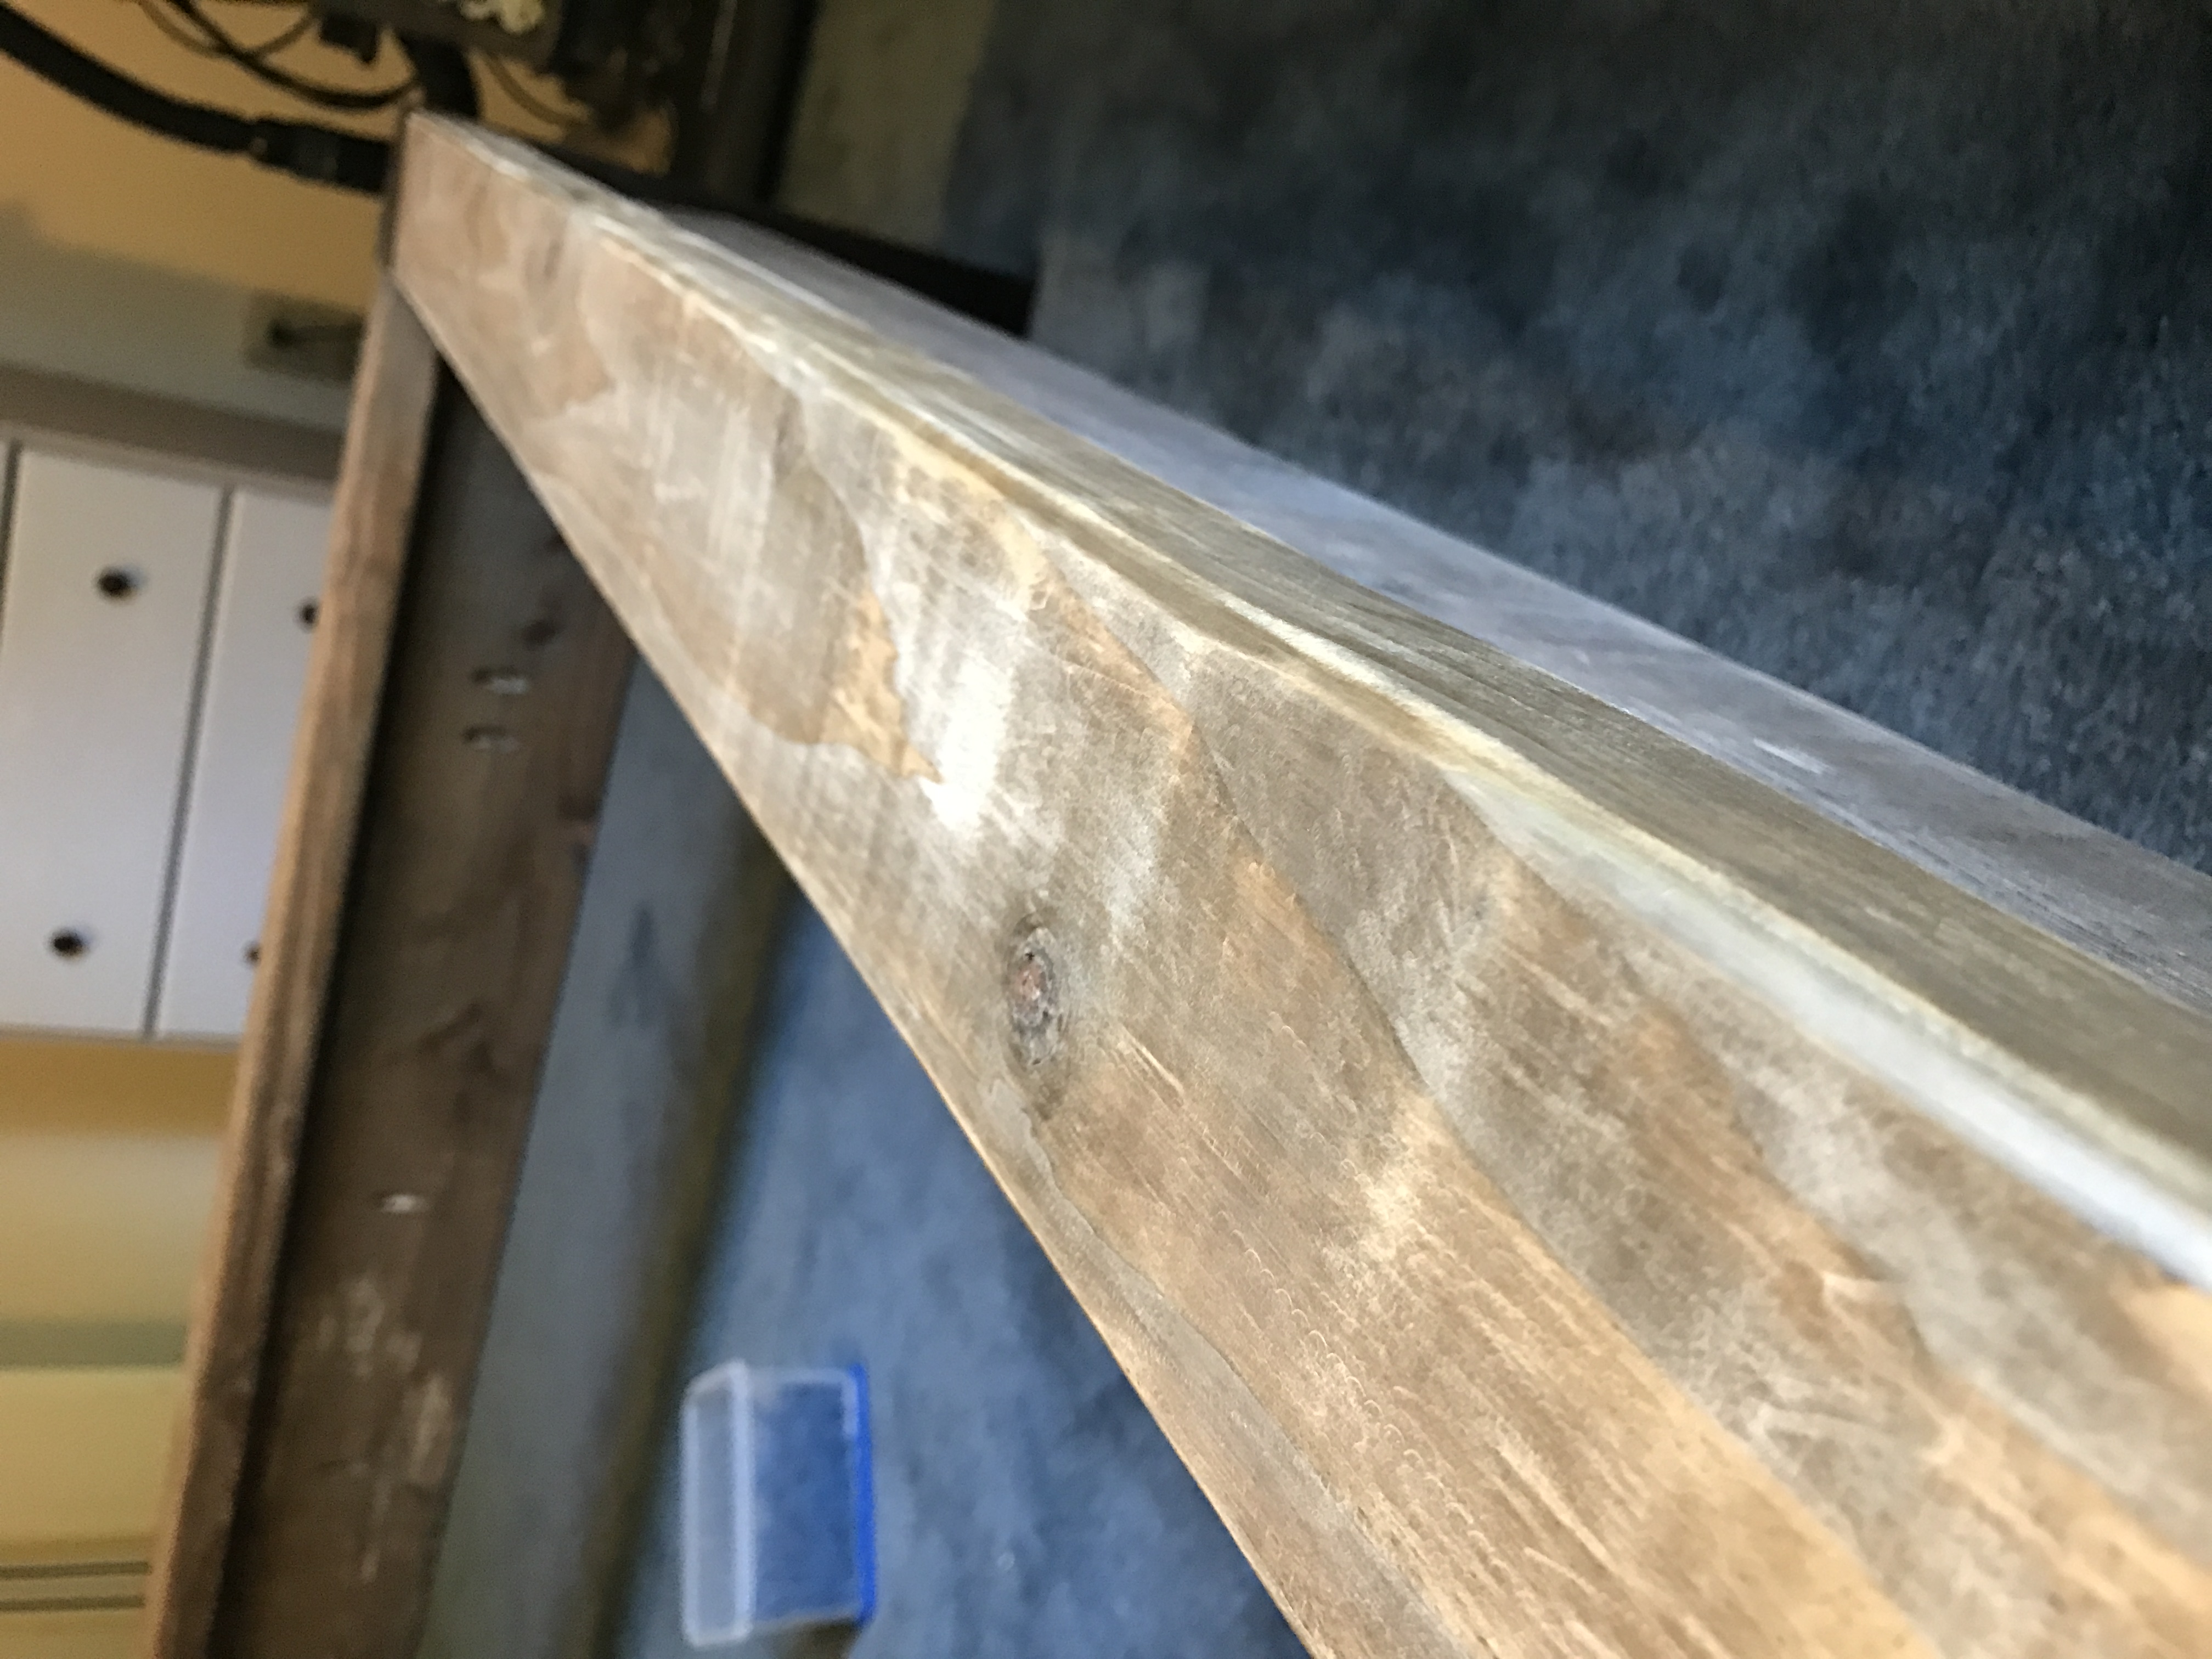
Brewed tea and vinegar/steel wool stain. Finished with a clear wax on the rails and tongue/groove planks. Dark pieces were waxed using briwax.
Recommended Skill Level
Beginner