Clara Table and $4 Chairs
These chairs were super easy to make and so was the table. I did make a couple of changes if you'd like to read about it on my blog.
http://isteppedoutofmycomfortzone.blogspot.com/2011/01/i-love-to-build-…
These chairs were super easy to make and so was the table. I did make a couple of changes if you'd like to read about it on my blog.
http://isteppedoutofmycomfortzone.blogspot.com/2011/01/i-love-to-build-…
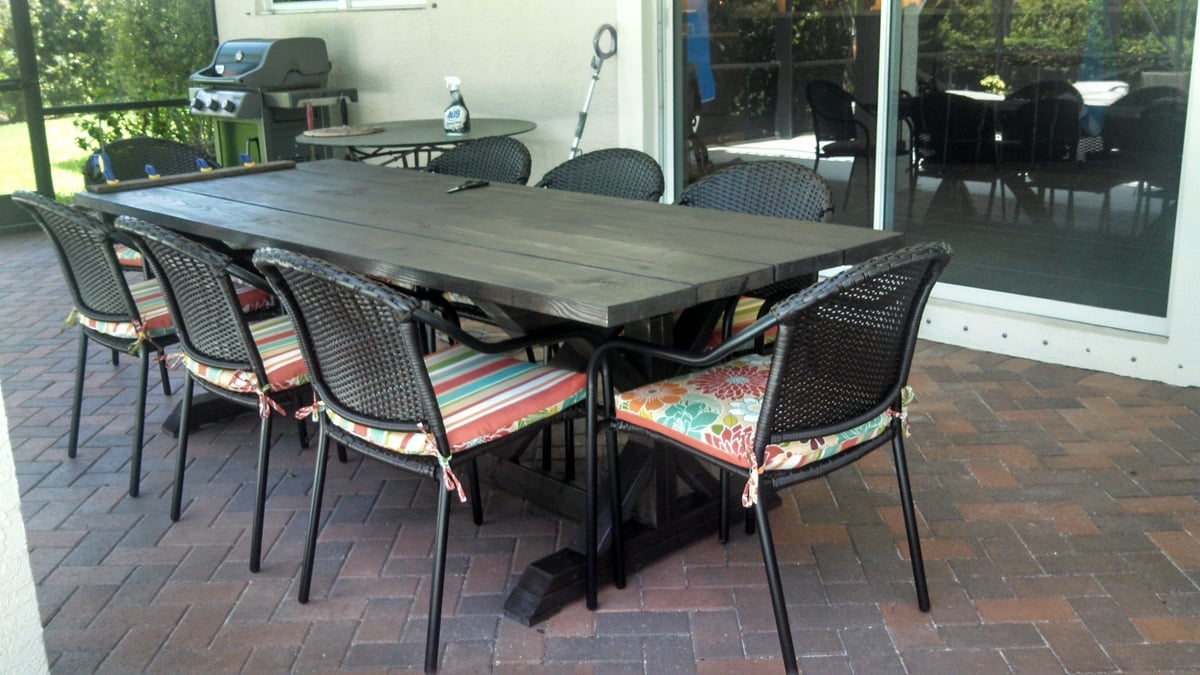
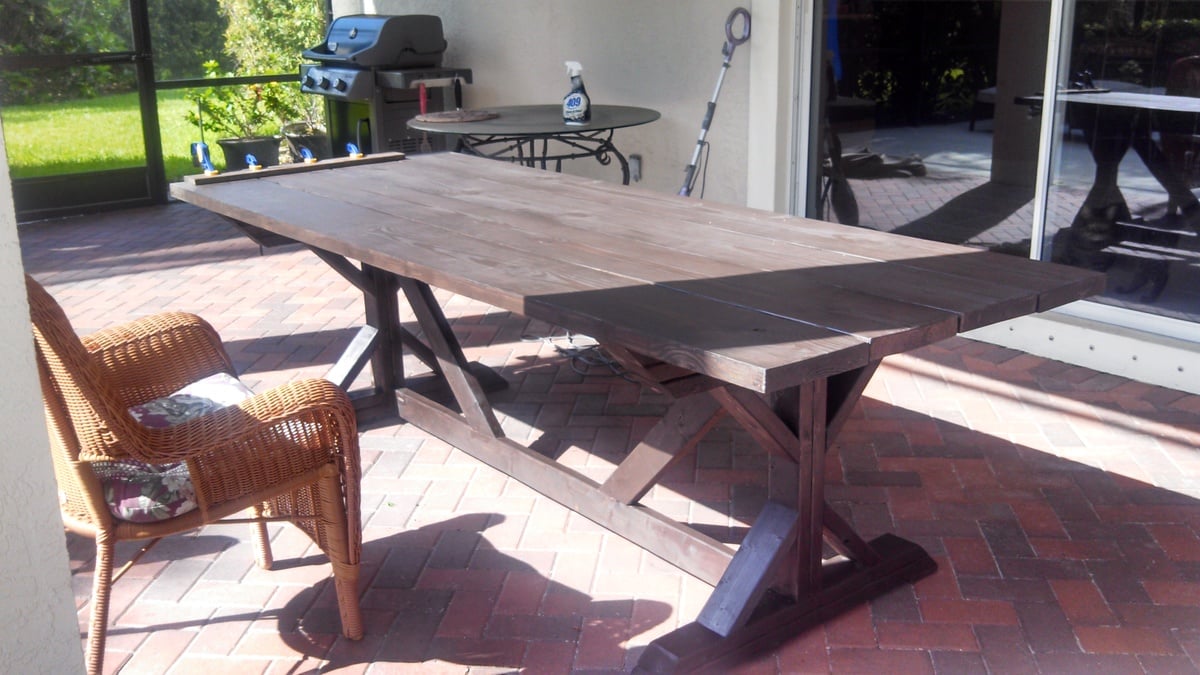
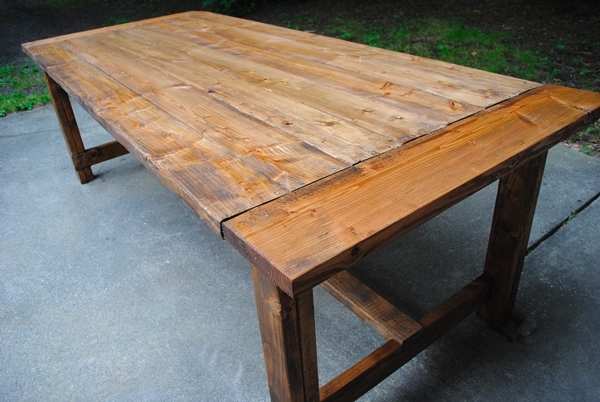
Outdoor farmhouse table built using Ana's plans. Modified the plan slightly, used 3 2X4s on the top (instead of the 2 1X4's that Ana's plan used) and attached everything from underneath using pocket screws so that no hardware is visible from the top. Used a nailer board under each side of the tabletop to provide a place to attach the top without using huge screws.
Table was built using non-pressure treated lumber (because we wanted the stain to stick well). The finish was done with 2 coats of a chocolate outdoor stain. Took 2 days from start to finish, although much of that time was waiting for the paint and/or glue to dry. Very simple project, only used a few tools. The only "big" tool we used was a 12" sliding compound saw to make the end cuts. Also used the Kreg jig in a few places where we didn't have clamps large enough or, in the case of the table top, we wanted the wood to be able to "float" without warping other boards.
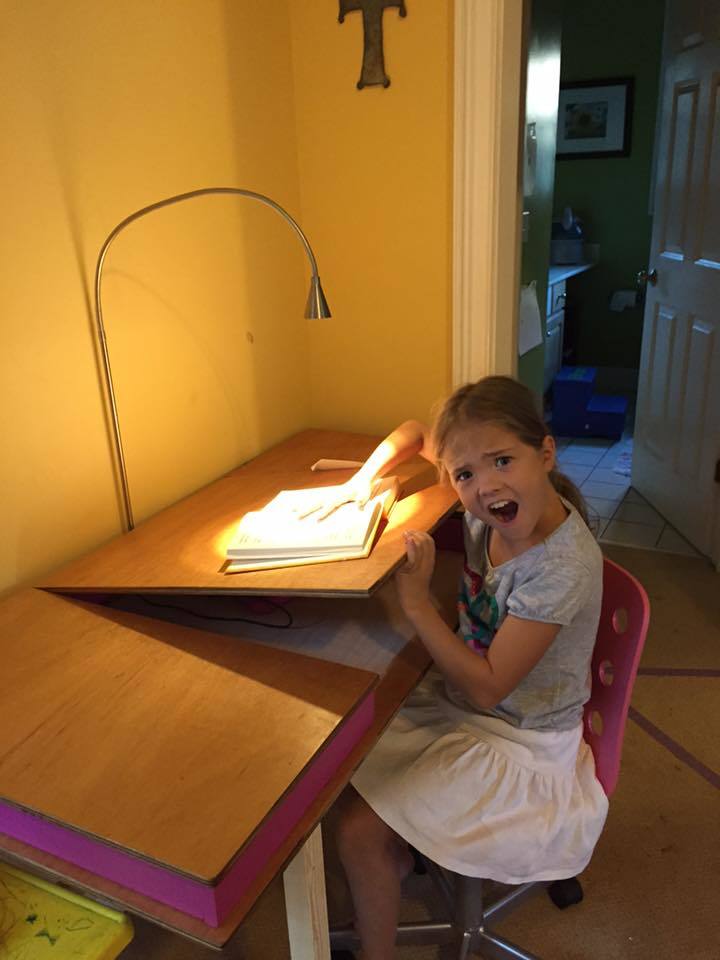
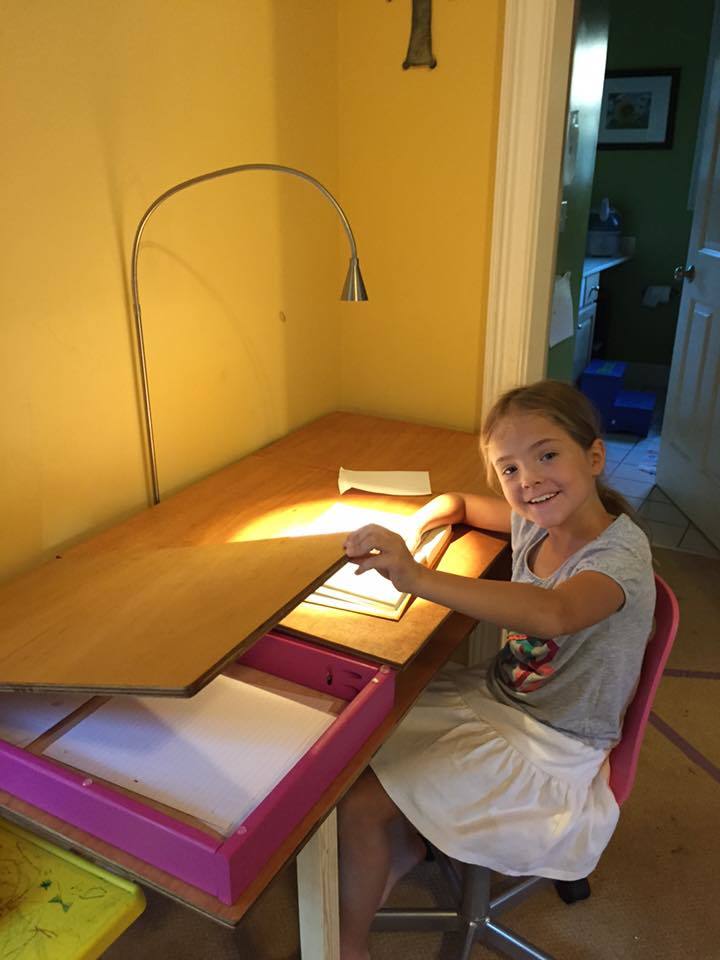
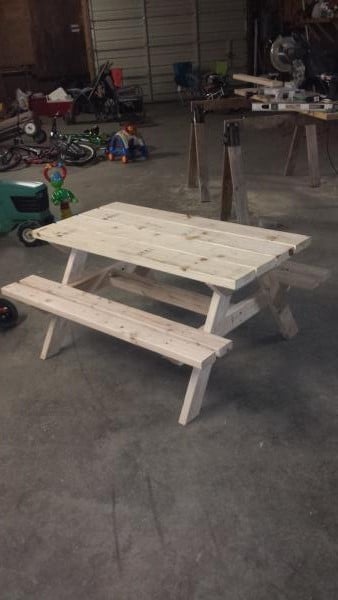
Simple design, very practical, and the kids love them
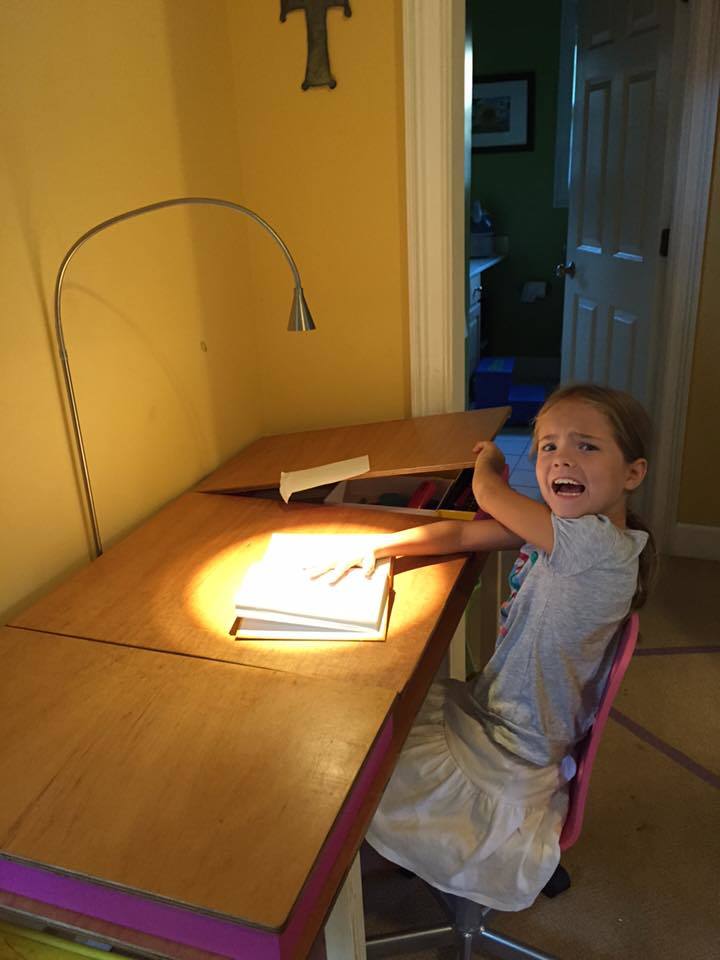
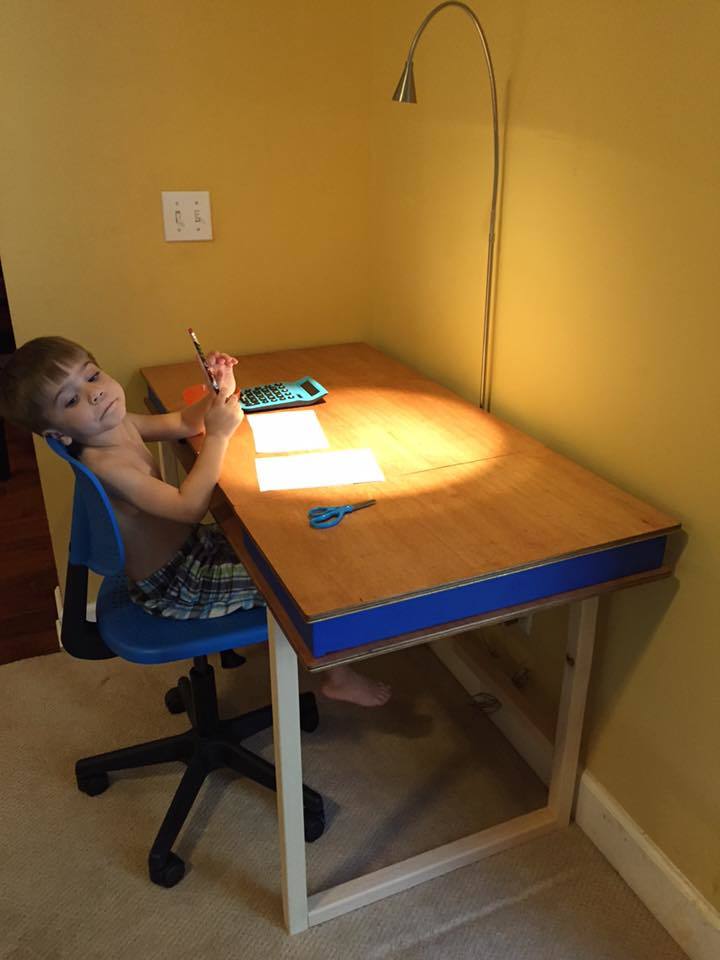
I have built several of these tables but this was the first one with turned table legs. They were somewhat expensive but I think the final product looks great with them. I actually stained the bottom aprons and legs the same colour as the top and then put on two coats of an antique white followed by a little scuffing up with sandpaper. I also cut the aprons from 2 x 6's so they were actually 4" in width. I used MinWax Jacobean stain which I had never used before. I then applied three coats of Varathane Satin finish. Not the best photo from my garage but no way I was getting it inside my house for a better photograph. Thanks for the great plans Ana.
Fri, 06/03/2022 - 16:57
Love the build and finish, great job! Thank you for sharing.
This bed is our first build. We added 4 inches to the height of posts on headboard and footboard. We also used brackets rather than screwing directly into footboard to make the bed easier to move if we ever need to.
Sun, 07/15/2012 - 01:43
I just finished building this same bed and I'm looking for
an easy way to mount it together invade I new to move it. Where did you find brackets for the head and foot board? Could you post a picture of them?
Thanks,
Brandon
Mon, 10/01/2012 - 00:42
How tall is the bed from the ground to the bottom of the side rail? I'm wanting 14" so I don't need a box spring {we're both tall so I don't want to feel like I'm on the ground}
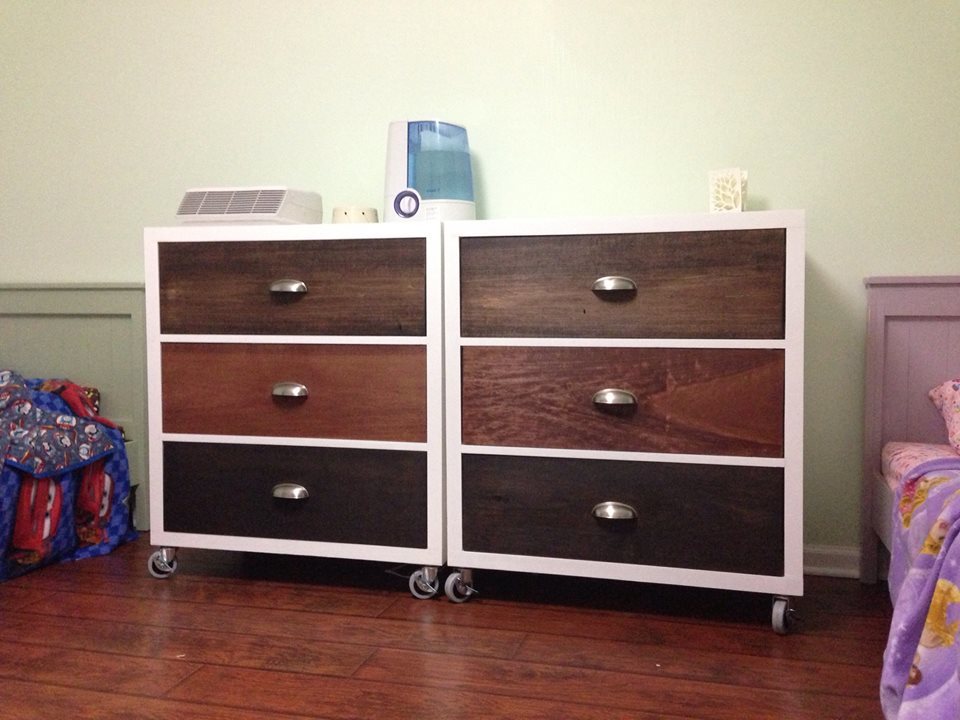
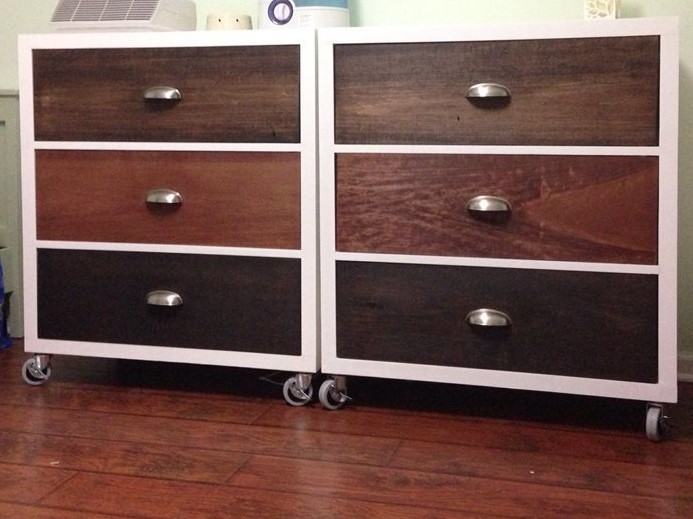
We decided to build these for the kids, to get the old Ikea dressers out of their rooms. The build went very easy. Now the kids have a room full of only handmade (ana-white) furniture!
Tue, 08/20/2013 - 19:55
Beautiful! =D I love the finish style you chose! I'm not typically a fan of drawer pulls, but I love the way it looks on your rolling dressers.
![]()
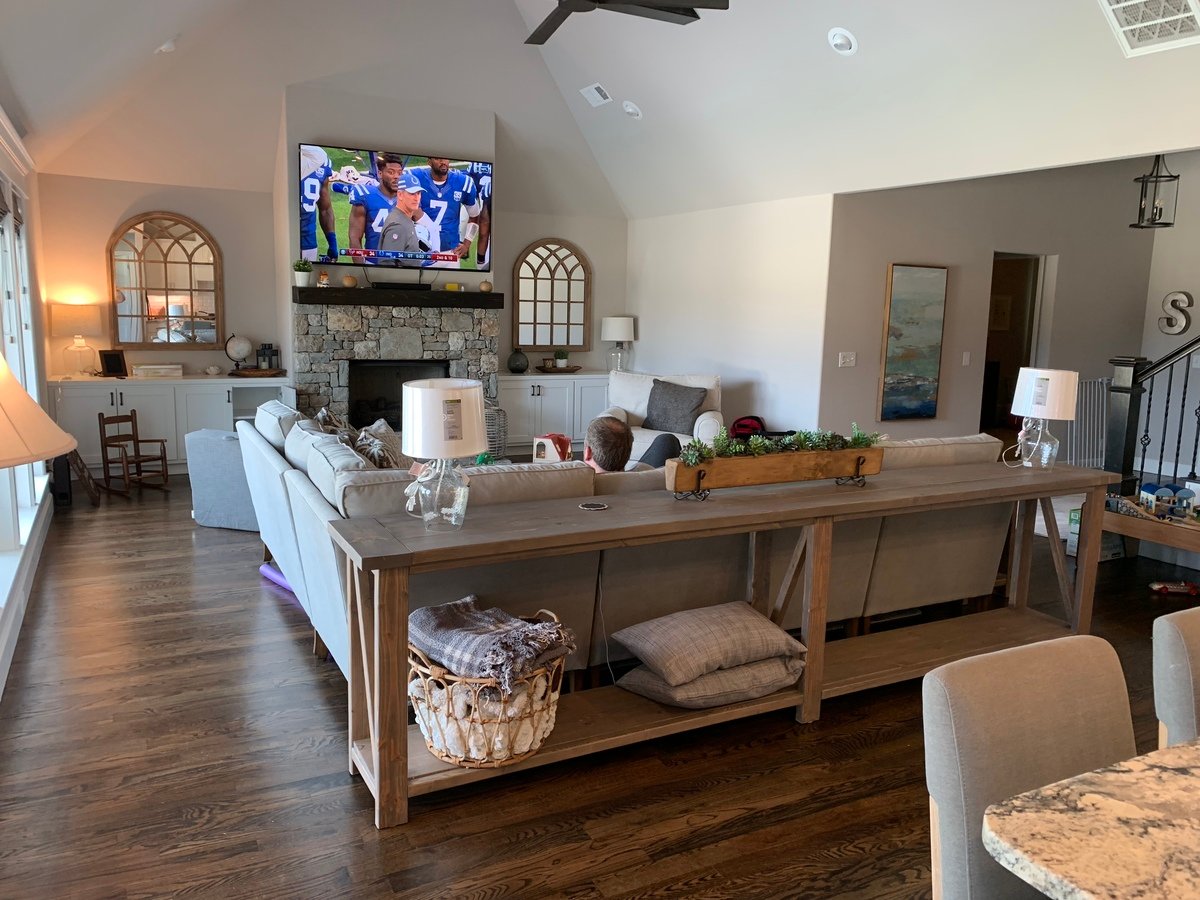
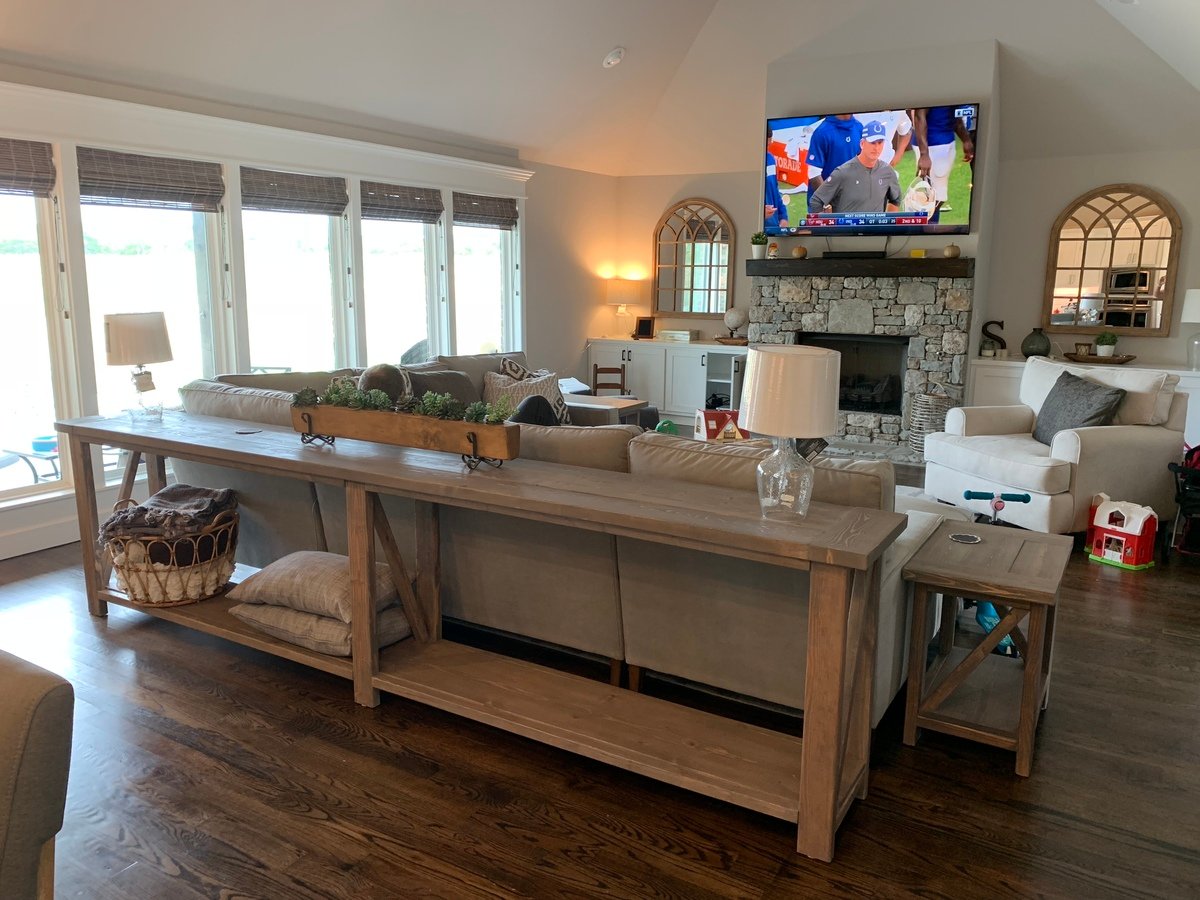
Modified to have more of a modern style. Removed shelf and half the X. Also, lengthened it to 11ft. Love!
This is my very first woodworking project (except for a Paper Towel Holder in High school over twenty years ago).I have always wanted a long farmhouse table, so when I saw the plans,I was excited to try building my own. Thanks so much Ana for making this doable!
In reply to Great job! I love your by Lori E (not verified)
Thu, 03/26/2015 - 20:29
Thank you Lori!
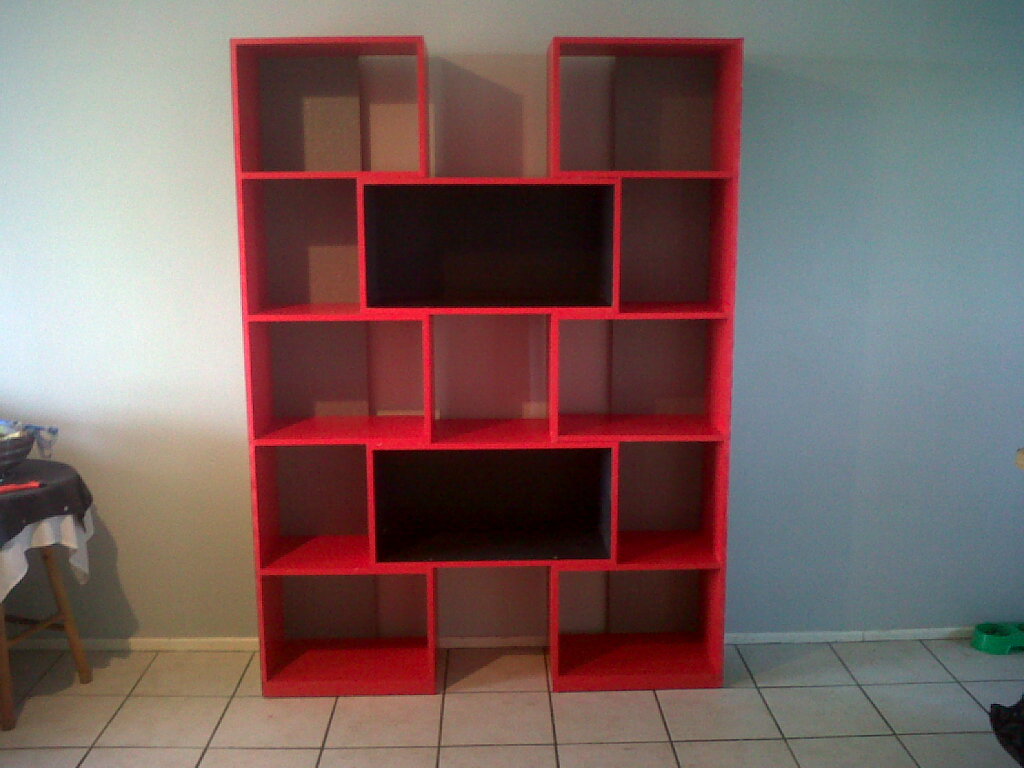
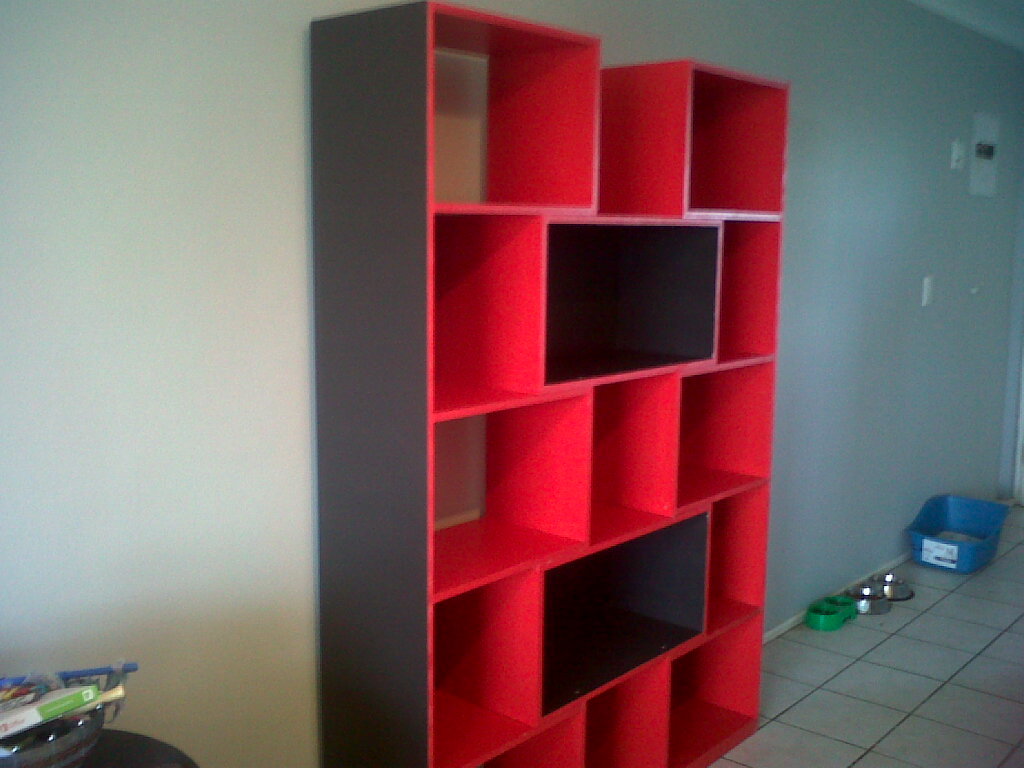
This was my first attempt at DIY - had to convert to Metric! thank goodness I calculated right - end product is awesome. I lined the back panels with textured Silver wallpaper - gives an awesome contrast.
I'm Hooked, already looking for my next project!
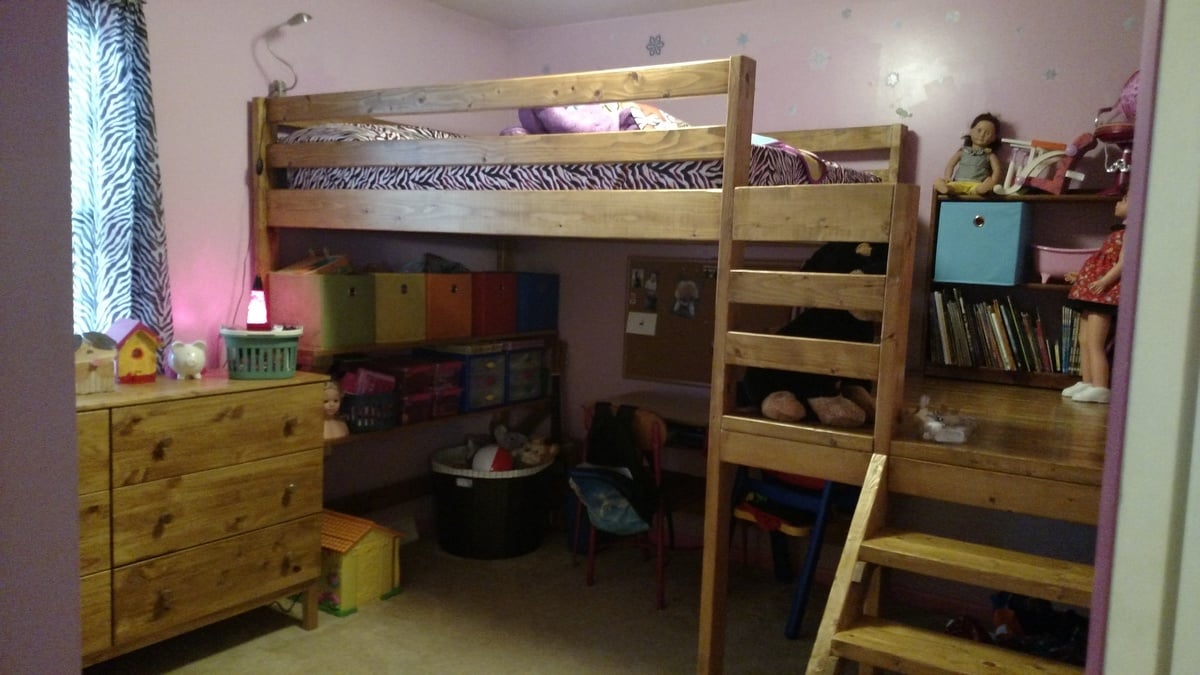
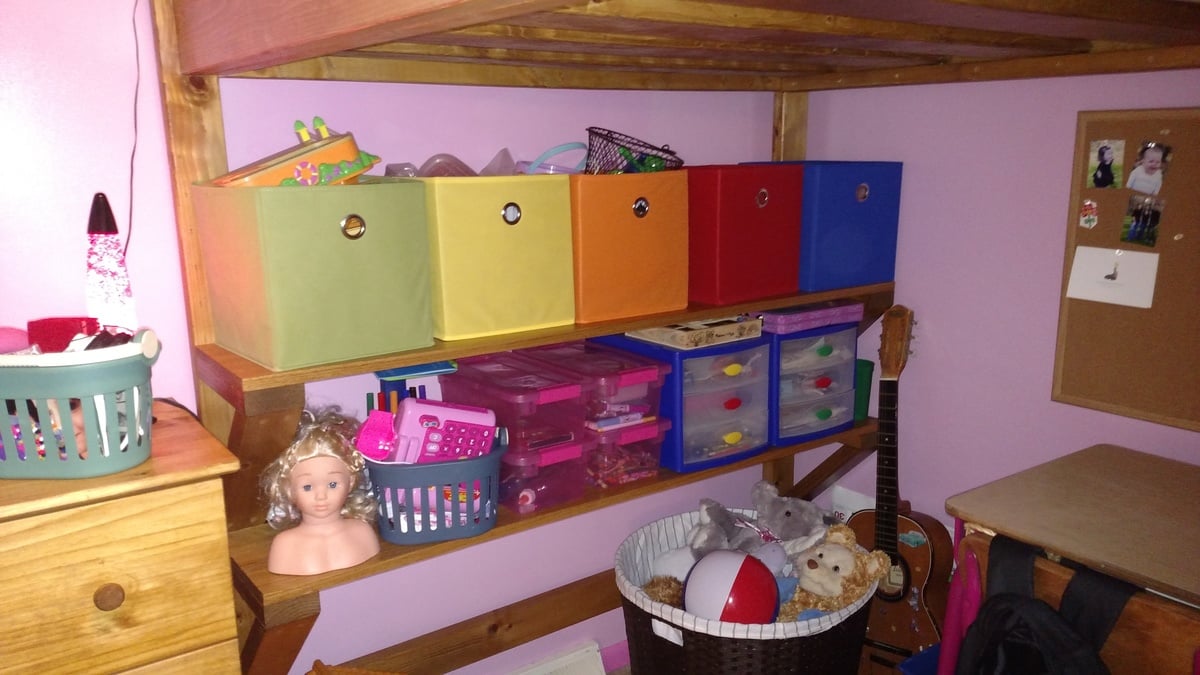
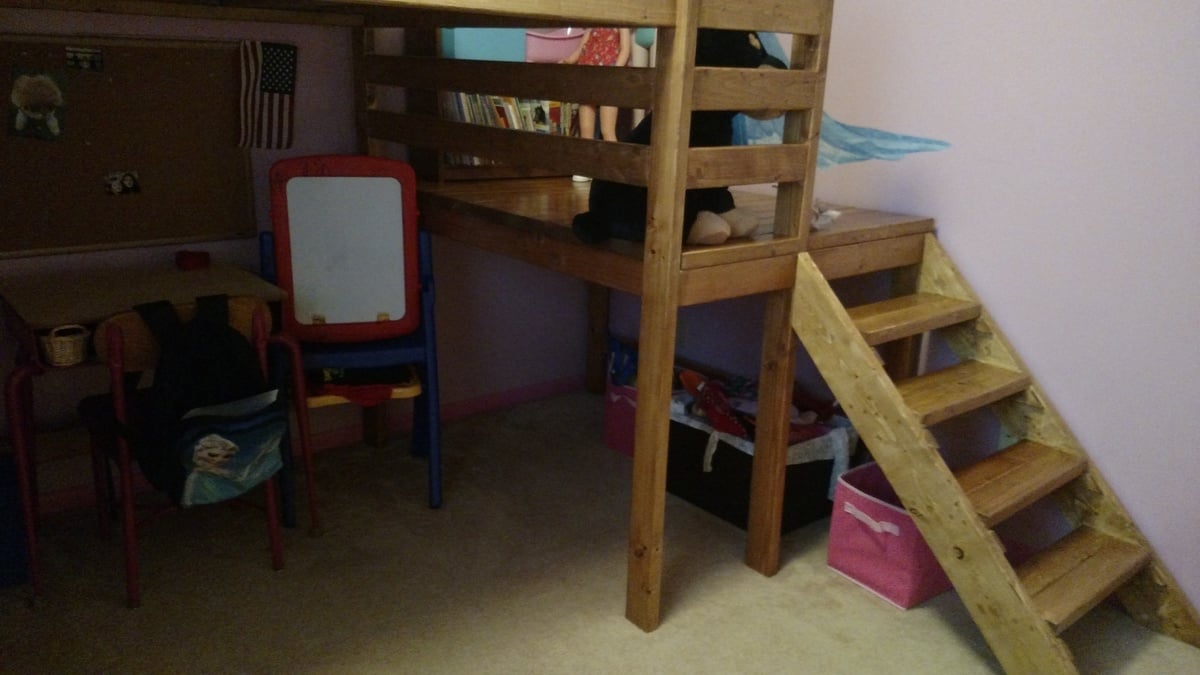
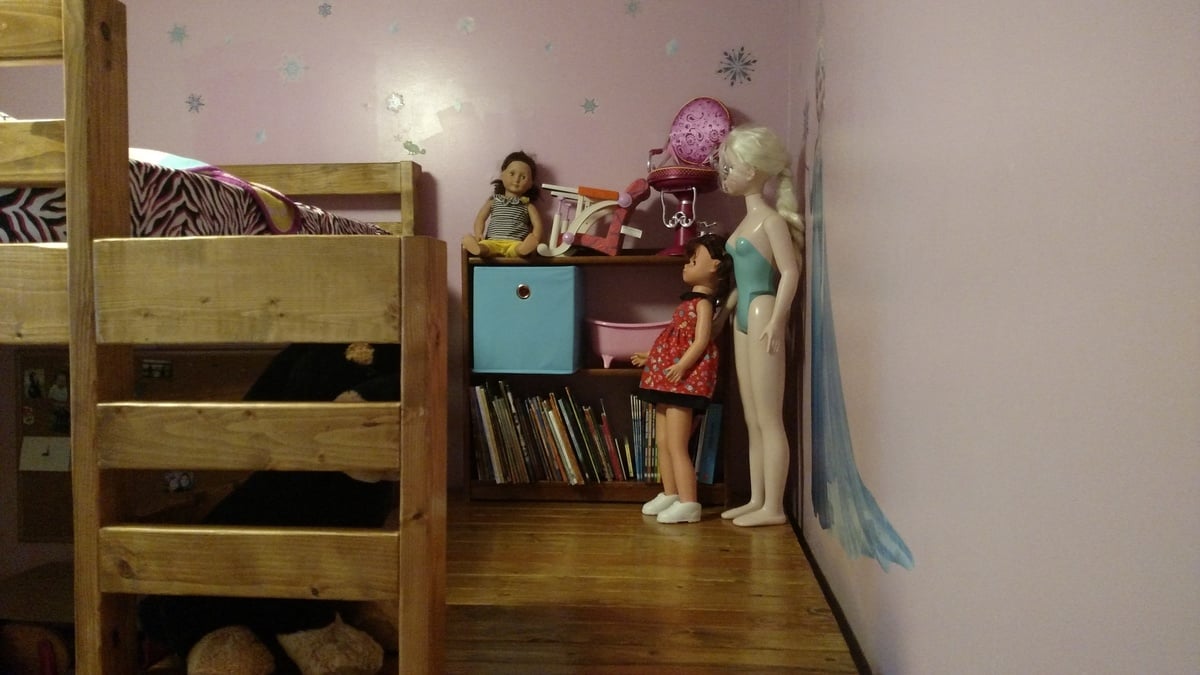
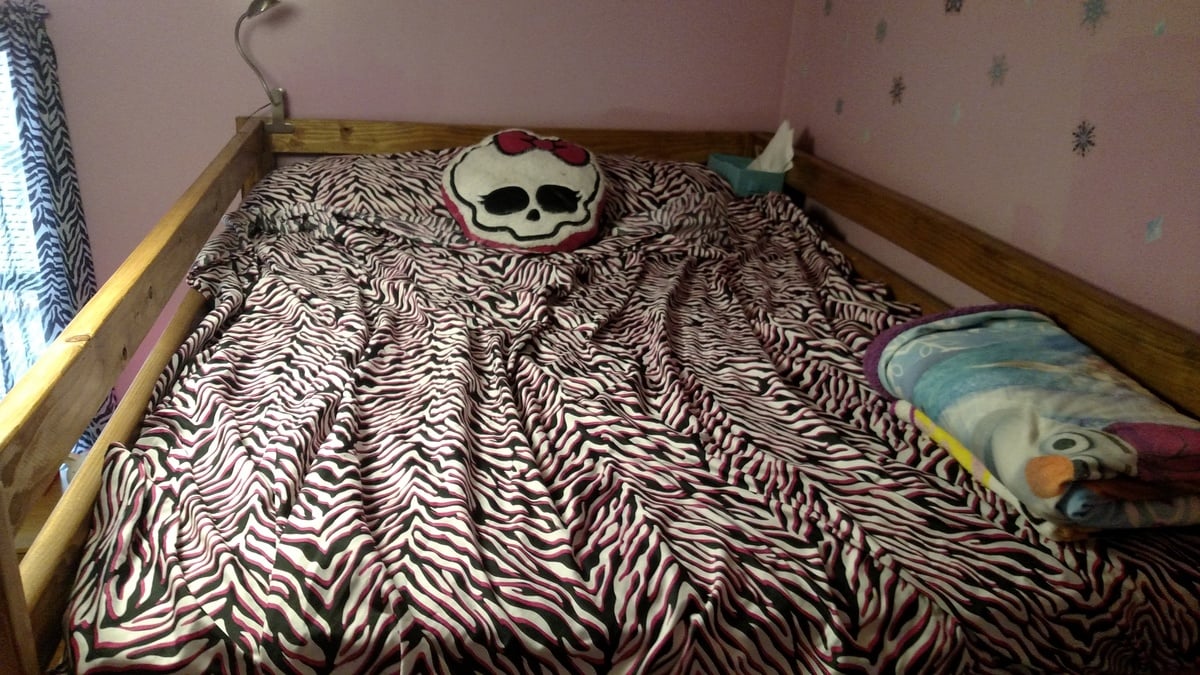
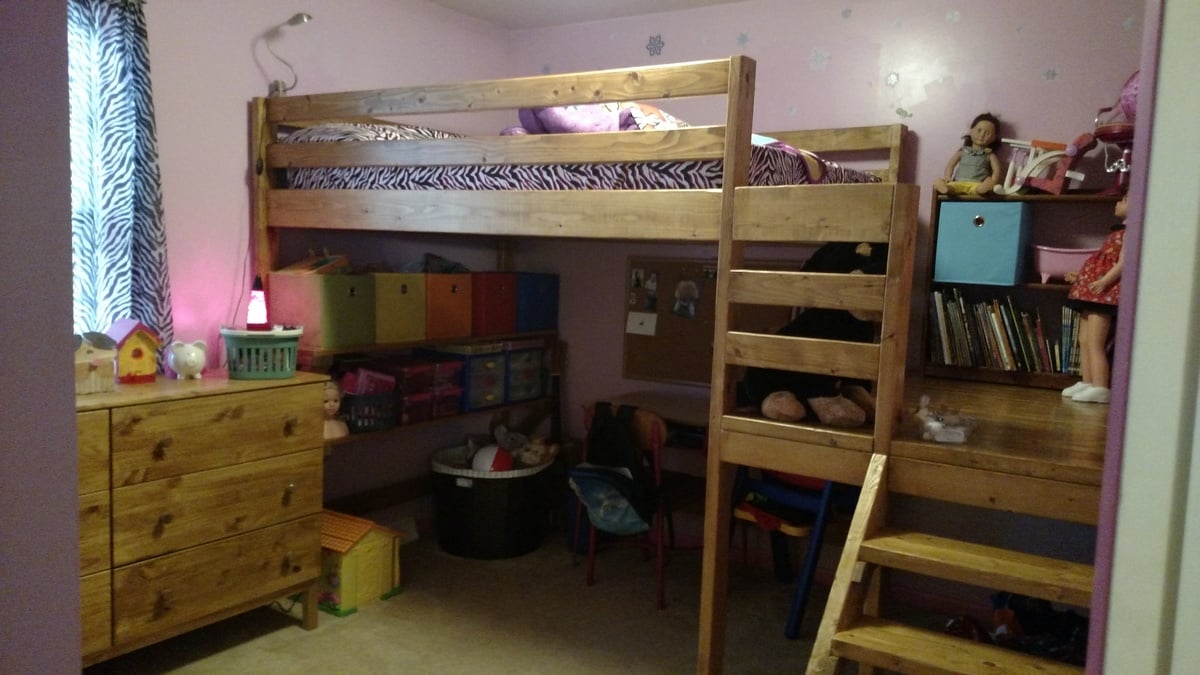
We modified the plans for the Camp Loft Bed to accommodate a full size mattress. We also extended the platform so that the bed spread wall to wall in the bedroom. Since the platform was extended, we added a short railing to prevent falls. The height was pushed up to make it taller than the junior size of the original design. This way we were able to place a desk and add 2 pine shelves underneath the head of the bed.
We added a board along the long side at the bottom to take out some wiggling. The bed itself still seemed a little shaky until we attached the platform and now it is rock solid. We have had 1-2 adults and multiple kids up there at the same time with no problem.
The bed itself could have been built in a weekend. However, the time it took to sand, stain, and clear coat added many more hours. Those hours were definitely worth it for a finished product.
Fri, 10/02/2015 - 10:43
Thank you so much for posting this. My oldest wants a loft bed, but has a full right now. I am building my 2 youngest the junior loft this fall and the oldest was jealous. I was scared to build one. Afraid it would not hold up. Thank you for showing that it does. Great job!!!

3 foot by 4 foot slider wine rack island.
Sun, 10/14/2018 - 18:00
This piece is beautiful and versatile! Thank you so much for sharing a pic, I love all the details!
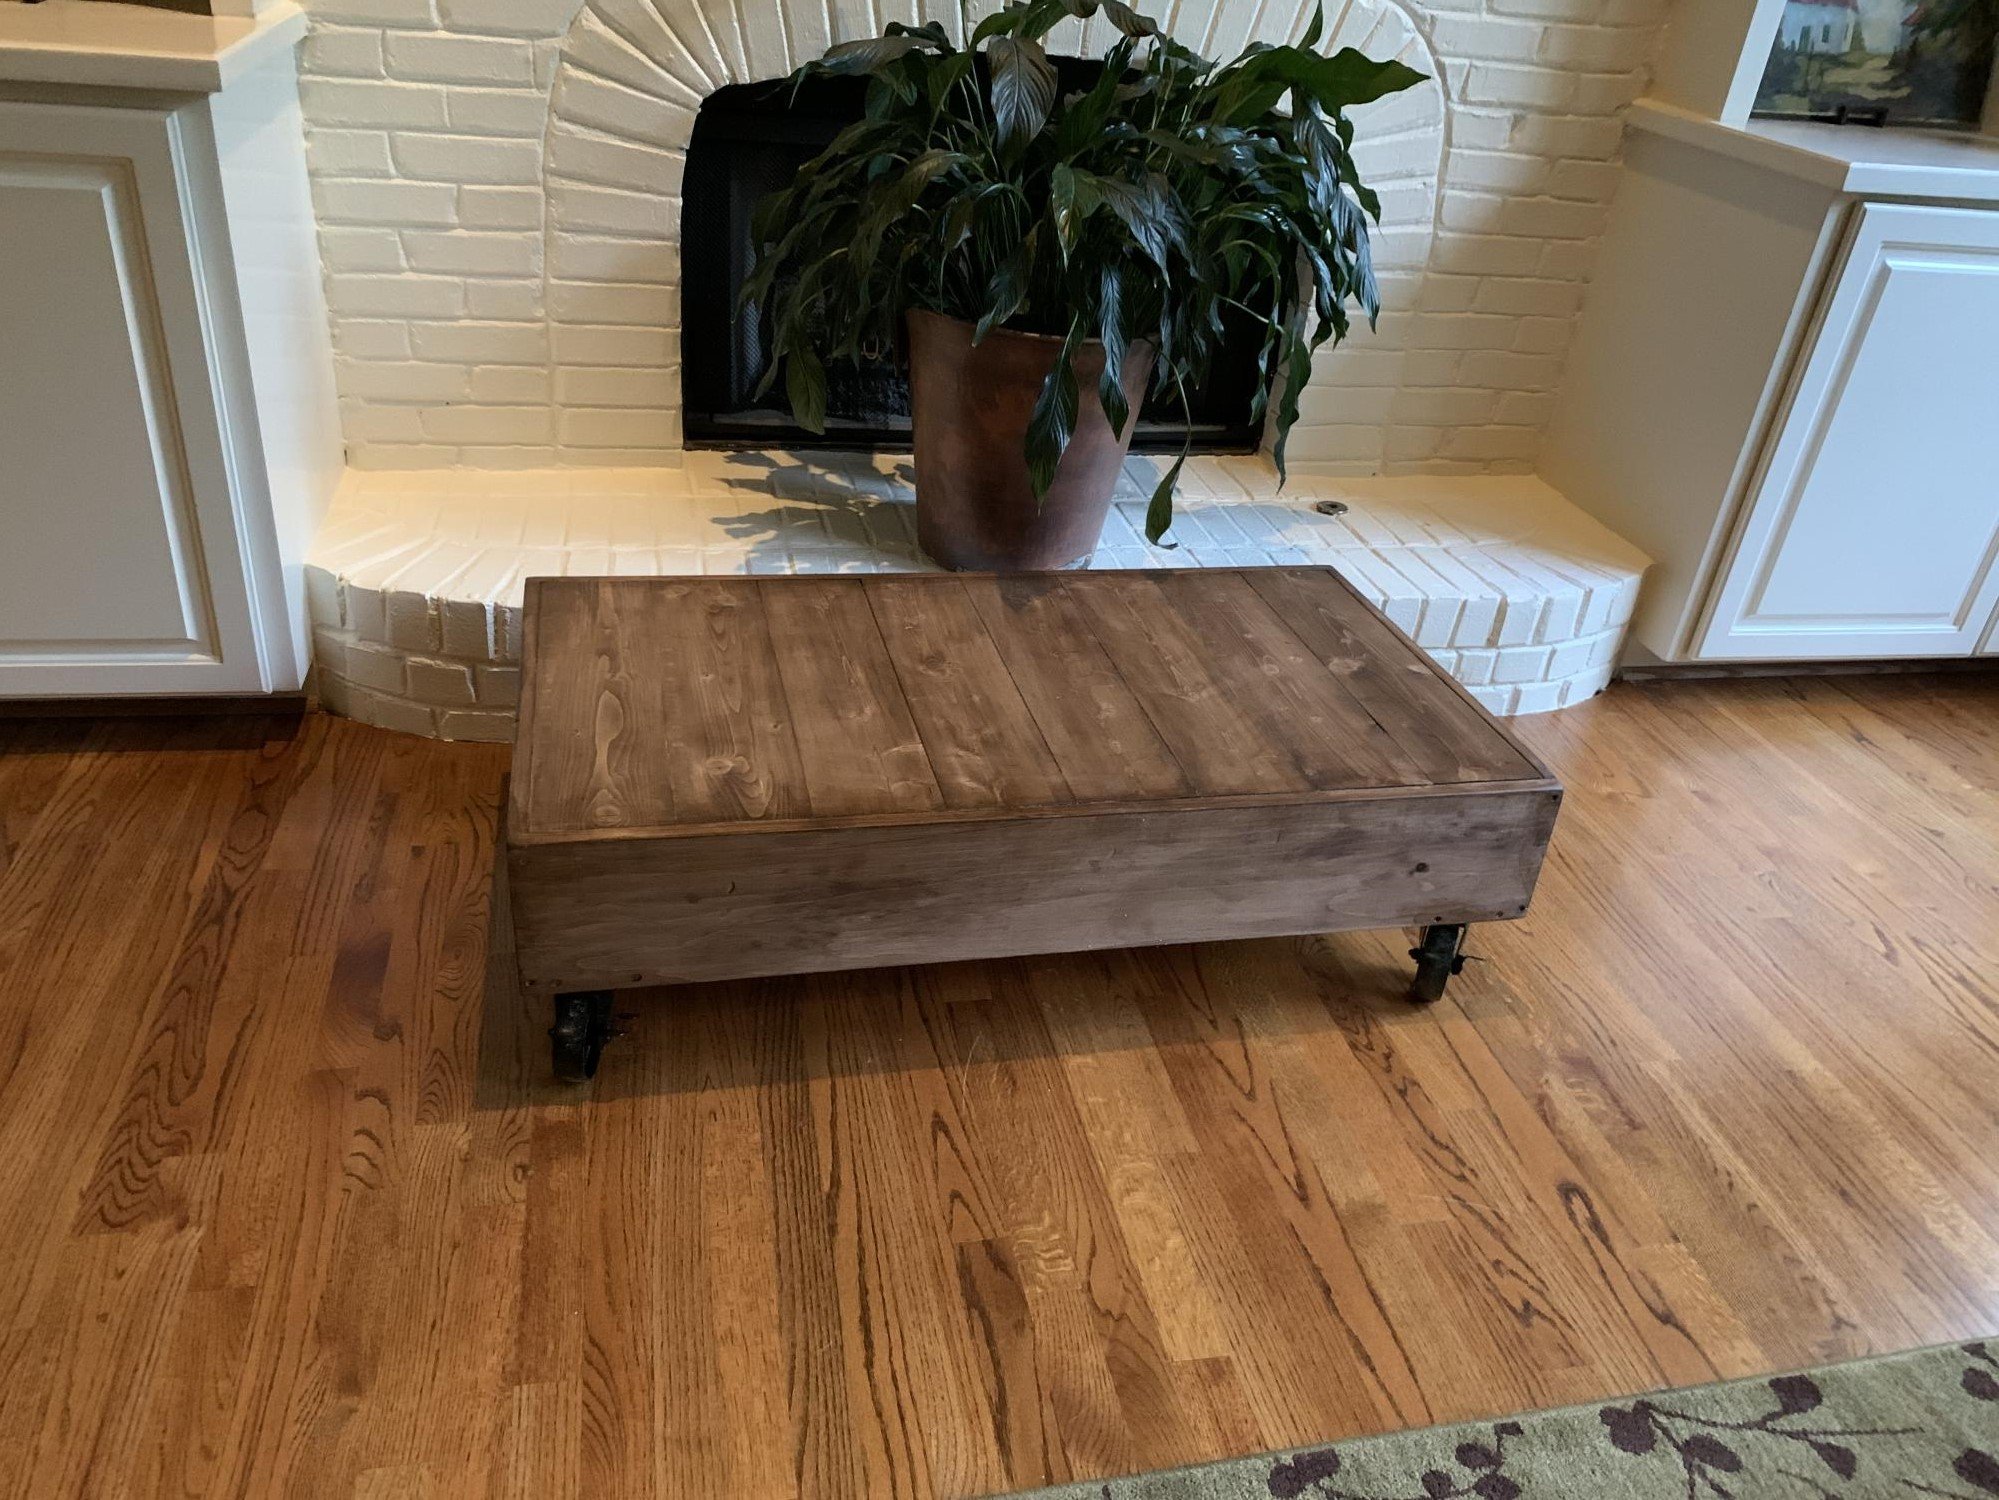
I have wanted a "factory" coffee table for years and could never find one that was exactly the right size. I built this one to fit the space and love it! I have no idea why the picture is upside down!
This was little tougher for me being new to wood working. But I like the look a lot better.

Built this from lumber from a daybed that I tore apart. Total cost was about $10 for the pieces for the top. Built in a small apartment with a Kreg jug and some clamps on the kitchen floor. The top is not completely even but close. Was fun to build and I am very happy with how it turned out, thanks Ana!

I made a few changes to Ana's plans to basically work with my cushions. I found cushions on clearance at Ballard's Backroom. I had to adjust the size of the sofas in order to fit the cushions. I also adjusted the height of the sofa, as I found it to be a little higher than I would have liked. The project took a while to complete, but it wasn't due to difficulty. This was an easy project for a novice like myself. I just primed every piece of wood with exterior primer and then painted the whole thing with 2 coats of exterior paint. It was the drying time that added to the total project time.
I also made a cocktail ottoman out of a lounge chair cushion that I purchased at Ballard's. Basically, the ottoman is a rectangular box built to the size of the cushion. I added feet purchased at Home Depot just to make it look a little less box-like. I applied a couple of coats of primer as well as the exterior paint to every piece.
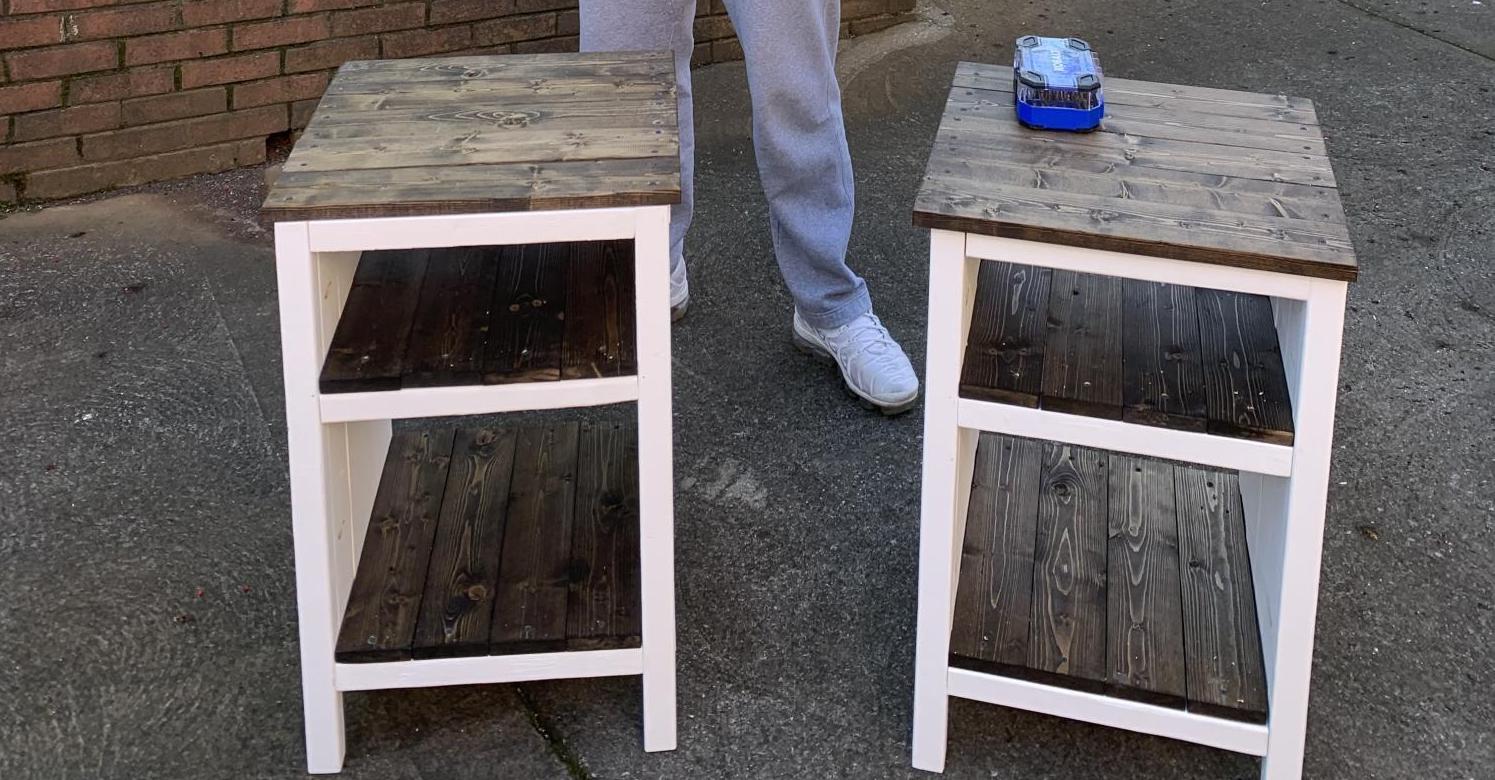
My son moved out and needed bedside tables. I have been hounding him to learn how to build and this was the first project he did! He was super proud of himself and how they turned out. Not bad for a first build! #mompride
I added crown molding to the bottom of my ten dollar ledges to add a little fancier look.
Sat, 07/30/2011 - 00:35
Love that touch! Maybe this is what mine need before I install them!
Sat, 07/30/2011 - 08:18
Very classy looking! Just what I was looking for in my home office. Thanks!
Mon, 08/01/2011 - 11:58
Such a great touch with the moulding.
Thanks for sharing.
Tue, 09/20/2011 - 19:54
This looks great! What a wonderful idea! I have a question, Other than the moulding on the bottom, did you follow the plans exactly (Like used the same dimensional boards Ana said to use)? Just asking because yours came out looking so much better than mine (which very well could be the paint job and moulding fooling my eyes into thinking the other boards look smaller, lol)
Great job and thank you for sharing!
Wed, 09/21/2011 - 10:16
I did use the same size boards that Anna said they just might be a different length.
In reply to I did use the same size by Becky Darrington (not verified)
Wed, 09/21/2011 - 10:47
Thank you!
Wed, 02/15/2012 - 11:23
This is great as I am a photographer and love to switch up my photos often. Saves the walls from holes and is just a great idea! I also did not see all the instructions but will have my husband duplicate.
Wed, 04/11/2012 - 15:07
This is great. I made the ledge and plan on adding the crown molding. How exactly did you hang them?
Tue, 07/17/2012 - 13:11
I have high ceilings. I have been trying to figure out what to put at some of the windows to dress them up a bit. I think I may add them to the den area. Photos would be out of the reach of all the grandchildren, but photographs could been seen without cluttering tables.
Sat, 09/08/2012 - 09:00
Has anyone tried using a 1x3 for the back instead of a 1x4? Can anyone think of any reason it would not work?
Also thinking of making it deeper since the crown molding will provide extra support. I want to add more depth so that I can install a power strip under shelf, behind molding so that I can turn it into a charging station. Any thoughts on this? Would love to hear other opinions on this before I start building and then realize the problems that may exist in my plans.
Tue, 03/05/2013 - 10:12
It looks like your ledge is narrower than the one in the plans. Did you use a 1 x 4 for the base?
Thu, 09/15/2016 - 18:54
I feel so stupid... I have never used any sort of molding before. How do you use it? I went to lowes tonight and I don't know where you get the edge piece. My husband (who doesn't build things except for computers) says he thinks you just use part of the long strip and cut at a 45° angle. Is that how?
then what do you use for the bottom portion to cover the gap?
Sat, 08/12/2017 - 10:50
I found Ana's site a few years ago and have been dreaming about things I want to build for just as long. I'm finally ready to get started, and I thought these ledges would be a great way to start. I love the moulding on the bottom, but I have no idea what combination of pieces to use to get this look or what sizes of moulding to use with the 1x4 and 1x2 boards. Can somebody help me?
Tue, 08/15/2017 - 13:21
Sandy - take the picture to any lumber molding department ad start trying combinations.
The original pic was using some crown molding, but a fancy baseboard or other molding would look good too.
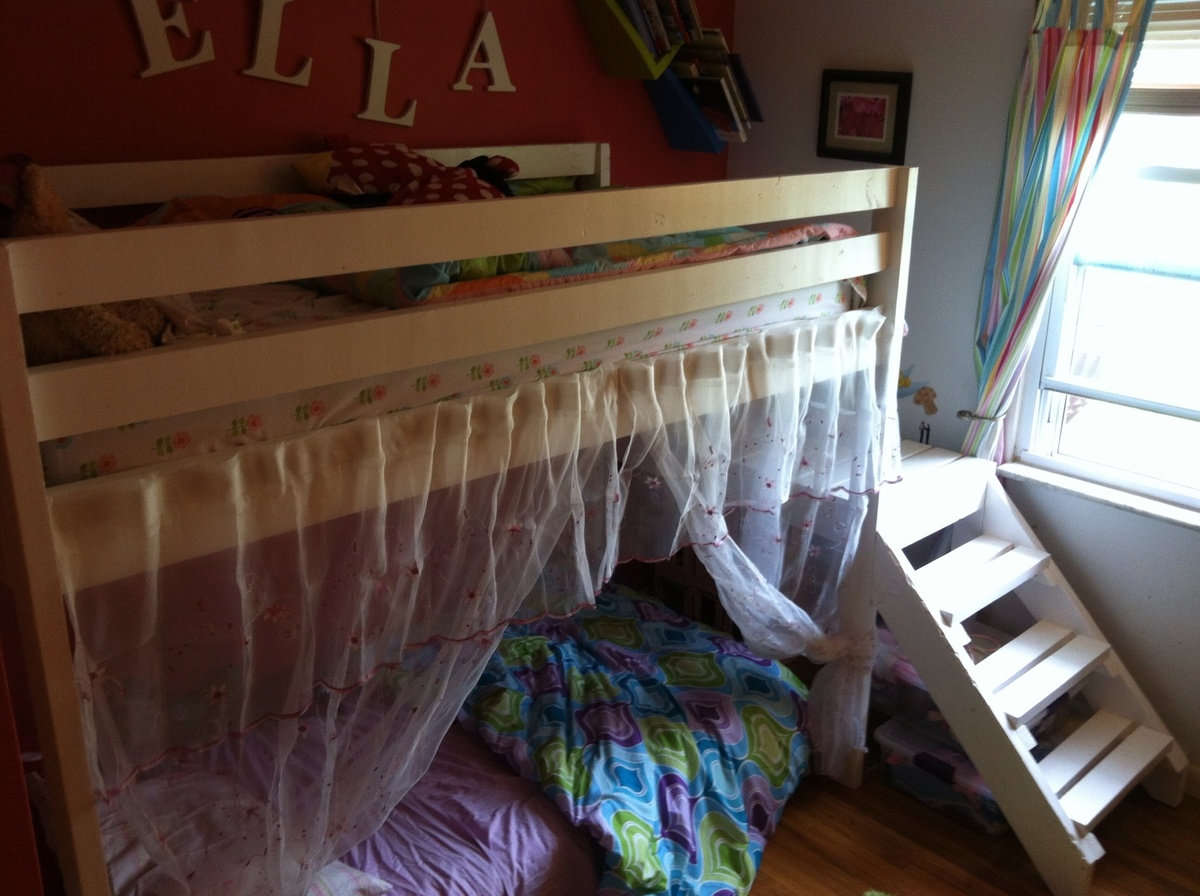
My first build... Not perfect but it has led me down a new path... Thank you soooo much Ana! More to come and a plan of my own in the works!
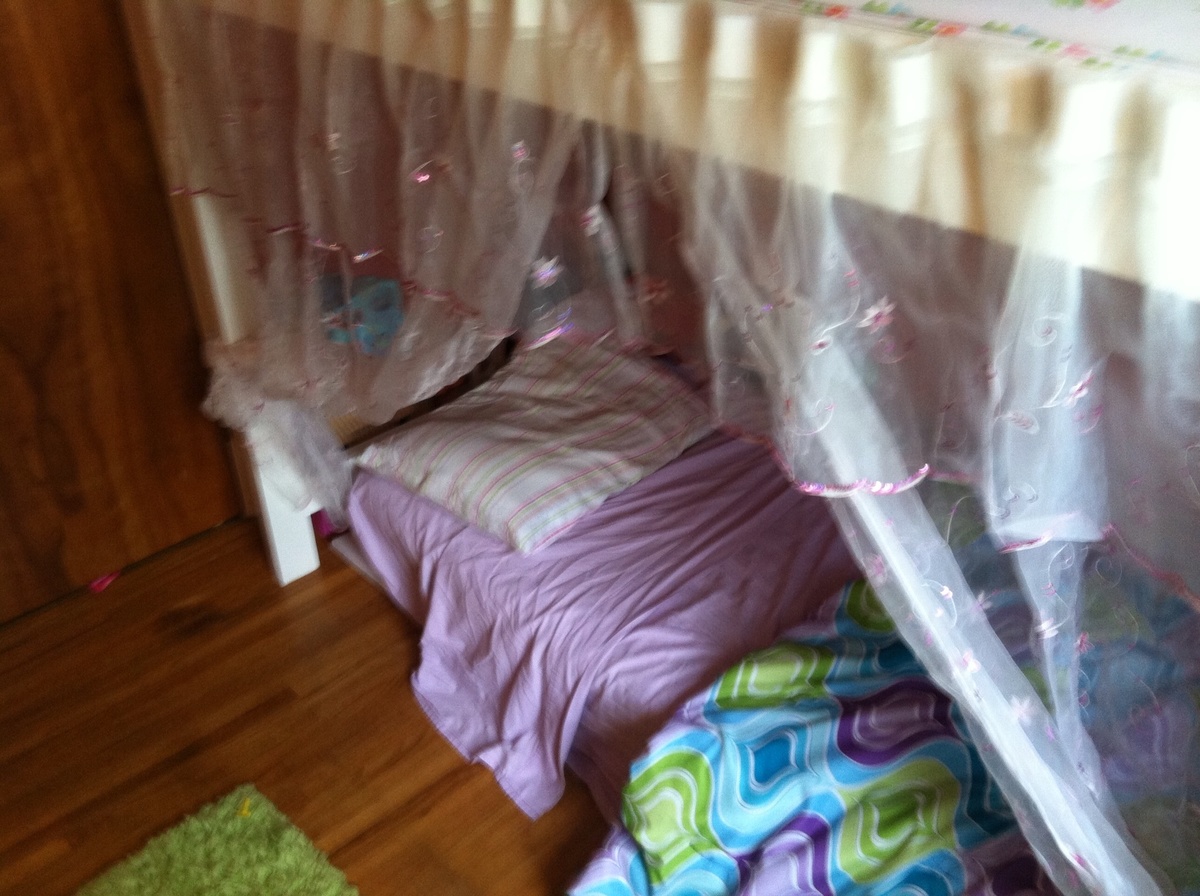
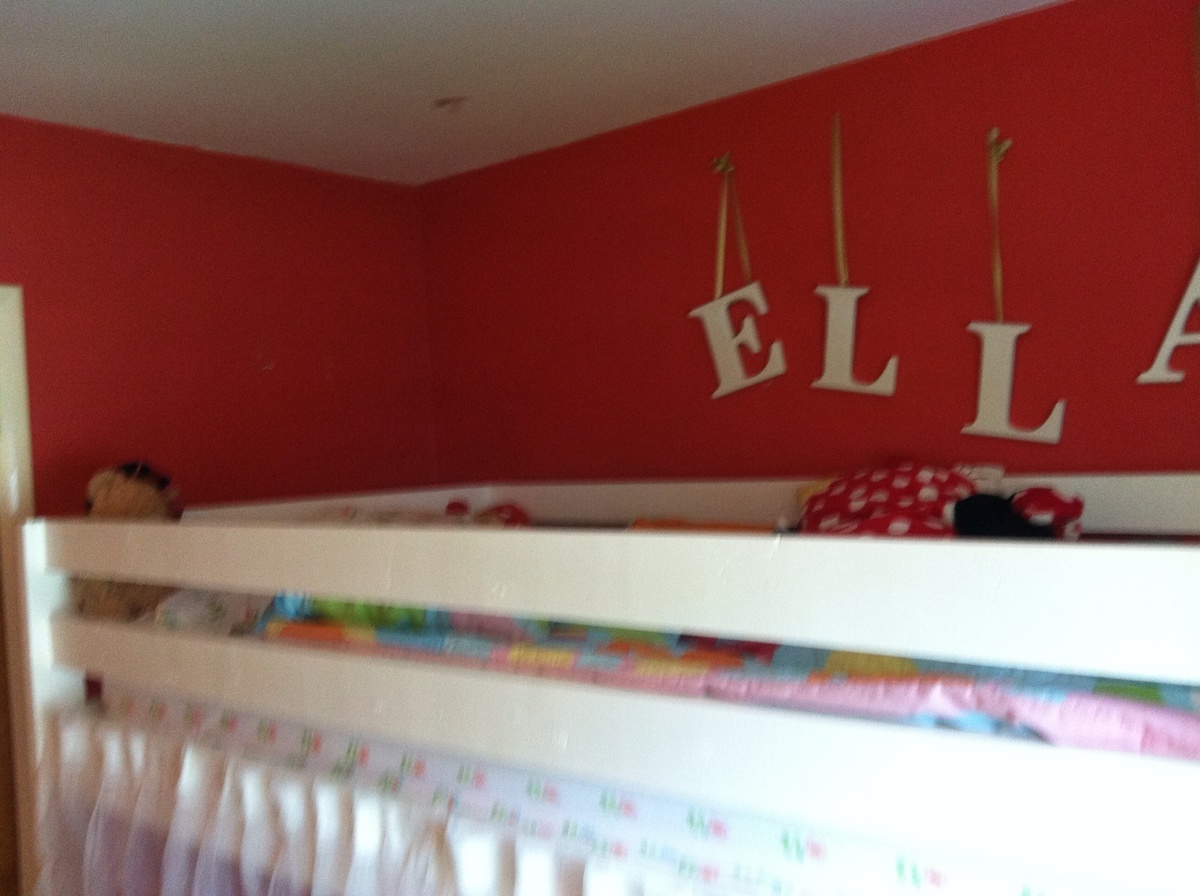
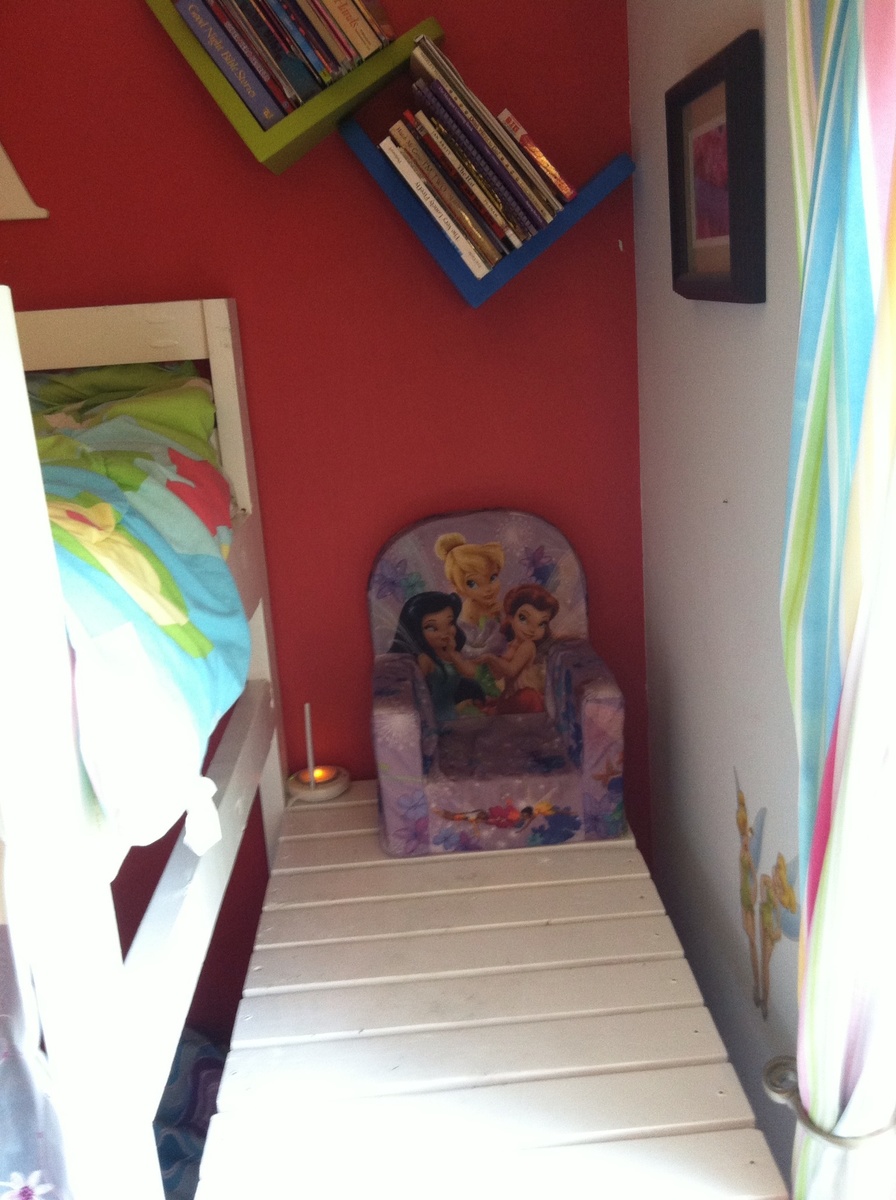
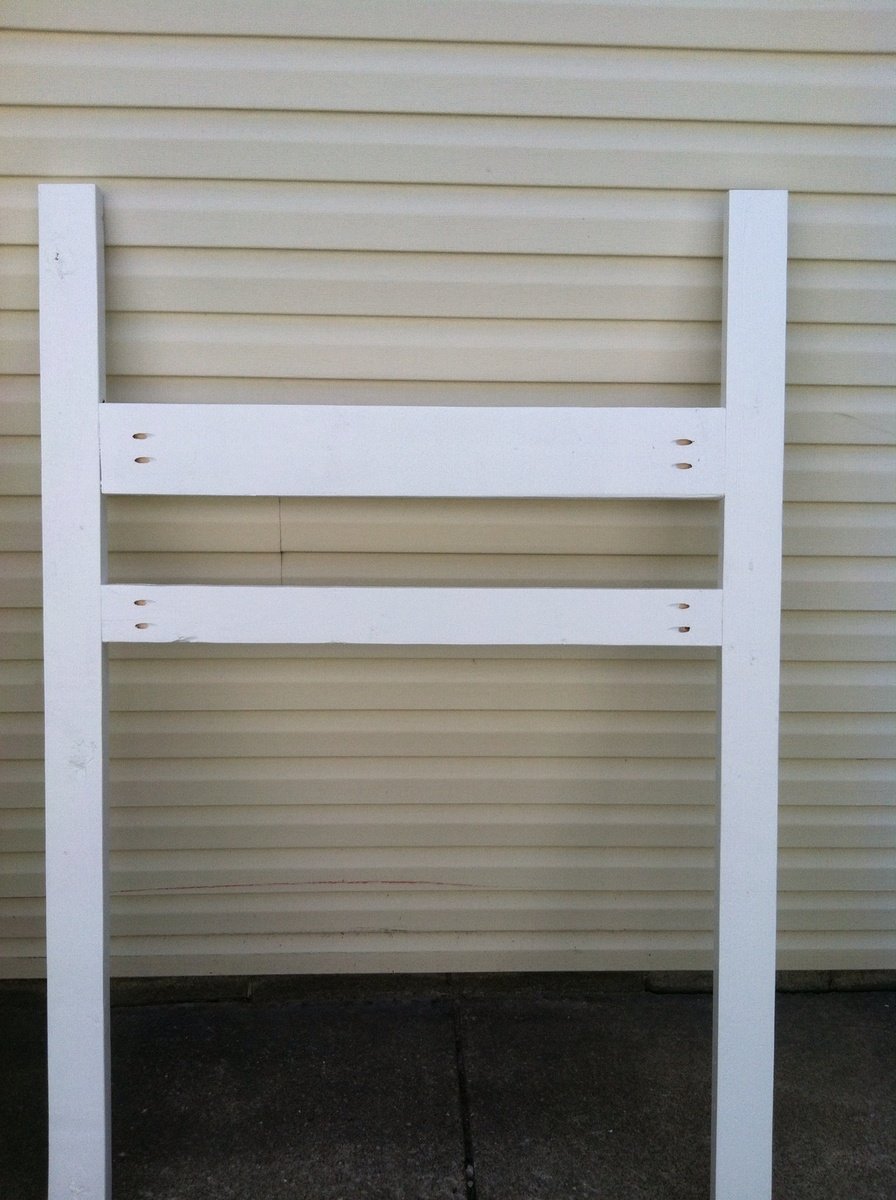
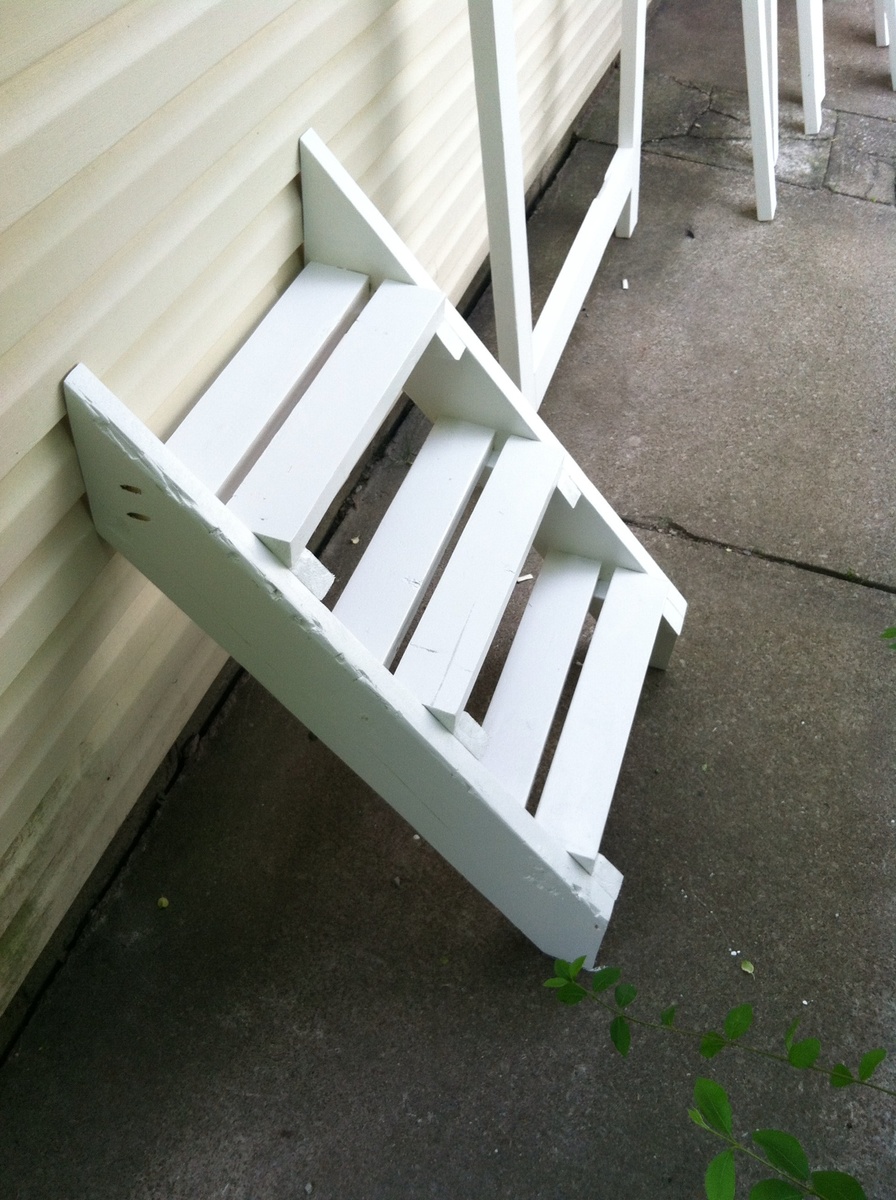

Farm house design. I used 4x4 for the base instead of 2x4.
