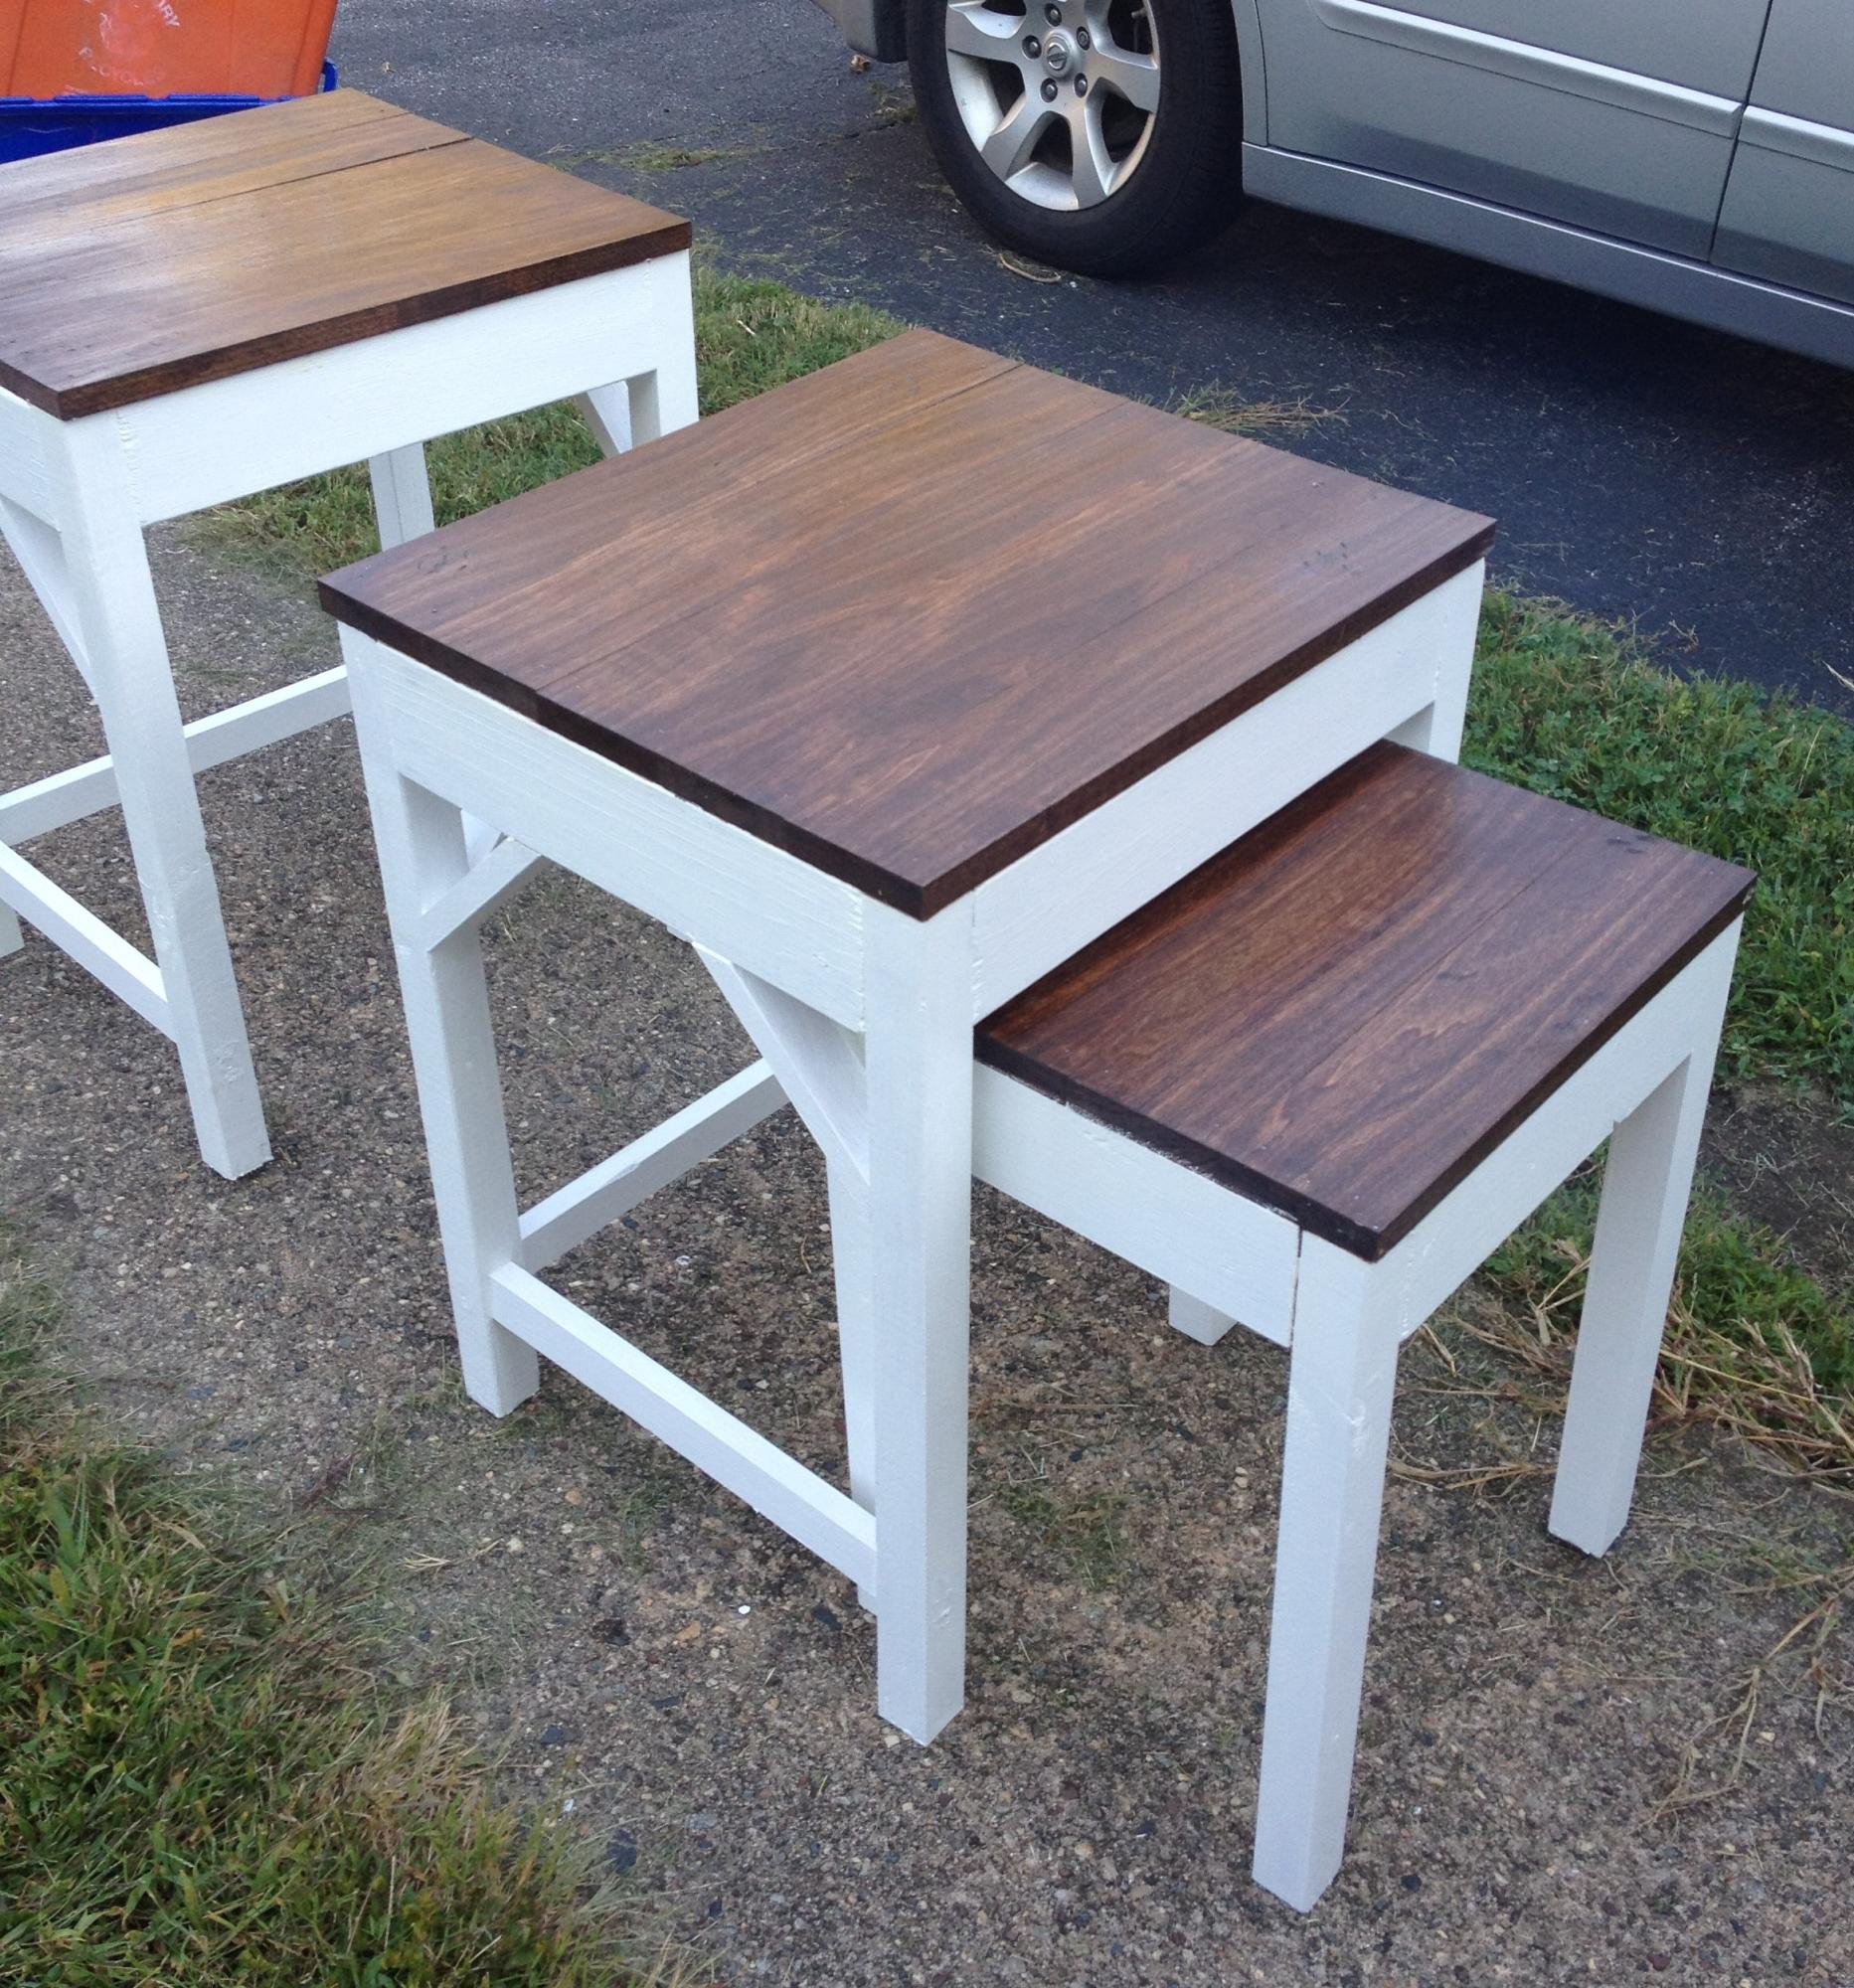
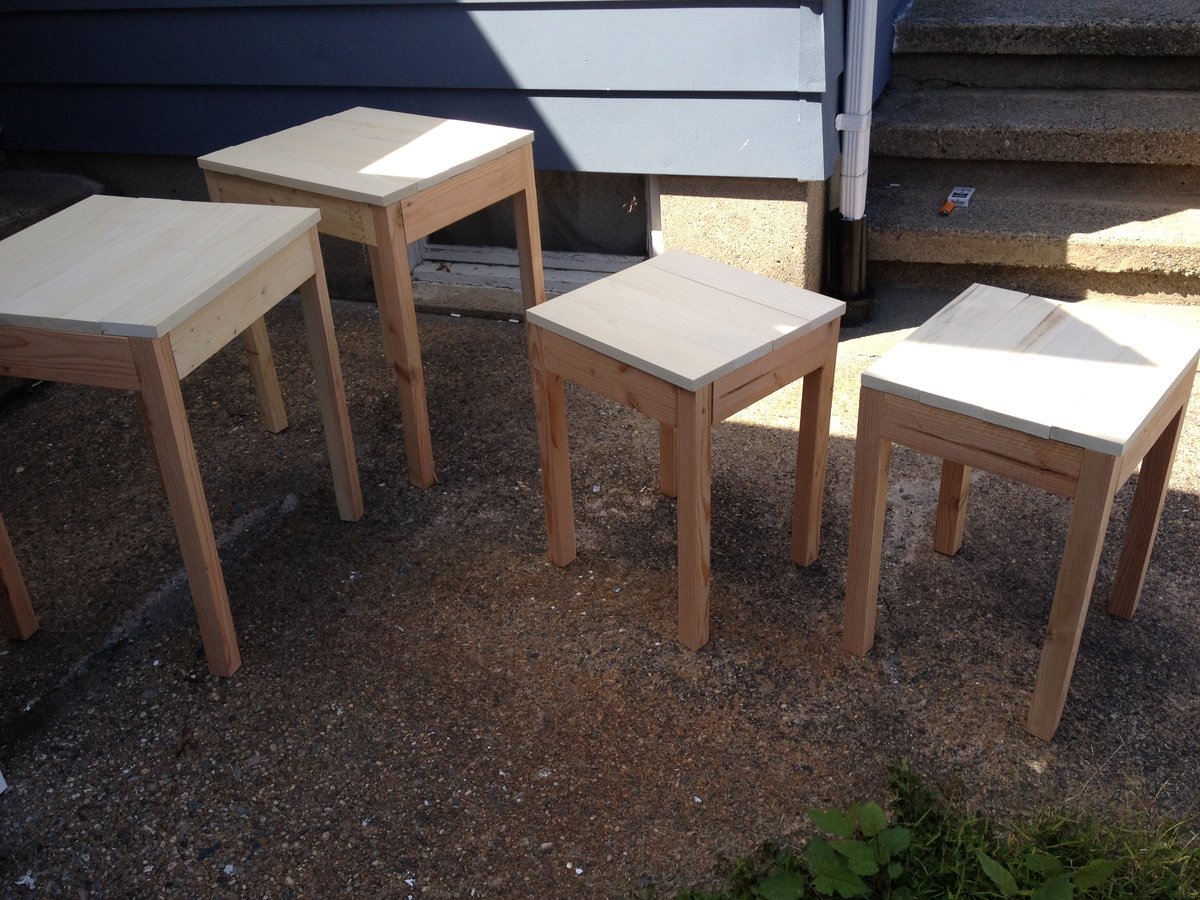
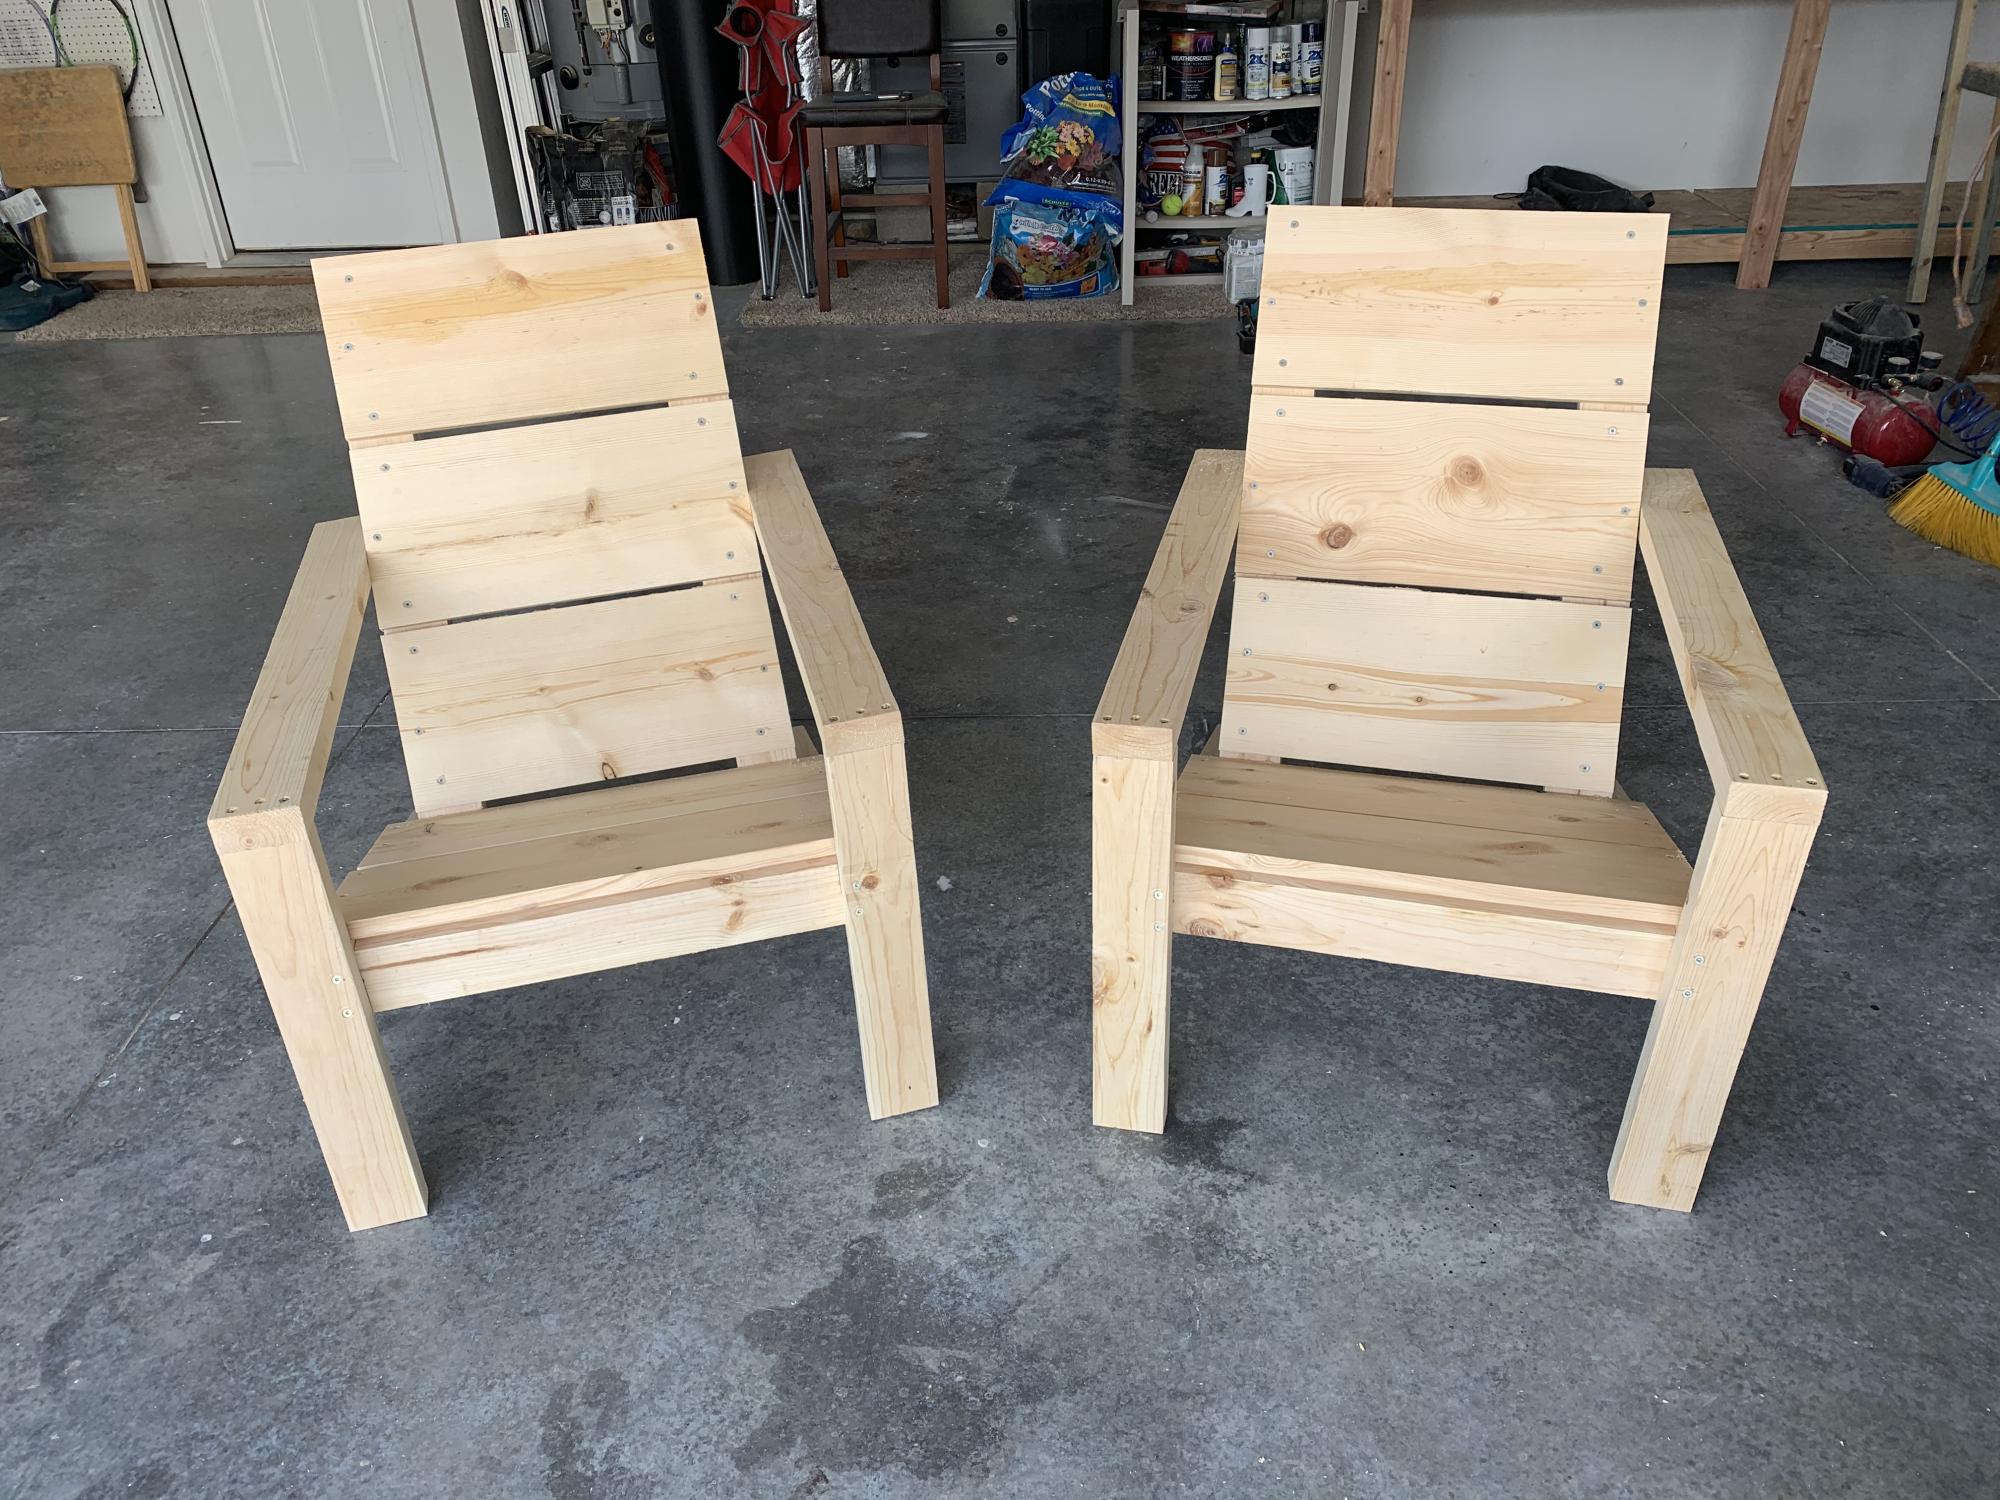
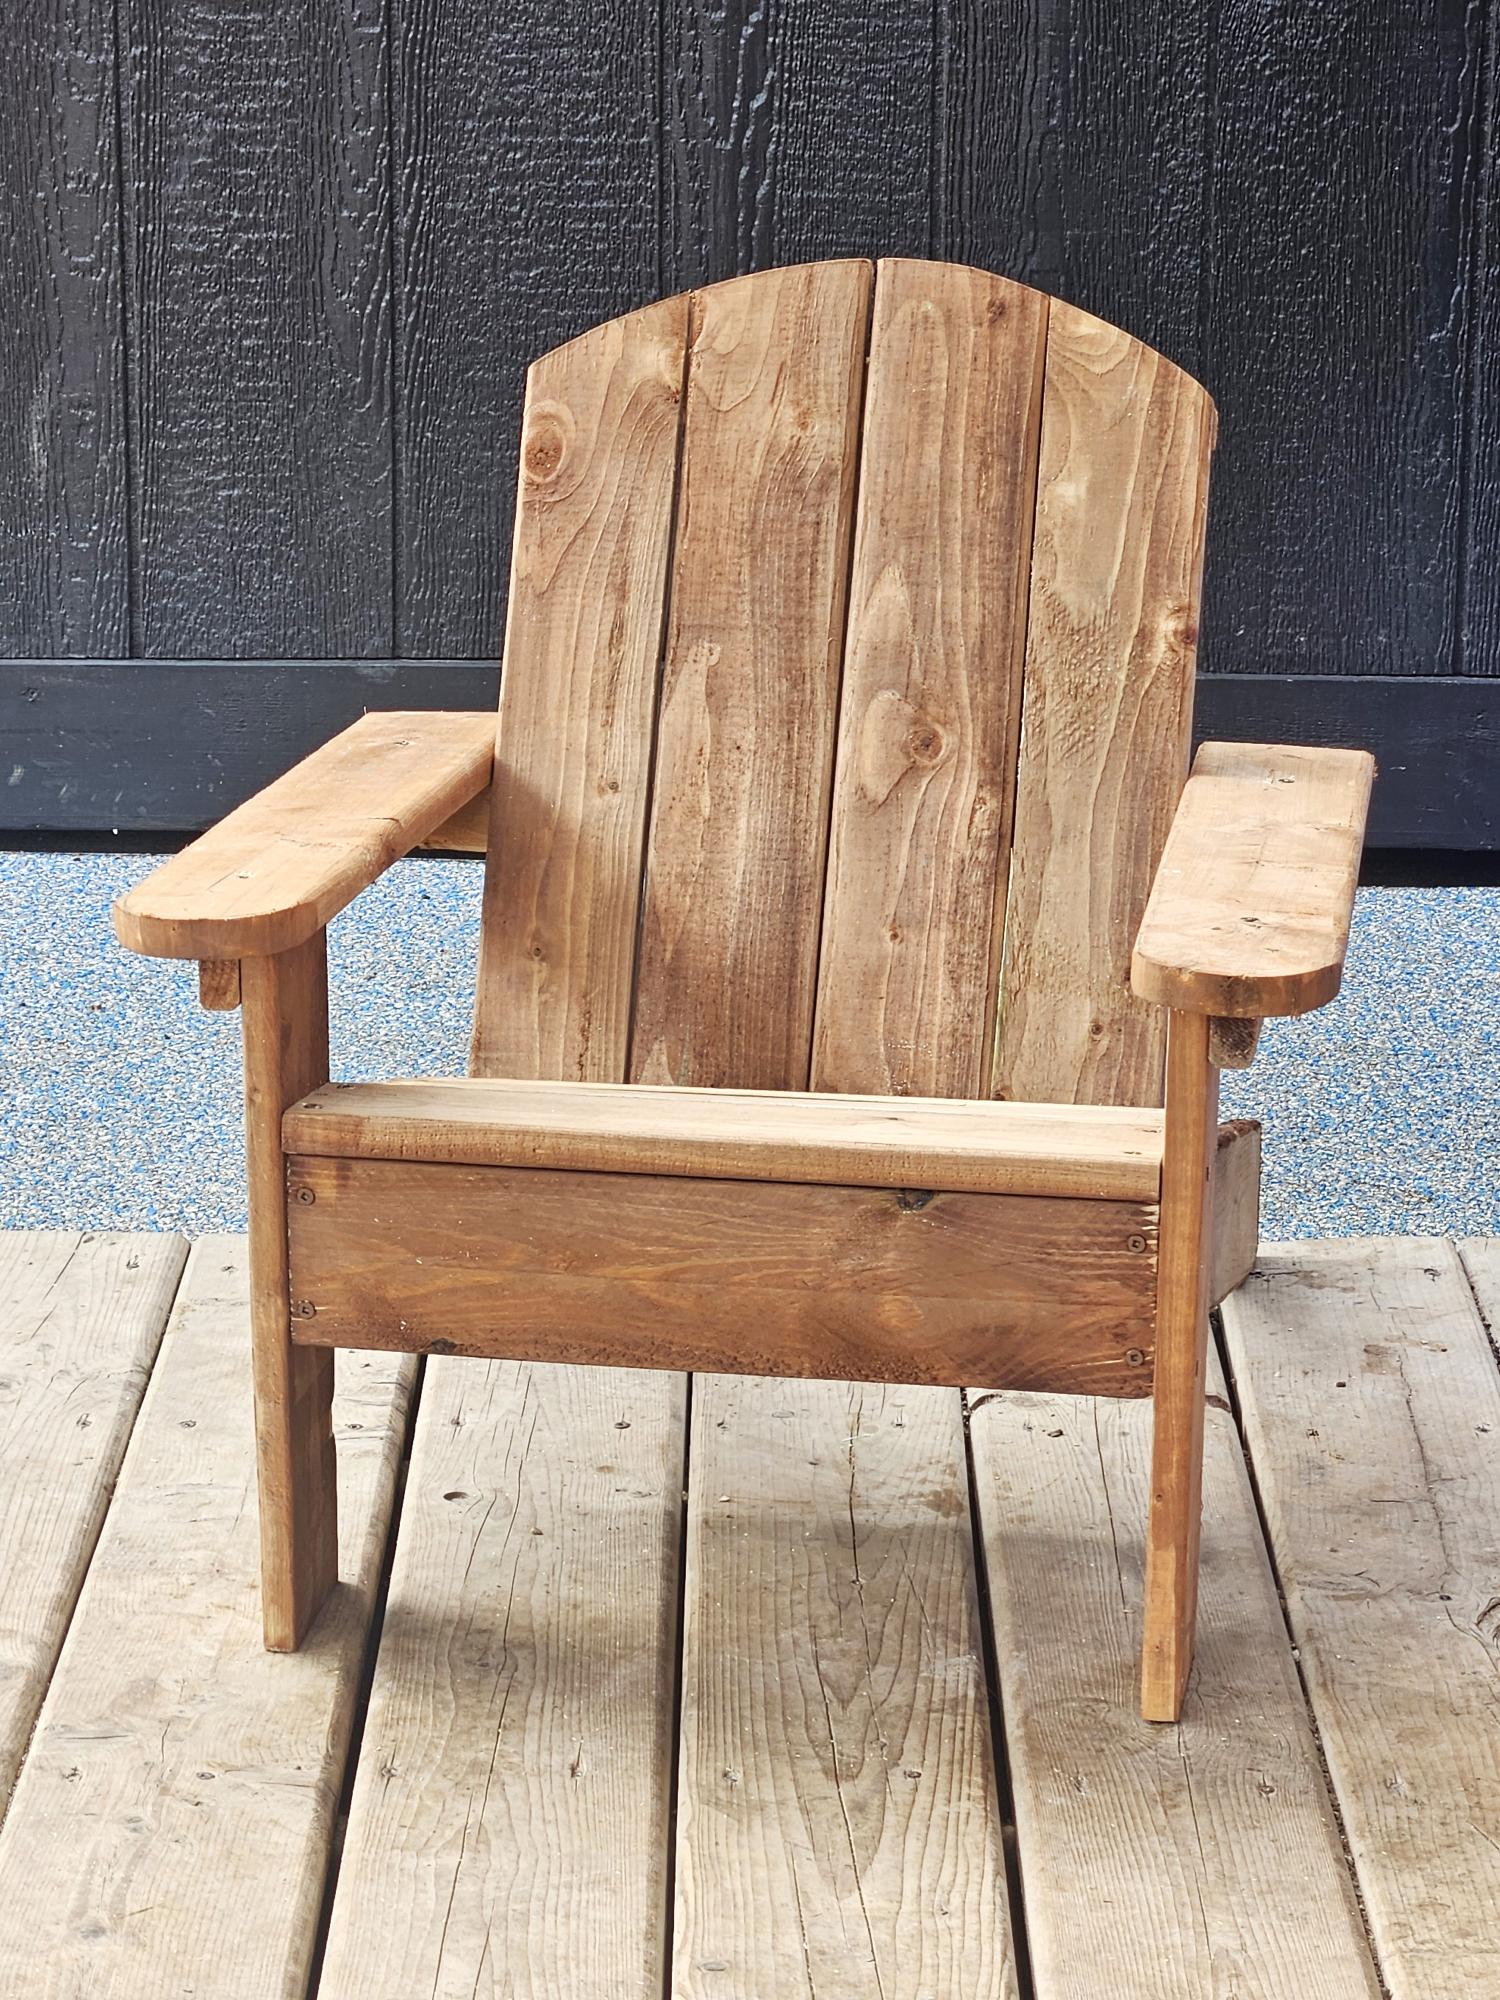
Cedar Pub chairs
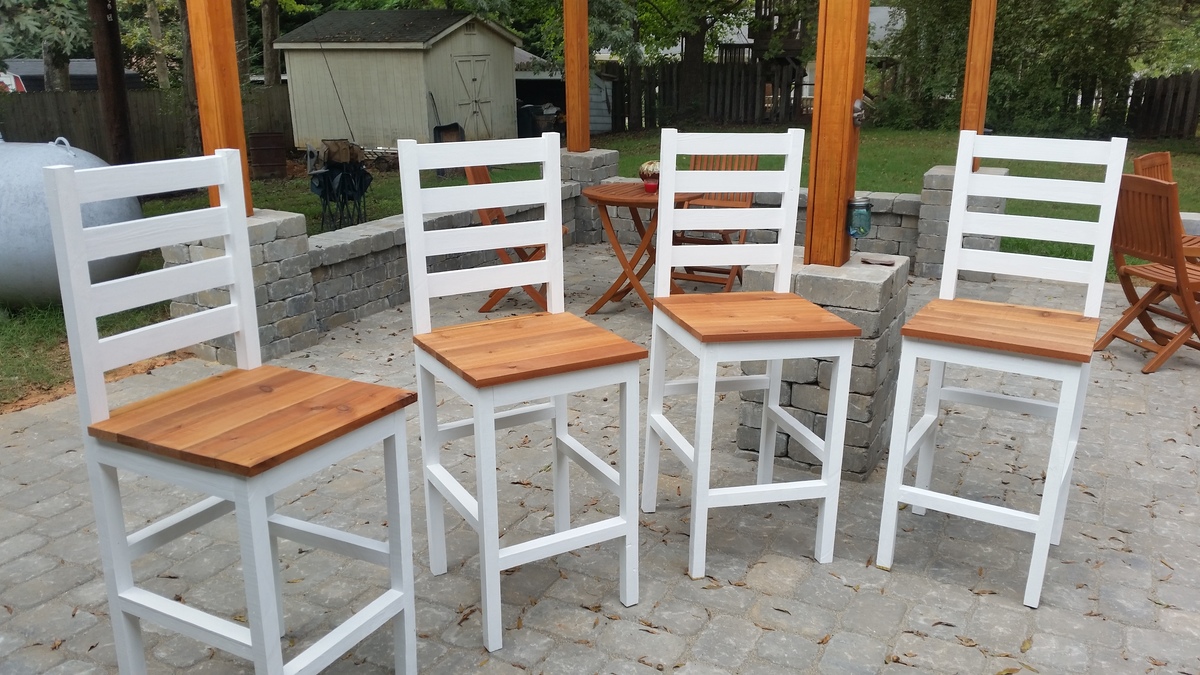
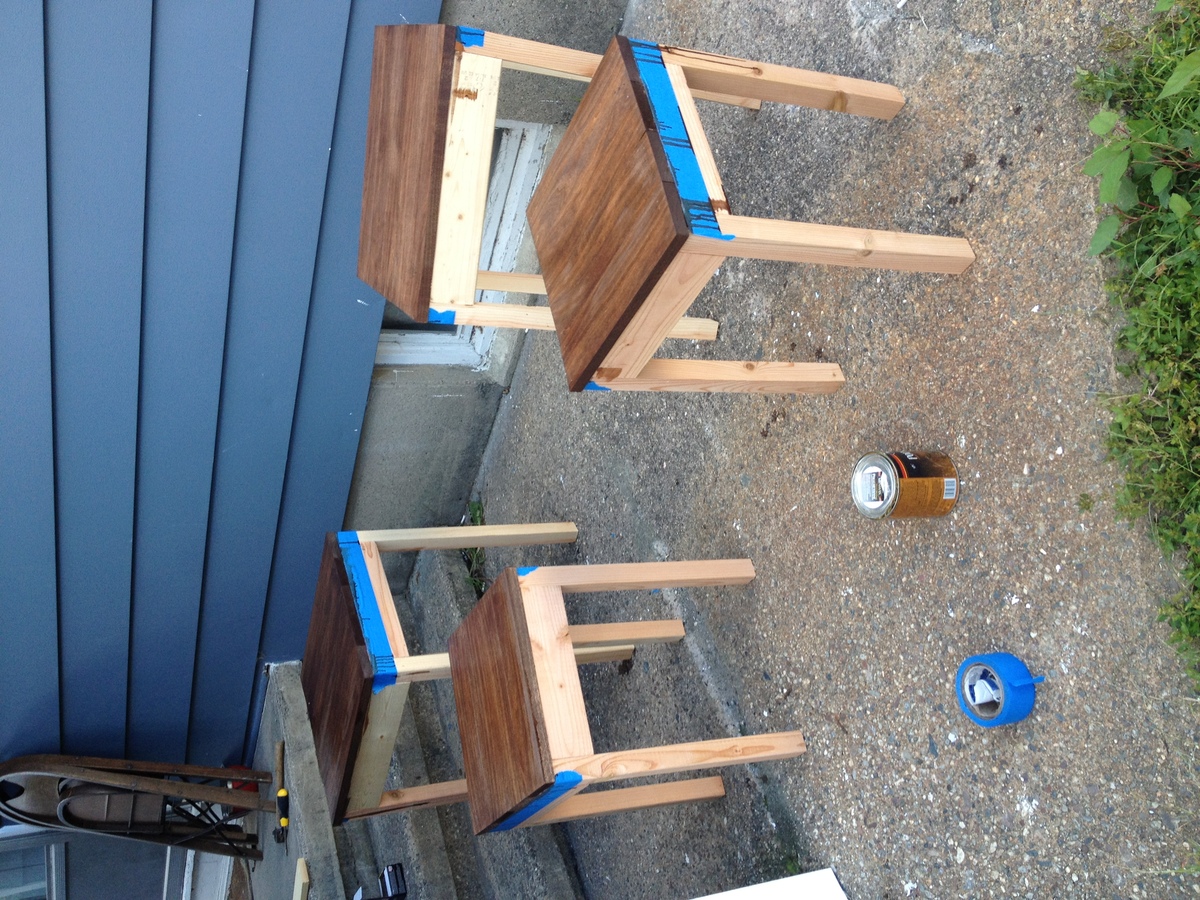
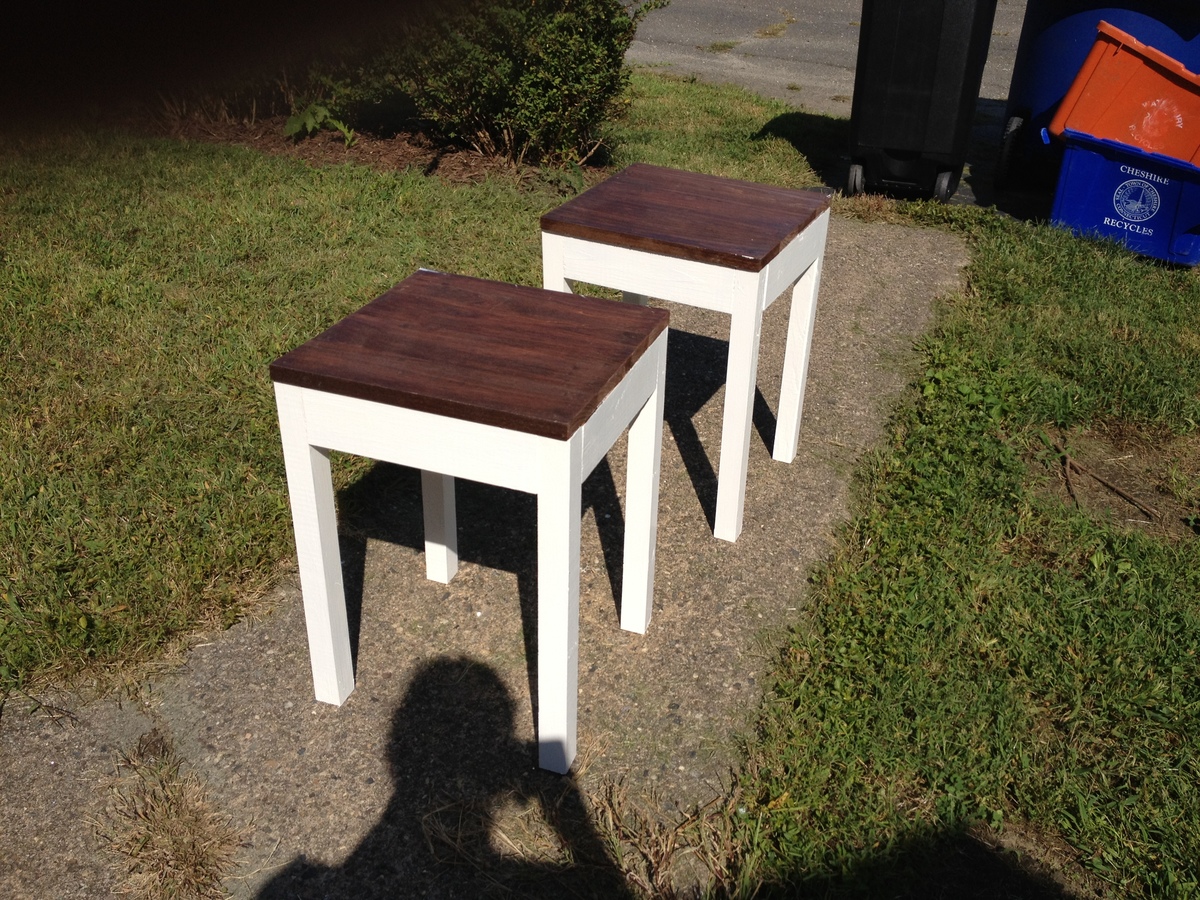
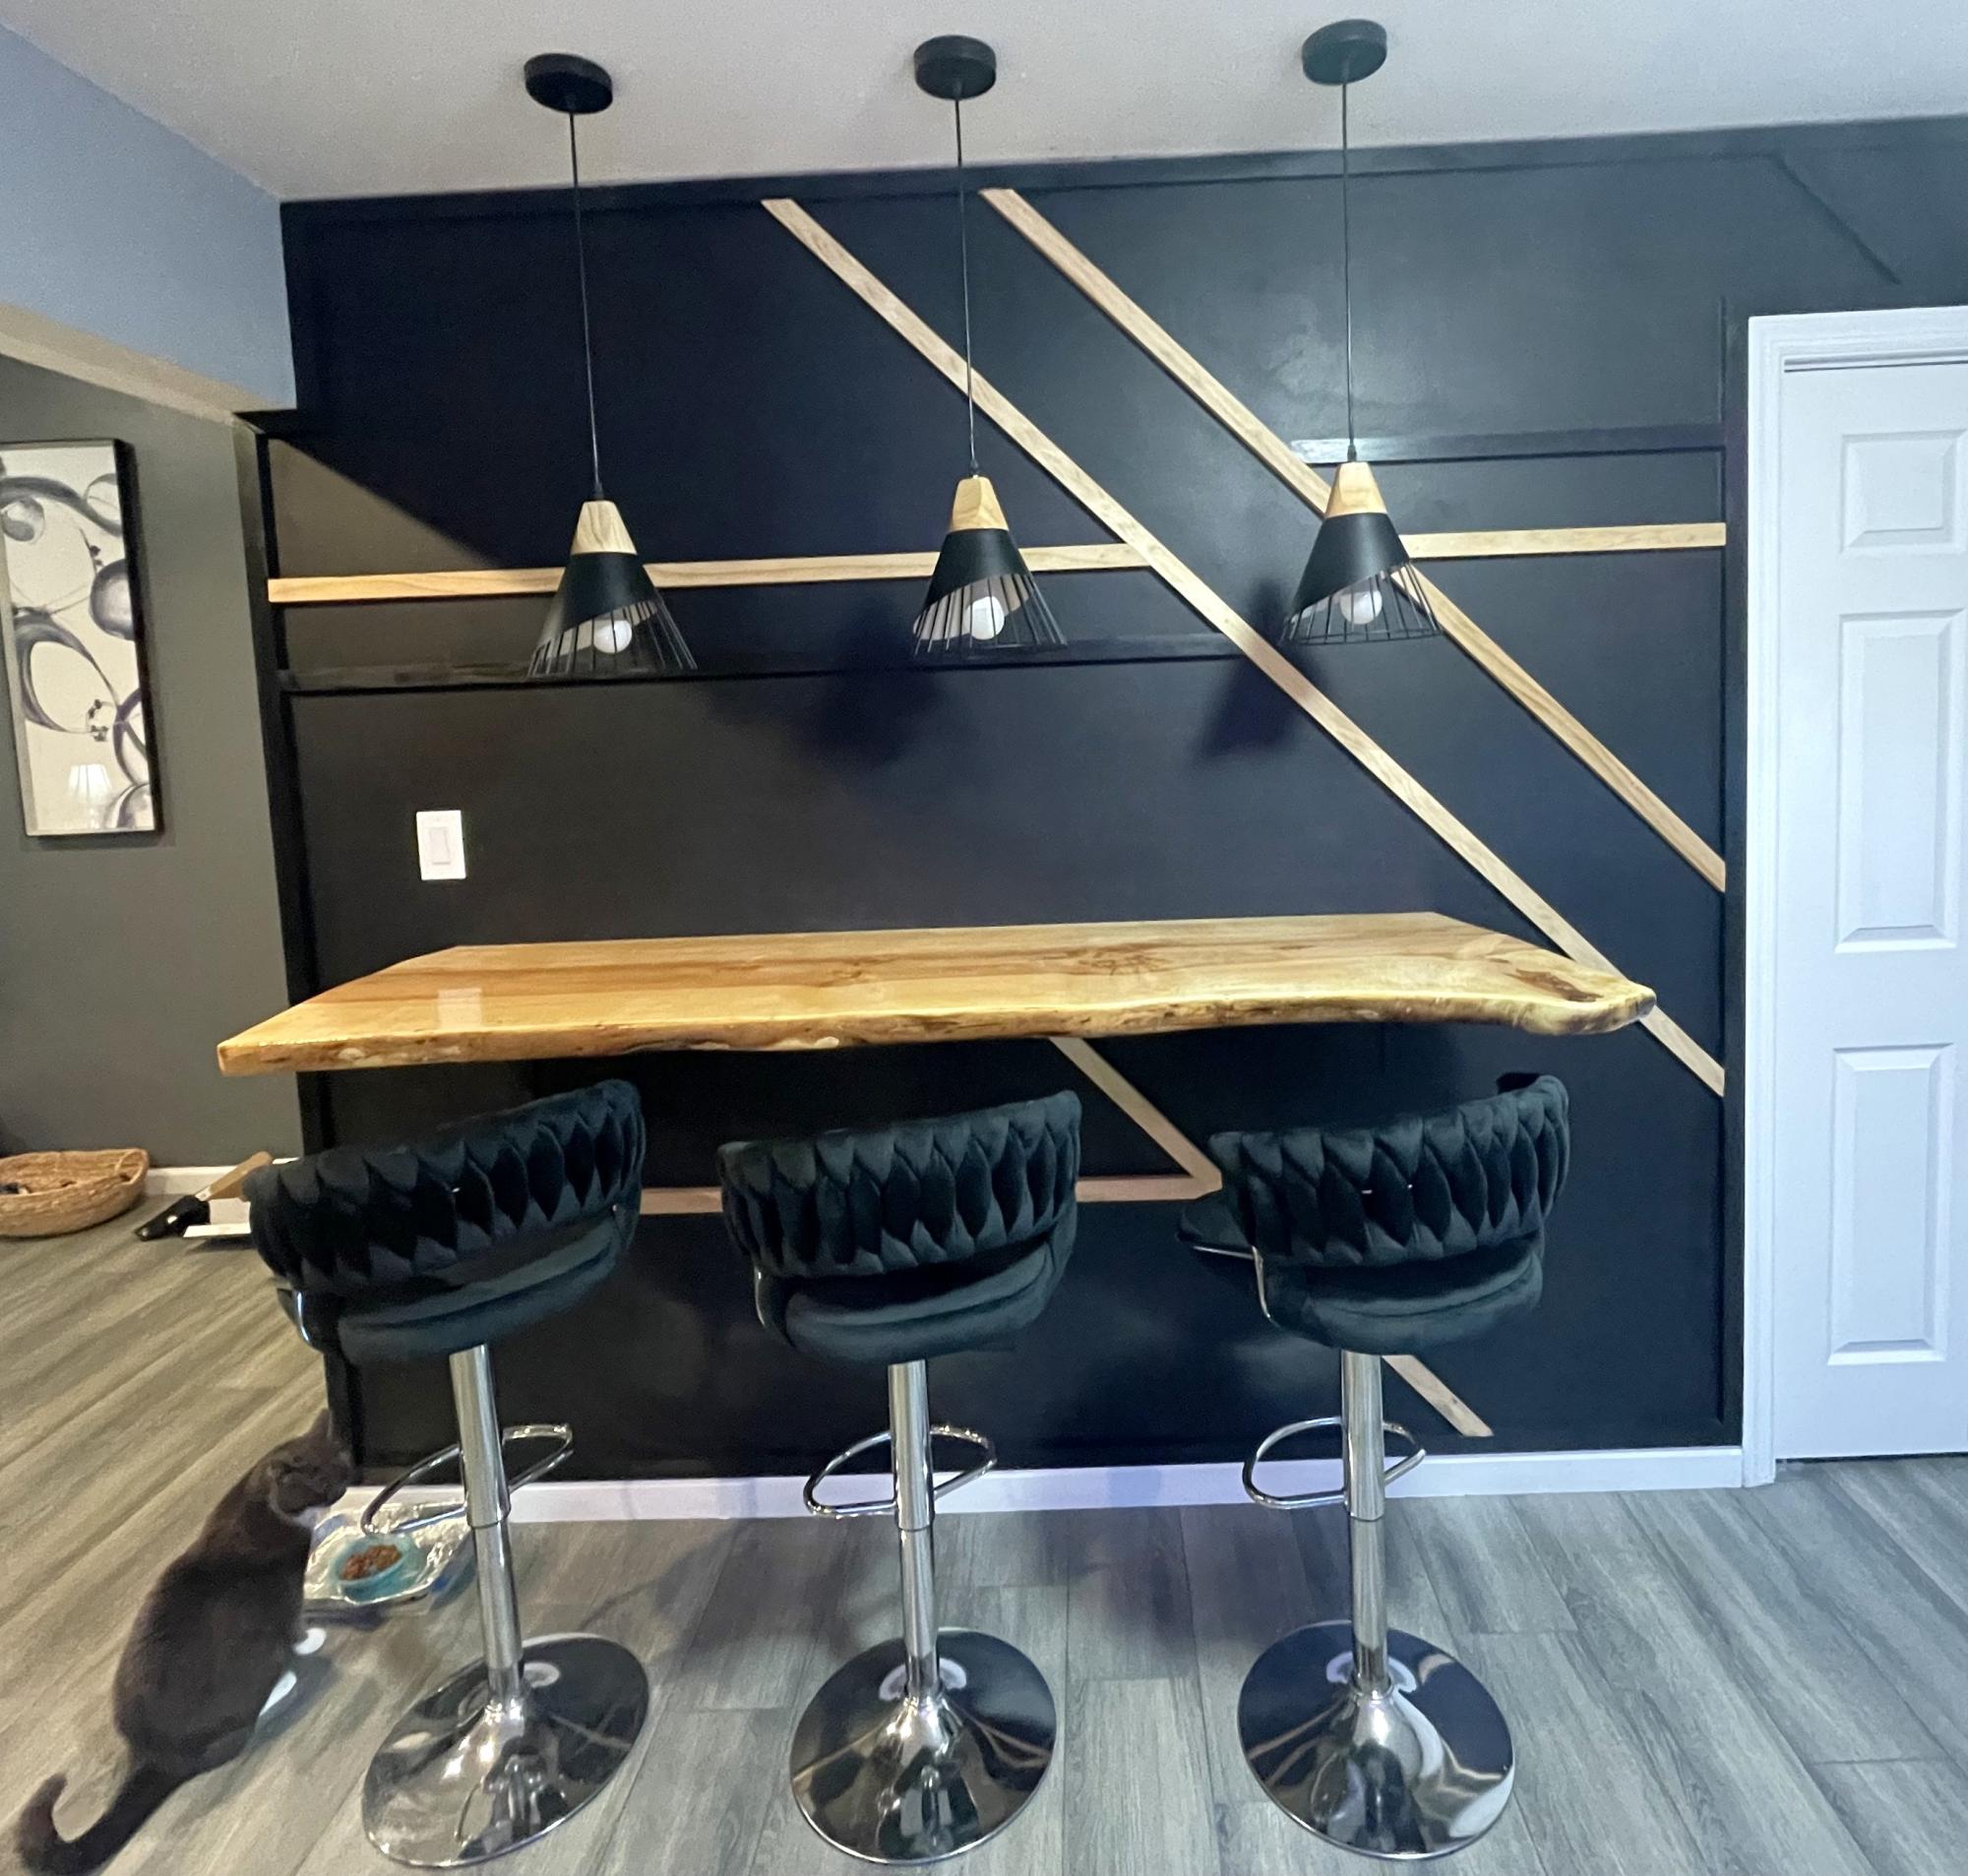
These turned out AMAZING, for more minor details see my blog Link. But in a nutshell i needed some chairs for a pub table i built and these plans worked like a charm!
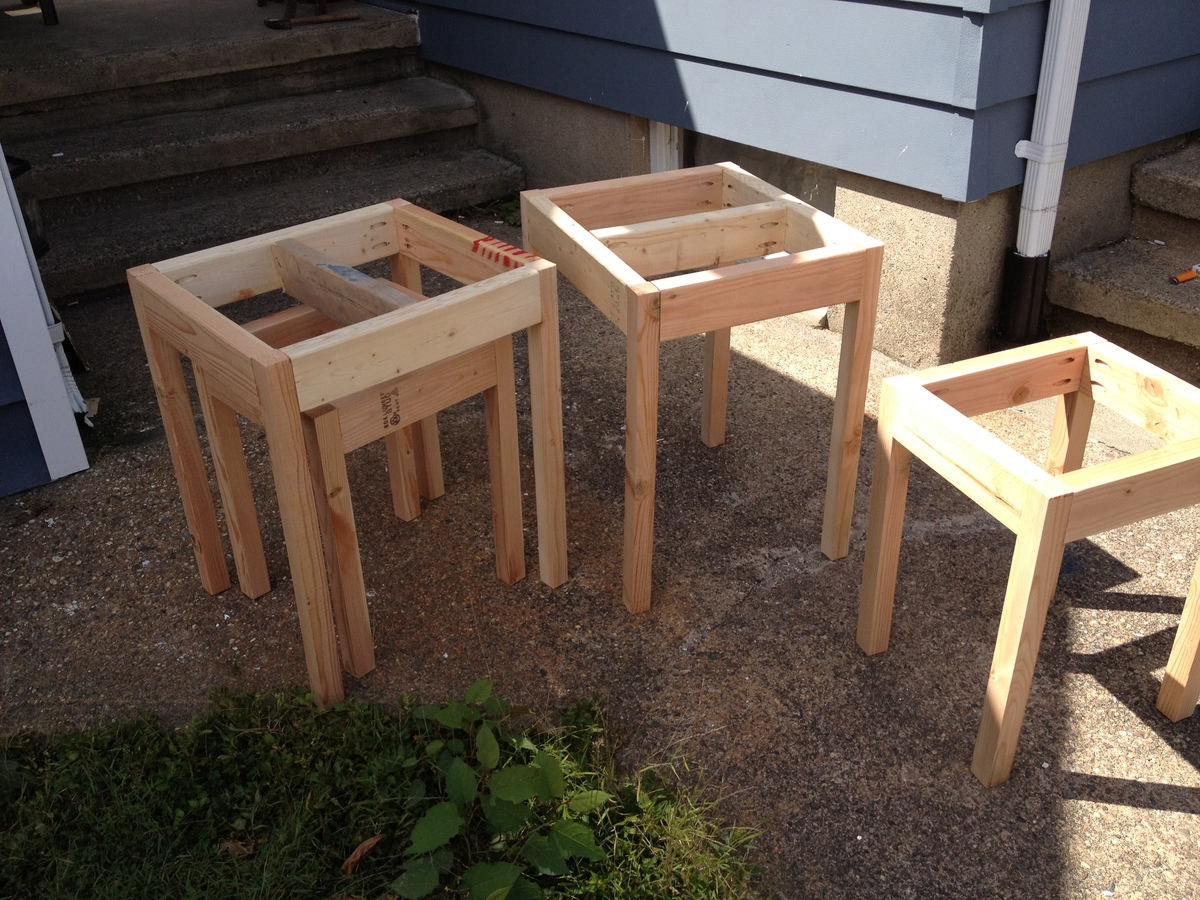
I did use PT lumber for the frames, as these are meant for my patio, so i had to use stainless steel hardware which is a bit pricy, but well worth it unless you want to fall on your butt in 2 years when the normal screws corrode away. Modern PT wood is no joke on hardware!
Built from Plan(s)
Estimated Cost
$150 for 4
Estimated Time Investment
Weekend Project (10-20 Hours)
Finish Used
Exterior semi gloss
Natural tone stain
Natural tone stain
Recommended Skill Level
Beginner


Comments
Ana White
Thu, 10/06/2016 - 08:57
Awesome pub chairs! Love the
Awesome pub chairs! Love the stained seats and good advice on hardware.